There are a grand total of 120 shrines in the base game of The Legend of Zelda: Breath of the Wild, and some of those shrines are incredibly difficult to defeat. One of these is the Shae Loya Shrine, a shrine in the western part of Breath of the Wild's map.
Shae Loya Shrine's Location
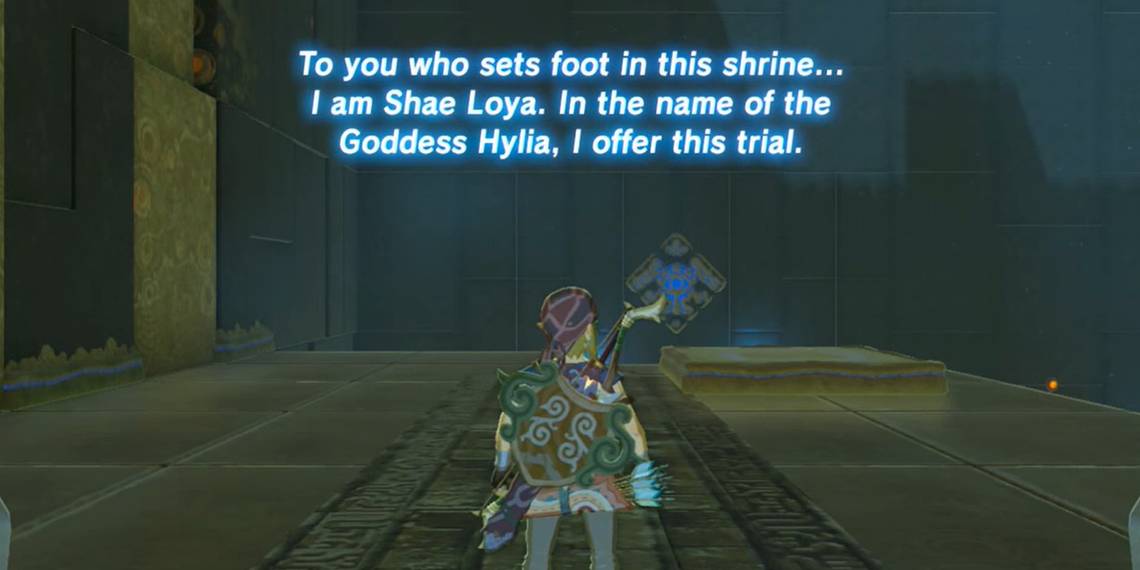
Shae Loya, or the Aim for the Moment trial, is located in Tabantha. Heading out of the Tabantha Tower, west of the Castle, players just need to follow the road west. They will eventually run into the Tabantha Stable, on of the fourteen stables inside of Breath of the Wild, and Shae Loya is the shrine right next to it. This location is extremely cold, and players will want to have some warming foods or clothing to venture out this far into the icy wilderness.
Getting the First Treasure Chest in Shae Loya Shrine

The first treasure chest in Shae Loya is located high up on the wall behind the player as soon as they enter the Shrine. Look up along that wall until a wooden shelf can be seen; this contains the first of the treasure chests. Players can either fire regular, ice, or BotW's shock arrows at each of the ropes holding the shelf in place, or they can set fire to the shelf with a fire or bomb arrow. Once the ropes are cut or the shelf has been burnt, a metal treasure chest will tumble to the ground. Inside, players will find a Falcon Bow.

Next Steps
Head back to the starting platform and look to the right of Link's starting point. There should be a ball being tossed into the air over and over again. The key to solving the shrine is to get the ball to fall from its platform and into the bowl below. The best way to do this is to use Link's Stasis rune to freeze it, then hit the ball with arrows to push it out of its normal trajectory.

Players also may be able to dislodge the ball using well-placed bomb arrows, but the Breath of the Wild Rune power Stasis seems to be the easiest way to knock the ball into the bowl.

Once the ball has fallen into the bowl, the platform below Link will begin to glow. It is now activated and will toss Link into the air at regular intervals. First, Breath of the Wild's Link should head toward the ball; there is treasure chest located behind where the ball was bouncing.

Inside this chest is a Topaz, which is useful for upgrades to Link's armor or to sell in order to farm for Rupees in Breath of the Wild.

Solving the Shae Loya Shrine's Final Puzzle
Players will then have to head back to the platform that the ball unlocked. Instead of facing toward the ball this time, however, players will want to look at the wall left of the ball, facing the same direction they were when they originally entered the shrine. Once the platform launches them into the air, there will be a hidden nook in the wall with a crystal in it.

Fire an arrow while in bullet time, turn the crystal from orange to blue, and the door to the shrine's owner will unlock. It might look like a difficult trick shot for Breath of the Wild players, but it is fairly simple with the slowed down bullet time when players pull out their bows.
The Legend of Zelda: Breath of the Wild is available for Nintendo Switch.