The Mobile Fortress Gradia is the fourth dungeon in Tales of Arise and can be found floating in the middle of the ocean after Almeidrea liquifies the majority of Mahag Saar's Dahnans. Unlike some of the game's other castles and fortresses, there's no way for players to return after completing it, meaning that many of the treasures onboard are missable if players don't fully explore the ship before tackling the boss.
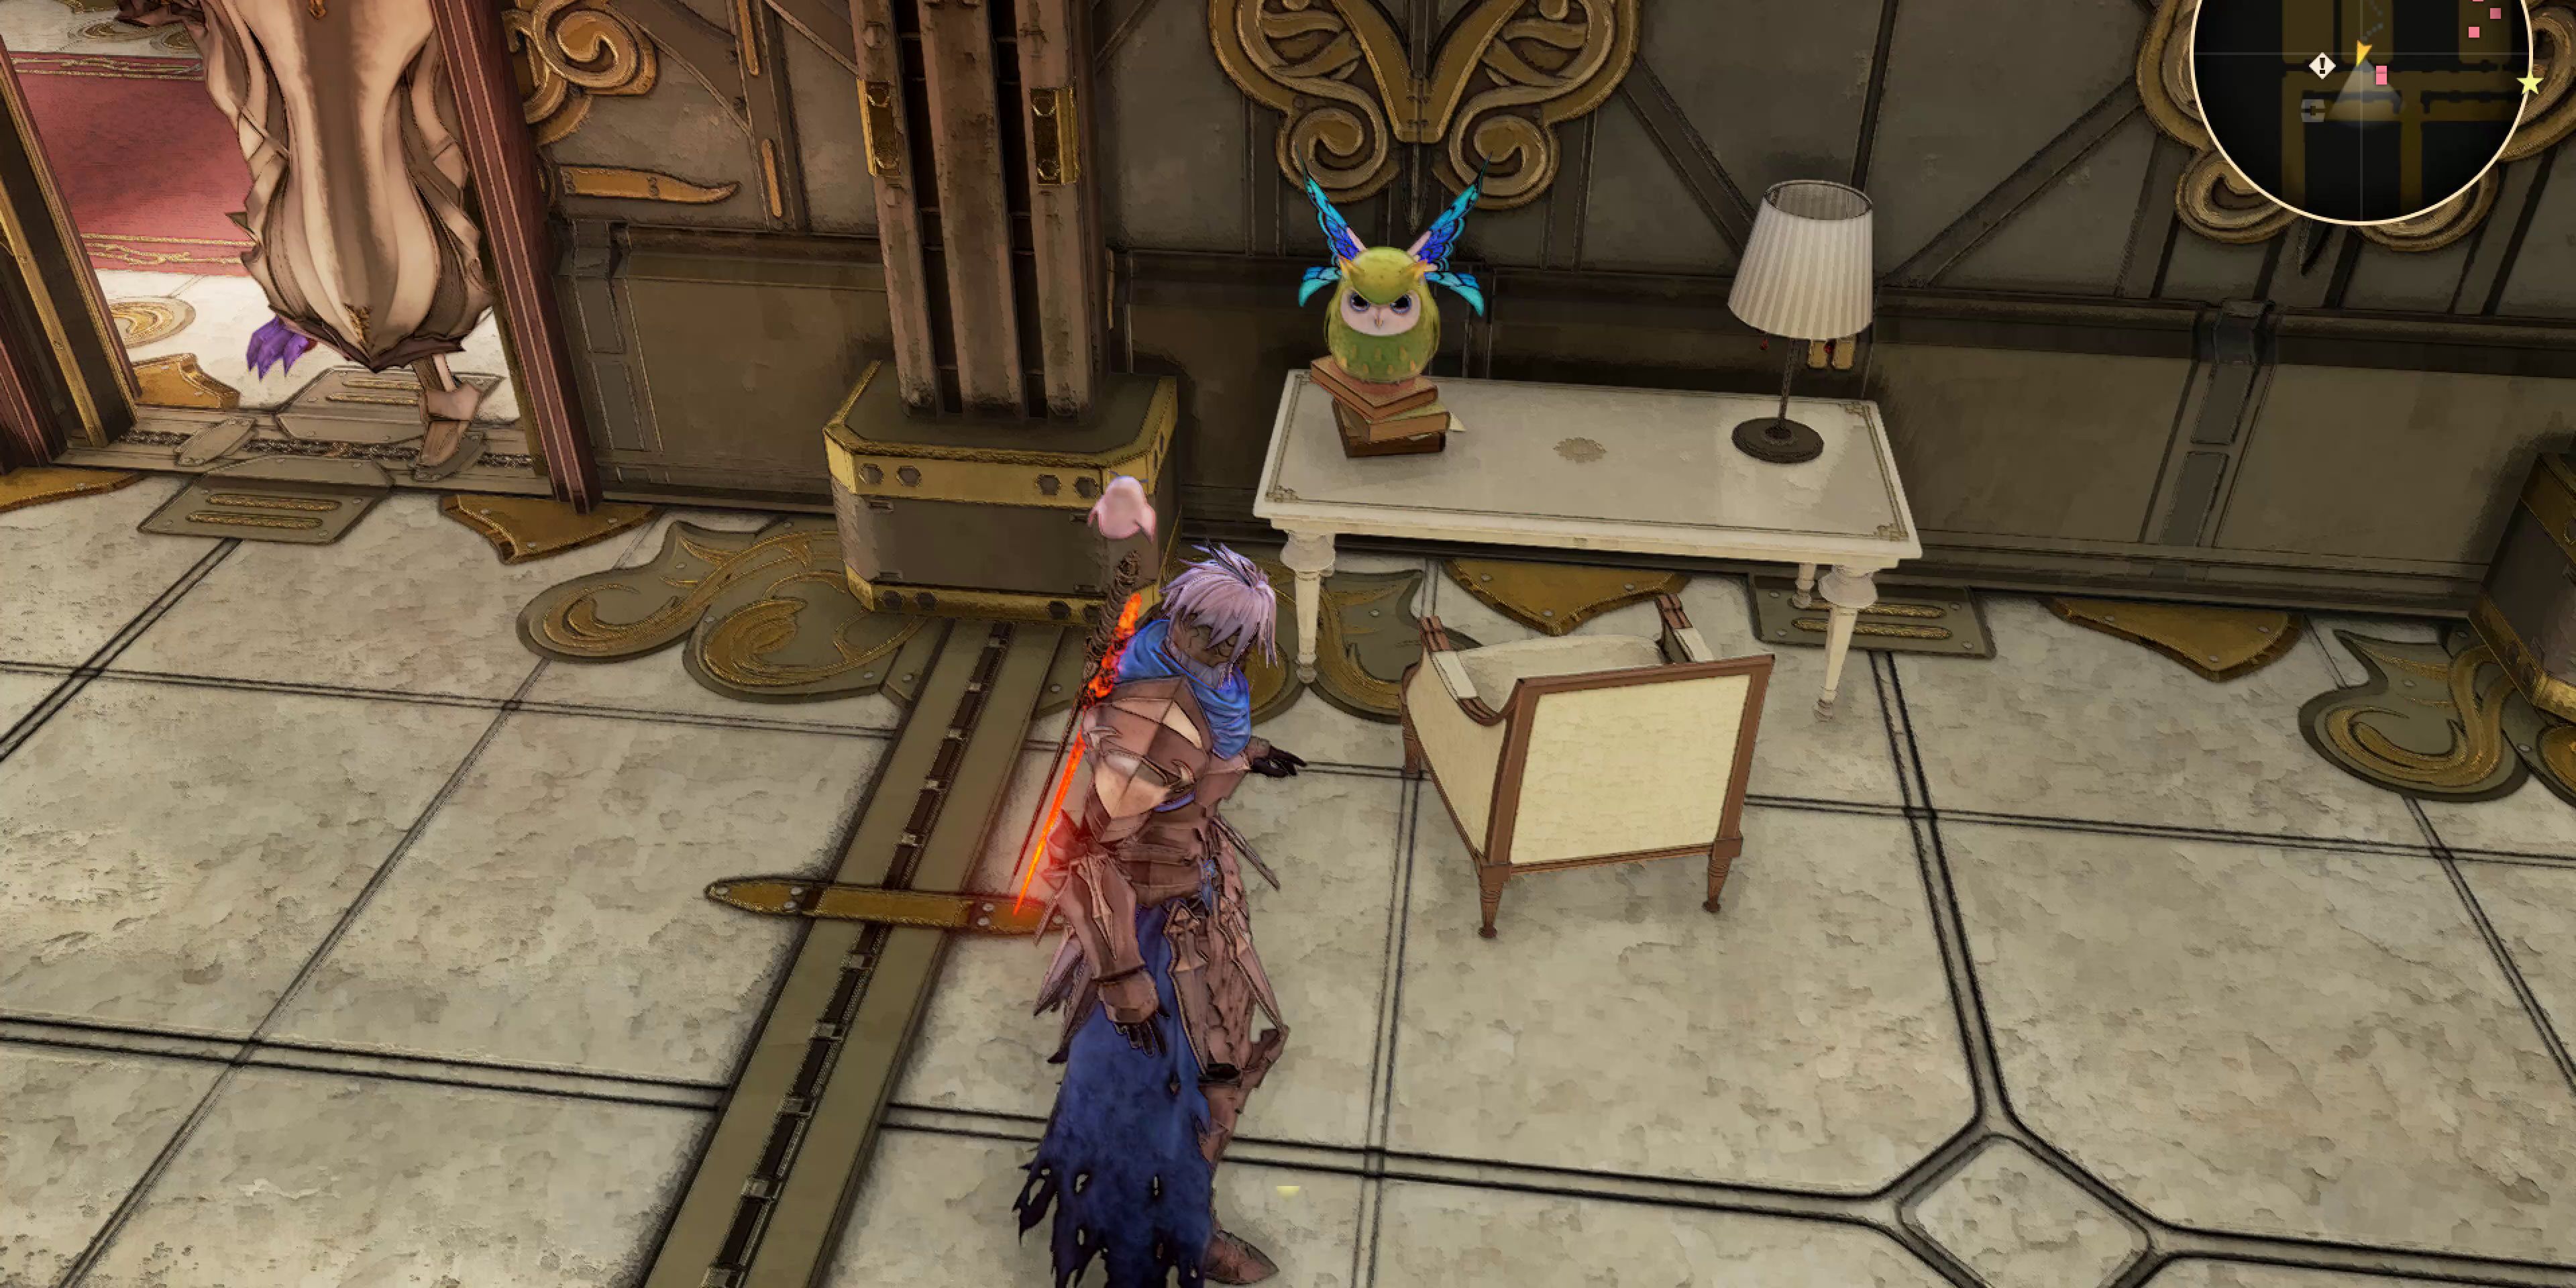
While most of the armor is eventually outclassed and all of the healing items can be found elsewhere in Tales of Arise, there's an owl on the ship's second level that players should try to find and interact with if possible. Failure to do so isn't critical, however, as, like the party, the owl will eventually be washed ashore in Thistlym where it can be found next to the wooden jetty.
Updated November 7, 2021 by Tom Bowen: Unlike all of the other dungeons in Tales of Arise, players can only visit The Mobile Fortress Gradia once. With this in mind, collecting all of the notable items that are onboard the ship should be a high priority for players, particularly as some of these items can only be found here. This guide will let players know exactly where to find them, as well as how to beat Lord Almeidrea and where to go after The Mobile Fortress Gradia section of the game.
Quick Links
|
Guide Sections |
||
|---|---|---|
|
Notable Items |
||
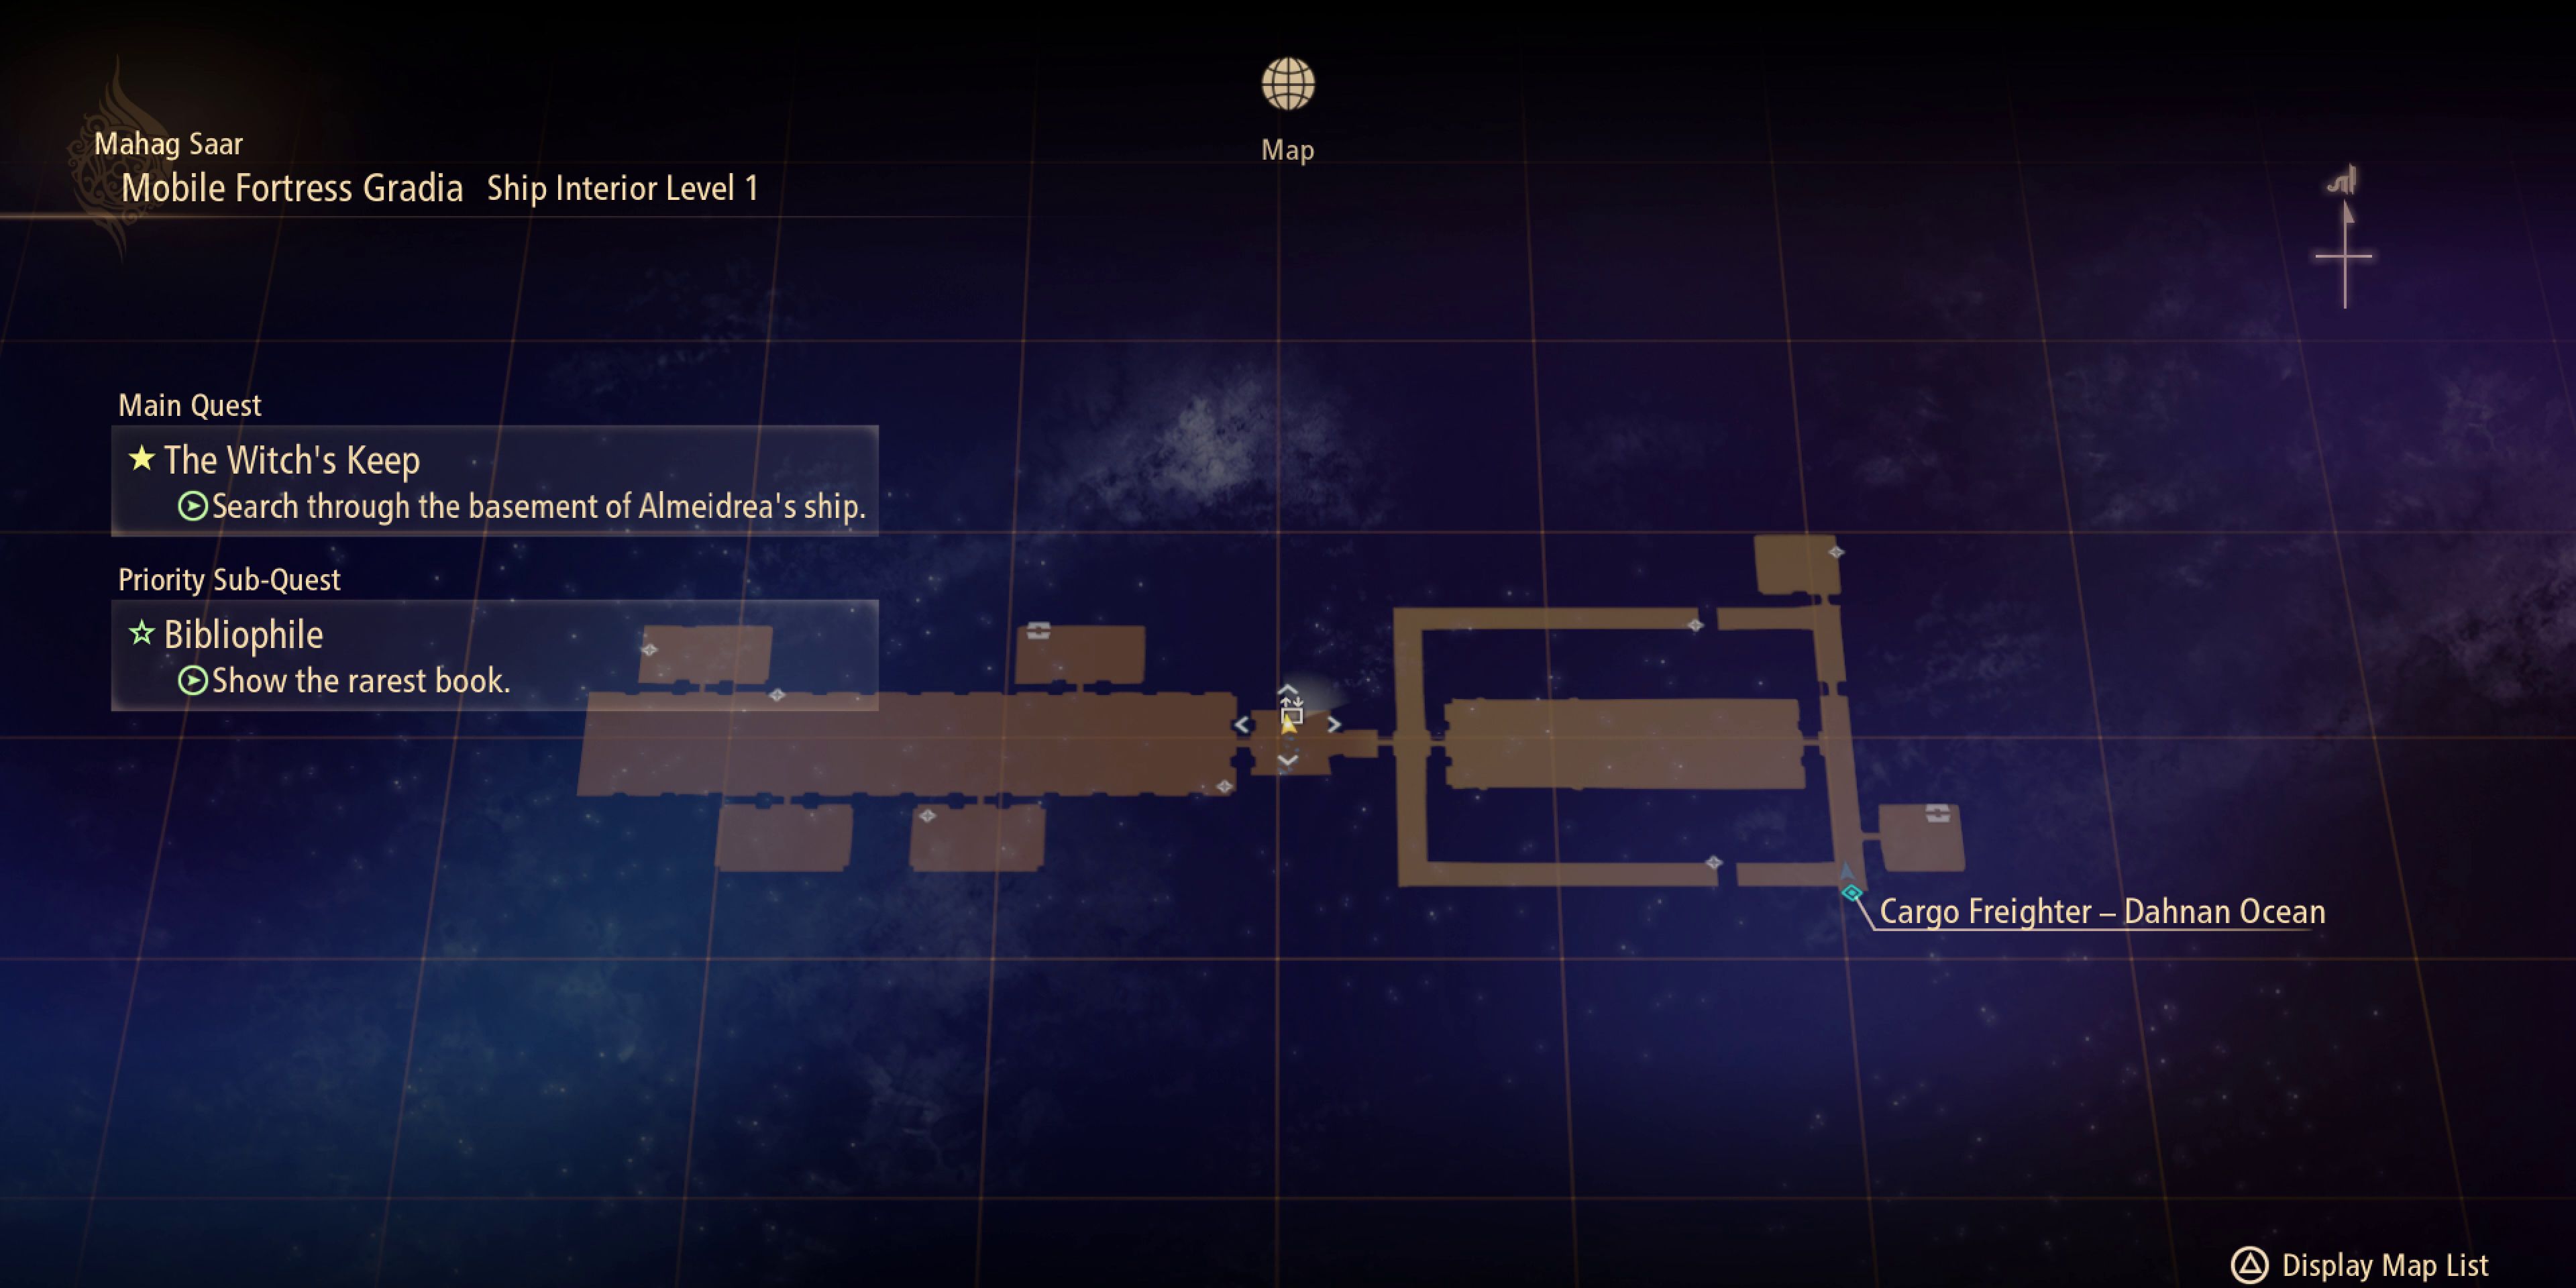
Ship Interior Level 1
Before heading into the central area, players should take some time to explore the side rooms for some healing items and lettuces. In the next section, they'll come across a green Astral Energy barrier that Rinwell will need to absorb. Before doing so, however, Players should again explore the side passages for some tomatoes and a bag containing a few thousand Gald.
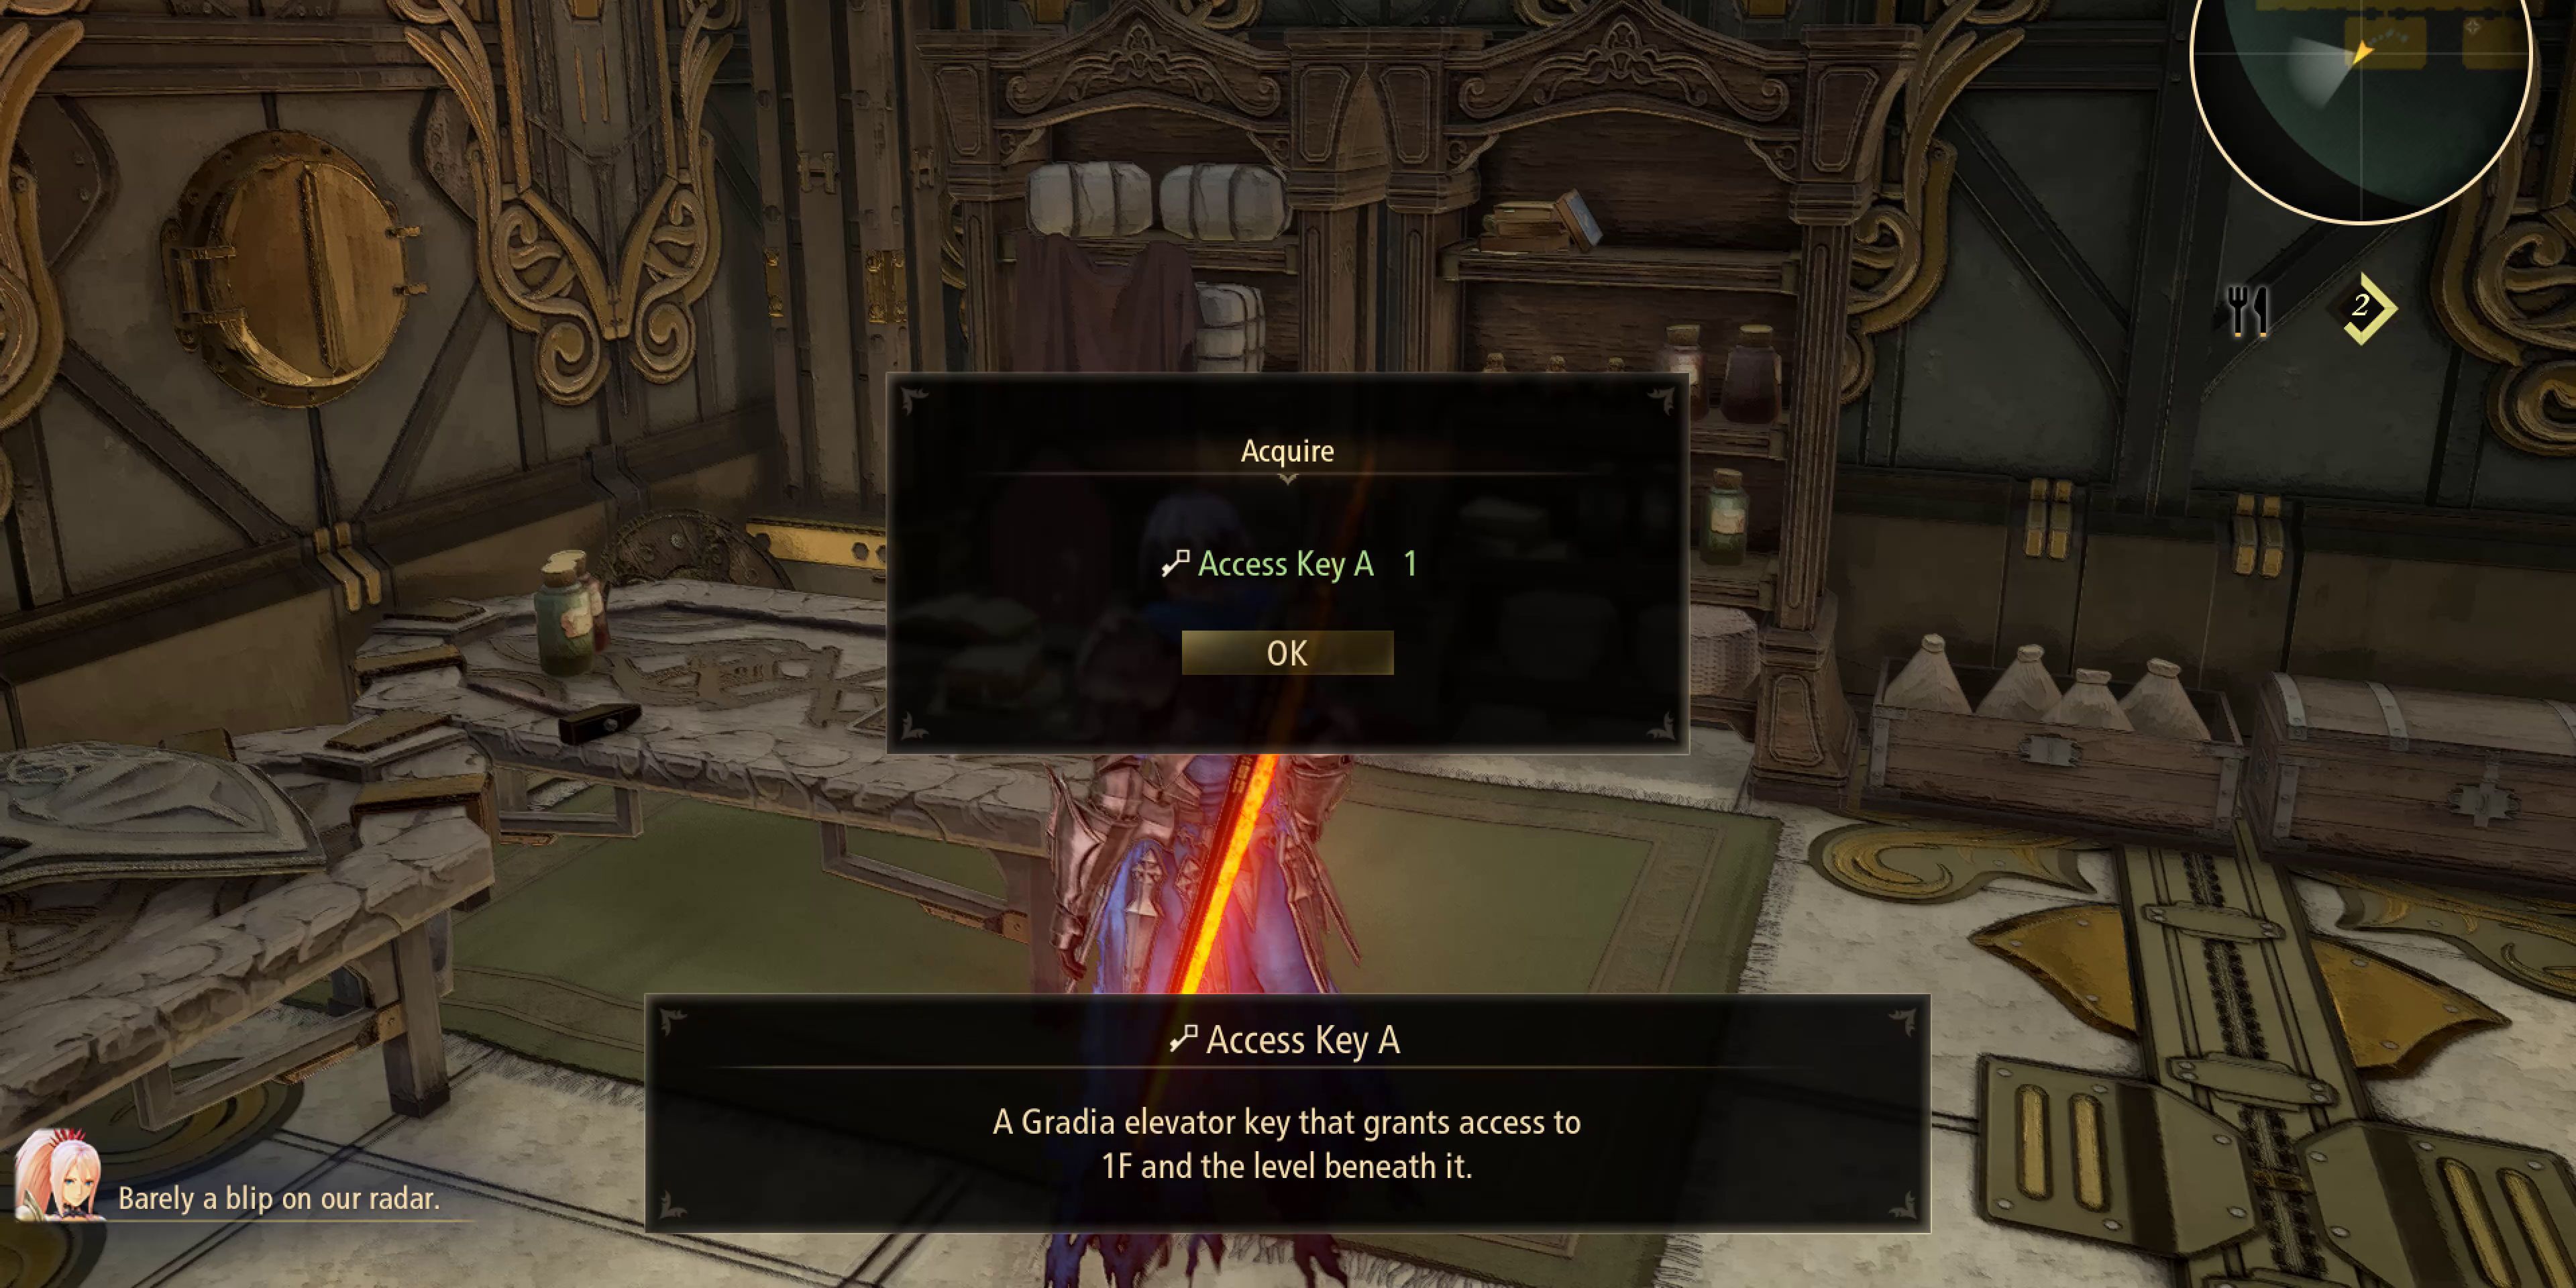
When ready, players should use 19 CP to pass through the barrier and then continue on to the next room. There are some useful food and healing items in some of the side rooms here and the one on the right has a blue chest containing 10,200 Gald. The elevator key, Access Key A, is in the last room on the left and is being guarded by a powerful red soldier. After obtaining it, players should return to the elevator and head to the lower level.
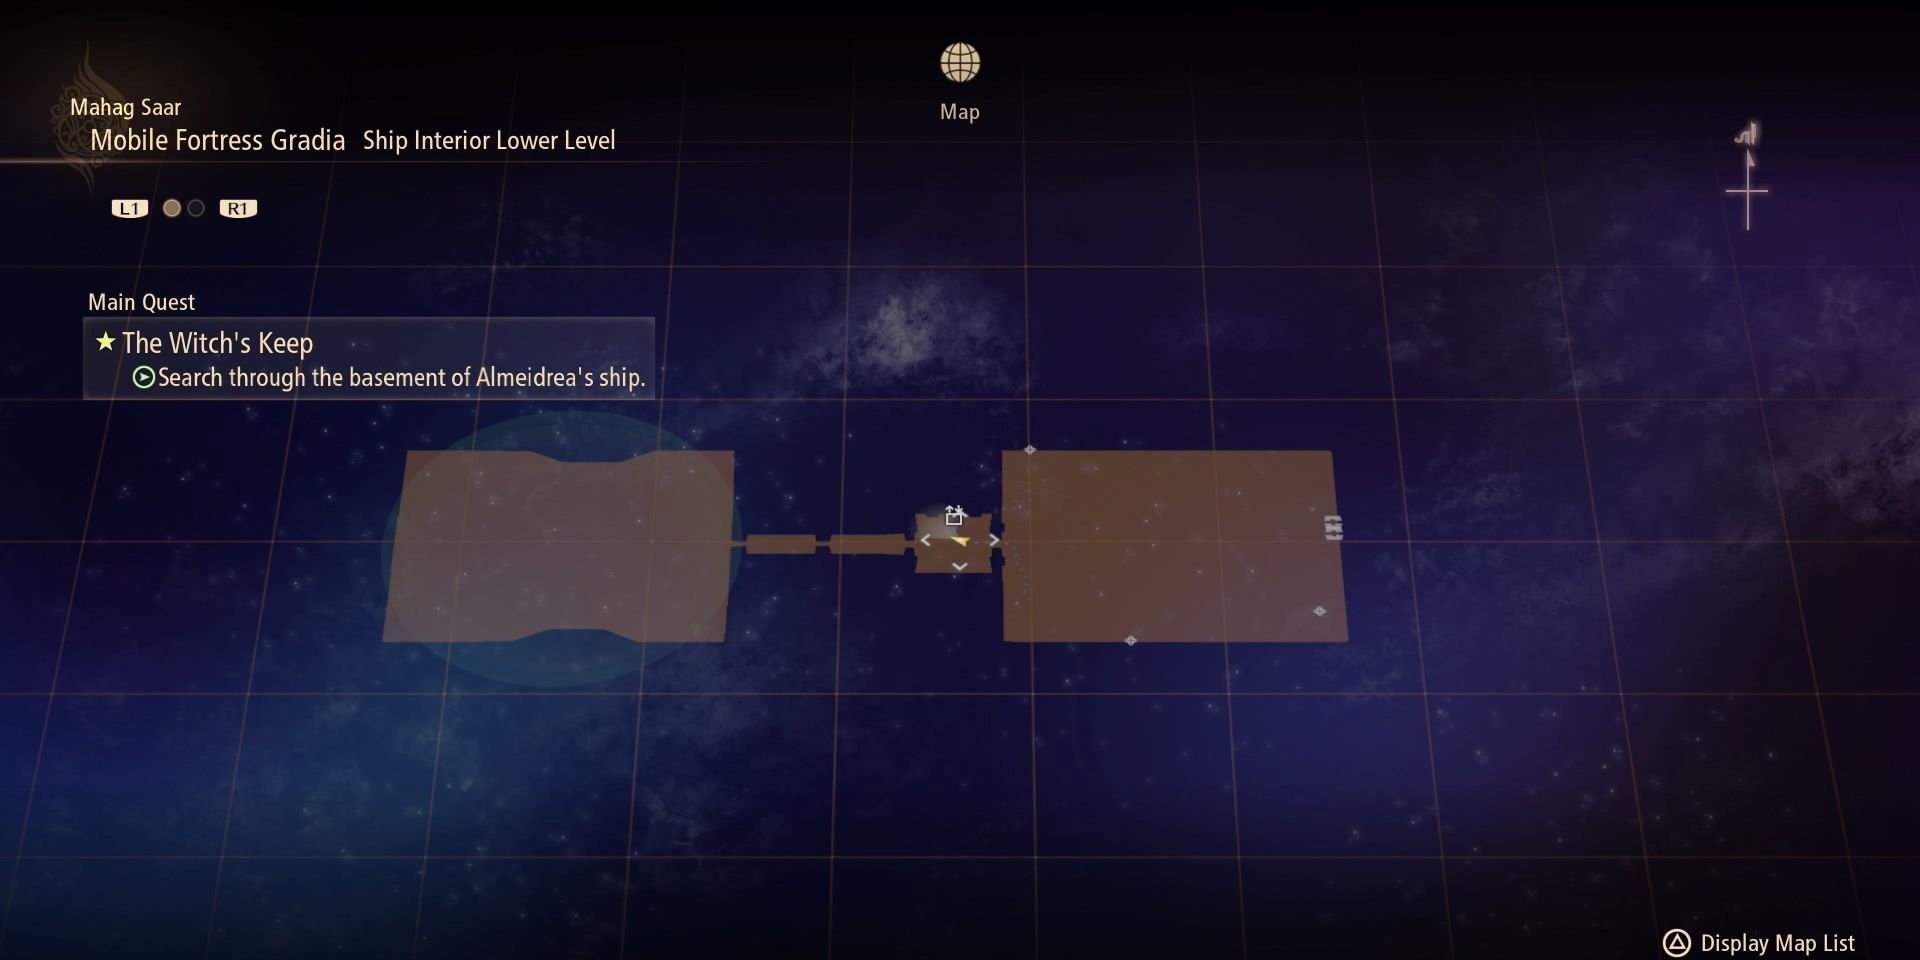
Ship Interior Lower Level
Immediately after exiting the elevator, players will see another green barrier to their left, which Rinwell can absorb for 38 CP. After taking out all of the enemies, players can grab Rinwell's White Cloak armor and a Magic Emblem accessory from the two red chests, as well as some healing items and food that's scattered around the room.
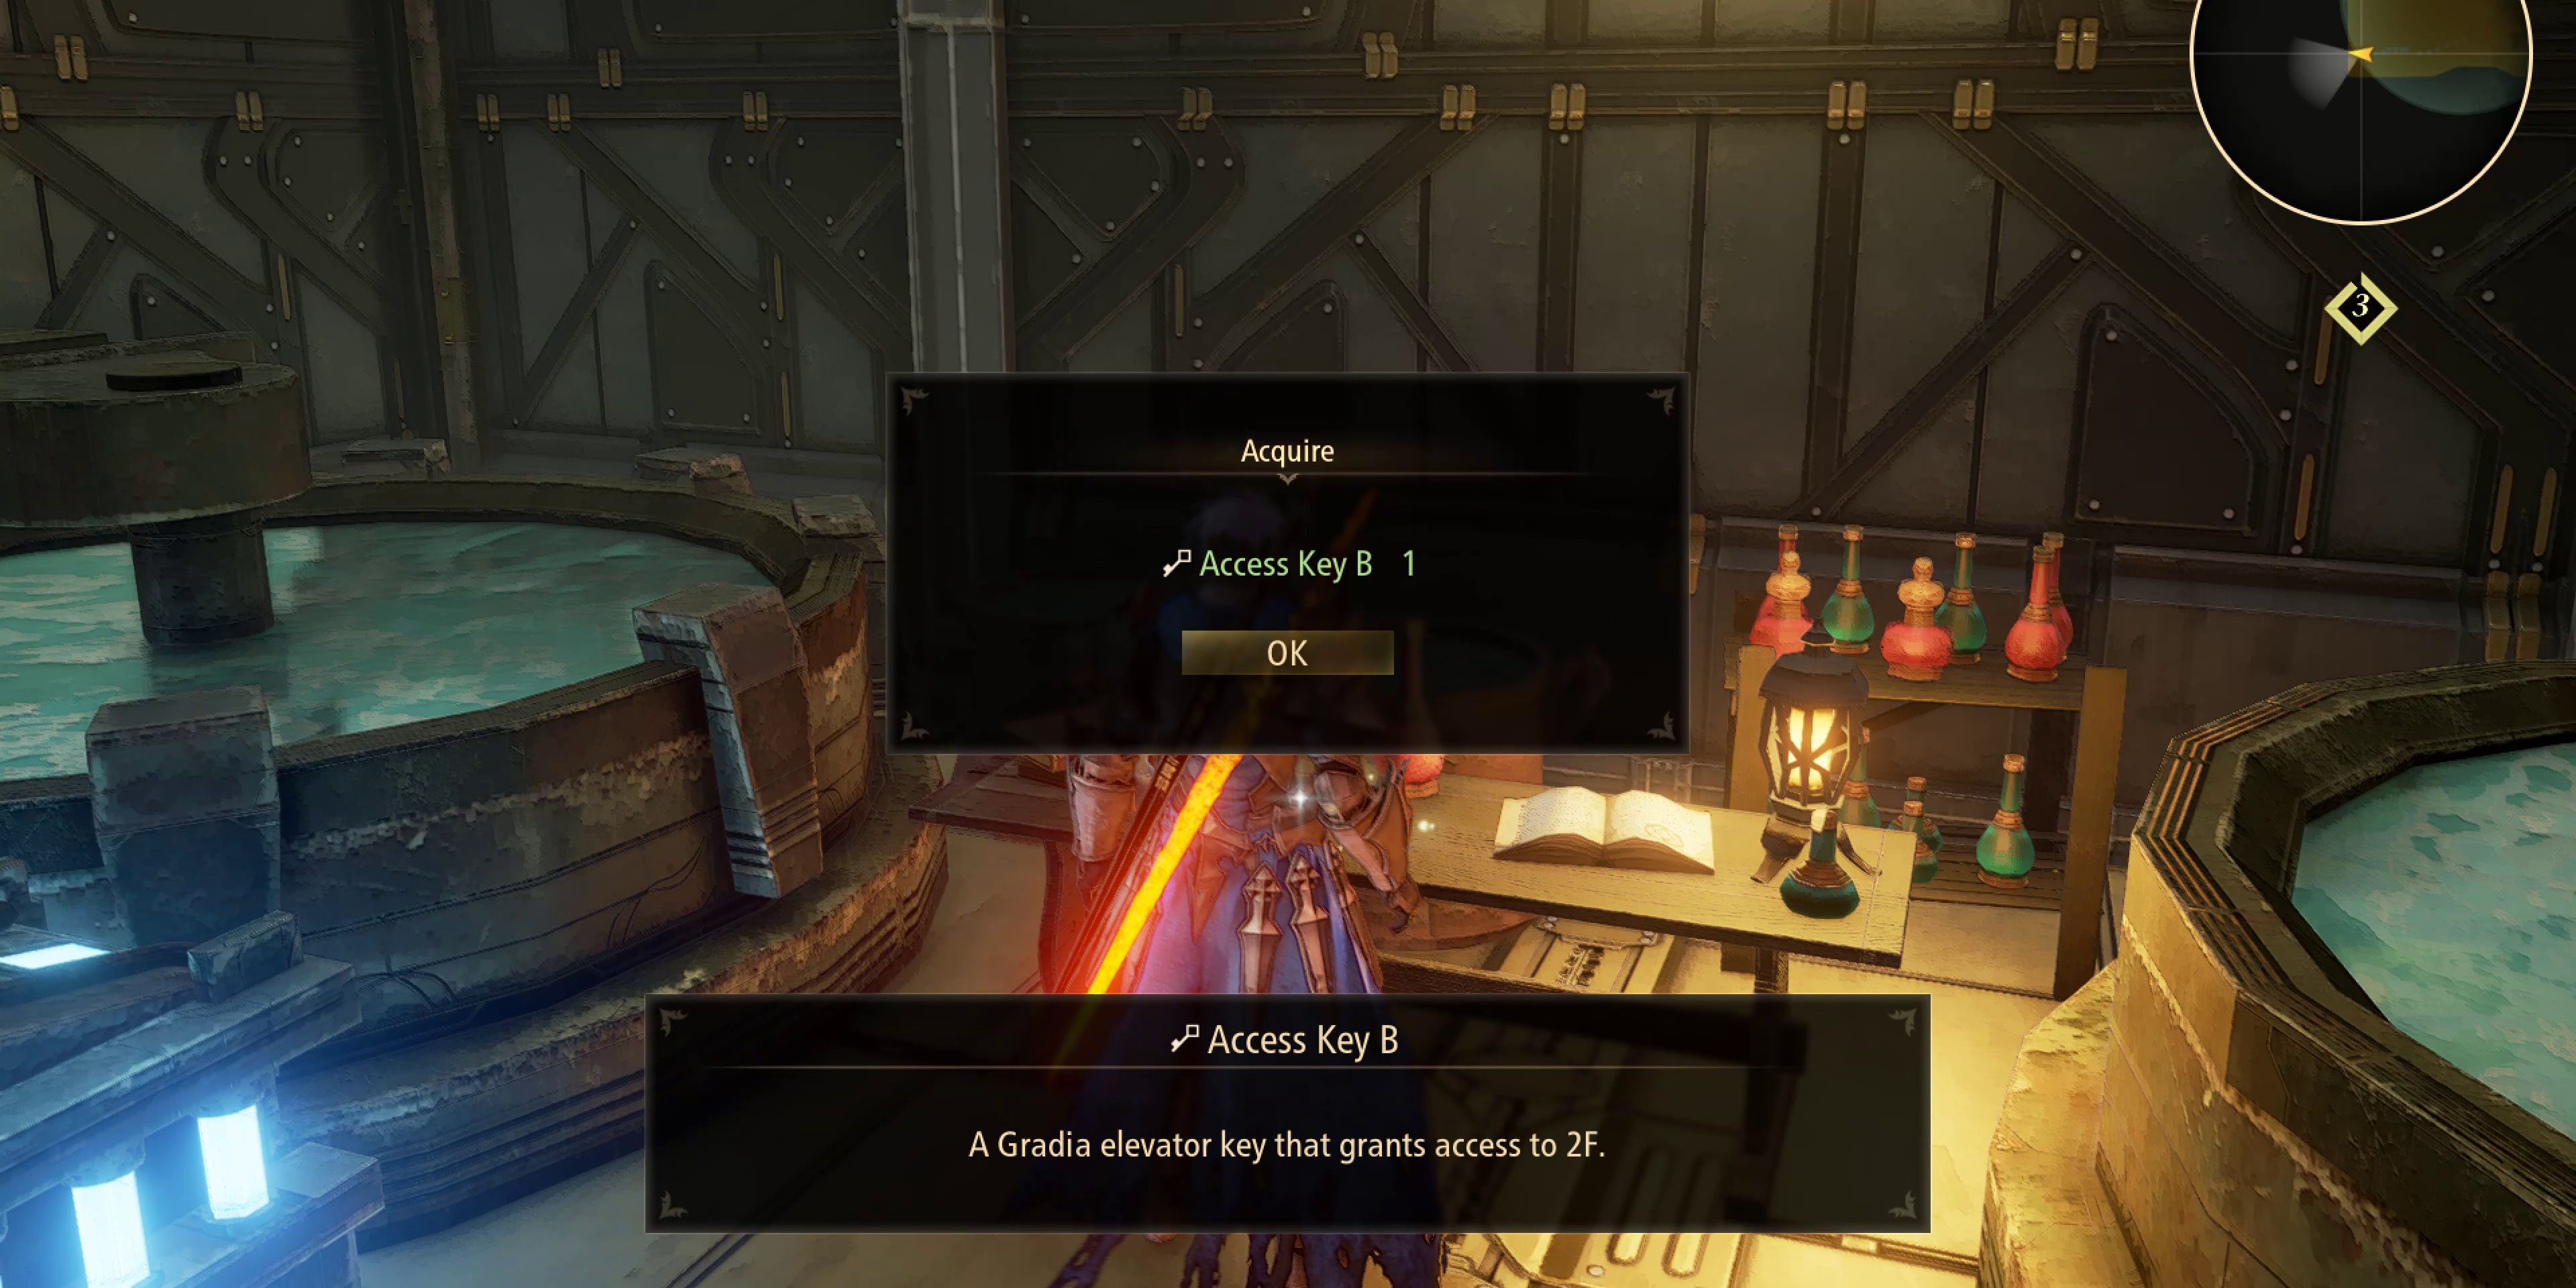
In the room on the opposite side of the corridor are more enemies and curative items. Players will need to fight their way through to the back left-hand corner and defeat another red soldier. Doing so will enable them to pick up Access Key B from the desk, which grants access to the ship's second floor.
Ship Interior Level 2
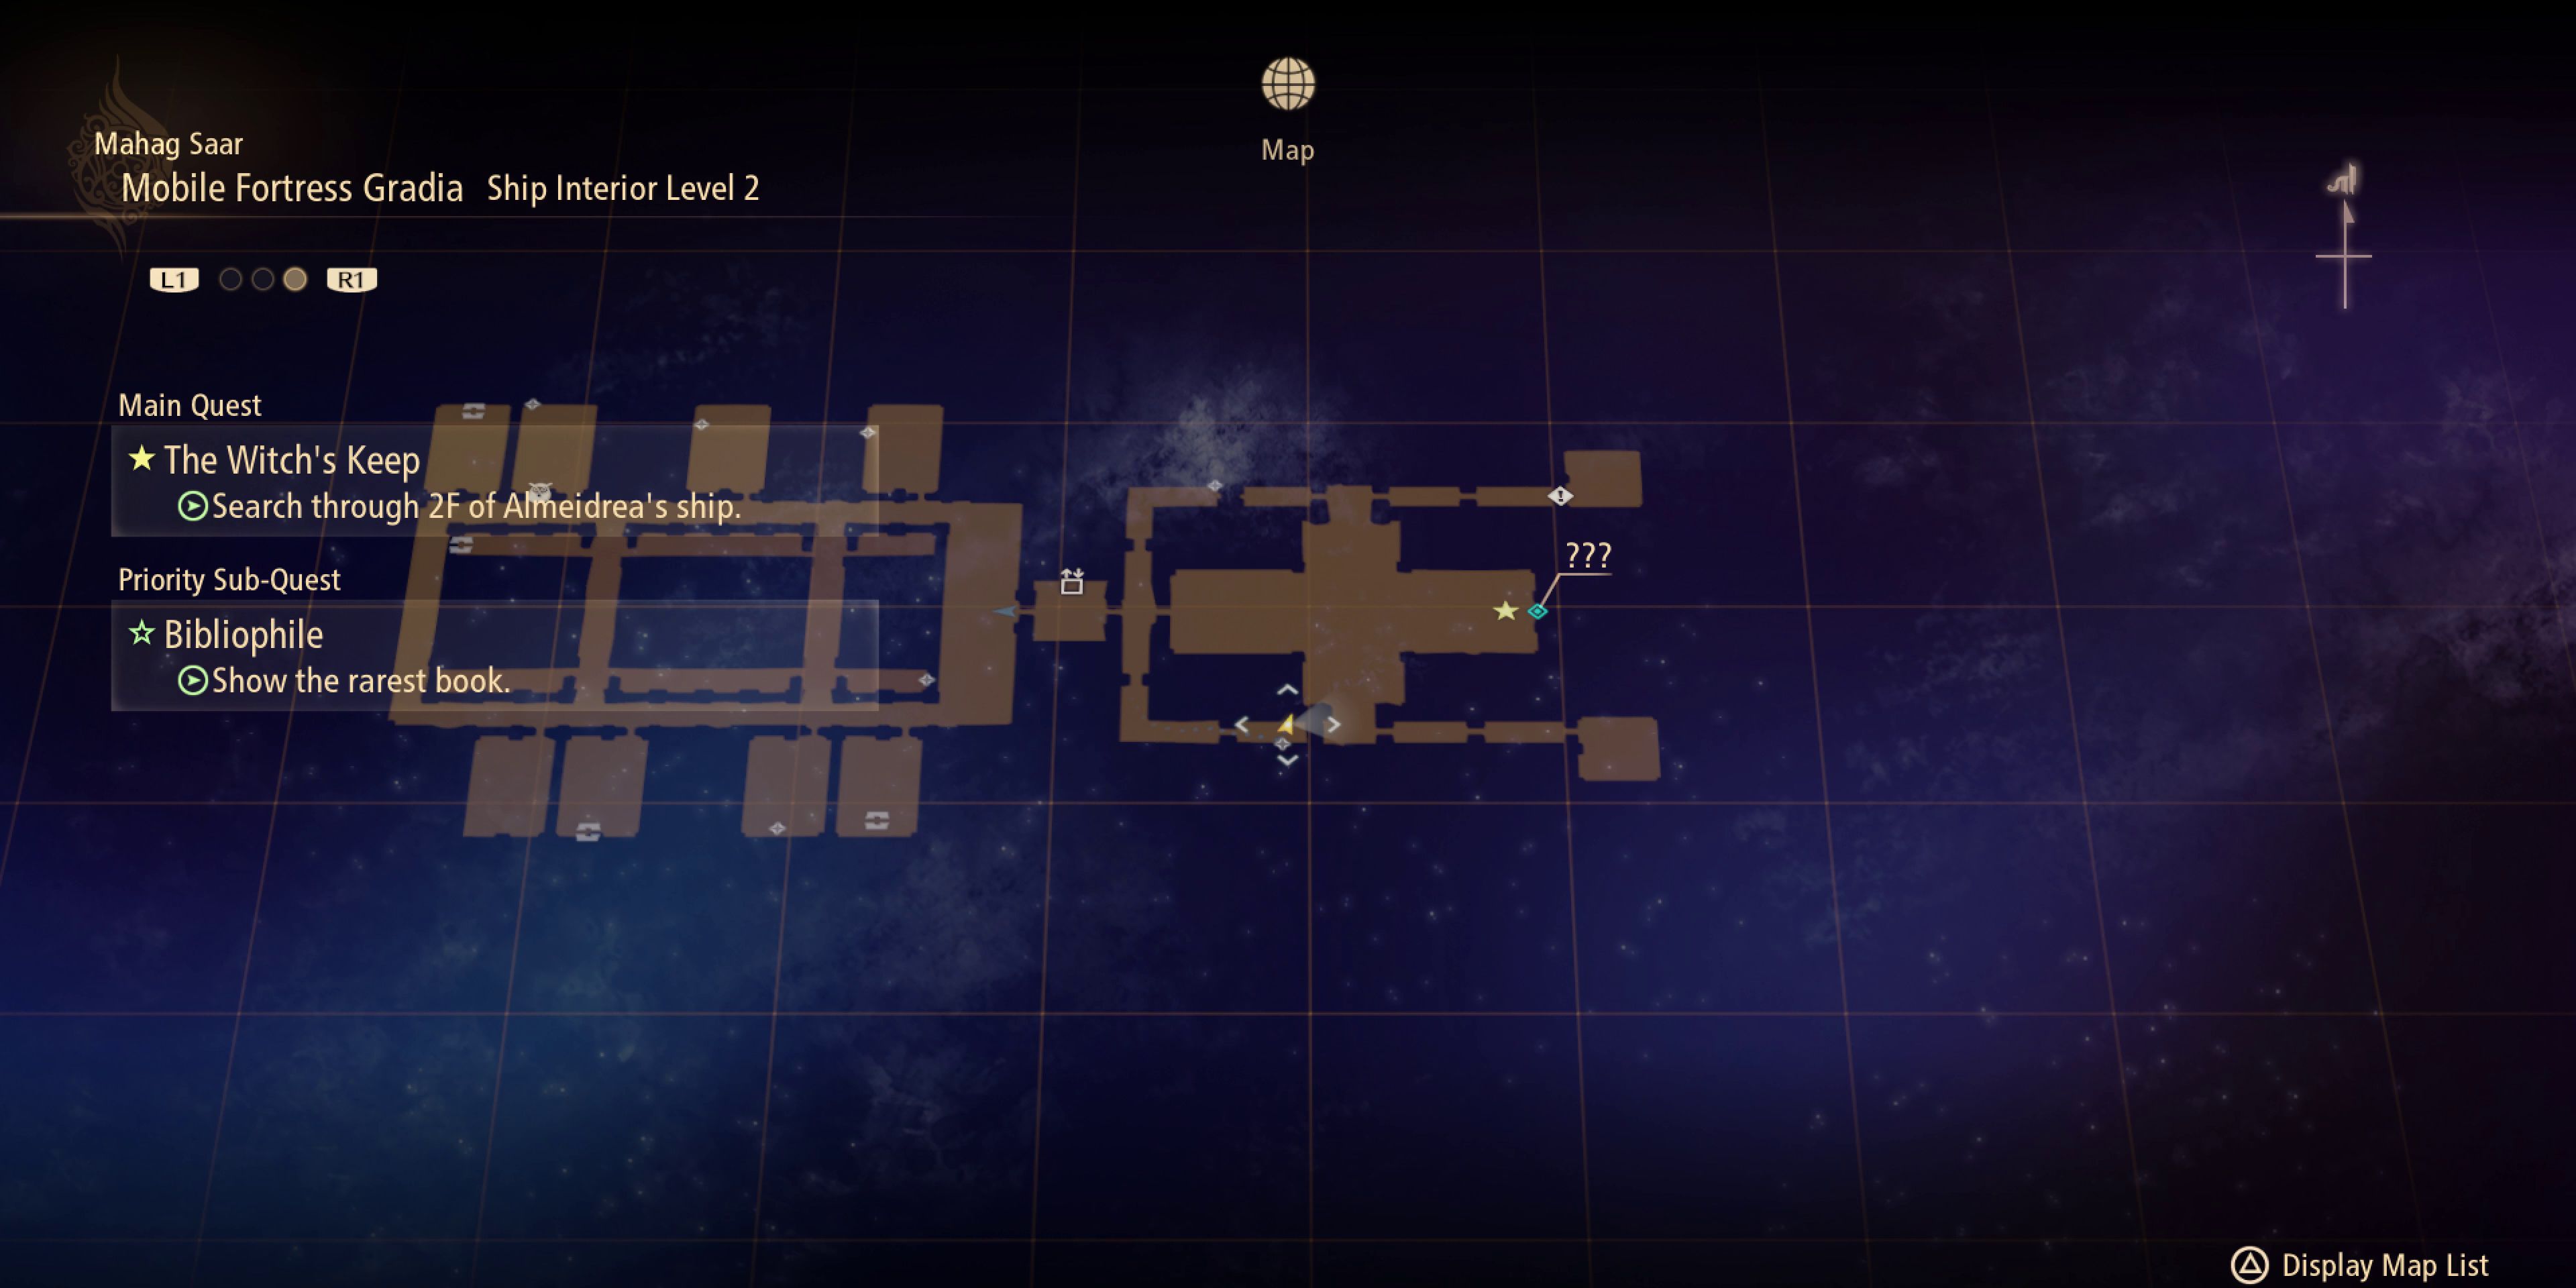
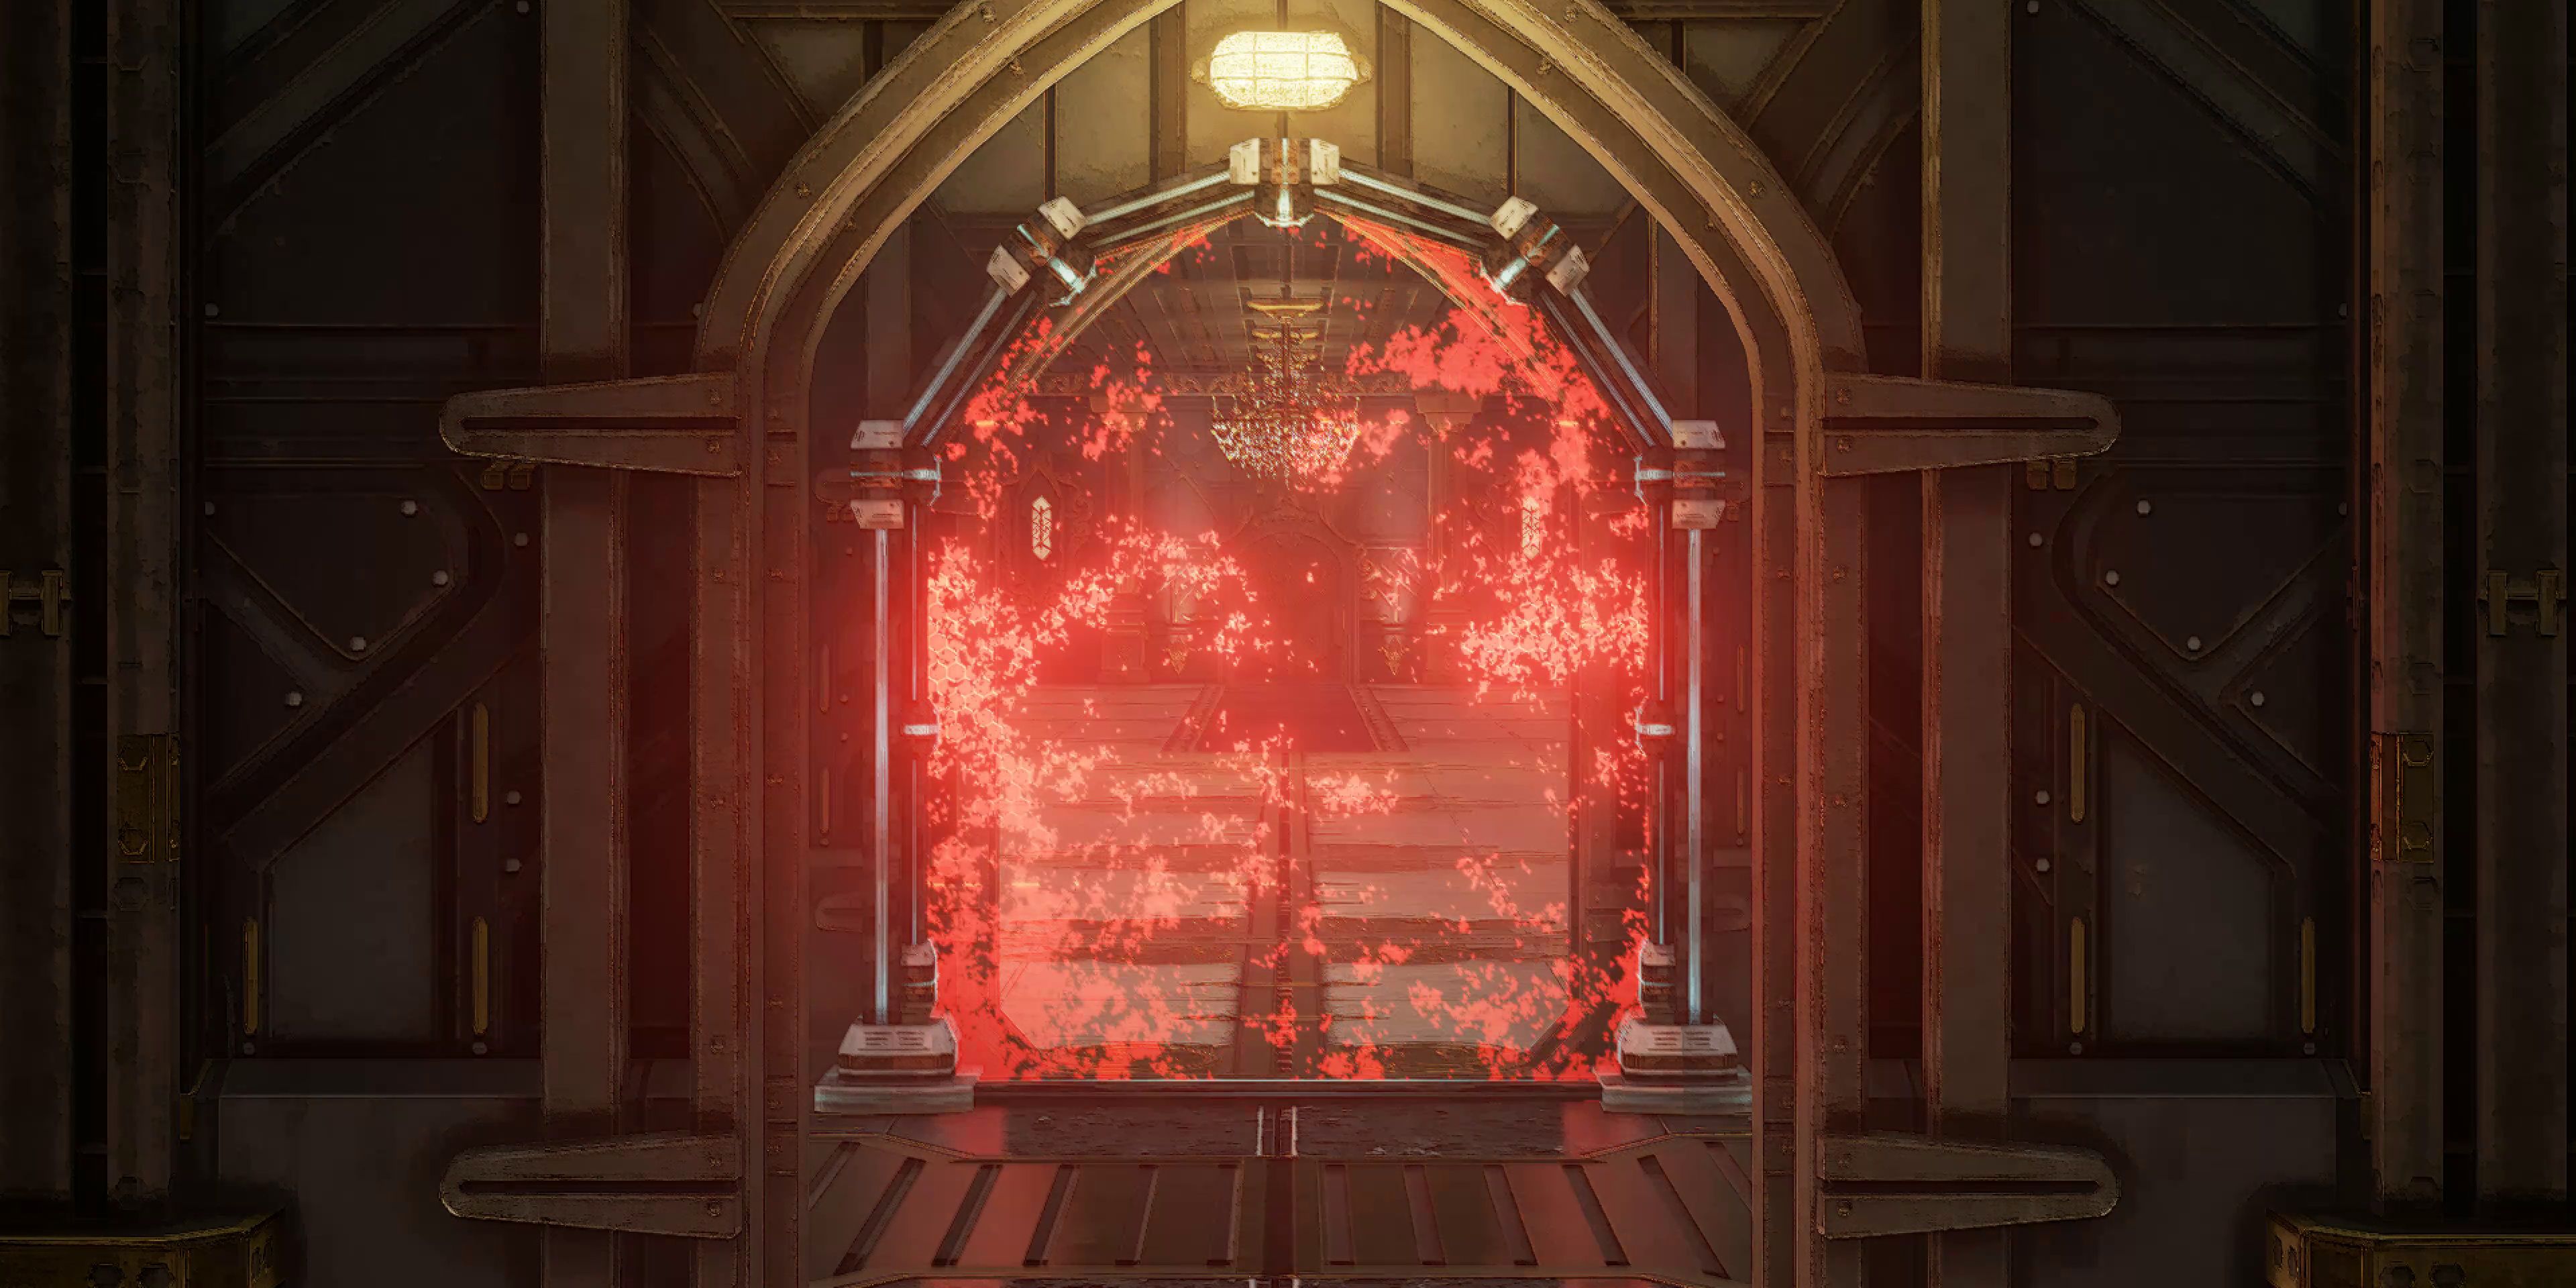
Ship Interior Level 2 is one of the largest on the Mobile Fortress Grania and houses quite a few useful items as well as around 15,000 Gald. As such, it's worth checking out all of the rooms so as not to miss out on anything. To progress the story though, players will simply need to defeat the group of guards that is blocking the door to the last room on the left and then use the terminal to remove the red barrier.
Those in a hurry should focus on the rooms with the green barriers, as these have red chests containing a Resist Ring accessory and Law's Natural Vest armor respectively. Players will also be able to find Owl #26 perched on the desk in the room next to the one containing the Natural Vest, so those planning to complete the Owl Forest sub-quest should be sure to pop in and interact with it.
With the red barrier taken down, players can now make their way to the quest marker on the other side of the ship. Before dealing with the enemies that are blocking the door though, they should first check out all of the little side passages in the area, in which they'll find an Elixir, some Peach Gell, and some rice.
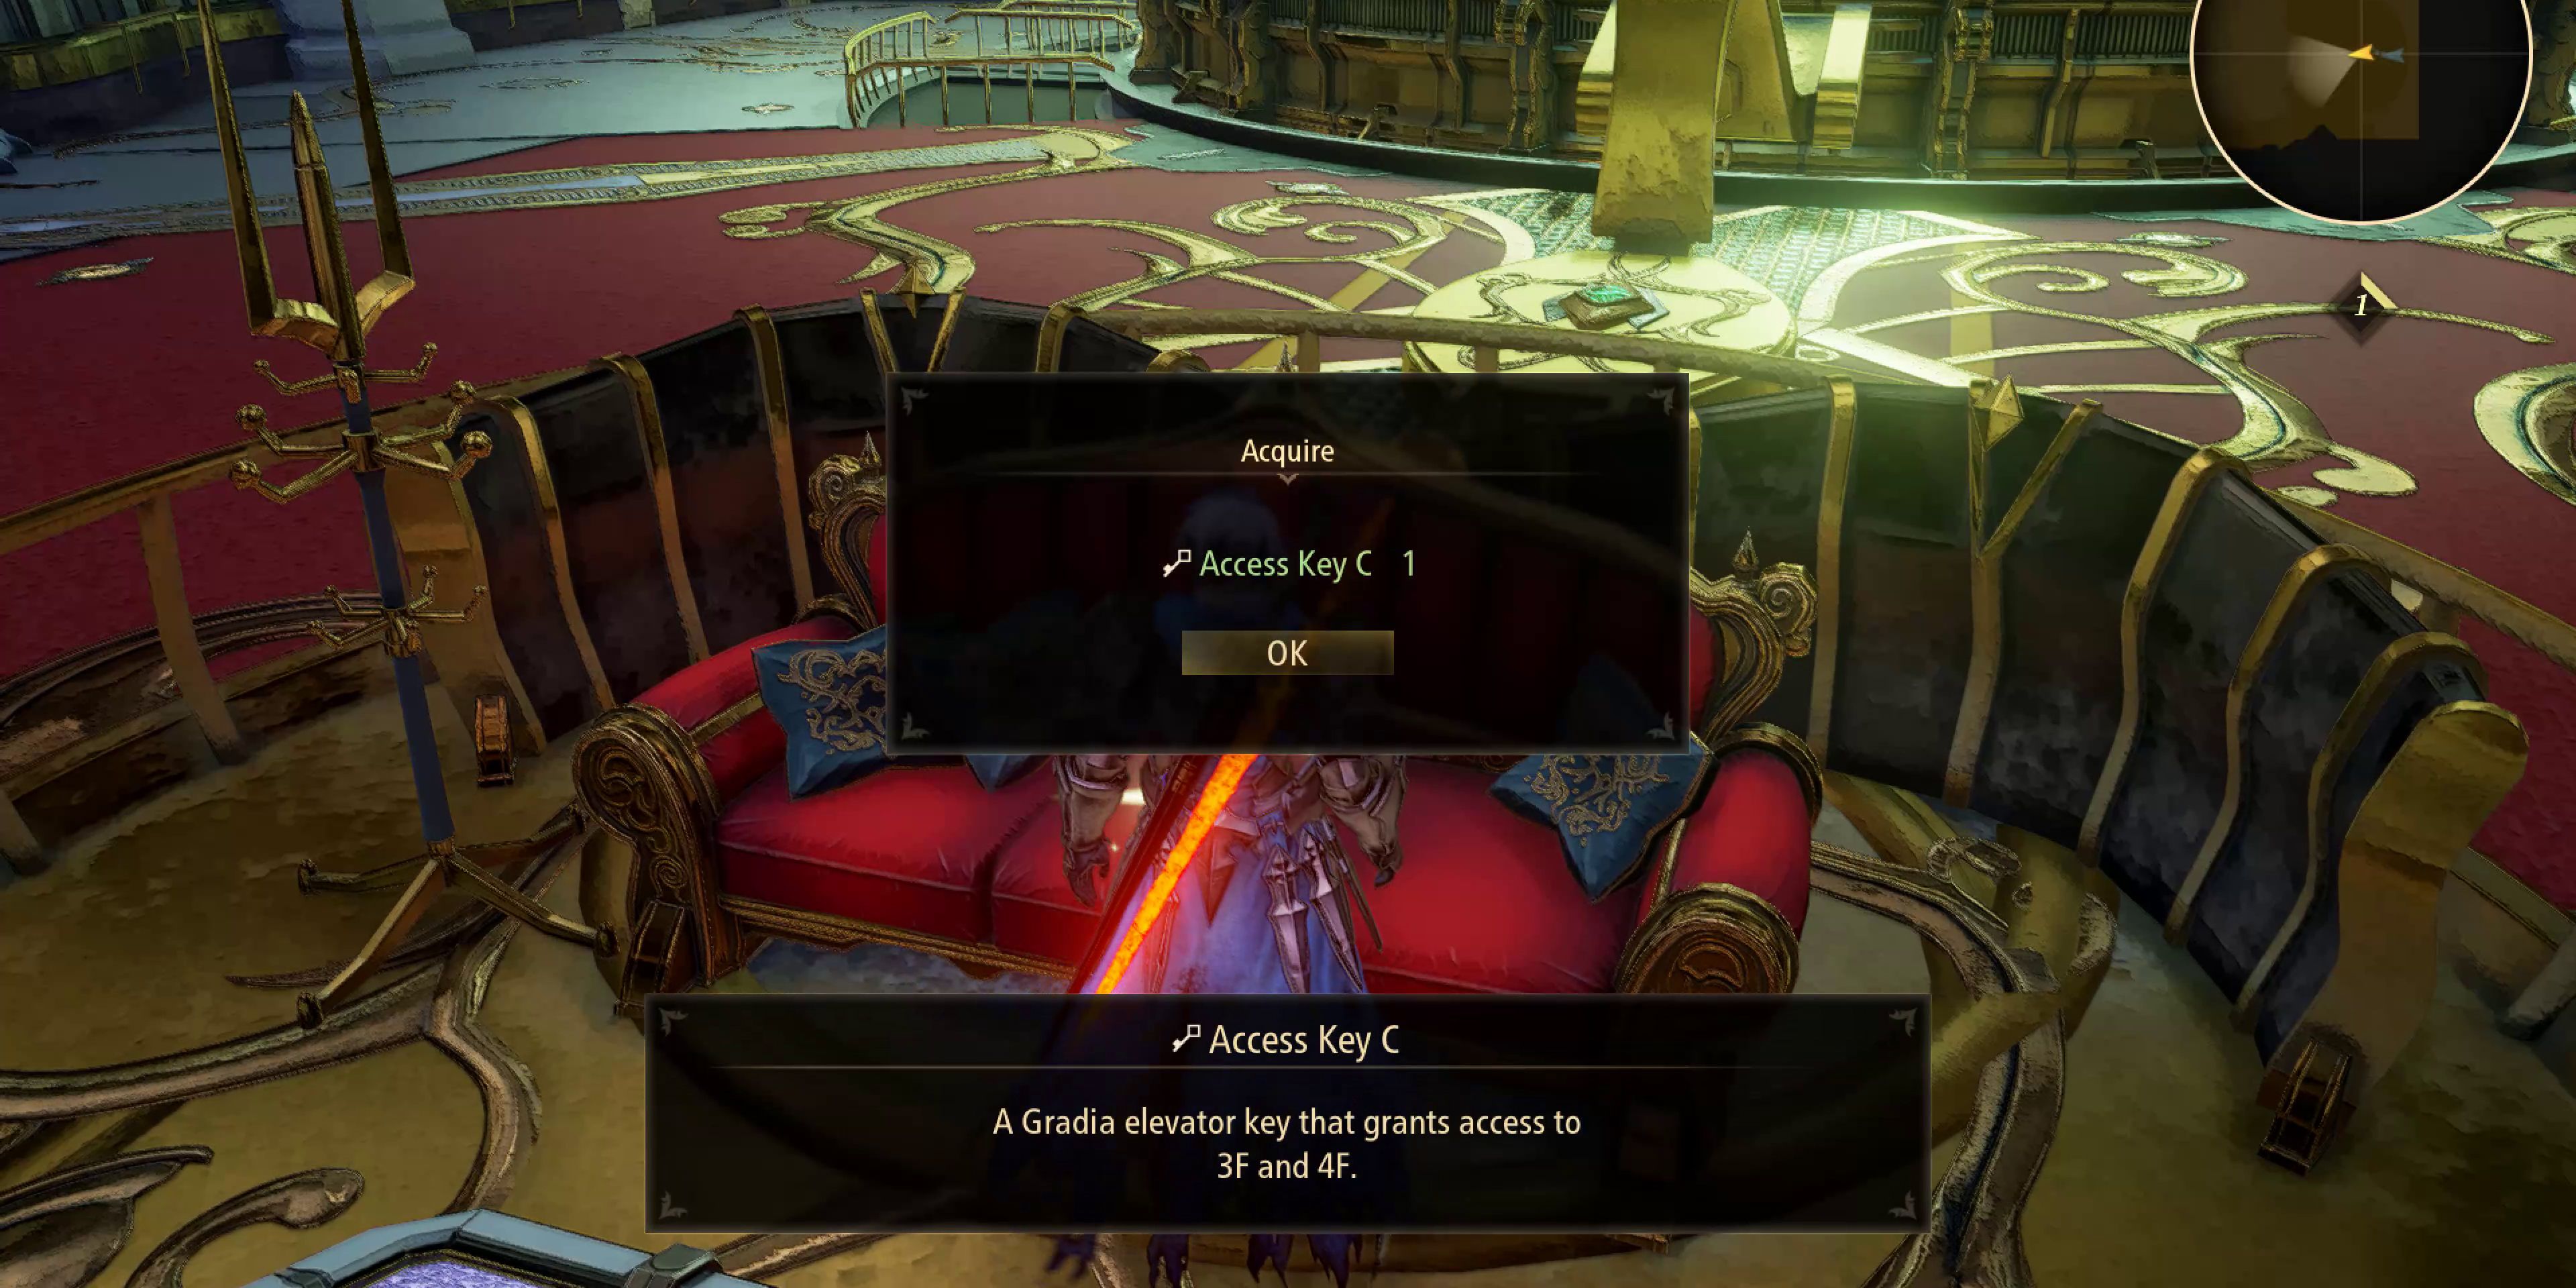
Defeating the enemies near the quest marker will grant players access to the Lord's Quarters, where they'll find Access Key C sat on a lavish red couch. Despite the room's huge size, there's nothing else to do in here other than getting the access key, so it's back to the elevator and up to the fourth floor.
Ship Interior Level 4
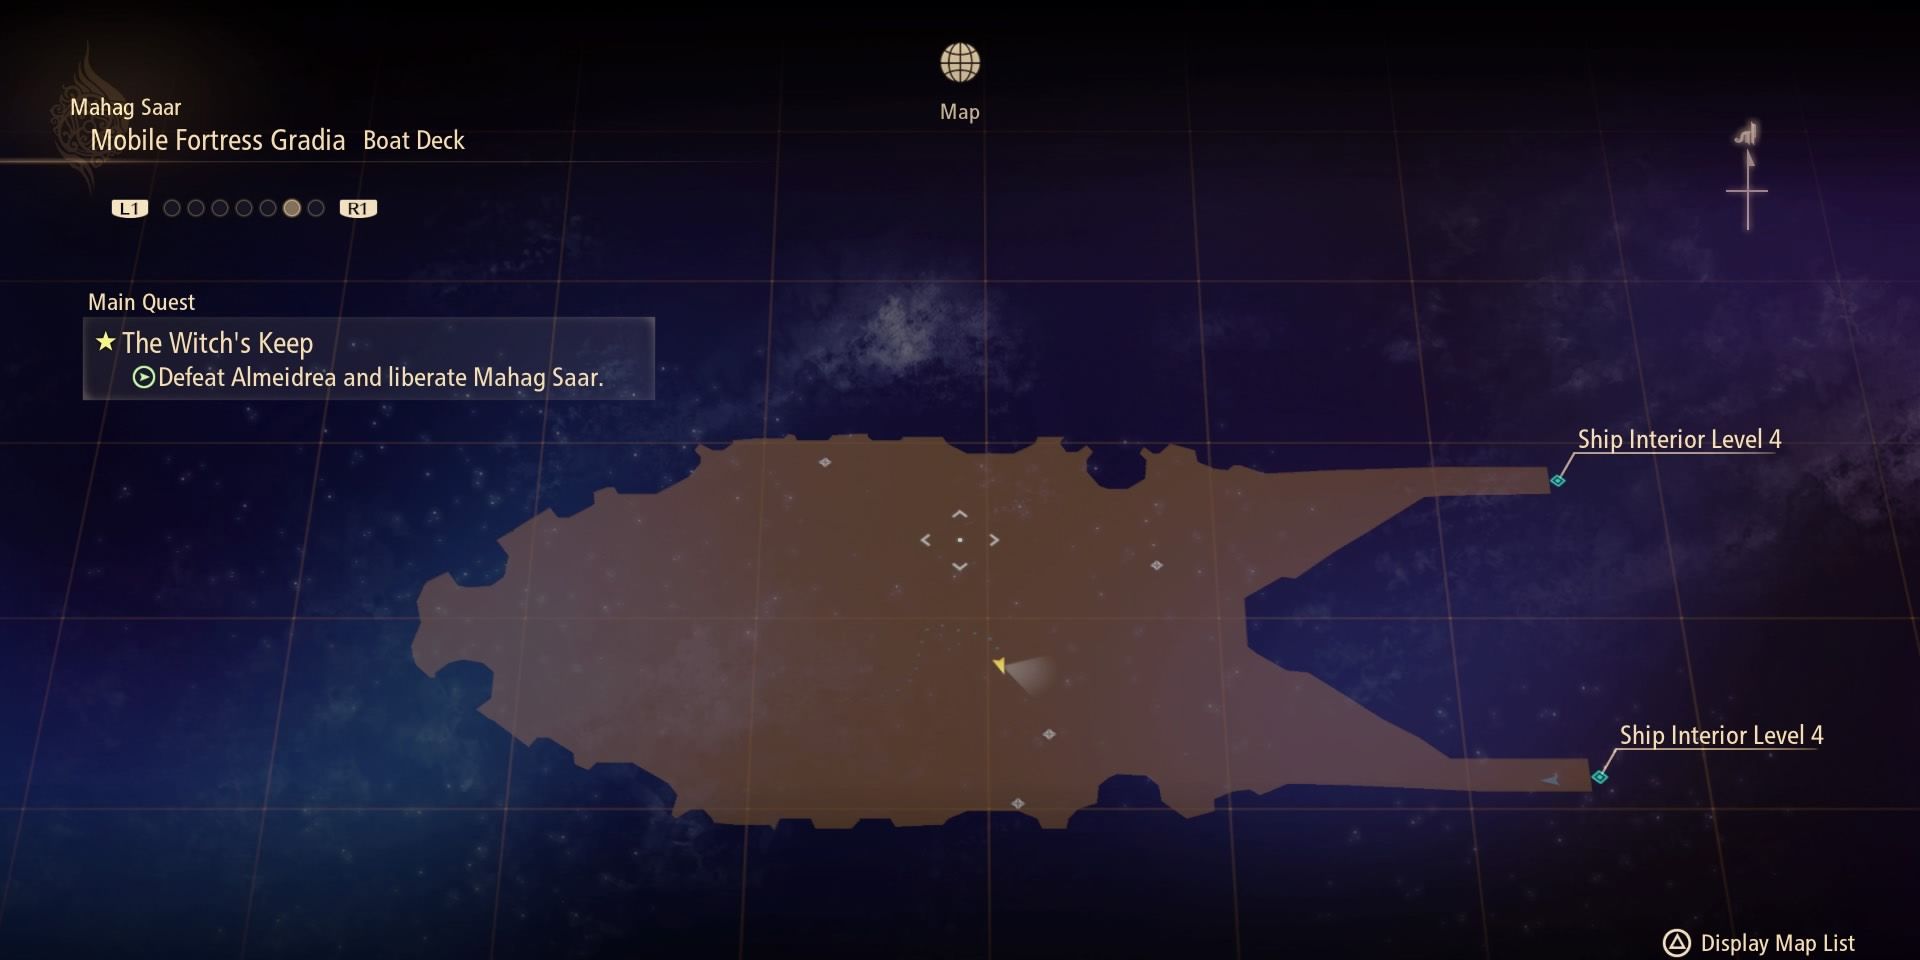
Upon their arrival on the fourth floor, players should follow the path to reach the Boat Deck area. Here, they'll find chests containing Gald, food, and healing items as well as a red one with Alphen's Knight Armor inside. It's a bit of a maze, but by sticking to the outside edge and working their way around, players should be able to find everything without too much trouble.
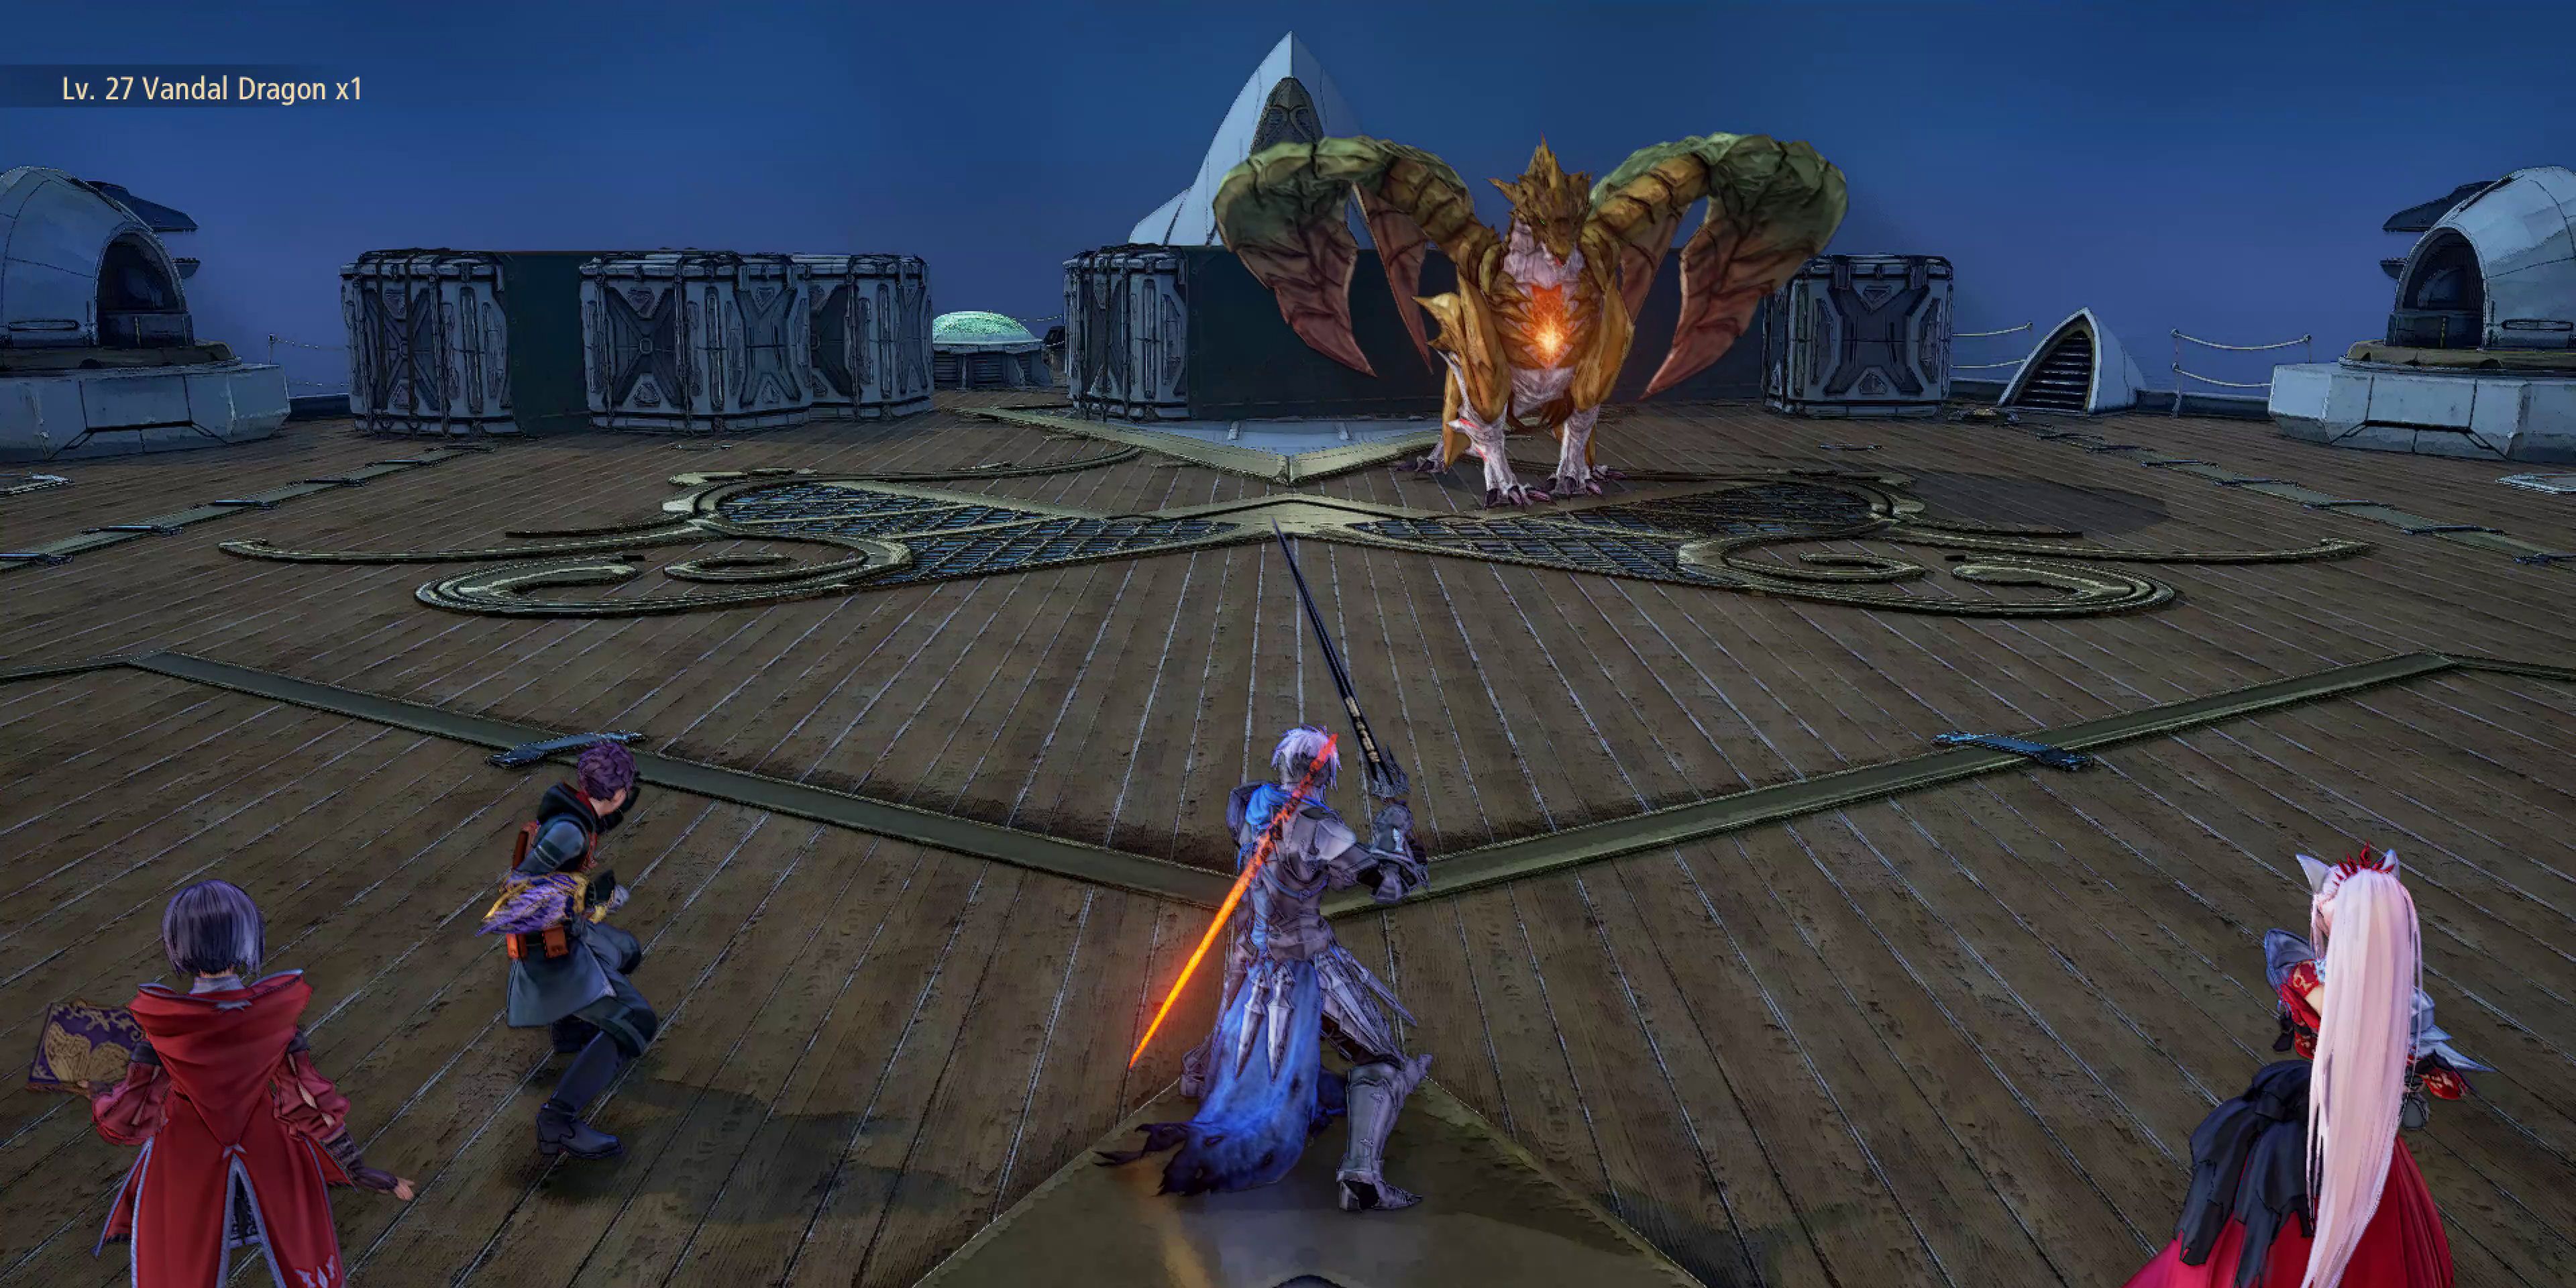
After collecting all of the items, it's time to approach the sleeping Vandal Dragon, which can be found over towards the ship's bow. It's a fairly tough battle, but by breaking the orange core on the Zeugle's chest, players can trigger a prolonged break period and get in a lot of damage.
|
Boss Tip: Disabling computer-controlled party members' non-water elemental Artes in the menu will force them to attack the Vandal Dragon's weakness. |
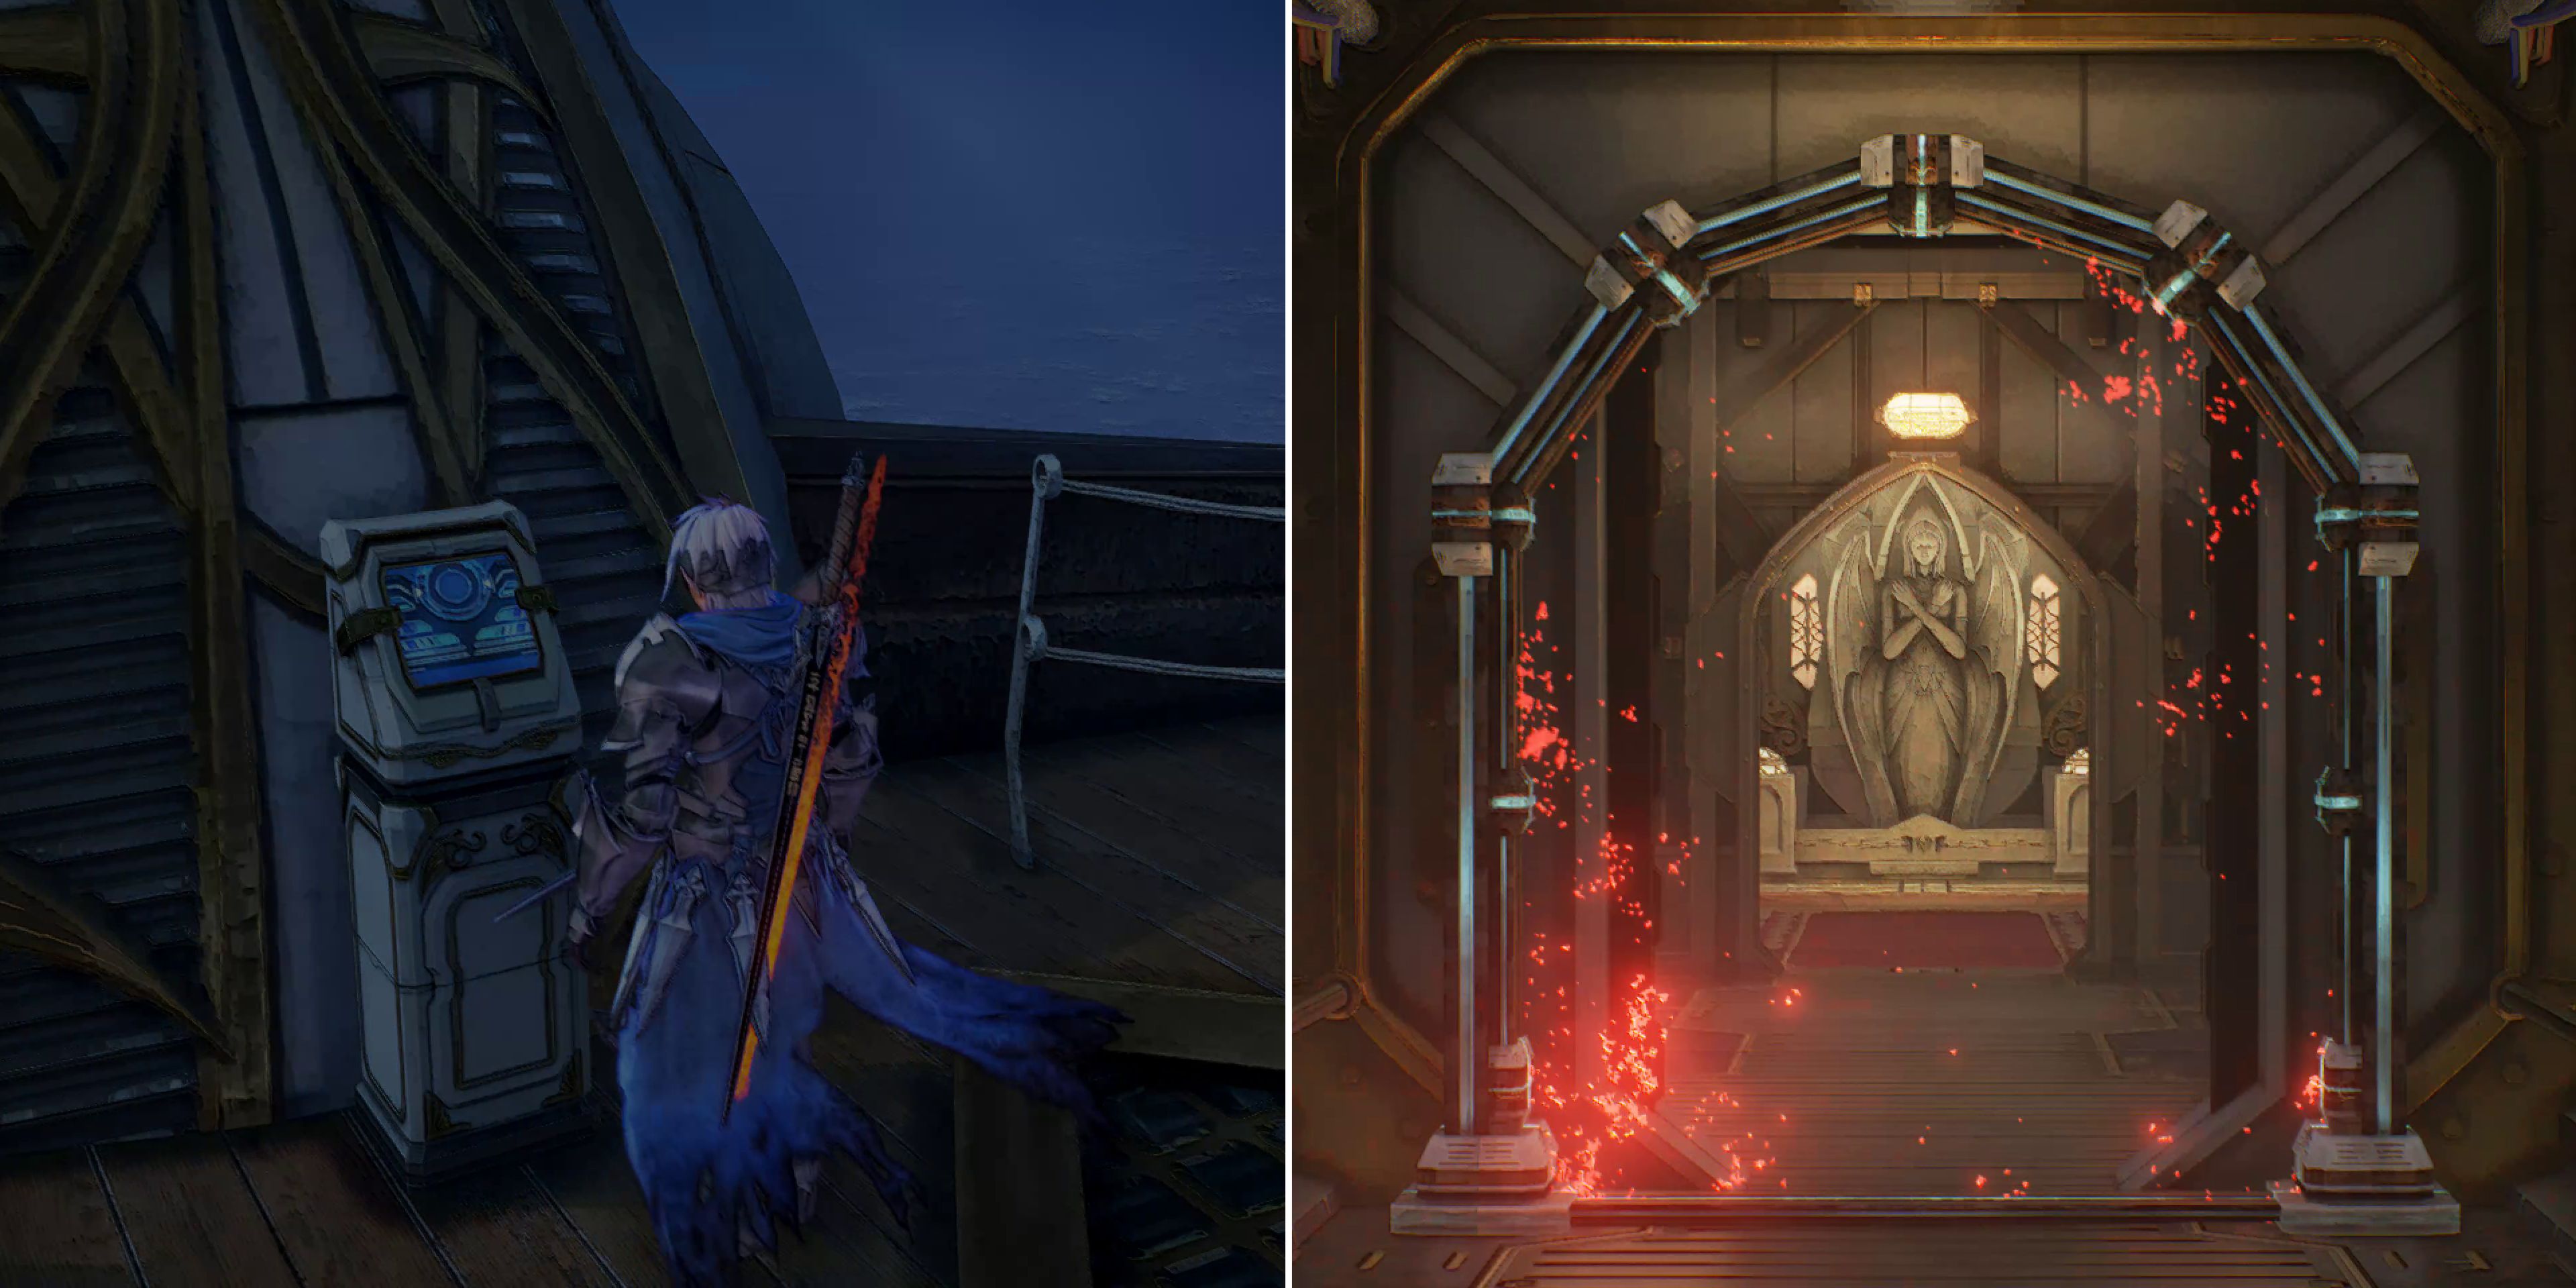
Once the dragon has been slain, players can use the terminal that it was guarding to remove a red barrier on the level below. Now, with that all taken care of, it's finally time to visit the ship's third level and confront Almeidrea over the mass genocide she just committed in Niez.
Ship Interior Level 3
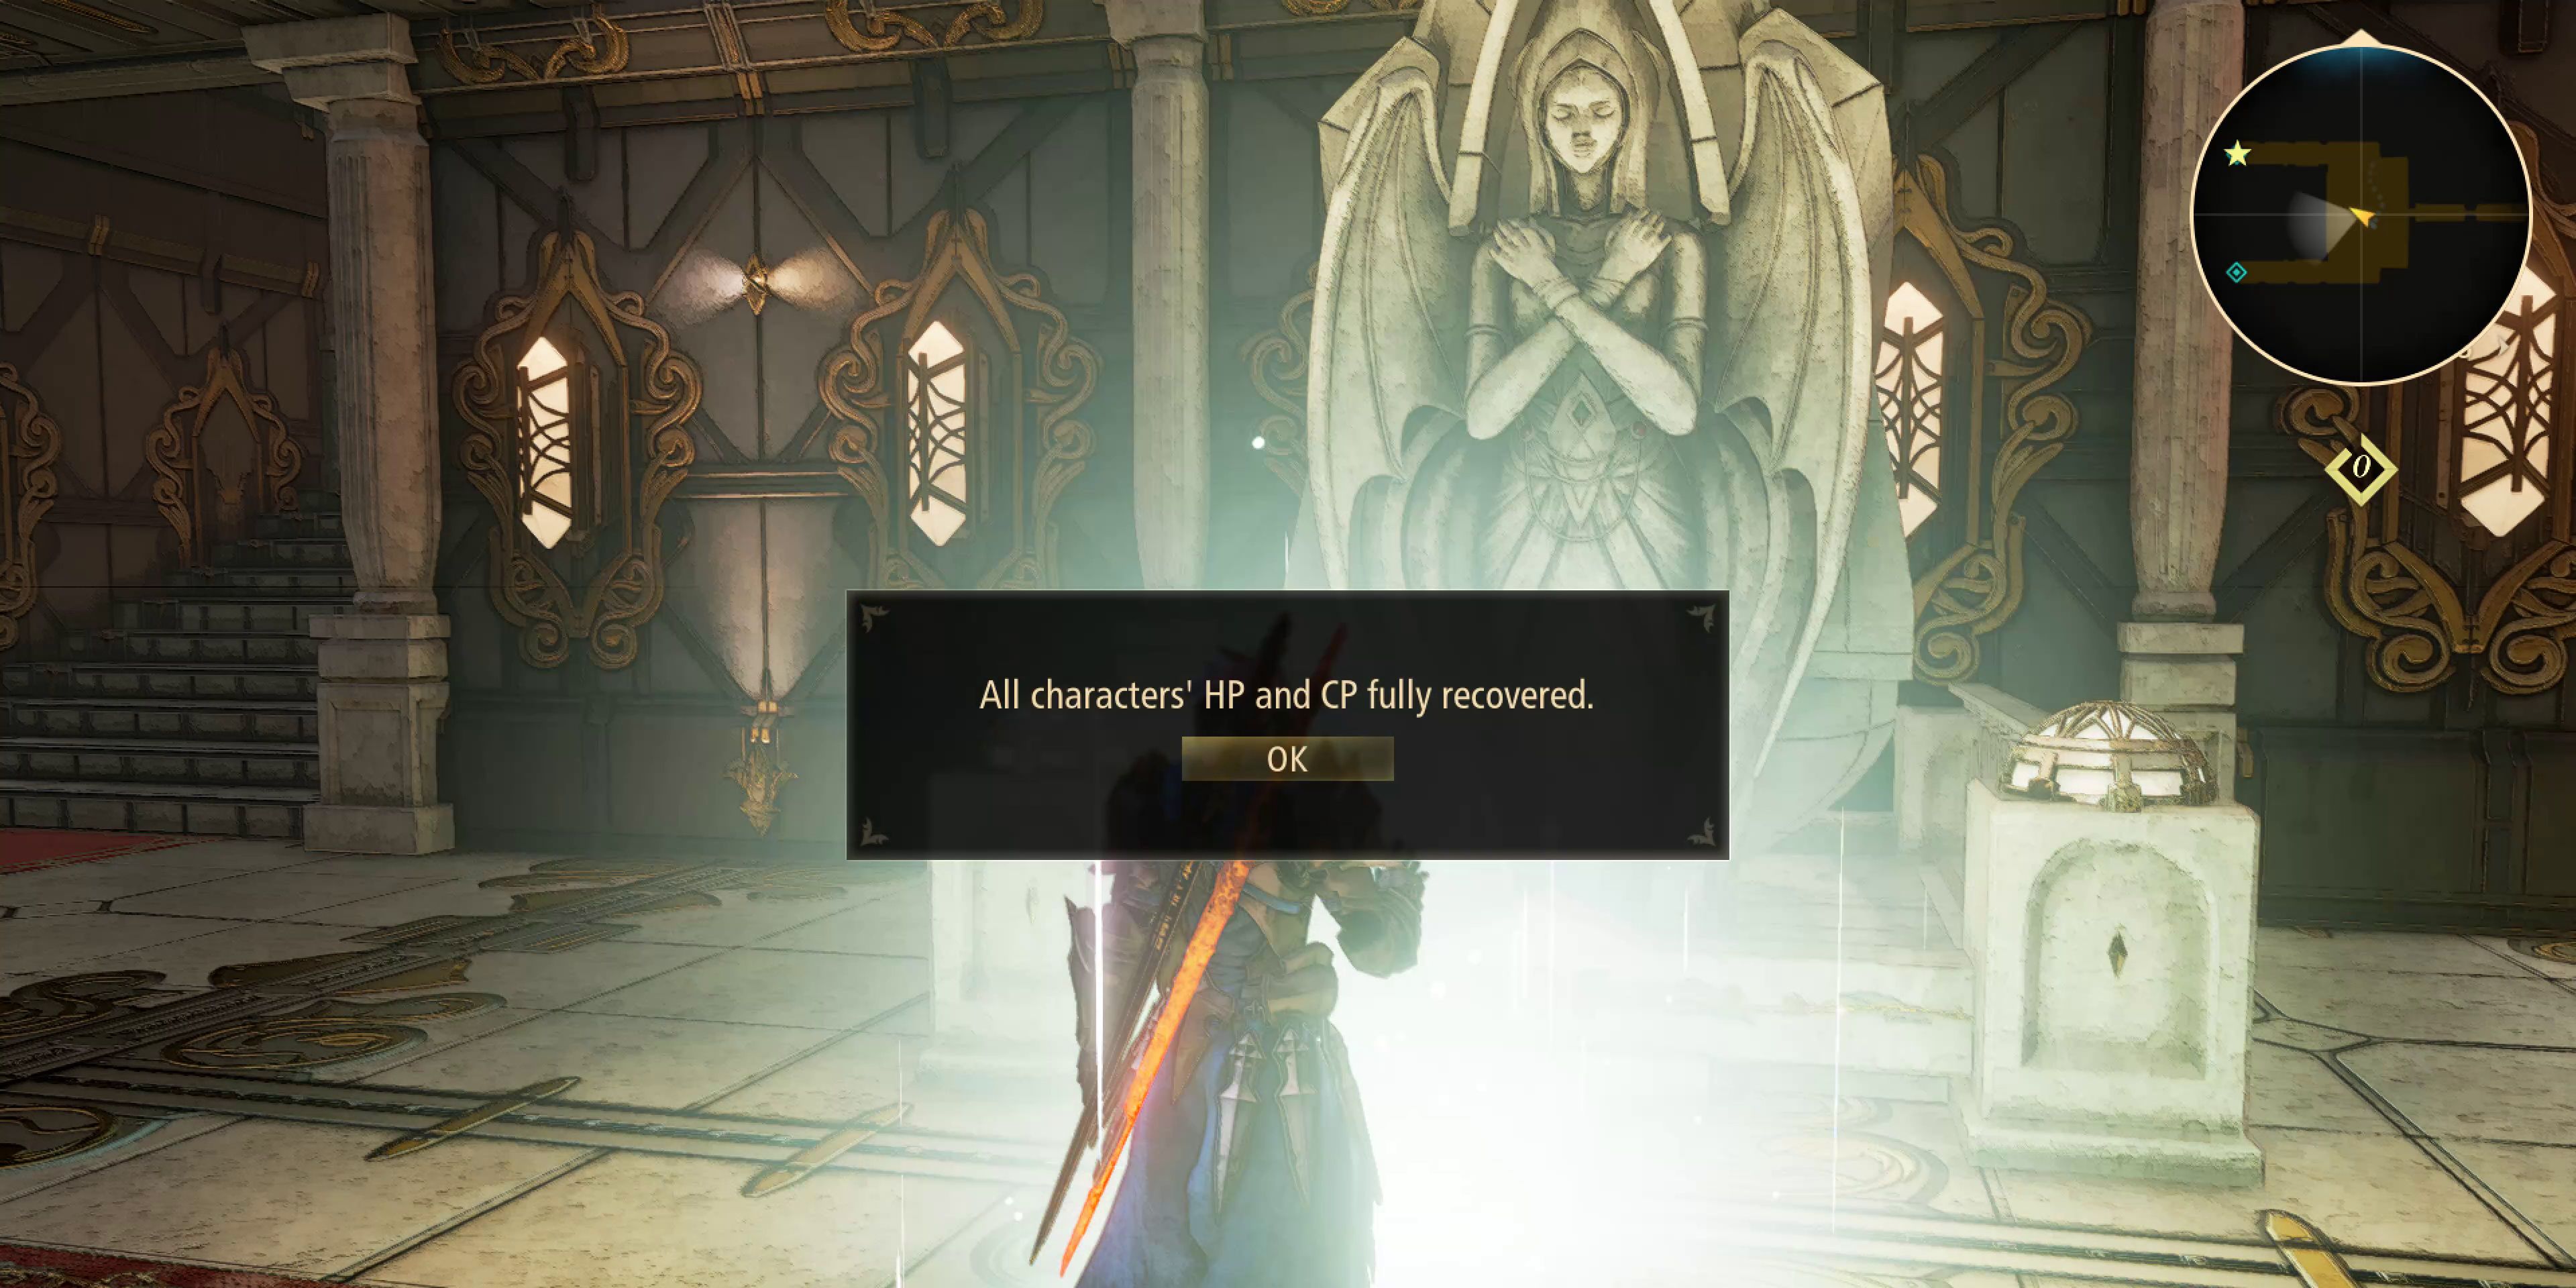
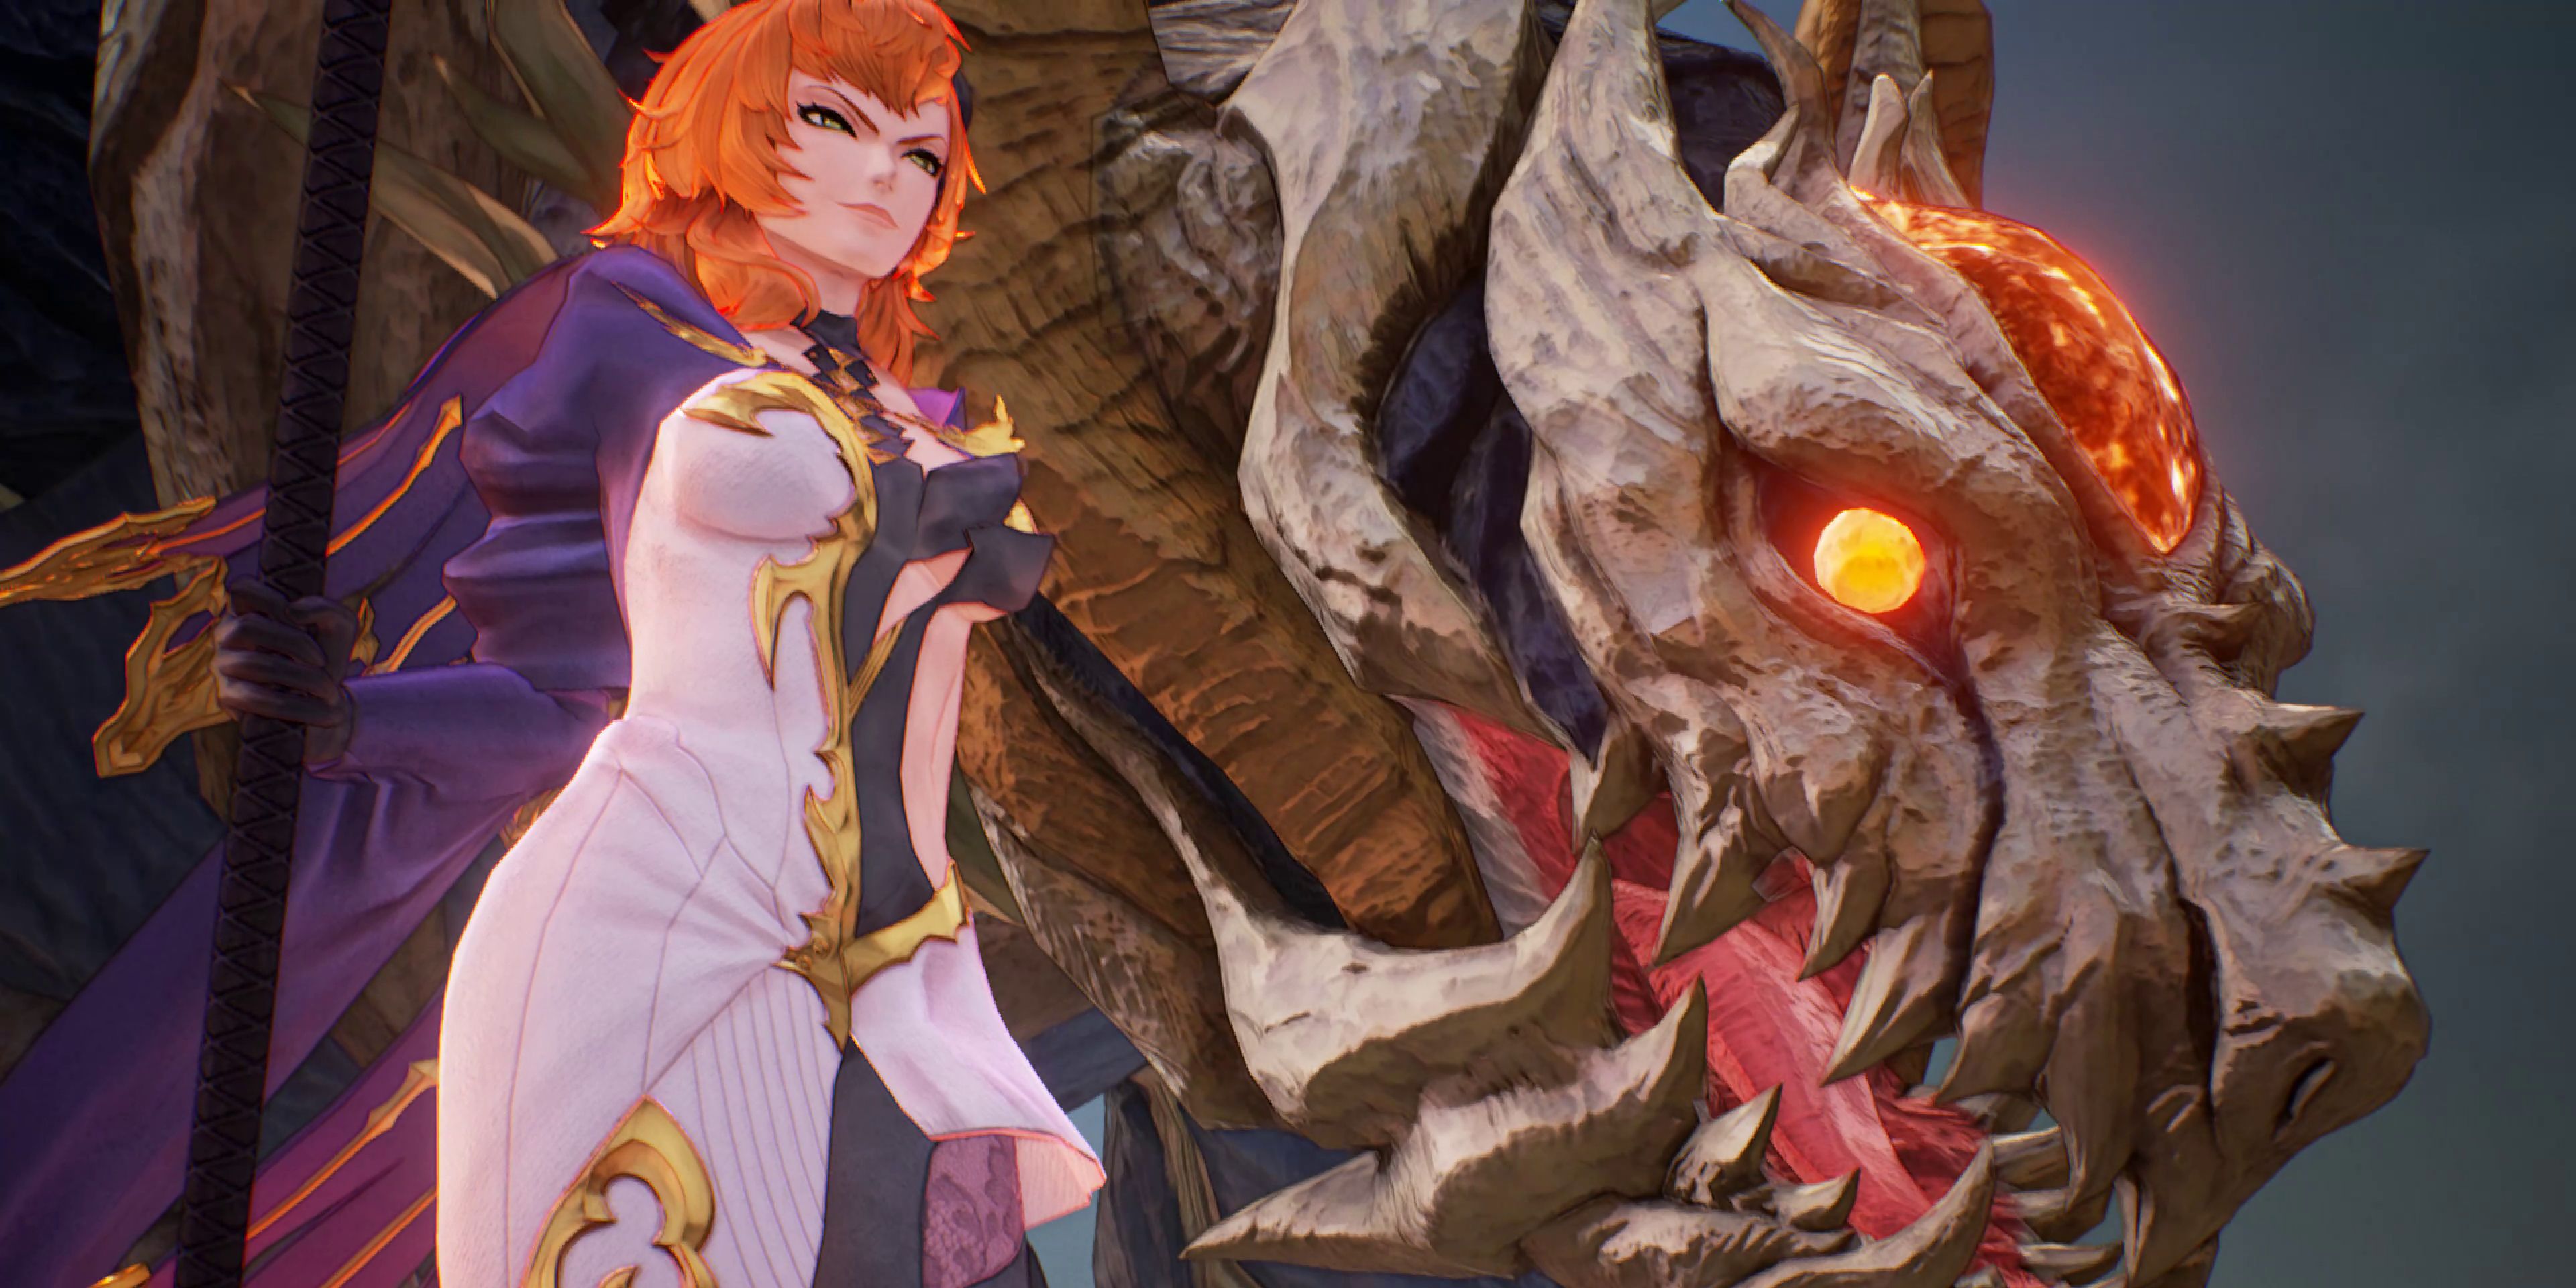
Upon their arrival on level 3, players will find themselves faced with a straight path that leads to a statue and a healing light. After restoring everybody's HP and CP, taking either of the doors will lead to another deck area where the Almeidrea boss battle takes place. She's not alone though, with the Mahag Saar Lord riding atop a giant Zeugle called Mesmald.
Lord Almeidrea & Mesmald Boss Fight
Mesmald spends a lot of the time up in the air, so dealing damage with Alphen isn't always easy. His Lightning Thrust Arte can come in pretty handy in this regard though, as too can Luna Rondo if players have it unlocked. When it does land, Reigning Slash can dish out well over 1,000 damage per hit, so should be used as often as possible whenever Mesmald is on the ground, particularly if players are able to break either of the cores on its head or tail.
|
Boss Tip: Mesmald's God's Breath attack only targets the active party member, so players should get as far away from other party members as possible until the green cyclones have stopped. |
At 50% HP, the party will be able to perform a Special Boost attack and Almeidrea and the beast's HP bar will split into two. Though both can be attacked, players should continue to focus their efforts on Mesmald, as defeating the Zeugle is the key to winning the battle. That said, players should keep their distance when Almeidrea uses her Chaotic Disaster Mystic Arte.
Once Mesmald's HP drops to 1, players will get a prompt to use Rinwell's Boost Strike, which will stagger Almeidrea. Straight after this, players should get another prompt to use a special Boost Strike, which will finish off Mesmald and send the psychotic Lord tumbling down to the ground. After that, players can sit back and enjoy the cutscenes, which provide some much-needed information about the mysterious swordsman that the party encountered earlier on.
Where to Go After The Mobile Fortress Gradia
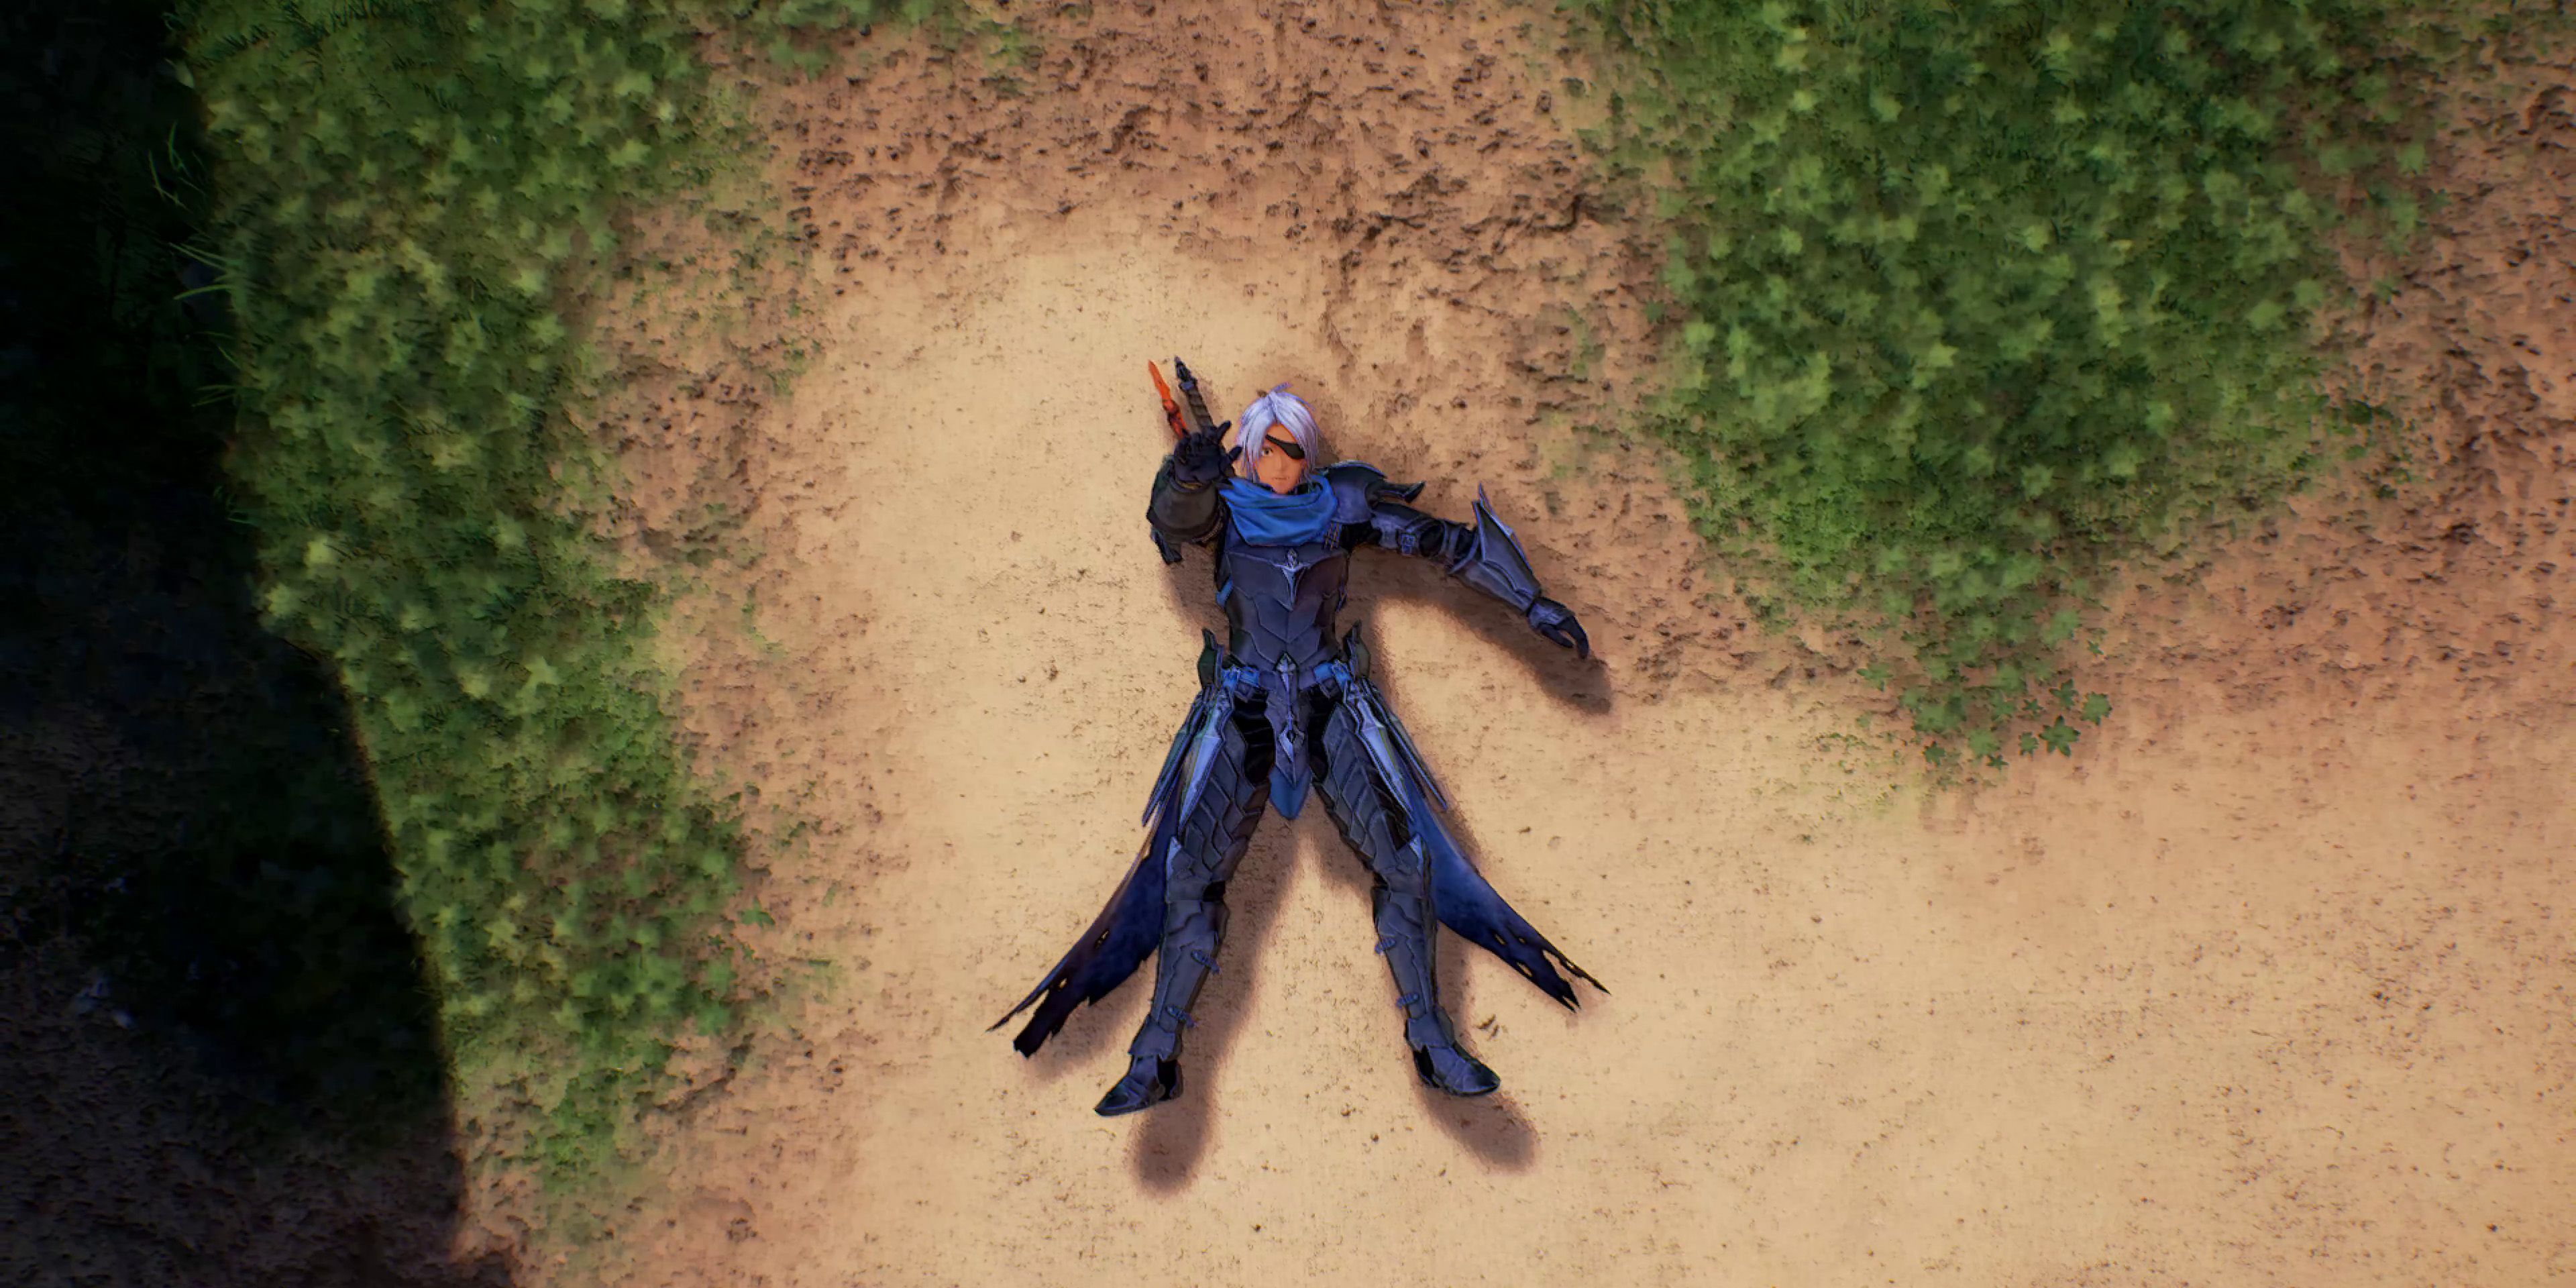
When players next gain control of Alphen, they'll find themselves alone on a small beach in the realm of Ganath Haros. They'll need to carefully navigate the Tuah Seashore towards the village of Thistlym, where Alphen will eventually reunite with the rest of the party. It's worth noting that Alphen can die on his way to the village, so players should be sure to keep an eye on his HP.
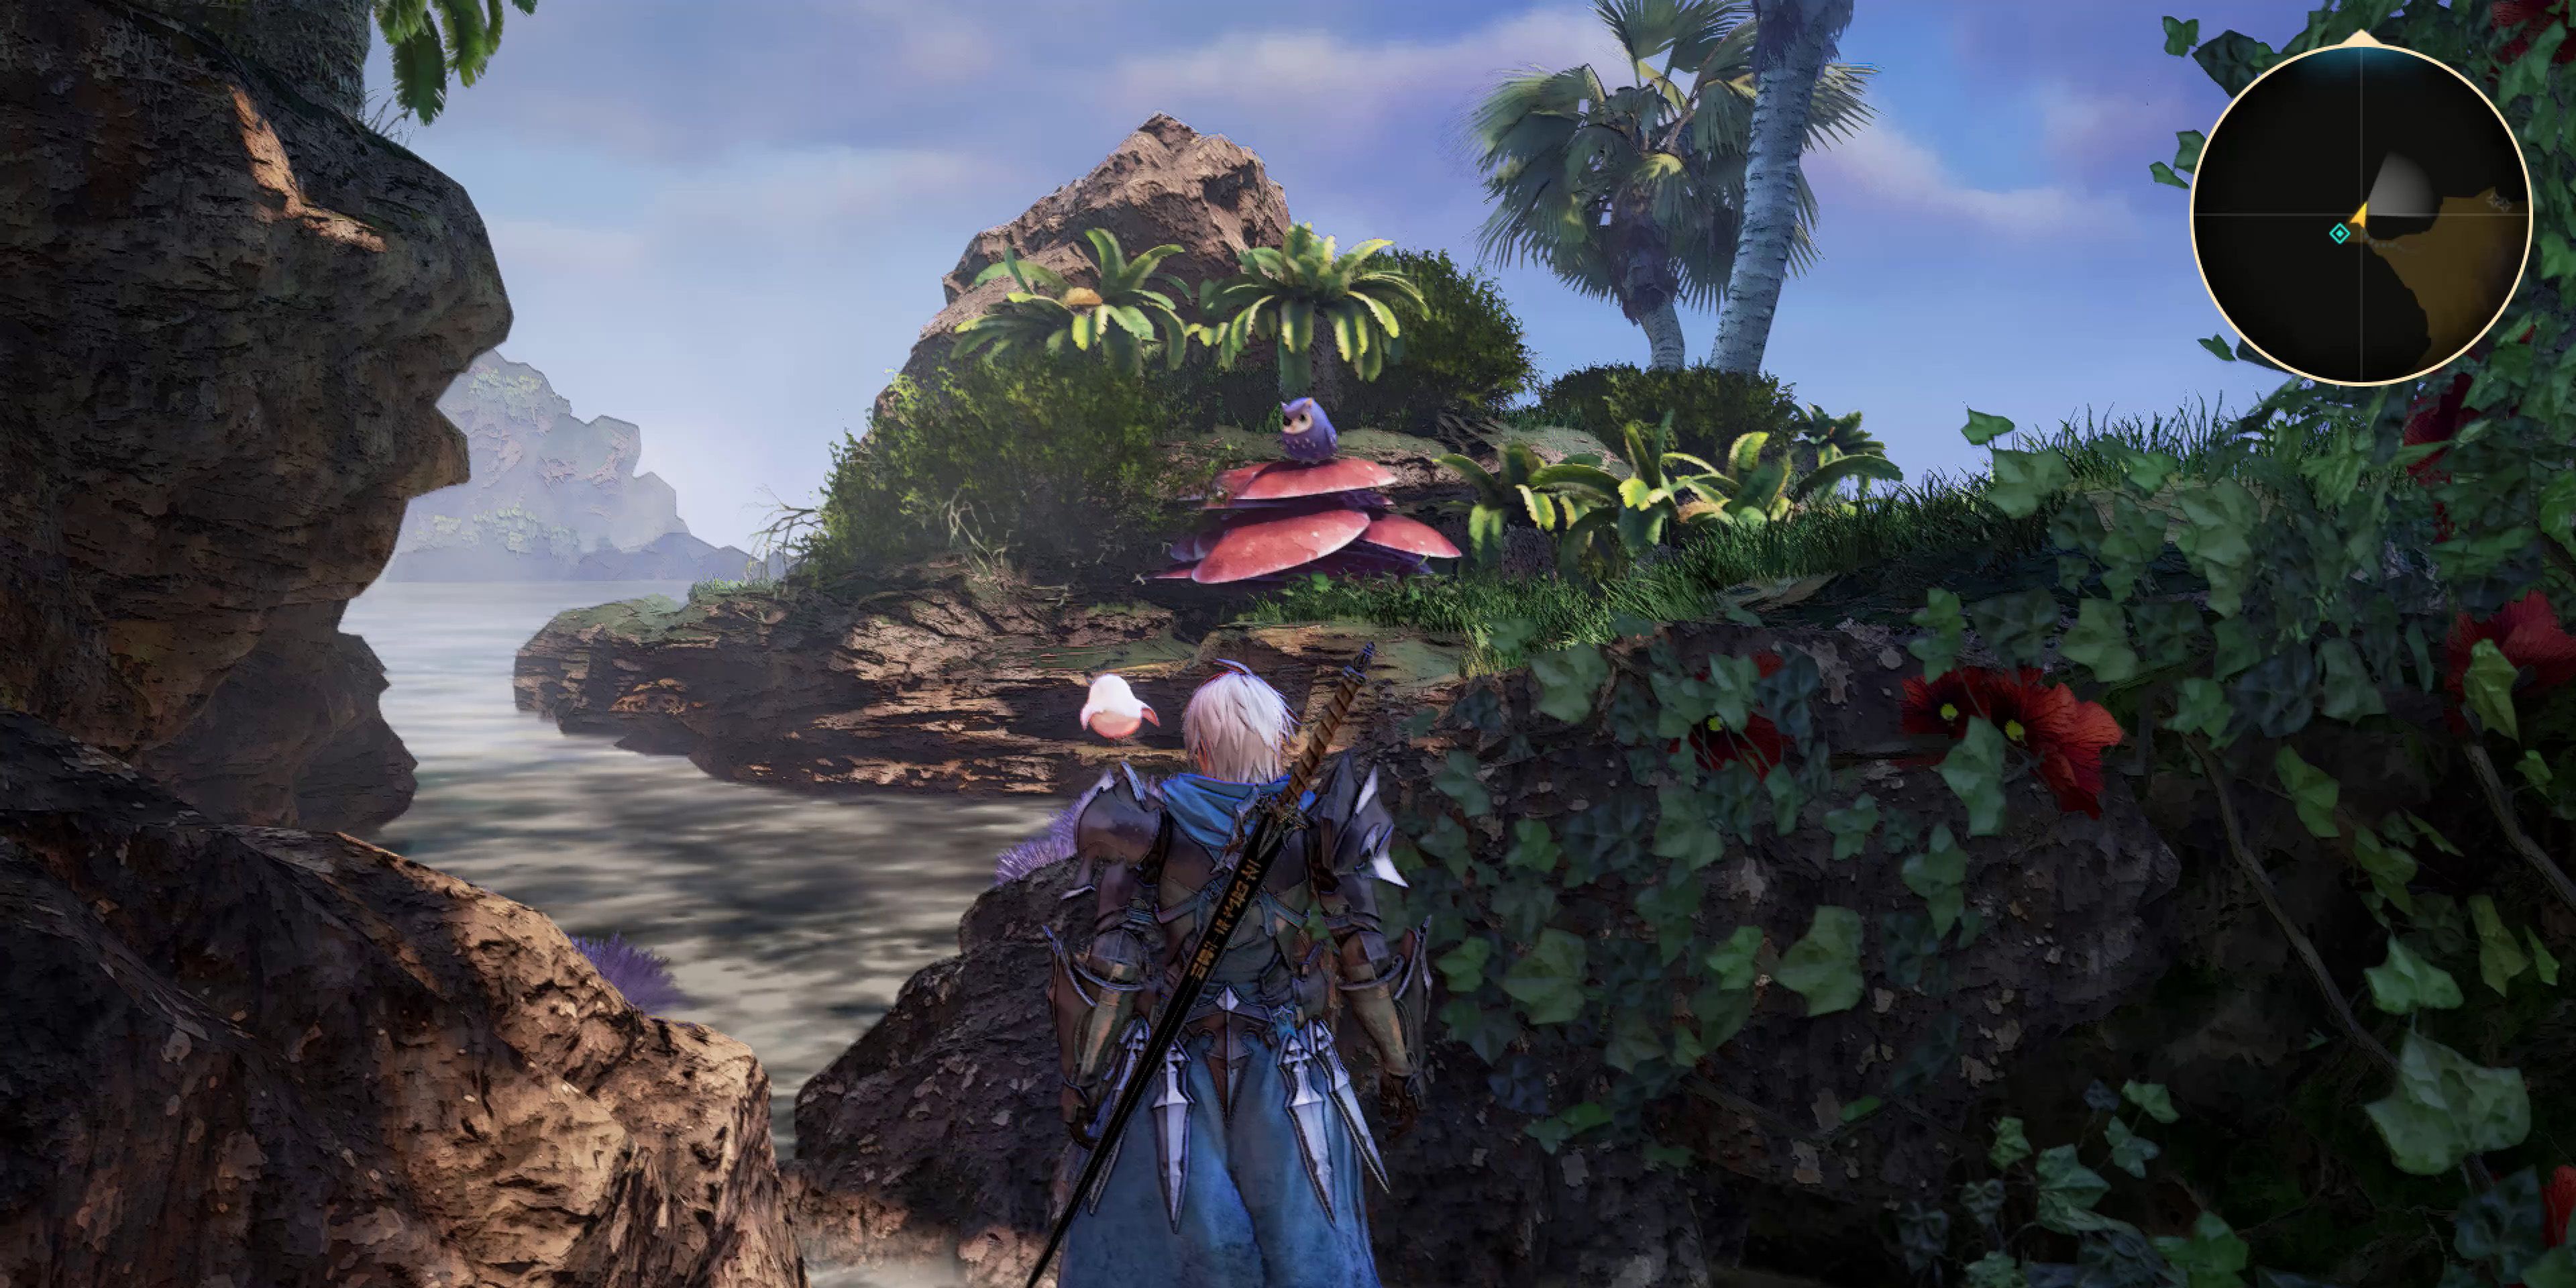
Just before leaving the Tuah Seashore area, players should look to their right to find Owl #27 sitting on a giant mushroom. This owl can only be seen and interacted with while on the pathway right by the exit, so is fairly easy to miss. After the owl has flown away, players should continue onward to Thistlym, watch the cutscenes and then defeat the monsters that show up.
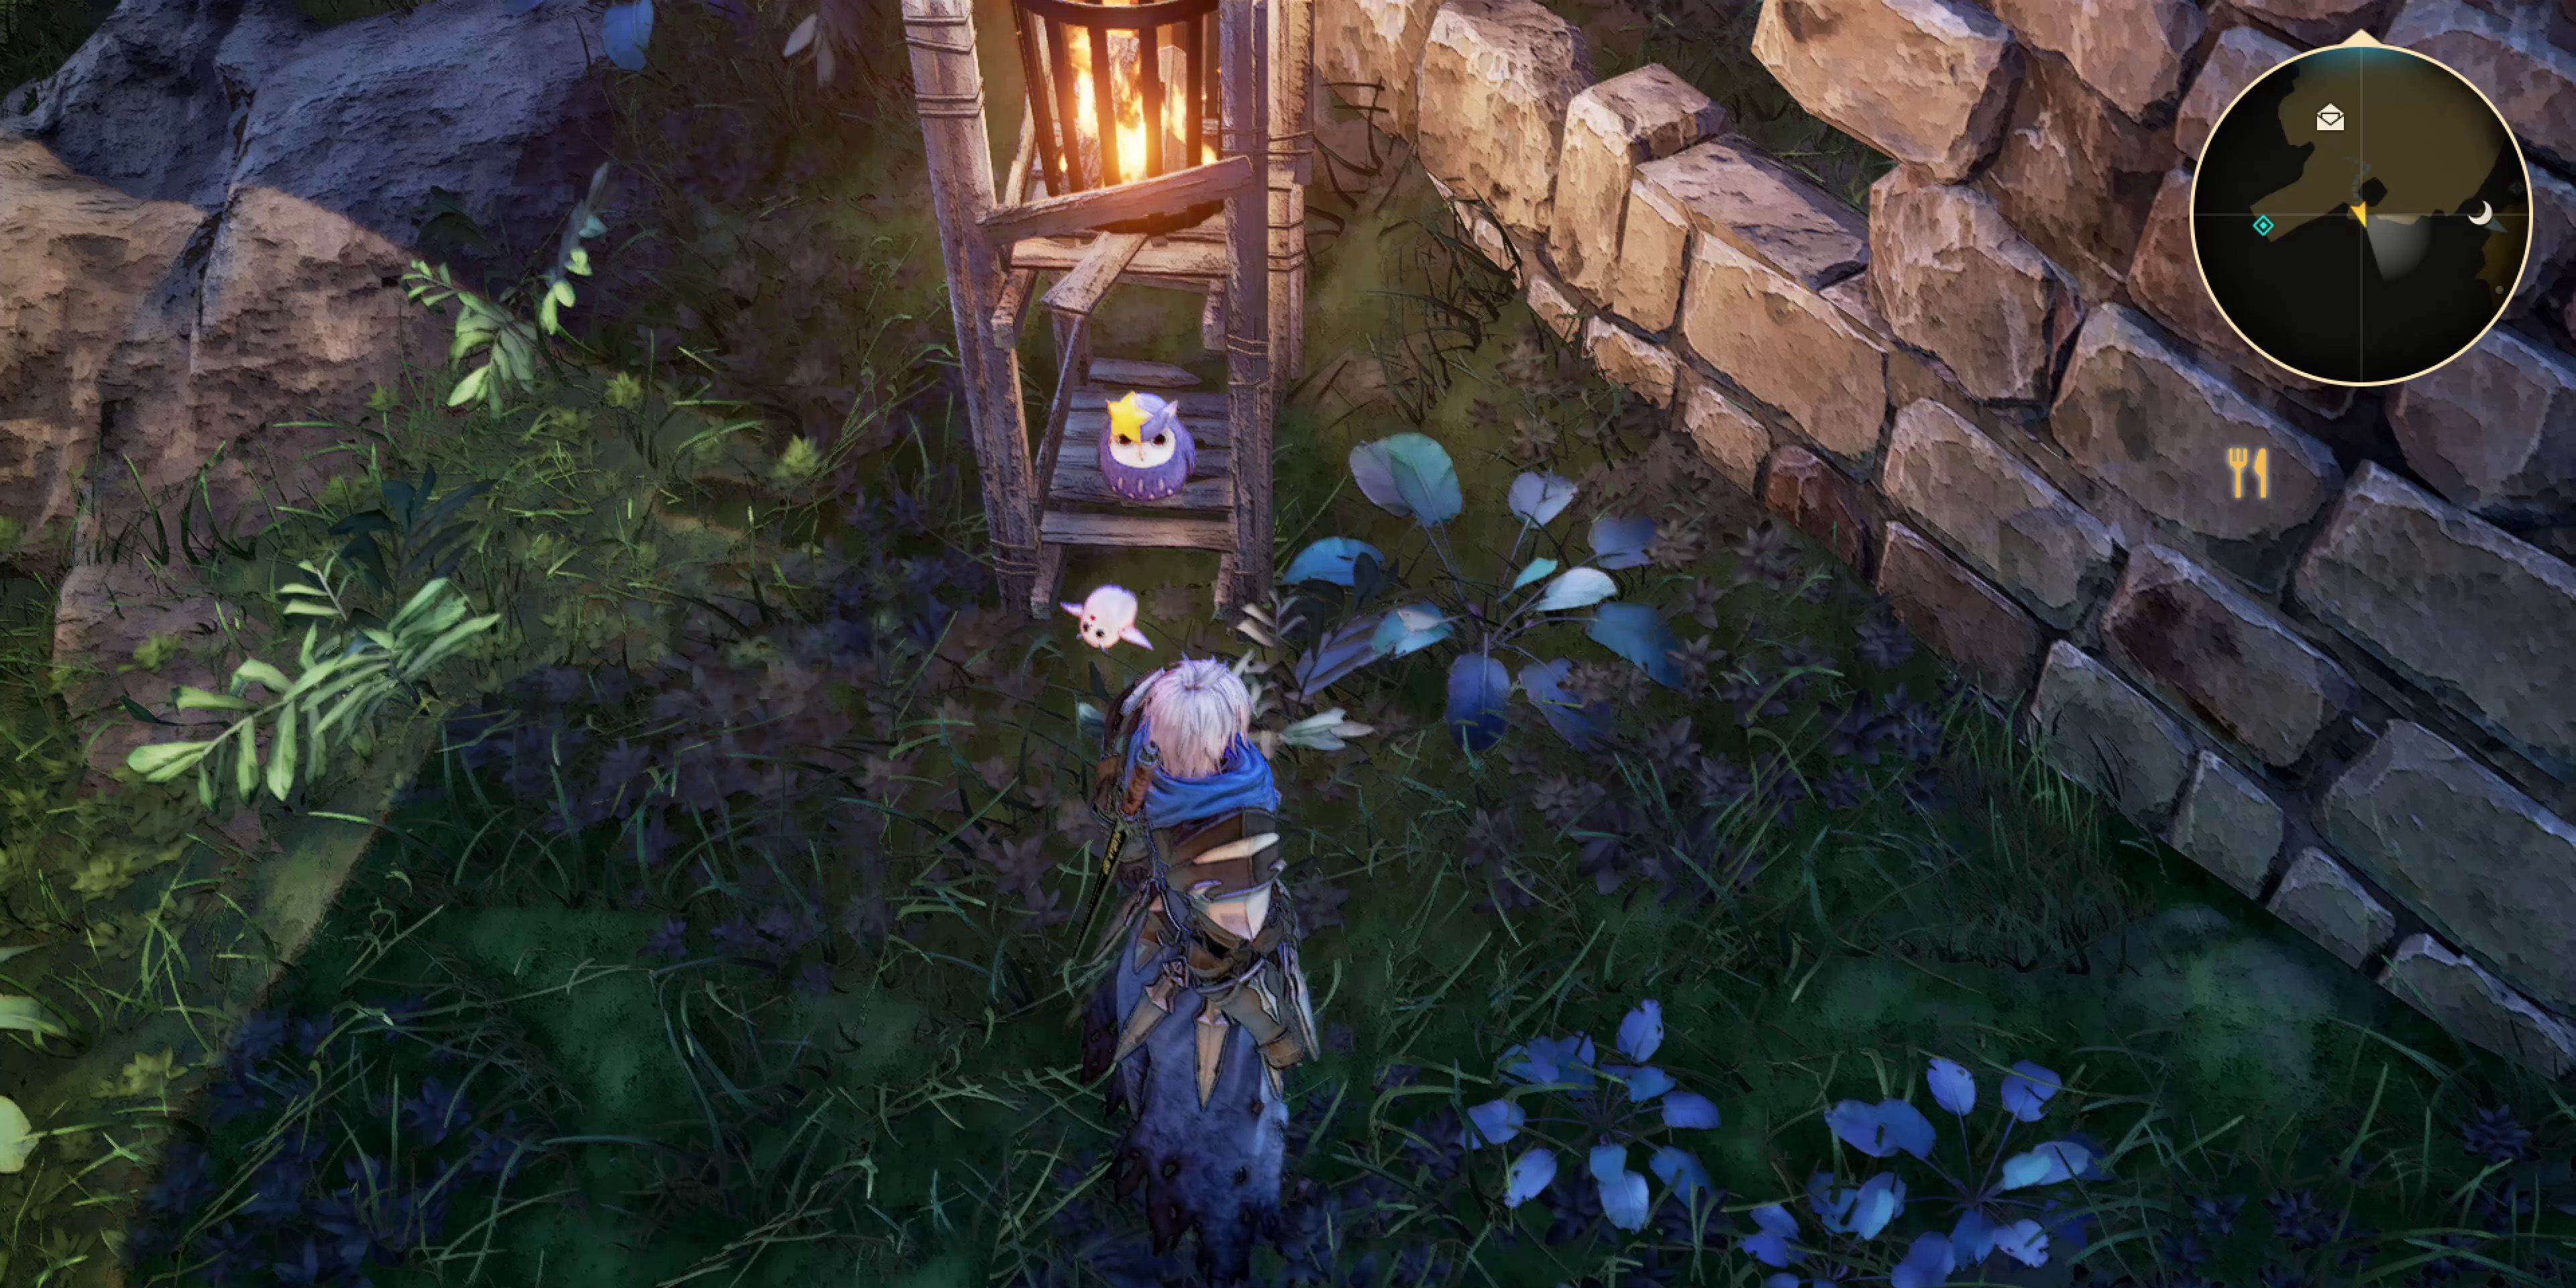
To further progress the main story, players will now need to return to the village and rest, after which their next destination will be Shinefall Woods. Before heading there, however, players should first interact with Owl #28, which can be found on the lower section of a wooden torch to the left of the Shinefall Woods exit.


