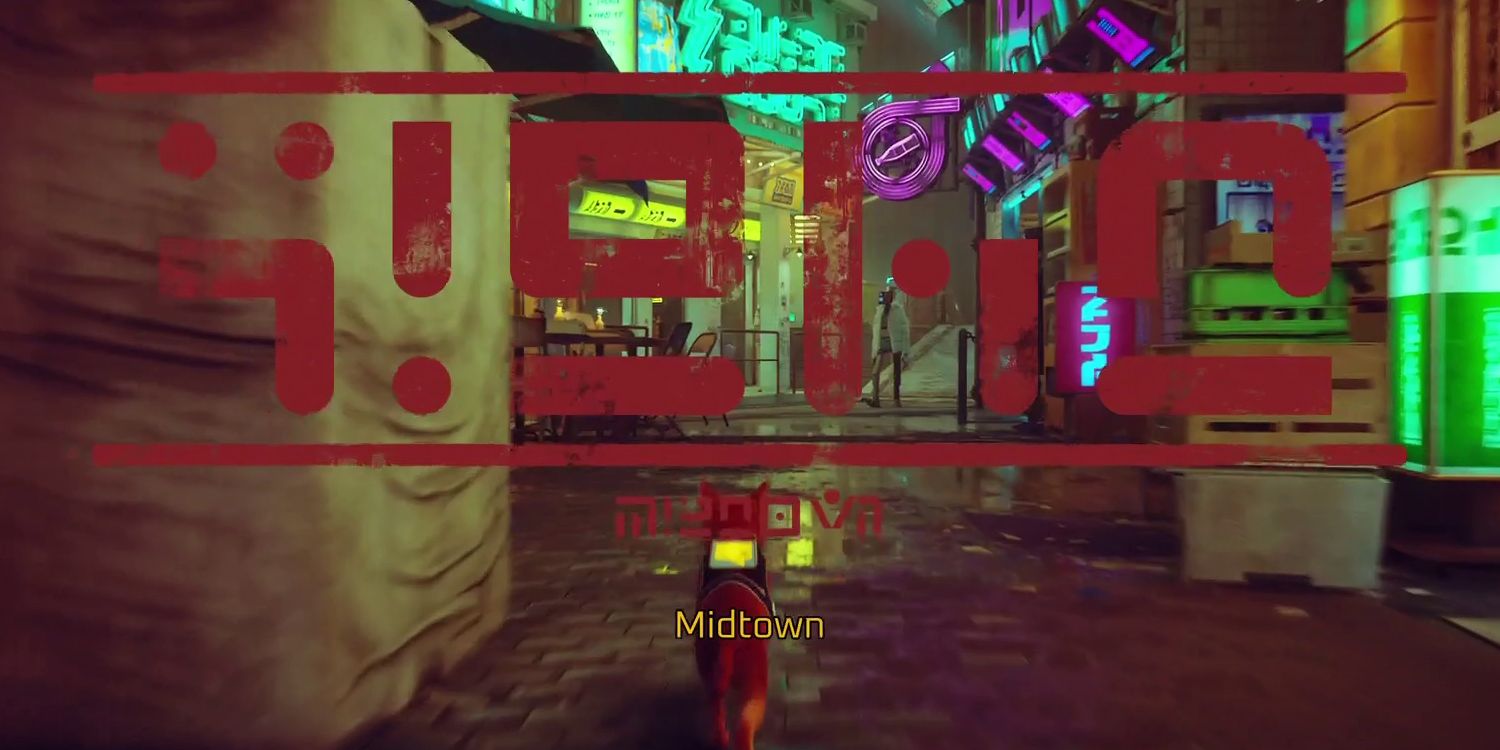
After completing the game's shortest chapter, Antvillage, Stray players will soon find themselves thrown into one of its very longest. Much like the slums before it, there are an awful lot of things for players to see and do in Midtown, in terms of both main story missions and optional side content.
When it comes to the former, players will need to find Clementine and steal an Atomic Battery from an evil organization. As for side content, there are three badges on offer in Chapter 10 of Stray, as well as seven of B-12's memories, six robots that can be nuzzled, and two miscellaneous trophies.
How to Complete Chapter 10 of Stray
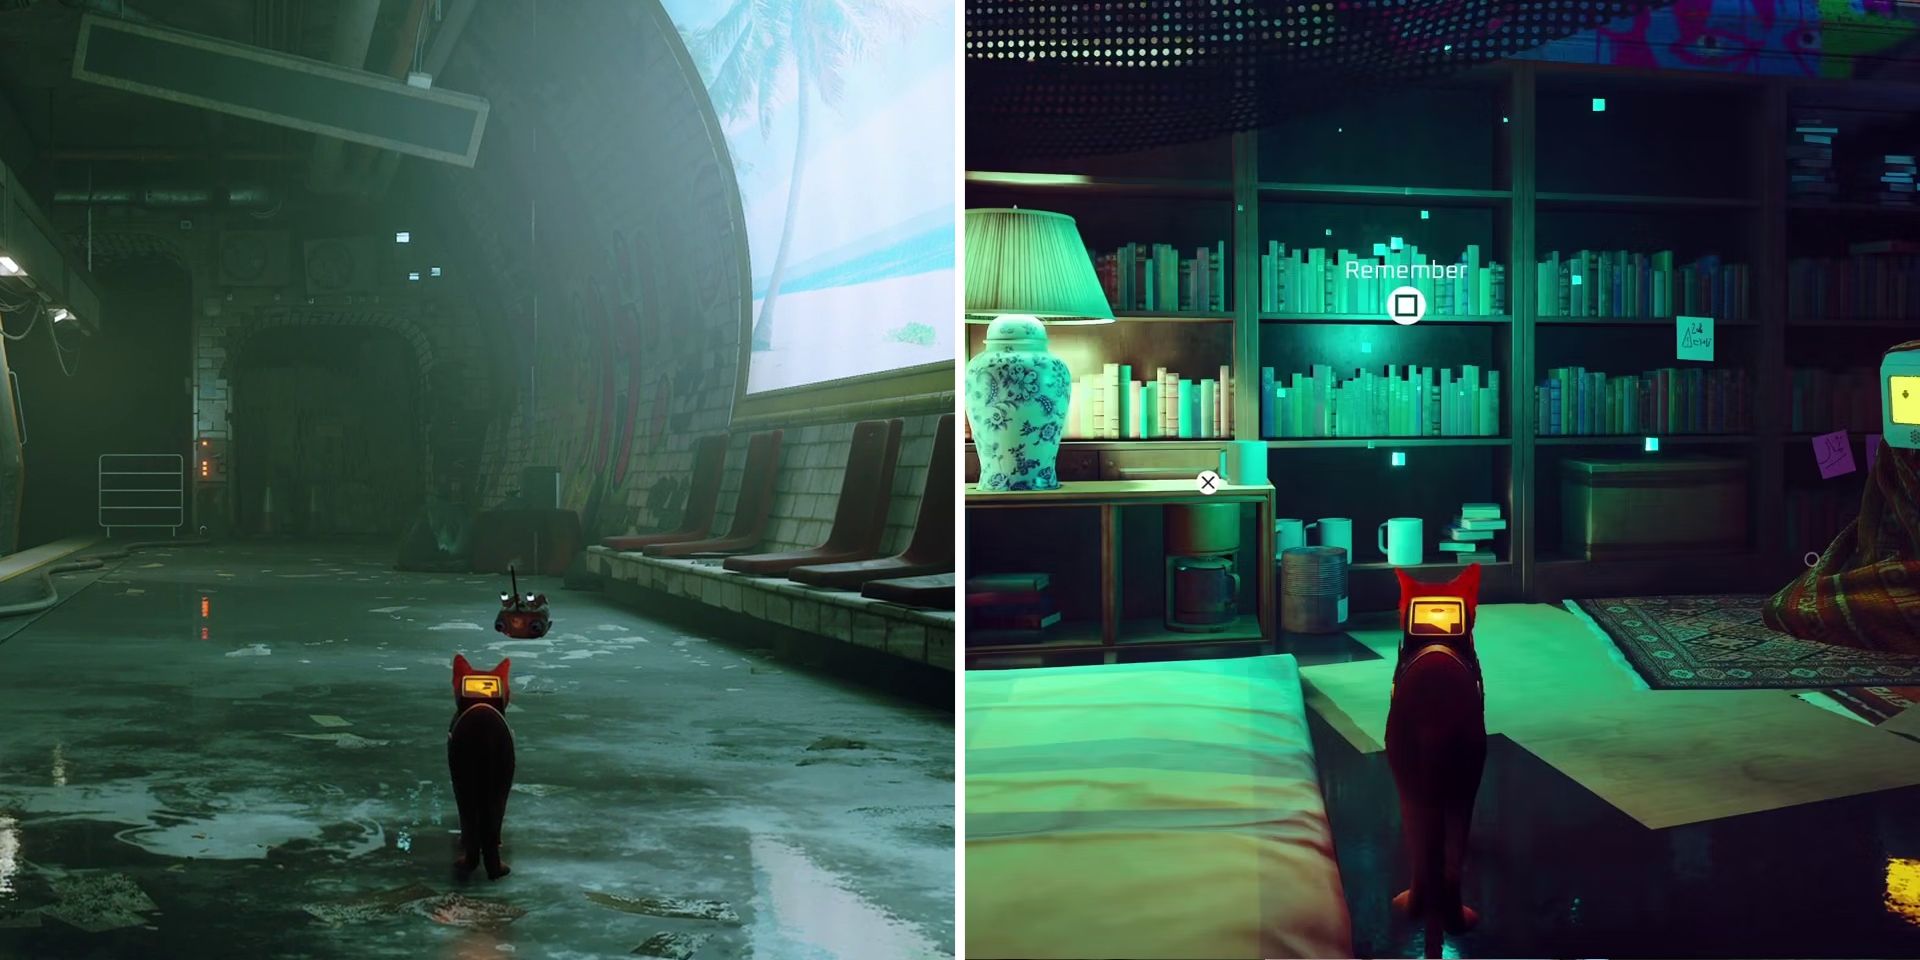
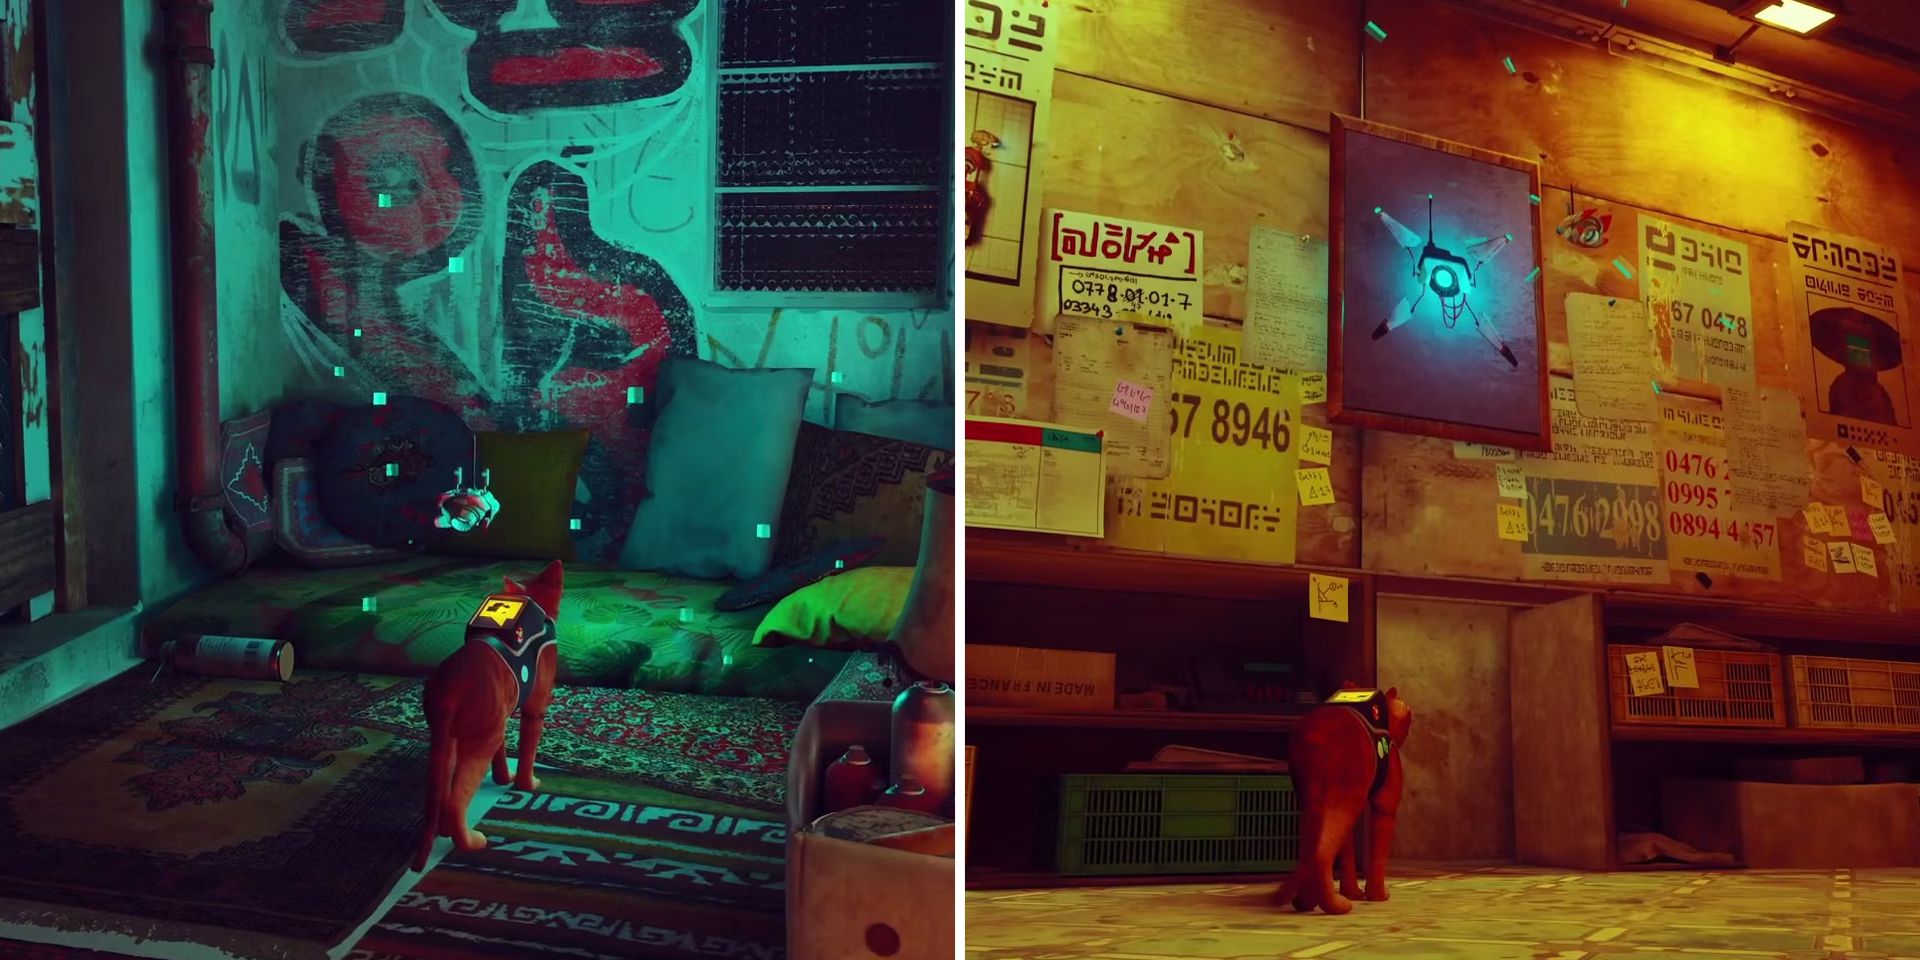
Upon heading up onto the subway platform, players will be treated to another one of B-12's unmissable memories. Once it's over, they should cross the tracks and head up the stairs to their left. Before heading through the exit in front of them, however, players should look for a robot named Ledoc sitting in a makeshift home to their right. As well as being able to nuzzle this unusual little robot, players can also trigger another one of B-12's 27 memories by examining the glowing books nearby.
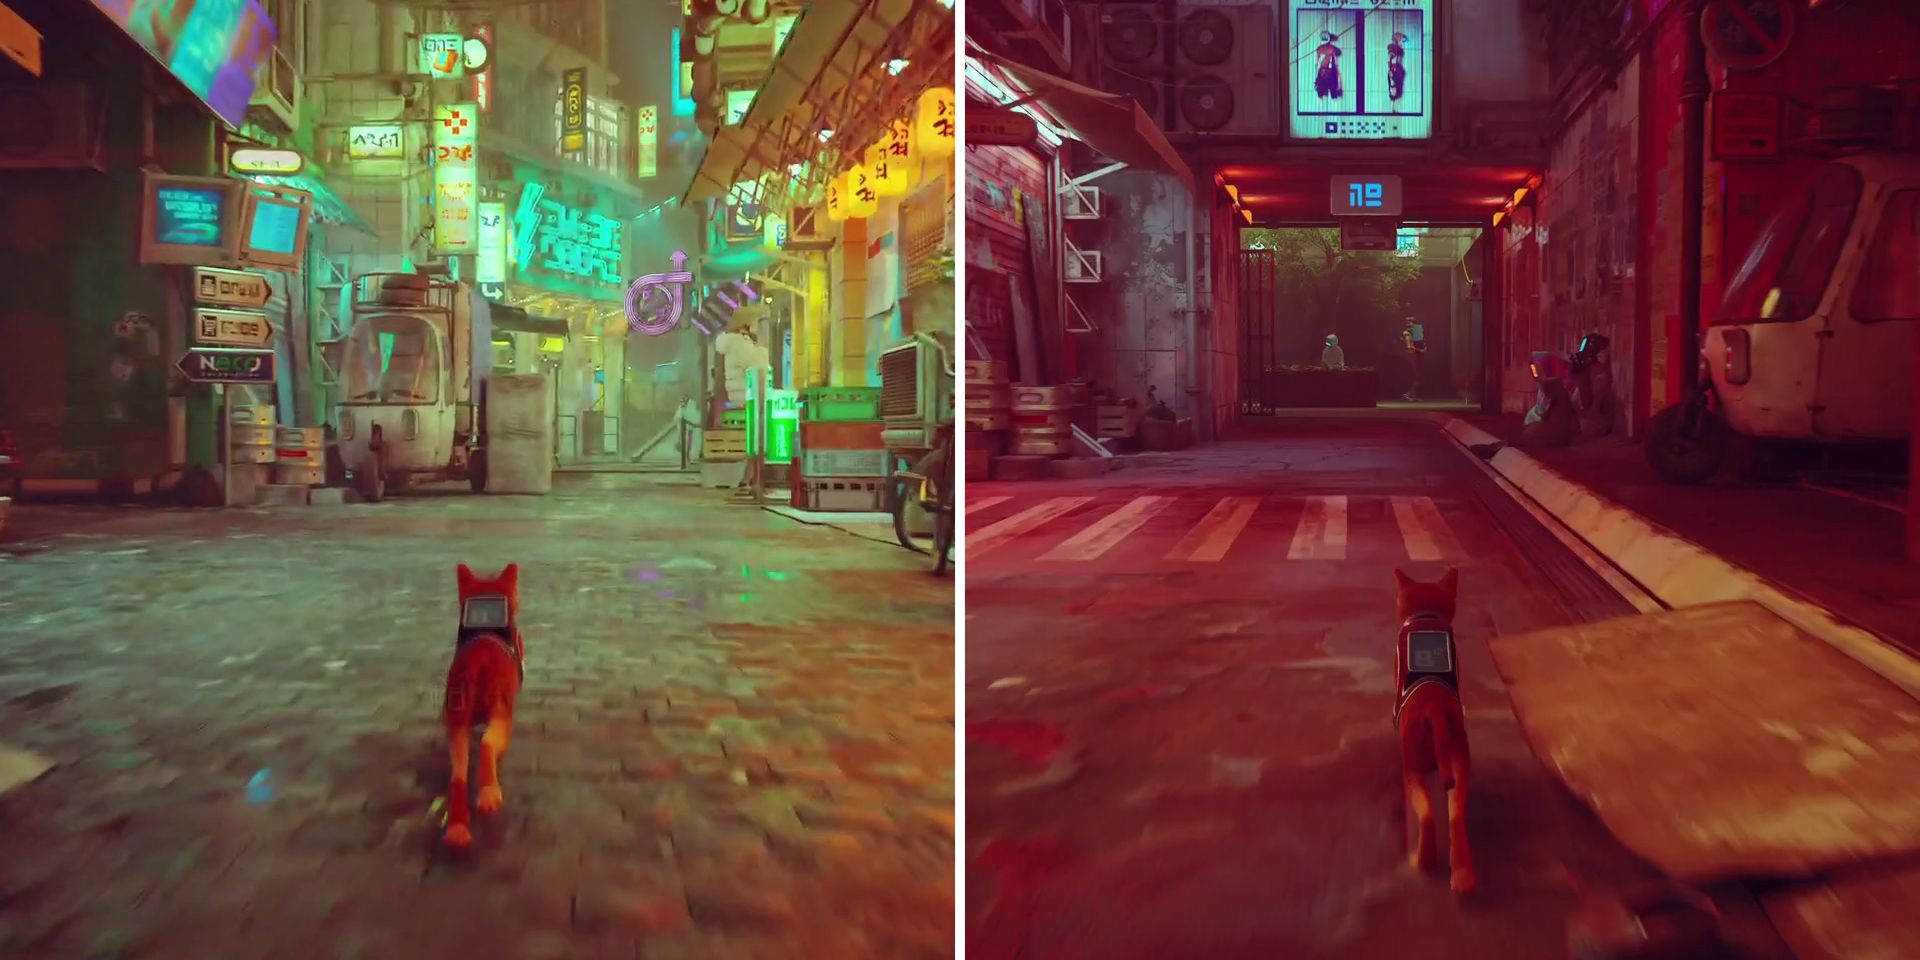
After leaving the station, players will need to find Clementine. If they like, they can show the picture of her to some of the robots walking around the area to get a few clues, but there's really no need to do so. If players head straight once they get onto the main street, they'll soon come to a large hologram. When they do, they should take a right and then head straight past the bar and into the residence with the blue sign above the entrance.
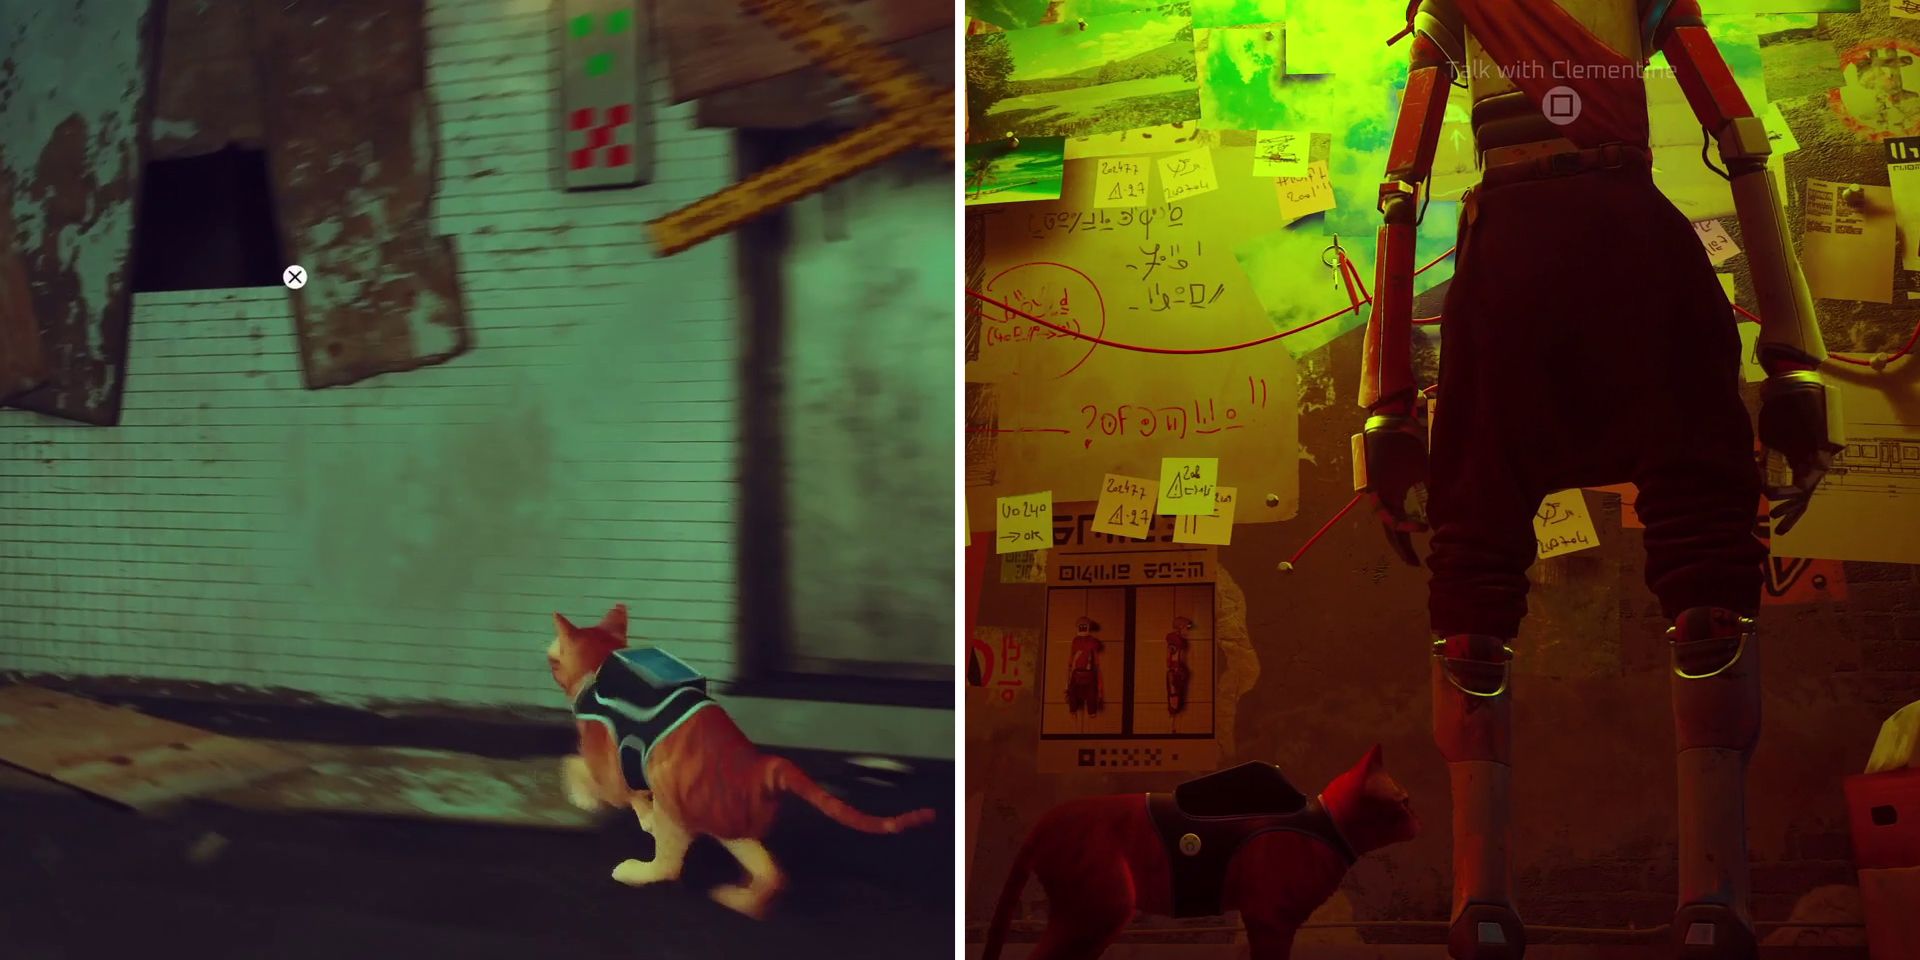
Once inside, they'll want to head up to the highest floor and hop through the hole in the wall to enter Clementine's apartment. After their initial interaction with her, players will need to follow her over to the corkboard to hear about her plans to reach the outside. To do so, she needs an Atomic Battery and so will ask players to help her steal one from the nearby Neco Corp factory. Clementine will then mention a contact of hers named Blazer and hand over a piece of paper with a message on it.
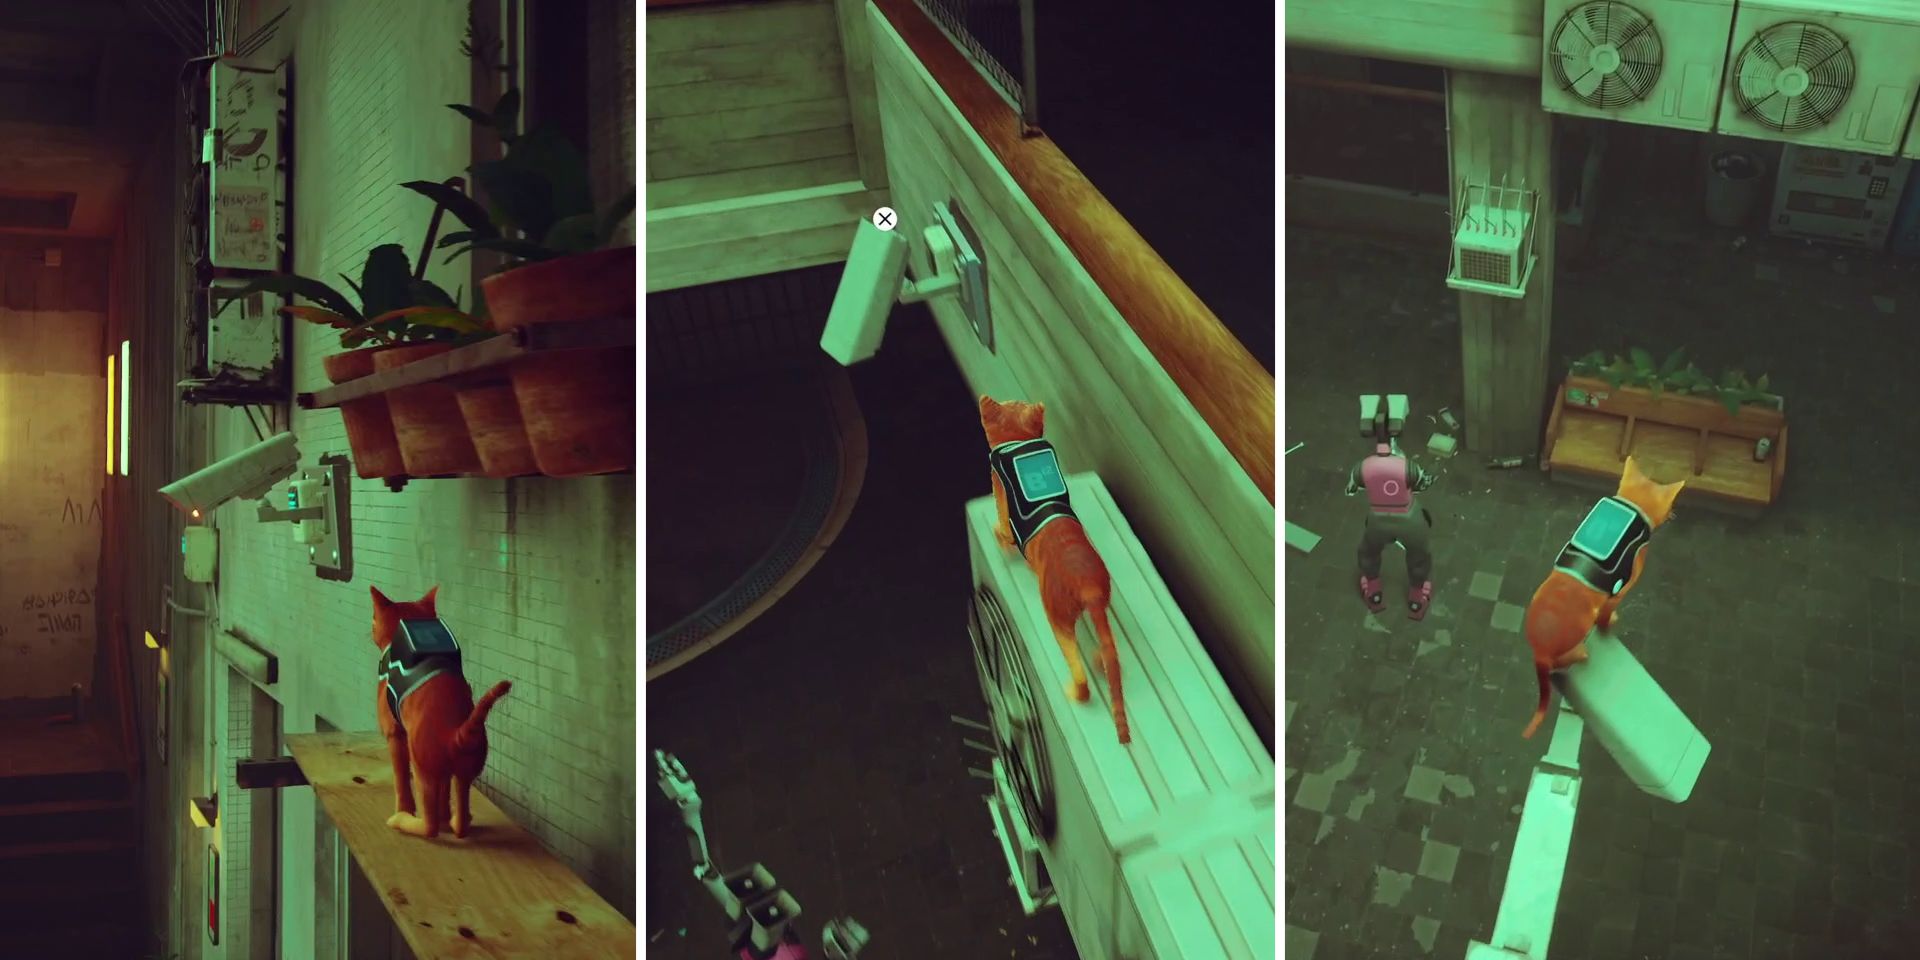
With a plan now in place, players can leave the apartment the same way they came in. On their way back down though, they should destroy the three CCTV cameras by jumping on them, which will allow them to take a cassette tape from one of the robots down on the ground level. One of the cameras is on a wall on the second floor while the other two are facing down onto the courtyard area.
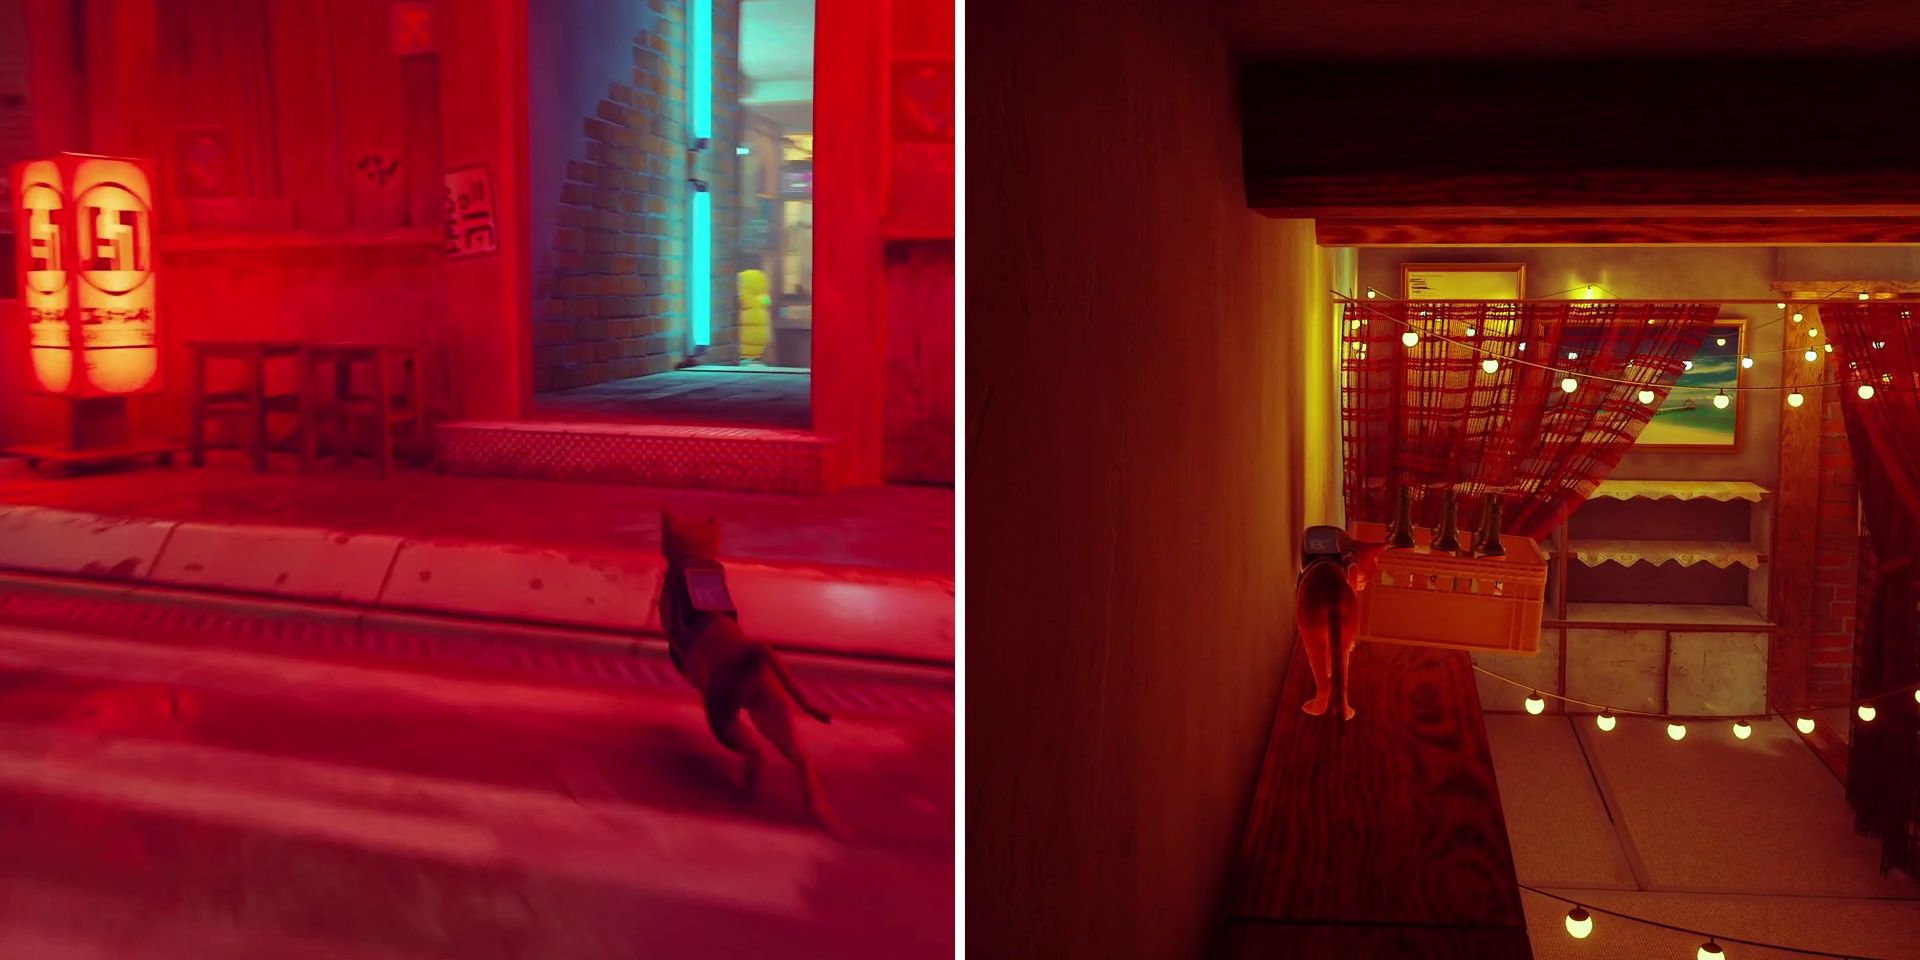
Before finding Blazer, there are a few things that players will need to take care of. First, they should leave the residence and head into the nearby bar with the red neon lights out front. If they make their way to the area at the back of the bar, they'll find a hungover worker who needs to be woken up. To do so, players should hop onto the shelf above him and press the Triangle button to push the box of tools down onto his head.
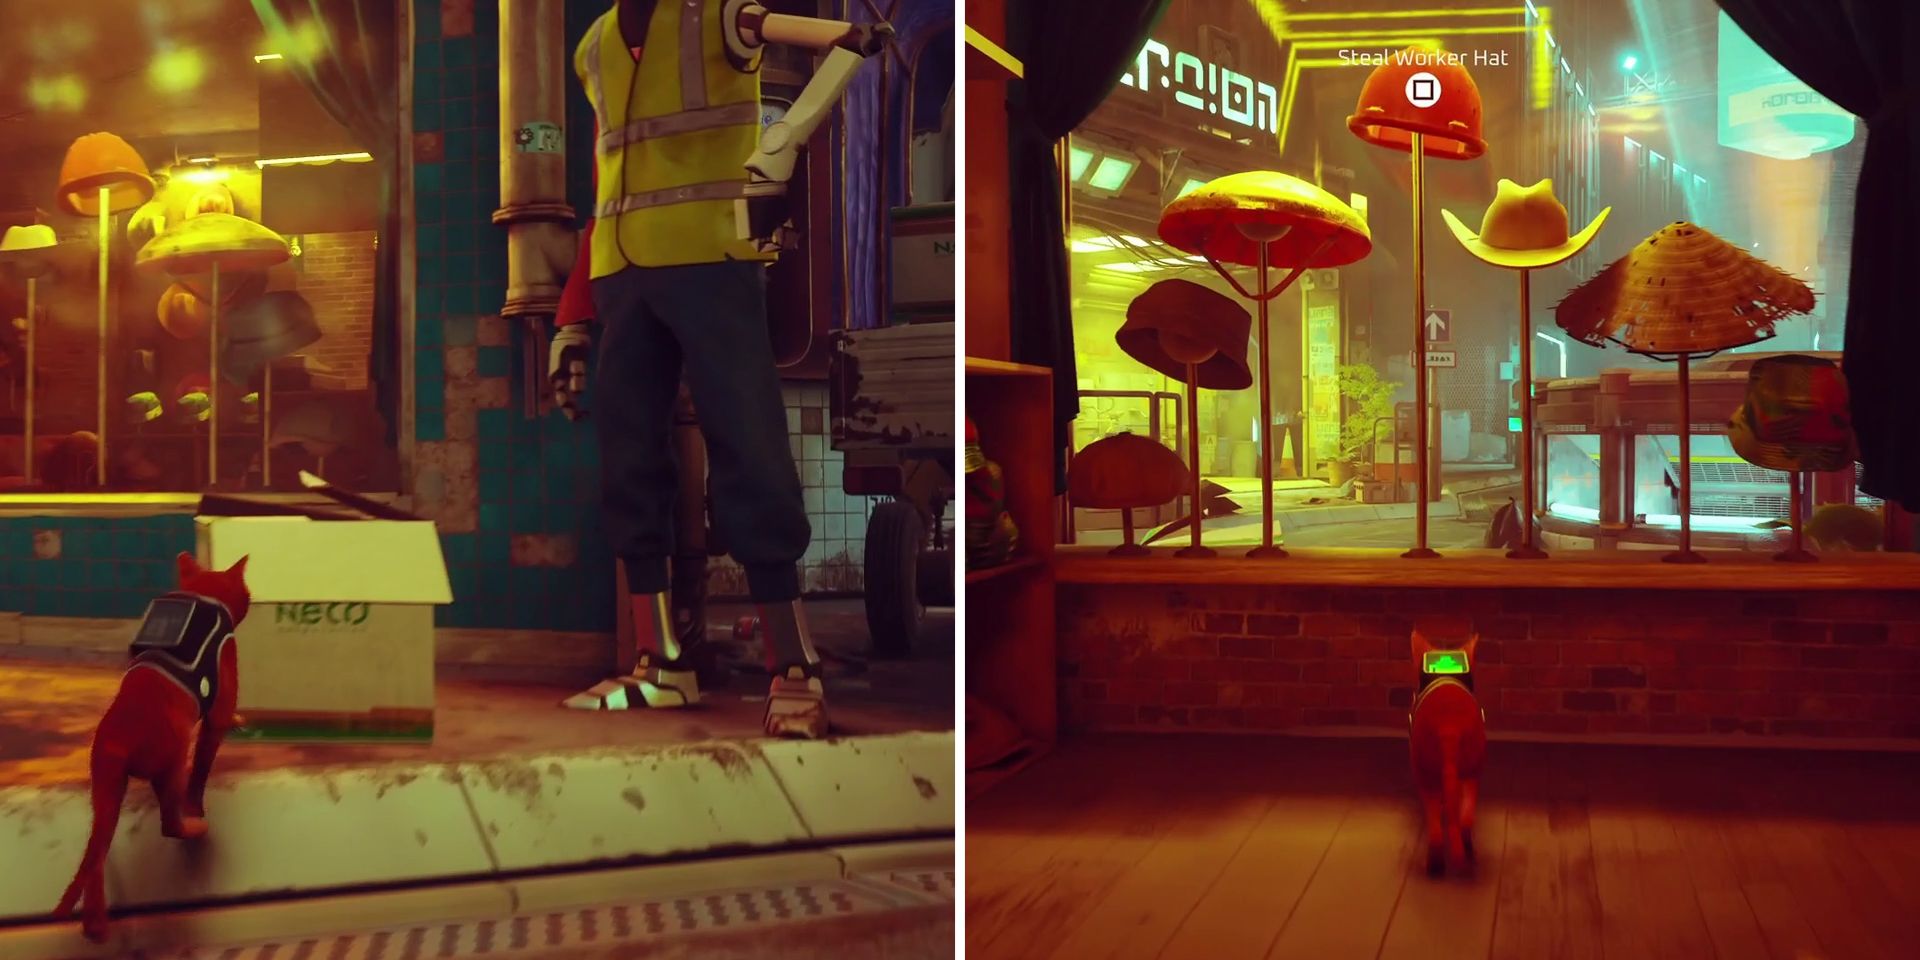
Next, players should head for the truck near the big hologram and hop into the cardboard box at the back of it by pressing X. After a few moments, the hungover worker will pick up the box and carry it inside the nearby store. As soon as he puts it down, players can hop out of the box by pressing X again and then hit square to steal the orange Worker Hat from the display in the window. They'll then be able to exit the store by pressing the Triangle button while standing next to the metal grate to the left of the display.
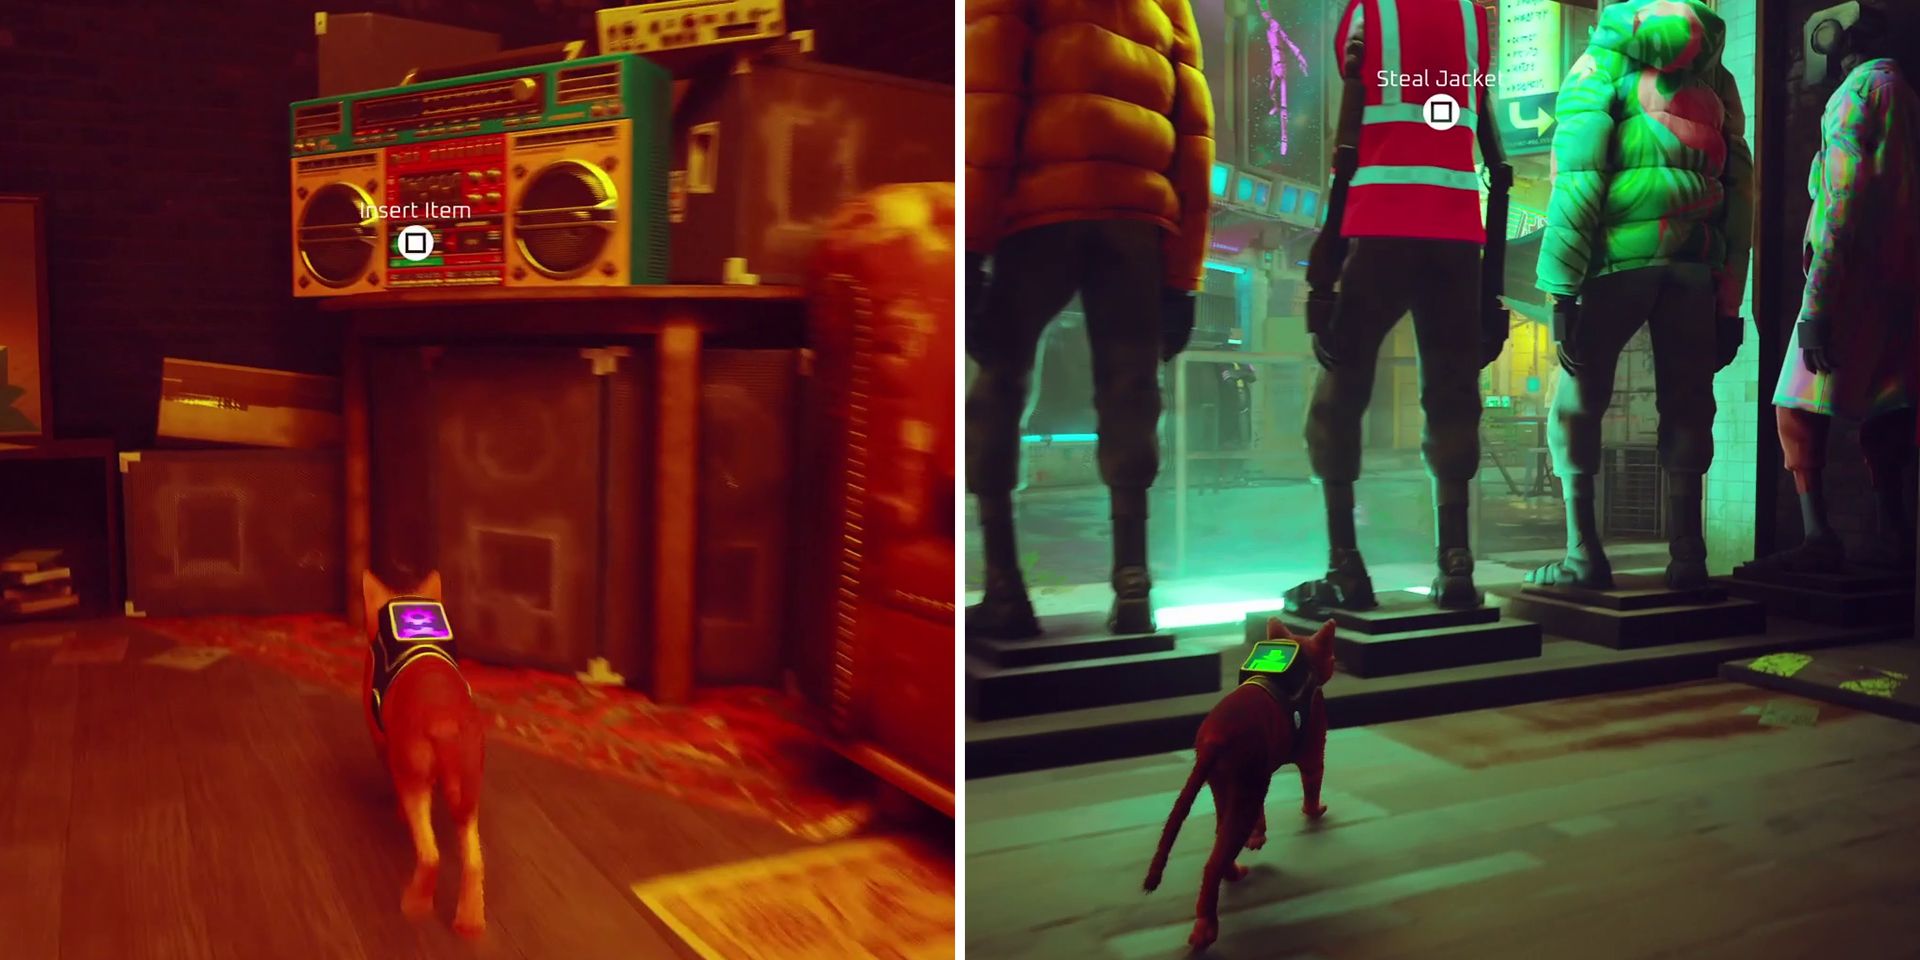
Finally, players should head into the nearby clothing store and make their way to the staff area behind the till. There, they'll find a boombox and will be able to use the cassette tape that they picked up earlier to distract the shopkeeper. While he's busy turning off the music, they should run back out into the main part of the store and press the Square button to steal the pink Worker Jacket from the mannequin in the window.
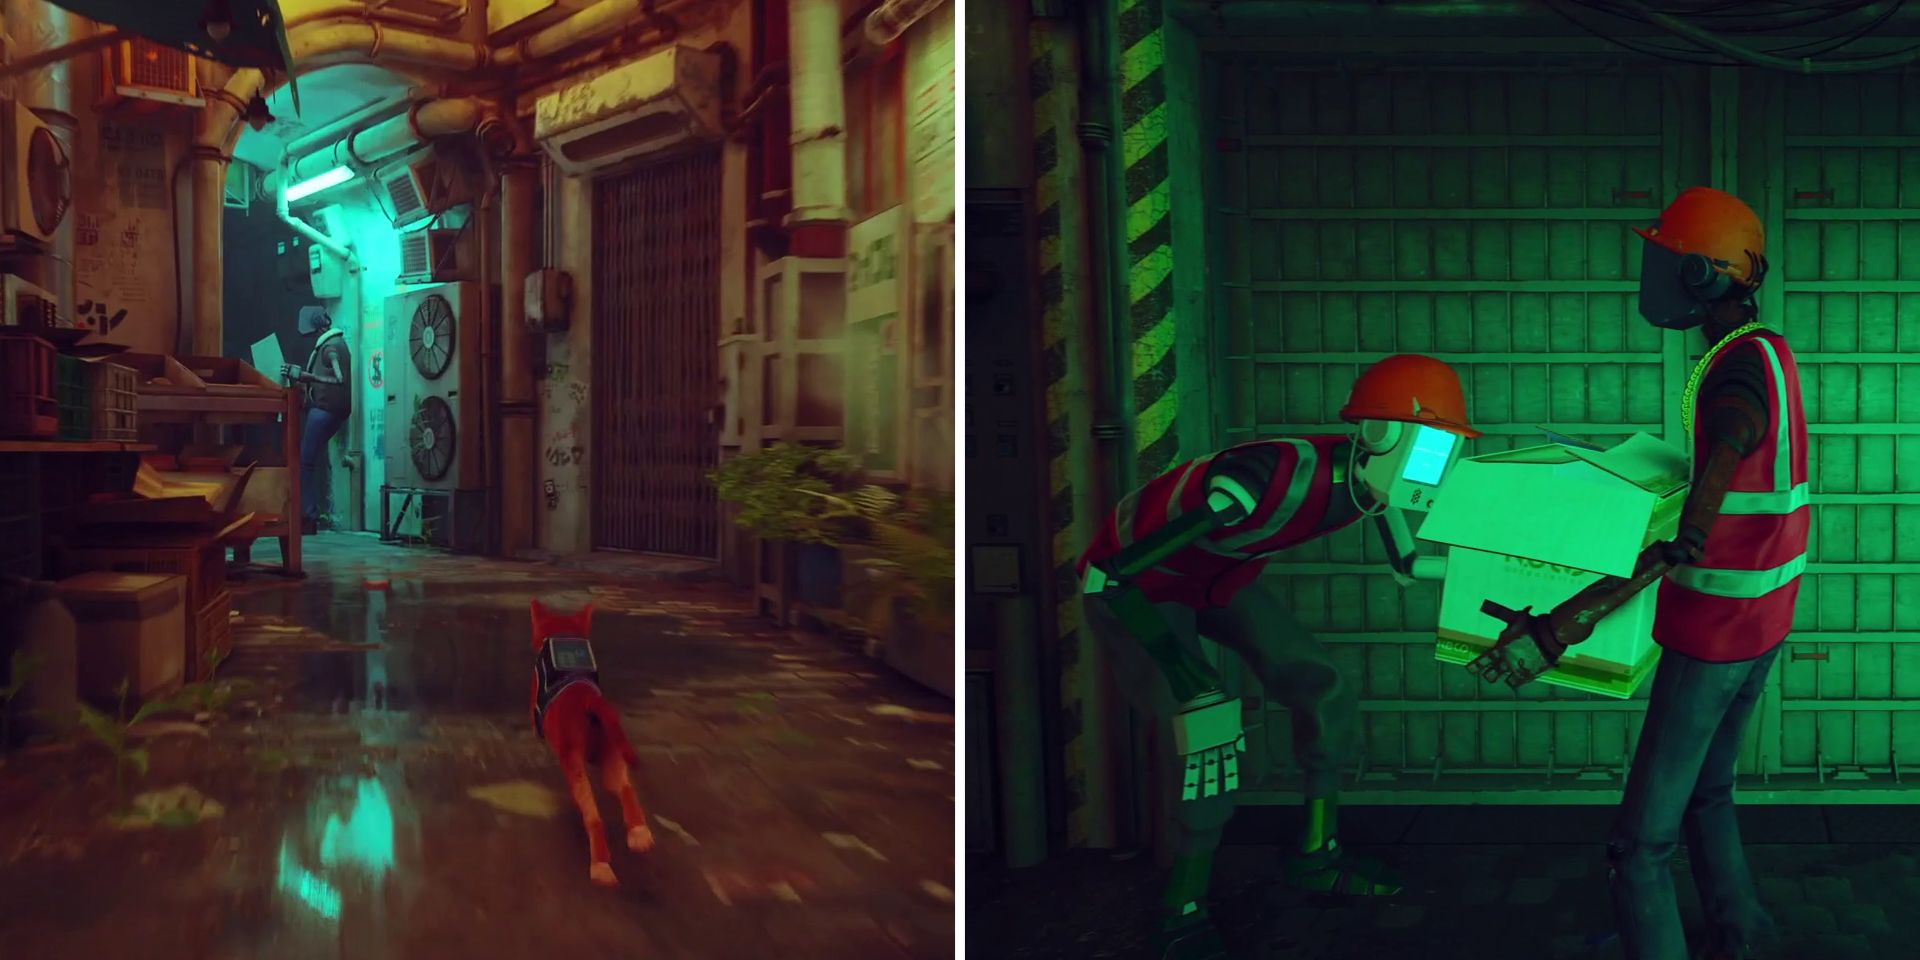
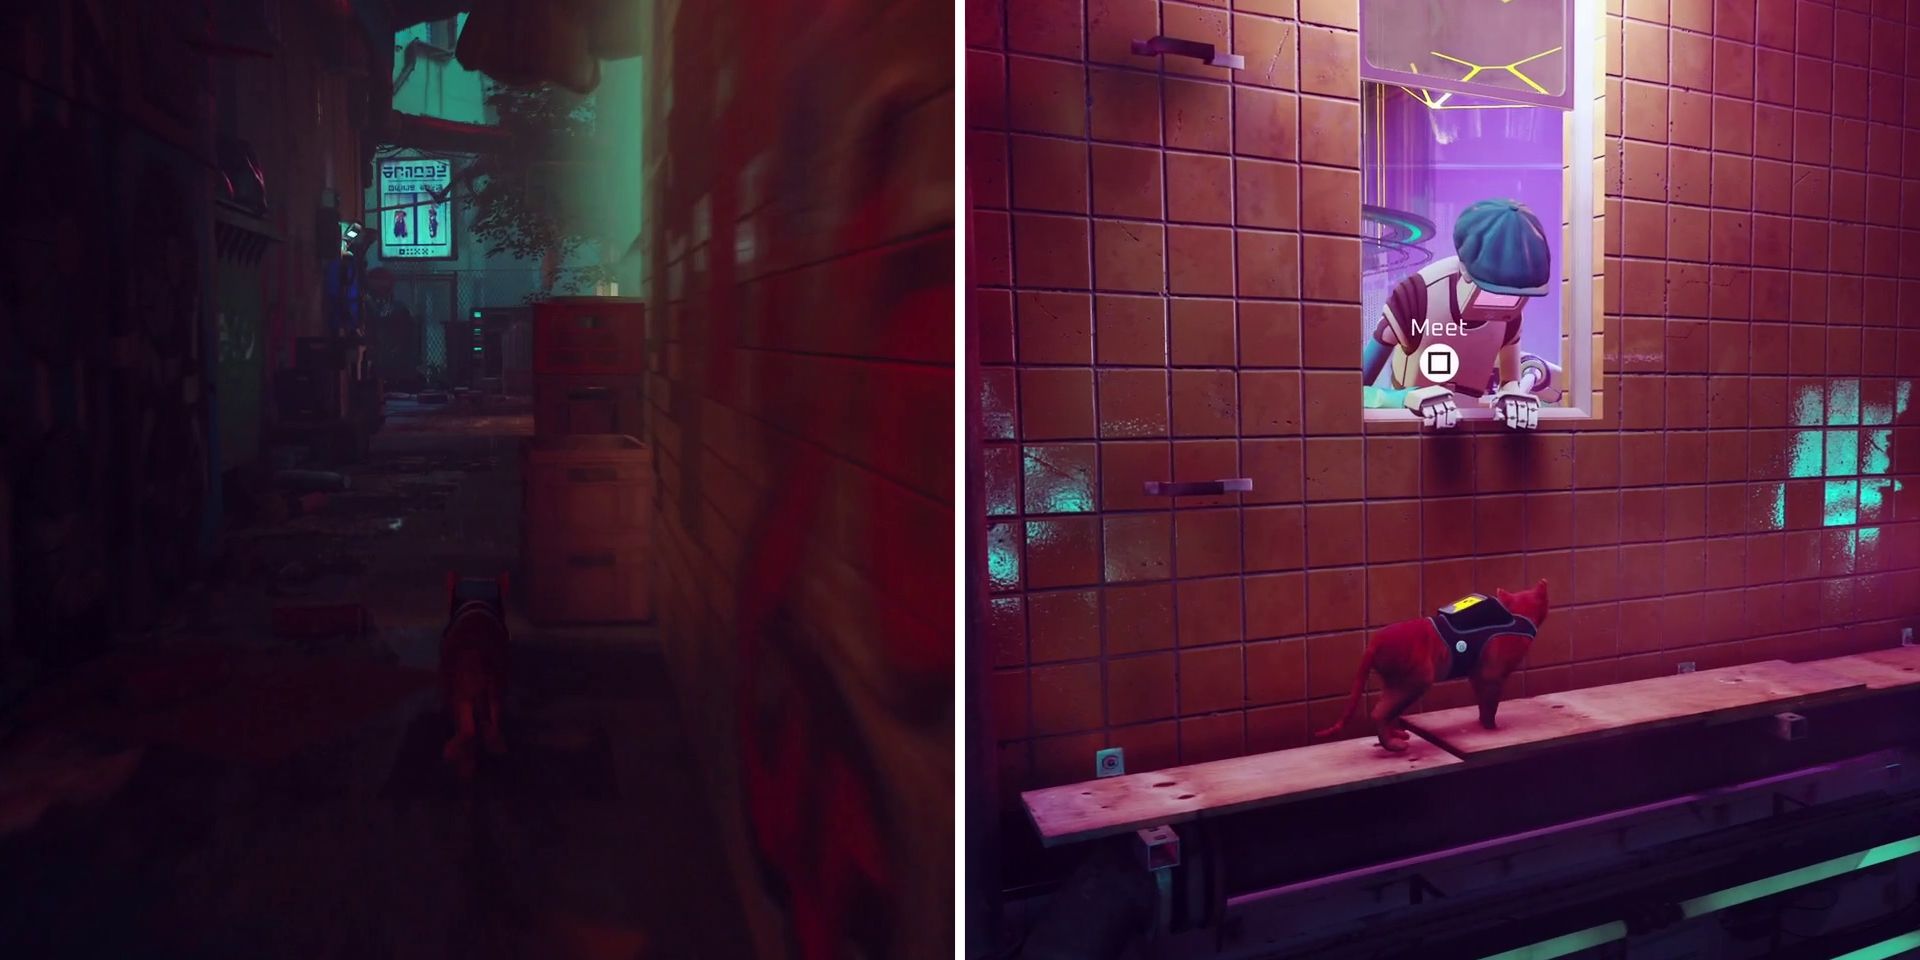
Now that they have the Worker's Hat and Jacket, players should go find Blazer in the alleyway to the left of the clothing store that they were just in. After showing him the note from Clementine, he'll agree to help smuggle the kitty into the Neco Corp factory, though will need a disguise in order to do so. Luckily, players already have everything that they'll need and so should hand over the Worker Hat and Jacket and wait for Blazer to get changed. Once he's ready, they'll simply need to hop into the cardboard box to enter the factory.
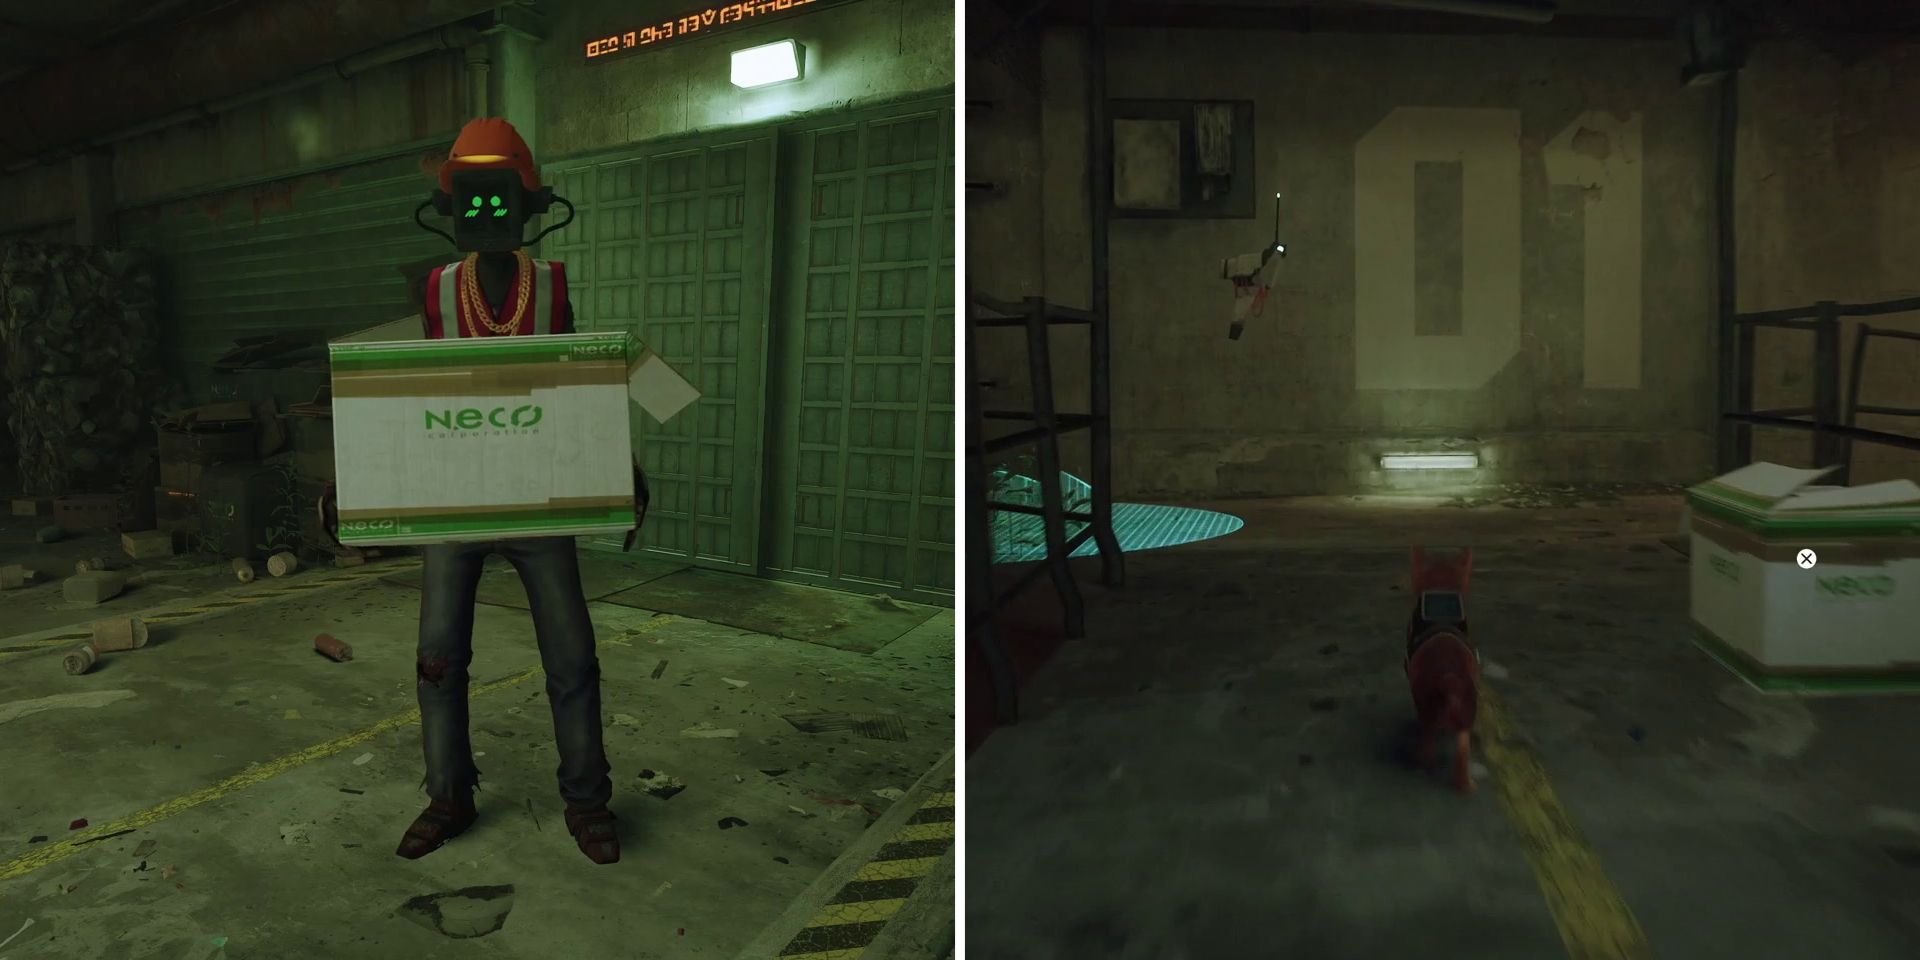
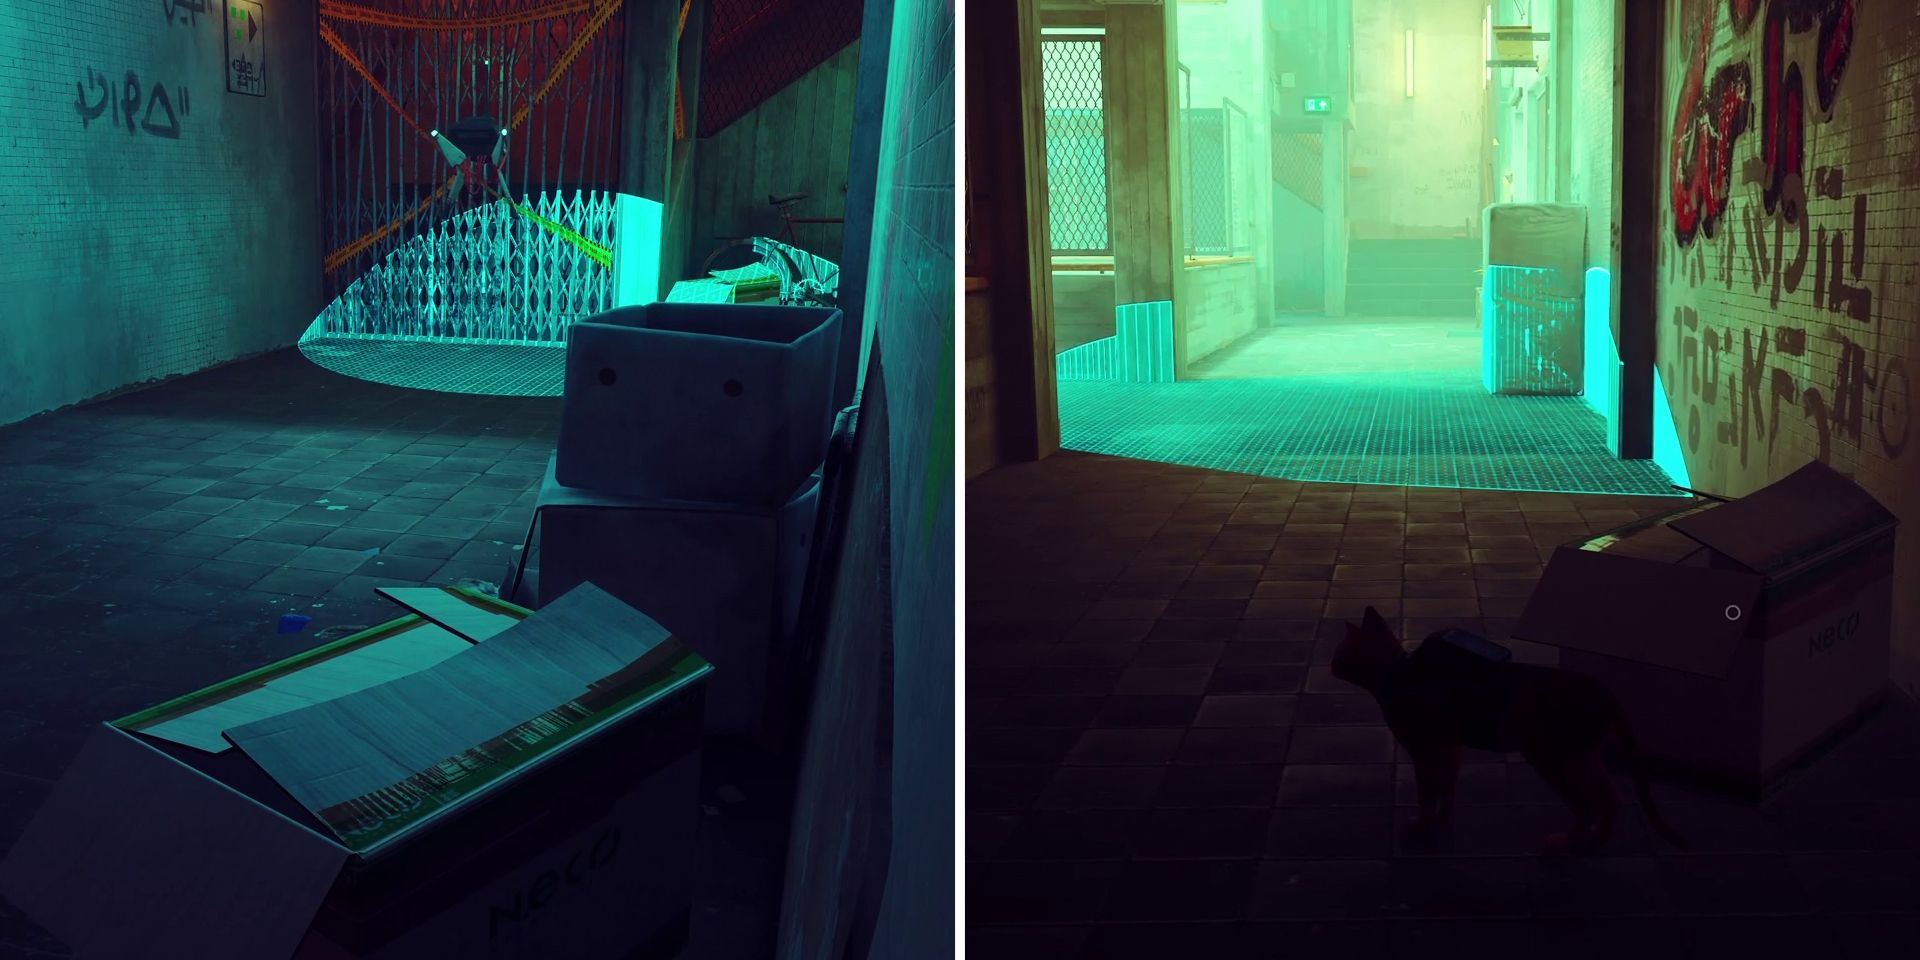
As soon as Blazer puts the box down, players can jump out of it by pressing X. Those hoping to unlock the "Sneakitty" trophy will need to be careful here, as being spotted by any of the security drones will lead to them having to restart from the last checkpoint. The first drone is very easy to dodge though, with players able to run right past it while it's looking over to the left.
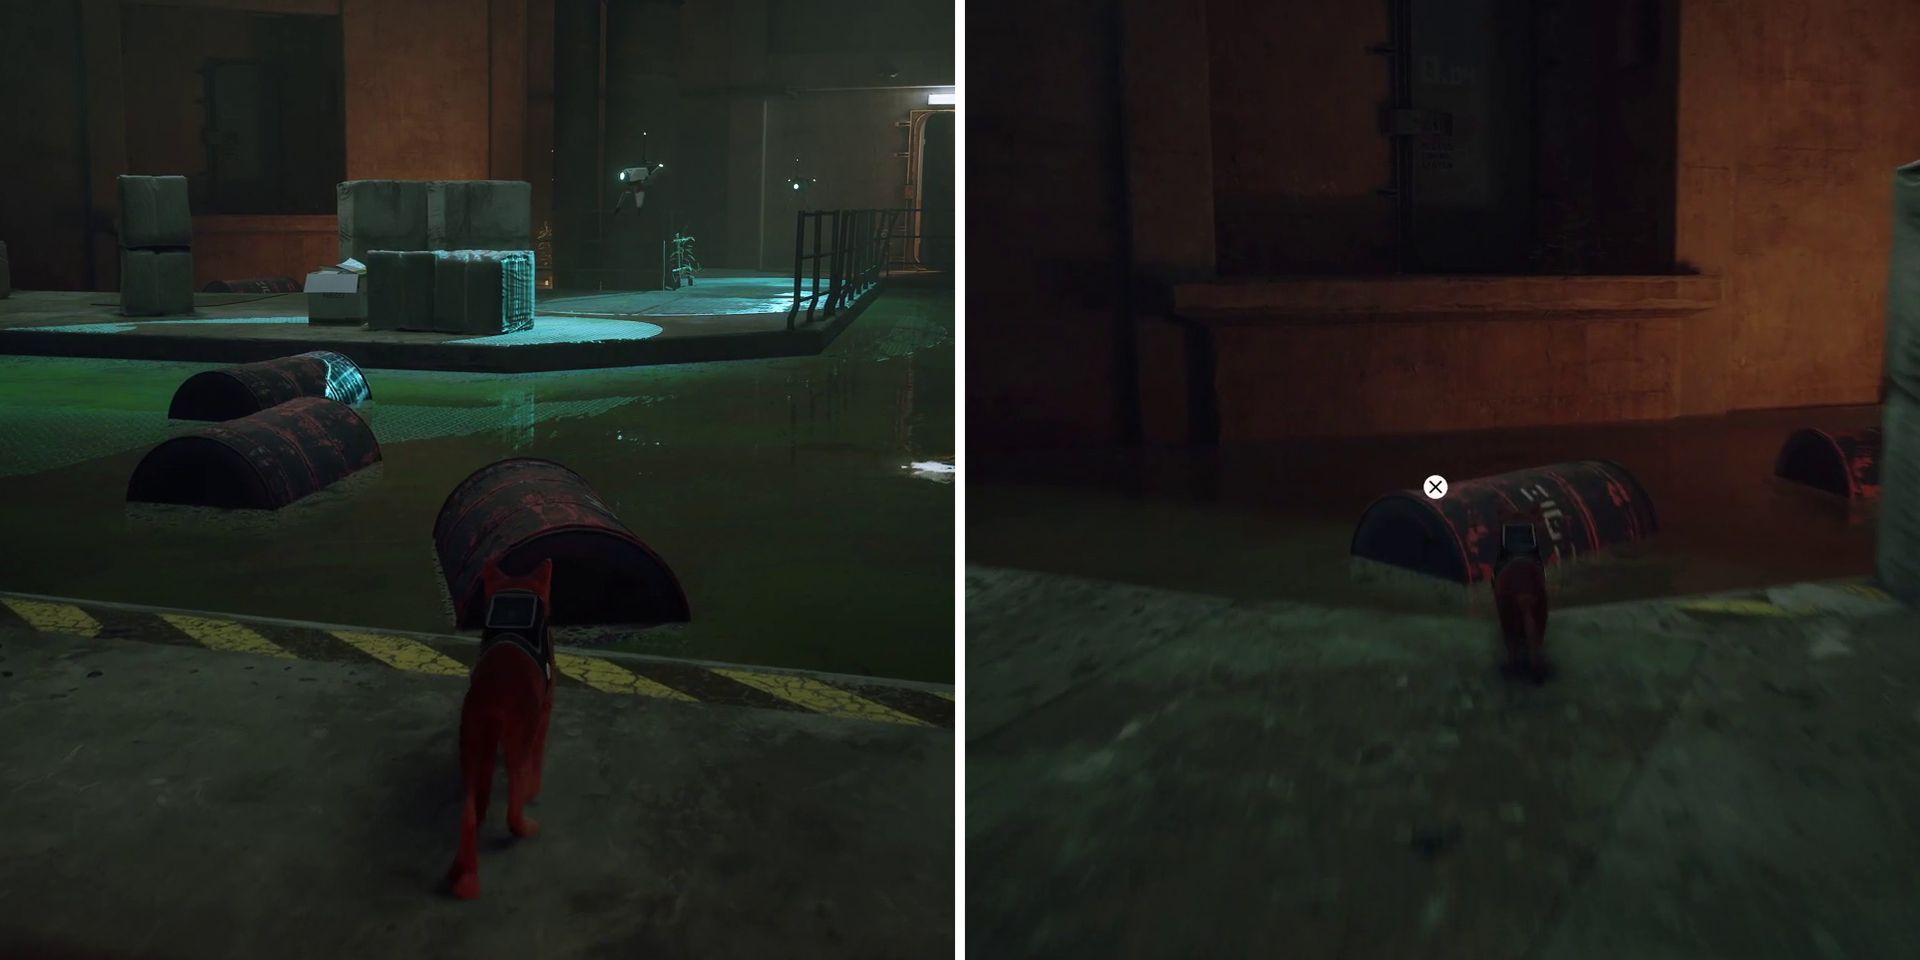
There are two drones in the next area, though players will only really need to worry about one of them. When the closest drone is looking way off to the left, players should jump over the three barrels in front of them and then hop into one of the cardboard boxes on the other side. Once the drone repeats its cycle and is once again looking over to the left, they can jump out and use two more floating barrels to reach the half-open door behind the second drone.
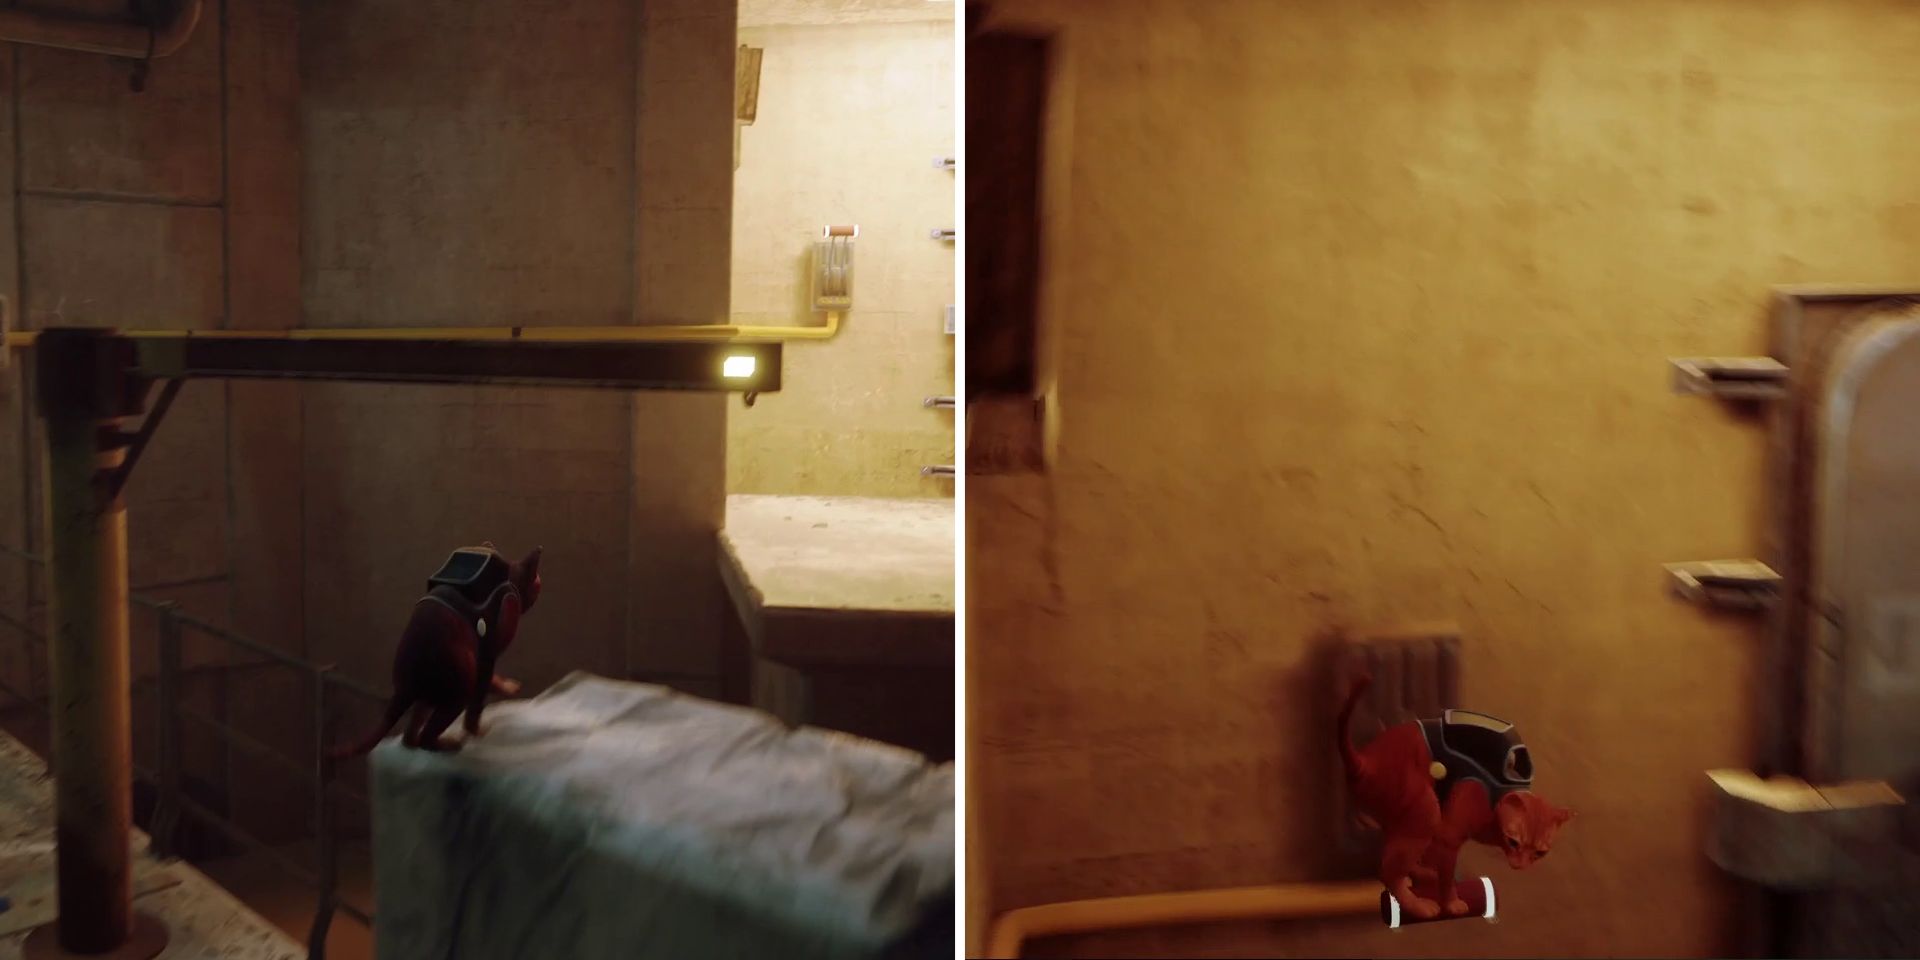
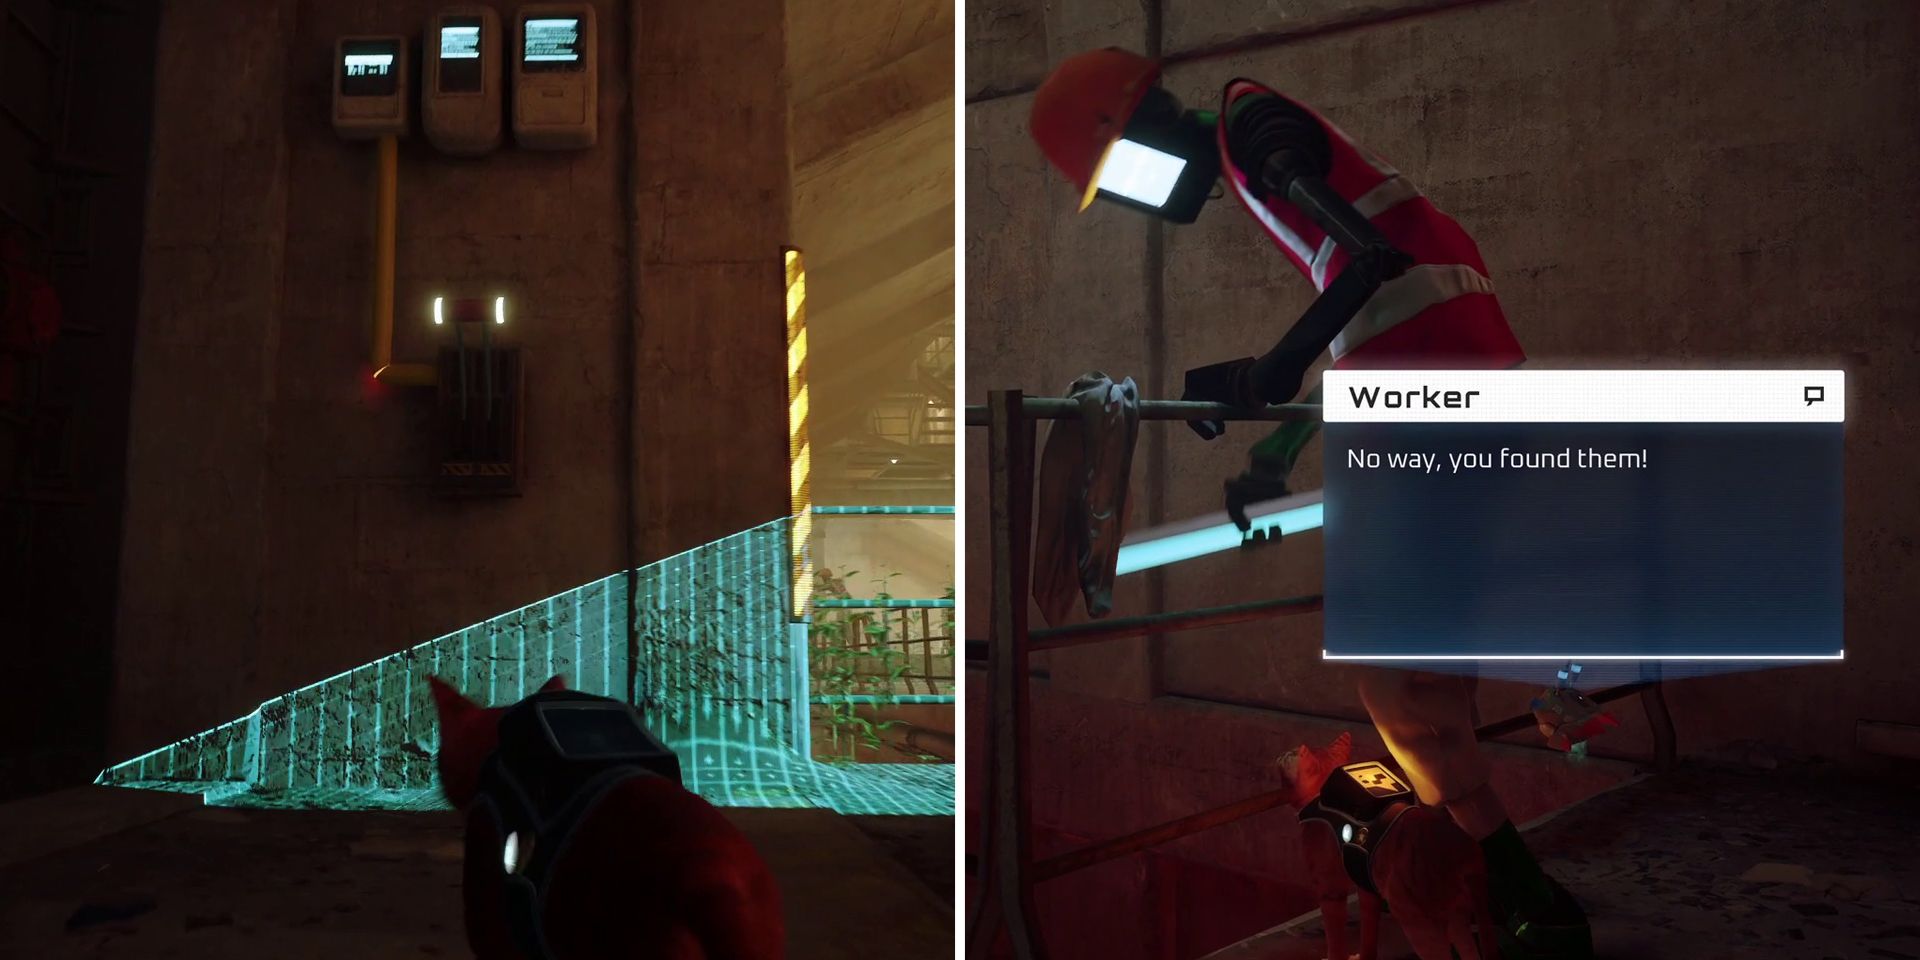
After passing through the door, players should speak with the worker to their right to learn about his missing keys before continuing on. This time, players will want to wait until the drone looks over to the right, and then use the pile of boxes to the left to get onto a swinging metal beam. This will enable them to pull a lever and open up the large metal gate nearby. Unfortunately, they'll have to take the long way back around to it, briefly stopping off at the spot where they started to avoid being spotted by the drone.
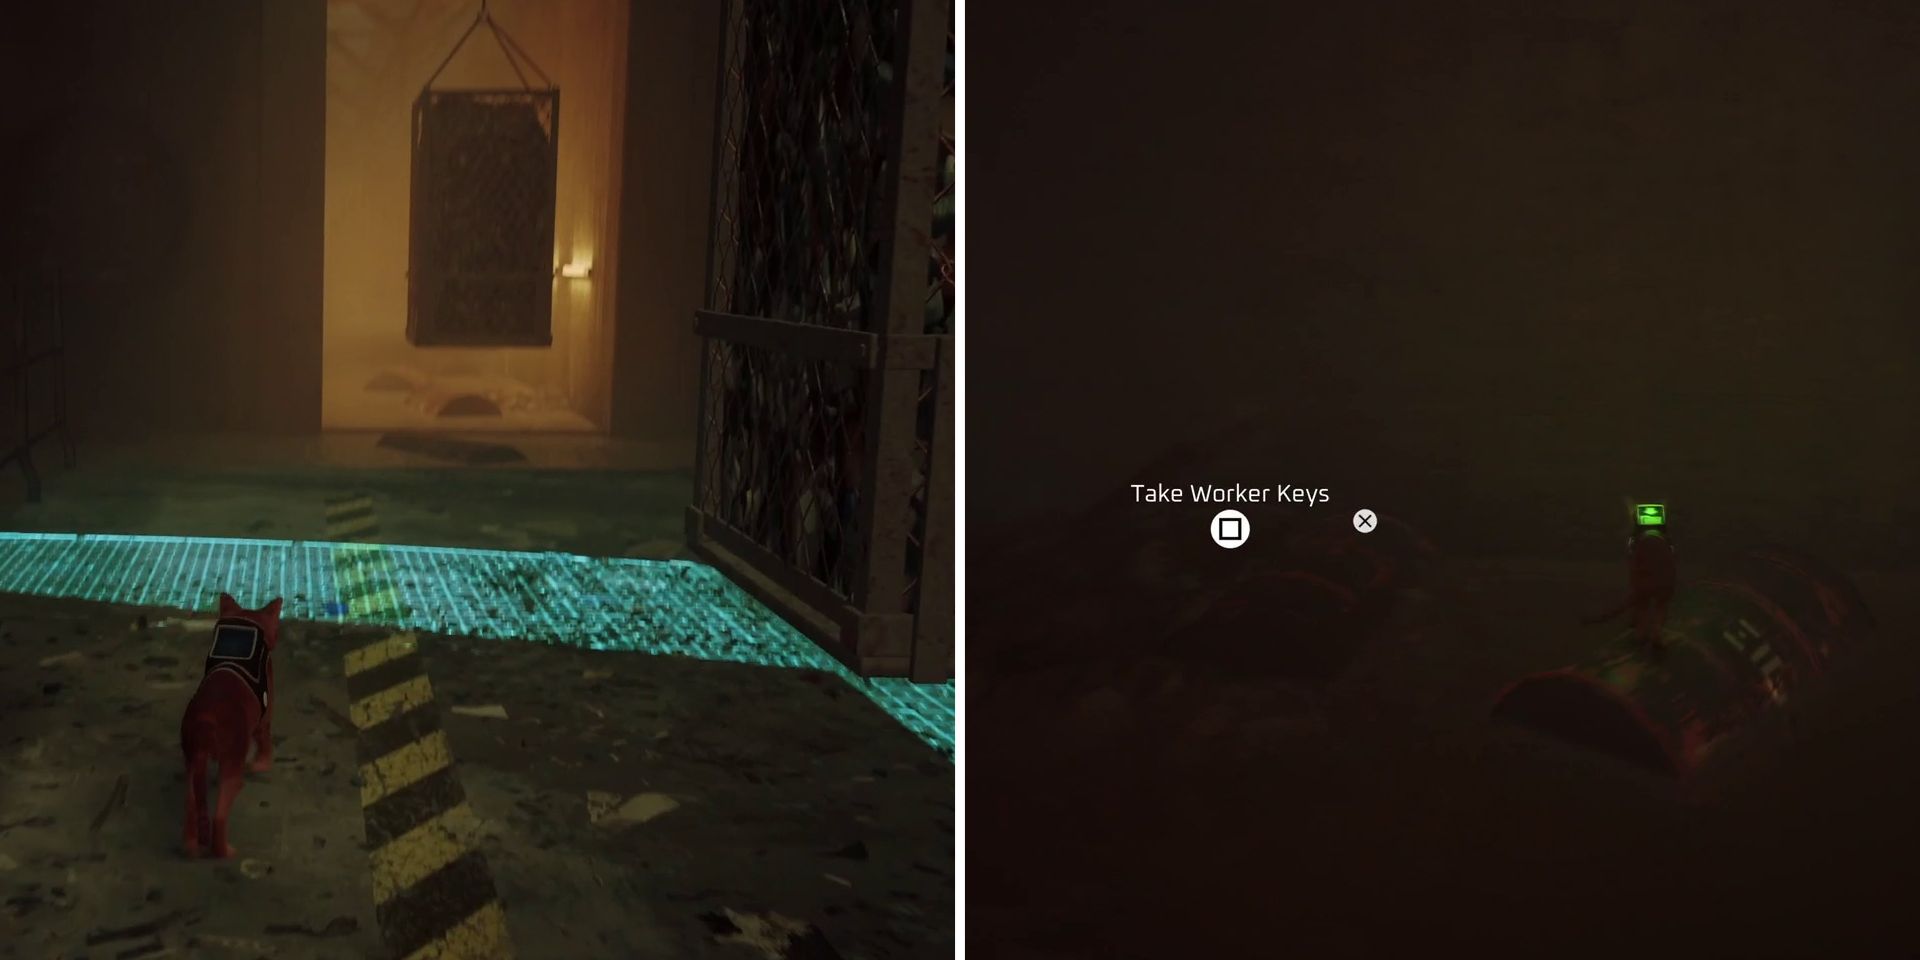
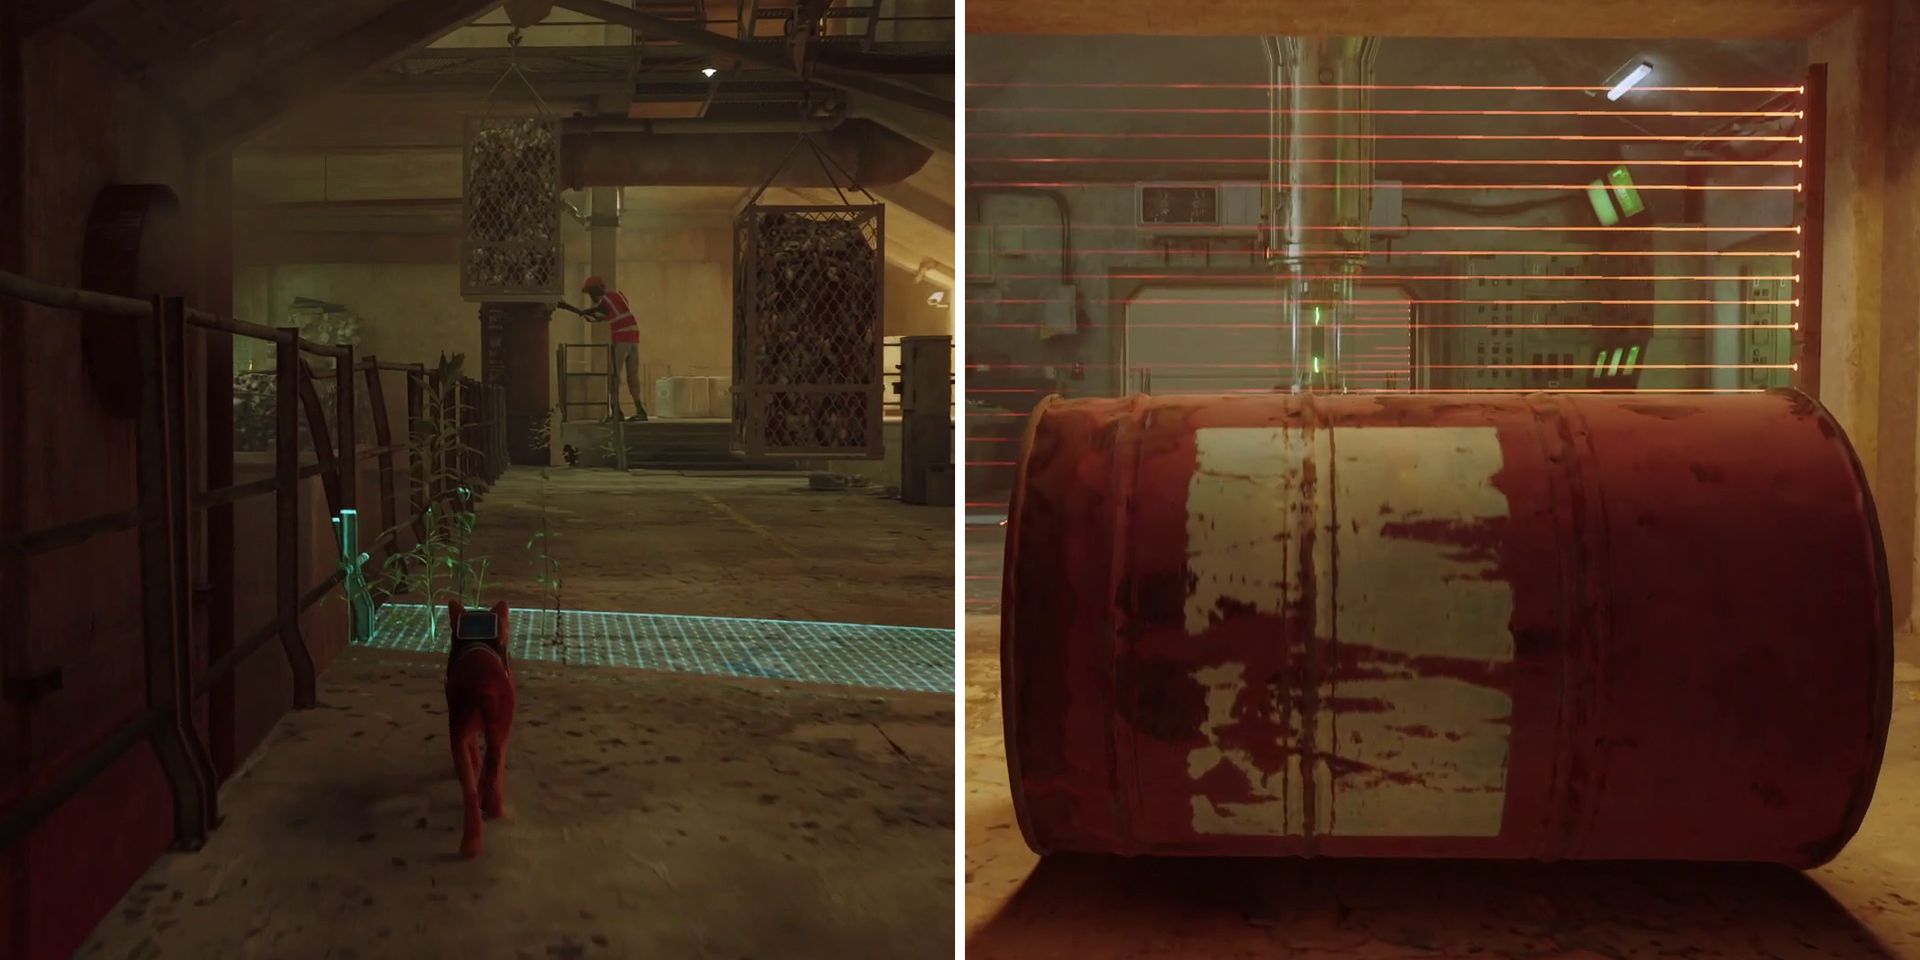
The next area contains metal crates full of scrap metal hanging from a conveyor belt. To avoid being spotted by the drones in this area, players should hide behind these crates as they move, being sure to stay in the drones' blind spots as they do so. After passing two drones, players will come to some floating barrels. Instead of going straight as intended though, they should hop over to their right to find the factory worker's keys.
Once they have the keys, players should continue over the barrels and then immediately take a left after they're back on dry land. There, they'll find a large metal gate, and pulling the nearby lever will open up a shortcut back to the factory's second area. This will enable them to get back to the factory worker quickly and hand over the keys to receive the Neco Badge.
Following this diversion, players should make their way back to the area with the barrels and hanging metal crates and use the latter to get oast a few more security drones. It's worth noting that one of these drones is on the opposite side to the others, so players should pay close attention and be sure to switch sides as needed. They'll soon come to a metal barrel and can use it to roll through the red security lasers and into the area containing the Atomic Battery.
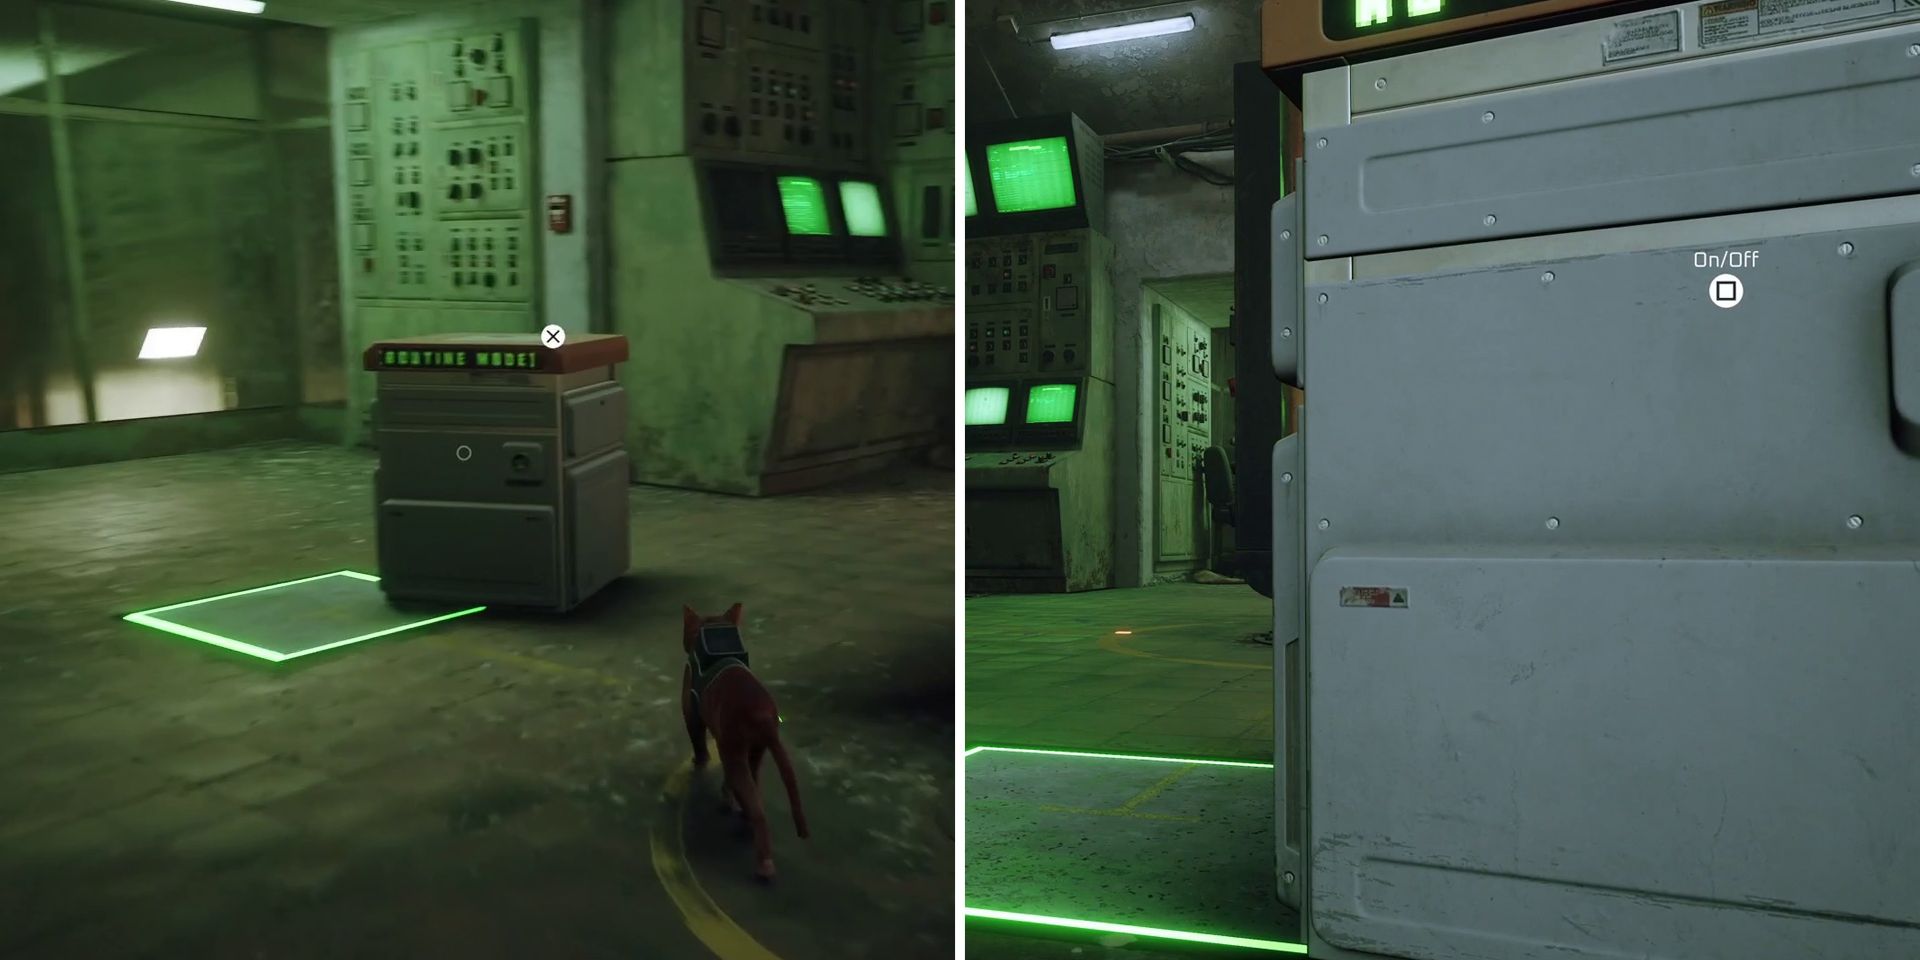
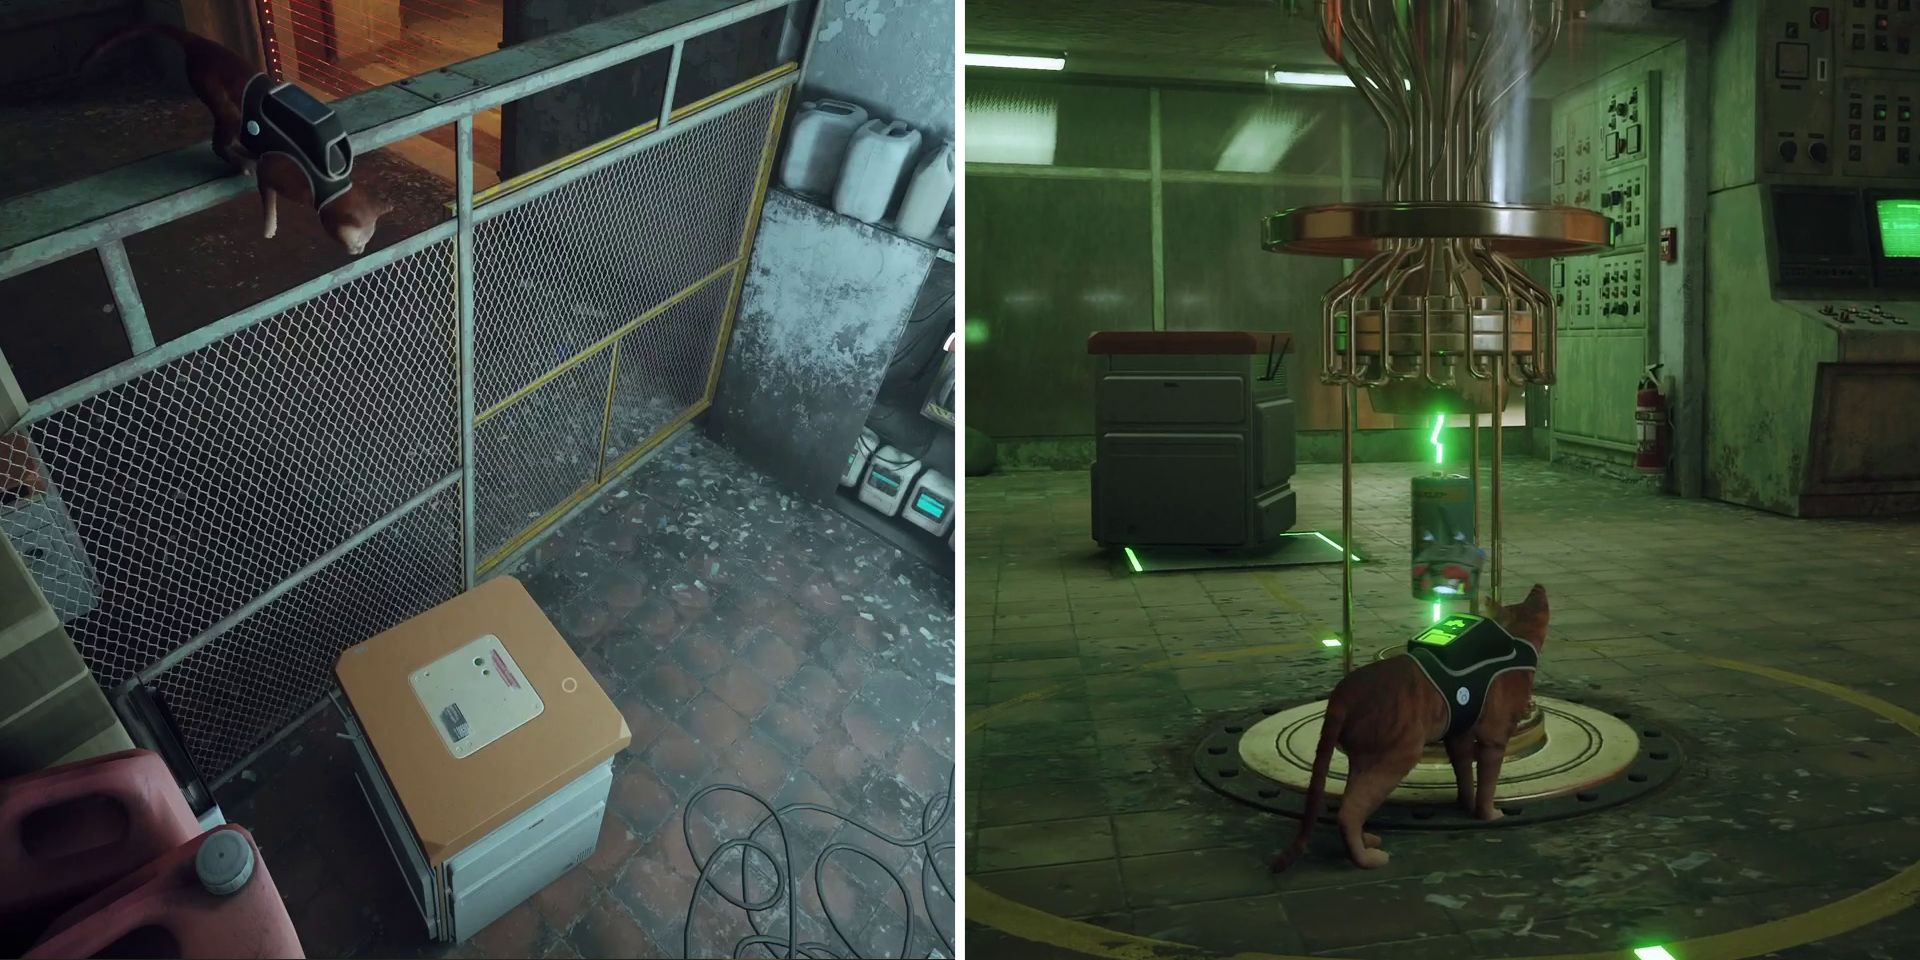
In order to steal the Atomic Battery from the Neco Corp factory, players will need to press all three of the pressurized floor tiles at once and keep them held down. To do so, they should head over to the box to their right and press the Square button so that it starts following them. They'll then want to lead it onto the opposite floor tile and hit Square again to lock it in place.
If done correctly, players will now be able to hop onto the nearby metal fence via the box. Pulling the lever in this caged area will open up the gate, allowing players to move a second box over to the floor tile on which the first one started. They can then roll the metal barrel onto the final floor tile and take the battery from the tube in the center of the room, again, by pressing Square.
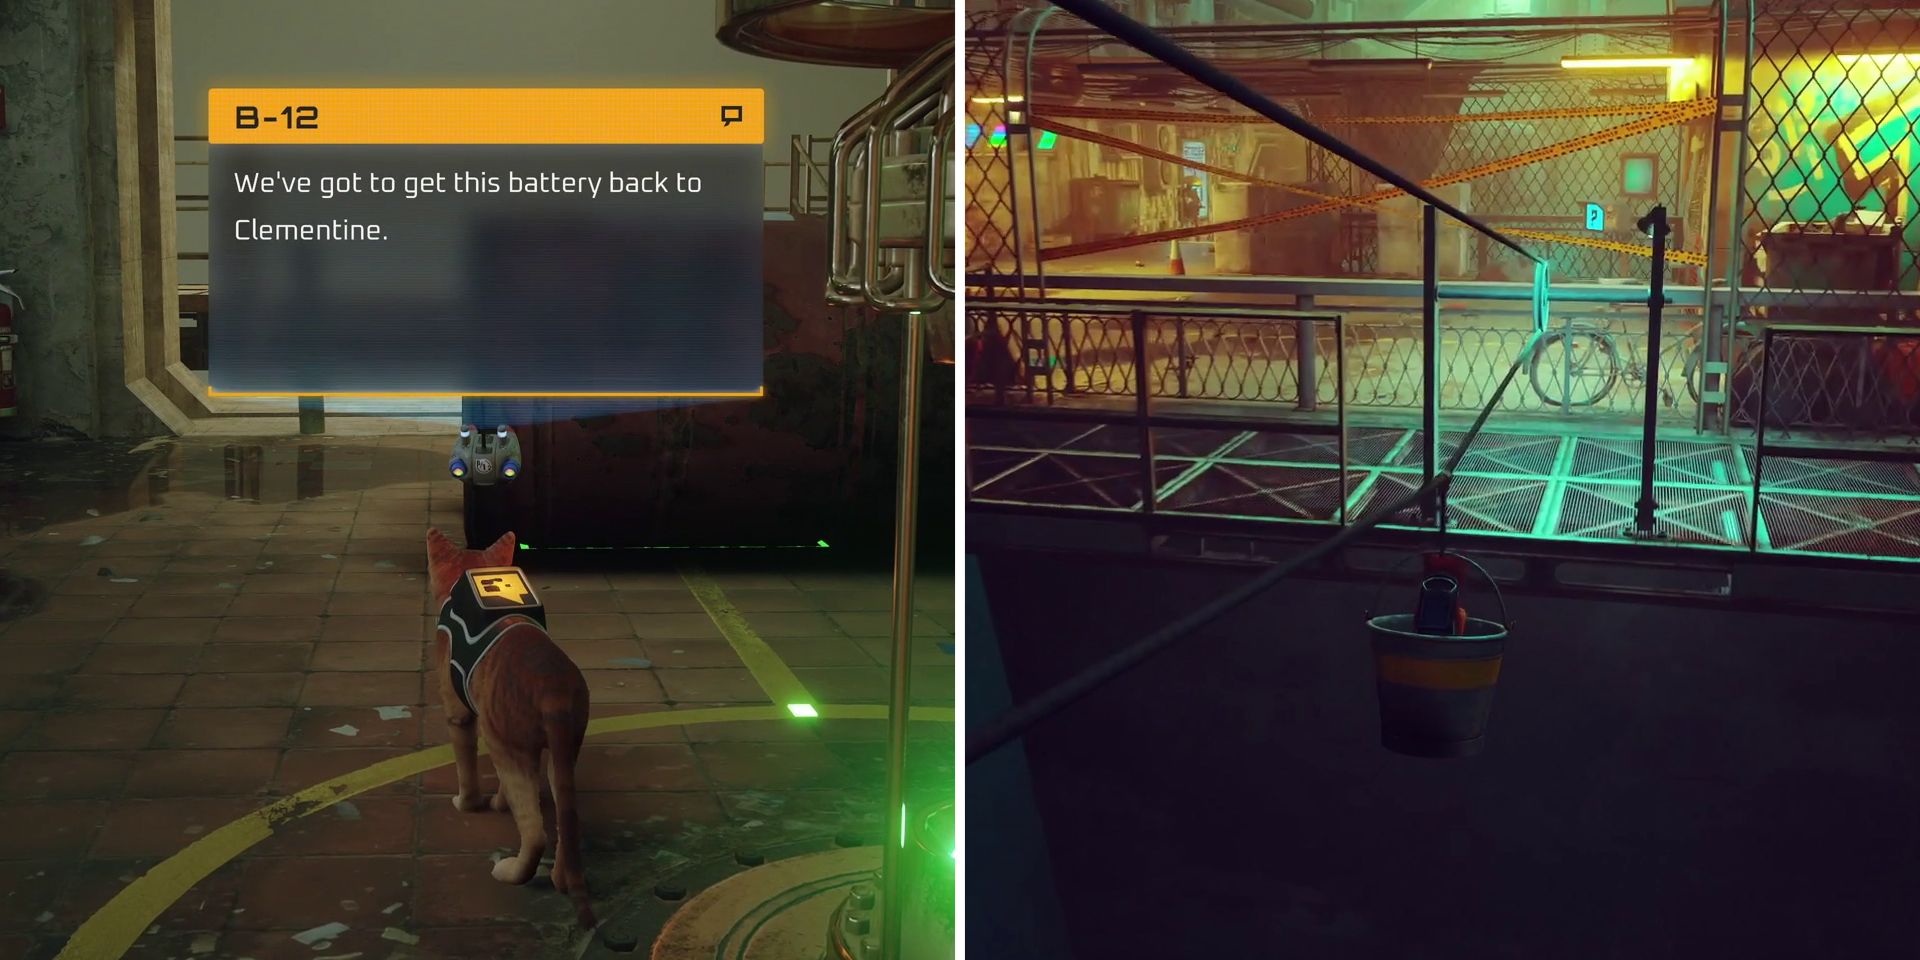
Stealing the battery will sound the alarms, but players don't need to worry too much about getting caught. If they head out of the door and take a left, they'll be able to hop into a bucket that will take them back to the area outside the subway station. If they like, they can take the battery down to the basement of the station and plug it in at this point, though it's probably better to do that later, particularly if players are going for the "Sneakitty" Trophy.
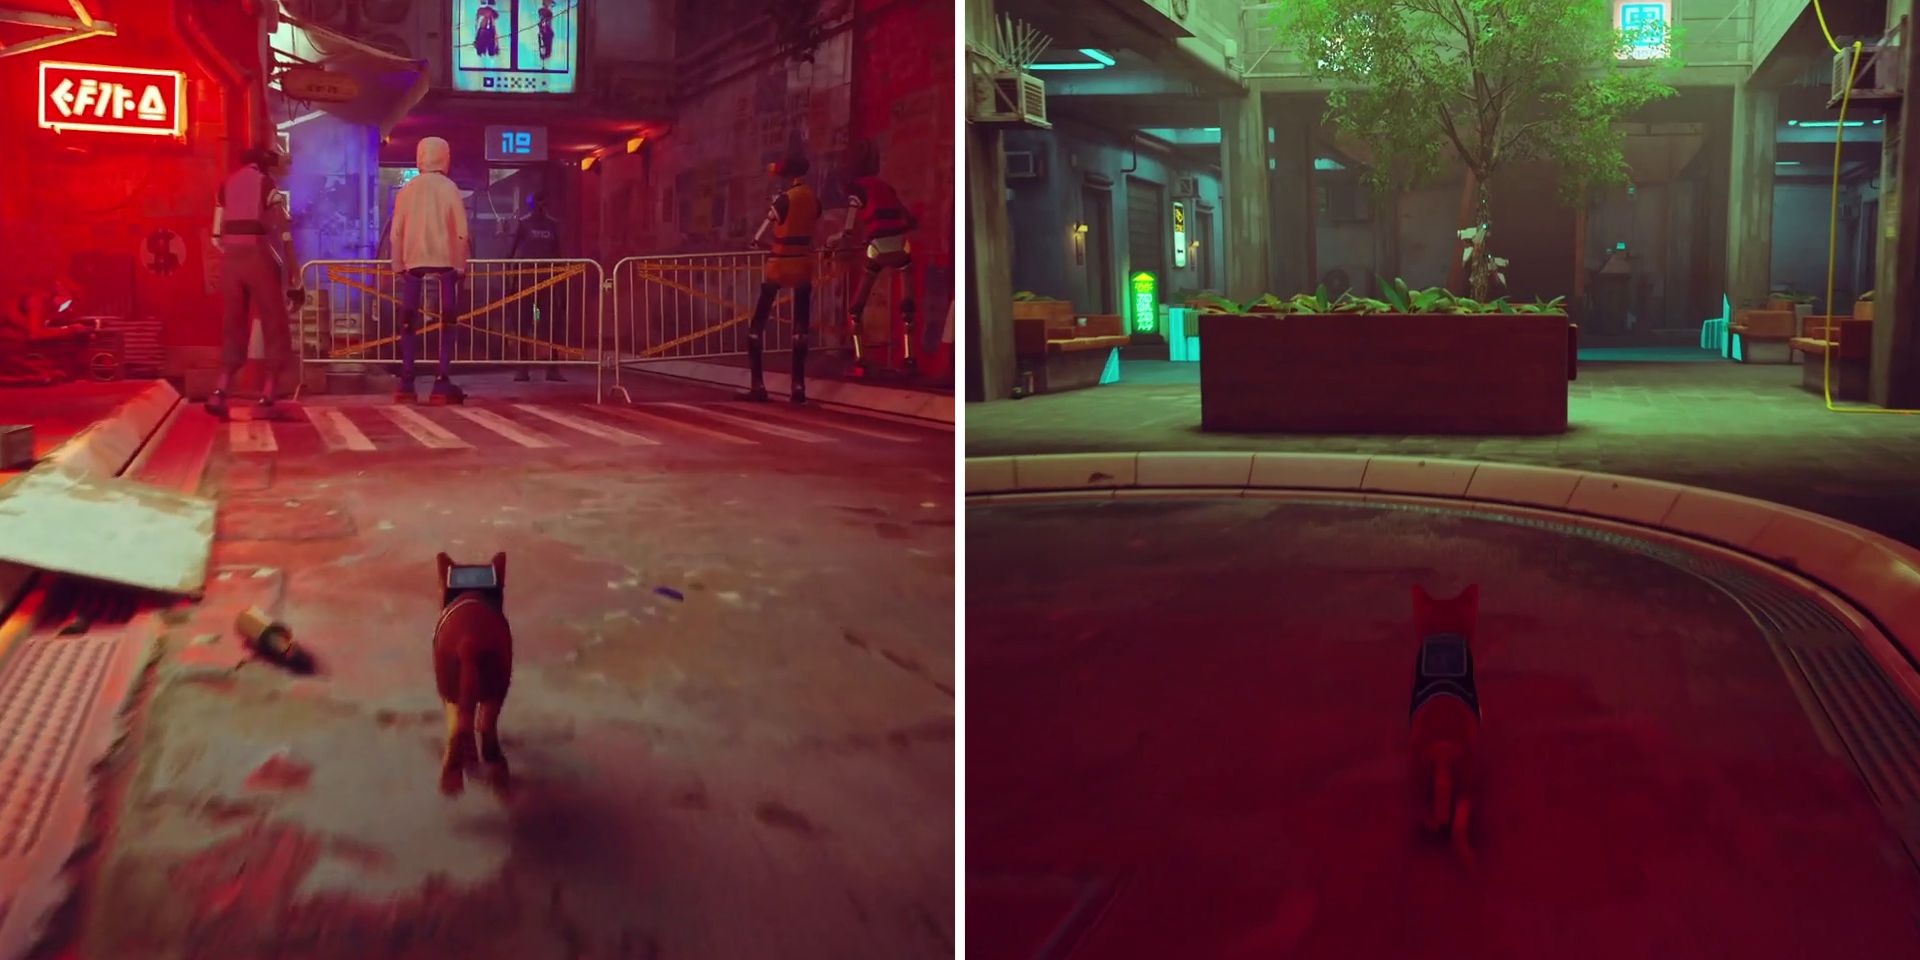
With the battery now in hand, players should return to the residence, which has now been cordoned off by Peacemakers. They'll be able to pass freely beneath the metal railing, however, and can even nuzzle up against the Peacemaker 198 robot who's standing guard. Unfortunately, the security drones inside the residence are not so friendly, so players should remain on their guard, particularly as restarting the checkpoint before reaching Clementine's apartment will take them all the way back to the station.
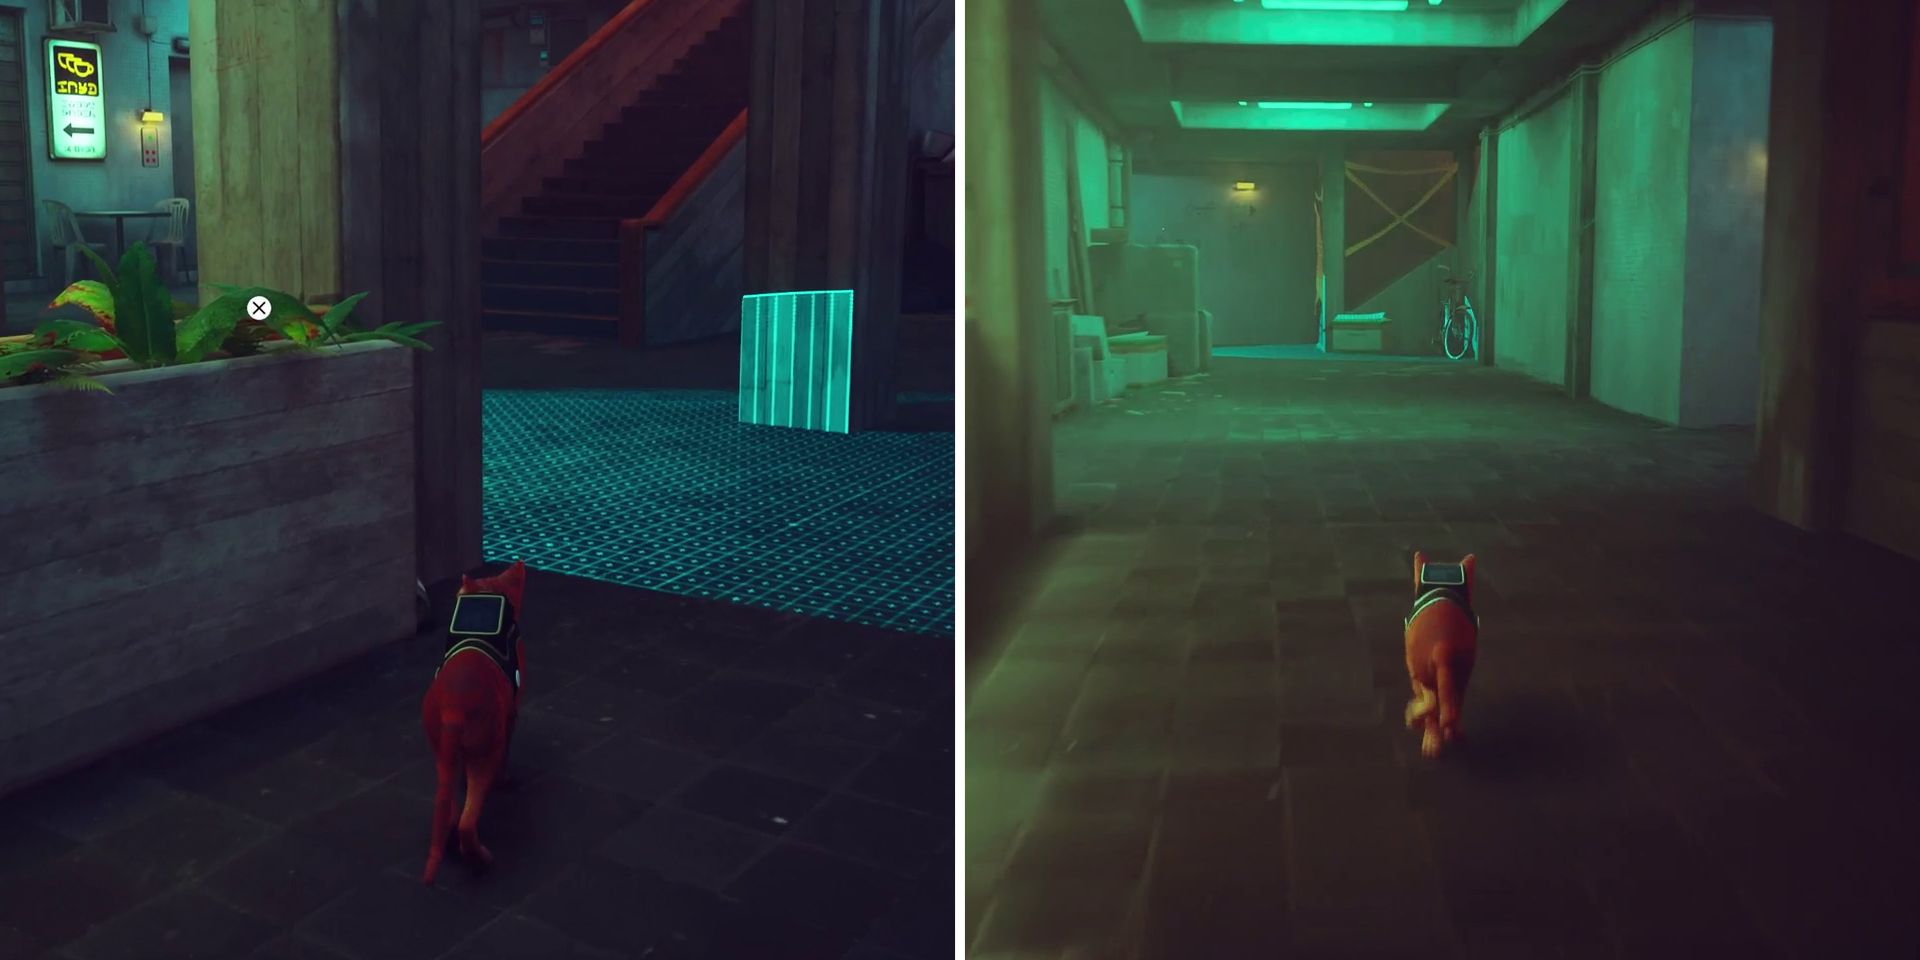
To make it through the downstairs area, players should use the wooden planters as cover and make their way up the stairs at the back while the drones aren't looking. On the next floor, they'll want to take a right at the top of the stairs and then another right at the first junction. At the next junction, they should go straight, but will need to be mindful of the security drone to their left as they do so.
Moments later, players will come to a left turn that leads to a straight bit of hallway and a patrolling security drone. Luckily, players can sneak past it while it's focused on the blocked-off stairwell or use the cardboard box in the center of its patrol route to avoid being caught. After that, they should turn the corner and take the stairs in front of them, again being mindful of being spotted by the robot to their left.
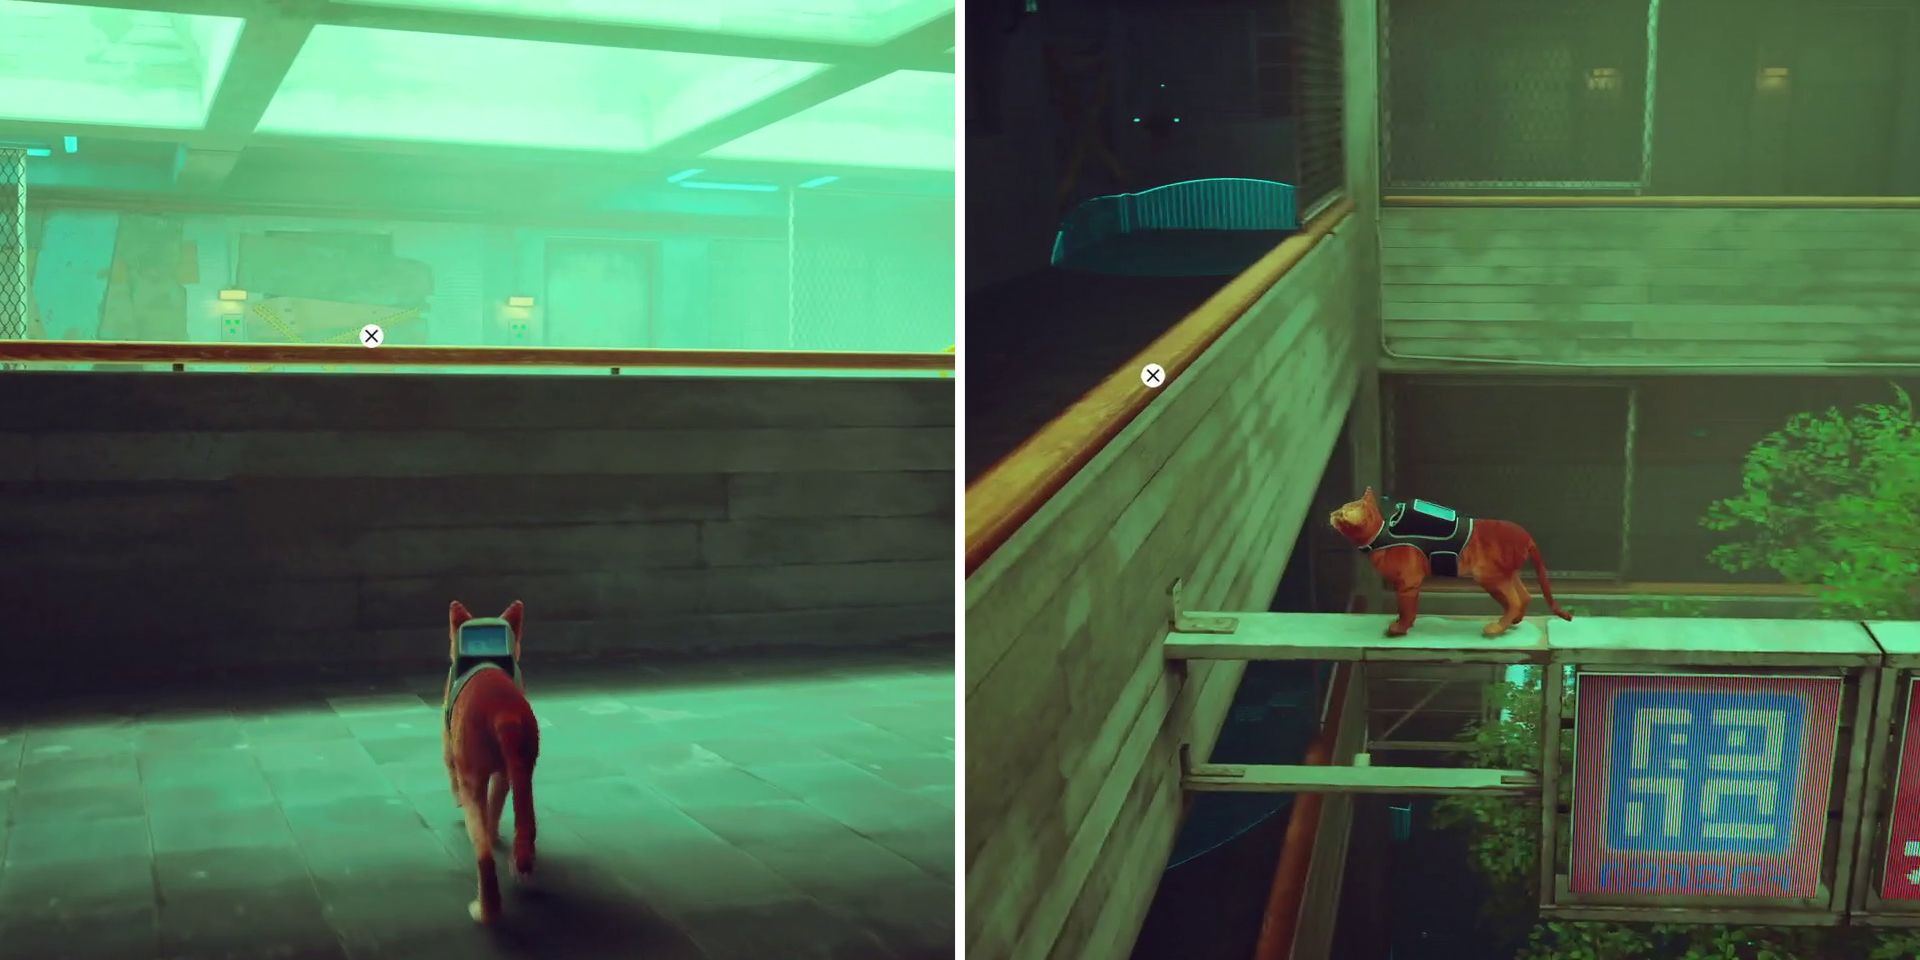
Thankfully, this next floor is a lot easier to navigate, with players simply needing to hop onto the railing in front of them and then use the advertising beam to get across to the other side. After making sure that the robot to their right isn't looking their way or about to turn around, players can hop down and jump through the gap in the wall to find themselves back inside Clementine's apartment.
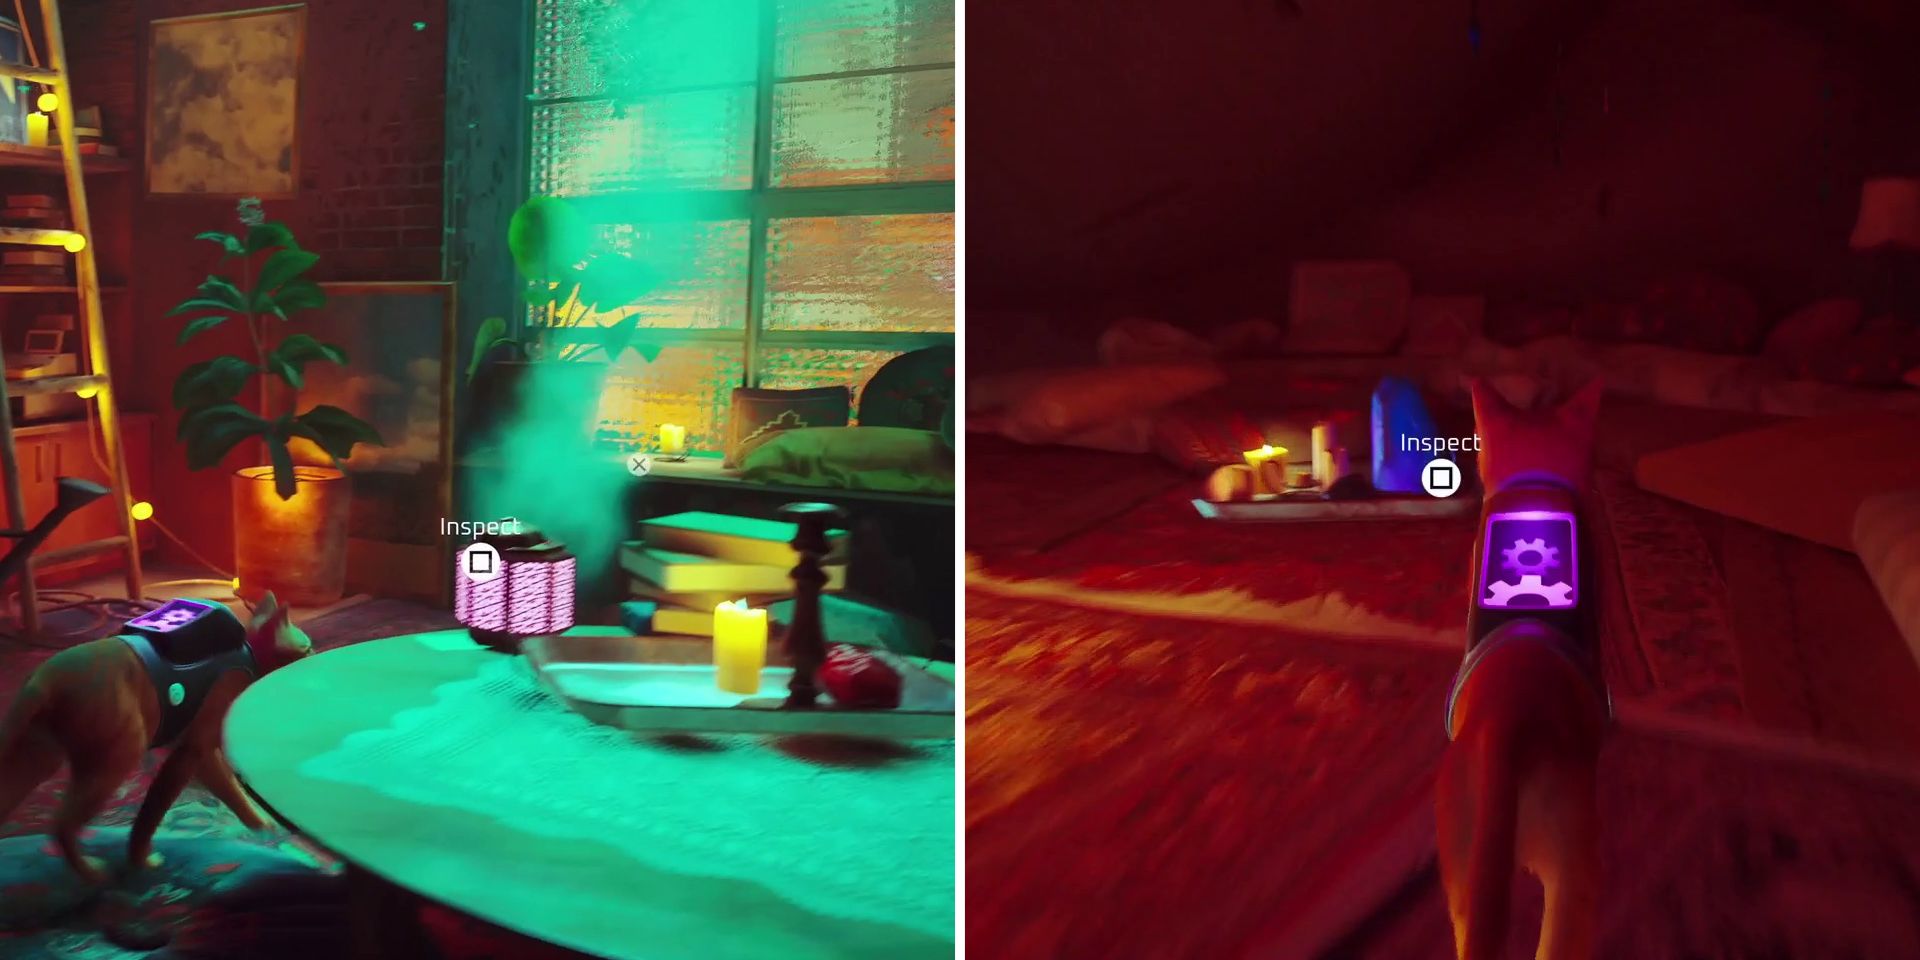
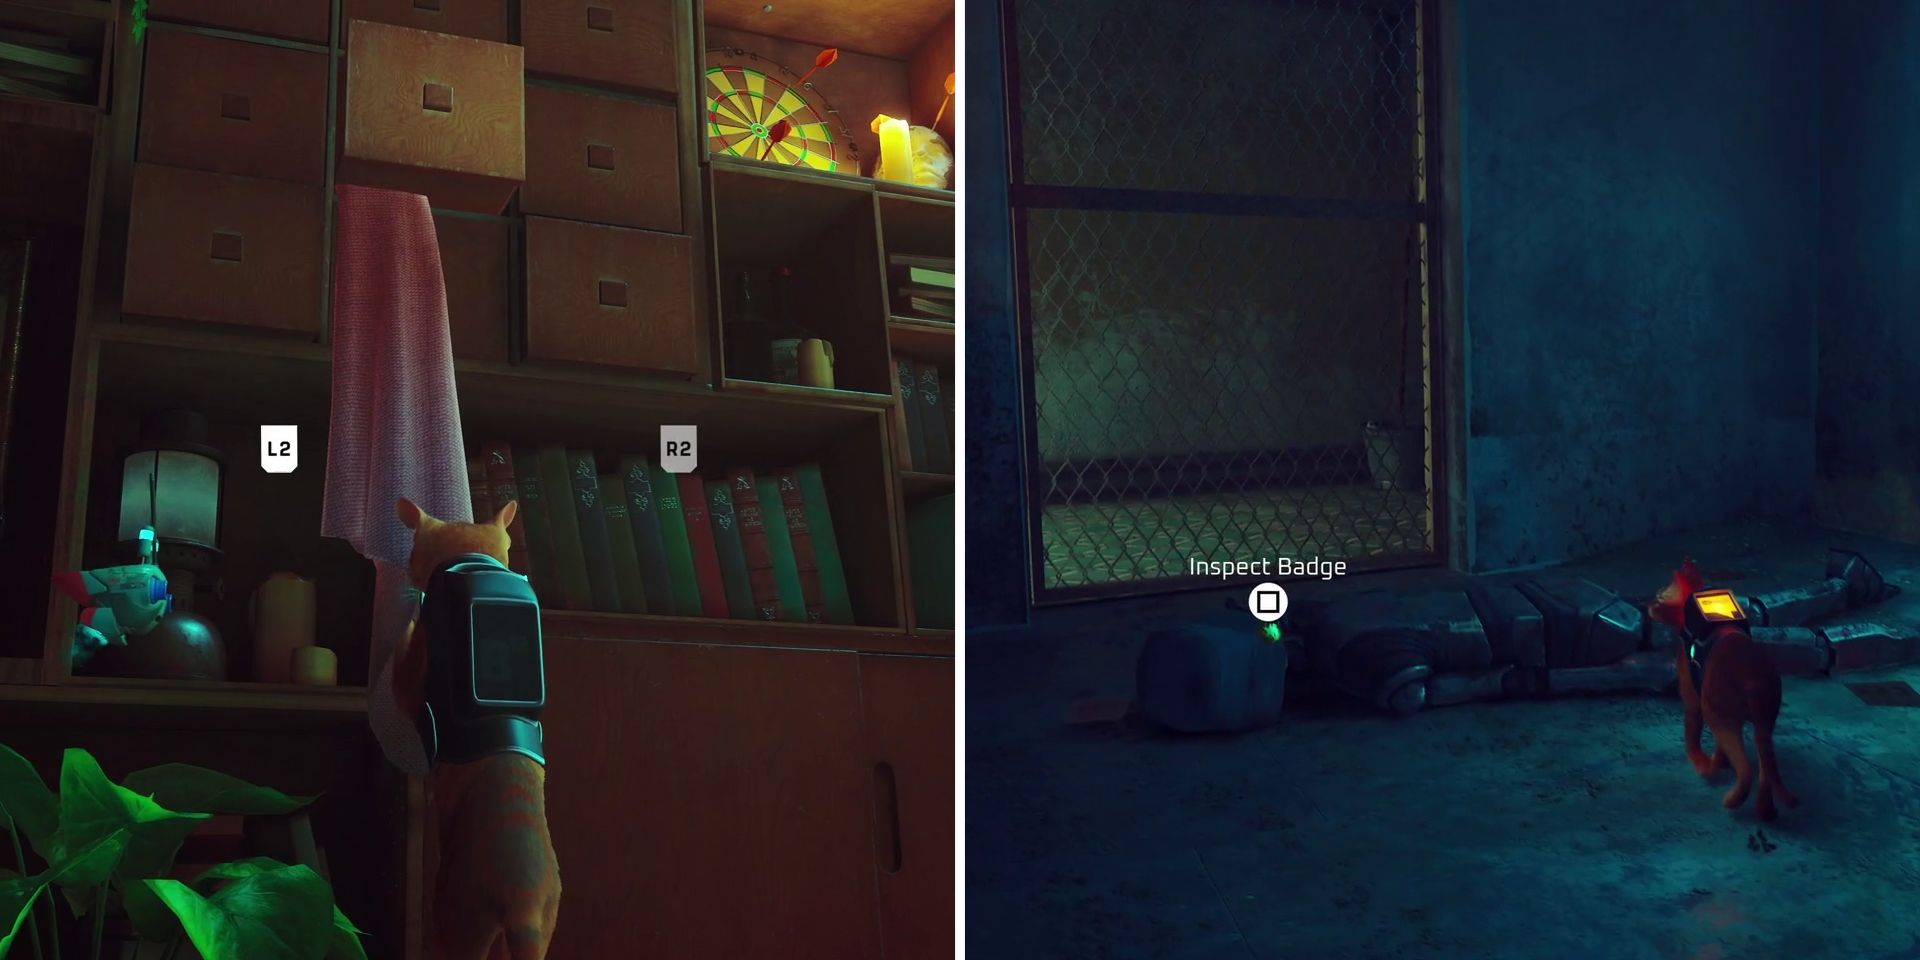
Unfortunately, Clementine is nowhere to be found, but she did leave a message behind on the corkboard before fleeing the apartment. To decipher Clementine's message, players should first examine the humidifier on the table in the lounge, and then the strange blue stone in the upper area, which can only be accessed by scratching at the pink cloth that's hanging out of the nearby drawer.
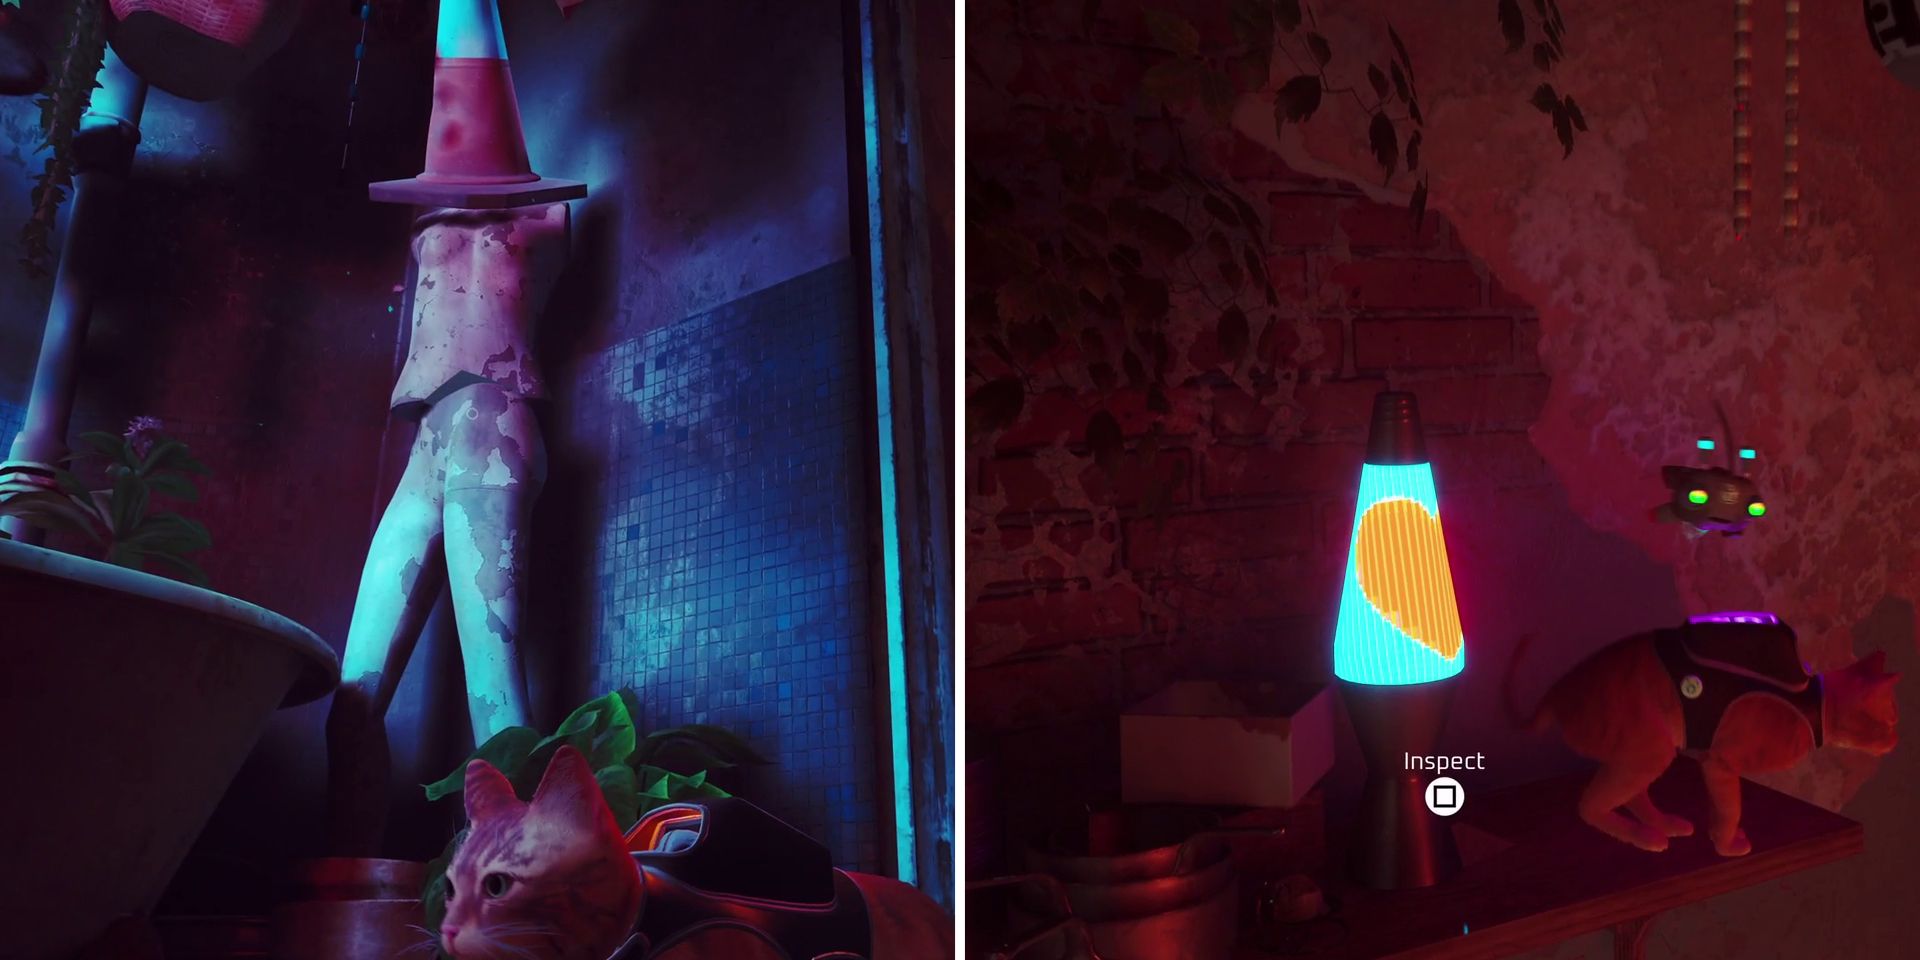
Next, they should inspect the mannequin with a traffic cone on its head in the bathroom and, finally, the blue lava lamp with the heart on it on the shelf above the kitchen sink. B-12 will then reveal the full message to players, which reads "I'm with Blazer, come to Nightclub." At this point, players should leave the apartment, being sure not to get spotted by the security drone as they leap through the hole. Once back in the hallway, they can then hop down onto the metal beams in the center and exit the residence for the final time.
Assuming that players were able to avoid being spotted by any of the drones in the last two sections, they'll unlock the "Sneakitty" trophy at this point. While on the subject of trophies and side activities, now is the best time to tackle them, with four more of B-12's 27 memories just waiting to be discovered as well as two more badges and six robots that can be nuzzled up against as part of the "Cat's Best Friend" trophy.
Whenever they're ready to progress the story, players should head to the nightclub, which is opposite the entrance to the alleyway where players first met Blazer. Unfortunately, they won't be able to enter through the front door and so will instead have to make their way around back and climb their way up to an open window to gain entry. Initially, there's a robot blocking the way, but if players speak with him he'll move so that they can get inside.
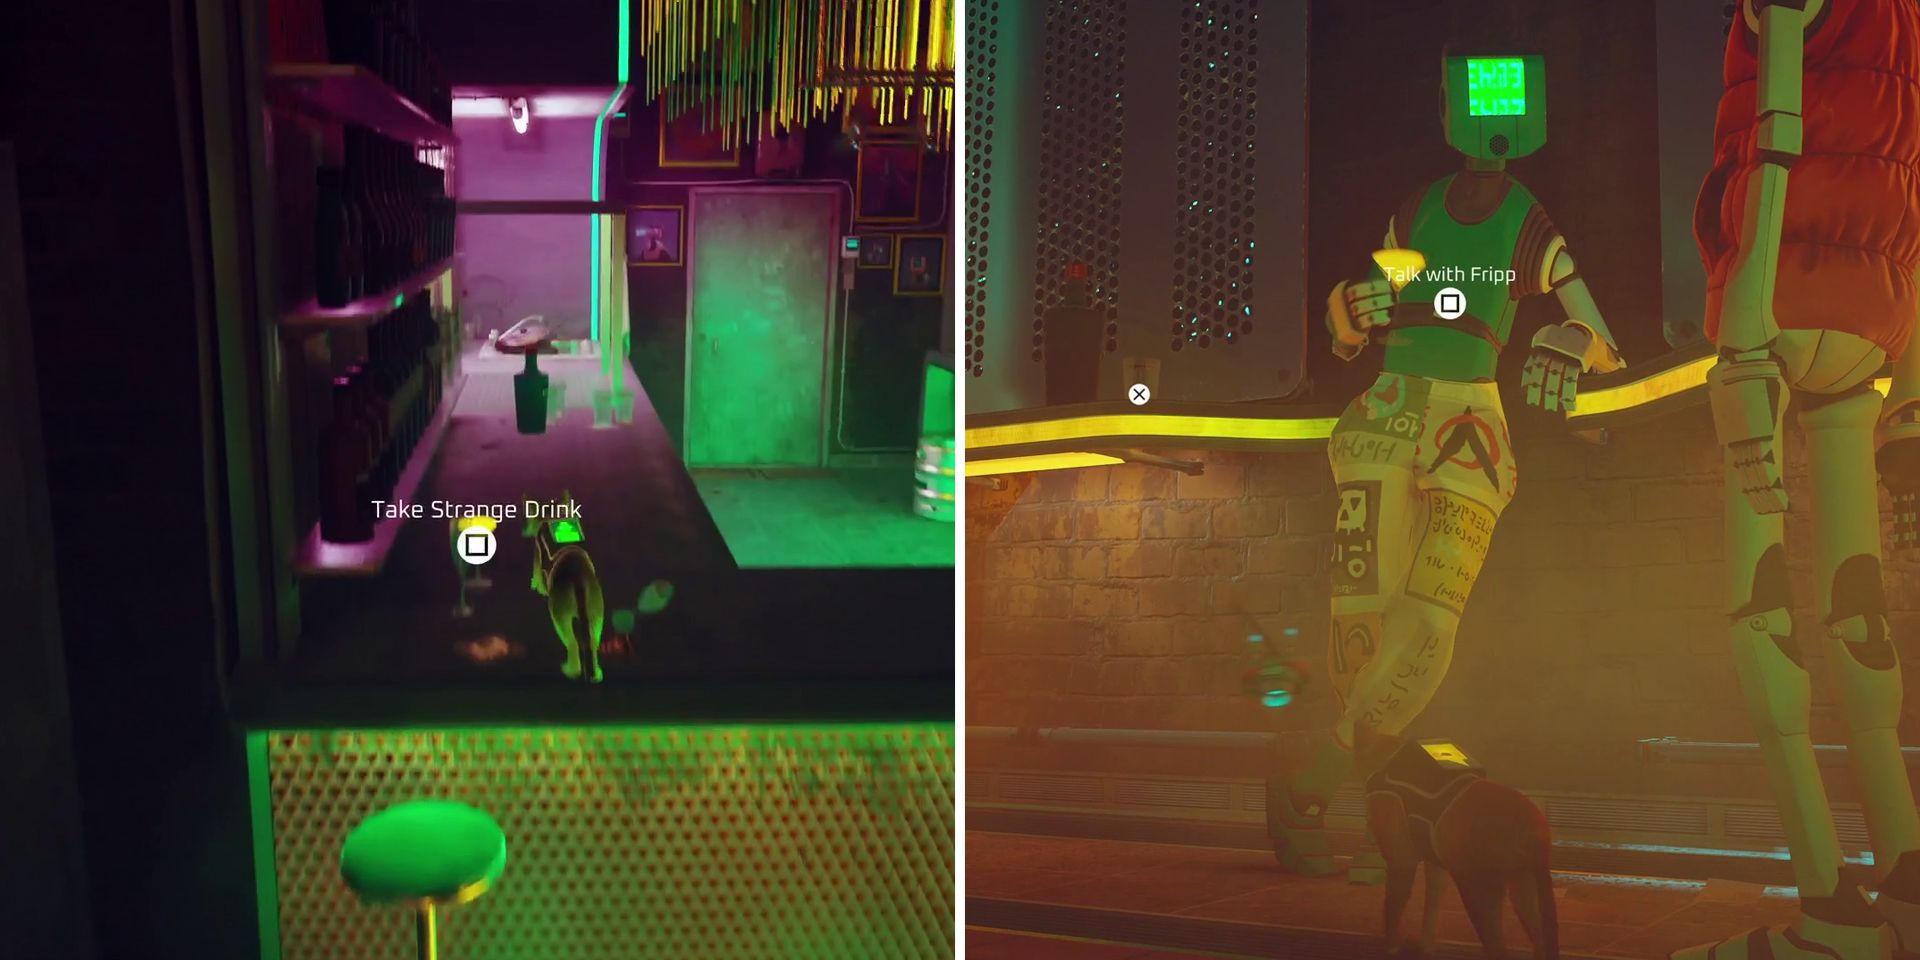
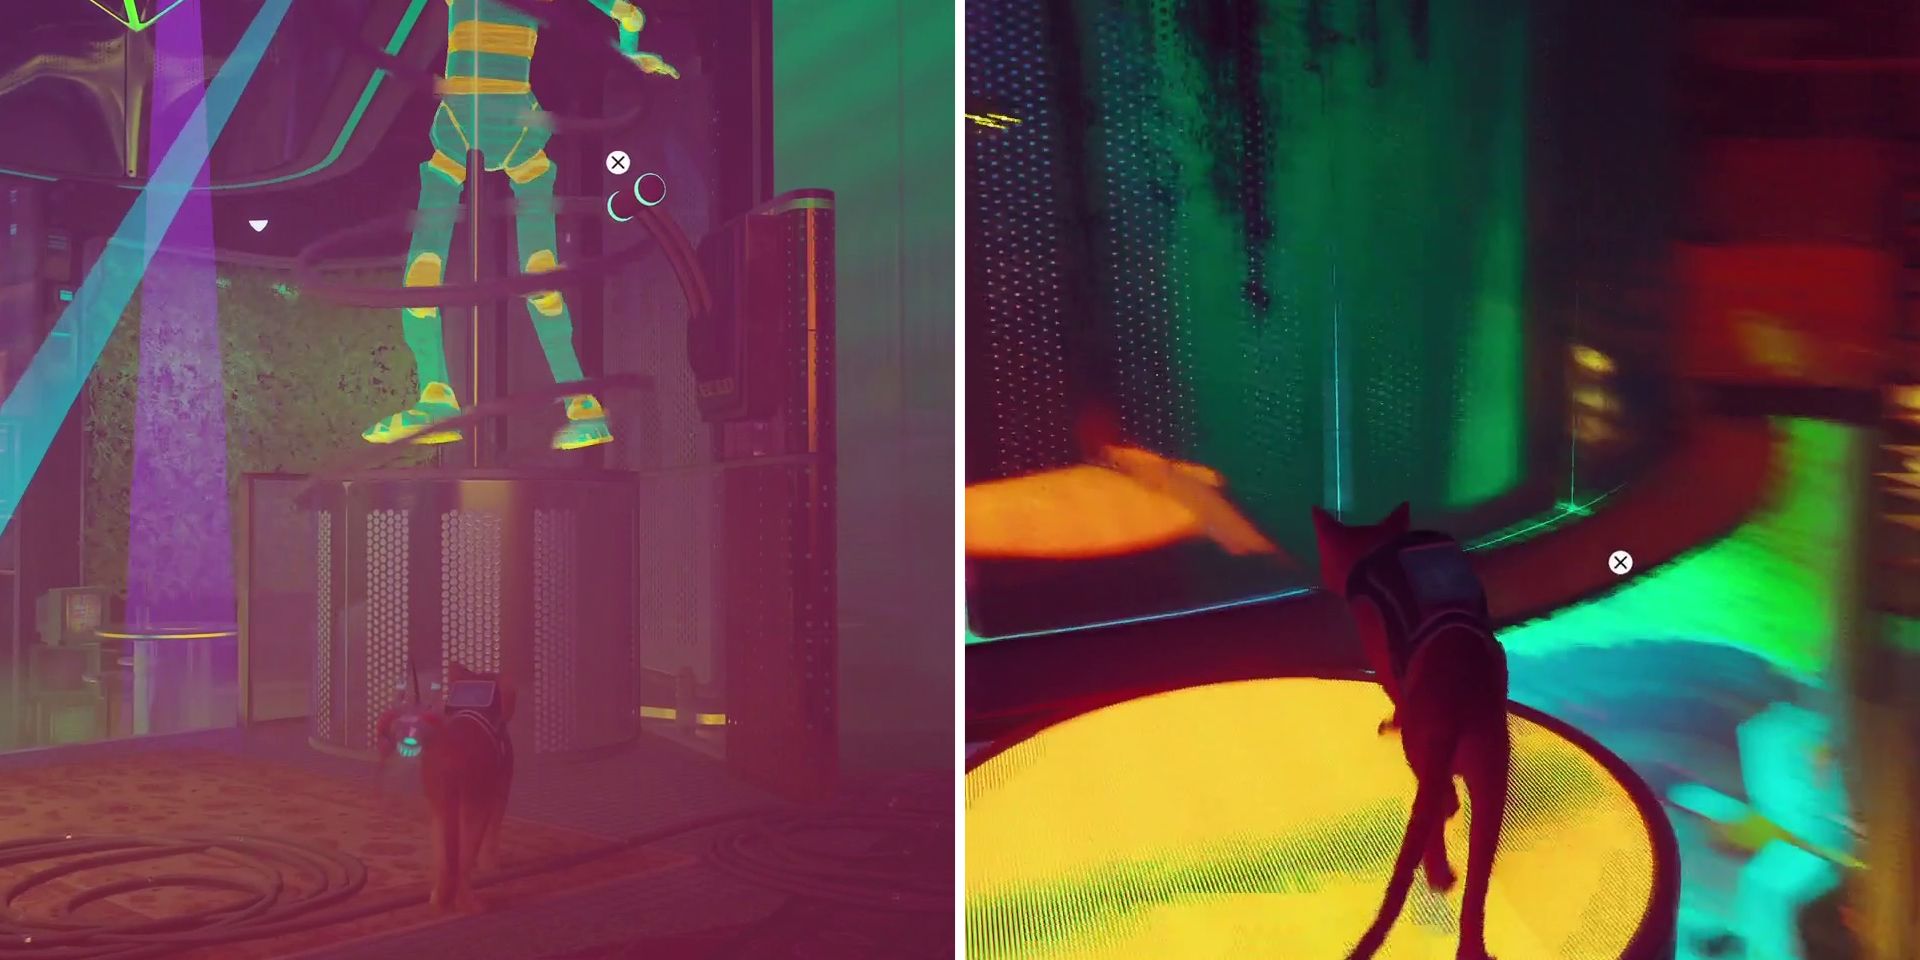
The first thing that players should do upon entering the nightclub is to grab the yellow drink from the bar directly in front of them. They'll then want to look for a robot holding a lever over on the right side of the dancefloor. If they give him the drink, he'll hand over the lever, which players will then be able to use in order to access the upper areas of the club and the VIP room where Clementine and Blazer are waiting.
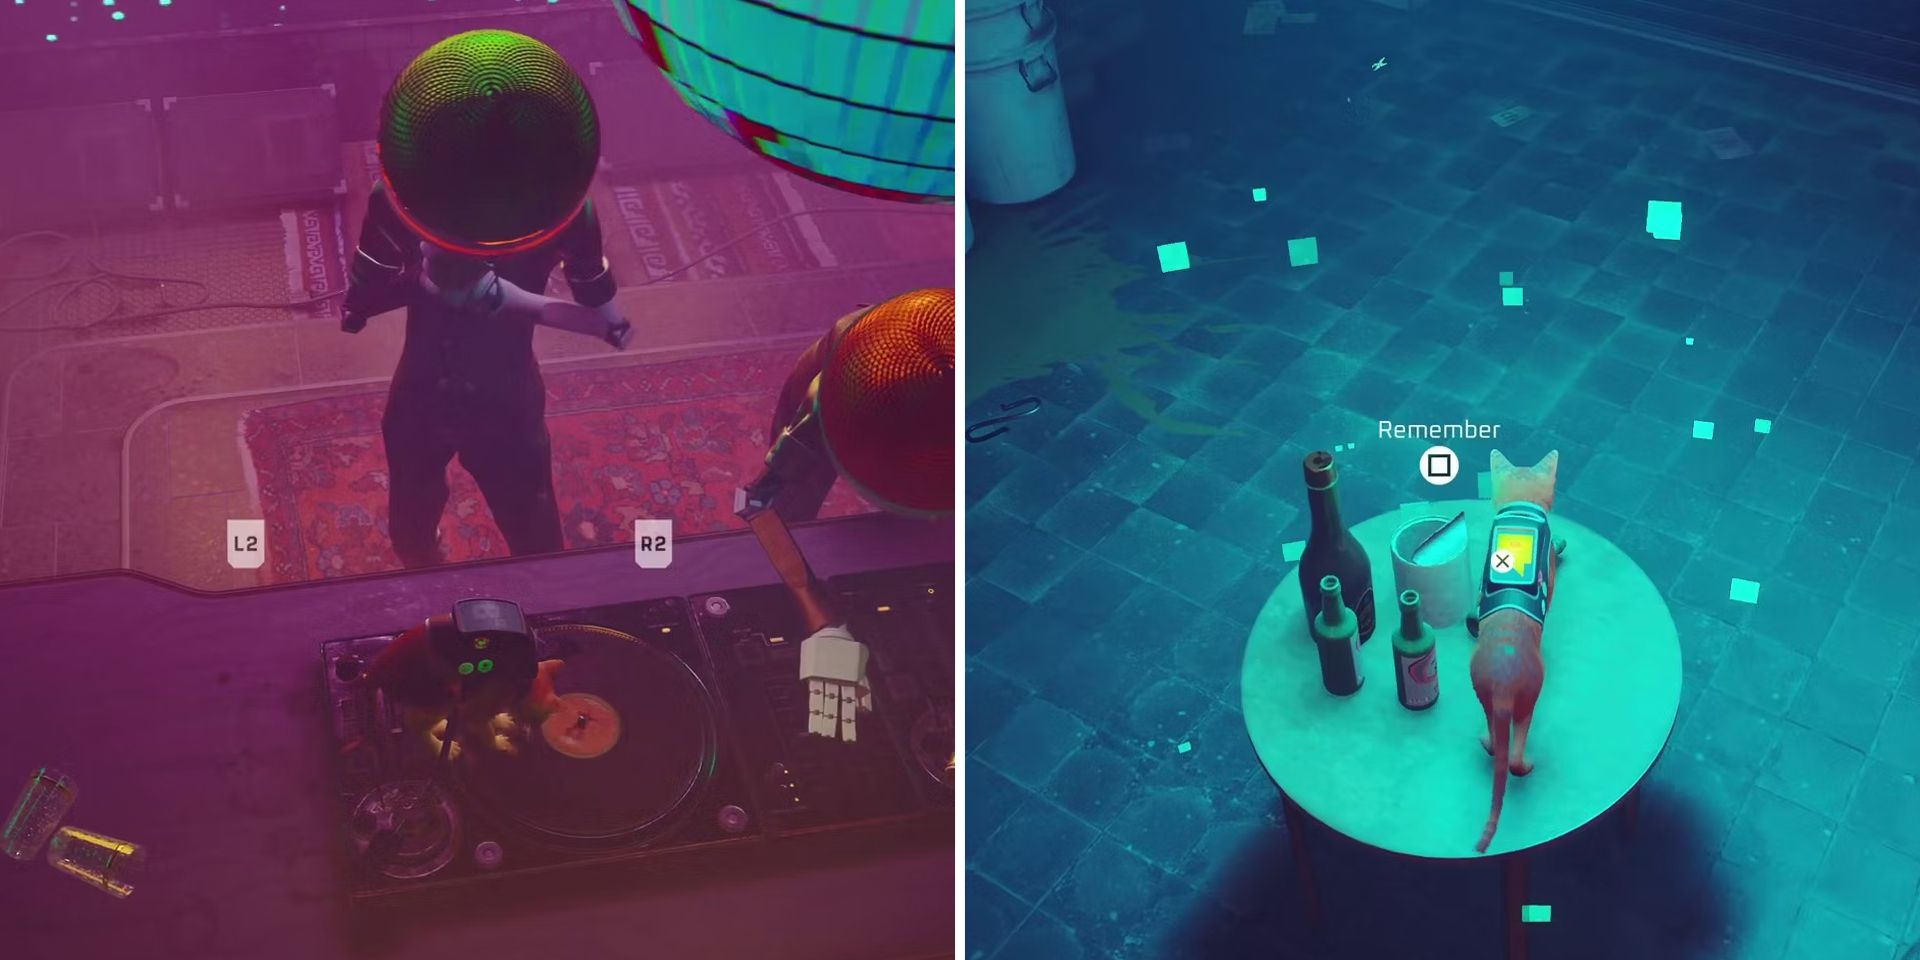
Before doing so, however, players may want to unlock the "Scratch" trophy by finding the record on the table on the dancefloor and taking it over to the DJ's turntables. Once it's in place, they'll be able to scratch the vinyl record by pressing Triangle followed by the shoulder buttons. Likewise, players should also consider heading down into the club's basement via the dumbwaiter to trigger another one of B-12's memories.
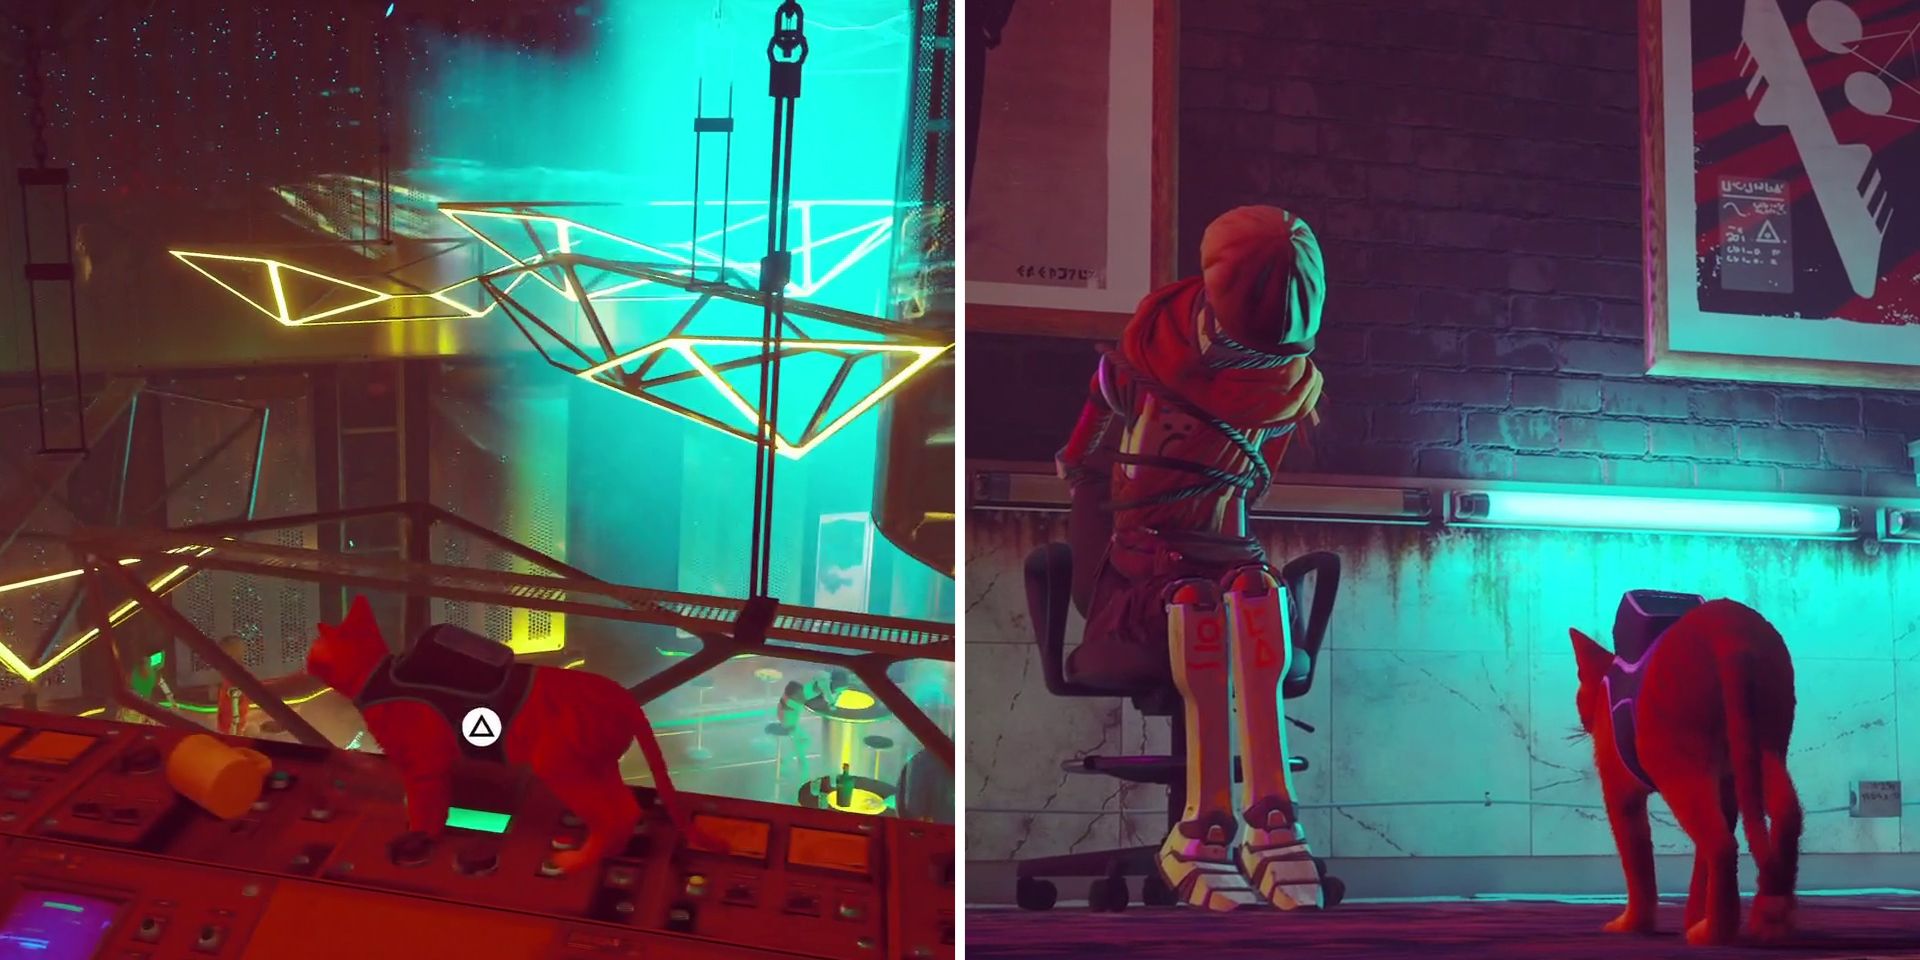
After dealing with the club's side activities, players should look to the right of the DJ's turntables, where they'll find a spot to place their recently-acquired lever. They can then jump onto the lever to make the nearby machine controlling the holographic dancer turn off, allowing players to climb on top of it. After a moment or two, one of the DJs will turn the hologram back on, at which point players can jump off and follow the ledge to their right to find a desk that controls the club's lighting.
Upon reaching this desk, players should press the button on the left, followed by the one in the middle. Next, they should press the one on the right before pressing the middle button for a second time. If done correctly (left, middle, right, middle), the lights will now be positioned in a way that allows players to jump across. Doing so and heading up the stairs on the other side will trigger a cutscene, which leads directly into Stray's eleventh chapter, Jail.
Side Content in Chapter 10 of Stray
- "Territory" Trophy (10/12): Scratch the pink cloth hanging out of the drawer in Clementine's apartment (unmissable).
- "Sneakitty" Trophy: Complete Chapter 10 without being detected by any of the security drones. If a security drone happens to spot a player, they'll be able to reload the checkpoint and try again.
- "Scratch" Trophy: Scratch the vinyl record in the Midtown nightclub while looking for Clementine and Blazer.
- "Cat's Best Friend" Trophy: Nuzzle up against any five Ledoc, Bonobot, Paoudre, Koondy, Krooni, and Peacemaker 198. It doesn't matter if players missed some of the game's previous robots that can be nuzzled up against as they'll only need five for the trophy to unlock.
- "Badges" Trophy (Cat Badge): Unlock the Midtown safe in the yellow electronics shop using the code 8542.
- "Badges" Trophy (Police Badge): Examine the dead robot in the cell inside the Peacemaker office.
- "Badges" Trophy (Neco Badge): Find the factory worker's missing keys and return them to him.
- "I Remember!" Trophy (19/27): Walk out onto the subway platform at the beginning of the chapter (unmissable).
- "I Remember!" Trophy (20/27): Examine the glowing books in the makeshift home to the right of the subway station exit.
- "I Remember!" Trophy (21/27): Examine the pillows and blankets in the area above the cleaning robot in the alleyway.
- "I Remember!" Trophy (22/27): Examine the junk in the ceiling cavity above the barbershop.
- "I Remember!" Trophy (23/27): Examine the glowing light in the ceiling cavity above the restaurant.
- "I Remember!" Trophy (24/27): Examine the security drone poster inside the Peacemaker office. This memory will only be accessible after stealing the Atomic Battery.
- "I Remember!" Trophy (25/27): Examine the table in the basement of the nightclub, which can be accessed by using the dumbwaiter built into the bar.
Stray is available now on PS4, PS5, and PC.

