An X-Wing and a TIE Fighter are engaged in deadly combat. Pass after pass, they are widdling down each other's defenses. The shield of the Republic ship has been depleted, but the TIE Fighter is down to half its hull strength. They pass by an additional time, firing lasers and torpedos at one another. Despite a combination of evasive flying and countermeasures, they are each down to about 50 hull strength. The next laser will probably be fatal for either one. The X-Wing turns and fires first!
But... the TIE Fighter is now fully shielded. The laser bounces harmlessly away, and the TIE Fighter finishes off the X-Wing. The TIE Fighter might take the glory here, but it was his support ship that won the day. An amateur gamer can assume that they win games due to individual prowess, but the experts know that it takes a team. In Star Wars: Squadrons, the staple of that team is the support class ship. Here are some tips from the pros who know that their primary job is one that wins games.
10 Which Side To Fight For

Unlike the rest of the factional ships, the TIE Reaper and Republic U-Wing are identical on paper. This does not, however, mean choosing the faction that the player likes the best, no matter how alluring the dark side is in video games. The view from the cockpit is different, for starters.
Plus, teammate composition is a huge factor. Imperial forces are faster and more maneuverable and will need an ally that can keep up. Republic forces have more shields and heavier ammunition and need a wingman that boosts these advantages.
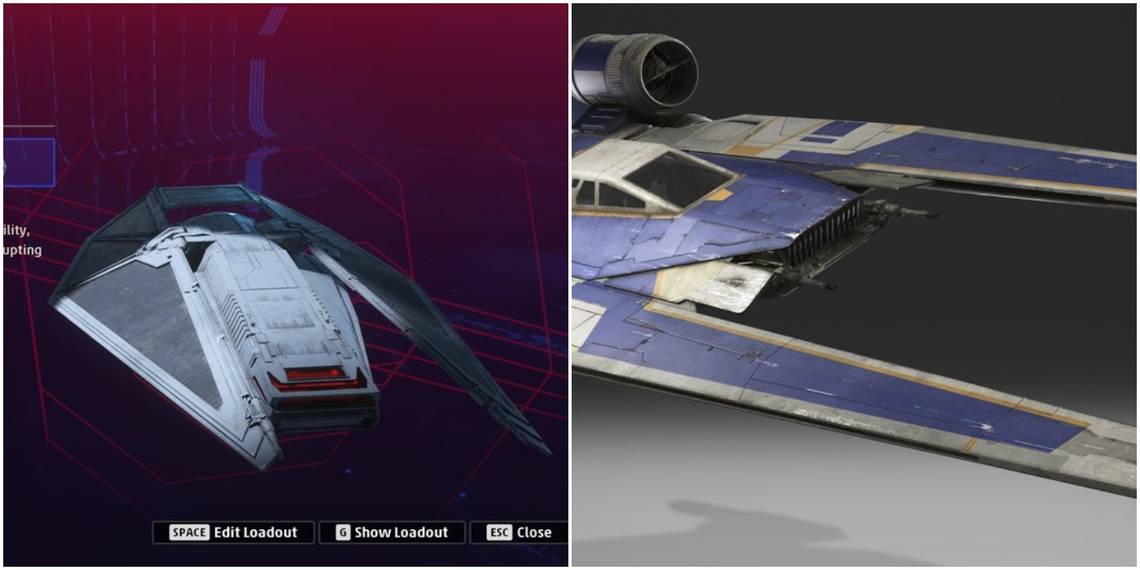
9 TIE Reaper Strategy

The TIE Reapers will need to brush up on what their team of pro fighters will be doing tactically. Success will come by covering for their weaknesses and amplifying their strengths, which affects both loadout and behavior.
Imperial forces, besides the supports themselves, have depleted shields—or no shields at all, in some cases. So, make sure to be boosting these fighters constantly. Also, with quicker forces, make sure to be boosting engines often; enemy A-Wings will be lurking for straggling support vehicles.
8 U-Wing Strategy

Team composition is wildly different for the Republic and Empire, so don't fall into utilizing the same build just because of equal statistics. With pro players playing the interceptor class so differently between factions, it's important to meet the needs of the team.
Squadmates will need something to help bridge the gap in maneuvering, and some well-placed targeting beacons could be just the ticket! Also, make sure to employ countermeasures that account for the speedy TIE Interceptors trying to get on the support's tail.
7 Back Of The Line

No one will complain when their teammate helps out by firing a few lasers and missiles in combat; teamwork is critical to success! But, support vehicles can easily get carried away in a dogfight and forget their purpose.
Getting too far ahead can get the support craft killed, but, worse, it can also get the entire team killed. Most of the help from the support starships are fired in front, so getting ahead of the team means everyone behind loses their assistance. This is especially fatal for the exposed bombers.
6 Helping Out

Do not let the above warning scare players off of doing what is needed, though. Support vehicles need to stay alive and boost their squadron, but being in back means having a full view of the battlefield. This isn't a space flight simulator, this is war—fire some shots!
Specifically, look out for enemy ships that use their countermeasures. These defenses take time to recharge, so fire away when these defenses are down. With a heavy hull and shields, it's better to err on the side of taking a few hits than being irrelevant.
5 Loadout

There is some license for creativity when flying the support ship. Much like in other Star Wars video games, where underrated characters make a big difference, overlooked items can be the key to winning a battle and saving some lives.
U-Wings already have a team with shields, so maybe try some stealth systems out and get the bombers into position. TIE Reapers are on squads with more offensive capabilities, so give that tactical resupply droid some consideration.
4 Communicate Choices

In line with the last entry, it is vital to let the squad know what choices are being made and what the plan of attack is. If a resupply has not been selected, that's a perfectly valid choice, but the crew should know to conserve missiles and not fly back to the player's position when running low.
If making a choice that gets the team off of the radar, bombers need to know to take a flight path that keeps them out of eyesight. There's not going to be any cheating in Star Wars: Squadrons, so classic skill, choice, and communication are what the pros will have mastered.
3 Shield Direction

Support craft will only need to boost their lasers if the fight has turned very sour, and their speed should be comfortable behind the slower bombers. This means most support pilots will be boosting their shields during a scrap.
Focusing shields is a full-time responsibility. Keep an eye on the radar and pay attention to where the fight is taking place and direct the shields in that area. Leaving them normal is a good choice for players with the battle in front and a few fighters or interceptors in back, but, if the combat is all in one direction, it's time to manage those shields accordingly.
2 Follow The Bombers

When arriving at an objective, bombers will have a serious job to do, a job that means winning or losing. And, if the squad wants to climb the ranks and progress, they'll need to make sure they do more than kill enemy players; they'll have to win the game.
Bombers will be trying to navigate missile towers while locking on to strategic locations, usually while hangers are spitting out new waves of enemies to deal with. They really could use a buddy to help them take care of business, so, when choosing between helping out fighters and interceptors or bombers, make sure the bombers get the job done first.
1 Leadership

The one who takes the role of the leader before the engagement and during the fights should be the U-Wing or the TIE Reaper pilot. Their loadout selections determine the entire course of action for the upcoming battle.
In the heat of battle, fighters and interceptors will be zipping around while bombers will be heading towards objectives. If anyone gets too far behind or ahead—or if enemies begin to sneak up—then the support needs to be the one standing back, taking it in, and directing friendly traffic to keep control and guarantee victory.