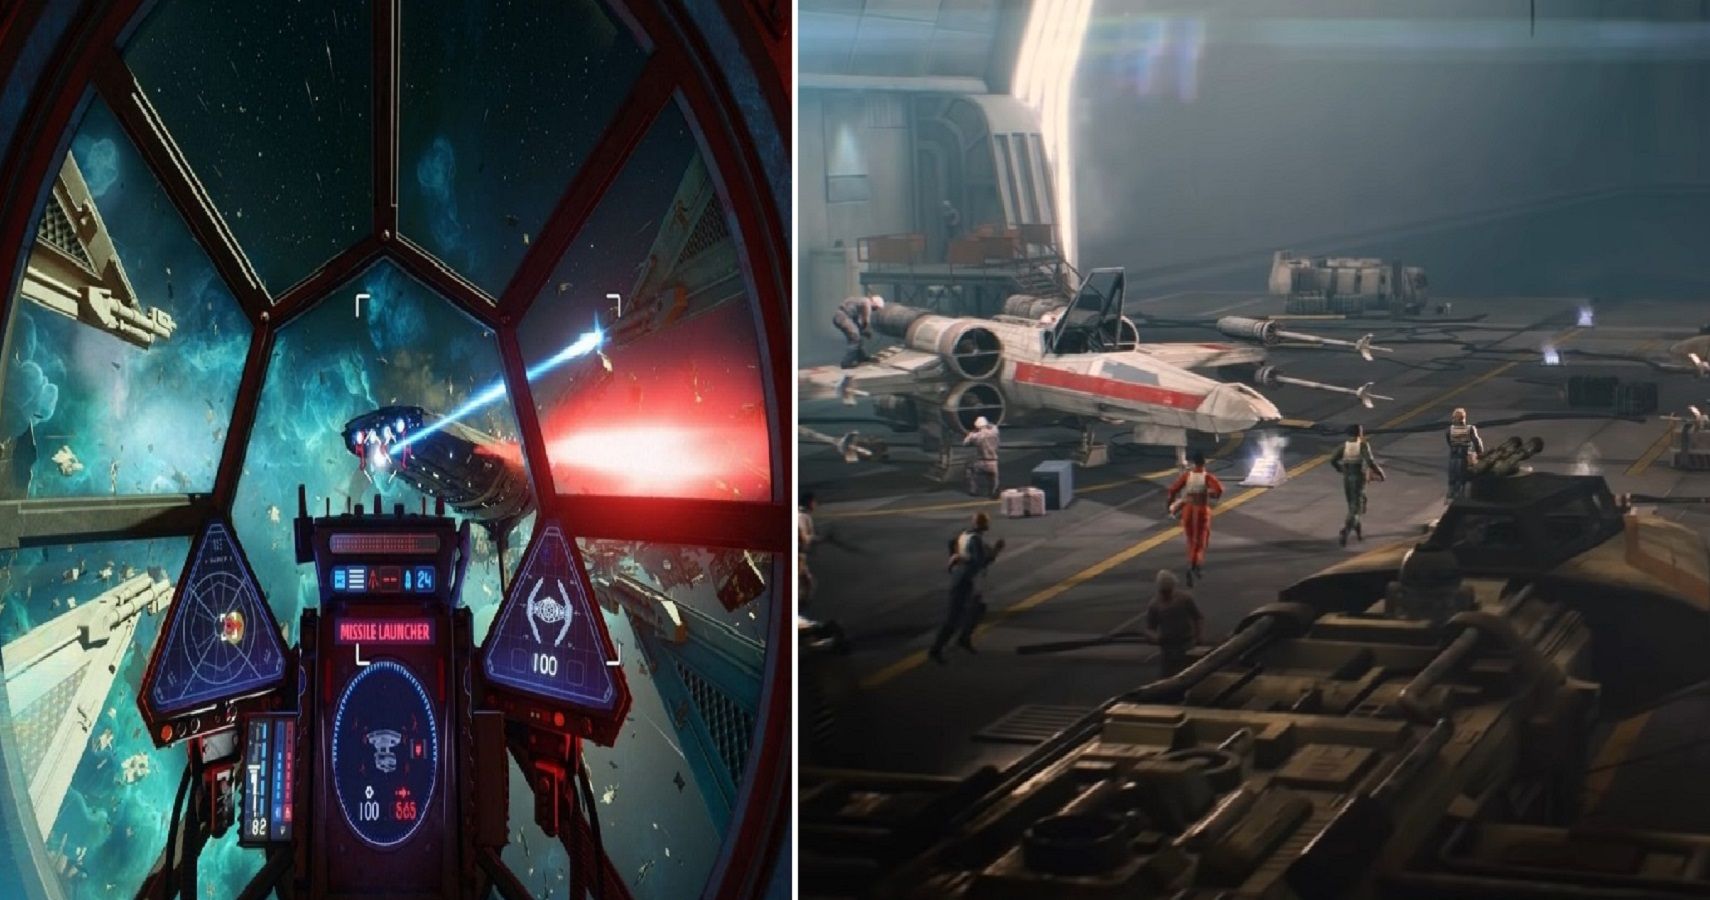
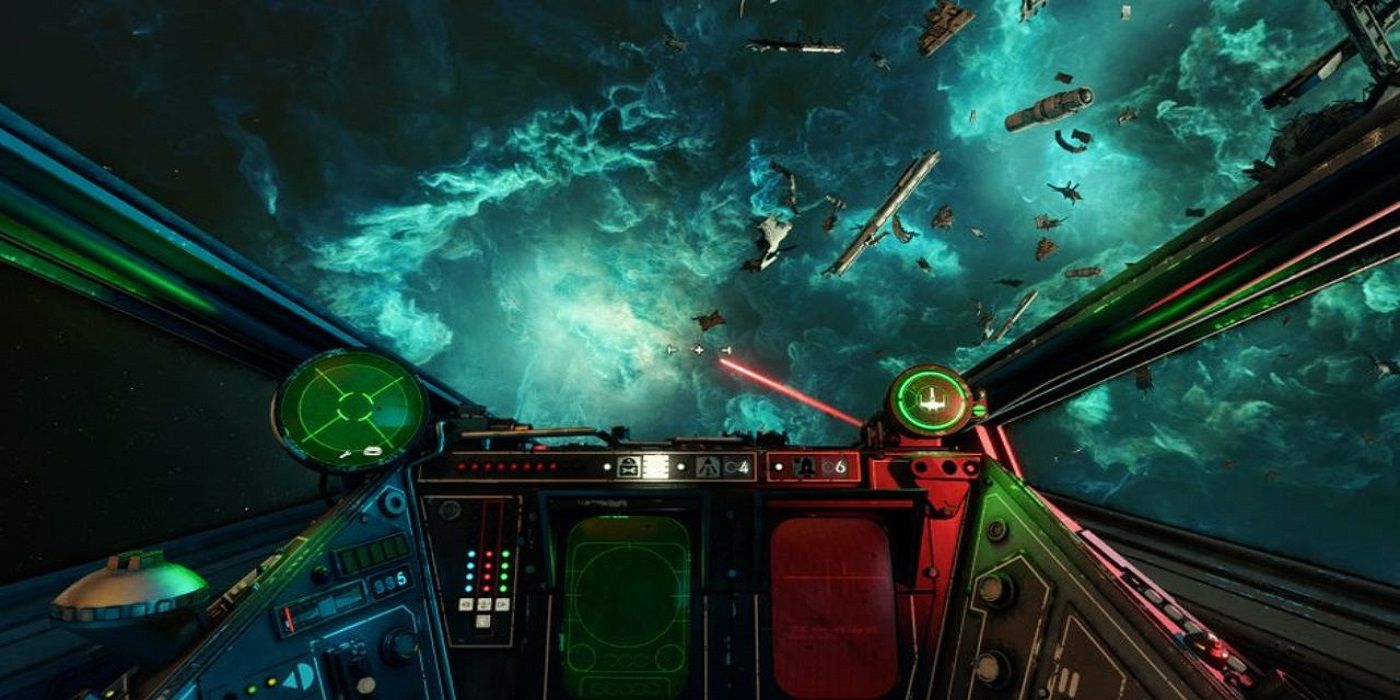
Like every big franchise, Star Wars has had an interesting history in the world of gaming. Not every title based on the legendary franchise has been a hit, but some (such as Star Wars: Rogue Squadron and its sequel) have gone on to be regarded as true galactic greats.
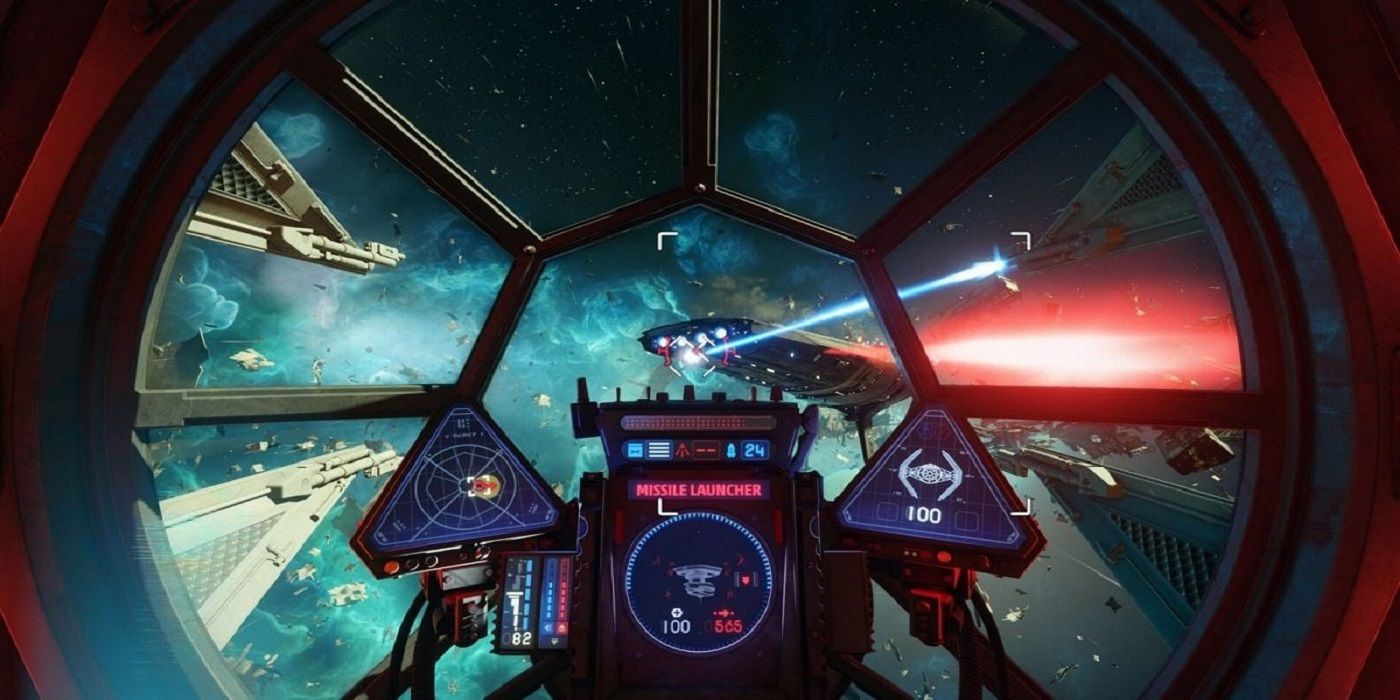
While Star Wars: Squadrons boasts some of the most atmospheric and immersive spacefaring action fans have seen in some time, it’s far deeper than your average intergalactic blaster. Here are some pointers to help newer players get to grips with the meat of the Squadrons experience: Fleet Battles.
10 Firstly, Understand The Concept Of The Mode
Fleet Battle mode sees two teams of five players battling it out for supremacy in a typically Star Wars theatrical space battle. On one side, the might of the Dark Side’s Titan Squadron. On the other, the goodly Vanguard Squadron. It’s a familiar setup, but players who try to speed in and take out their opposite number with nary a thought for strategic nuance are going to have a bad time.
A Fleet Battle is a complex back-and-forth, so there’s a lot more to take into consideration. A Fleet Battle has various phases besides dogfights, so always be aware of which team has the Morale advantage, which targets you can safely tackle and which you can’t, which subsystems to target on your opponents’ flagship and other crucial details.
9 Remember That It’s A Team Effort
A lot of multiplayer titles, from Overwatch to Overcooked, tend to rely heavily on teamwork (and a keen awareness of a given player’s role on said team). In such games, it can be very difficult to carry a lackluster team to victory singlehandedly, as everybody is expected to pull their weight.
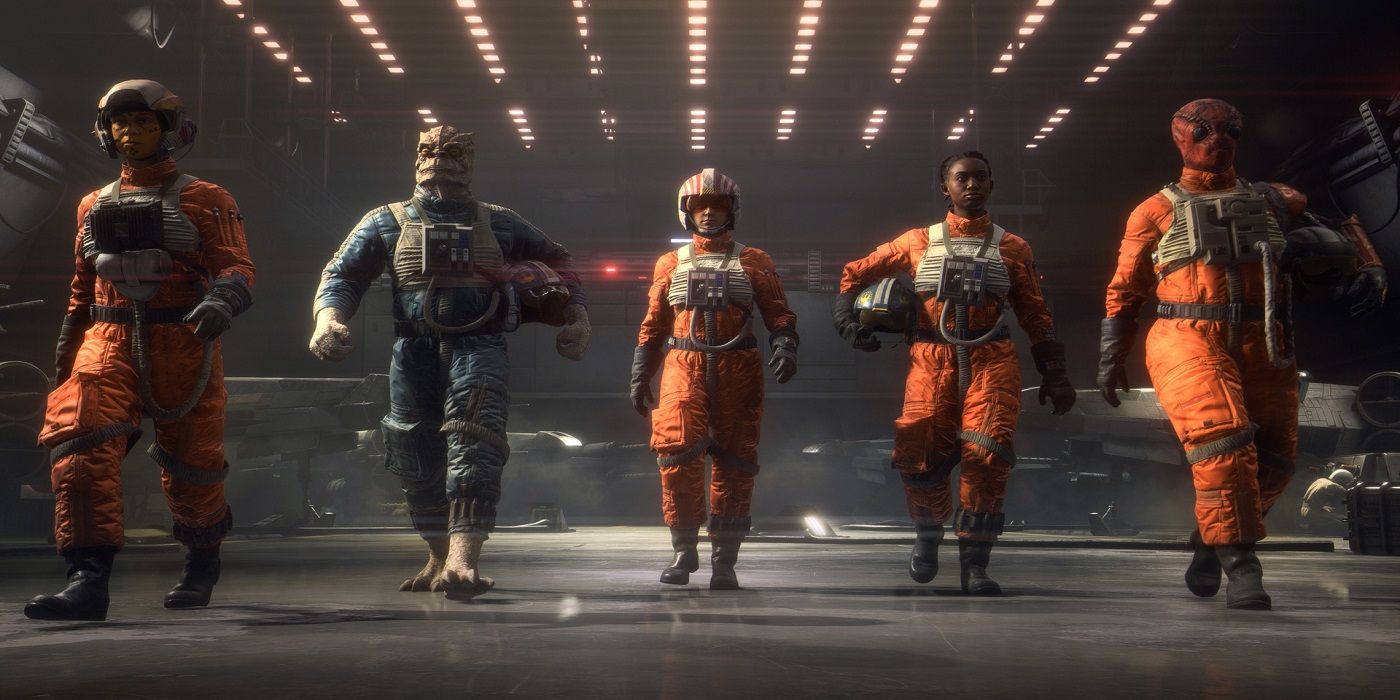
This is also the case with Squadrons. Lone wolves can have a huge impact if they’re skilled enough, yes, but no ace pilot is an island. Co-ordination is the key to success, so know what your allies are doing, keep track of them and work to your common flagship-destroying goal together.
8 Make The Most Of Your Customization Options
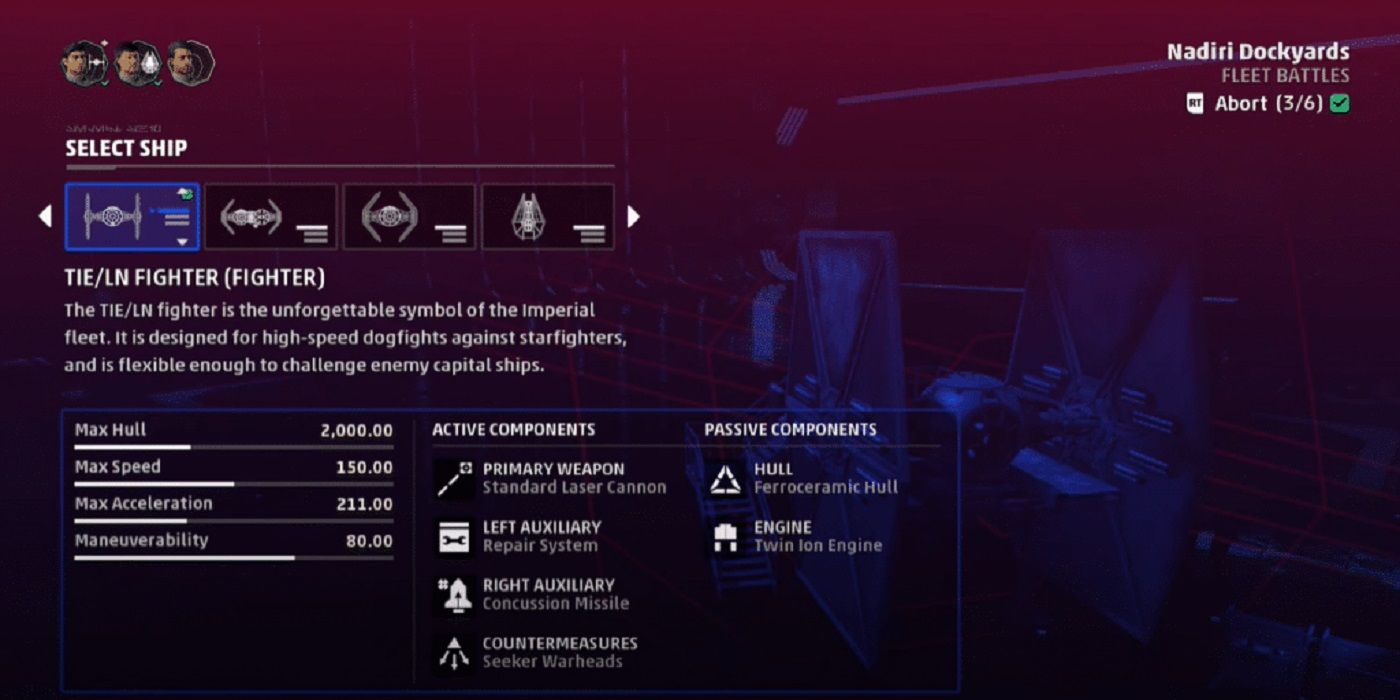
As with almost any multiplayer-oriented title with its salt, Squadrons allows the player to tailor their ship and equipment to their playstyle (and to the battle situation they’re going to face) by customizing their loadout.
Between their Glory and Requisition currencies, players can purchase a wide away of decorative and practical items, the latter of which can dramatically change the way a ship performs. An X-Wing, for instance, derives huge benefits from the Loronar Ray Shield, which cuts primary weapon damage taken. Meanwhile, the Galactic Empire’s TIE Reaper is often best equipped with a Sienar Tactical Supply Droid, the better to keep allies in the fight.
7 Bombers Are Very, Very Important
The crux of Fleet Battles is having a variety of ships performing their specific roles in tandem with each other. As always, the support class is often neglected, but nobody is more important than anyone else and everyone has an equal part to play in a team’s success or failure.
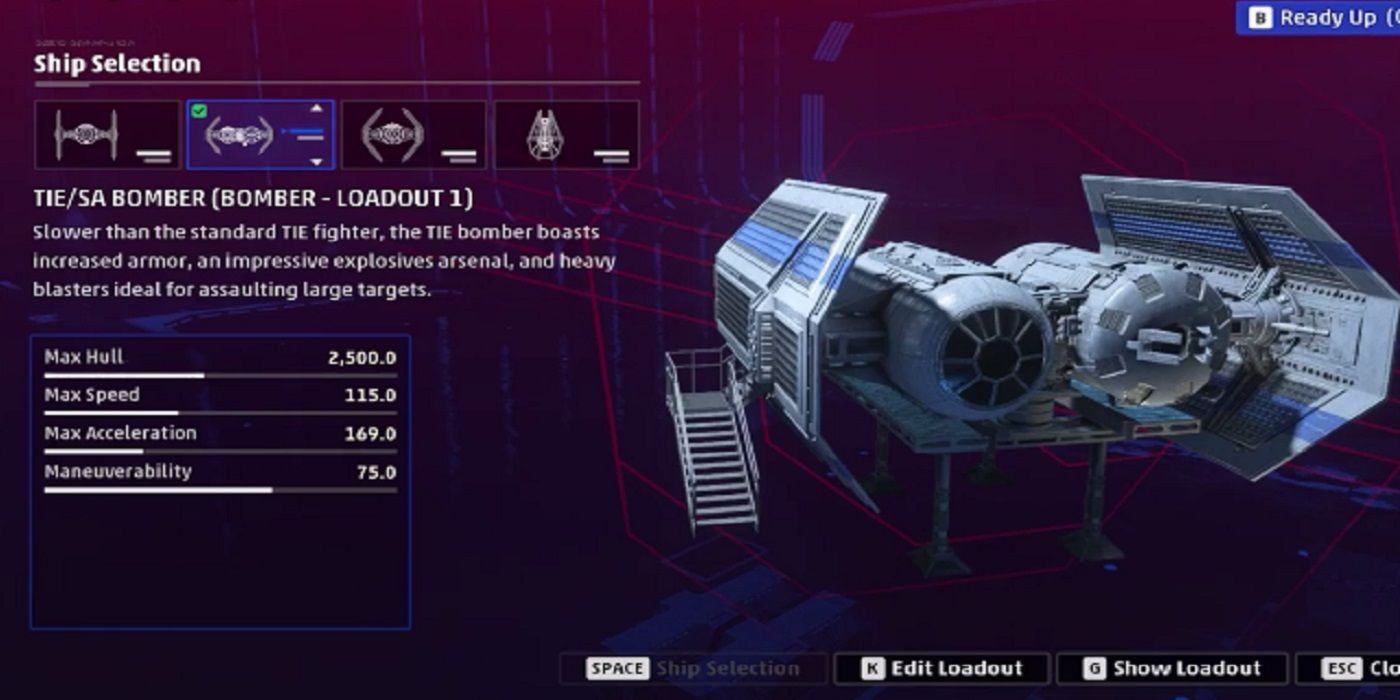
Having said that, one type of ship that has decided many a Fleet Battle is the bomber. Y-Wings and TIE Bombers are capable of delivering tremendous damage to their targets but tend to be a primary focus of the opposition as a result. They’ll often strike the game-winning blow, but they’ll also often be shot down trying! Deft use of this ship class can be the key to victory.
6 Play To Your Ship Type’s Strengths
Despite the absurd damage potential of the TIE Bomber and Y-Wing, despite their solid shielding, they’re far from impenetrable. Powerhouses they may be, but going it alone will be nothing more or less than disastrous. If that final assault on the opponents’ flagship, everyone will need to be working as a cohesive unit.
Ships are divided into four classes: the aforementioned Bomber, the Fighter (X-Wing and TIE Fighter), the Interceptor (A-Wing and TIE Interceptor) and Support (U-Wing and TIE Reaper). Without fighters using their dogfighting proficiency to keep foes at bay, without the agility and speed of Interceptors (aim for those darn turrets) or the supportive capacities of… Support, a team’s efforts will quickly fall apart. It bears re-emphasizing: for everyone to be able to do their job, everyone else has to do theirs.
5 Divert Power To The Right Place At The Right Time
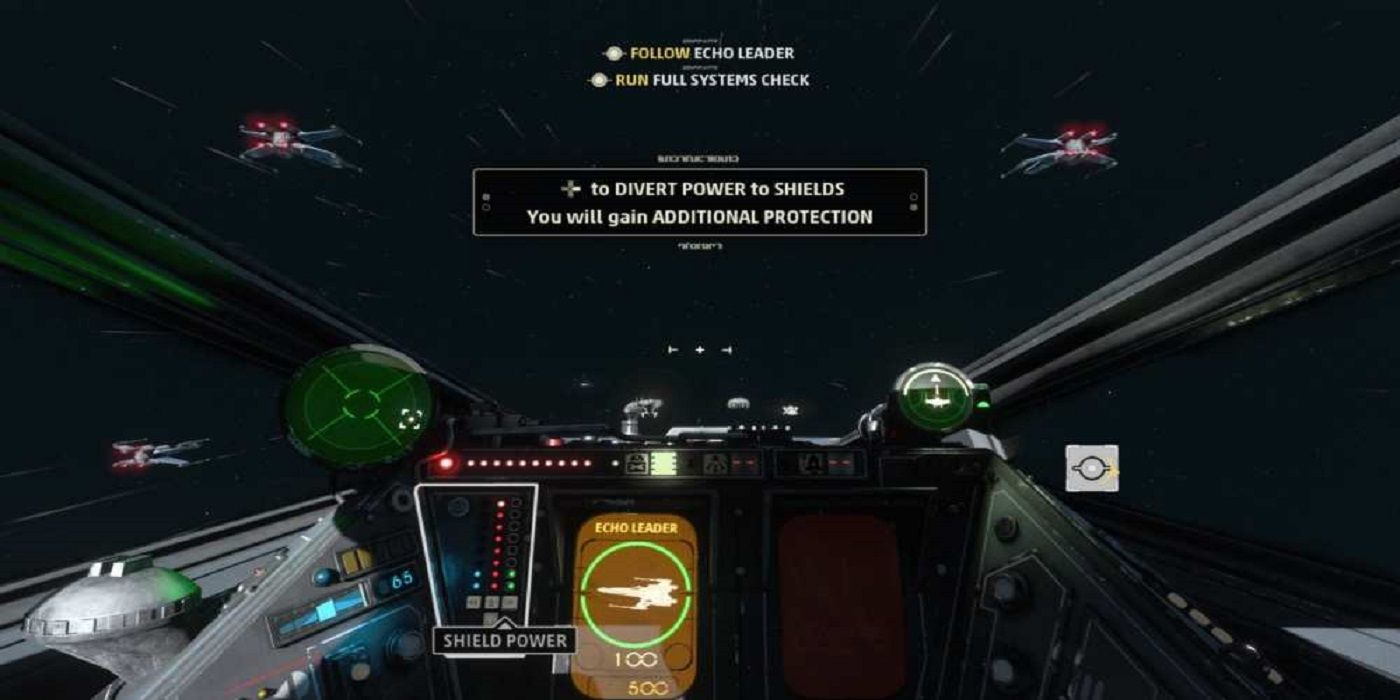
A key aspect of general solid piloting in Squadrons is learning to effectively divert power across your ship. This mechanic allows the player to transfer power to and from their craft’s lasers, shield and engine (where appropriate), at the simple touch of a button.
Doing so offers the advantages you’d expect (diverting power to lasers offers more damage, say), as well as the disadvantages (drawing power from your shields right before taking damage makes for an all-around bad time). It’s a simple concept, but it adds another layer of tactical complexity to consider. The most successful players will be constantly switching between these modes as the situation in a Fleet Battle changes. Don’t miss out on the huge performance boost you can get from using this mechanic well.
4 Don’t Underestimate The Importance Of Morale
Those who have played a few matches of Fleet Battle will have noticed the Morale meter, which is where the tug-of-war aspect of the mode comes into play. Essentially, defeating enemy ships give a team a boost in Morale, while losing ships causes a drop. When a team’s Morale reaches a certain threshold, they’re switched to an offensive state, giving them a crack at the opponents’ command ships while the opposing team is forced to defend.
Targeting human players (which are worth more Morale than AI ones), communicating with allies to identify and help team members in danger and being aggressive (where possible) are all vital ways of gaining and maintaining the Morale advantage.
3 Every Aspect Of The Match Is As Important As Another
A Fleet Battle consists of three primary stages: ship-to-ship dogfights to establish dominance (and Morale advantage), an assault on/defense of Capital Ships, followed by taking down the foes’ Flagship, which marks victory. The focus and general strategy will shift between each of these stages and some targets may become greater or lesser priorities, so it’s vital to be adaptable and not to become complacent as a result of earlier successes.
2 Don’t Just Go For As Much DPS As You Can Deliver
A lot of Star Wars fans will simply want to jump into a X-Wing, tailor it for damage and unleash the full force (or rather, Force) of their inner Luke Skywalker on the Imperials. This is a perfectly workable strategy, and the versatile X-Wing fighter works well in most Fleet Battle situations, but players may need to quell that familiar multiplayer instinct to go all-out DPS in every match.
In this mode, it can be very important to deliver specific types of damage to key targets. Yes, take those enemy fighters down by any means necessary, but against the Capital Ships and Flagship, both brains and brawn are needed. Ion-based damage and shield manipulation is the key here.
1 Target Those Shields (And Other Subsystems Where Appropriate)
When it comes to the enemy Flagship in particular, gamers will need more than a quick Proton Torpedo to the exhaust port (sans targeting computer, naturally) to claim victory. As is always the case in the Star Wars universe, the bigger ships take a little trickery to bring down.
In Fleet Battles, a Flagship’s subsystems need to be targeted. There are four types: Power System, Tractor Beam, Targeting System and Shield Generators. Delivering strategic damage here can take specific subsystems out of commission, a huge advantage for the attackers. With the Power System damaged, for instance, the attackers will be able to see weaknesses in the Flagship’s body, which increases the damage dealt. Removing the Tractor Beam as a factor or mitigating the effects of enemy turrets (by prioritizing the Targeting System) is great, but the Shield Generators will tend to be the priority. Take out those shields as soon as you can, for a much quicker and easier assault!

