After finding the five Golden Keys to unlock the cabinet containing the secret of Monkey Island, Return to Monkey island players will find themselves back on the series' titular island. Part 5 begins with Guybrush and Elaine trekking through the jungle, with Elaine attempting to temper the expectations of both her husband and the player with some clever and thoughtful dialog.
Eventually, the pair reach the giant monkey head, but are accosted by Flair before they can head inside. Elaine hangs back to deal with the pesky pirate, allowing Guybrush to push onward down into the depth of Monkey Island. Here, he and the player will need to solve several challenging puzzles in order to reach the climax of Return to Monkey Island and finally uncover the series' longstanding secret after more than three decades of waiting.
How to Free Wally in Part 5 of Return to Monkey Island

Soon after heading underground, players will run into Wally, who is hanging precariously above a pit of lava. If players had the foresight to scribble down the serial number of the shackles on the deck of LeChuck's ship in Part 2 and then got a key made upon their return to Melee in the previous part, they'll be able to use this key to rescue the map maker and unlock the Free Wally achievement. If not, there's no way to release him and they should just press on.

Not long after passing Wally, players will run into Flambe, who'll warn Guybrush that LeChuck is obsessed with the secret and advise him to turn back. The mighty pirate ignores his warning, however, prompting Flambe to remark that he and LeChuck deserve each other before disappearing into a lavafall. Players can then continue on to the right until they're prompted to take a leap of faith. Doing so will lead to a new area and the first of Part 5's many puzzles.
How to Complete the Organized Pirate Puzzle in Part 5 of Return to Monkey Island

The first puzzle involves Guybrush placing items into the hands of four monkey statues. Players should start by heading down the tunnel to the left and placing a cracker into the hand of the monkey with the parrot. There's also a coin-like stone Pebble on the ground in this room that they should pick up for later. Continuing to the left, players will find another statue that is missing its knife and another Pebble behind a rock to the left.

The next room contains a statue of a monkey gazing off into the distance. It looks like it's supposed to be holding a telescope, but as players don't have one of those in their inventory, they should instead use the double monocle from Part 1. In the final room, players will find a jolly-looking monkey and should place the mug in its hand to complete the puzzle.

Before heading down the now-unlocked stairway, players should retrieve their four items. Strictly speaking, they'll only actually need the Mug and the Knife, but it doesn't hurt to grab the cracker and the monocles as well. They'll also want to make a note of the symbol above the door as they'll need this later on. Like many of the other puzzles in Return to Monkey Island, it changes from playthrough to playthrough, so players won't be able to check online.
How to Complete the Observant Pirate Puzzle in Part 5 of Return to Monkey Island

After LeChuck hears Guybrush shouting, the evil ghost pirate will again pull the lever, setting into motion a new monkey-statue-related challenge. This time, players will need to make note of the status of the three monkeys, placing the right number of coins (or pebbles) in their boxes in order to progress. The Captain will need three coins, the First Swab requires two, and the Cabin Monkey must be given one, meaning that players will need six of them in total.

Players can find a Pebble in the room at the bottom of the stairs and should then head through the tunnel to the right. They'll want to drop two pebbles into the Captain statue's chest here as well as the last coin in Guybrush's coin purse, while also being sure to grab the Pebble over towards the exit on the right. Heading through this exit will lead to the First Swab statue, where players should place their last two remaining pebbles.

The final room contains the statue of the Cabin Monkey and a single Pebble encircled by mushrooms on the ground in front of it. Placing this pebble into the monkey's modestly-sized chest will complete the puzzle, allowing players to head further down into the depths of Monkey Island. Again though, players should make note of the symbol above the door leading down there, which should this time look a bit like a mouth.
How to Complete the Bloodthirsty Pirate Puzzle in Part 5 of Return to Monkey Island

After once again alerting LeChuck to his presence, Guybrush will find himself faced with yet another great Monkey Island puzzle. Thankfully, this one's a lot easier than the last two, though players will need the Mug and the Knife, so if they didn't pick them up earlier, they'll need to head back up to the first floor to do so. Assuming they already grabbed them, however, they can head straight through the tunnel to the right to get started.

Players should use the knife to stab the first monkey statue in the arm and then use the empty grog mug to gather some of the black substance that starts seeping out. In the next chamber, they should stab the monkey statue in the leg and then continue on to the final chamber. Whatever statue was once here has been destroyed, but players can get around this by emptying the mug into the grate in front of where the statue once stood. They can then head down to the final level, being sure to make note of the four-digit number above the door.
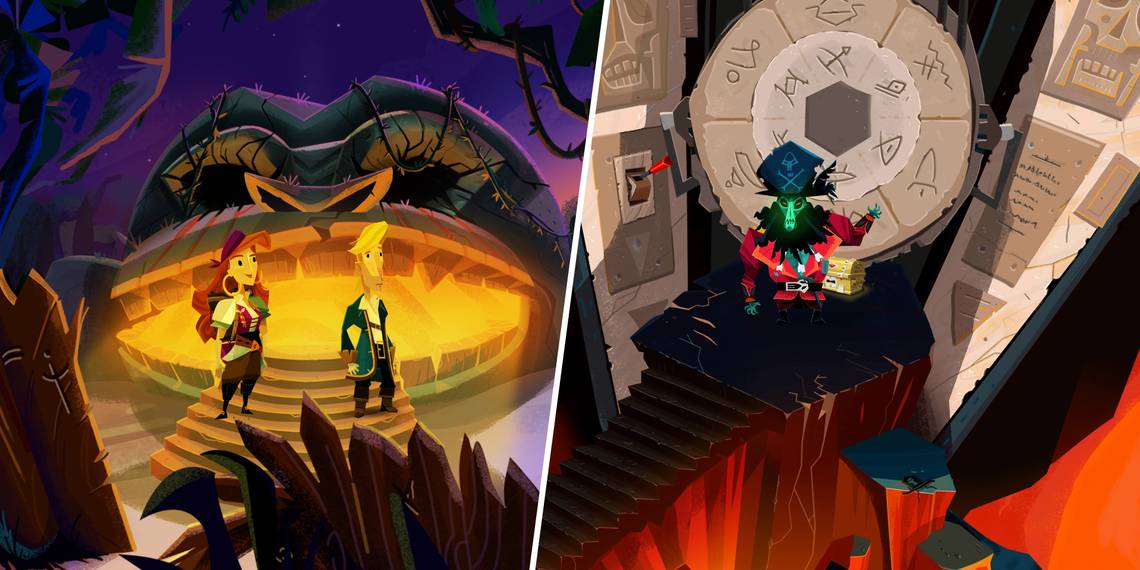
How to Solve the Stone Wheel Puzzle in Part 5 of Return to Monkey Island

After a short cutscene, LeChuck will head through the door, which resets the stone wheel puzzle that he spent the past ten minutes or so struggling with. That's okay though, as players have everything that they need to solve it relatively quickly, assuming, that is, that they've been making note of the markings above the doorways leading down here. As mentioned above, these vary from playthrough to playthrough, so players will need to make note of theirs rather than relying on the above picture.

Before interacting with the giant wheel, players should check out the stone slab sticking out of the lava in the bottom right-hand corner of the screen. Its inscription reads "After 4 extra years out at sea, their peglegs grew weak in the knees, 3 steps right but 2 left, till they fell off the deck and they met Davy Jones for some tea." This reveals that players need to change the number on the giant stone wheel four times, the inner wheel twice, and the outer wheel three times.

However, it's not quite that simple, as players will first need to reset the wheel using the information they gathered from the doorways on their way down. After doing so, they can then follow the instructions above to complete the puzzle, allowing Guybrush to head through the door behind the wheel and finally discover the secret of Monkey Island.
How to Find the Secret of Monkey Island

Much like the one at the end of Monkey Island 2, the door will lead players to an amusement park-like rendition of Melee Island, with animatronic figures of some of the series' key characters. After grabbing the Popcorn from the ground in front of them, players should make a manual save, as this will come in very handy a little later on.

For now, though, they should leave the alley, which leads to Stan handing Guybrush a set of Keys and telling him to lock up. Players can then head to the left and grab the Key from the animatronic locksmith's hand and use it to open up the chest containing the secret. After more than three decades, it's revealed that the secret of Monkey Island is a cotton T-Shirt, much like the treasure of Melee Island was in the very first Monkey Island game.

After taking a moment to look around, players should use Stan's keys to turn off all the lights and then speak to Elaine when they're finally ready to leave. There's then a bit more dialogue with young Guybrush in the present day, after which, the credits begin to roll and the game comes to a thought-provoking end. Once it's all over, players can check out the scrapbook via the main menu for a letter from the game's creators, or reload the manual save that they made a few moments ago in order to check out some of Return to Monkey Island's other endings.
Return to Monkey Island is available now on PC and Nintendo Switch.