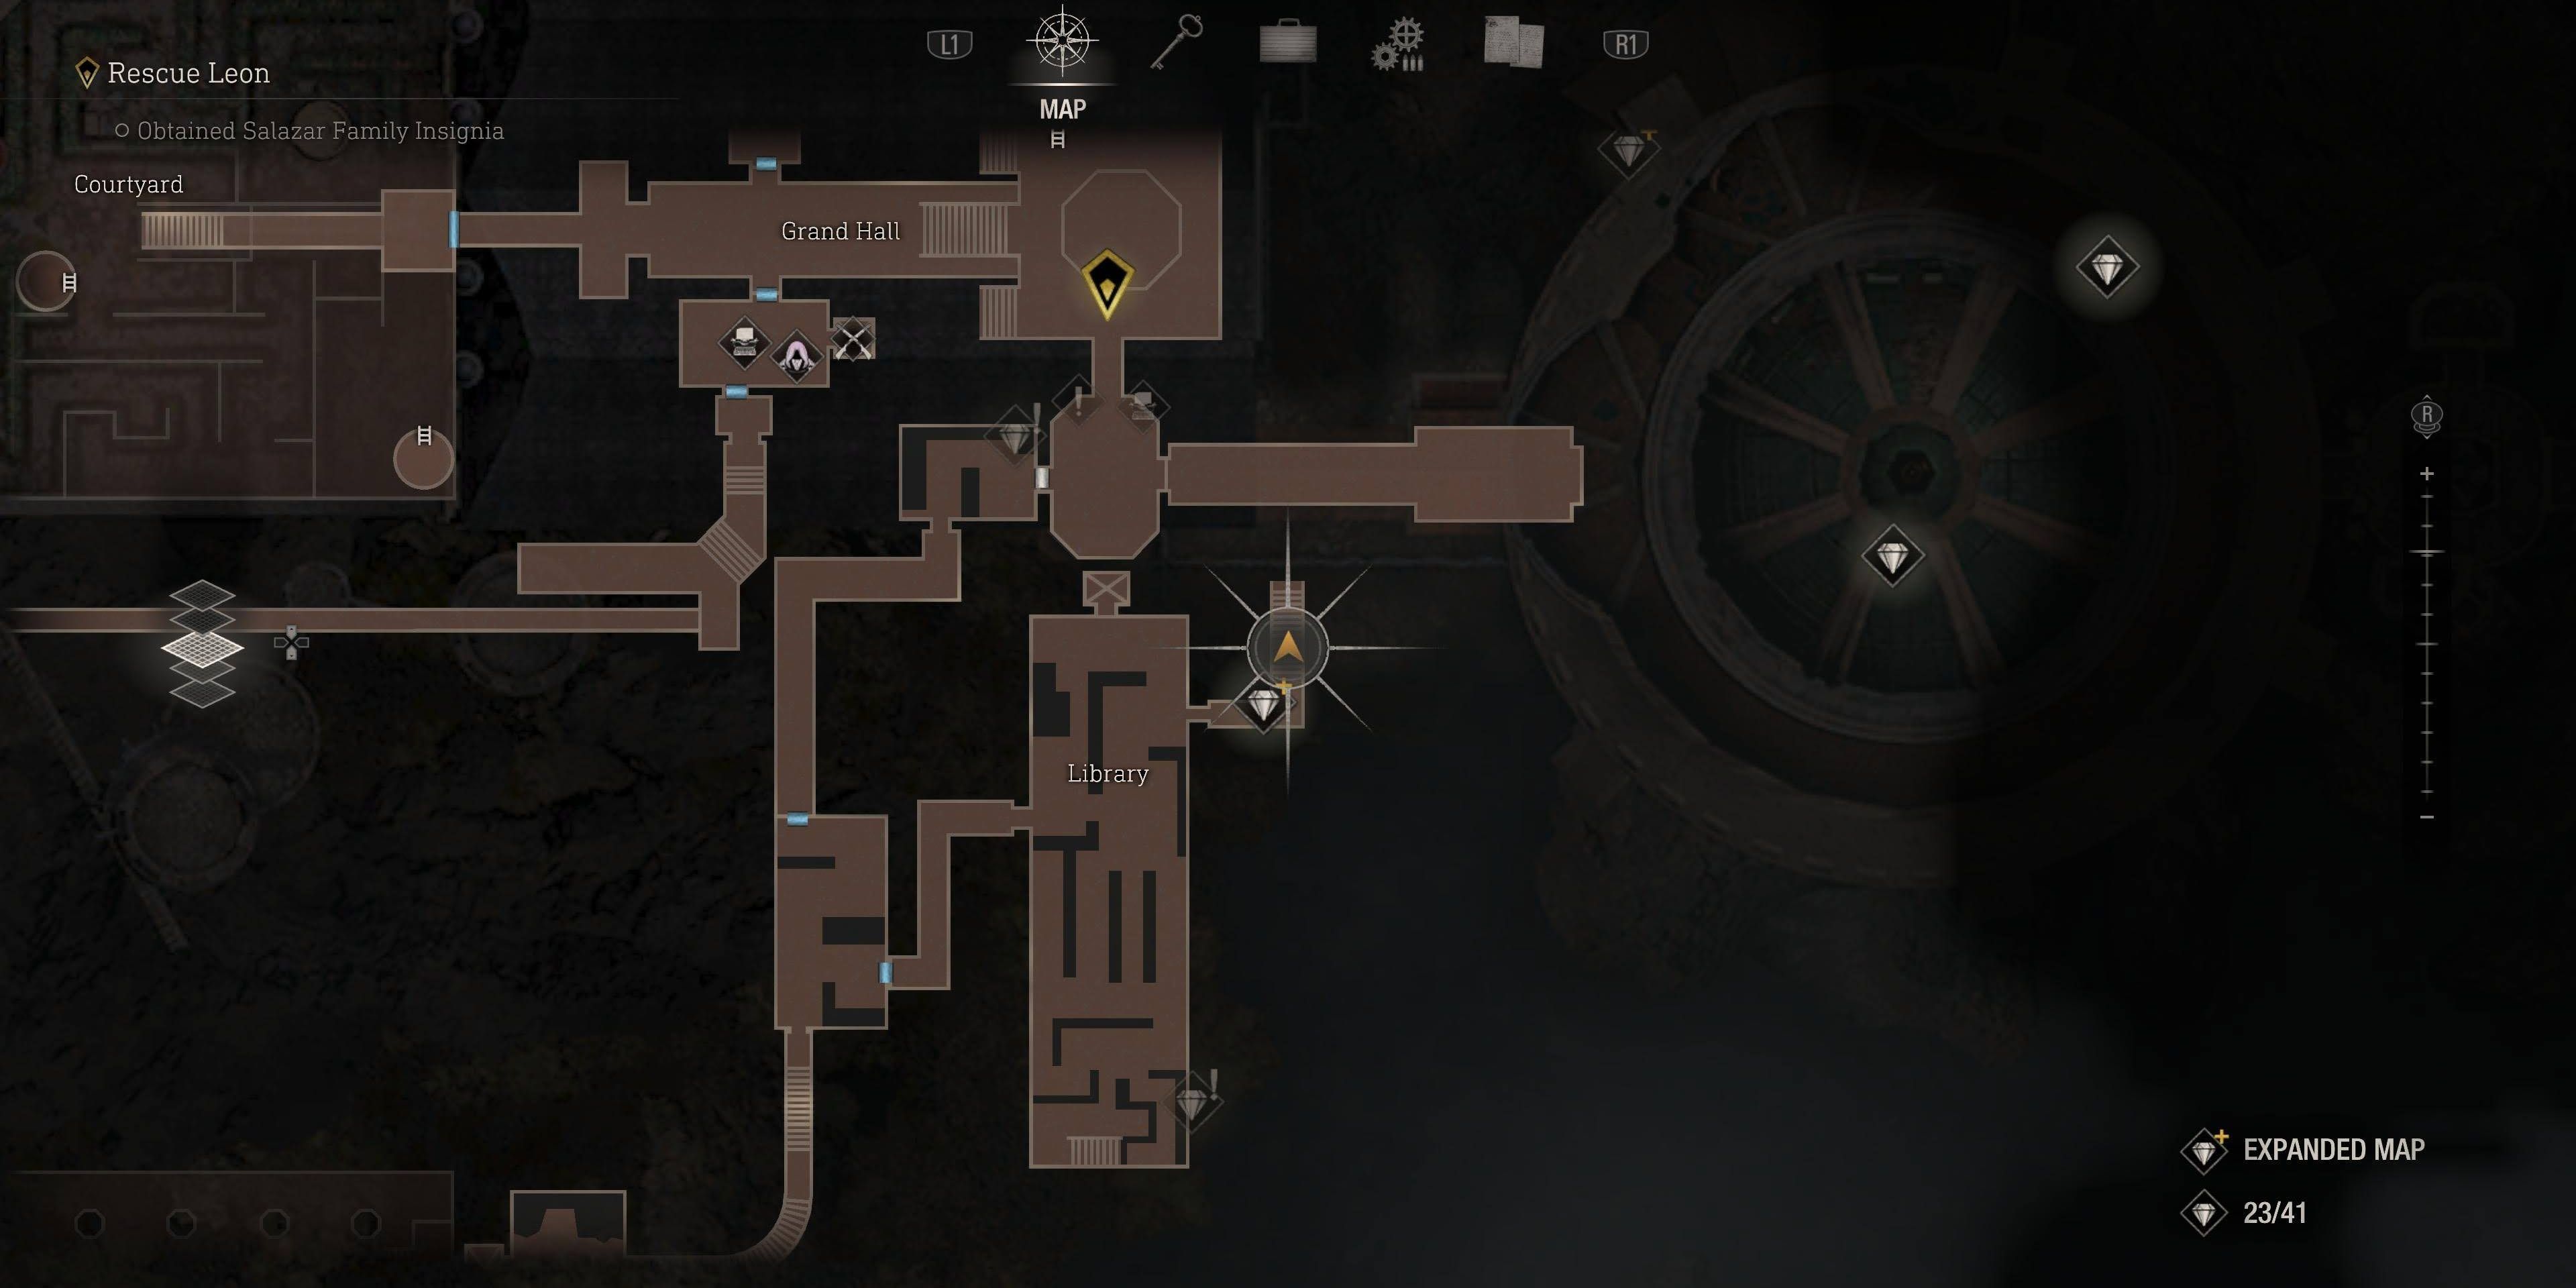
Deeper into the ruins of Salazar Castle, Leon and Ashley must venture through the Courtyard to the Grand Hall and eventually to the Mausoleum, fighting through plenty more castellans, Zealots, and even armored knights in Chapter 9 of Resident Evil 4. This guide will walk players through the ninth chapter of the Resident Evil 4 remake, covering events from the Courtyard maze to the Mausoleum encounter.
Courtyard
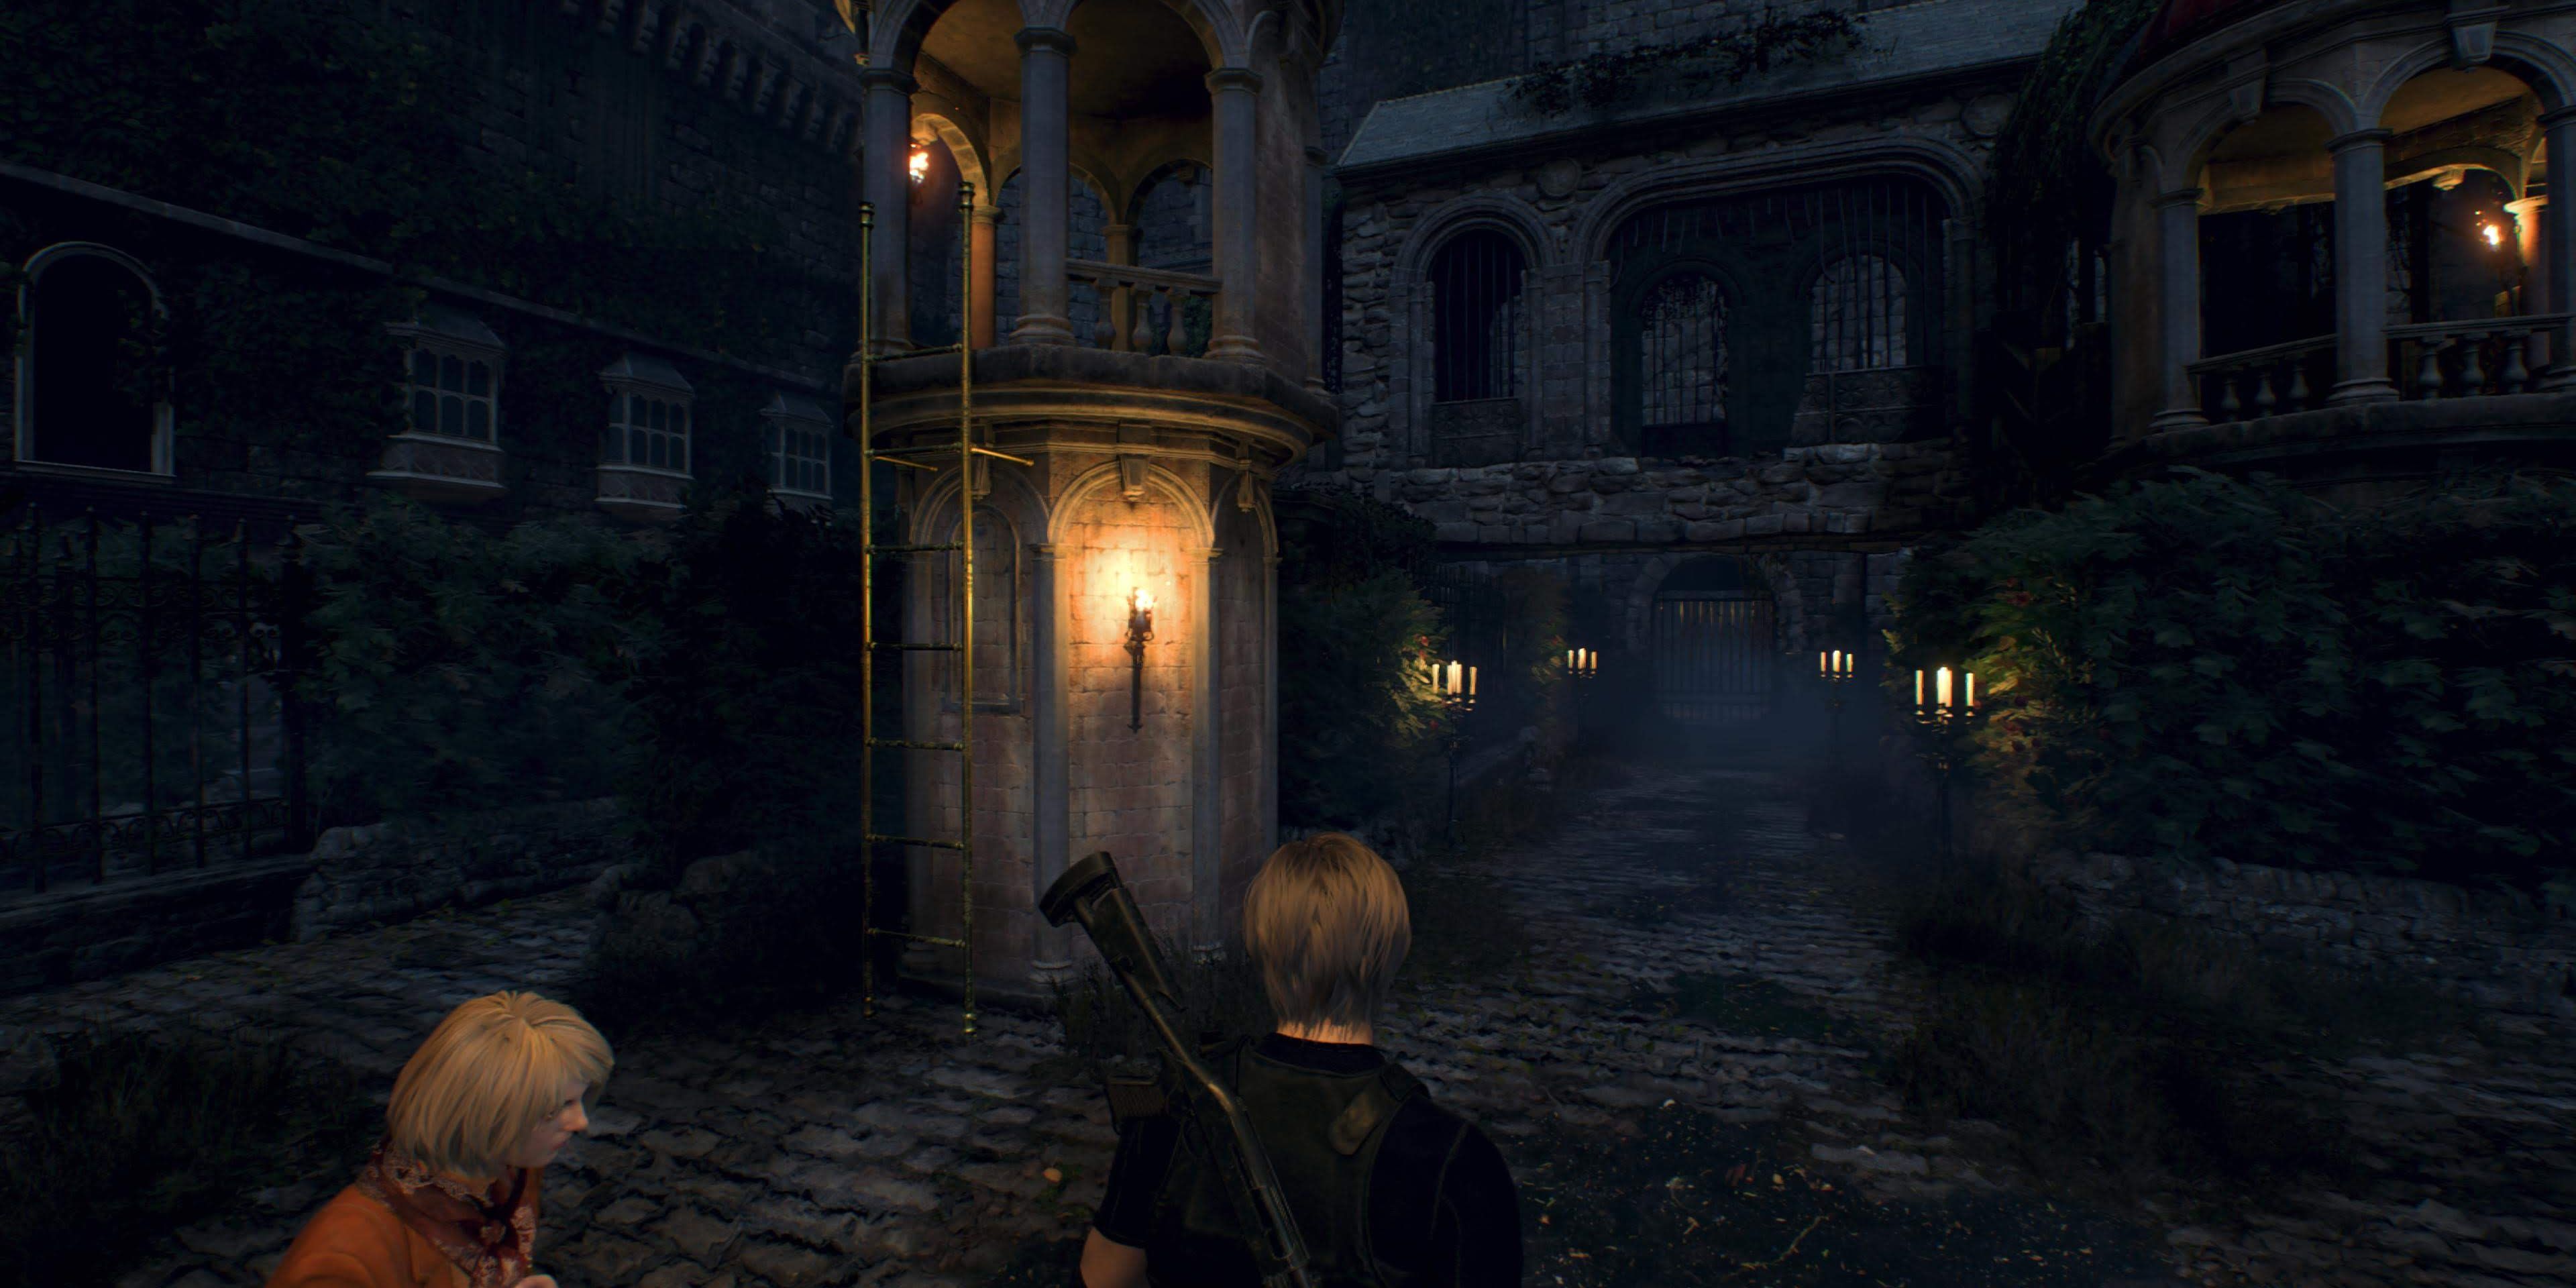
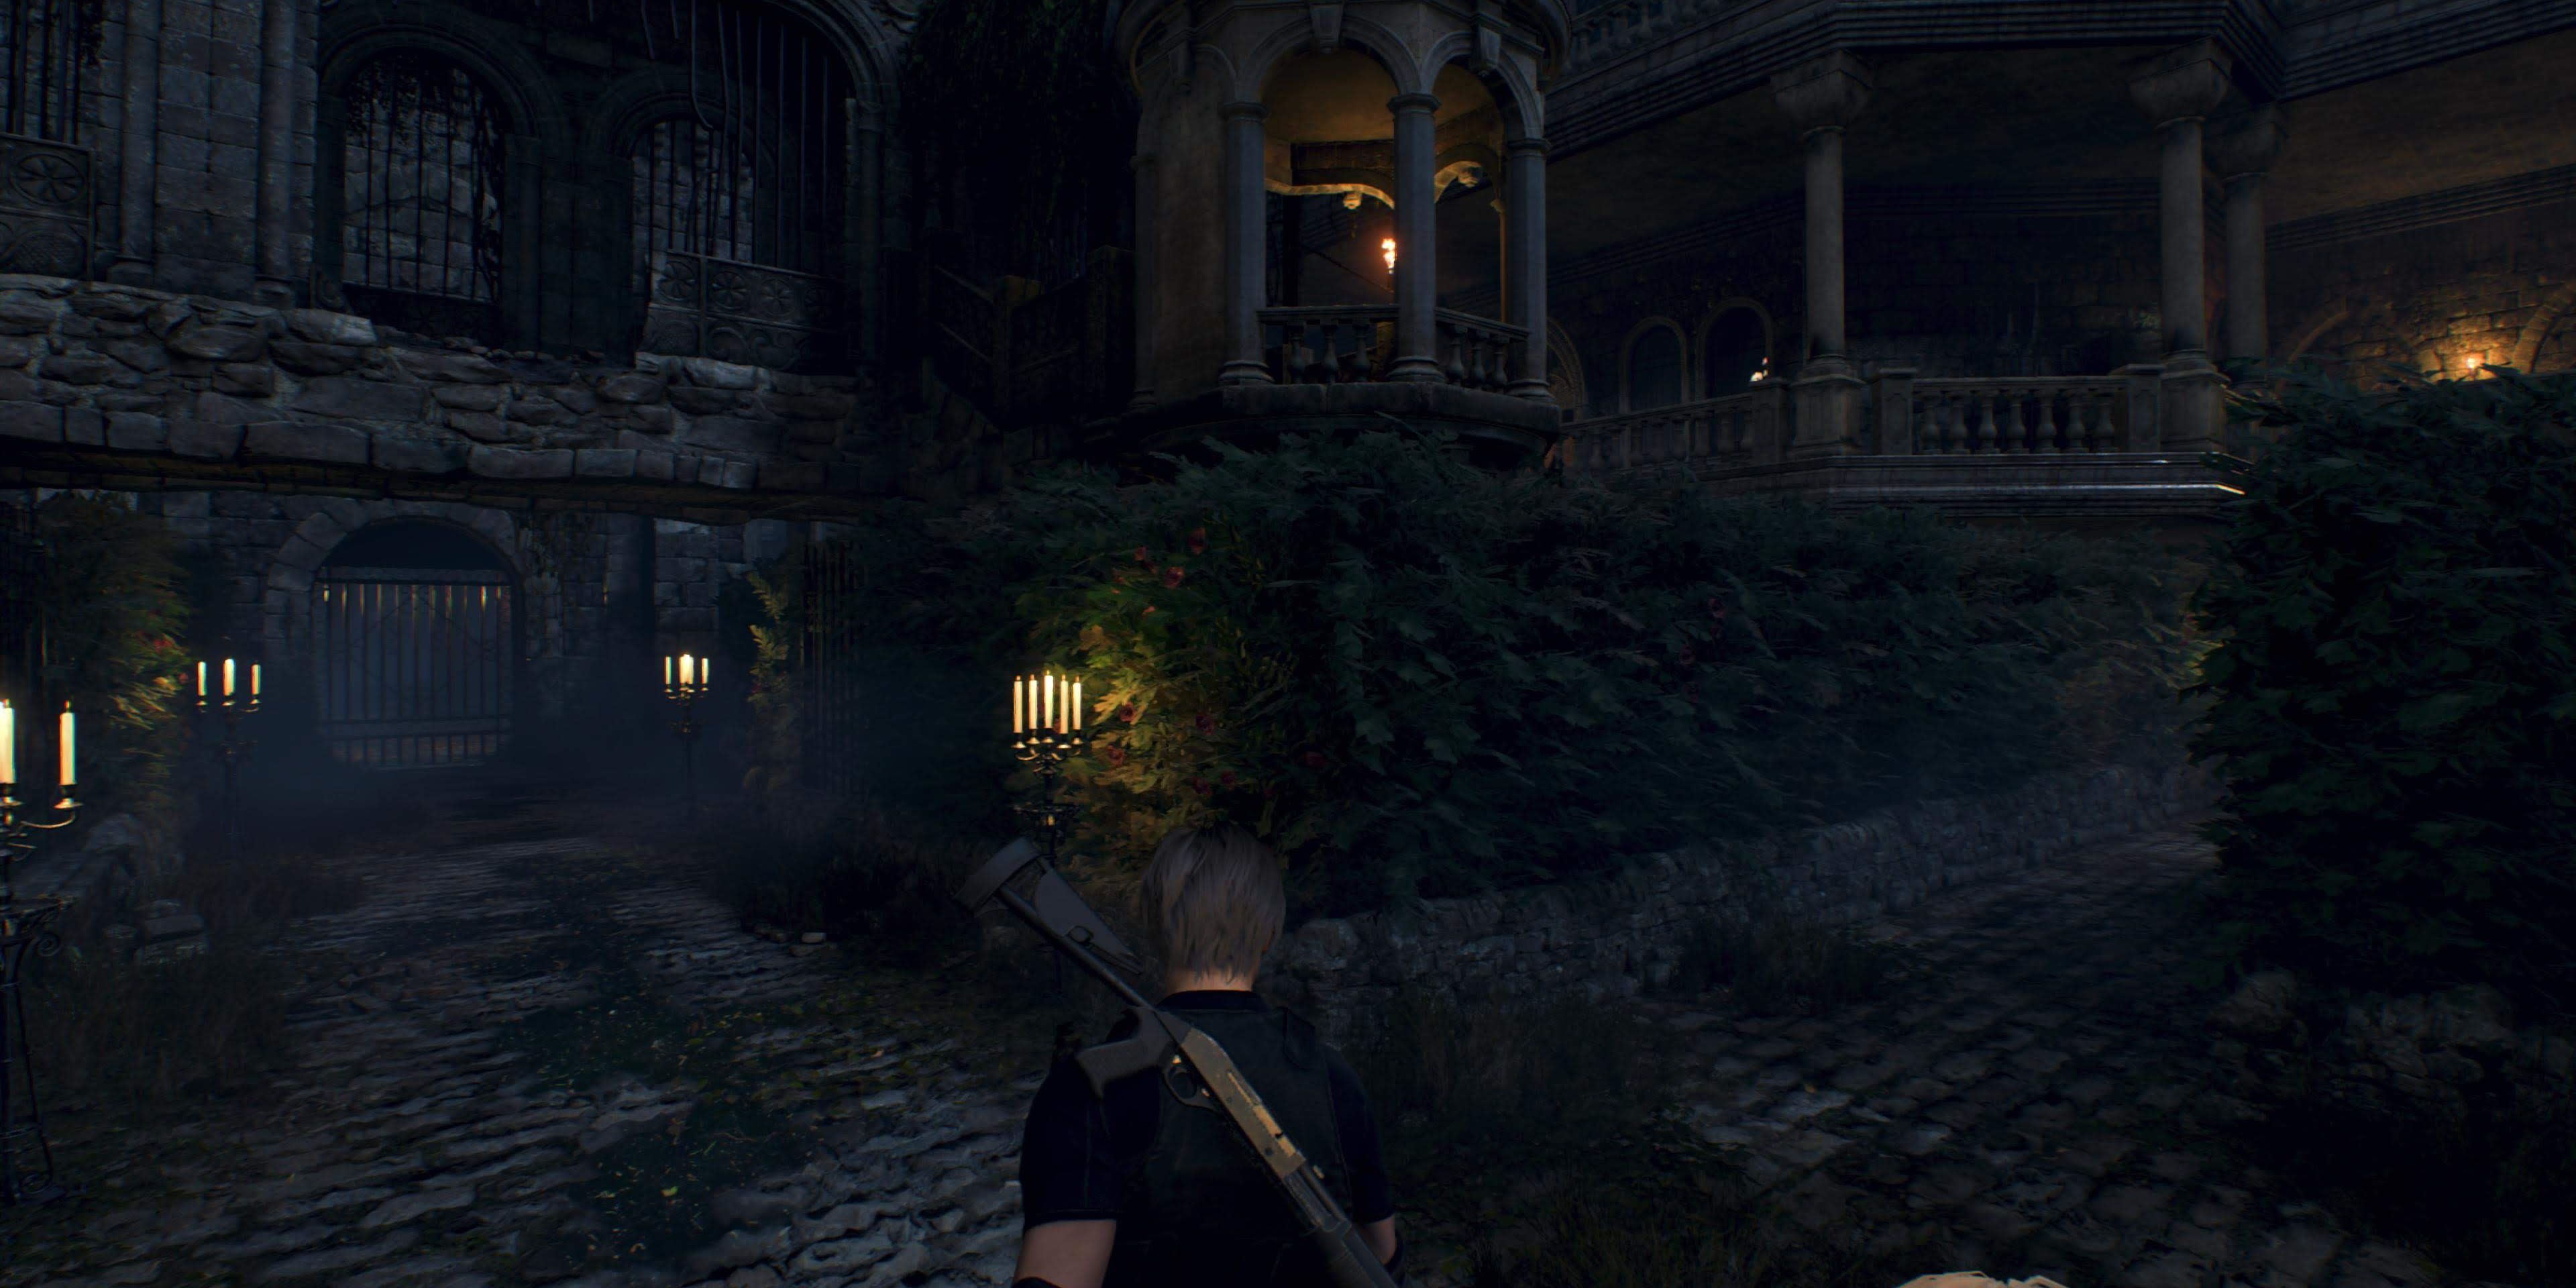
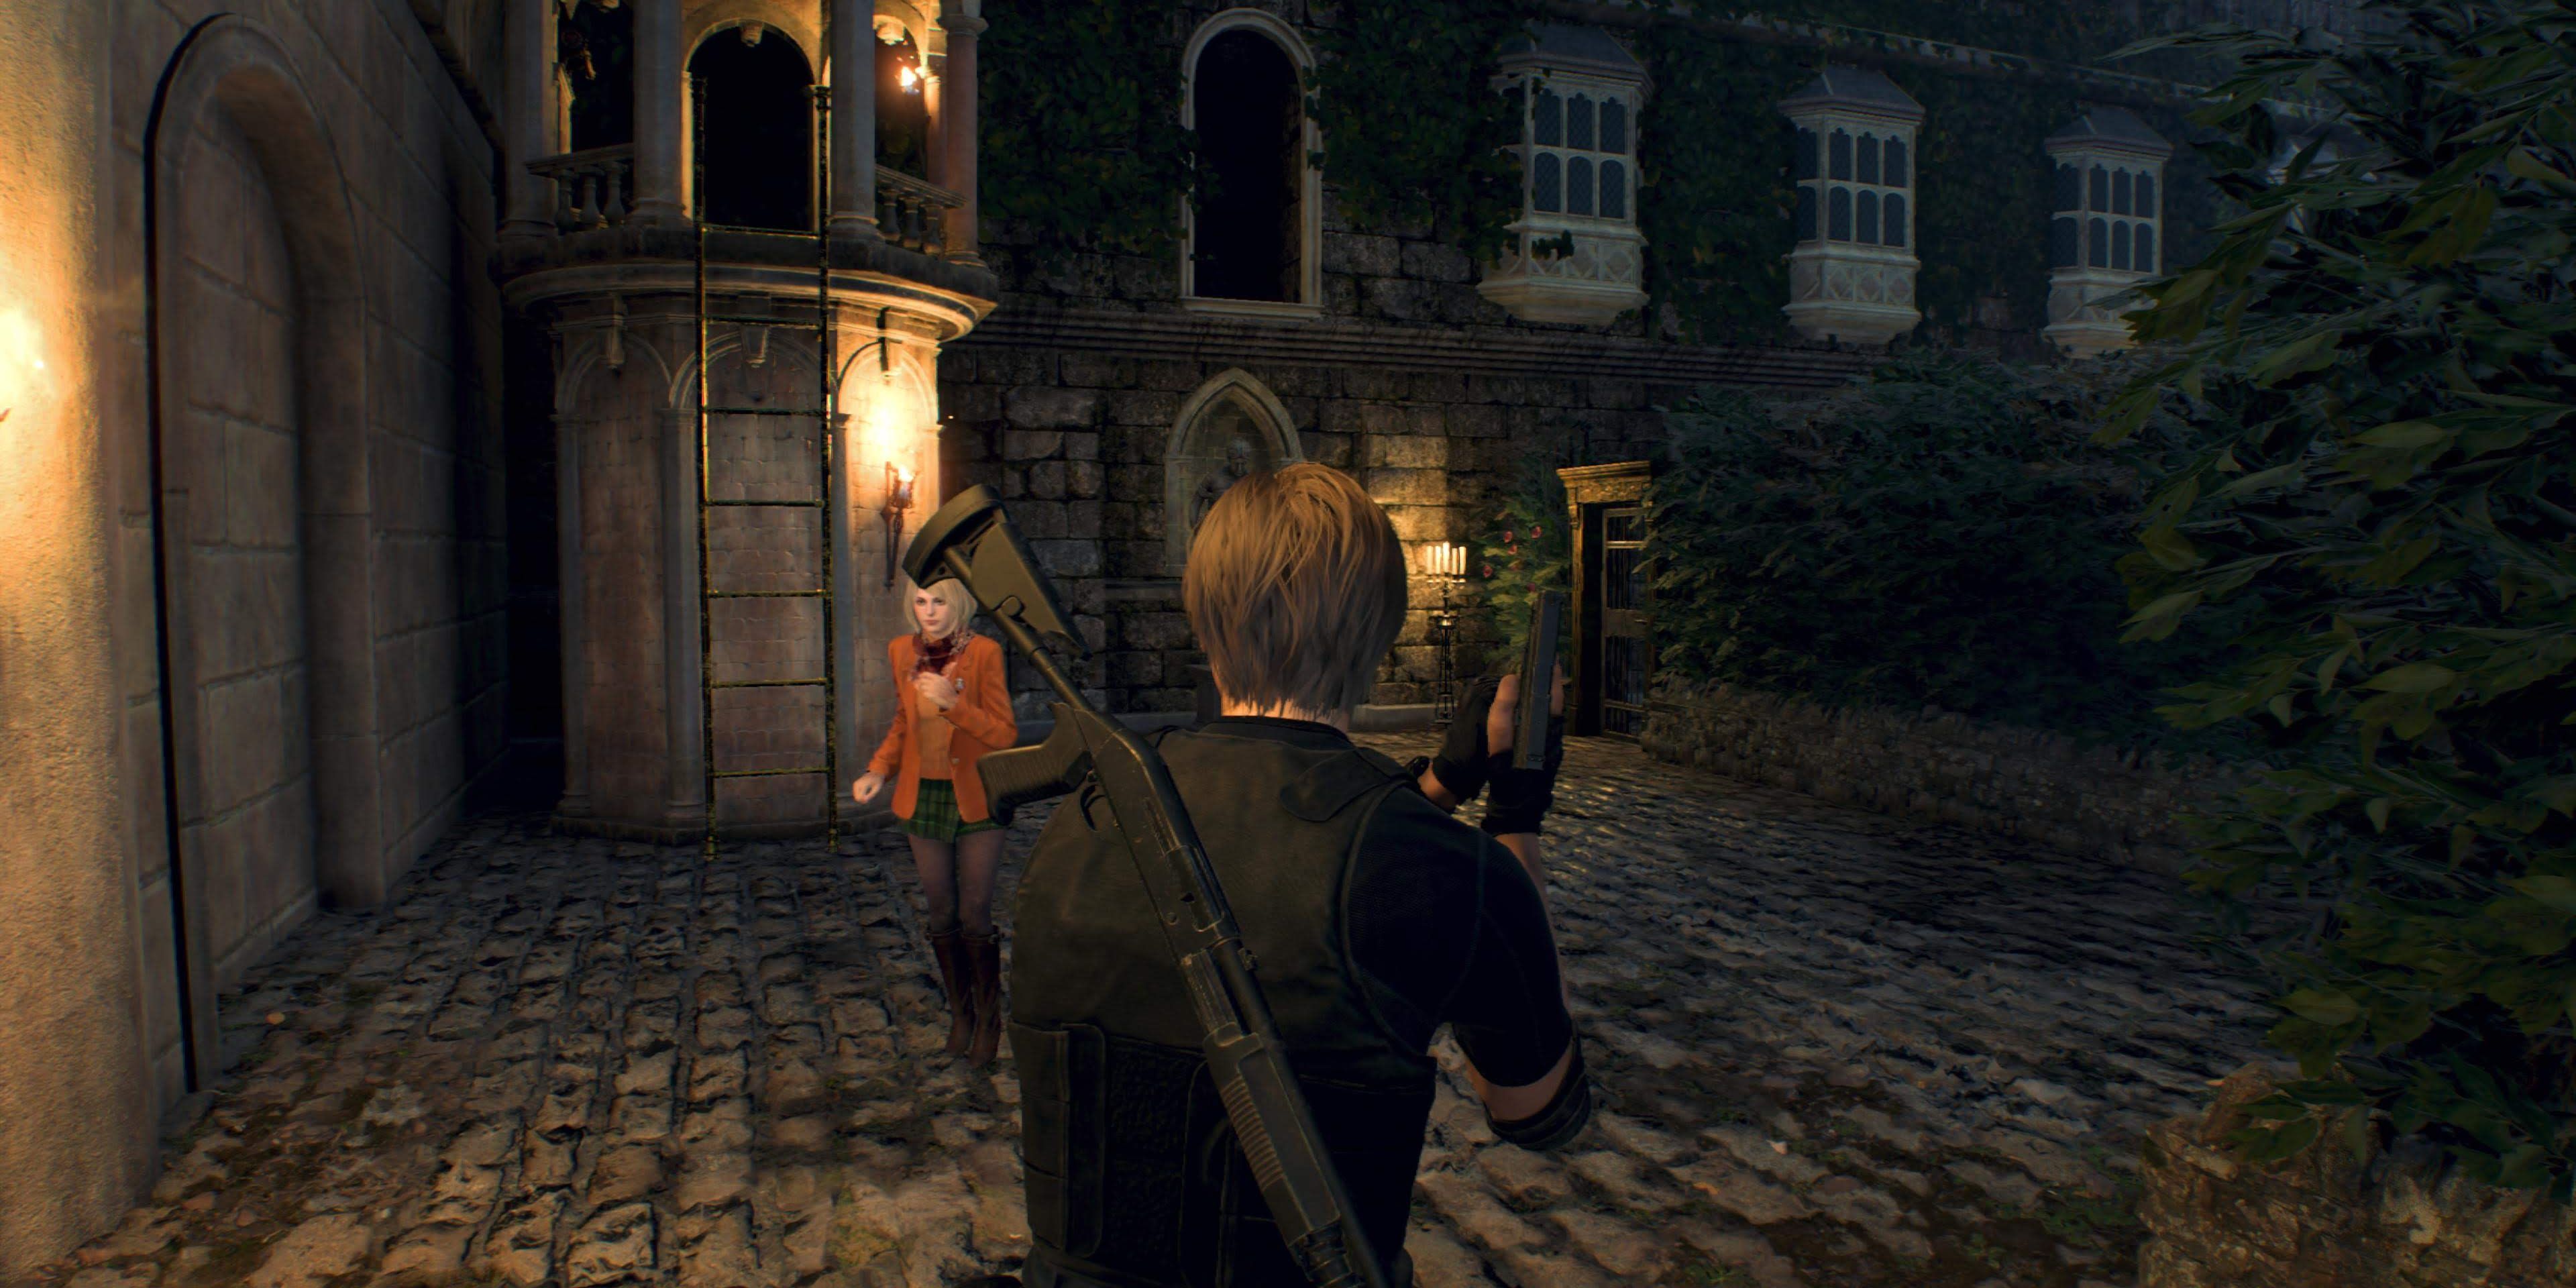
Beginning in the saferoom, take the door on the right of the typewriter out onto the balcony and head downstairs. In the hedge maze, go left and carry on forward, then go right just before the stairs, taking the ladder up and pulling the lever at the top. Thusly, players are introduced to the Courtyard’s gimmick – lower three flags from three towers to progress.
Heading back down the ladder, take the path to the left of the stairs, following the hedge maze around and going left at the first junction. Reaching the edges of the maze, go right, following the path until some dogs burst from a cage ahead. These creatures can disappear through the bushes, so stay on guard.
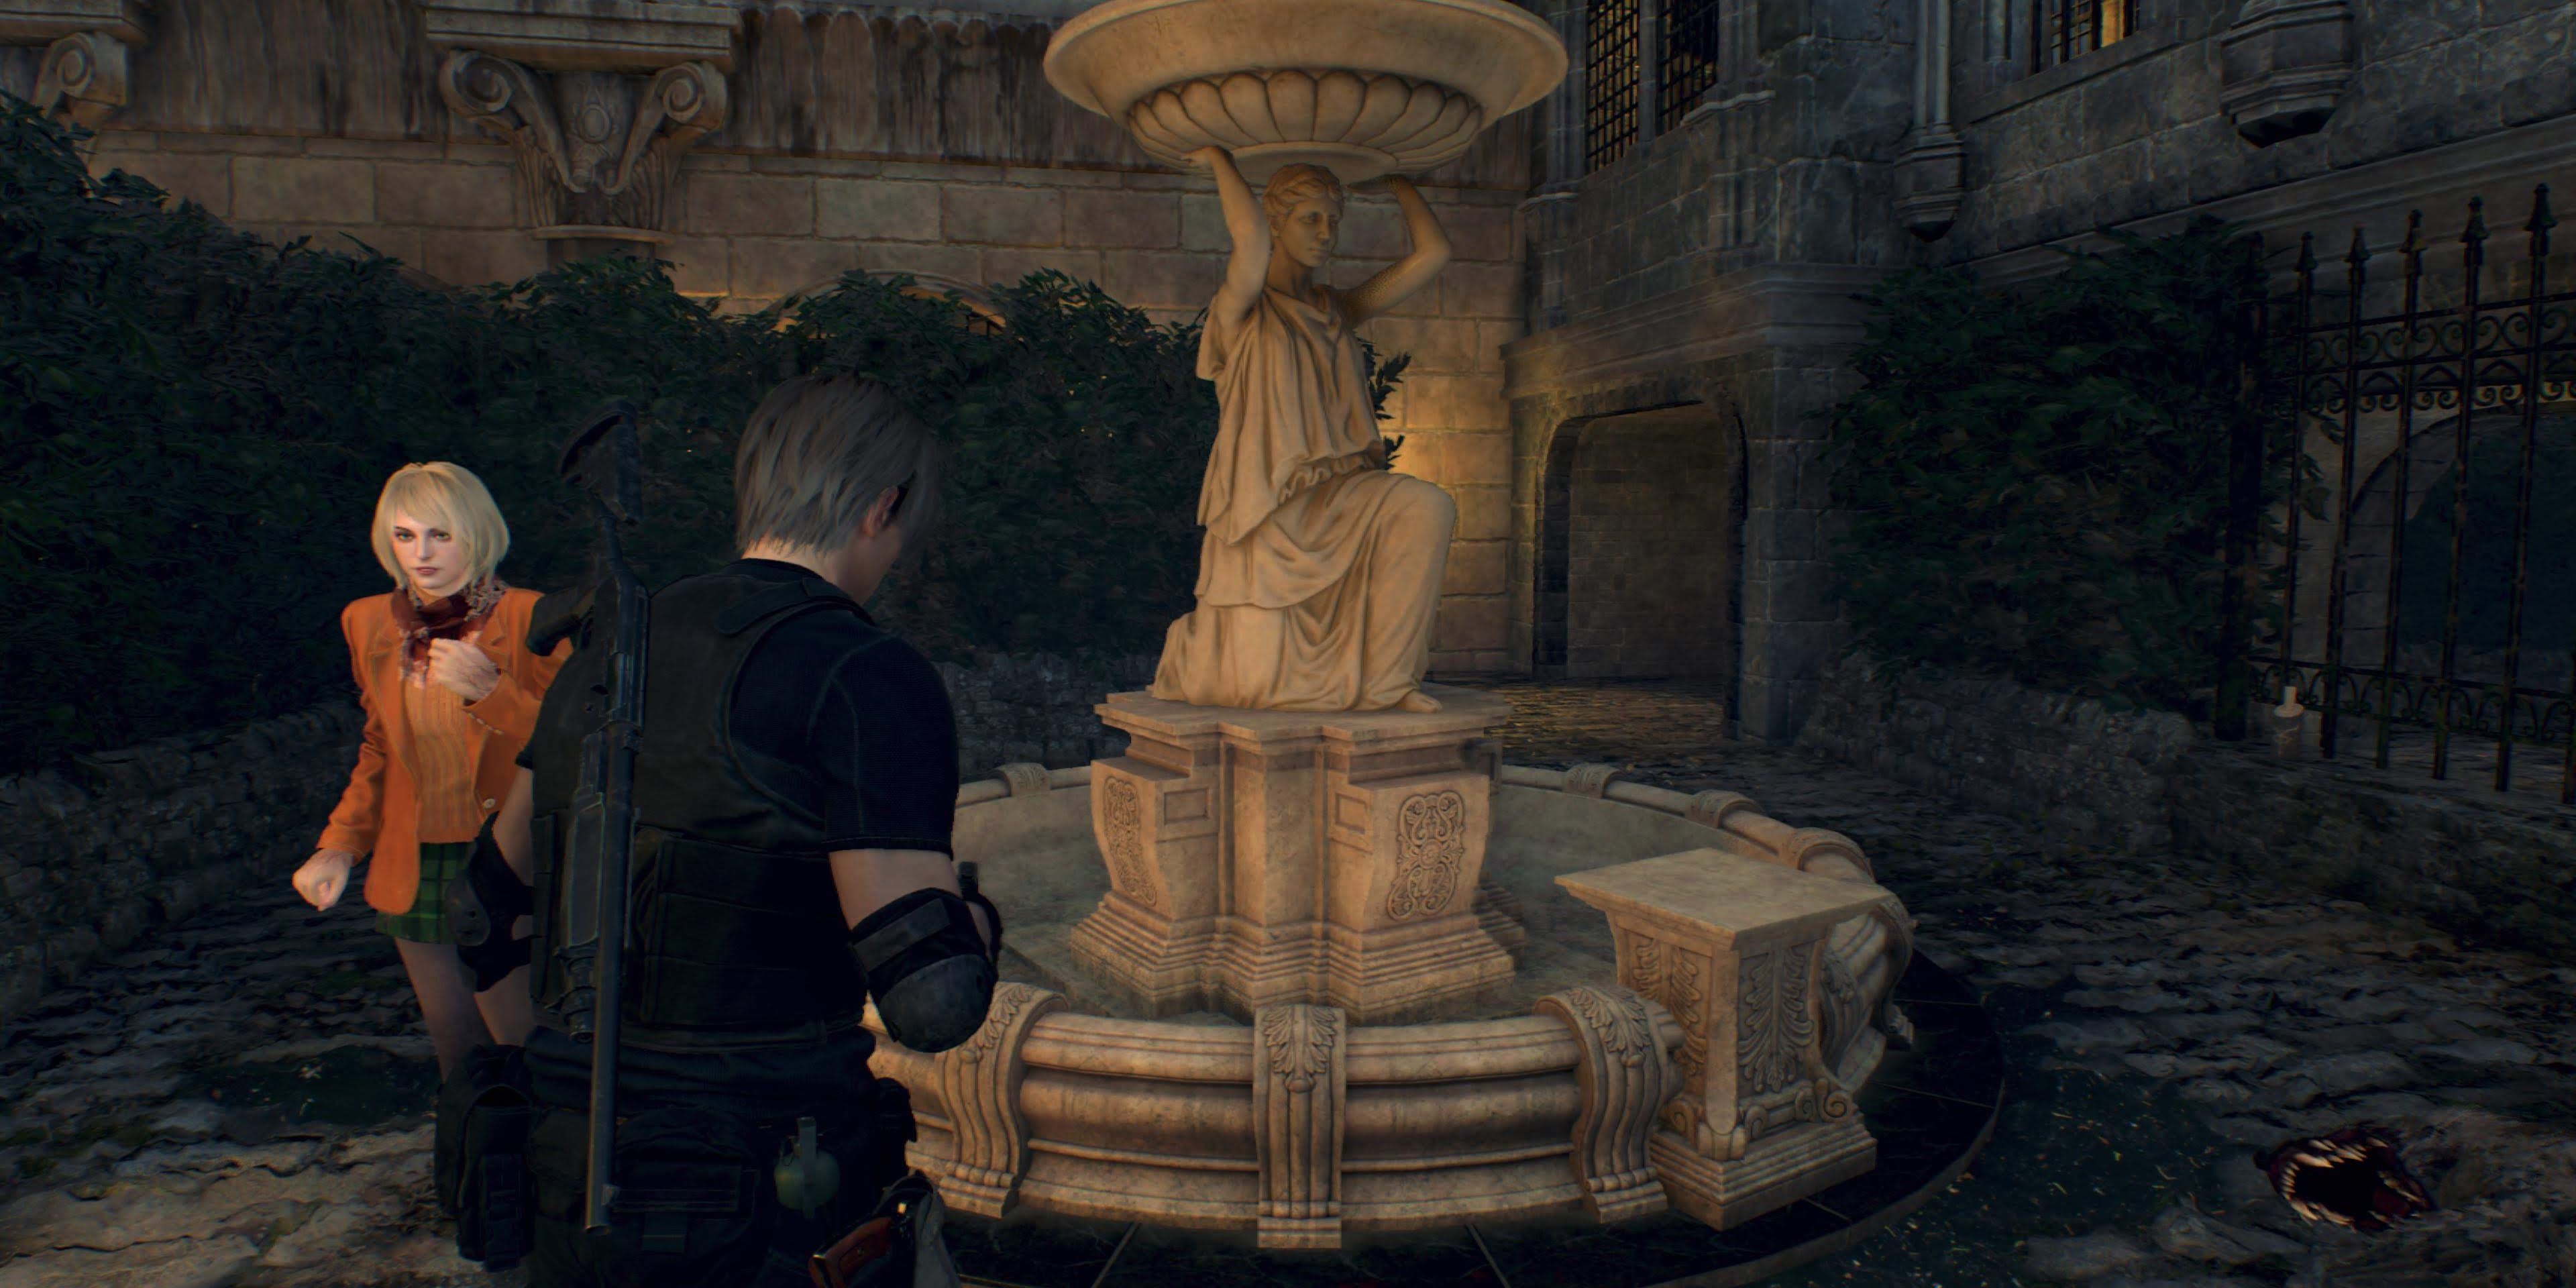
Past the cage, go right around to a dried-up fountain where more dogs will attack. Deal with them and head behind the fountain, going right through the underpass where Leon will come across another tower from which he can unfurl a second flag.
Head back down the ladder and unlock a gate in the corner. Through here, take the second right and follow the path along to yet another dog cage. Go left around the cage until Leon comes across another lever. Kill the attacking dogs and order Ashley to use the lever, opening the gate on the other side. Go back around and through the gate, ascending the stairs and taking the second right to reach the final tower, unlocking the exit to the maze.
Leaving the tower will make some Ganados spawn in the maze. Drop down to the left and head through the maze towards Ashley, killing any castellans on the way. Once Ashley’s safety has been ensured, head back to the central staircase, take it up, and head through the large double doors to enter the Grand Hall.
Grand Hall
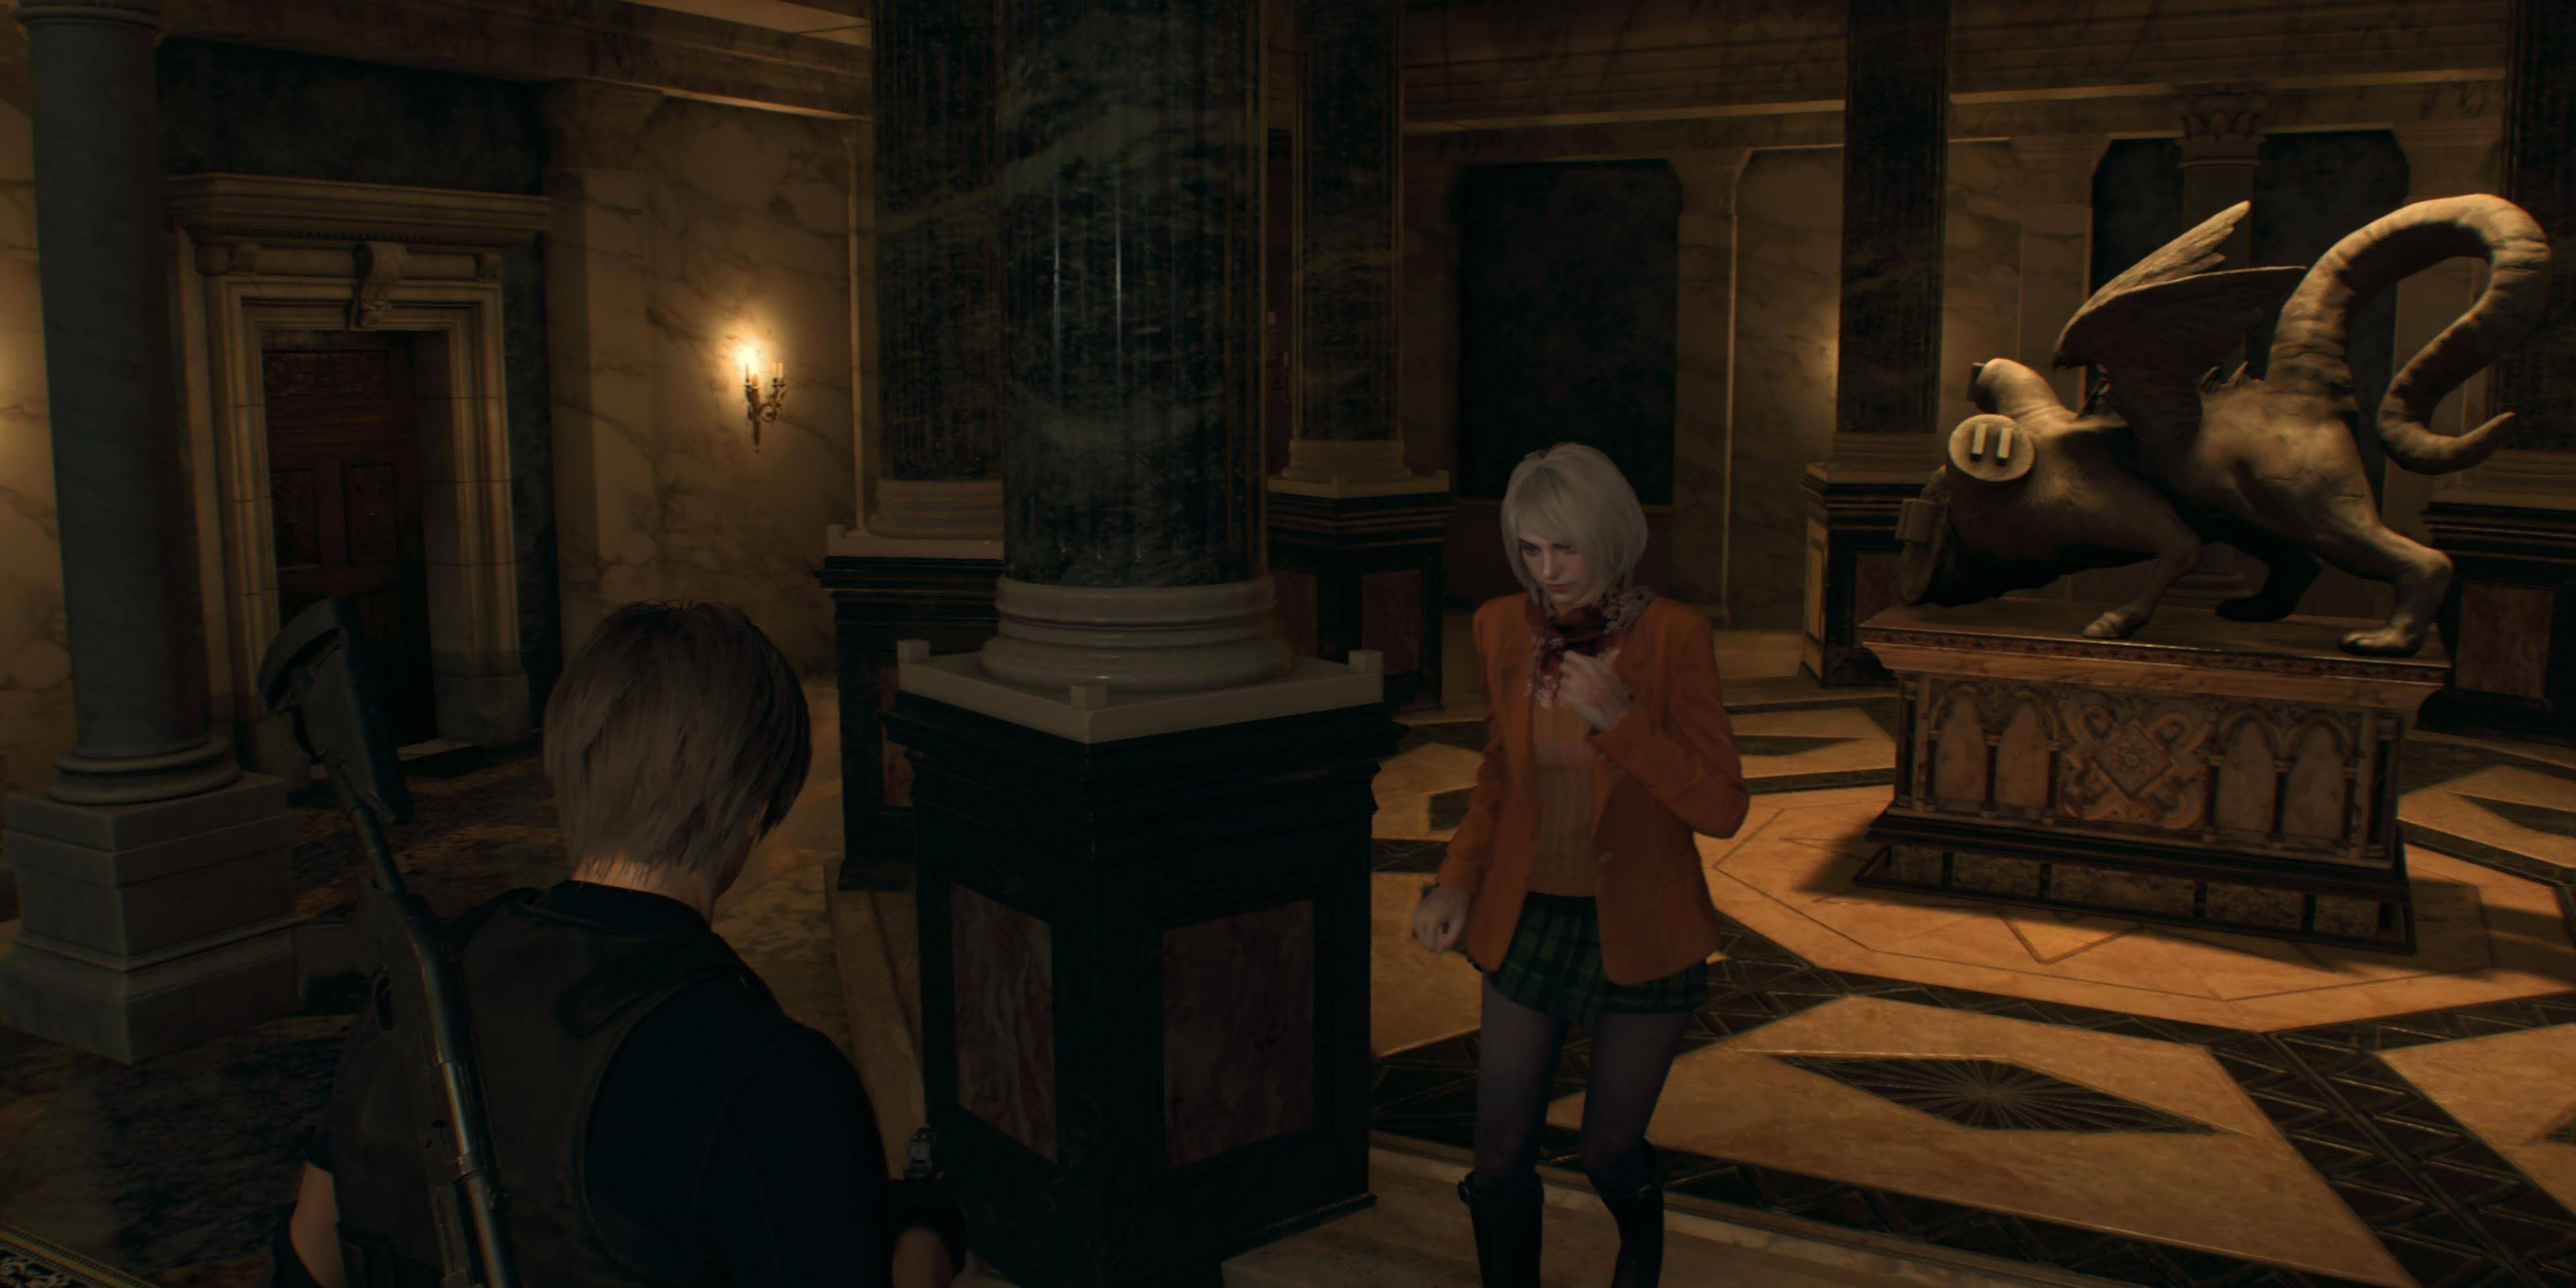
In the Grand Hall, to the right is a saferoom and a shortcut back to the Audience Chamber, filled with extremely valuable treasure. Back in the Hall, take the stairs toward the statue, where players can notice three missing heads. Not yet capable of interacting with it, head through the door on the left and enter the Dining Room to solve the Table Puzzle there.
With the Caged Serpent Statue open, remove the Serpent Head and place it on the Headless Statue in the Grand Hall. From here, take the stairs on the north end of the Halls upper level to pass into an entryway. Follow the hallway around and take the stairs down to come into the Armory.
Armory
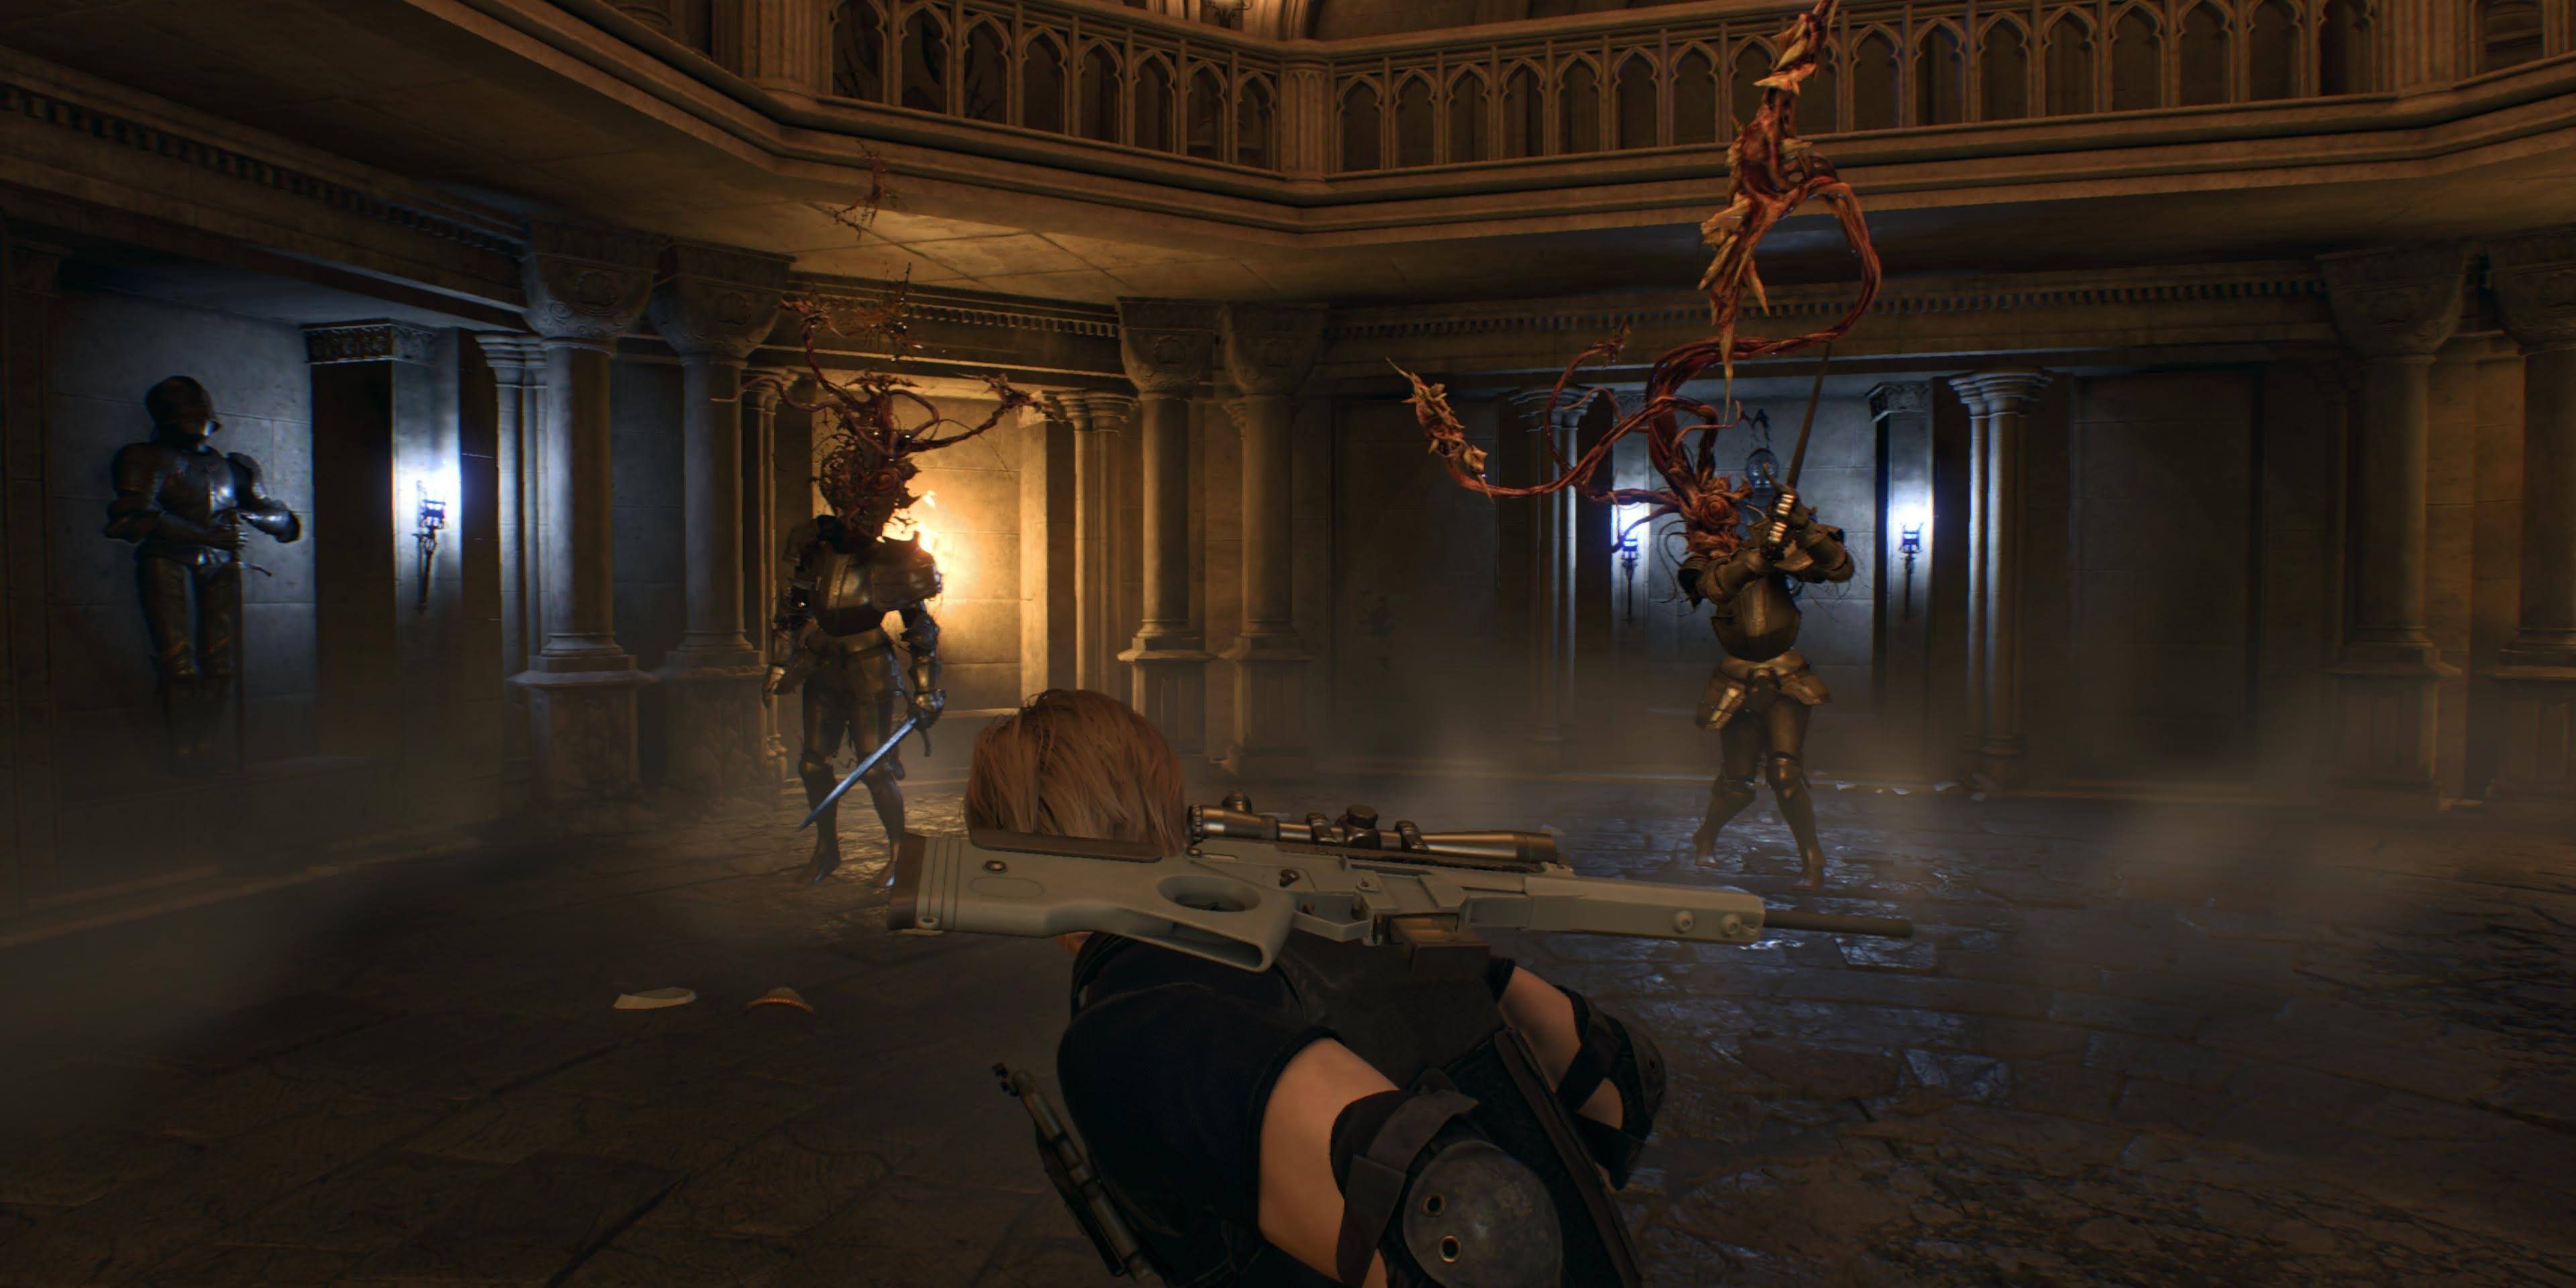
Drop down and take the Lion Head from the statue at the back of the room. This will cause two Armadura to come to life and attack Leon. Shoot at the wound in their necks to stun them, then approach for a melee attack to knock their helmets off and expose their parasites. With that done, Leon can use a Flashbang to finish them off quickly.
Now, two more will come to life, and Ashley will begin helping from the floor above, throwing lanterns to stun them. Keep fighting them off using the lanterns, flashbangs, and Leon’s expansive arsenal until they all fall. In the final wave, one Armadura will have a weak spot on the back of the neck. To reach it, parry the creature’s sword attacks until Leon can kick the helmet off.
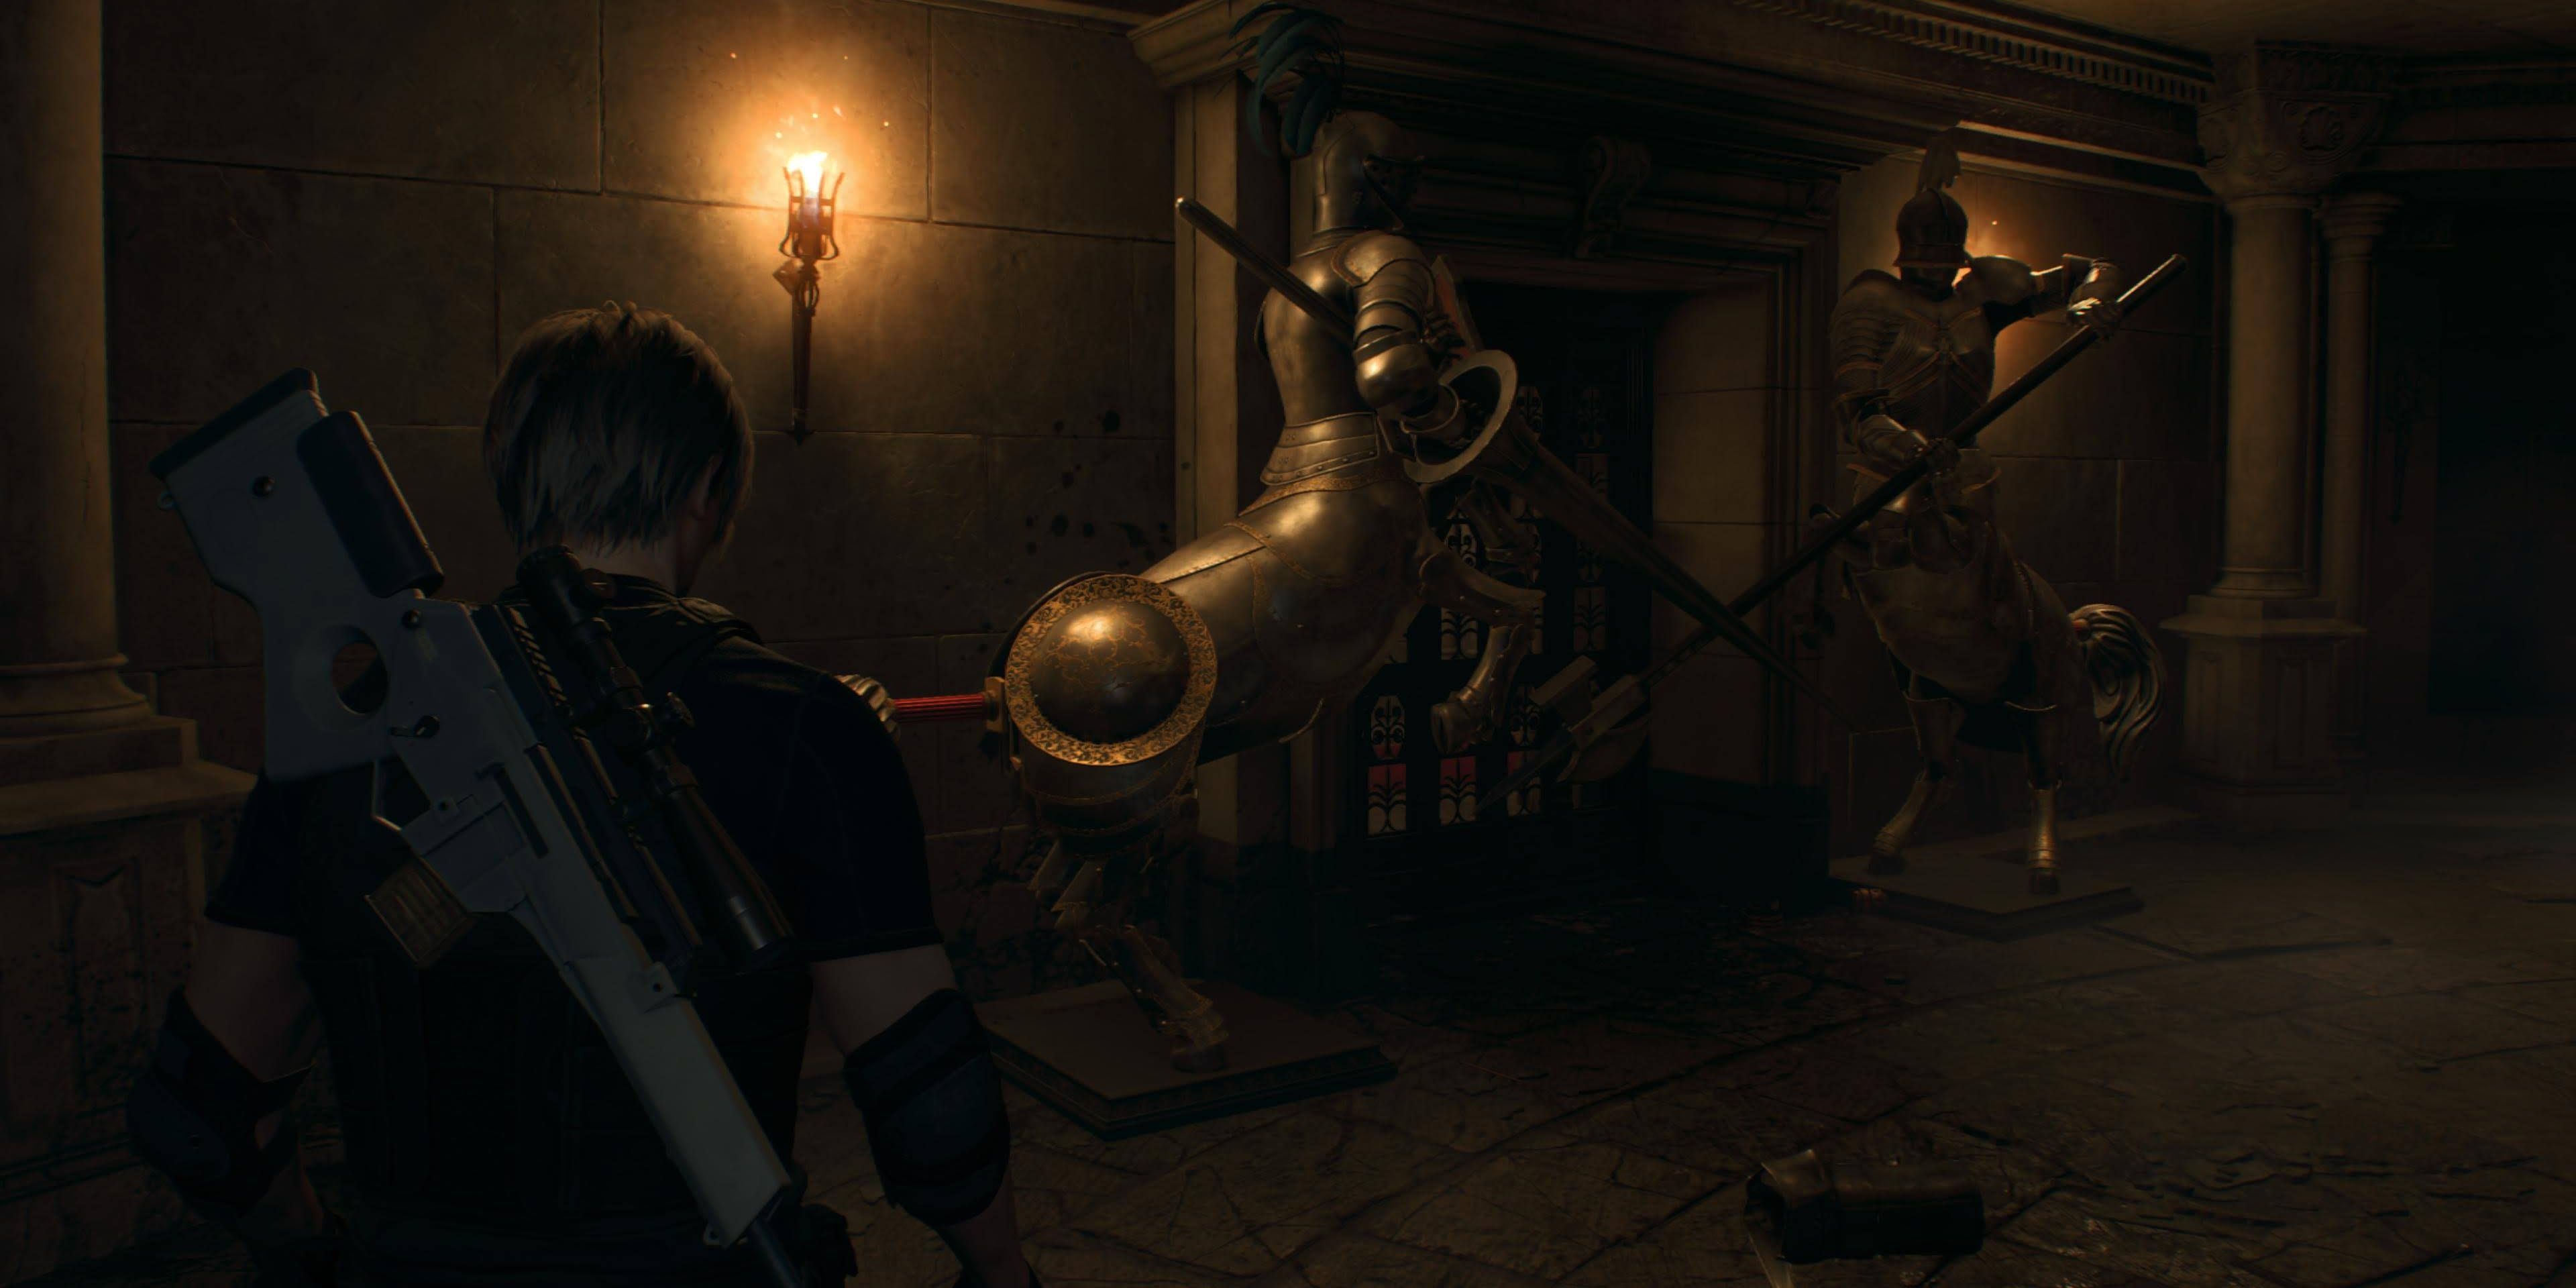
With all of the Armadura down, head towards Ashley and use the interact button to catch her as she drops. From here, interact with the lever of the centaur statue’s tail to open the gate, following the corridor back to the Grand Hall, making sure to pick up the Cubic Device along the way.
Placing the Lion Head in the Headless Statue, this time, take the stairs on the opposite side of the Armory, leading into the Gallery.
Gallery
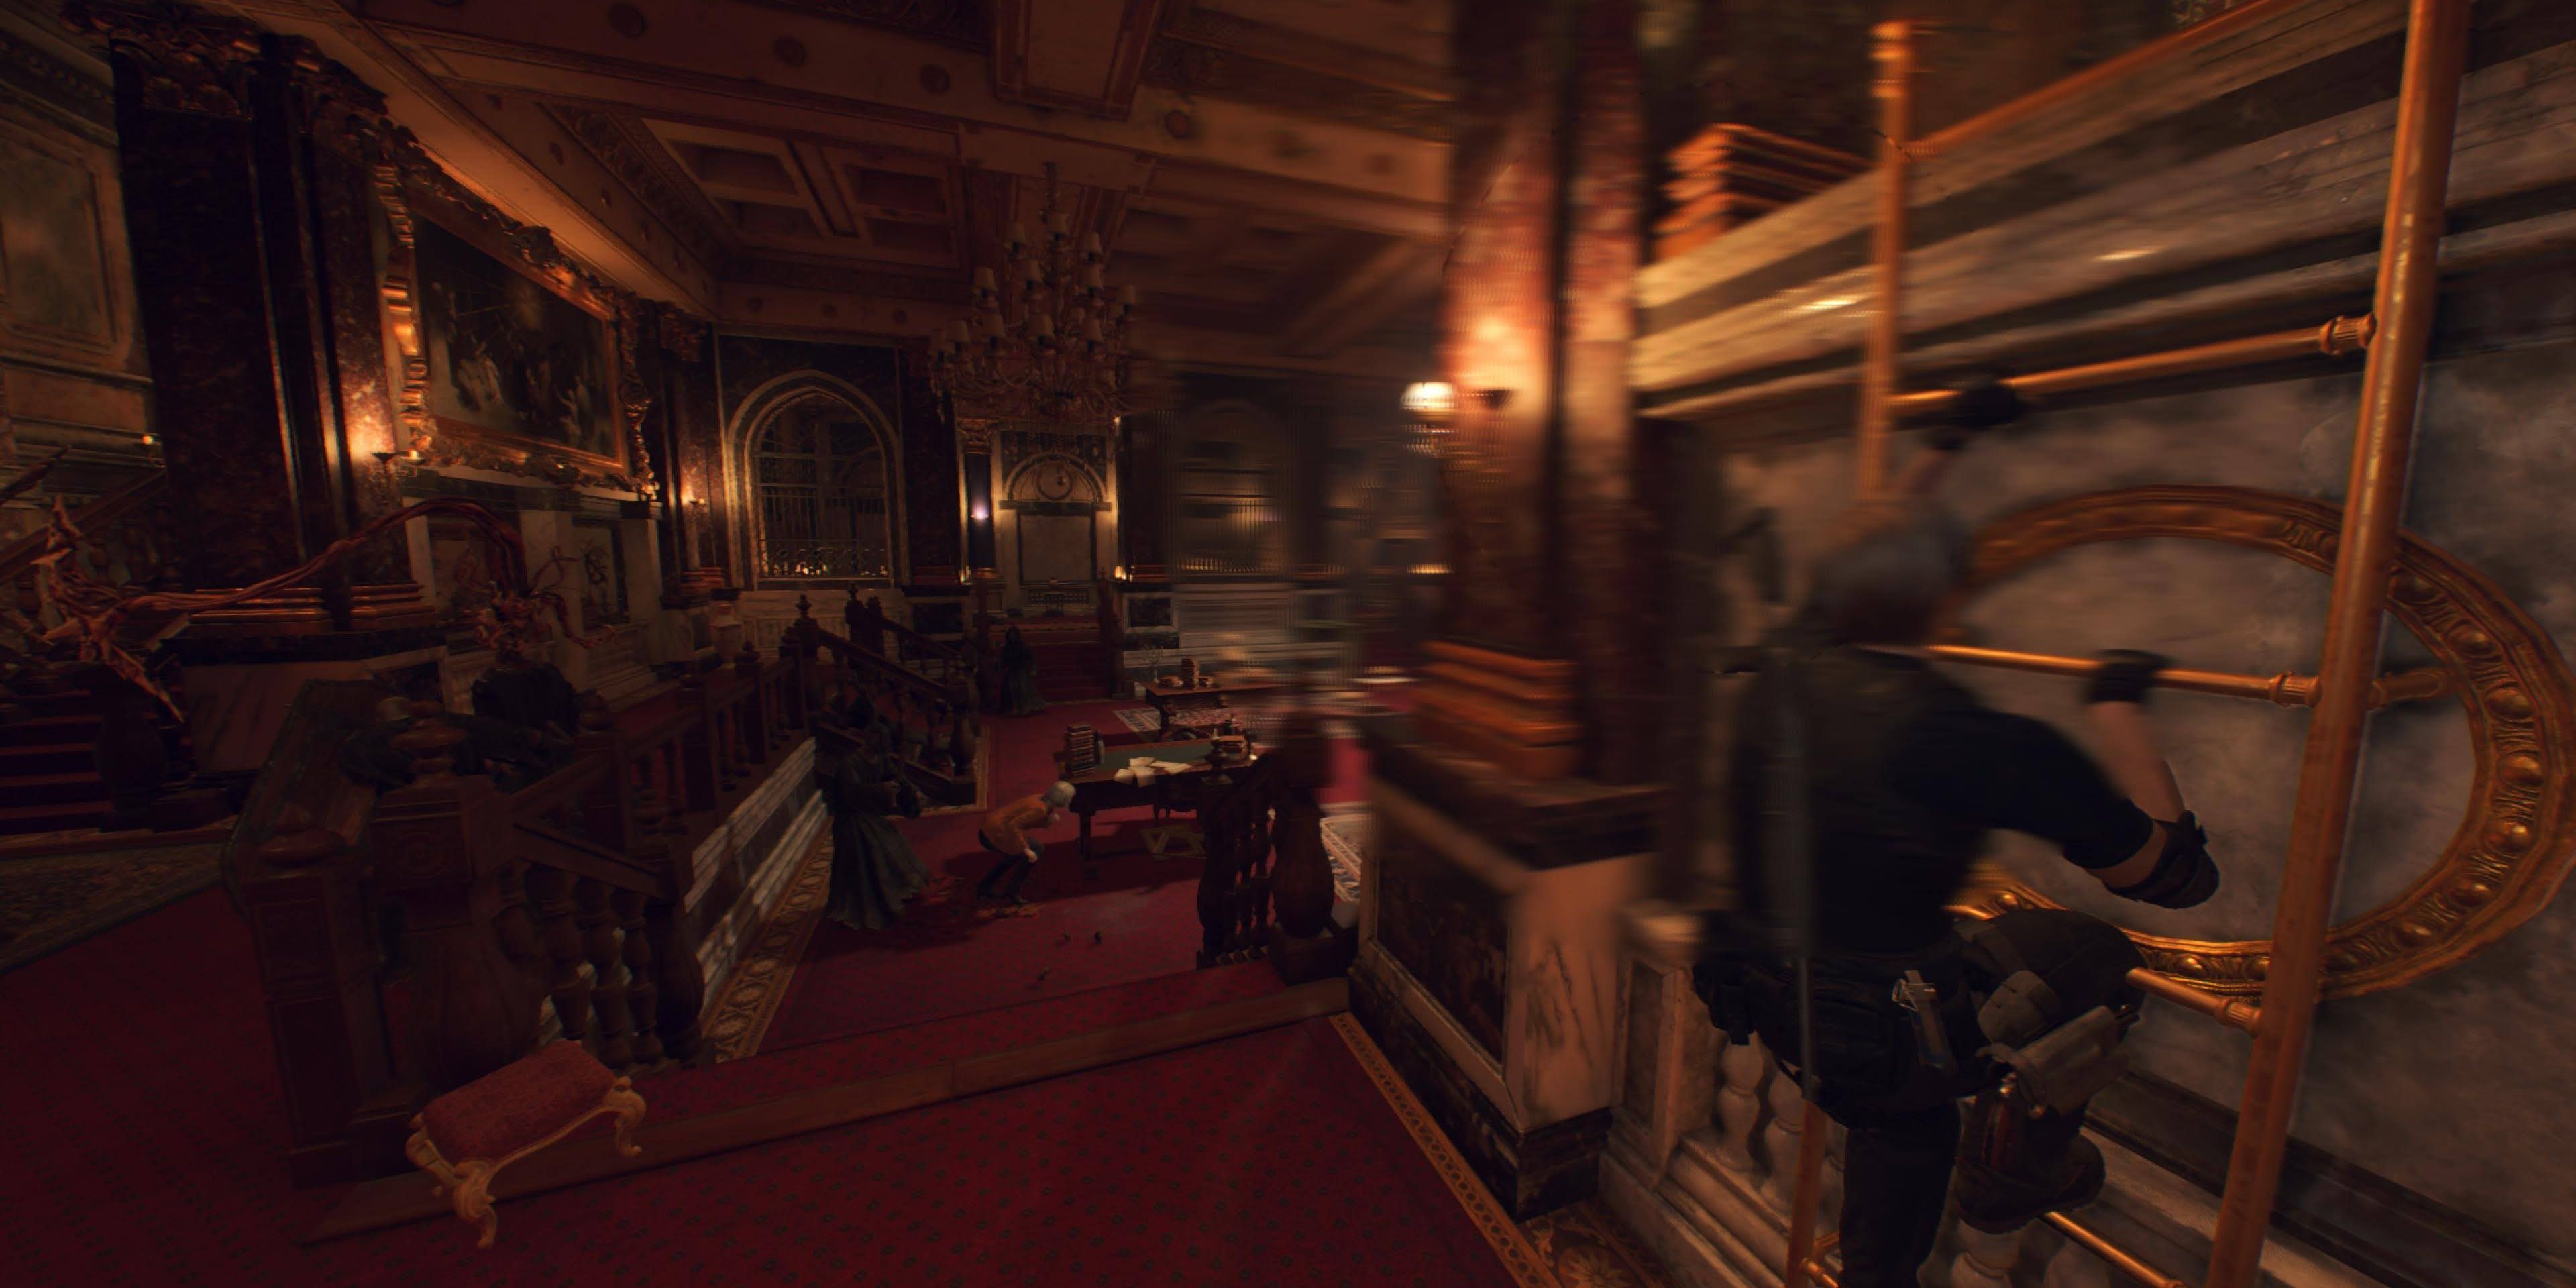
While crossing the bridge in the Gallery, two Zealots will emerge from around a corner and use a lever to bring Leon down to ground level. Down here, make a run for the ladder at the far end of the room and take out the Crimson Zealot as soon as possible to avoid a lengthy fight. After clearing out the rest of the Ganados, pull the lever up here to raise the bridge. Returning to the bridge, take the Goat’s Head statue and kill the Ganados who attack before coming back to the Grand Hall.
Placing the Goat’s Head in the Headless Statue will open up a passageway to the right and trigger a cutscene in which Leon and Ashley will become separated.
Library
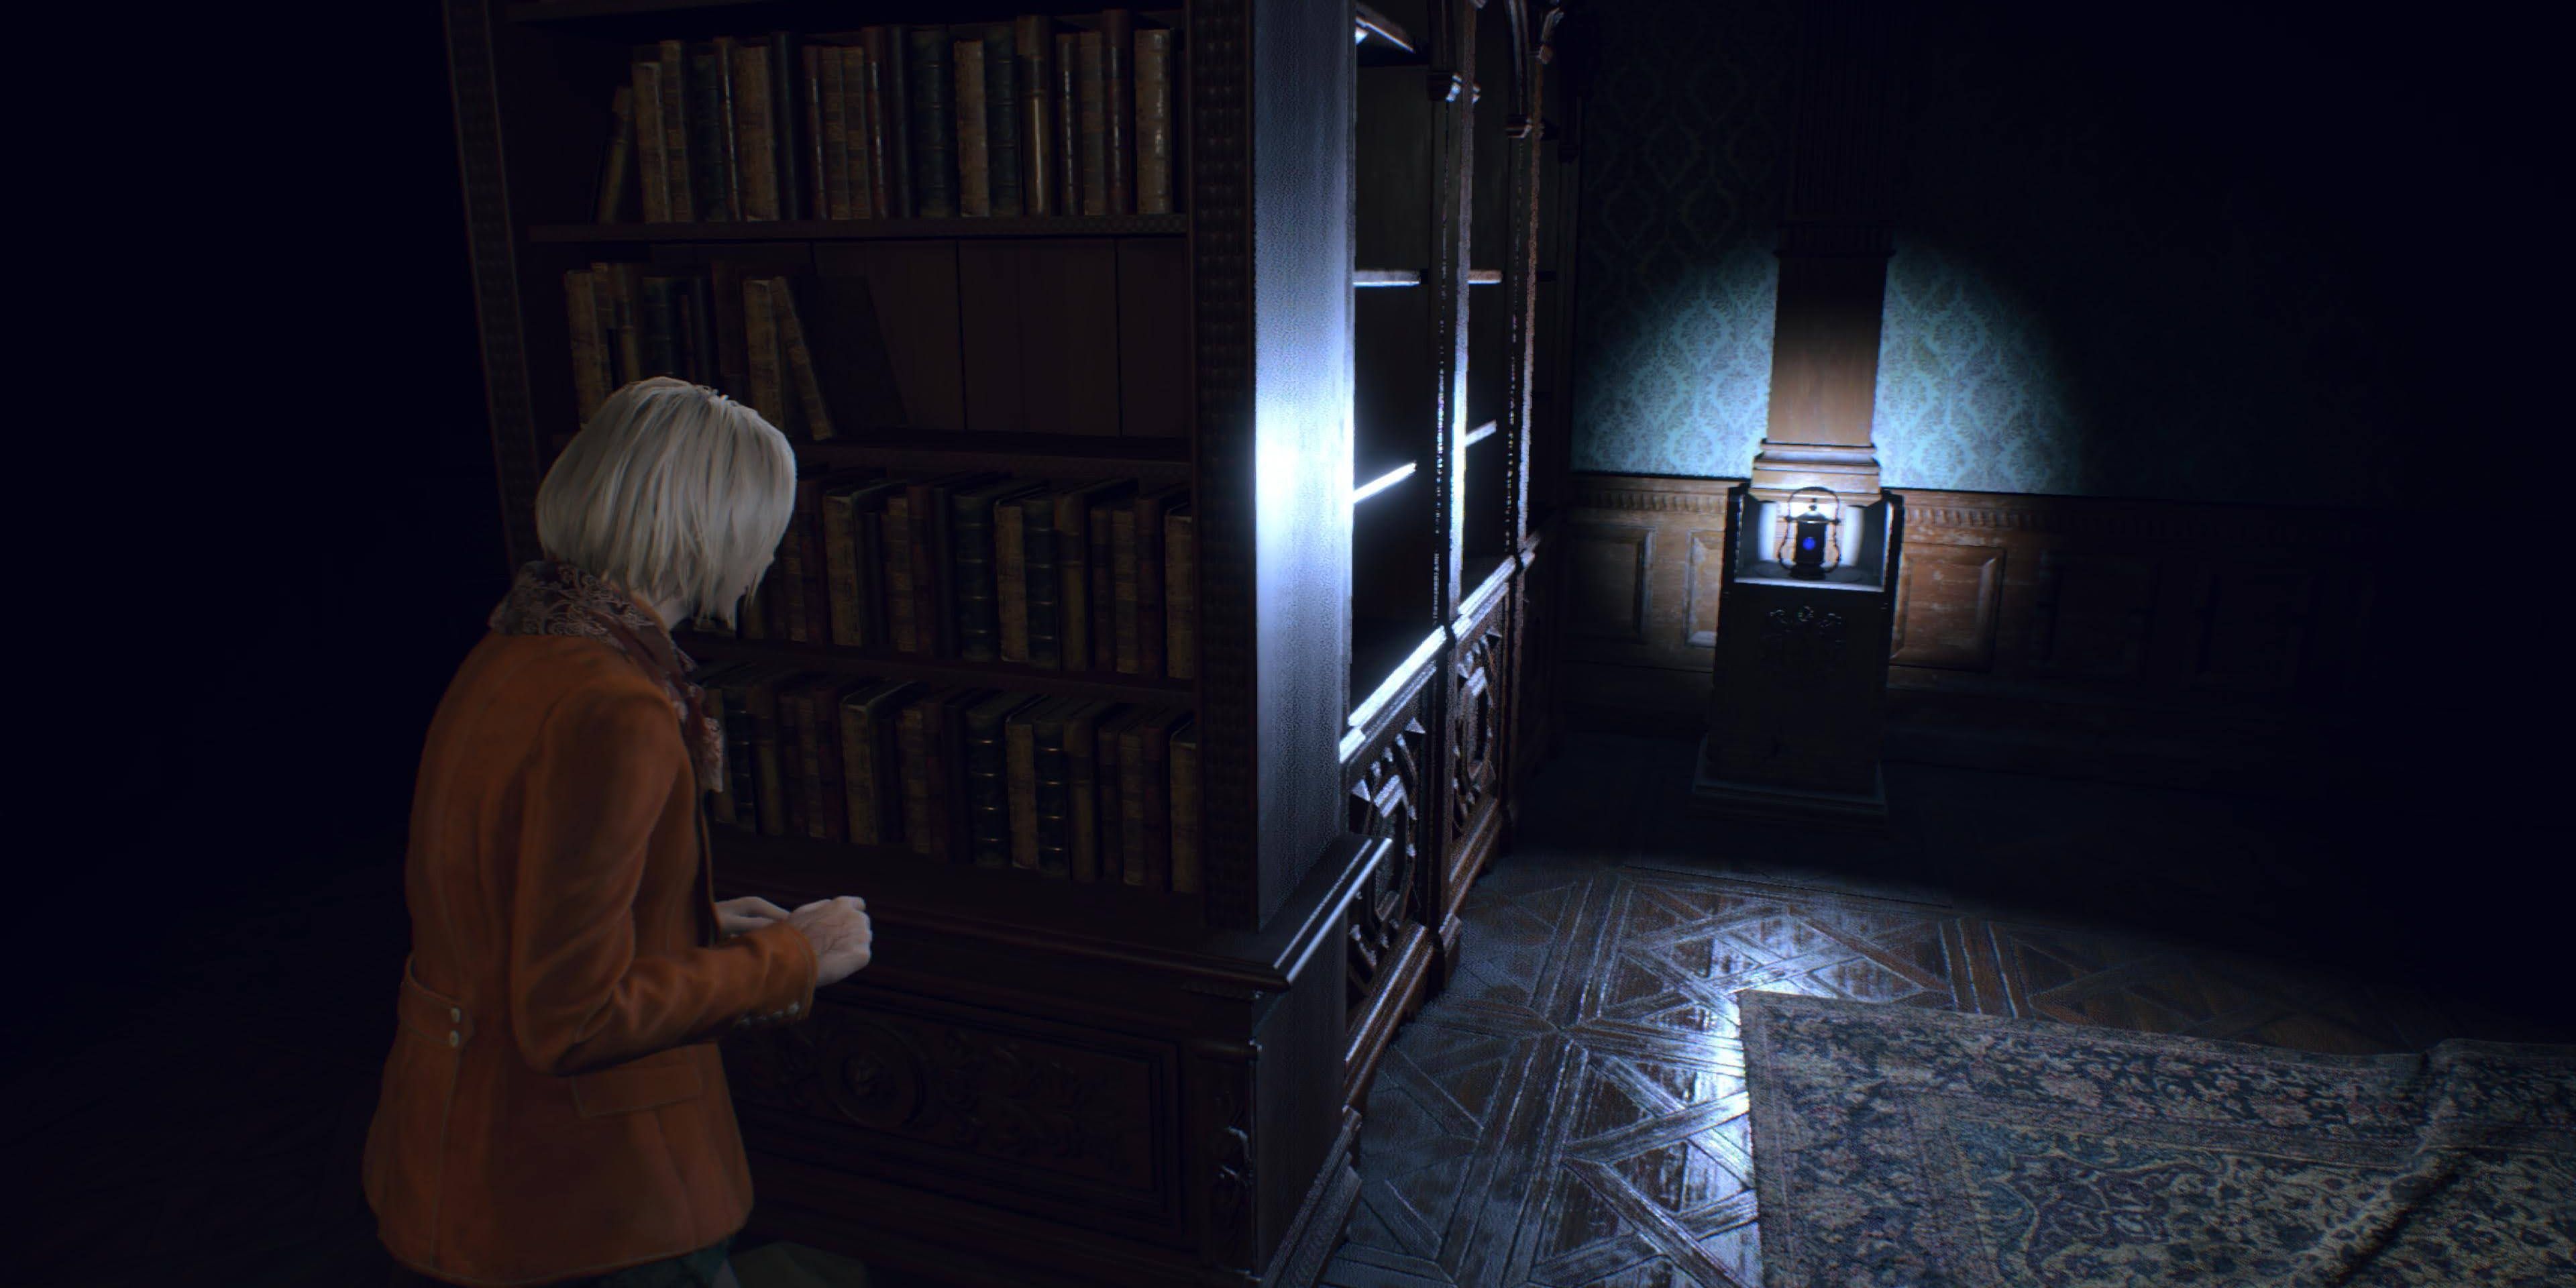
Taking control of Ashley for the first time, head around the bookshelves to grab a lantern, at which point a hidden panel will reveal itself. Walk between the walls and crouch under the debris, walking down the corridor with the mounted animal heads.
Entering another room, walk around the bookshelves and enter the door to the left of the grandfather clock to enter the Library proper. Crouch under the bookshelves and continue through the Library. Winding through the bookshelves, press forward until reaching a pedestal upon which Ashley can place her Lantern to open up a secret passage. Go through and turn the crank at the end to reveal a hidden staircase. Retrieve the lamp and head upstairs, grabbing the Bunch of Keys from the accent table in the secret room.
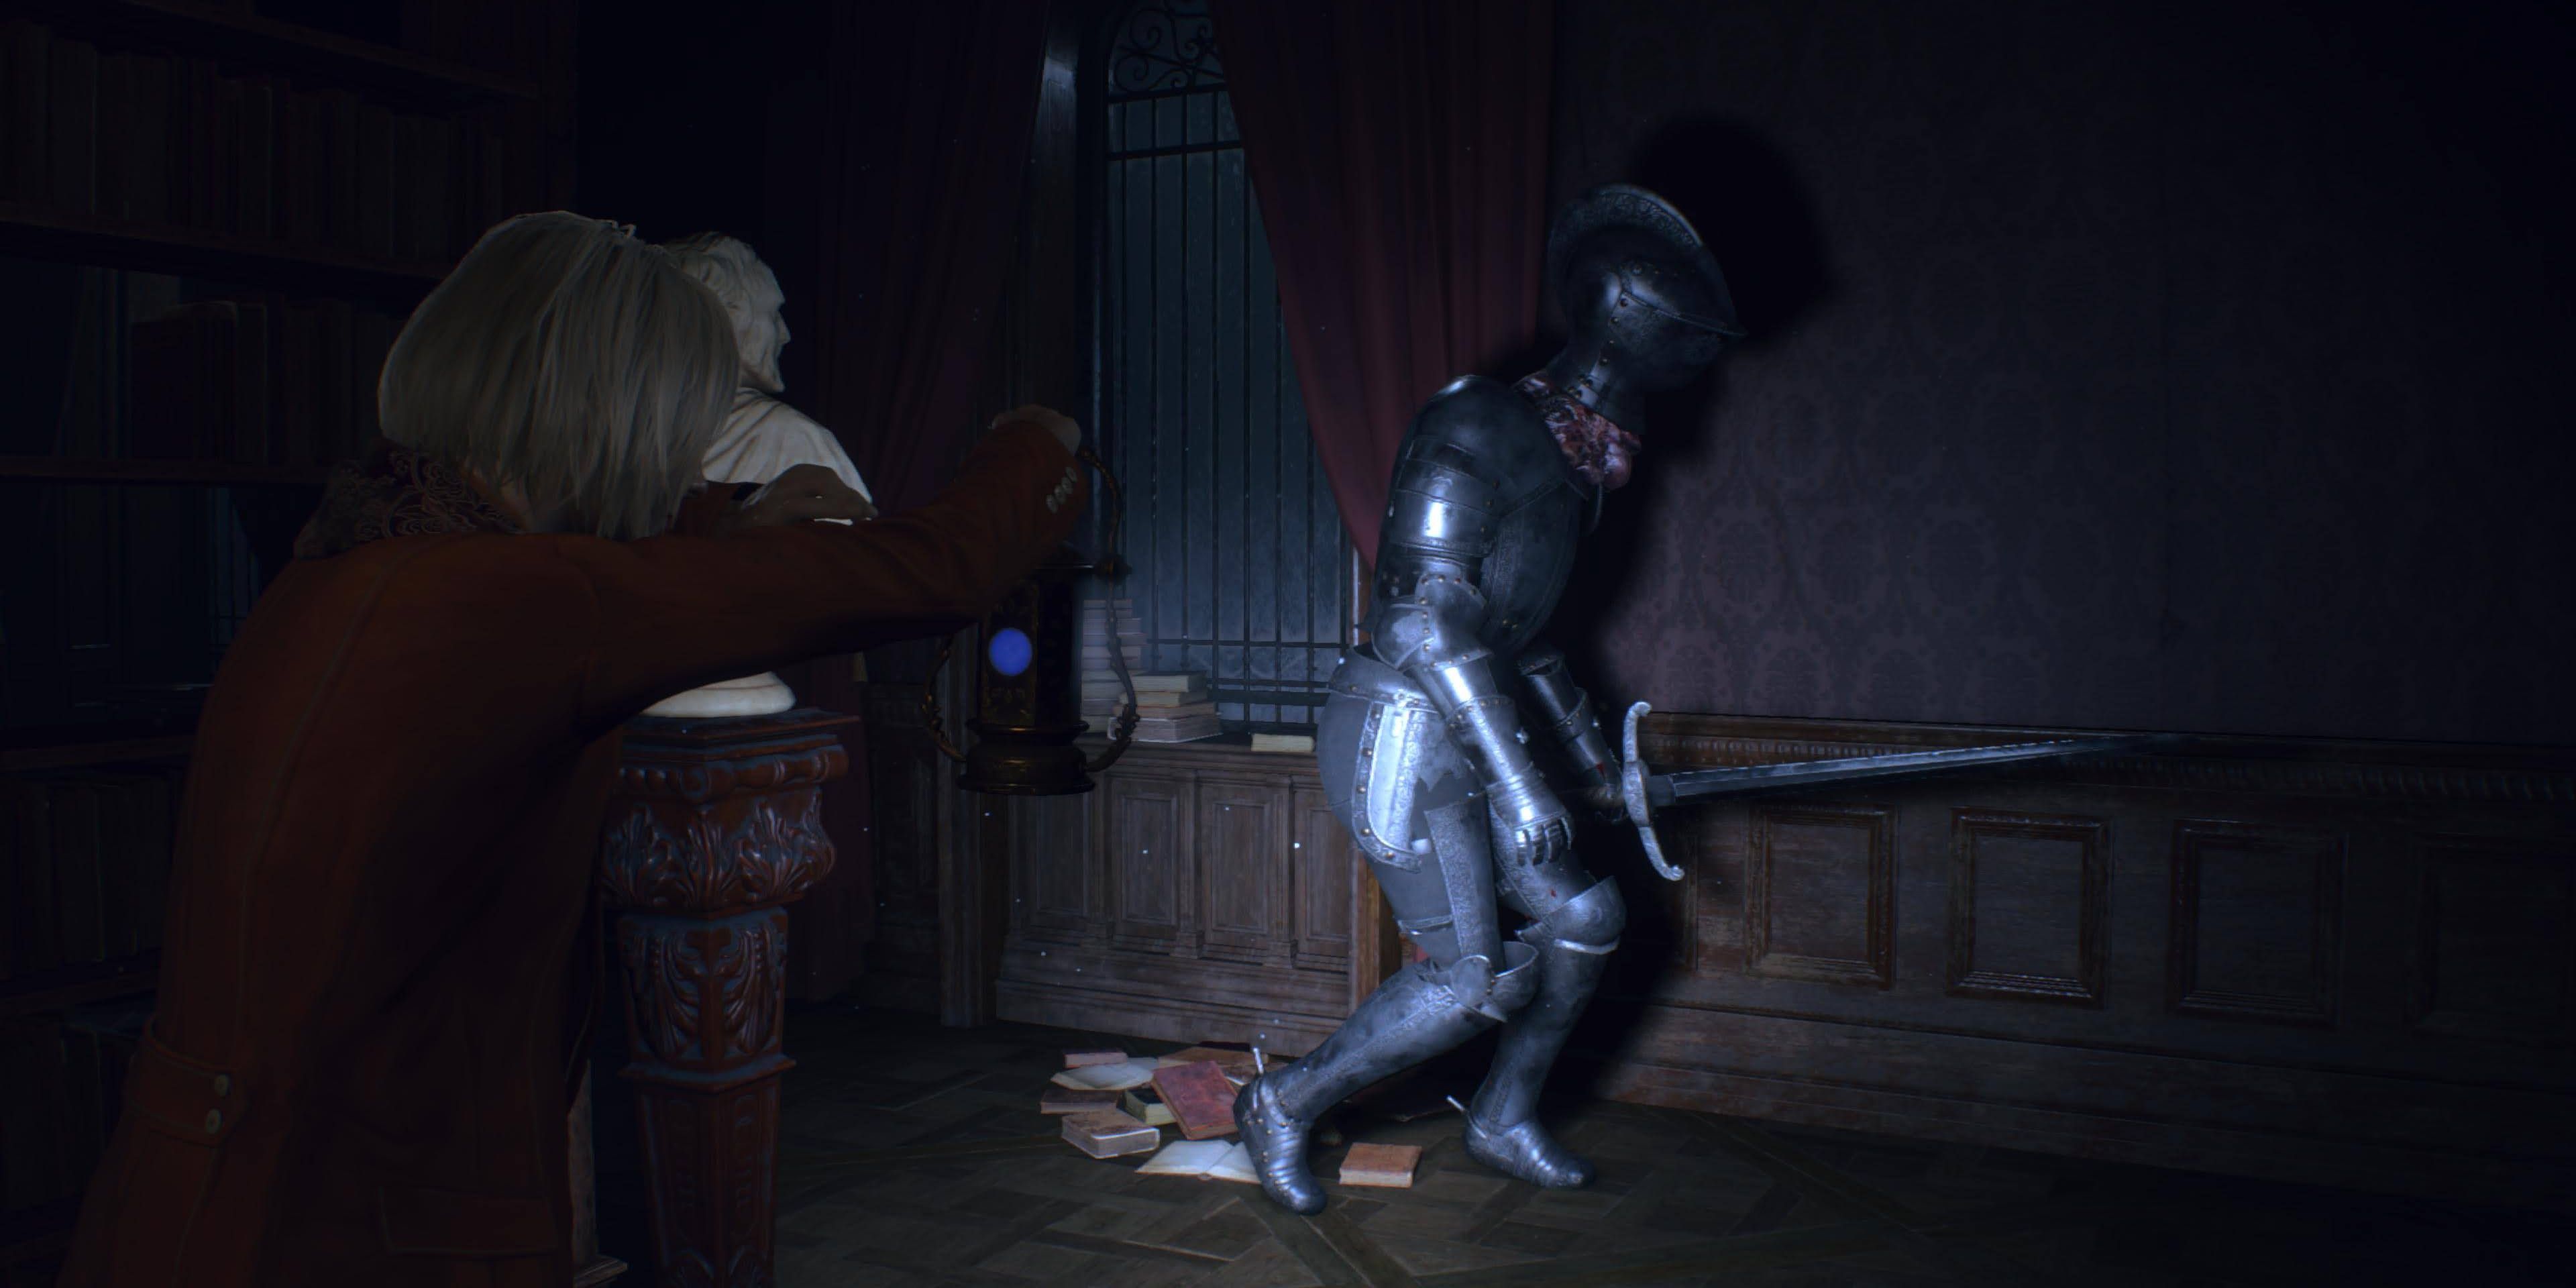
Go back downstairs and encounter the patrolling Armadura. To combat this creature as Ashley, use the aim button to freeze the knight in place and run past him. Back towards the Library entrance, another creature will attack; freeze it with the torch and continue to the locked Shutter at the far side. Use the third key from the left to open the shutter and press the elevator button to ascend.
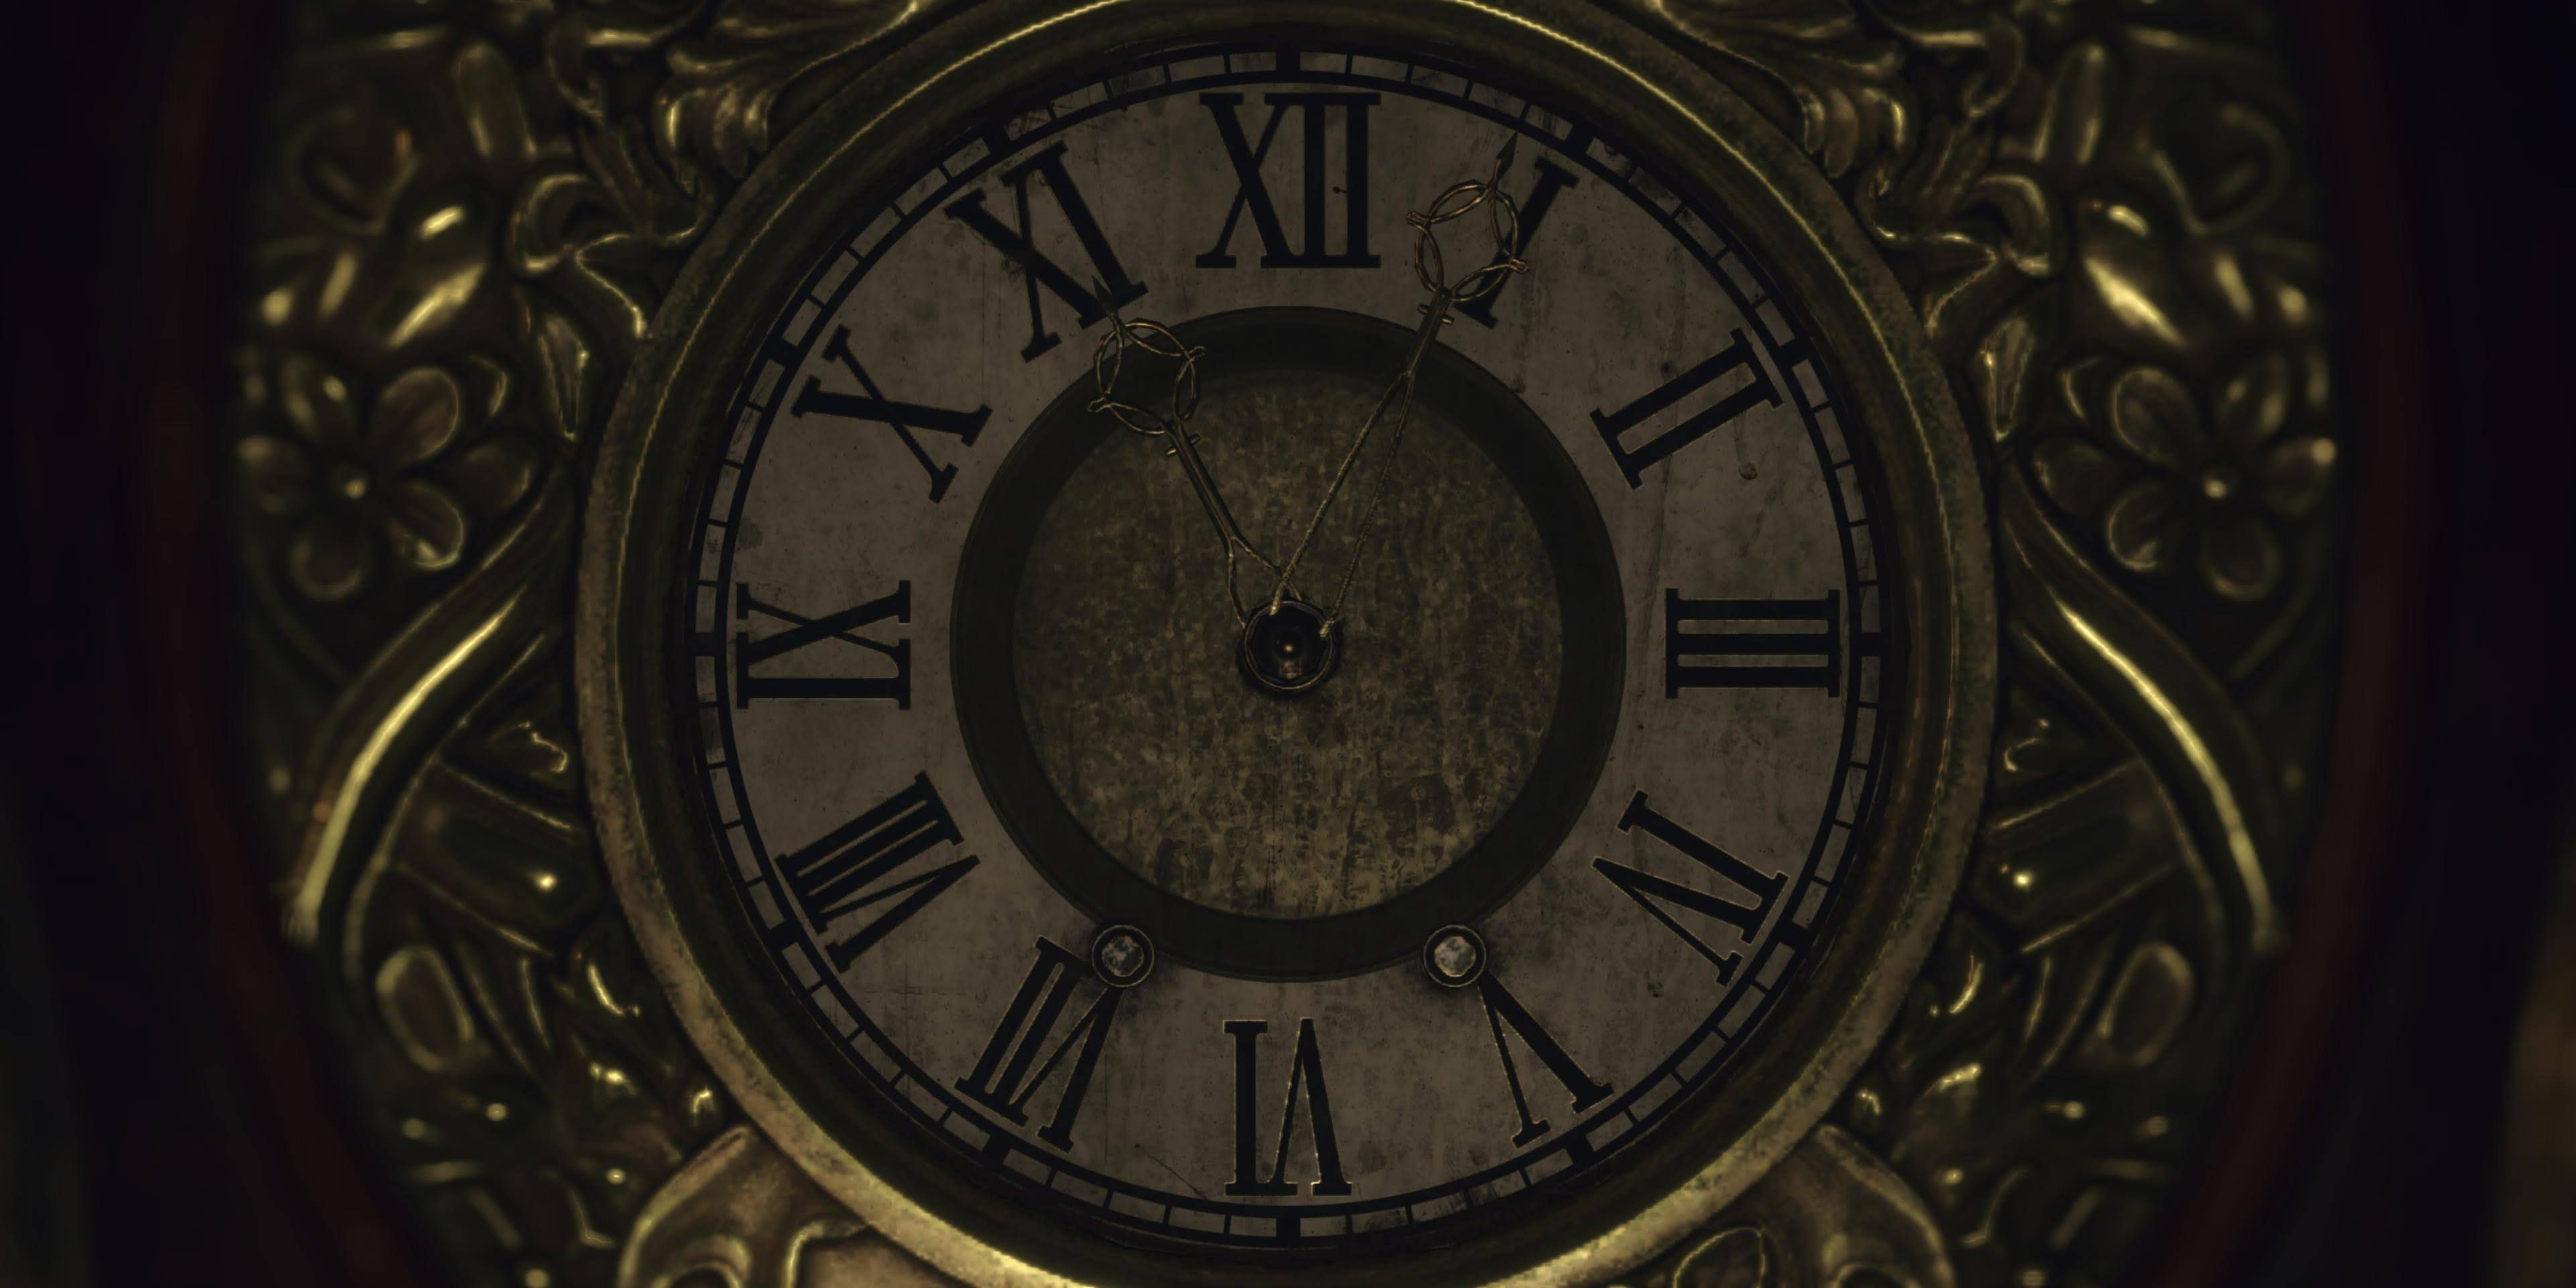
When the lift comes to a sudden stop, use the interact button to open the shutter and climb up to the next floor. Progressing further into the room will begin a short scene. From this saferoom, turn left and head around the bookshelves to find a note written “11:04 Clock.”
Turning back to where Ashley entered the room, use the Grandfather Clock to move the hands to 11:04, opening a secret passage. Head inside and down the stairs, where another Armadura will attack. Freeze it with the lantern light and run past, turning the crank in the hallway behind it.
Back in the Library, another knight will appear. Freeze it and run back through the western hallway, reaching a room with a second Grandfather Clock. Set the hands to 11:04 again to open yet another secret passage, ensuring no knights attack from behind. Take the stairs behind the clock into a small basement where Ashley can call another elevator. As she waits, be sure that no Armadura are on her tail.
Mausoleum
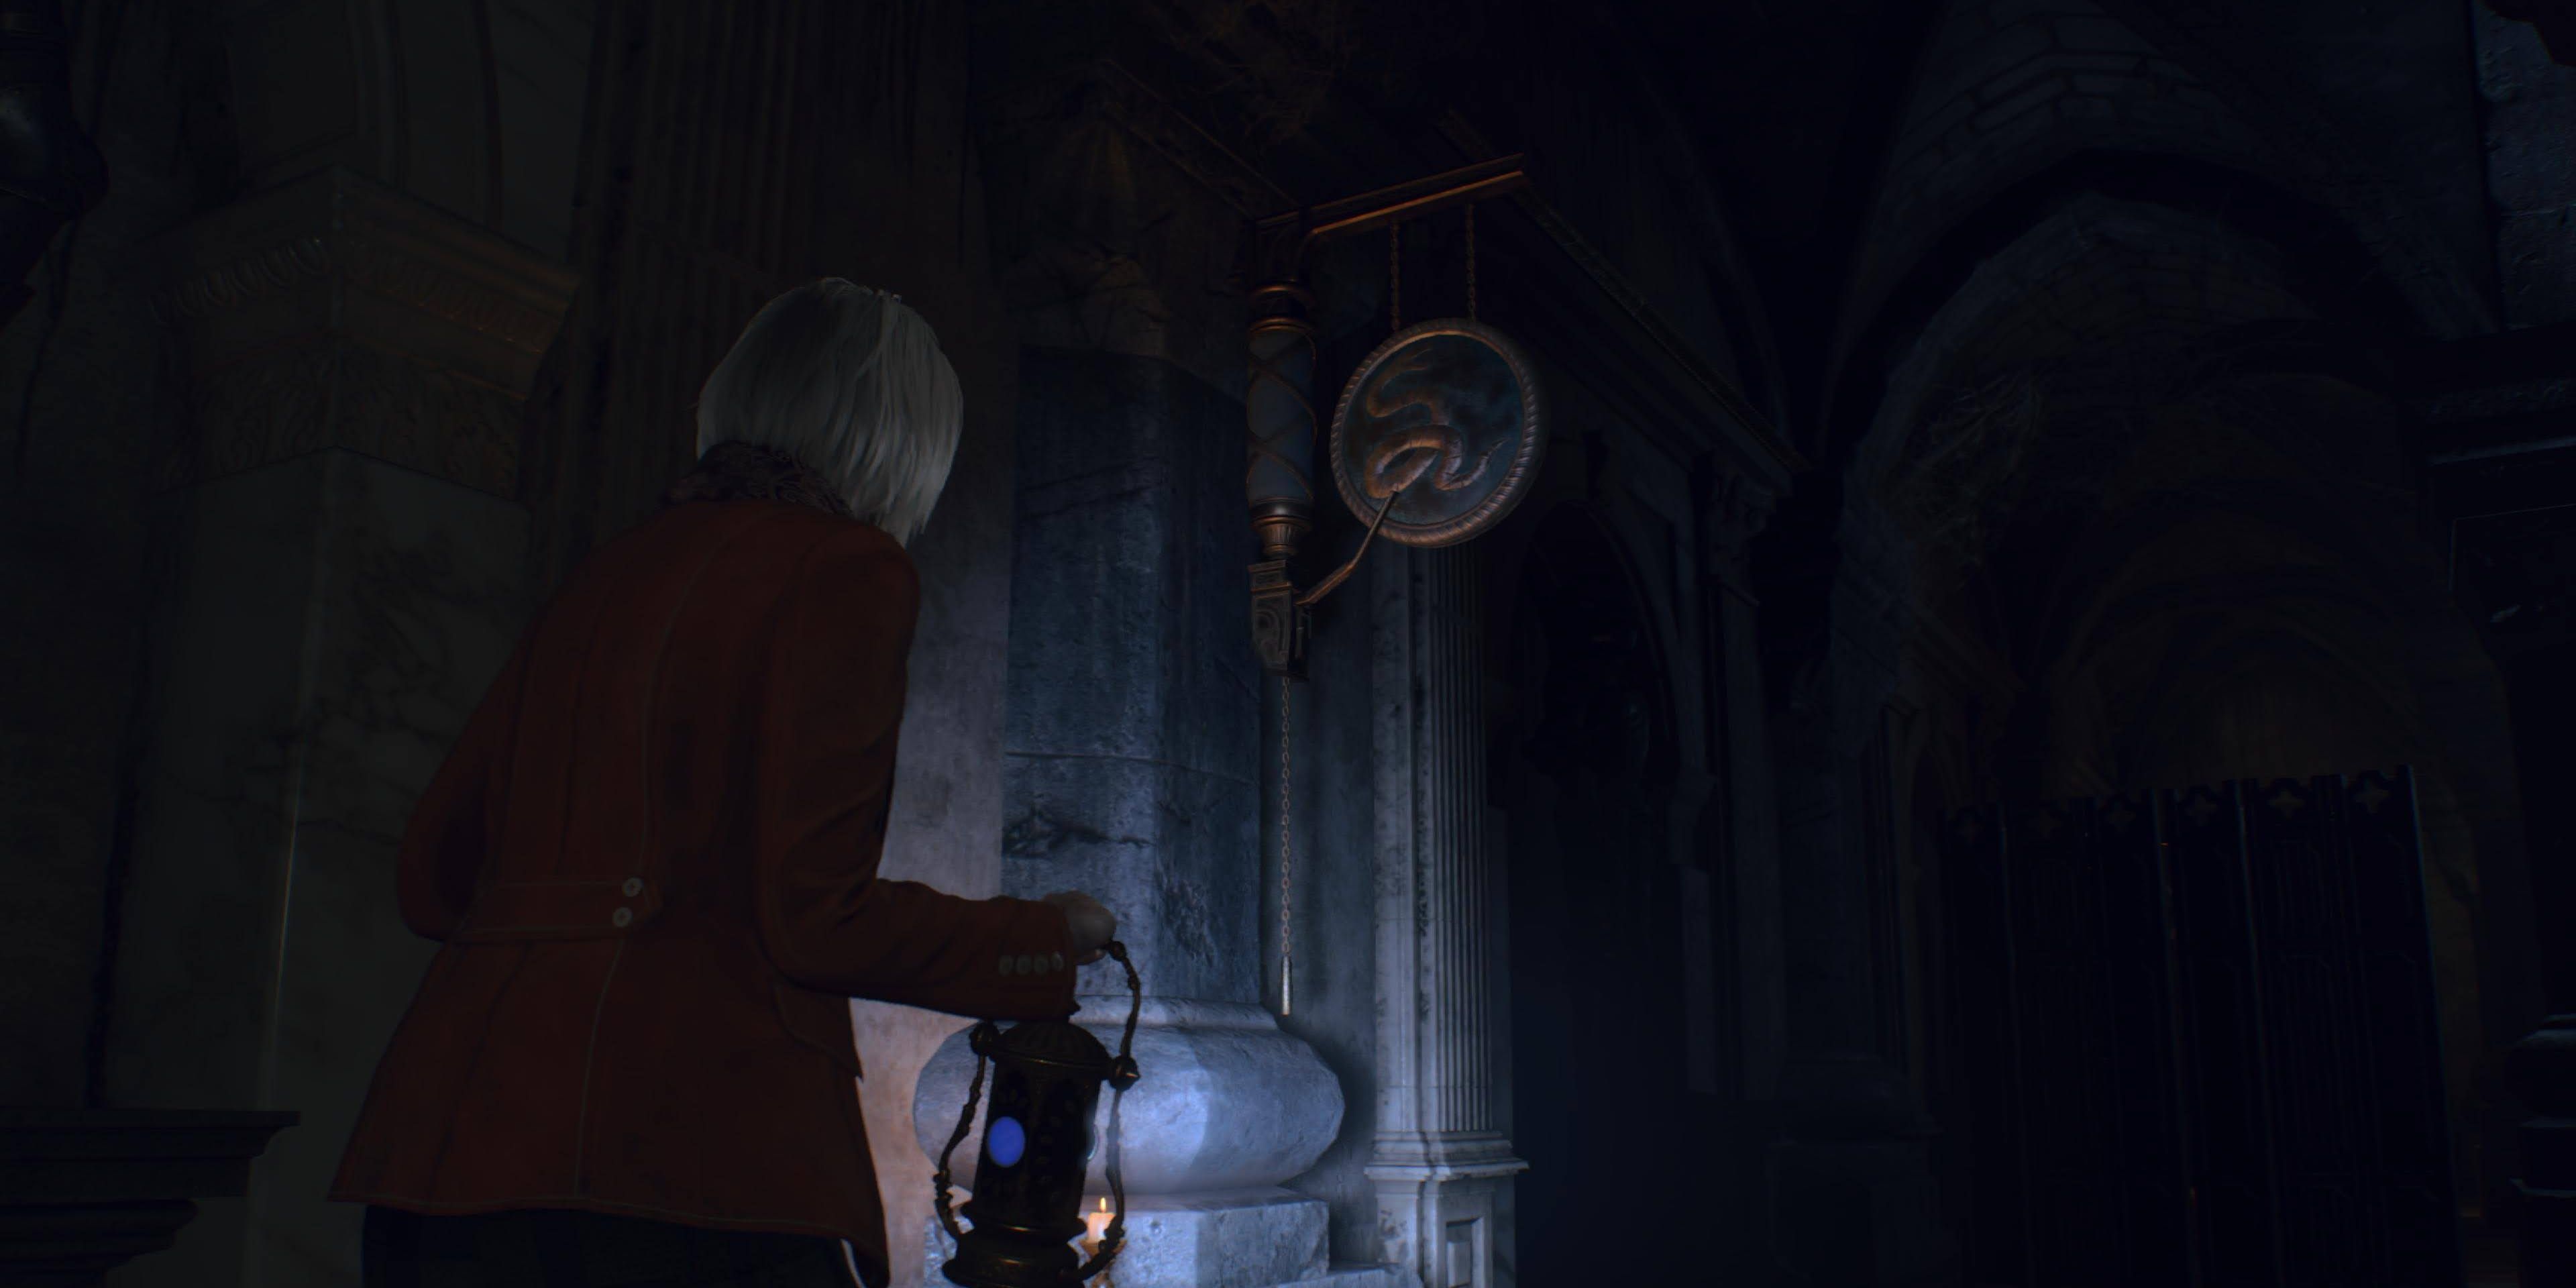
Taking the elevator down, Ashley will arrive at the Mausoleum. Run past the suits of armor and examine the gate ahead, showing the symbols of an elk, a shrimp, a snake, and a bird. Similar to how Leon solved the Sword Puzzle previously, around the hall are gongs that correspond to the symbols on the gate, though pulling the first one will cause the suits of armor to awaken.
There are two gongs along each flank of the Mausoleum, and activating each one will cause even more Armadura to awaken. Run around the arena, pulling a chain in each corner while avoiding attacks from the knights, freezing them in place if they get too close. Once all gongs have rung, exit through the opened gate and run down the stairs. Luckily, there are blue torches in this room, so the Armadura cannot follow Ashley any further.
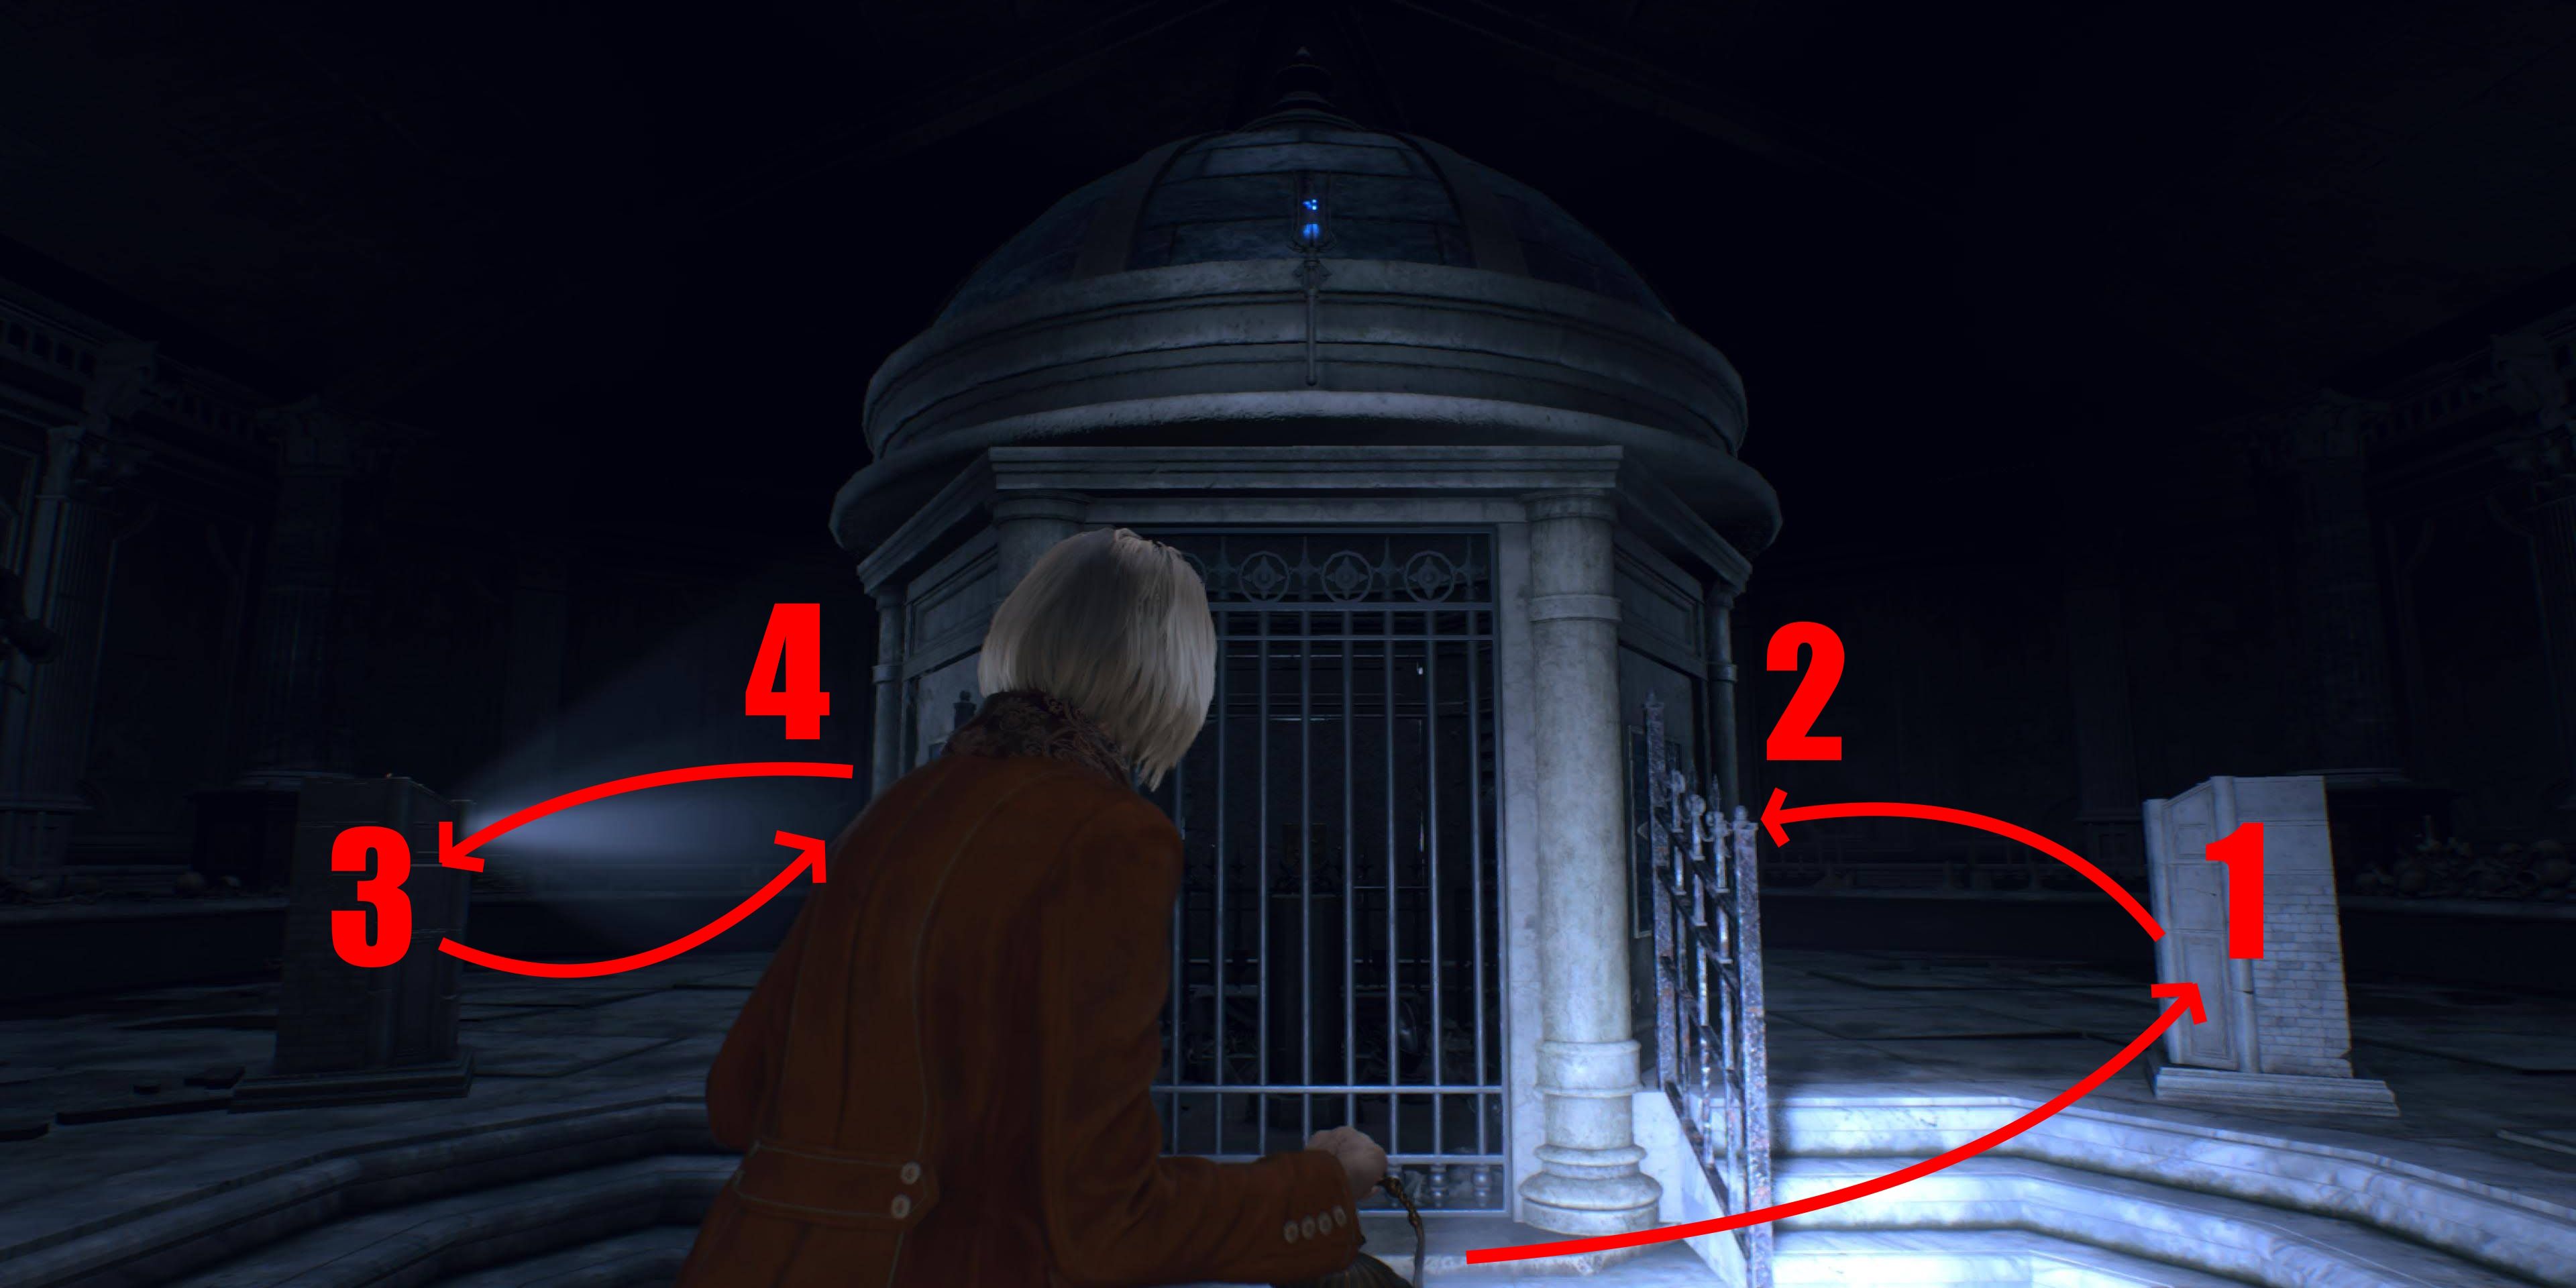
Entering a room with a cenotaph at the center, players must solve the Mausoleum puzzle to progress. This fairly simple puzzle involves matching the correct lantern with the relief on the cenotaph wall. Facing the structure from the entrance, place Ashley’s own star-shaped lantern on the rightmost pedestal, then take the crescent mood lantern from the middle and swap it for the full moon lantern on the left, taking that one back to the middle. With each lantern in its correct place, the cenotaph should unlock, allowing Ashley to take the Salazar Family Insignia from the center.
With the Insignia in pocket, the lights in the Mausoleum will extinguish, forcing a sprint back to the elevator Ashley arrived in. After crawling through the frozen knights, enter the Mausoleum proper to find plenty more Armadura waiting to ambush our protagonist. Take the rightmost flank – avoiding the knight who breaks the wooden divider – and dash to the lift, keeping a wide berth of any knights.
Up the elevator, start up the stairs when another knight will attack. Lead him downstairs and run around him back upstairs. Take a right at the top of the stairs and go back into the Library, crouching under the bookshelves on the left of the entrance to avoid even more enemies.
Take the eastern staircase up and place the Salazar Family Insignia in the Shield-shaped slot to the left of the gate. Head through to trigger a cutscene that closes out the chapter.
The Resident Evil 4 remake is currently available for PC, PS4, PS5, Xbox One, and Xbox Series X/S.


