There are a number of horrific foes in Remnant From The Ashes but none more terrifying or more challenging than the world bosses. These powerful creatures are key figures for progressing the story, accessing new worlds and obtaining powerful items.
While the bosses are randomized to some degree and what makes them difficult is dependent on build and gear loadout, here is a ranking of the World Bosses based on the general challenge they pose the player.
10 The Ent

This hulking boss is a massive sentient tree found in the Choking Hallow on Earth. It has powerful sweeping melee attacks, launches bombs, and summons adds to ruin your day. The reason it’s the easiest boss in the game is that it’s legs and back are its weak points.
A common tactic is to take out the legs which removes many of its attacks and ability to spawn adds. From there you simply attack it’s back while dealing with the occasional Hallow it summons. Unless you want the Sporebloom which means you can’t destroy the legs, this is the easiest boss in the game.
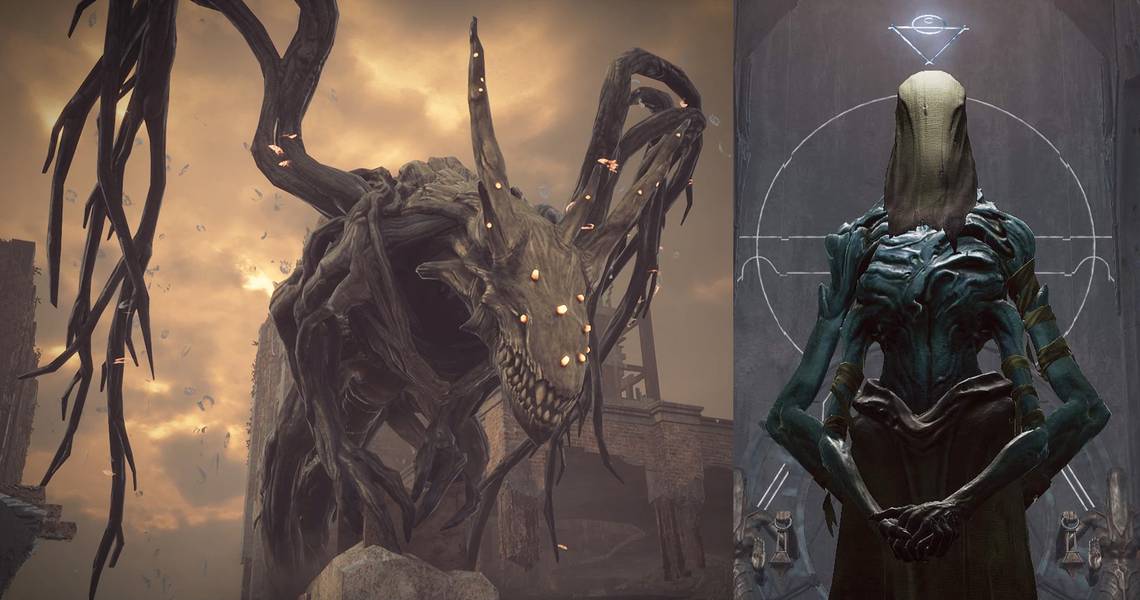
9 Singe
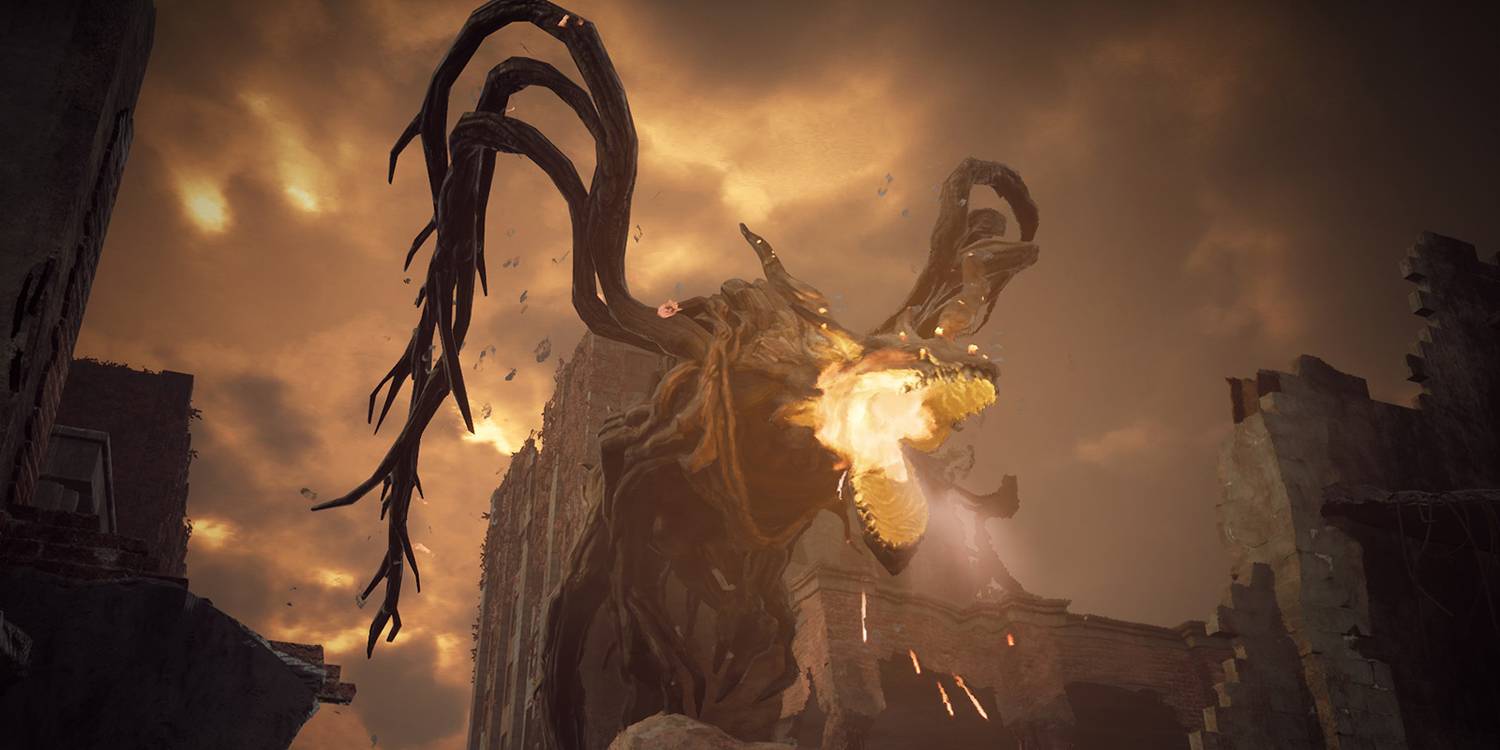
This is the other boss that can appear on Earth and presents a tougher challenge. This dragon isn’t afraid to use its fiery attacks to deal impressive damage and cause burn effects, which makes having Hydro Coolant a necessity for this fight. The adds will also turn into Immolators if you shoot them, so you’re forced into melee to take them down.
The key to this fight is shooting Singe’s chest and dodging his fire breath. Some fans have had success with staying behind him but beware its flying Fire Strike if you do. Without Hydro Coolant this is one tough fight.
8 The Harrow

The Harrow is an undead brute found in the desert realm of Rhom. It's easier than other bosses in Rhom because it possesses a number of weaknesses. It’s possible to stagger The Harrow by damaging it’s legs which causes it to fall forward and allow the player to rip the Lost Harpoon out of it’s back, though this does make the fight harder so up to you.
After dealing enough damage he retreats and spawns adds, which the player must take out quickly to avoid facing them when The Harrow returns. Rinse and repeat until he's dead once again.
7 Claviger
If you don’t get The Harrow you get the Claviger which is much tougher. You fight on a round platform with multiple phases to the fight.
Take down its protective shield while staying on the move and dodge its various projectiles. After enough health is lost you’ll be hurled into the air, the platform rotates and the shield comes back up and you must start the process all over again.
6 The Unclean One

This boss is optional if you bypass Corsus entirely, but if you need to traverse this swamp-like world the Unclean One is the easiest of the two bosses, but by no means a picnic. He’s an absolute juggernaut who can blindside you with his hammer.
If you dodge the hammer he’ll run over to grab his weapon and you can take the moment to blast him in the back, a weak spot, for good damage. Also if he enters a whirlwind you can use him to destroy the adds for you, though this can get sketchy if you're not careful. Just watch out for his belly.
5 Totem Father

One of the bosses that spawns in the jungle world of Yaesha, but arguably the easiest of the two. The head of the Pan will start on top of a column shooting electrical and rock projectiles. He’ll occasionally jump attack you or leap down to place a totem before returning to another column.
The idea is to dodge his attacks while shooting him in the head when he’s on the column. When he hops down dodge his two-hit combo and fire back after the second move. If he places a totem take it out quickly as it’ll spawn more enemies. You’ll have a chance to heal when he jumps back up the column.
4 The Ravager

This optional boss will appear if the Totem Father does not. He’s optional as the bell puzzle can put him to sleep and allow you to approach him and retrieve the Stalker’s Claw which is a component of the powerful melee weapon Scar of The Jungle God.
If you do fight him try to keep your distance as The Ravager likes to leap and slash around. After dealing enough damage it’ll retreat and come back with adds. It’s not a complicated fight, but his high speed and brutal damage make it a tough one.
3 Undying King

Fighting this boss is entirely optional, but is required if you want the Ruin. He is a tough boss and you’ll need lots of Bloodwort, Ammo Box, and other consumables to have a hope of beating him.
RELATED: PlayStation 4: The Top 5 Must-Own Exclusives (& 5 You Should Skip)
He fights in three phases; the first is the summoning phase and it requires a lot of crowd control or you’ll get swarmed, the second phase he’s a slow-moving melee attacker, and the final phase he regenerates his health from the altar until you deal enough damage and reset the phases.
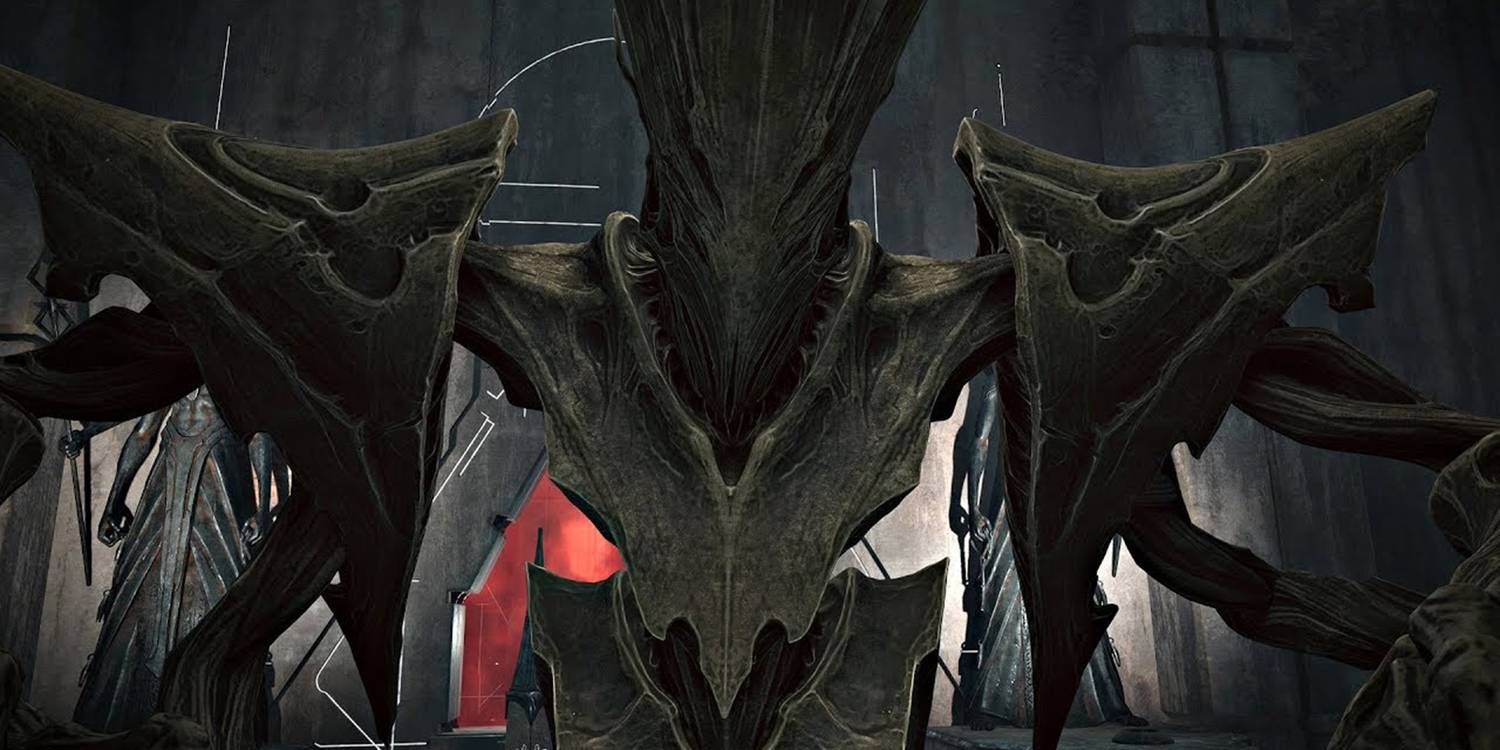
2 Ixillis

The secret hiding in the swamps of Corsus is this horrific nightmare of a boss. Fortunately there are no adds to worry about, but you’ll need Ammo Box to replace all of the bullets you’ll pump into this monstrosity and Greenleaf will help you survive the corrosion attacks.
There are three phases, though the last phase is negated if you can kill both at the same time. This is a complicated fight with lots of moving parts. Mainly you want to deal equal damage to both Ixiliis to kill them at the same time, take out any orbs that appear, cancel their Screams as quickly as possible and stay on the bridge.
1 Dreamer/Nightmare

This is the final boss of the game and by far the toughest encounter you’ll face. Obviously, this is not an optional battle and this entry won’t spoil any of the story. Phase one is the Dreamer state and the easiest part of the fight. The head is the weak spot and over time it’ll summon Roots that can easily swarm you if they aren’t properly managed.
Phase two the Dreamer becomes the Nightmare and you’re banished to a realm that causes continuous damage. Kill the summoned foes and quickly escape. Once back deal enough damage to expose the Dreamer within and shoot this new weak spot. It’s a brutal fight and highly recommended that you upgrade your gear, bring a hoard of consumables and have a means of dealing damage over time.