Rainbow Six Siege is partially known for its complex maps, and one map that's been familiar in the competitive scene for quite a long time is Border. Upon initial entry, Border doesn't seem nearly as complex as some of the other maps, but the further you delve into it, the more Border reveals its secrets.
With a ton of opportunity for vertical play, a shortage of staircases, and a lot of Defender peeking, Border can be a really ruthless map for newer players. To help you along in your knowledge of Border, here are ten tips to get you started.
10 1F CUSTOMS/SUPPLY

This site has one exterior breachable wall, one exterior window, and two ceiling hatches. Because of the hatches having such a nice view of the objective, it's pretty common to have one or two Roamers upstairs keeping the Attackers away from the hatches, or at least from being too comfortable there.
The 1F Customs Desk is a small room inside the Bravo site, and it's highly likely there's going to be an Anchor set up there, especially if the Defenders have an Echo or a Maestro. Usually, the easiest Defuser plant here is going to be just inside the 1F Supply Room window, but Attackers will need to make sure they prevent Defenders from flanking this plant from either the double-door in the 1F Exit Hallway or from jumping out the window in the 1F Ventilation Room.
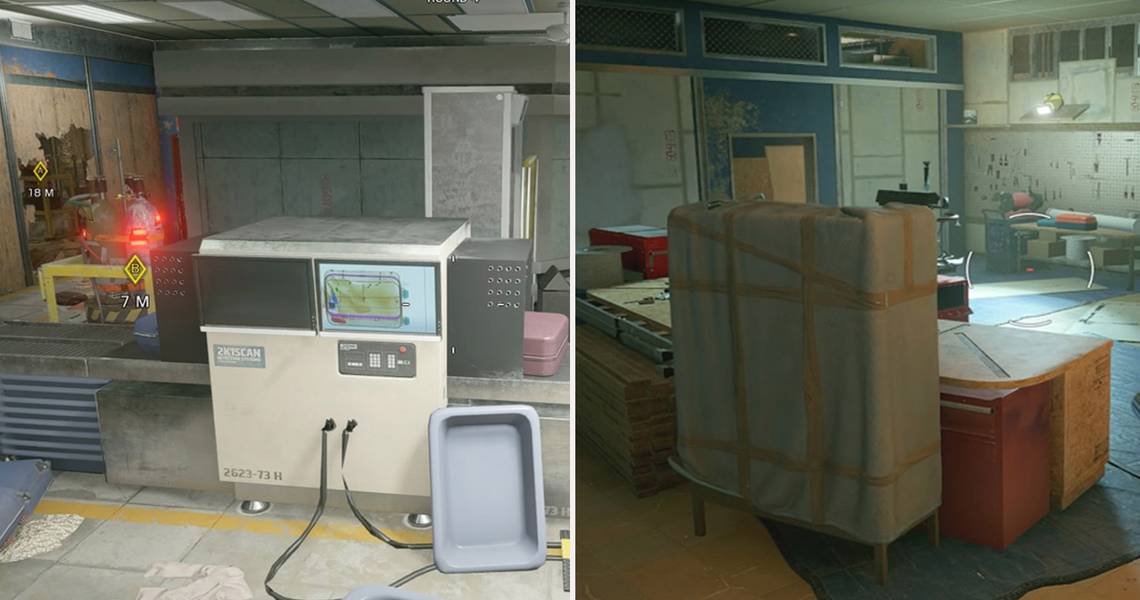
9 1F VENTILATION/WORKSHOP

There are some really creative setups possible on this site, but one thing needs to be consistent for each of them; preventing the easy plant inside the 1F Ventilation Room window.
This can be accomplished with a Mira set up on the West wall in the 1F Server Room, for example, but there are other options, too. There are two ceiling hatches into the Alpha site and, much like the 1F Customs/Supply site, Defender's generally try to control these hatches and use them to defend the site, since the West-most one especially has a nice view into the 1F Exit Hallway.
8 1F BATHROOM/TELLERS

As flexible as setups can be for the previous site, this site is pretty straightforward and without a ton of wiggle room. Most Attacking teams are going to apply pressure to the exterior wall in the 1F Tellers, and to that window as well, with that being their default plant site.
Defenders absolutely need to have a plan for when that wall opens up from either a Thermite, Hibana, or Maverick, because there's really no way of keeping them from opening the wall, even if your team brings a Bandit, Kaid, or Mute. Attackers will simply shoot that utility from the window, if they didn't/couldn't bring a Thatcher. Once Attackers are rebuffed there, their only other options are either from the 1F Main Lobby/1F Waiting Room, or from the ceiling hatch above Tellers.
7 2F ARMORY/ARCHIVES

This is going to be a lot of Defending team's preferred site, though that doesn't mean it's an easy site to hold. Controlling this site requires drawing a hard line in the sand at the exterior wall in 2F Armory Lockers because there is likely going to be one or two Attackers there at all times.
The toughest thing about this objective is the variety of ways the Attack can come at you; they have the 2F Main Hallway leading to the Armory, an exterior window in the Armory, easy access into the 2F Office adjacent to the Archives, and another exterior window (and a door) into the Archives.
6 CONTROLLING THE 2F

One important thing to keep in mind when defending the 2F site is keeping control of the majority of the 2F, at least for a little while.
Keep Attackers from feeling comfortable in both the 2F Main Hallway and the 2F Break Room/Security Room; in fact, some teams even do their best to hold the Break Room/Security Room for a heavy portion of the round, in order to keep Attackers from gaining any meaningful foothold in the building whatsoever.
5 1F WORKSHOP/SERVER ROOM IS A FOCAL POINT

If the Break Room/Security Room is the focal point upstairs, then the 1F Workshop/Server Room is the focal point downstairs.
This room has two different ceiling hatches for easy rotates from the second floor, an adjacent wall to the Bathroom for access to the site or another easy rotate option, and a ludicrous amount of blind corners for enemies to hold an angle from.
4 LONG SIGHTLINES

Moreso than some of the other maps in Siege, Border has quite a few long sightlines. The 2F Main Hallway is one such area that you'll be at a disadvantage in without an ACOG. Sites scan across the 1F Workshop into the 1F Ventilation Room through the usual rotate-hole, down the 1F Main Lobby, from the 1F Bathroom into the 1F Waiting Room, and so on.
Certain fights are going to have that ACOG advantage, so having an idea which fights to take is going to be paramount here.
3 ONLY TWO STAIRCASES

While a lot of maps in Siege have three staircases, Border only has two, and one of these staircases is very easy for Defenders to control access to if they choose (Central Stairs).
This is why ceiling hatches have such great importance as rotate options in Border, it grants you a wider variety of ways to traverse the map that the enemy may not be expecting.
2 ALL OF FLOOR/CEILING BETWEEN 1F/2F IS SOFT

While not all of the ceiling on the 1F is destructible, the entire floor of the 2F is, save for a tiny section at the very top of the 2F East Stairs. Because of this, players strong in their vertical play are going to have a lot of options when it comes to both entry-denial and plant denial on the Defenders side, and pushing Anchors out of their spots on Attack.
Buck is going to have a lot of value here on Attack, and any Defender with a shotgun is going to be great on Defense.
1 DEFENDER PEEKING

Lastly, because Border is a map with a balcony tracing the majority of the 2F, Defenders have a lot of opportunity for peeking outside to harass Attackers.
The first priority for Attackers when working the 2F site has to be preventing Defenders easy peeking opportunities, whether that be with Claymores, Nomad, or Gridlock.