Maps in Rainbow Six Siege are, quite possibly, the most complex maps in FPS gaming today. There are so many variables present, and you can approach dealing with the enemy team differently just about every single time you play, especially if you change up your Operator combination.
Each map in Siege takes a ludicrously long time to get a working understanding of, and even then, you'll be learning new things for a long time to come. Outback is the newest map to Rainbow Six Siege (excluding the Kanal rework), so there are still a ton of nuances to the map being discovered on the regular.
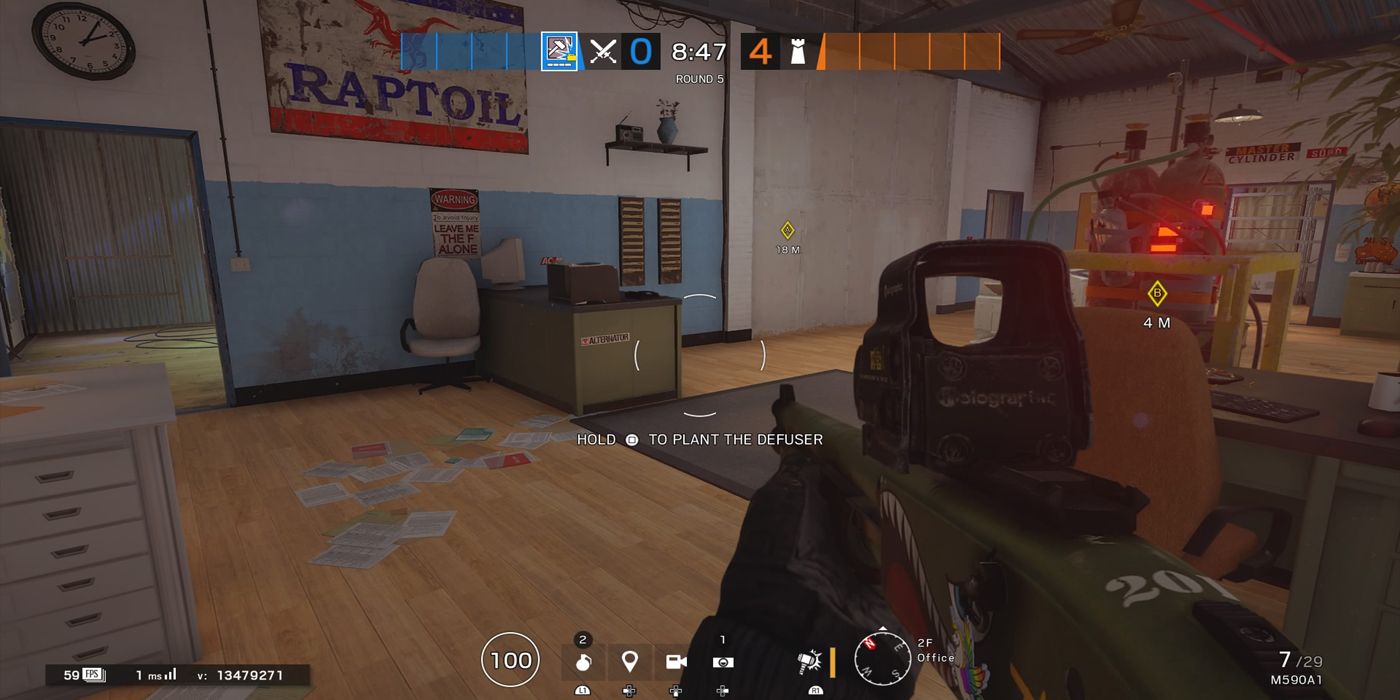
10 2F OFFICE/2F PARTY ROOM OBJECTIVE SITE
Let's take a look at all of the objective sites in Outback to start off. The 2F Office/Party Room site is a relatively simple one to hold. Much of the toughest push is probably going to come from the Garage area to the south of both objectives. If Attackers manage to push Defenders off of there and gain those sightlines through the double window/door into the objective, it's going to cause some issues for the Defenders.
However, Defenders have the entire 1F of the Garage where they can toss up C4 or get a sightline through the gaps in the half-wall. As for the north side of the objective, there are a lot of easy sightlines for the Defenders to hold for the two entrances to the areas adjacent to the objectives, so Attackers will definitely need to push from both of those ways in order to gain any ground in that direction.
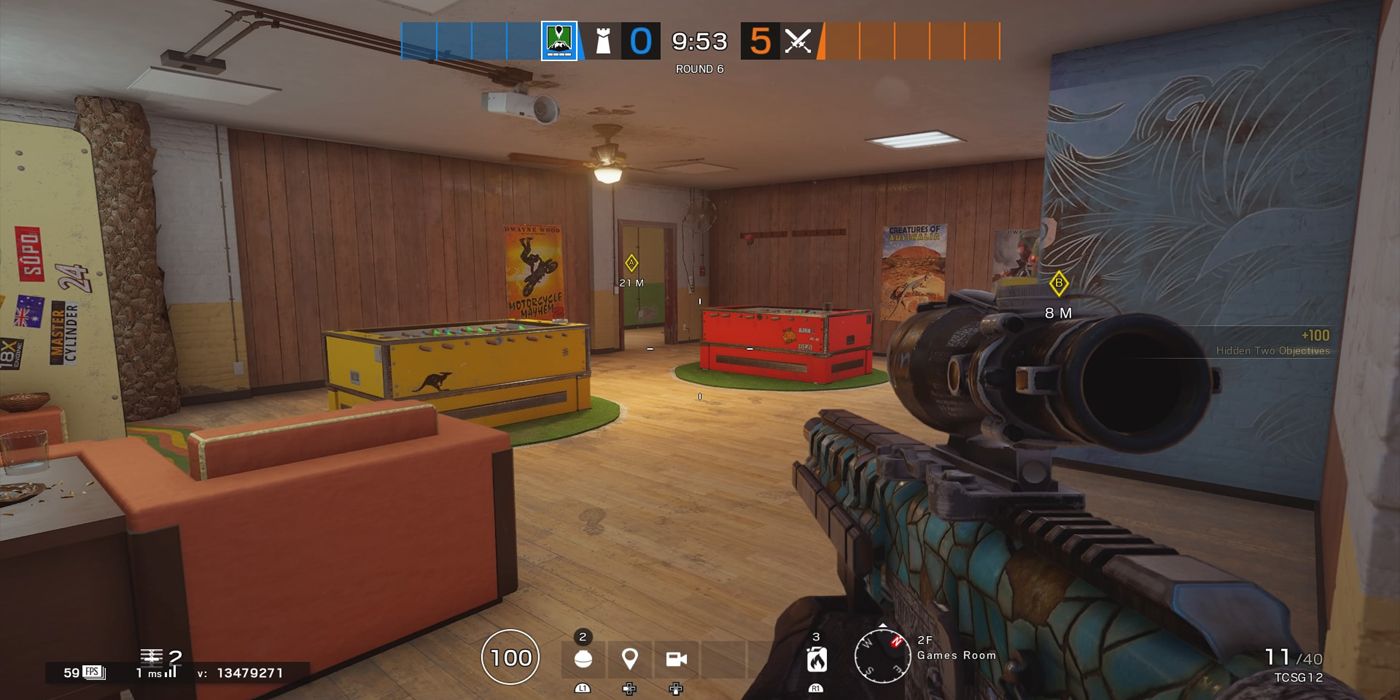
9 2F GAMES ROOM/2F LAUNDRY
This objective site can be a little bit difficult, simply because you can't get very easy sightlines into both objective rooms from the same time. There also isn't a ton of room for roamers to maneuver on the west-most portion of that 2F, so if Attackers can manage to cut off that Back Stair, they're unflankable.
That doesn't mean this objective is impossible, though. Get at least one strong anchor in each of those rooms, and keep someone in the hallway between them to keep that area clear. Roamers can contest the 2F Showers Window from the window in the 2F Mechanical Bull room and can contest the 2F Piano Room exterior doorway from the 2F Mezzanine window. Plus, much of these two sites can be covered partially from underneath, since the entire floor in this area is destructible. While this objective can be tough, it is possible to hold with some creative tactics.
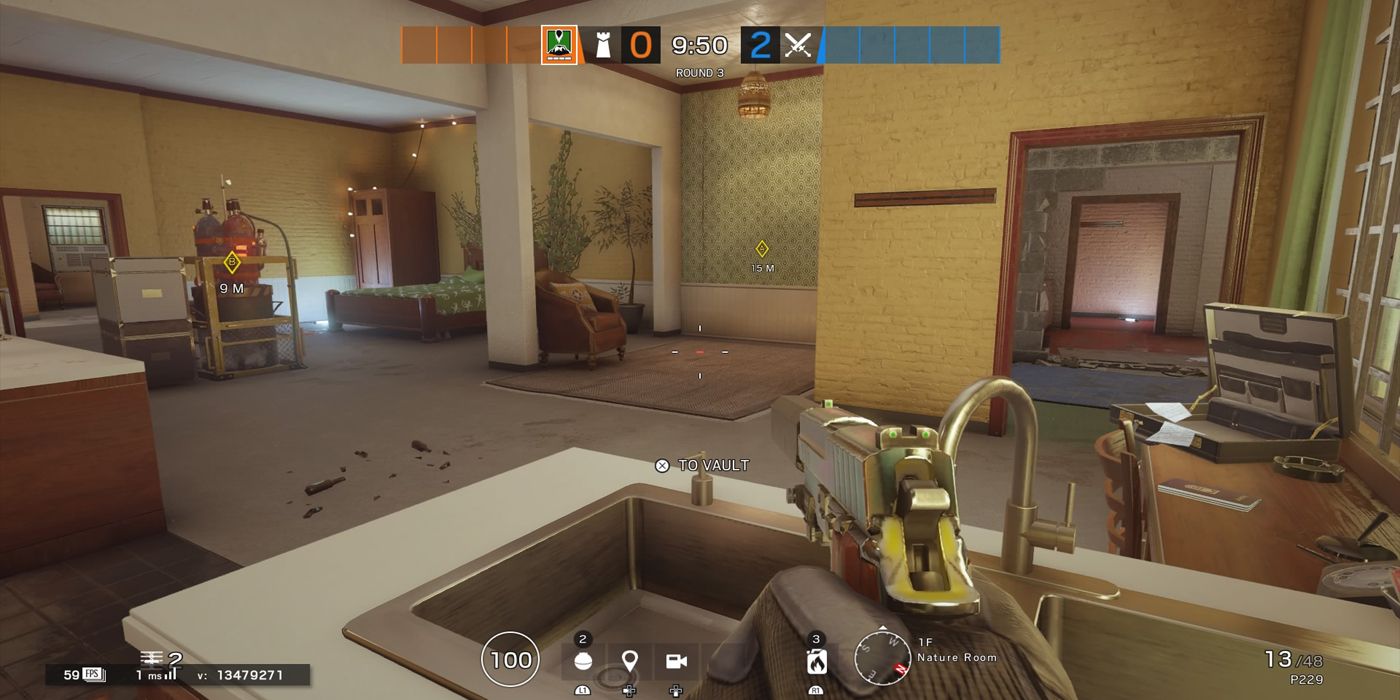
8 1F BUSHRANGER ROOM/1F NATURE ROOM
Much like the last site can be held partially from the opposite floor, the same can be said of this site; because it's right below the other. The hatch in the 2F Laundry Room, for example, can completely cut off entry from the window in the 1F Bathroom below.
Most of the rest of the ceiling is destructible, allowing clever Defenders (or Attackers) easy views into the room. It's easy enough to make a rotation hole between the two objectives, too, making it pretty easy to move between the rooms.
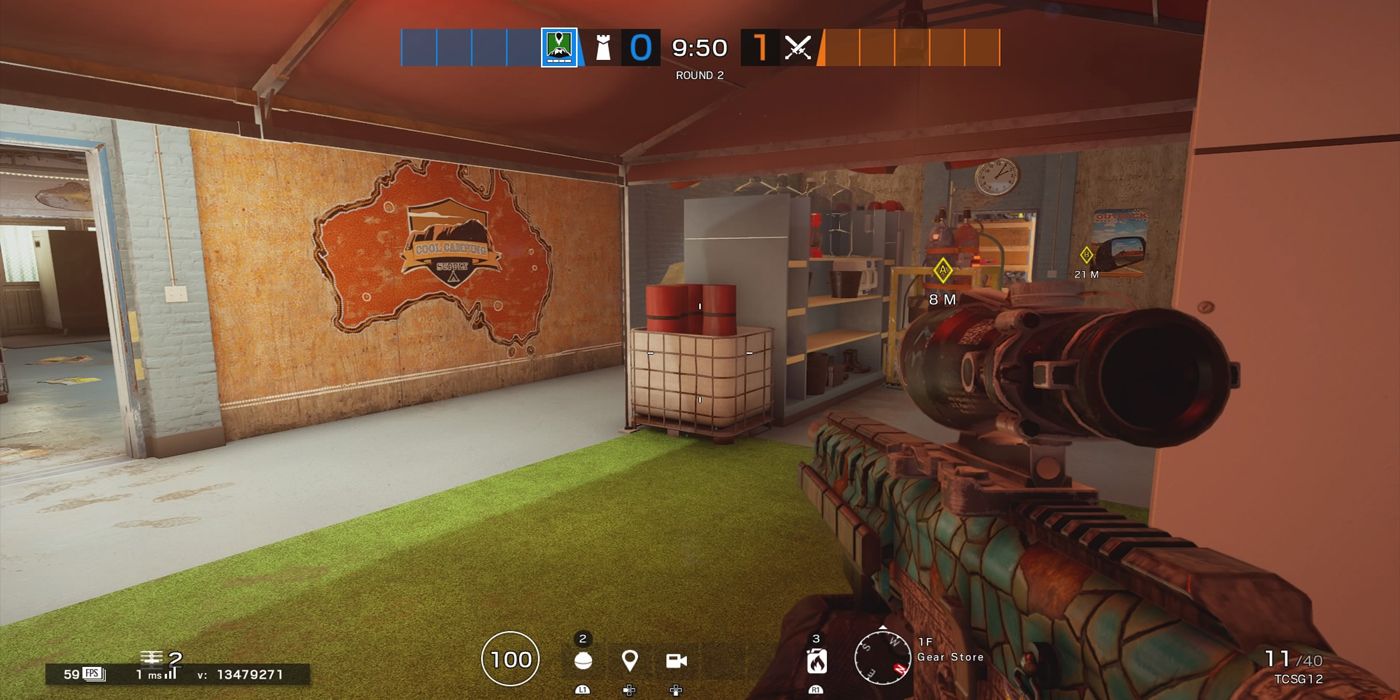
7 1F GEAR ROOM/COMPRESSOR ROOM
This is a pretty claustrophobic objective site, with a lot of cluttered rooms around that lend themselves well to strong anchor play. Even with that in mind, these sites are pretty centrally located in the map, allowing roamers to really have the entire map to maneuver around and flank the Attackers.
The quickest way into this objective for the Attackers is through the Garage, but keep in mind that route has a plethora of flanking opportunities for roamers, and they're likely to have a heavy presence there, especially near the beginning of the round. Working your way towards the north/northwest area of the map is probably going to net you the best success rate as an Attacker, provided you're able to cut off the staircases as you go.
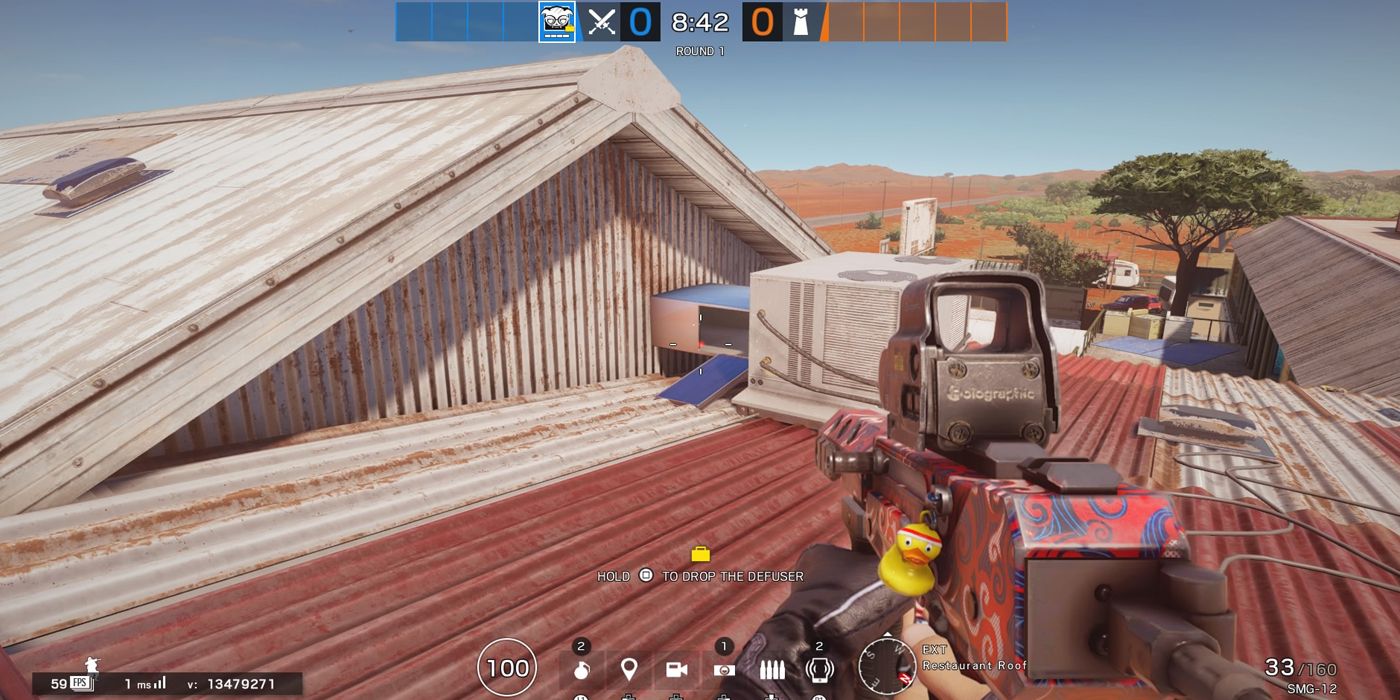
6 NADE THROUGH THE RESTAURANT ROOF AIR VENTS
This is a pretty cheeky way to move Defenders from a nice anchor spot in the 2F Office objective site, and can be a really effective way to get a free kill.
There are two vents on the Restaurant roof, both of which exit into an objective room or an adjacent hallway. Either of these spots could be an easy kill in waiting; get that drone info before you waste the grenade, though.
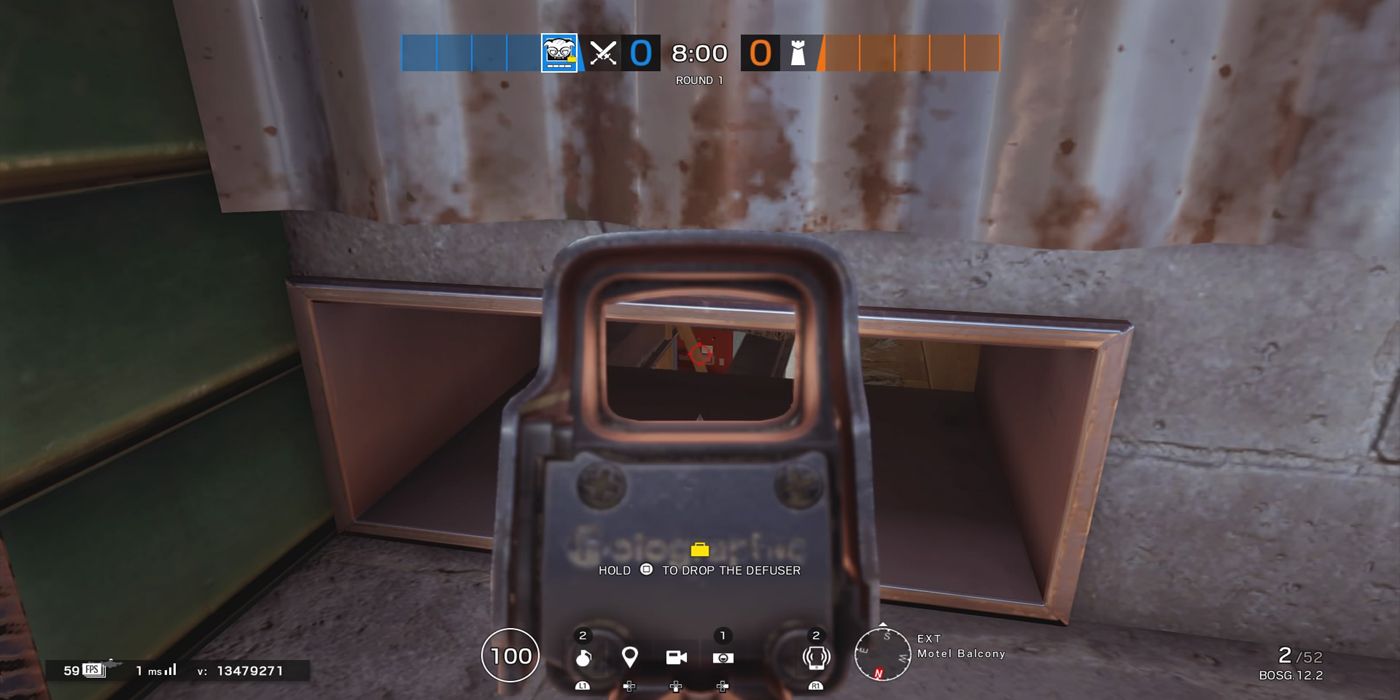
5 EXT. DRONE HOLE SIGHTLINE AT MOTEL BALCONY
A pretty nutty (and almost risk-free) angle Attackers can get into the doorway from the 1F Garage into the 1F Compressor Room. When the Compressor Room is the objective site, this is probably going to be a high-traffic area for Defenders (possibly even if it isn't, since it is a nice rotation route).
Setting up outside and looking through the drone-hole you can open a hole in the floor and see anyone moving through the doorway from outside.
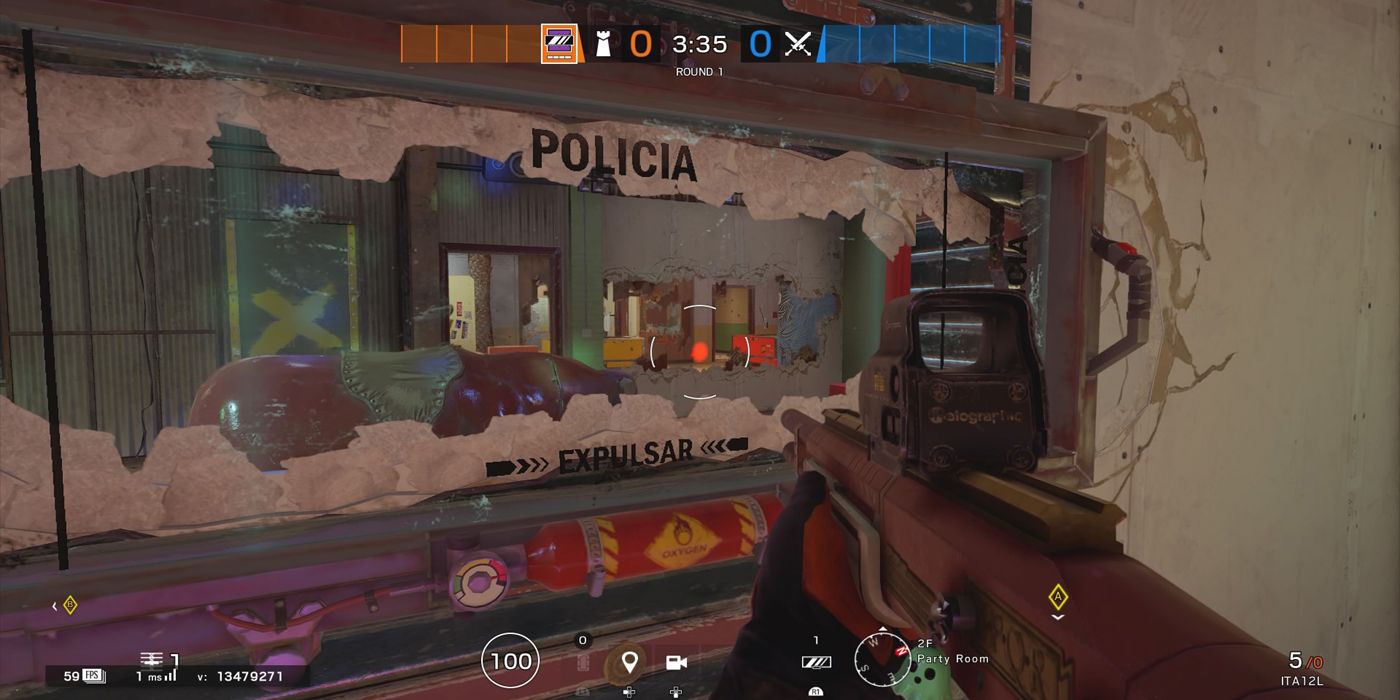
4 MIRA WINDOW IN 2F PARTY ROOM
This strategy is going to give your team a crazy-long sightline across just about the entire second floor. Place a Mira window on a reinforced wall on the west side of the 2F Party Room. (Specifically, the wall just to the right of the first "p" in "Happy Birthday".) Leave the wall next to it breachable, maybe even open up a small hole through it.
Then, open up basically the entire 2F Games Room east wall and west wall, along with the north wall in the 2F Showers. (You can even open up some 2F Laundry Room walls, too.) Plant a Defender with an ACOG on that sightline, and it's going to be very, very difficult for Attackers to push from that direction.
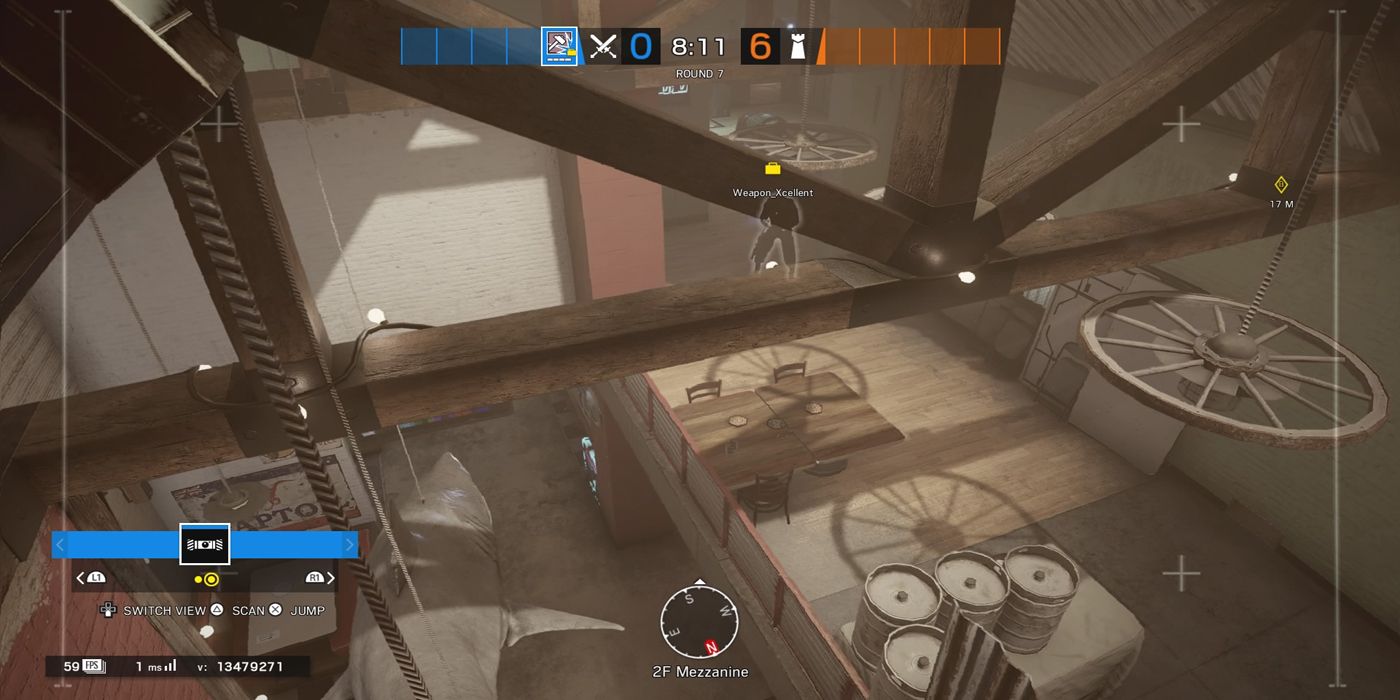
3 DRONE SPOT ON RAFTERS IN 2F MEZZANINE
This next one is a fantastic spot to set your drone as an Attacker (or Mozzie) when the Defenders are in the 2F Office/2F Party Room objective site. Jump onto the table with the white tablecloth just after the staircase in the Mezzanine, which you can see from the bottom right of the picture above.
Jump onto those barrels, jump onto the metal sheet, and then you can just barely make it onto the wooden rafter above. This gives you a pretty nice sightline of the entire area between there and the objective, even giving a glimpse into the 2F Office doorway. Plus, not many Defenders are going to be looking for drones in that spot, making it a pretty nice hiding place.
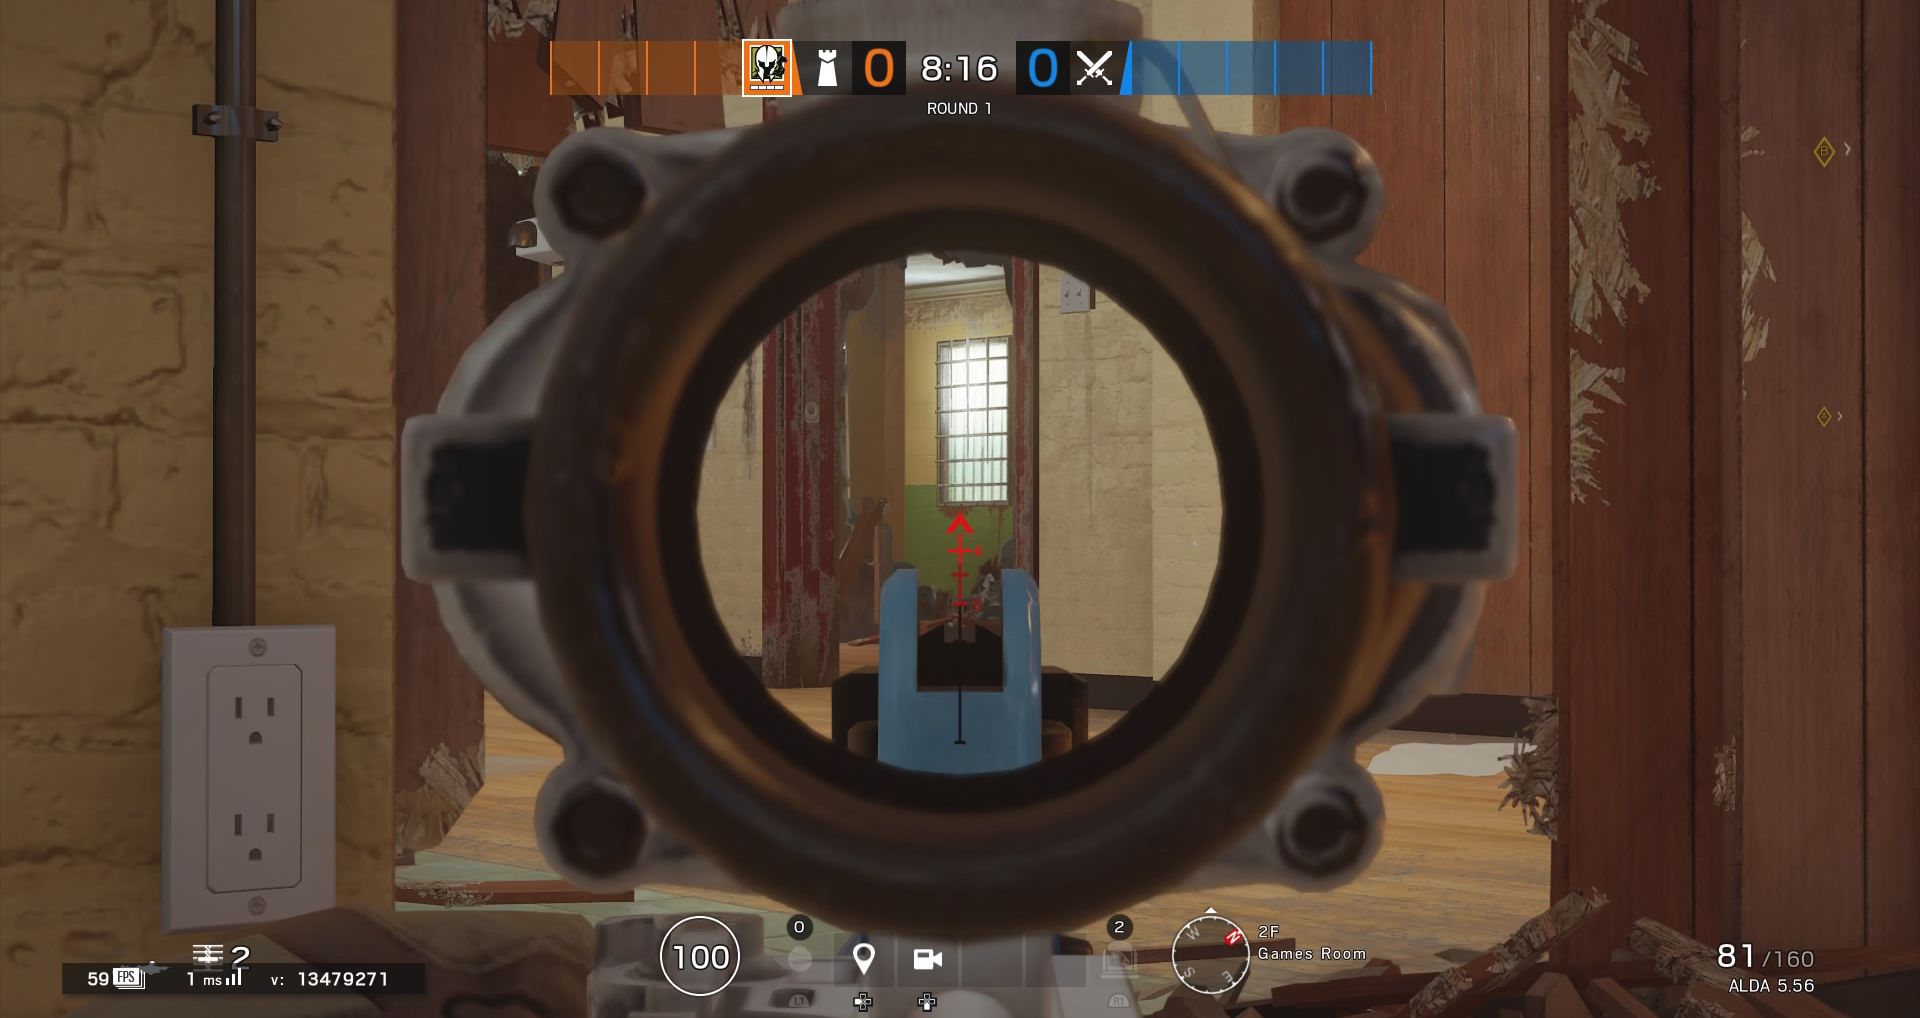
2 2F GAMES ROOM SIGHTLINE ALL THE WAY TO TOP OF BACK STAIRS
This is a ludicrous sightline all the way from the 2F Game Room onto the Back Stairs, similar to the one that involved the Mira window earlier. Open up a hole in the bottom left corner of the west wall in the games room, down at prone level. From there, you can look through the doorway of the 2F shower and into the 2F Motel Hallway.
Open up a hole a couple of meters to the west of the 2F Laundry doorway, and then another one in the center of the west wall in that same room. You'll probably want an ACOG for this sightline because it's got some serious distance and not a lot of margin for error.
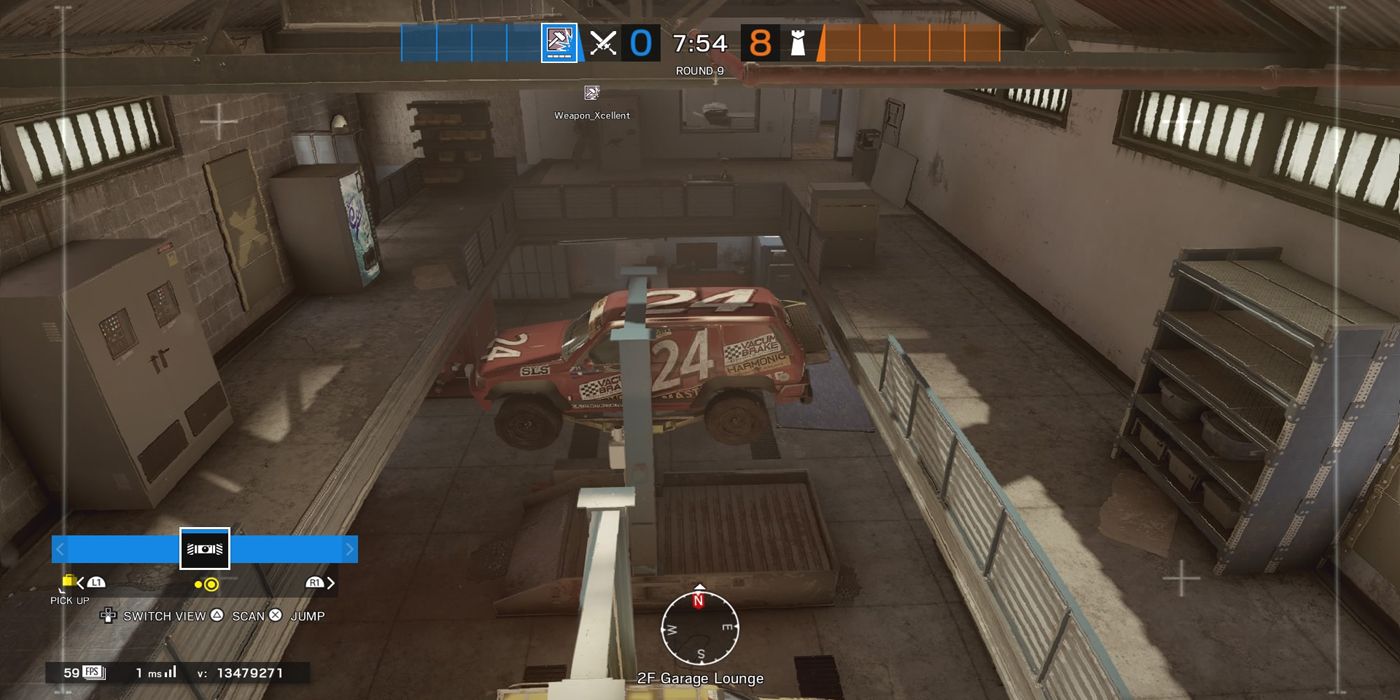
1 2F DRONE SPOT IN GARAGE LOUNGE
This is another great drone spot, albeit a little bit more difficult to get to than the first. This is a spot that's got a pretty similar idea; parkour up objects to get to the ceiling rafters. Once on the 2F of the Garage, jump onto the top of the blue shelf on the east side. This needs to be done in multiple jumps, so turning your drone in midair to make it up the shelves is definitely needed. Once on top of that shelf, you can hop onto the metal rafter just to the north.
This alone is a pretty good spot, but it still doesn't give you a view of the entire room. Carefully drive your drone down the rafter, and make your way onto the red sprinkler system that stretches to the south. Drive your way along there, hop onto the rafter jutting out from the southmost wall, and turn around for a perfect view of the entire second floor of the garage.

