A longtime map in Rainbow Six Siege, Oregon is a classic and a favorite of many Siege players. Oregon has a really unique feel, and though it doesn't seem overly large at first glance, there are a lot of little nuances involved that are going to take quite a bit to fully understand.
Coordination and diagnosing exactly how the opposing team has set up are both crucial here more than in a lot of other maps. Here are ten tips to get you started.
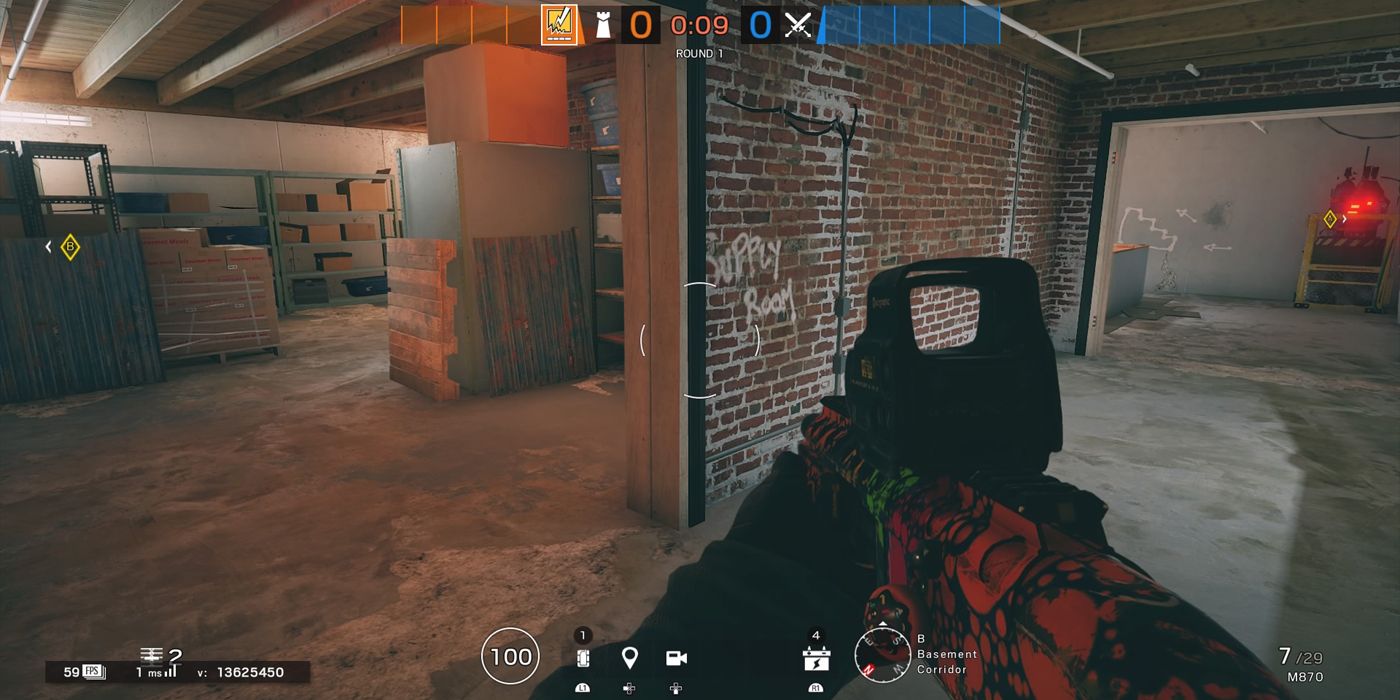
10 BASEMENT LAUNDRY ROOM/SUPPLY ROOM SITE
Likely the most defendable site for many teams coming into Oregon is the basement site. This site usually poses a considerable challenge for Attackers to gain any site control in time, because the Defenders have so many options when it comes to denying the hard breach on the three ceiling hatches above the site. Most of the time Attackers are going to have to really prioritize roam-clearing in order to get those ceiling hatches open, because without those hatches destroyed, it's nigh-on impossible to push Defenders off-site at all. Even then, a well set-up team is going to make it bloody difficult, especially if they have a Mira.
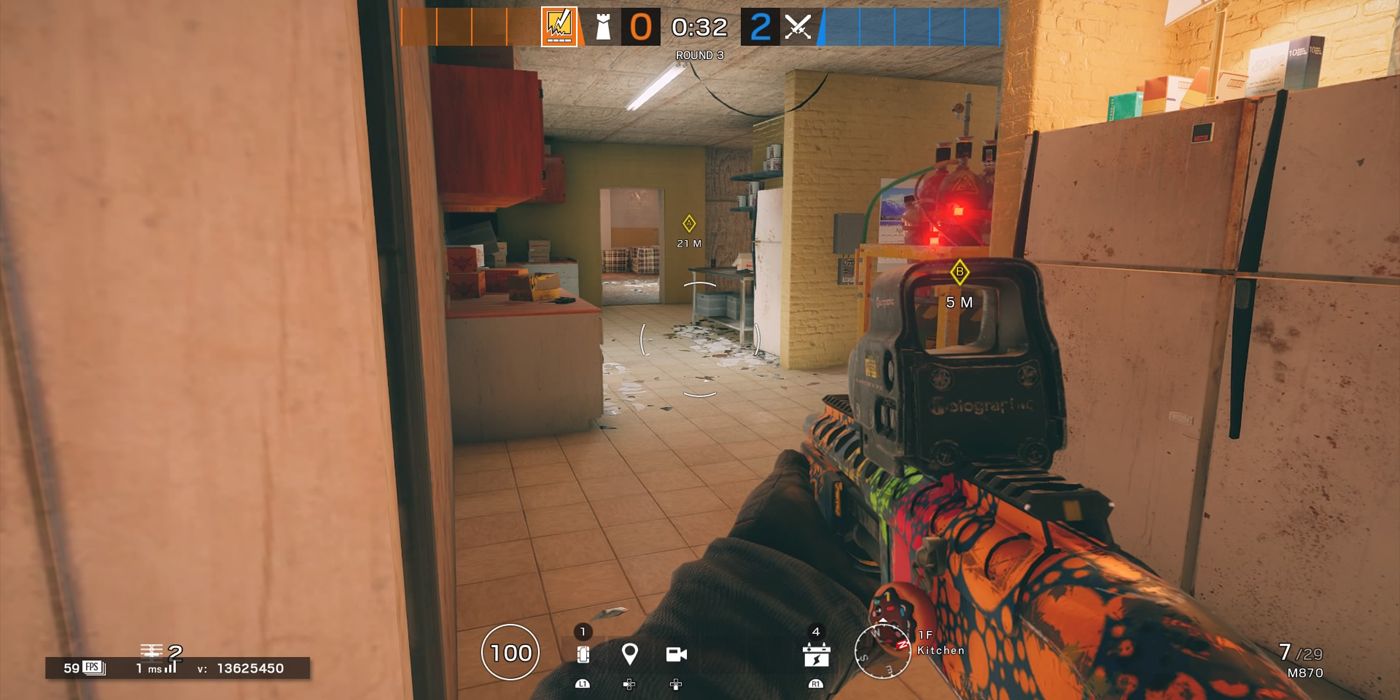
9 1F KITCHEN/DINING HALL
The 1F Kitchen/Dining Hall site can be tricky, mostly because there's an exterior door at the objective room which you cannot defend from above or below, and an objective wall that is fairly easy to hard breach because the 1F Office is a pretty difficult room for Defenders to hold for any considerable time. Most successful defenses here revolve around keeping control of the 1F Kitchen and defending both sites from there. Mira and/or Maestro can make this task much easier.
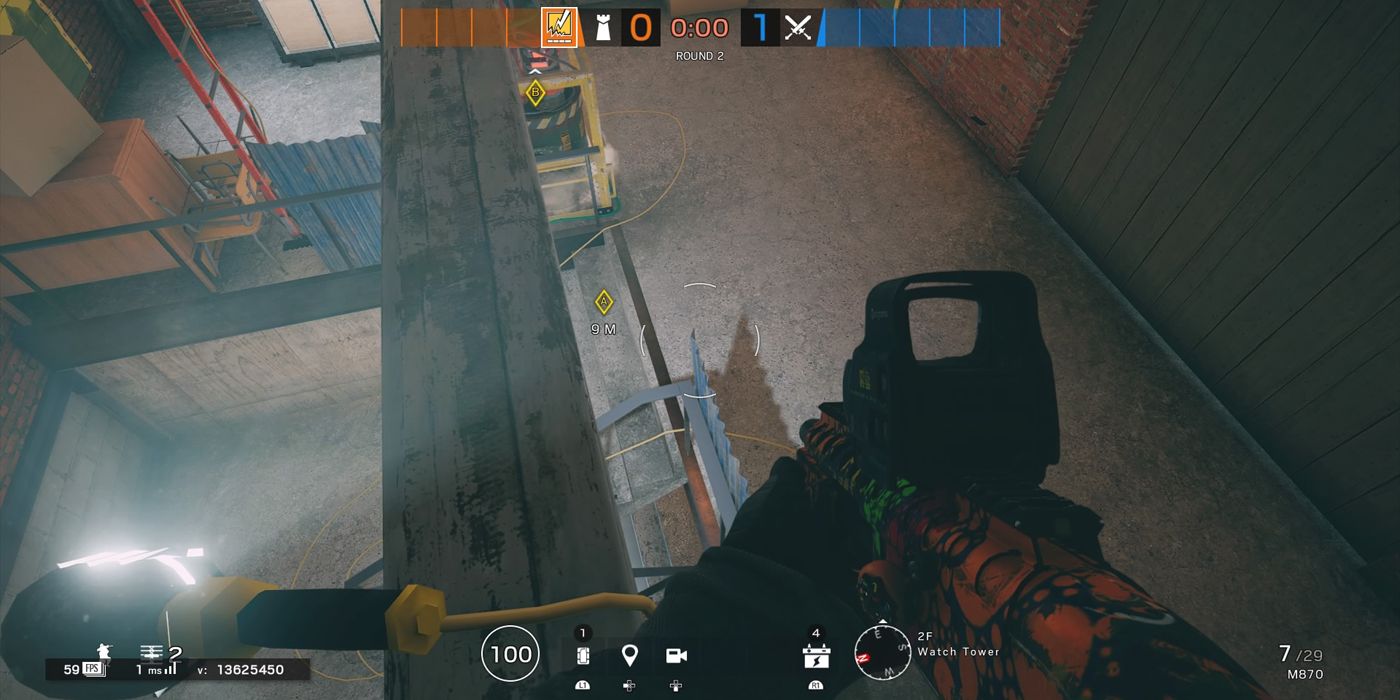
8 1F REAR STAGE/2F WATCH TOWER
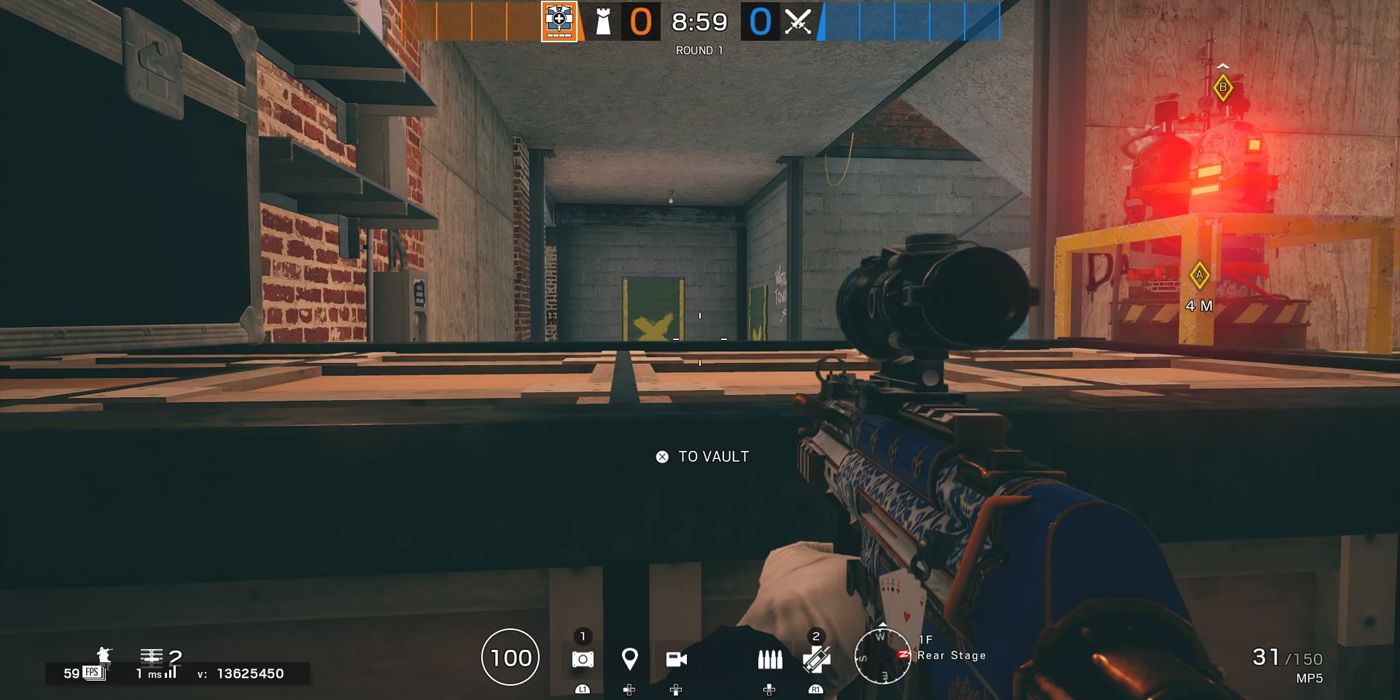
Another site that can be tricky to defend, this one also has an exterior door with access to the objective, as well as eight different windows either with views into the objective room or access directly into it.
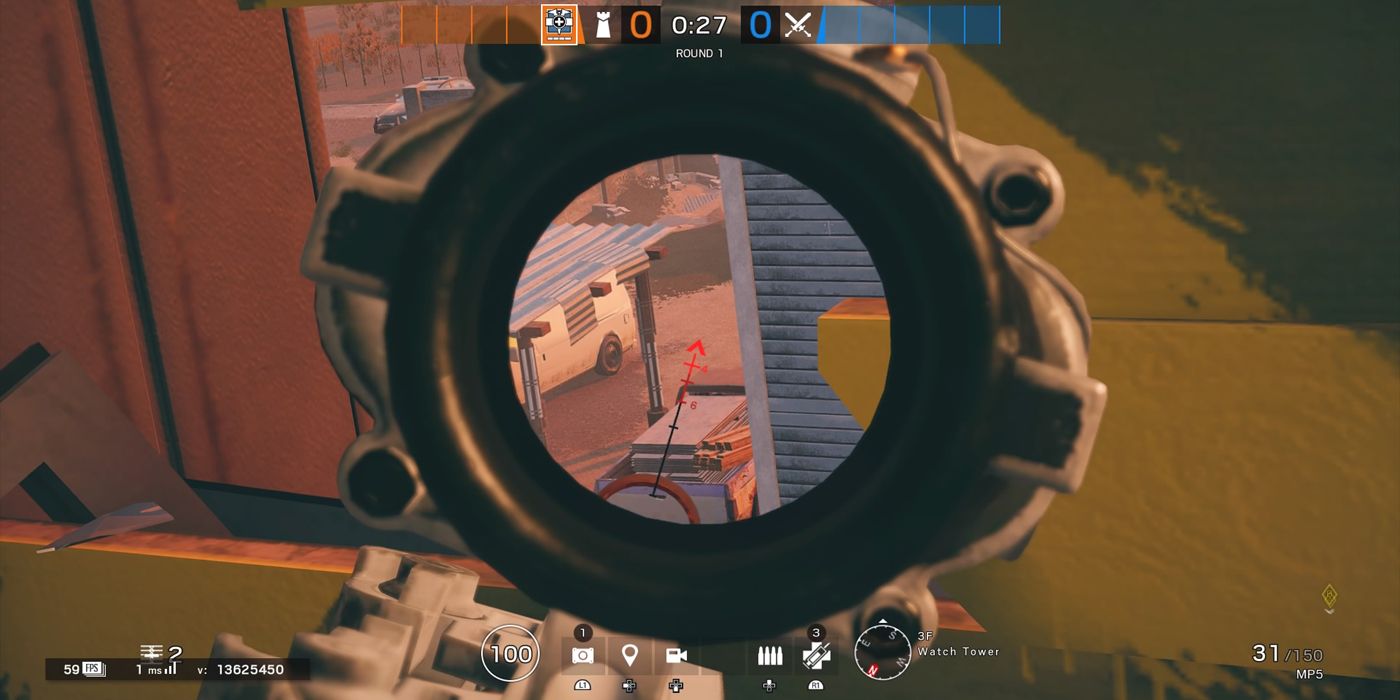
It's absolutely integral for a Defender to keep control of the 3F portion of the Watch Tower; if that's lost, the objective is likely next. There also needs to be an Anchor on the Tower Stairs at all times, in order to keep the rotation to each objective somewhat accessible.
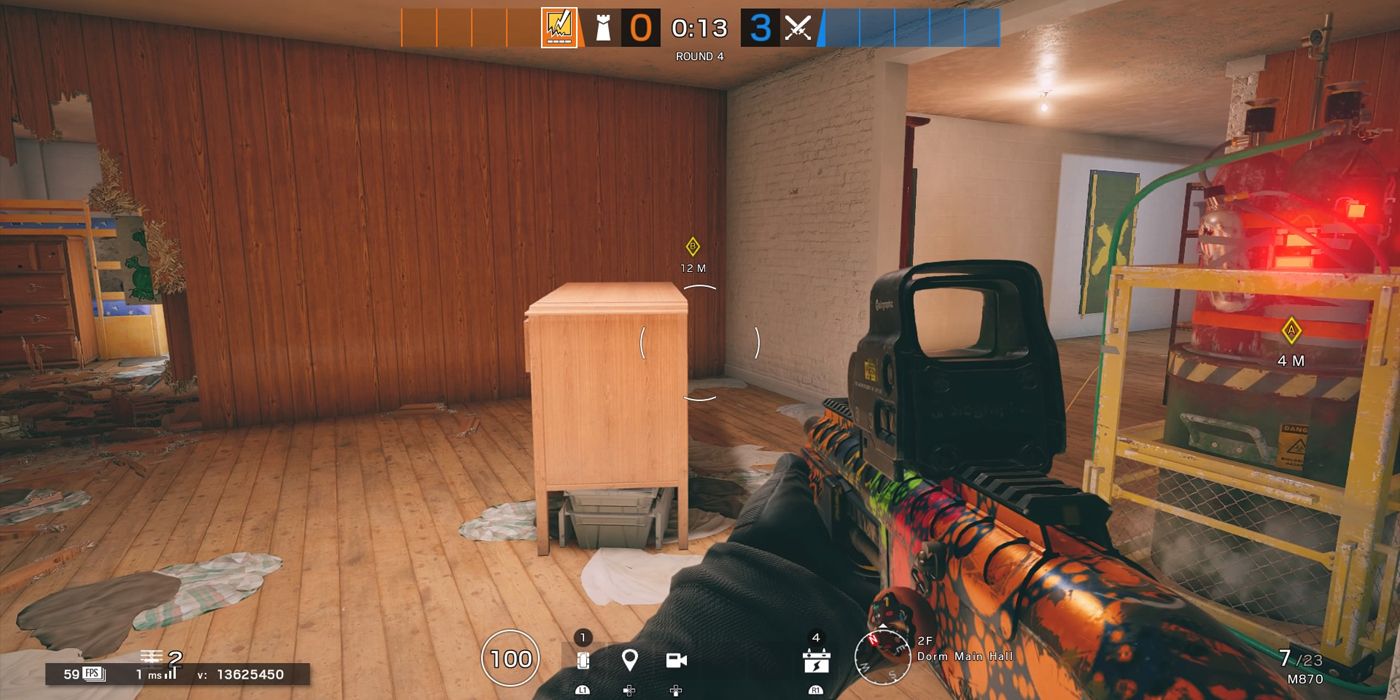
7 2F DORM MAIN HALL/KIDS' DORMS
The last site on Oregon is on the 2F. The primary push from the Attackers is, nine times out of ten, going to be from the West double window. Against poor teams, this can be Defended from the 2F Office Storage for a few seconds (and a couple kills), but most Attackers worth their salt are going to drone that area out and cut it off entirely. Having three or four Anchors spread throughout this site is usually going to serve you well, and having a Roamer in the 2F Watch Tower able to harass the roof or the North windows can really delay a push from the Attackers; just don't expect that Roamer to survive the round, as Attackers are likely going to cut off their rotation back to objective once they lock down their position.
6 ROAMERS HARASSING
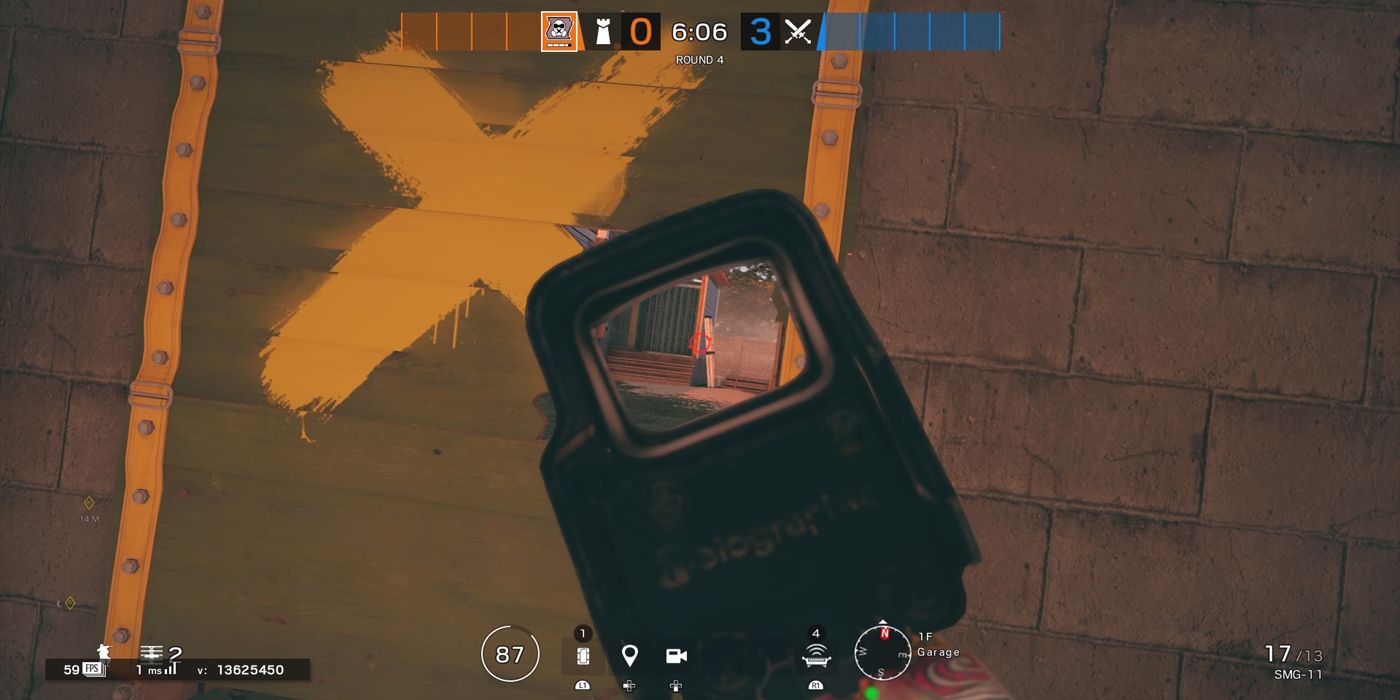
One easy way to waste the Attacker's time (and possibly snag a free kill or two) as a Roamer is to harass the Attackers at exterior objective doors from a window or door on the other side of the map. This can be done on both the 1F Kitchen/Dining Hall objective, as well as the split 1F/2F objective. At the West window in the 1F Rear Stage, you can get a view of the exterior door at the 1F Dining Hall. At the 1F Garage N door, you can get a view of the exterior entrance to the 1F Rear Stage. Just don't expect this tactic to work more than once against the same team.
5 WATCH TOWER
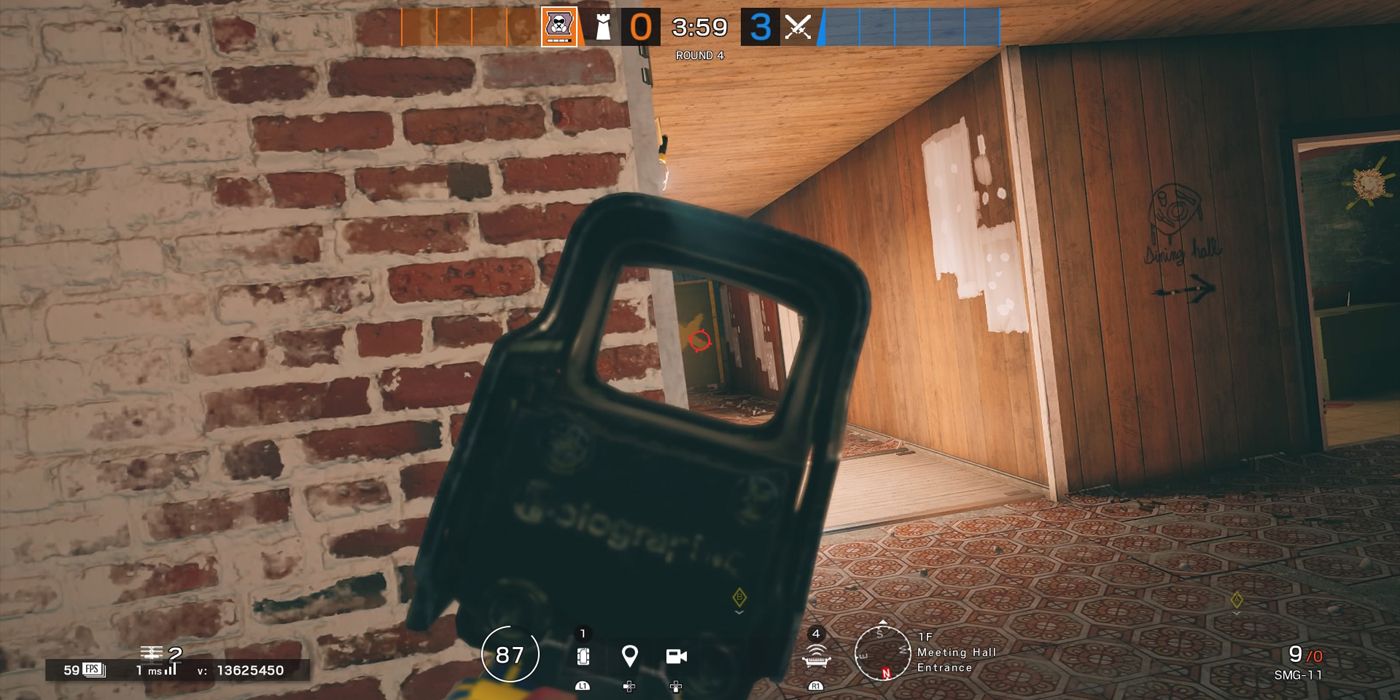
Defenders, especially Roamers (and those roaming Doc's we all enjoy playing against so much) absolutely love setting up shop in the Watch Tower. This allows them to peek from the plethora of windows around there, gives them rotation access through the 1F Meeting Hall, rotation access through the basement, and rotation access through the 2F Attic if they've opened a hole in the wall(s).
It's usually a pretty good idea for Attackers to spend a little effort cutting off those Defenders' rotations, if not clearing the area entirely.
4
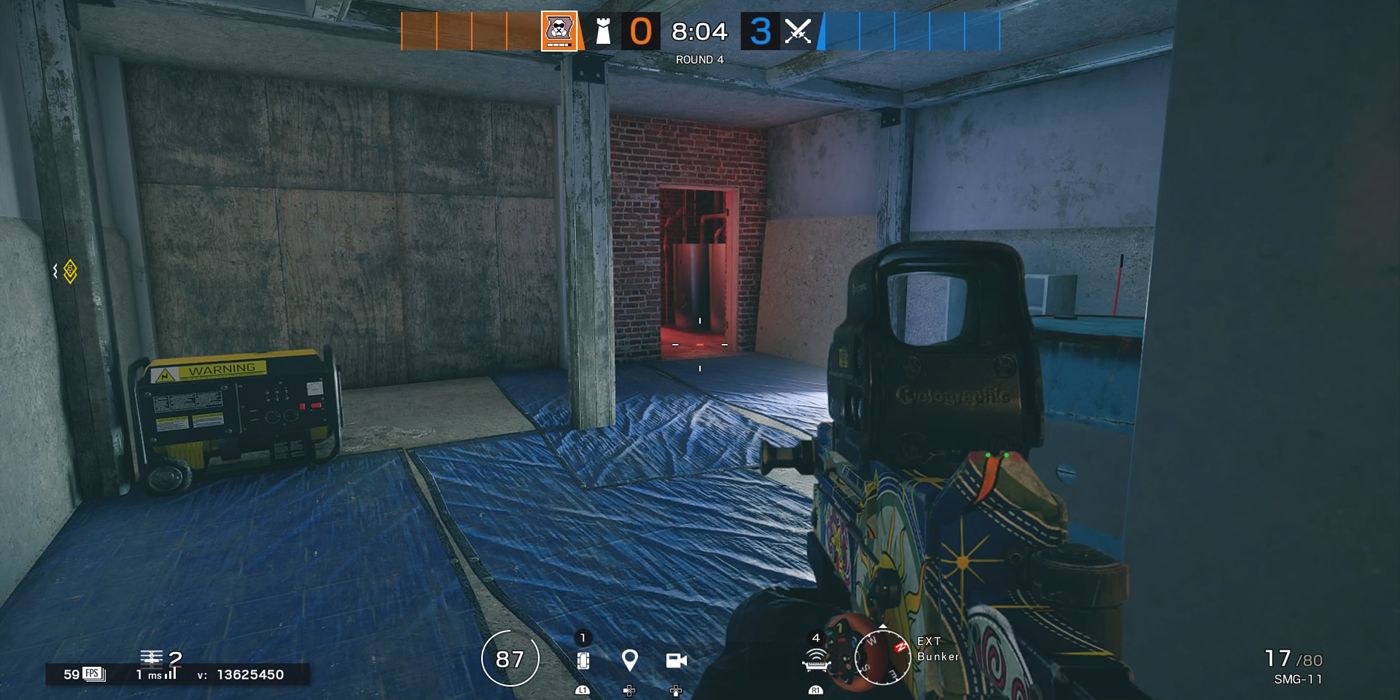
As an Attacker, you have access to a building entrance that doesn't necessarily require you to bust through any doors or windows, depending on how the Defenders set up. The Bunker entrance can be a nice incognito and quick way to enter the map, but it doesn't come without risks. The Bunker Entrance leads right past the stairway into the Watch Tower, meaning there's a high likelihood of a Defender being within earshot of your footsteps, regardless of the objective location.
3 CLAUSTROPHOBIC OBJECTIVES
Objective sites in Oregon are pretty uniquely claustrophobic, with little hallway access from multiple angles and few options for entry. This makes map control a huge portion of controlling any of the sites in Oregon. Controlling the majority of the map is pretty important in a lot of maps in Siege, but it's never more important than it is here.
2 THE ATTIC
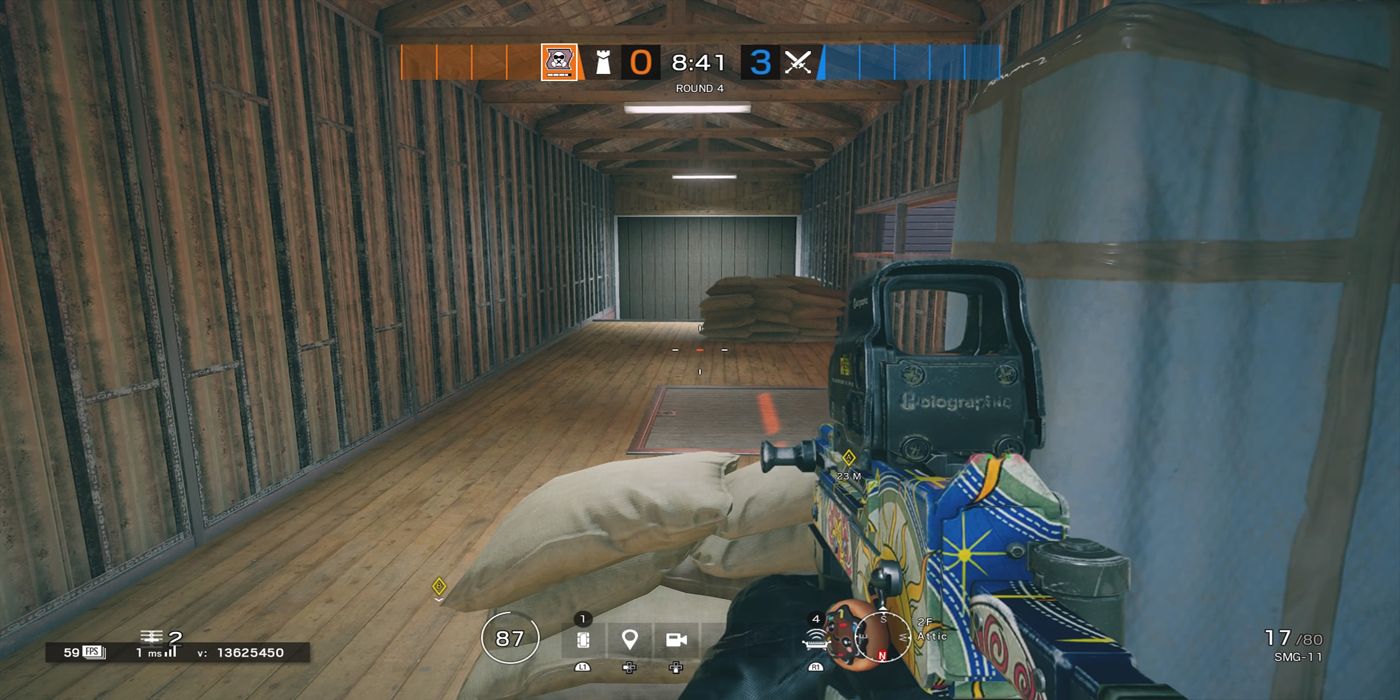
The 2F Attic can be a really critical room for whichever team decides they want to utilize it. Defenders can treat this room in a myriad of ways; choosing to reinforce the walls, open up rotation holes, or leaving a Defender in there to harass Attackers on either side of the map. As an Attacker, diagnosing how the Defenders are treating the Attic can be a pretty easy way to tell how they've set up both the 1F/2F split objective and the 2F Dorms objective.
1 ENTRY DENIAL
Because of the way Oregon is designed, it's very easy for Defenders to deny entry to the map for a bit of the beginning of the round. Droning out your entries should be routine in Siege, but rarely is it as critical as it is in Oregon. Have a teammate droning in front of you, and absolutely make sure the coast is clear before jumping in.
As a Defender, keep your ears open for sounds; telling where a drone is coming from can be a telltale sign of where the Attacker means to come in, and if you can manage to avoid being noticed by the drone, the Attacker is likely about to make their final mistake.

