Overwatch Archives is back and better than ever, featuring all 3 lore-based PvE missions that have been released thus far, this time with all-new challenges. These missions offer a myriad of cool unlockables and various special achievements.
The game's debut story event, Uprising, has made an emphatic return, complete with challenges to mix things up. These include lava-spewing bots and reduced player health in favor of extra damage. Still, even the default mode of this chaotic skirmish can be a grueling affair, especially when attempting the punishing Legendary mode.
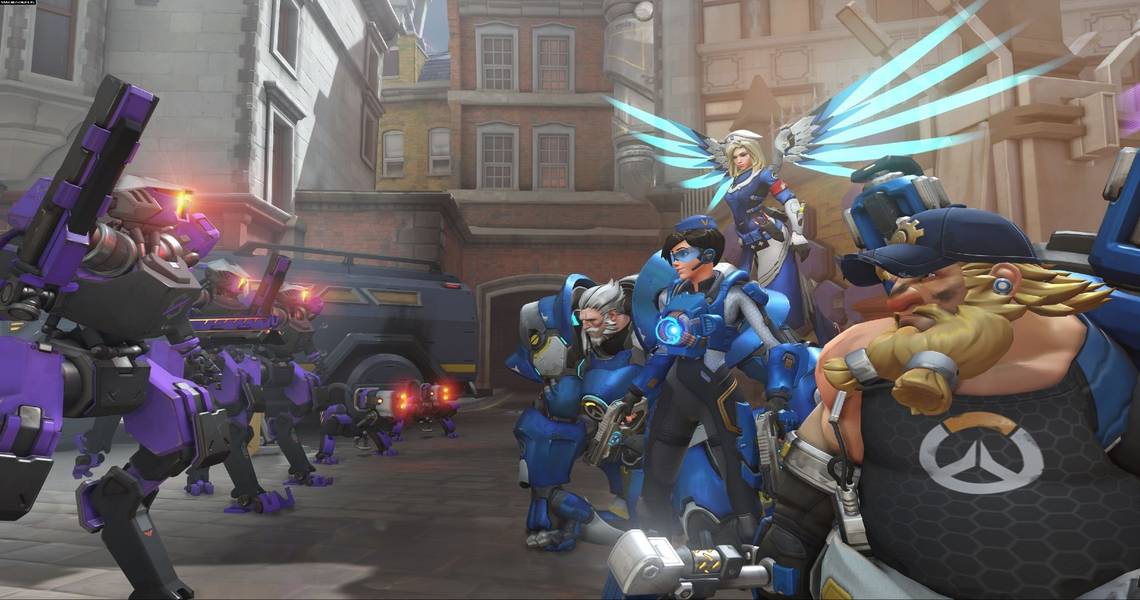
With this list, we'll help you and your Overwatch companions overcome this Omnic showdown and provide 10 tips and tricks to make it to the end in one piece. Please note that this will only focus on the story mission that hosts only Torbjorn, Tracer, Mercy, and Reinhardt, rather than the All Heroes version.
10 Mind The Turret!

As you'd imagine, the bulk of Torbjorn's tasks should revolve around well-placed turret drops and tending to this mechanism as much as possible. Though other players certainly have their own roles, you'll want to be sure to mind this turret when possible, as it's an effective offensive tool against the swarm of Omnics.
Reinhardt is the main hero other than Torb that should babysit the turret, as he can toss up his shield to protect it from enemy fire. Yet, even astute Tracer players may want to take some of the burden off by clearing out baddies near his turret.
9 You Should Normally Stick Together

While there are a few points where you'll be guarding a stationary zone, Uprising features a fair bit of collective migration from one point to another. Thus, we want to make sure you're generally pushing as a single unit, rather than splitting off or straggling behind.
Enemies will typically continue spawning around or behind you even after you've completed one segment of the mission, so by dilly-dallying, you put yourself in danger of falling while the rest of your team has pushed forward. This can lead to a disastrous domino effect while teammates scramble to revive you.
8 Aim For The Backs Of Eradicators

You'll notice the enemies get noticeably tougher once you've neared the halfway point of Uprising. Things will really begin to heat up when you've reached the payload, which must be guarded while staving off annoying shielded bots called Eradicators. The worst part is that nobody amongst the 4 heroes seems particularly equipped to swiftly take out these shields.
Thankfully, they do have a weak spot on their backside, so you'll want to try and scramble behind these guys when possible and aim for their backs. Tracer is usually the best option to get this done most efficiently with her speed.
7 Take Out Bastions Quickly

If you thought the Eradicators were trouble, you're really in for a treat once you get swiftly gunned down by powerful Bastions who show up in the latter portion of Uprising. These guys can wipe out your entire squad in a matter of seconds, so be on the lookout for them and deal with them quickly.
Charging this pesky bot from various angles is an effective way to take them out, or pull off a quick flank to coax a late reaction from them. If Tracer has Pulse Bomb available, this is an optimal time to bust it out, as is Torb's Molten Core.
6 Focus Fire To The Chokes

Although you'll be spending a good chunk of Uprising in the open, you should take advantage of those moments where enemies are forced through choke points, and focus your collective fire there. A good example is the opening scene, in addition to the Cathedral.
Here, Torb can toss a turret in the back corner, while Rein and Tracer cover the left and right chokepoints. This usually makes for an effective way to stave off the opposition with minimal collateral damage.
5 Do Not Neglect Your Payload

The second major portion of Uprising seems fairly straightforward - sit tight and guard the payload while fending off waves of robot baddies. But there exists a common mistake which could easily be avoided, if only players mind the payload and avoid being hyper-focused on offense rather than defense.
Oftentimes, players will get locked into clearing out enemies a fair distance from the payload, only to find out this critical point has been destroyed by enemy fire. Torb can weather some of this storm, but he can only do so much, especially on the higher difficulties.
Though you won't have to worry about protecting the payload as much on lower difficulties, you still might want to try to get into this mindset. Not only is it good practice, but you'll also notch an achievement for keeping the payload above 80% health.
4 Swap Roles With Mercy As Needed

You might think you have a fairly easy job as the Mercy player. After all, she's the go-to healer first and foremost, and indeed, you should focus on healing more often than not.
However, at least in the later difficulties, you'll likely need to do some multitasking, depending on what the situation calls for. This certainly includes being sharp with revives when Bastions and OR14s inevitably gun down your teammates. Yet, it also means knowing when to whip out the pistol to finish off smaller units, and provide boosts to the DPS to give them extra firepower.
3 Tracer Should Focus On Smaller Enemies And Shields

Tracer can be deceptively tricky to manage successfully, especially when clashing with foes in the latter 2 difficulties. She can bounce around and gun down baddies quickly, but one wrong move can have her dropping before you knew what hit you.
Because of this, try not to overextend too much with this DPS, and take advantage of Blink and Recall to scramble back to Reinhardt's shield and Mercy's healing stream when things seem dire.
You should mainly gun for smaller enemies, but you can also effectively whittle down the shields of Eradicators, and, as we've mentioned, aim for their backs when possible. Save your Ult for the beefier foes, rather than using it on a whim. Remember, you'll get Pulse Bomb pretty quickly, so take advantage.
2 Cover Behind Reinhardt's Shield Frequently

As the sole tank in this squad of 4, Reinhardt is the primary (and largely the only) means of real protection. Thus, be sure to retreat behind his shield often. This means setting up Torbjorn's turret behind it, but it also means having Tracer regroup there, and using it as a sort of home base for Mercy to safely heal from.
Remember, the other 3 heroes are fairly vulnerable here, so Rein's responsibility is to make sure they're covered more often than not. Busting out a Fire Strike or charging into a target is fine, but should mostly be used for "cleanup," and rarely when the area's crawling with Omnic bots.
1 Slow Push And Flank In The Final Area (Power Plant)

If you've managed to survive the onslaught and dragged the payload to this point, you'll be given one final trial - which, of course, is the toughest yet. Bastions and OR14s (basically Orisas) await you in a rather tight corridor, and they're not easy to deal with. Not only will they bombard you with gunfire, but they'll drop shields that make them seemingly impossible to break through.
But don't panic! Just perform a slow, steady, and methodical push, and stay somewhat close together. Hug the perimeter, and have Tracer perform a cheeky flank. At the same time, have Torb set shop in back corners with a turret to distract and whittle down enemies, while Reinhardt protects it. Slowly but surely, you'll chip away, at which point you can get a bit more aggressive in your push.