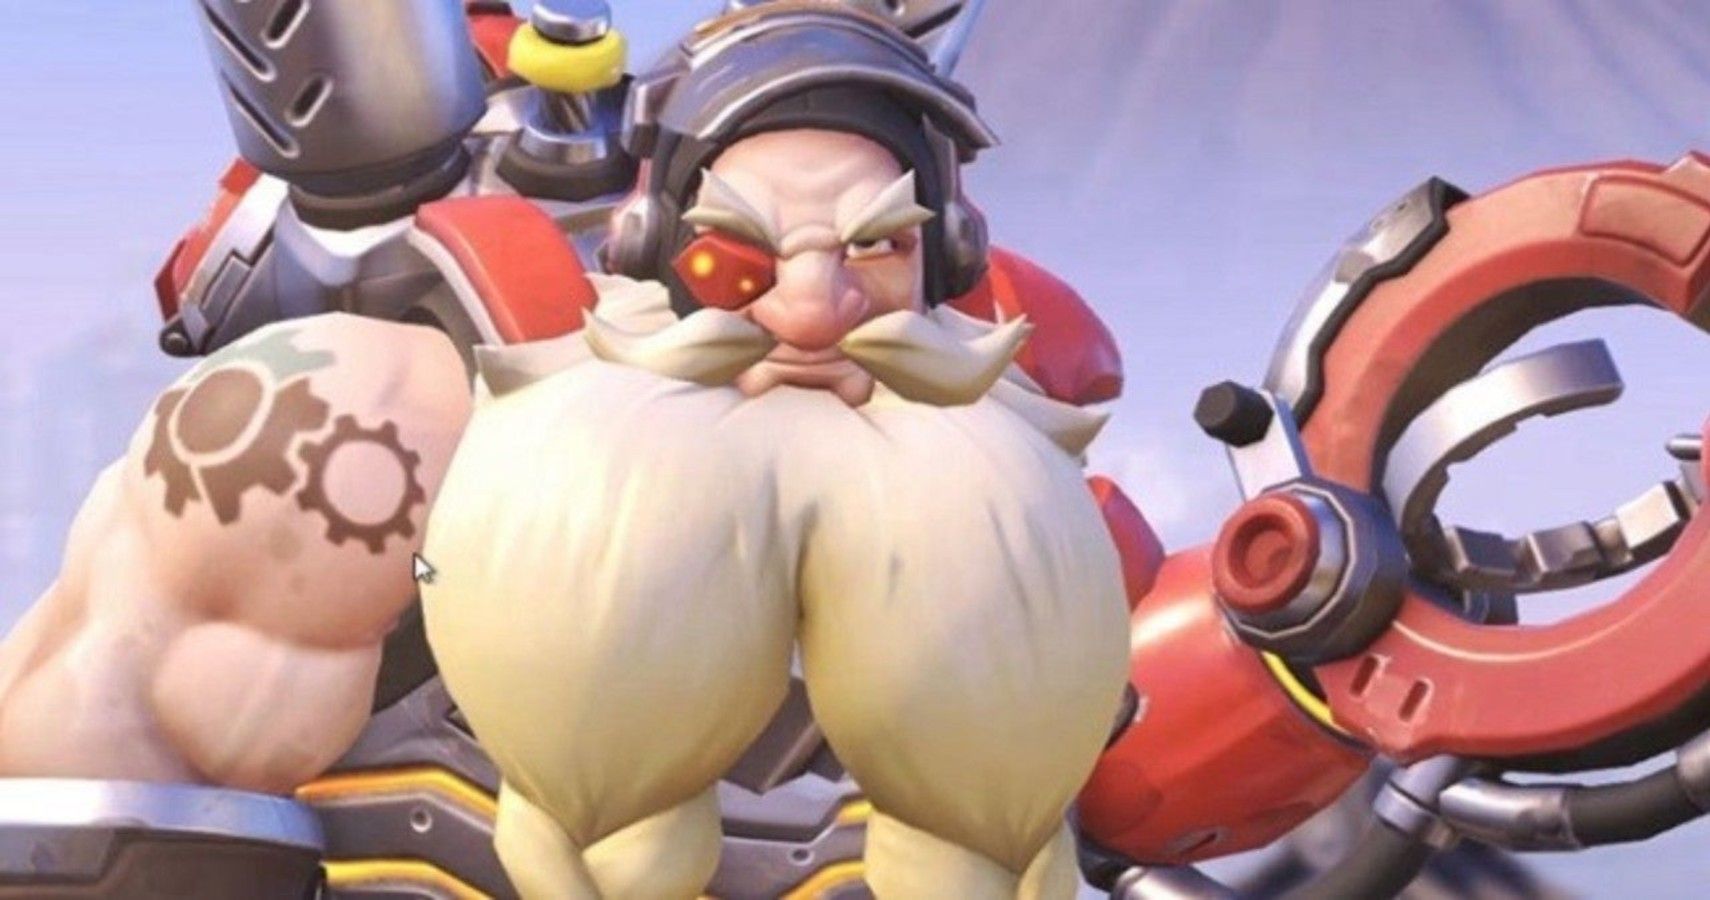
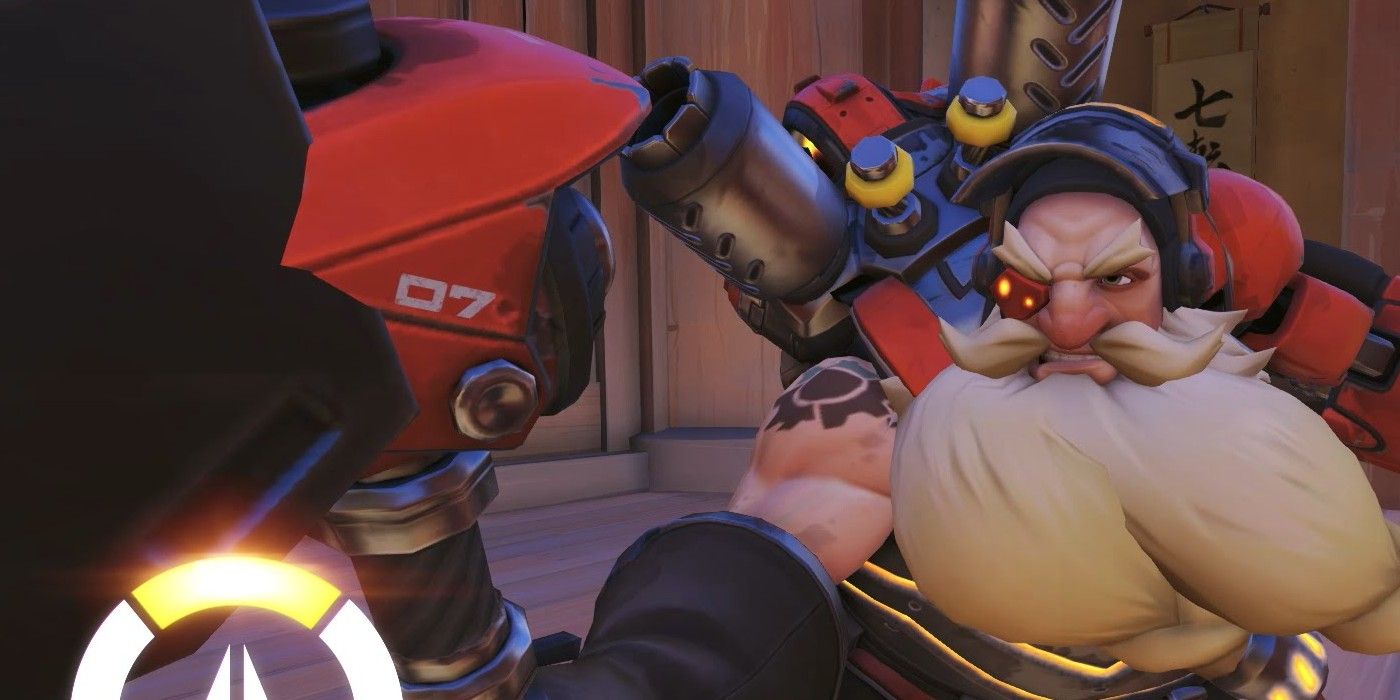
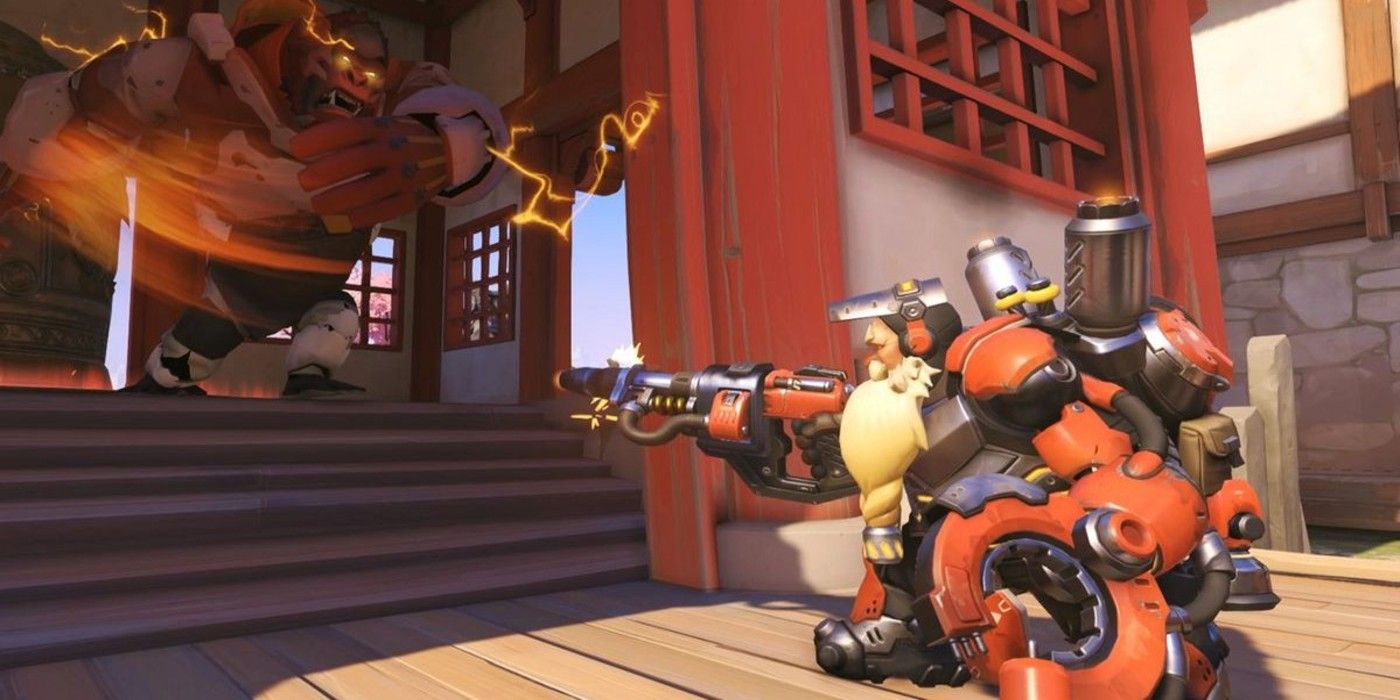
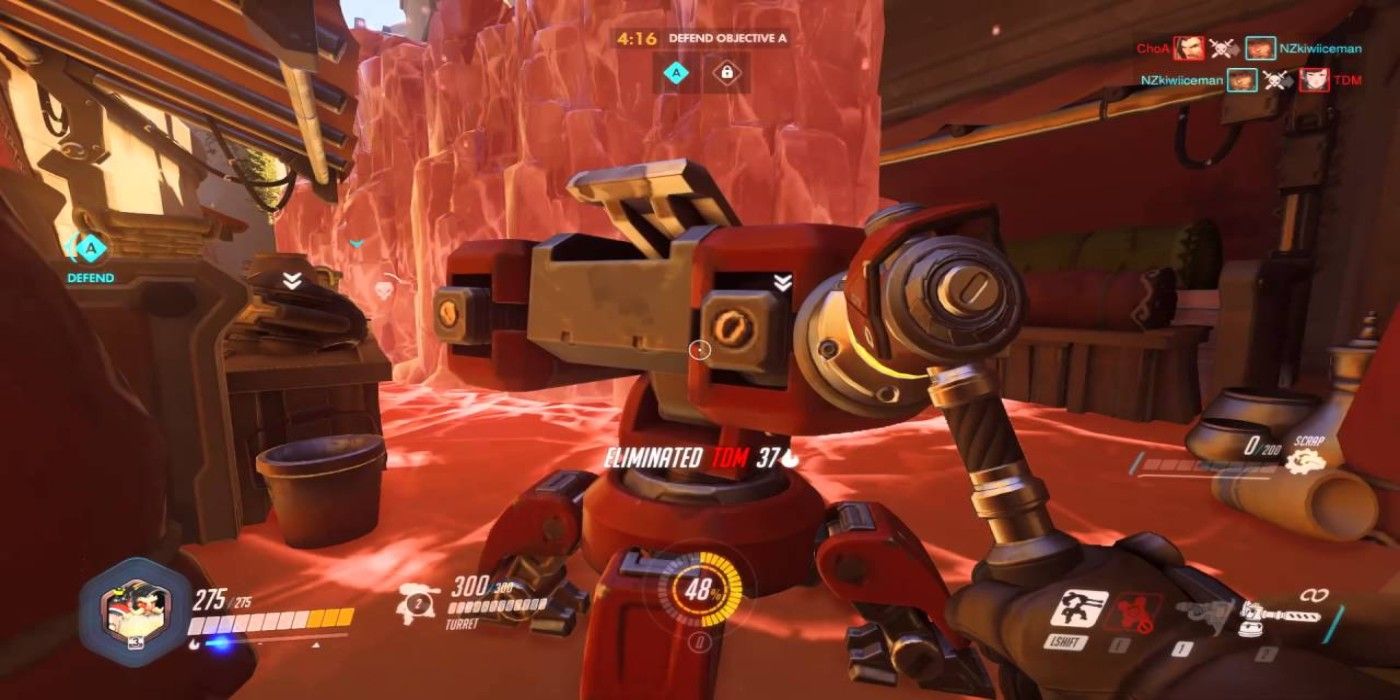
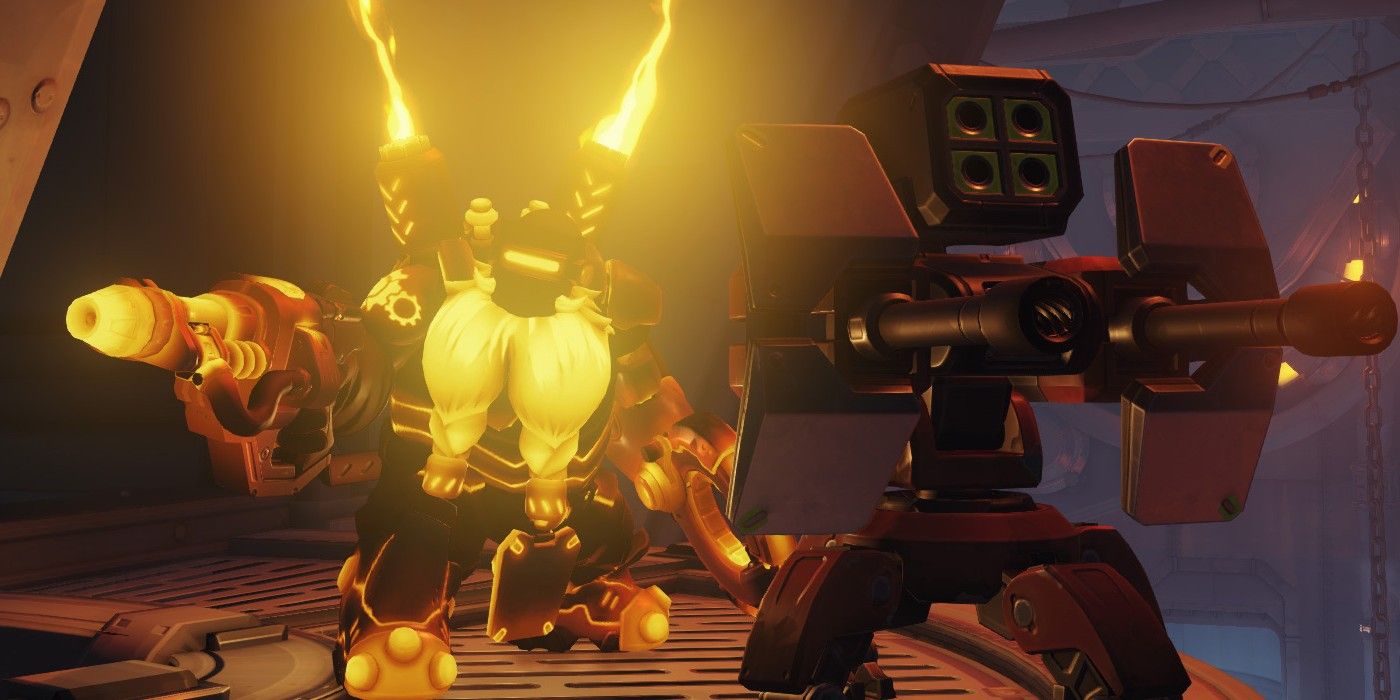
Torbjorn has always been a peculiar hero in Overwatch. This mechanical, turret-tossing dwarf has always been known as a defensive-oriented character, while also paradoxically residing in the DPS category. His small build and turret ability makes him more of a "one-trick" hero that's mainly used in specific situations that call for him. He can guard a moving payload or mount a solid defensive for a point, but isn't usually advised in an offensive push - even after his recent mechanical tweak that's made him more offensively potent.
Given the unique mechanics of Torb, it can be tough to get a grasp on how to best utilize his skill set, especially when playing in an offensive situation.
That's where we come in.
With this list, we'll outline 10 key tips and strategies to forge you into an ironclad Torbjorn player, both on defense and offense.
10 Use The Hammer For Melee
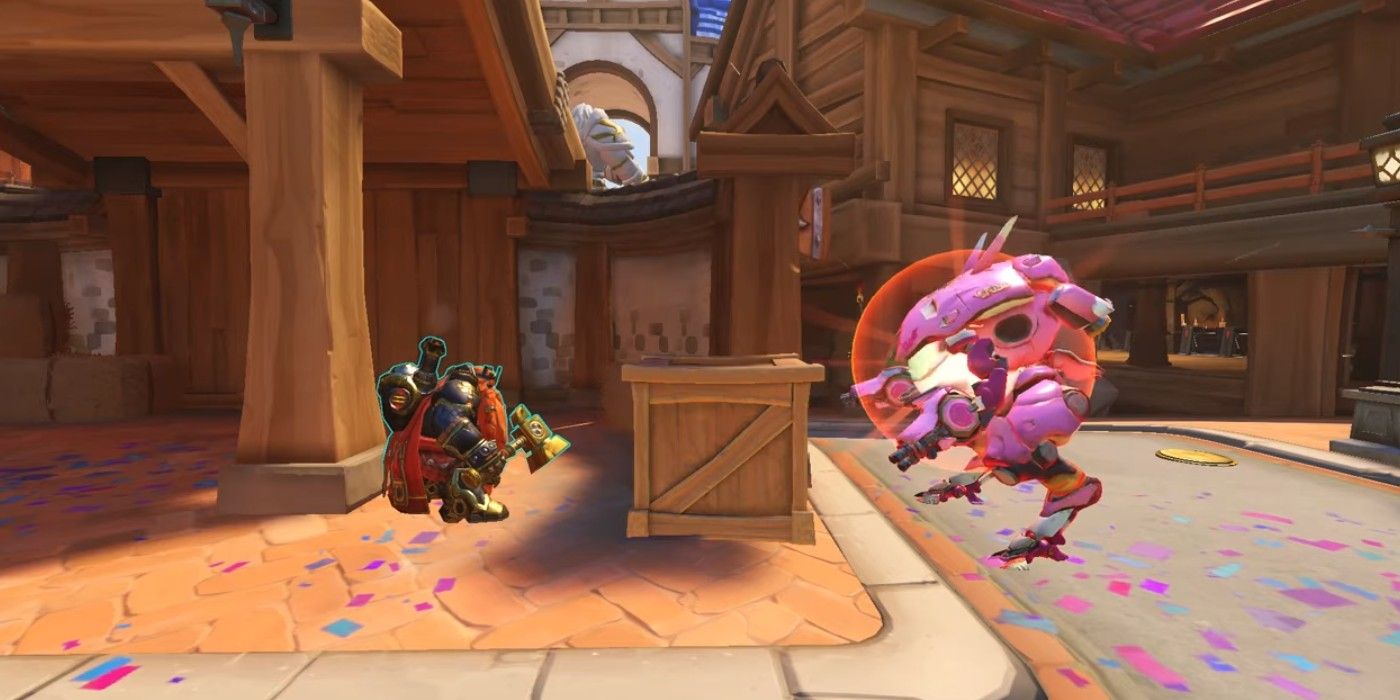
Every Overwatch hero has a melee option, which tends to be the go-to as a quick finishing move or when you're in dire straits and needing a quick attack. Torbjorn has a prototypical punch he can bust out, but his Forge Hammer can actually make for a pretty solid melee option.
While this hammer is primarily used to repair your fledgling turret, you should also consider using it to mash the enemy with rather than your default punch. In fact, this hammer is top tier when it comes to the most powerful melee attacks in Overwatch. Get in the habit of quickly swapping to this weapon, so you can swiftly, effortlessly whip it out when you're in a pinch.
9 Use Shields To Your Advantage
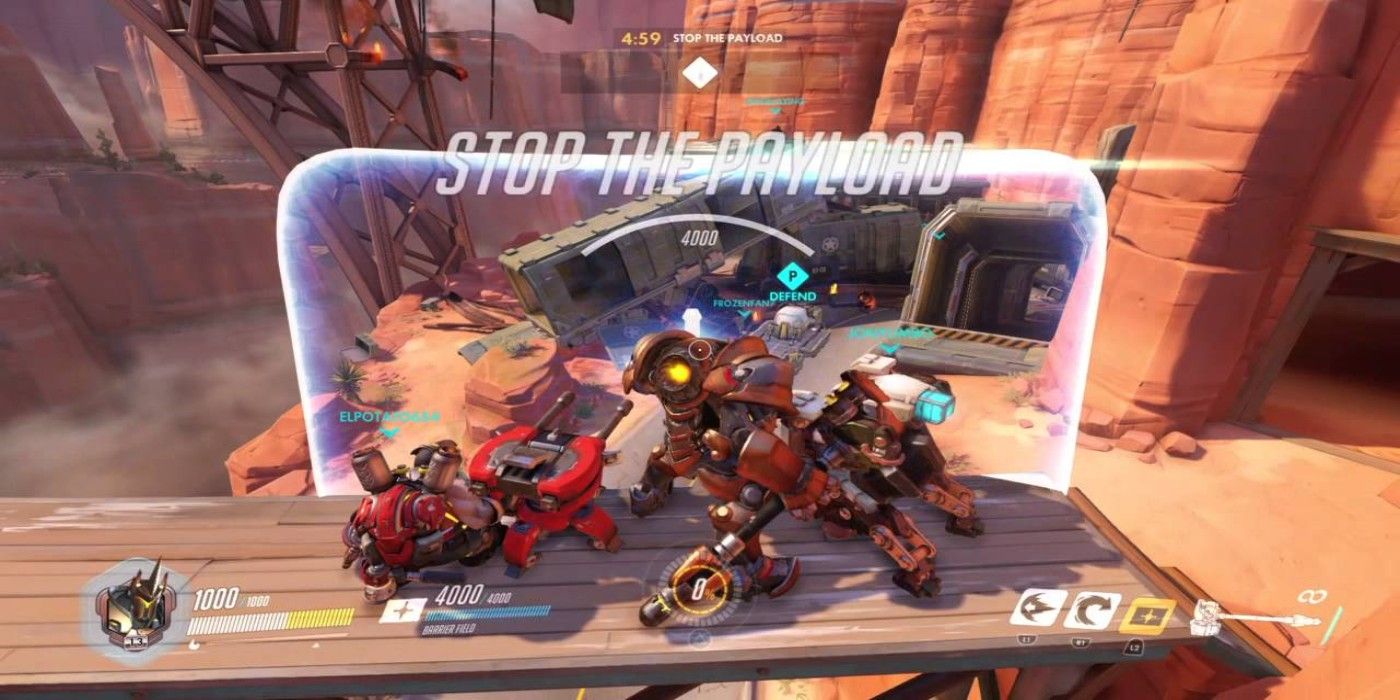
Torbjorn thrives in his defensive abilities, though this is very much enhanced when he's protected by a shield. Thus, you'll want to scramble behind tank shields to set camp when possible. From there, you can more safely plant your turret, which you can couple with firing your Rivet Gun, and unleash Molten Core to amplify this defensive outpost when necessary.
Being the somewhat vulnerable DPS that Torb is, posting up behind tanks, as well as shields, is a tactic you should strive for when the opportunity arises.
8 Play A More Passive Game Offensively
As we've mentioned, the small build and fairly slow movement of Torbjorn makes him rather susceptible to death, especially if you aren't able to bail yourself out with Overload.
Because of this, it's usually a good idea to play a more passive game from the backline. Try and hang around next to or behind your turret, hide in corners or behind objects, or poke out from rooftops or balconies to establish the high ground. Going in guns blazing is something that's best left to the Reapers and Soldiers of the world - not the small, slow-moving Torb.
7 Avoid Overhealing The Turret
Given Torb's unique ability to heal his turret by pounding away with his hammer, it's quite easy to get locked into this satisfying endeavor. But unless you're in a spot that has rendered your turret tough to hit, you usually want to avoid laser focusing on this action.
Not only will you be preoccupied and unable to attack yourself, but more often than not, the opposition will be able to whittle away the health of your turret faster than you'll be able to keep up healing it.
Even if the worst-case scenario unfolds and the turret gets destroyed, you only have to wait 10 seconds before you can toss up a brand new turret with full health anyway.
6 Use Overload In Critical Moments
Overload is a fairly new ability that essentially initiates a "Super Saiyan" mode, which gives a significant boost to your move speed and fire rate for 5 seconds. Though this can make you more of an offensive threat, it is by no means a "get out of jail free card" to bail you out of any situation, as many seem to think.
Basically, you'll want to trigger Overload in those critical, pivotal moments of the game, rather than use it as a catch-all super-charged attack. Perhaps you're looking for that tiny push to give you the edge in capping a point, or you're trying to quell a pressing attack from the enemy team. You can use it to chase down a retreating enemy low on health, or even use it to leap over larger gaps.
5 Shoot Where Your Target Will Move
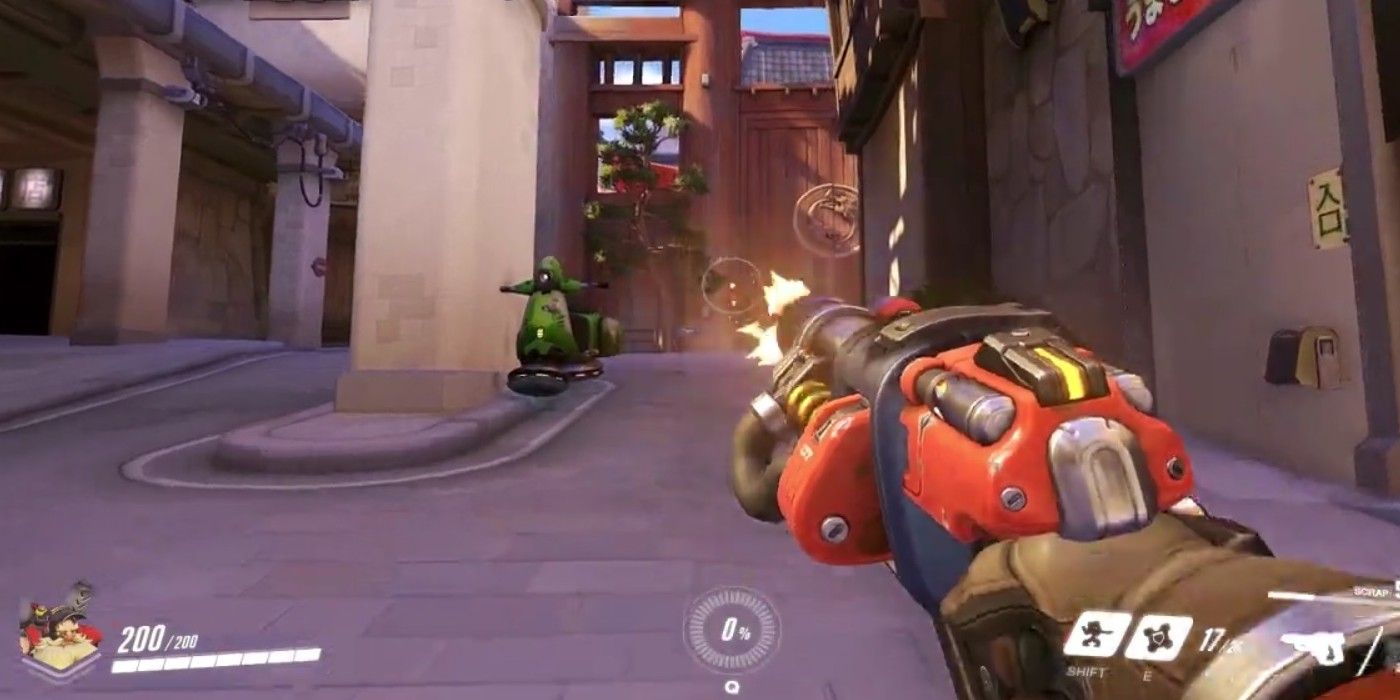
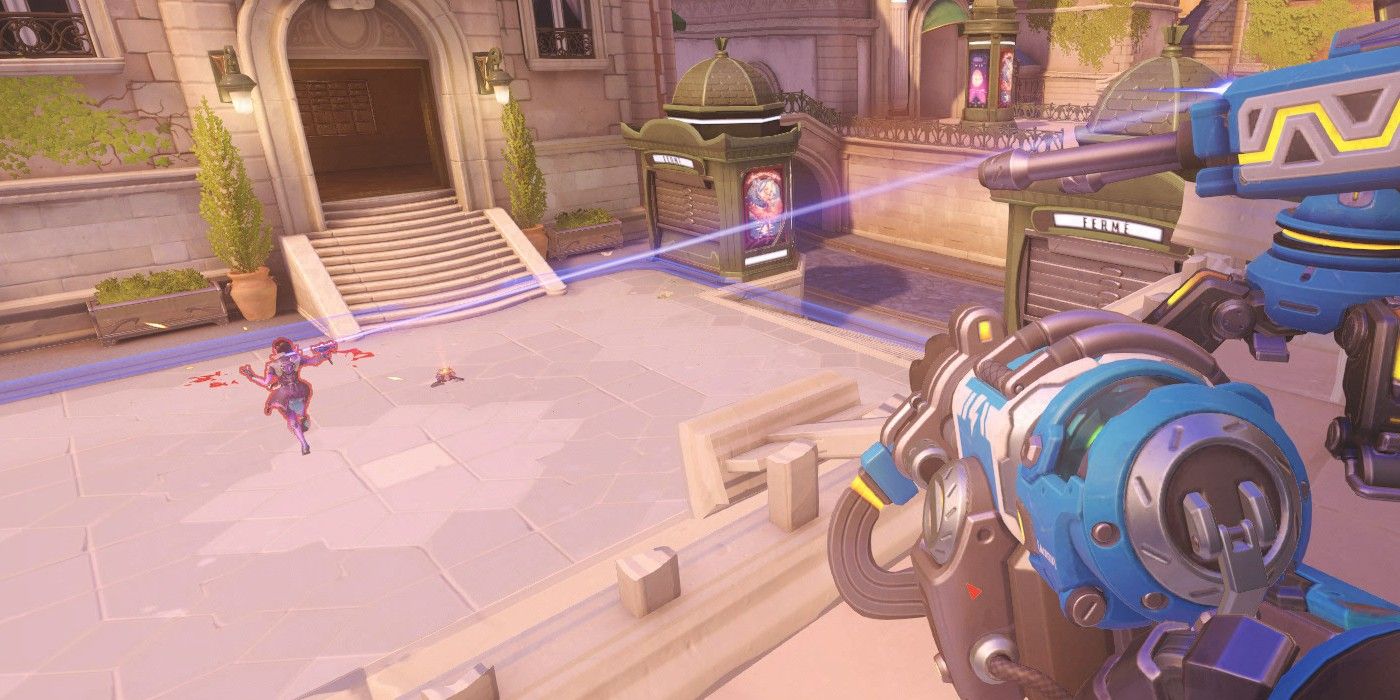
Torbjorn's Rivet Gun can be deceptively powerful with its distant falloff range and potent damage. The only problem with this weapon is its trajectory isn't exactly swift. It also initiates an arcing motion once it reaches a certain point, making it even tougher to hit your mark from range.
Thus, you should try and get in a groove of firing ahead of your opponent, or fire where you anticipate they'll be moving to in a second or 2, as they'll essentially run into the bullet. Landing these tricky shots, coupled with a well-placed turret, can make Torb an offensive powerhouse that can be tough for the enemy to respond to with all the other chaos occurring.
4 Knowing When To Use Secondary Fire
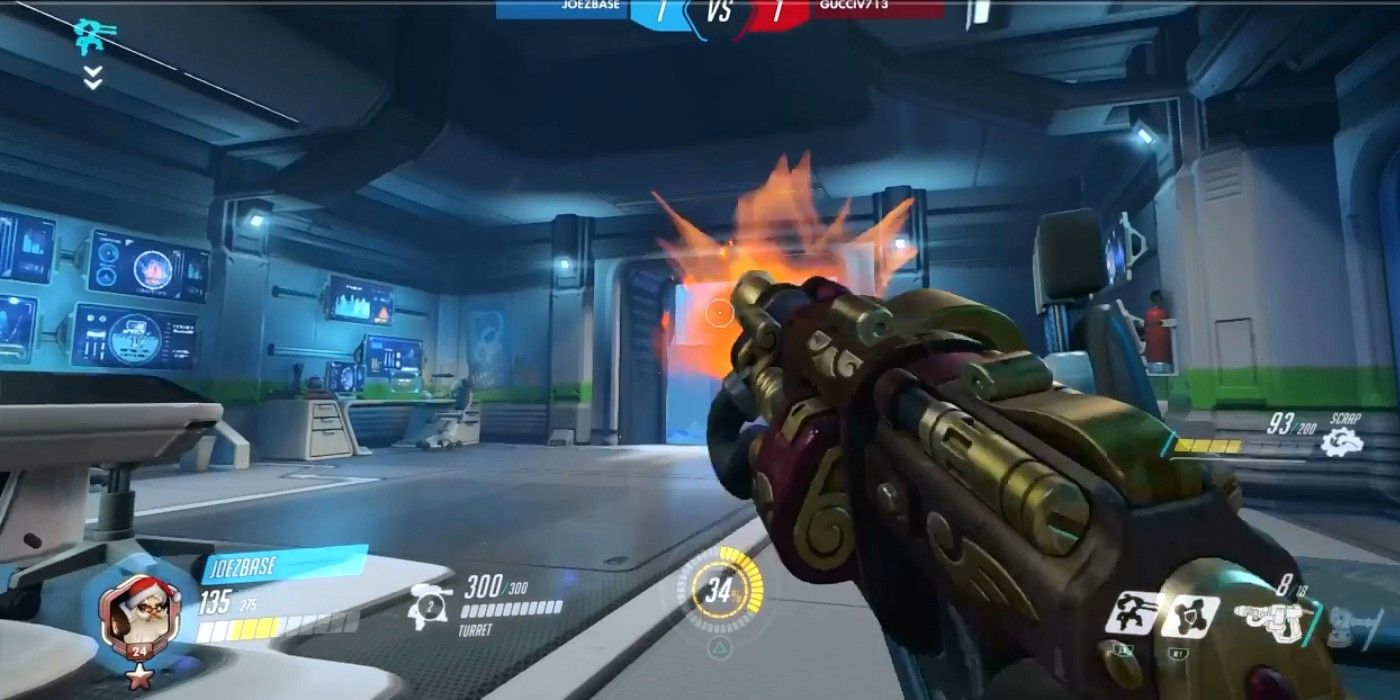
Torb's secondary fire - an even more inaccurate, slow-firing shotty - has recently been made even more unreliable with its wider, more erratic spread.
Because of this, you shouldn't typically use this mode of fire aside from a last-ditch effort for a target pressing the issue up-close, or on beefy tanks nearby. Well-placed shots from this shotgun can still deal some hurt, but they're quite unreliable and weak from long (or even mid) range. This should really be your third option after your turret and default Rivet Gun.
3 Hide Behind Small Objects
There are many unique qualities to Torbjorn. One of his most distinct attributes is his smaller-than-average build. You'll want to take advantage of this whenever possible. This often means posting up and hiding in smaller areas and behind small obstructions that bigger heroes wouldn't normally be able to cover behind.
Try hiding behind boxes, railings/fences, or smaller walls when possible, or even directly behind your turret, which will give you an extra line of defense that you can continue to fire behind after it's been destroyed. You can even use tanky players as makeshift hiding spots that you can emerge from.
2 Proper Turret Location
Crafty, resourceful turret placement is a key factor for Torbjorn, since this is his primary strength in Overwatch. But what exactly does this entail?
Well, it partially depends on the map, the meta, and the overall situation. However, as a general rule, you should try and place your turret either in a corner, behind an obstruction, and/or at a safe distance from the enemy. It's a common misconception that posting up on the high ground is wise - and this is a good move if the turret is protected in one way or another.
For often than not though, you should actually place the turret on the low ground and against a wall or in a corner. The reasoning here is that it'll be harder to see and hit on account of the action happening in front of it, along with the environmental props in its way. Placing it on a moving object like the payload or a moving platform can be smart, but opponents with solid mechanics can still take it out quickly in these cases
1 Use Molten Core In Chokes And Crowed Areas
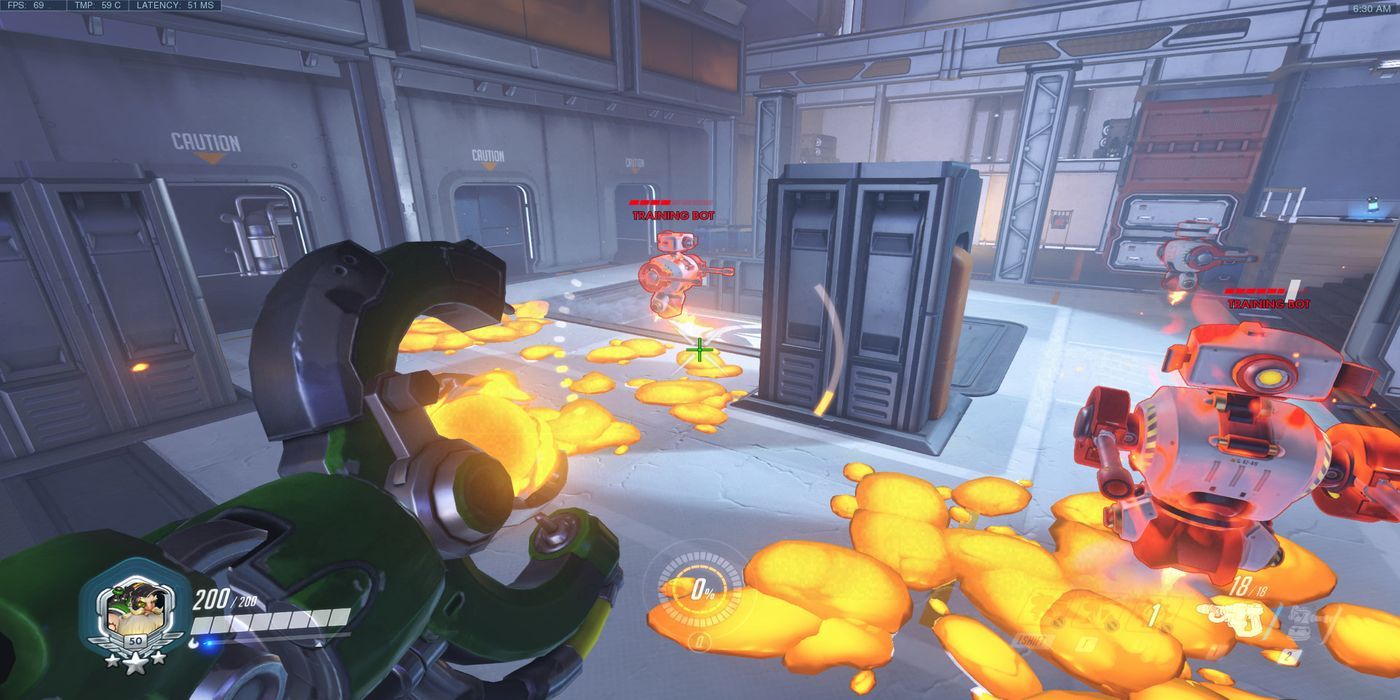
We've hardly touched on Torbjorn's molten-spewing Ultimate, which can be deceptively devastating under the right circumstances. But given the erratic trajectory and limited window to use this Ult, using it effectively can be tougher than it seems.
Basically, you want to either use this Ult to clog up a key chokepoint for the opposition, or as a means of zoning and/or clearing some ground for your team. Covering a lot of space with this deadly molten can be effective, as you'll mitigate offensive pushes and give your team some space to operate. Still, you definitely want to take advantage if you happen upon a confined cluster of foes, too, as this will allow you to quickly pile up kills.

