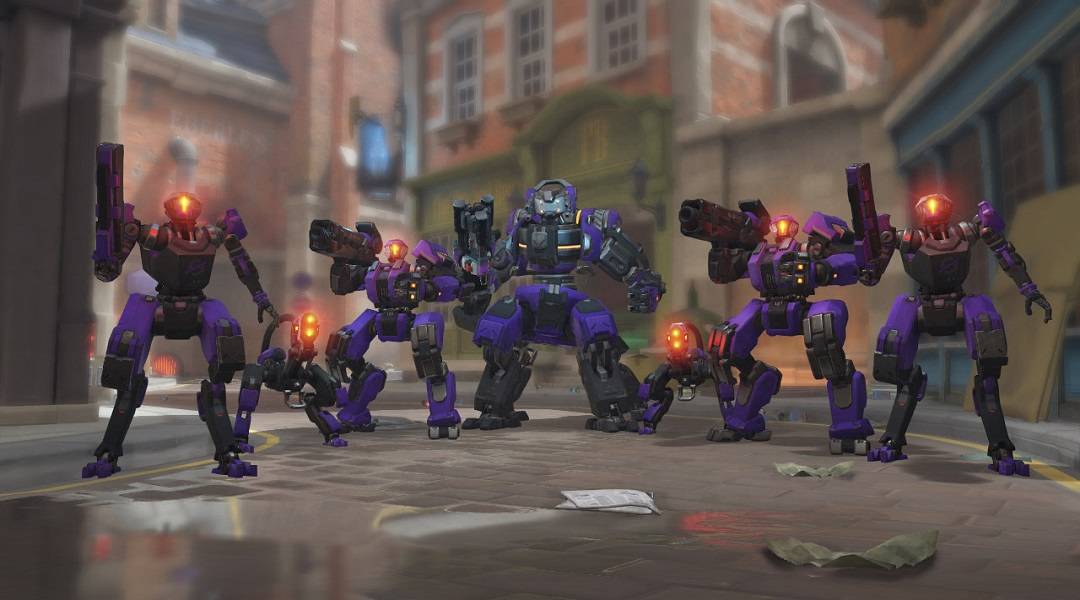
For Overwatch fans, the wait for more PvE content is finally over. With the game's Uprising event, Overwatch has introduced a new 4-player co-op PvE mode where players choose between Mercy, Reinhardt, Torbjorn, or Tracer to stop an Omnic uprising on the King's Row map.
Set seven years prior to the start of the game, Uprising is Tracer's first mission with the Overwatch team, as the four of them work together to stop Null Sector, the terrorist Omnic group leading the uprising. Players have to battle a variety of different Omnic robots, hack some terminals, and in typical Overwatch fashion, deliver the payload.
On lower difficulties, this new mode is a breeze, especially for those that have spent plenty of time mastering these characters in Overwatch's PvP modes. However, Legendary difficulty is quite the challenge, and may push even the most battle-tested Overwatch players to the limit.
For a step-by-step strategy on how to complete the Uprising PvE mode in Overwatch and unlock the Distinguished Service achievement/trophy, look no further.
1. Hacking the First Terminal

From the start, simply exit the tunnels and move as a squad to the first terminal. Some robots will spawn or be in the streets on the way there, but they shouldn't be too much of a threat. As soon as the terminal is activated, though, a horde of robots will begin spawning endlessly until the hack reaches 100%.
This first terminal is actually pretty easy to hack, even on Legendary difficulty. Facing the terminal, position Torbjorn's turret to the left so that it can shoot at any robots that come down the stairs as well as those entering the front. The bulk of the enemies will be coming straight in the open door, so have Mercy, Reinhardt, and Tracer worry about them. If the robots coming down the stairs become too overwhelming, have Tracer help out Torbjorn a bit.
For the most part, this first terminal should be fairly easy with a competent Mercy dishing out heals when necessary and damage boosting characters at the right time. However, the difficulty ramps up quite significantly after this first step.
2. Hacking the Second Terminal

On the way to the second terminal, a robot with a shield will block the path. These robots have a lot of health, and their shield protects them against things like Reinhardt's Earthshatter, which makes them especially annoying. The quickest way to deal with them is have Tracer sneak behind their shield and shoot the weak point on their back. Eventually their shield will go down, but at that point, they will start firing off blasts that deal significant damage and need to be avoided or blocked at all costs.
After practicing on this shielded Omnic, go to the second terminal, located right in front of the statue in the center of King's Row. Place Torbjorn's turret so that it can see directly through the choke, and have Reinhardt keep his shield up to protect it. Mercy should be hiding, but also staying within range to heal anyone that needs it. Tracer should hang back, and she and Torbjorn should work together to get rid of any robots that happen to spawn behind.
It's easy to get overwhelmed at this point, but it's important to hold the line. There is no time limit, but at least one person has to stay in the point to keep the hack going. And if Omnics are constantly being killed, they will endlessly spawn, eventually getting to a point where players may as well start over.
3. Hacking the Third Terminal

Before going to the third terminal, which is located in the cathedral where the attacking team spawns on King's Row, kill any stragglers or additional Omnics that have spawned behind the group. The next wave is a bit easier than the second one, but there's no need to make it even more difficult by having extra bots in the mix.
Set Torbjorn's turret up in the back of the room, but make sure no objects are blocking its line of sight. Enemies will come in from the front doors as well as the staircase. Have Tracer and Reinhardt focus the robots coming in from the front, and have Torbjorn worry about the Omnics coming from the stairs.
Also, don't forget to use all the heroes' abilities and Ultimates whenever necessary. Omnics spawn in so frequently that building Ultimates is not really a concern, though at the same time, it's important to be mindful and not waste them. For example, Mercy should hold on to her Resurrect until two or more teammates are down, and Reinhardt shouldn't waste his Earthshatter on a shielded enemy.
4. Activating the Payload

When the third terminal reaches 100%, it's time for the hardest part in the game. This next section won't start until all four players are on the payload, so it's important to get set up before triggering it. There are a couple of different places to put Torbjorn's turret, such as on the roof or in the window that overlooks the payload. A lot of people like to put the turret right on top of the payload itself, but that just puts it out in the open and will see it get destroyed constantly.
The best thing to do as Torbjorn at this point is to save the Molten Core Ultimate until the turret is near death. Then pop it to buff both Torbjorn and the turret itself. Not only will Molten Core help in clearing the enemies, but it should also save Torbjorn a trip to the roof or window to repair his damaged turret.
Mercy should again be hiding and healing most of the time, as her Resurrect Ultimate ability could very well save the game. However, due to how many robots there are during this section, she will also need to help deal damage, so switch between her pistol and staff whenever it's safe to do so. And remember that Mercy doesn't need to reload her pistol; simply switch to her staff and start healing someone and her pistol's ammunition should be refilled.
Tracer will want to be a bit more reserved about what she does at this point, as if she dies too far away from the rest of the crew, it will spell disaster. Reinhardt, meanwhile, needs to focus on protecting the payload at all costs because if too much damage is done to it, it will explode and players will have to start from the beginning.

The best way to keep the payload safe as Reinhardt is to keep his shield up in front of it. Reinhardt's hammer is also useful for smashing the groups of smaller robots that shoot lasers at the payload.
Reinhardt's most important role for this section of the game is making sure the Null Sector bombs don't explode near the payload. Basically, bombs will start spawning from the left and right of the payload. Upon making contact, they will glow orange and explode, dealing devastating damage to the payload. It may be tempting to focus all fire on these bombs, but that is just a waste of time. The best thing to do is to let the bombs get near the payload, start the self-destruct process, and then use Reinhardt's charge to get them a safe distance away.
Eventually, Bastions will be added to the mix as well, which is when things get really hairy. Even Tracer's Pulse Bomb isn't all that helpful against them, and so they should be focused immediately. If possible, have Reinhardt pin Bastion into a nearby wall (getting too far from Mercy can blow the whole game, so keep that in mind), and then have everyone else immediately start shooting, even during the charge. Earthshatter can also be a great tool to incapacitate any Bastions in the area.
After about four minutes, the payload will be ready to move.
5. Delivering the Payload

The payload needs delivered to the door that serves as the first checkpoint when playing this map in normal Quick or Competitive play. Torbjorn should set up his turret on top of the payload so that the turret is mobile, and Reinhardt should be sure to have his shield up most of the time to protect both the payload and the turret. Mercy and Tracer will want to stick close to the payload as well, as this is another section where straying too far from the team could cost the whole game.
While most of the enemies will come at the payload head-on, some of the smaller ones will constantly appear in the back to try to slow things down, so assign someone to deal with those, preferably Tracer. In the meantime, be weary of the Bastions that spawn here, as they are permanently in their tank mode, and can deal devastating damage. Like before, it's best to focus Bastions and get rid of them as quickly as possible before they can cause too much trouble.
When the Payload finally reaches the door, it will explode, letting players inside to face off against multiple Orisas.
6. Fighting Orisas

This is the only section of the Uprising mode that is timed, and the longer it takes players to kill the Orisas, the more enemies will spawn in, including Bastions. While not quite as difficult as the original payload section, this is the second most challenging step, and there's no real strategy to it besides focusing one Orisa at a time, and making sure to not to proceed too far without killing the ones that have already spawned.
If someone goes down and Mercy doesn't have Resurrect, make sure Reinhardt's shield is up so that whoever revives them is protected. Backing away when things get too intense may be helpful, but try not to retreat too much, as this can result in way too many Omnics swarming the area, which can in turn ruin the team's chances of killing the Orisas within the time limit.
In regards to Torbjorn and where he should place his turret, it doesn't really matter during this step. It's too dangerous to try to get behind the Orisas, and all their shields will make the turret virtually useless. Having said that, still place it down to at least serve as a distraction to the enemies, but don't bother upgrading it to its second level unless it is managing to survive awhile on its own.
With enough persistence, players will destroy all the Orisas, and the PvE Uprising mode will finally be completed on Legendary.

Once players have finally completed Overwatch's PvE Uprising event on Legendary, they will have mastered one of the game's most difficult challenges yet. Those that find the experience thrilling may want to consider going through it a few more times to try to get on the leaderboards, but be sure to go in with a good team and don't forget the strategies outlined in this guide.
In the meantime, there is also a version of Uprising that allows players to choose from any of the Overwatch heroes. This allows players to choose heroes that are ultimately a better fit to fight against the Omnic threat, so it tends to be a bit easier than the regular mode. However, be warned that completing Uprising on Legendary in the All Heroes mode won't unlock the Distinguished Service achievement/trophy.
In the future, it will be interesting to see if Blizzard continues to create PvE content for Overwatch, and if it will have more in common with Uprising or the horde mode-like Junkenstein's Revenge. Time will tell, but if Uprising proves popular enough, one has to imagine that Blizzard will start producing plenty more PvE content for Overwatch fans.
Overwatch is available now for PC, PS4, and Xbox One.