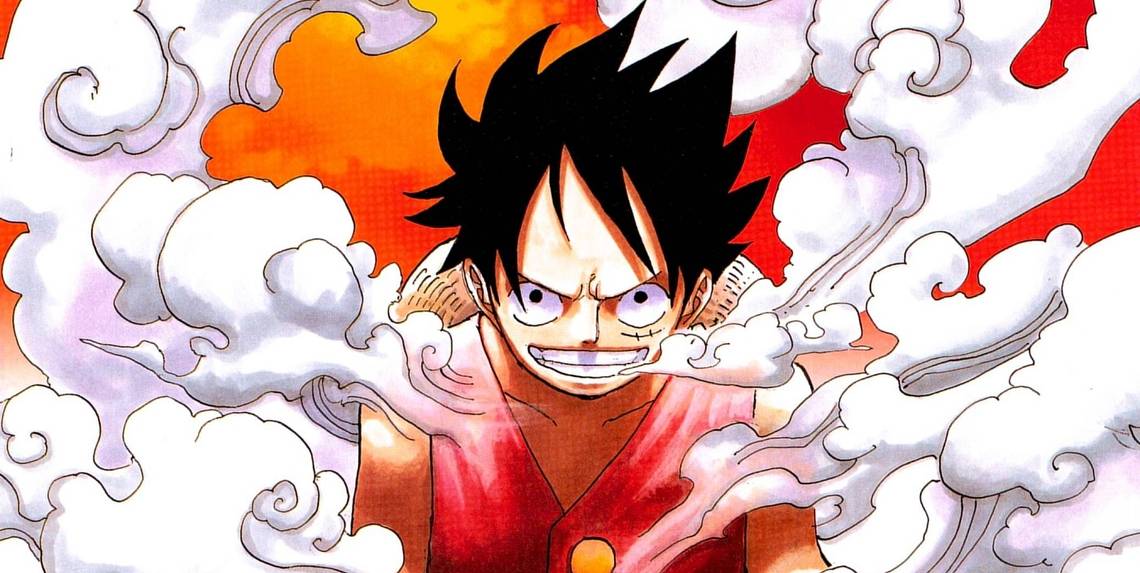
Eiichiro Oda's One Piece is known for some of the most bombastic and intense arcs in the history of modern manga. From Alabasta to Wano, Luffy and his crew have shown millions of fan around the world why they have the biggest chance of finding One Piece. One of the longest and most epic arcs is Water 7/Ennies Lobby, this is where the Straw Hats made enemies of the World Government itself and became infamous.
This arc is also notable for adding a whole new type of attack to Luffy's repertoire: Gear. These Gear attacks use Luffy's Devil Fruit abilities to their maximum potential and are more than capable of combining with Haki. Since Water 7/Ennies Lobby, Luffy has refined and mastered Gear attacks.
10 Soru

The first move Gear move Luffy ever utilized against an opponent was Soru. This technique allows him to move at speeds so rapid that he seems to just vanish into thin air. Blueno, a CP-9 member, had a similar technique that paled in comparison to Soru. The reveal of this move was beyond epic and it set the tone for the kind of battles that were about to take place during Ennies Lobby. Many fans place the first appearance and use of Soru near the top of their greatest One Piece moments lists.
9 Gomu Gomu No Jet Stamp

Luffy had a personal vendetta against all the members of CP-9 due to their treatment of his crew member Nico Robin. This meant that he would not hold back against them and all of its newest Gear techniques were on the table for use.
His battle against Blueno shows just how deadly Luffy can be when he uses his Gomu Gomu no Mi Devil Fruit abilities to their maximum capacity. The Jet Stamp hit Blueno hard and took his huge ego down a few steps. When Luffy sets his mind on something it is near impossible to stop him.
8 Gomu Gomu No Jet Bazooka

As if Blueno had not taken enough hits, this technique knocked him out and summarily defeated his best attack. The Gear Second Jet Bazooka hits an adversary with a faster, stronger version of the Jet Bazooka attack Luffy has used many times over the years. This version not only adds immense power to the attack but its greatest tool is its lightning fast speed. By the time Blueno say what Luffy was about to hit him with he was already done for. This attack can also be done for prolonged amounts of time.
7 Gomu Gomu No Jet Bullet

Rob Lucci, the leader of CP-9, pushed Luffy to the brink like no other enemy before him. Even with Gear techniques at his disposal, Lucci was more than able to keep up with Luffy. Hit after hit, Luffy seemed to be in for a crushing defeat. Yet, his use of the Gear Second Jet Bullet gave fans some hope for his victory. This attack is extremely fast and works best during close combat. Also, due to how fast and close the attack is, it is virtually impossible to dodge.
6 Gomu Gomu No Jet Gatling

After a long, brutal, bloody, intense, and harrowing battle Luffy was at long last able to defeat Rob Lucci. By the time that the battle entered its final stage Luffy was tired and seemingly down for the count. The fact that Rob Lucci could still somewhat move around gave him the impetus to deliver one last attack.
The Gear Second Jet Gatling features Luffy punching so fast that only jet streams can be seen. This barrage hit Lucci head on and there was no way to avoid it. The energy it takes to do this move is massive and it was wise of Luffy to save it for the very end of the battle.
5 Gomu Gomu No Jet Rocket

For an arc that started off with massive build up, Thriller Bark more than delivered on the action front. From fighting zombies to loosing his shadow to fighting the giant Oars, Luffy was challenged in multiple ways. After defeating Oars, Luffy still had a huge battle on his hands. Gecko Moria, a former Warlord of the Sea, used his Devil Fruit to maximize his powers and throw all the Straw Hats for a loop. Luckily, Luffy still had a few moves up his sleeve. The Gear Second Jet Rocket, is a wild move that propels Luffy forward at a very fast speed. This rocket like attack packs quite a punch and hit Moria hard.
4 Gomu Gomu No Jet Hammer

Luffy's Jet Hammer attack had only been used once before the New Fishman Island arc. He finished off Don Krieg with it and ensured that he would never bother any of the Straw Hats ever again. The Gear Second version is faster and stronger. Knocking out the grimy Vander Decken IX, this technique is packs one heck of a punch into a fairly rapid attack. This move is perfect for getting weaker opponents out of the way quickly and for giving stronger ones a hit they'll remember.
3 Gomu Gomu No Red Hawk

Another attack showcased during New Fishman Island, this Haki fusion attack is very powerful. During his fight against Hody Jones, Luffy used this attack to put the villain in his place. The attack uses fire for an added level of devastation. Combined with the strength of Luffy's hits, this attack finished Hody Jones.
Also, this attack is deeply personal to Luffy as it serves as a tribute to his brother "Fire Fist" Ace. This was Luffy's first big battle after the two year time jump and fans got to see just how powerful he had become.
2 Gomu Gomu No Hawk Gatling

The long gestating battle against Donquixote Doflamingo, did not disappoint. Luffy and Trafalgar Law both struggled against him and pushed themselves to the brink. Luffy knew that this was one adversary that required all the power he could muster. From the jump, Luffy held nothing back and used this Haki fused attack right at the start of the battle. As with most of his Gatling techniques, Luffy punches rapidly and barrages his opponent. What makes the Hawk Gatling special is the use of his Haki to harden his fists. This attack would have devastated any opponent he faced up until Doflamingo.
1 Gomu Gomu No Eagle Bazooka

Normally, a Bazooka attack from Luffy would end a battle quickly. Yet Doflamingo was able to take this attack and many others. Still, the power of this attack cannot be understated as it uses Haki in a similar manner to the Hawk Gatling yet it packs even more of a punch. This move can be seen as a finisher as it involves only one hit. This one hit normally makes contact with an enemies chest and propels them forward. Also, one can look at this attack as a weaker version of Luffy's King Kong Gun that delivered the finishing blow to Doflamingo.