Barren Badlands is the last of the three new courses that were added into New Pokemon Snap as part of the game's 2.0 update. Much like the previous DLC course, Mightywide River, the daytime variant is full of new Pokemon for players to find and photograph, although some of them only start showing up once players have reached research level 2.
As well as 18 different types of Pokemon, the course features five requests, each of which is tied to one of the new Pokemon that show up there. As with the Pokemon themselves though, players will once again need to wait until higher research levels before being able to tackle some of them, meaning that they'll need to sink quite a bit of time into exploration in order to see and do all that the course has to offer.
Every Pokemon In Badlands (Day)

Research Level 1
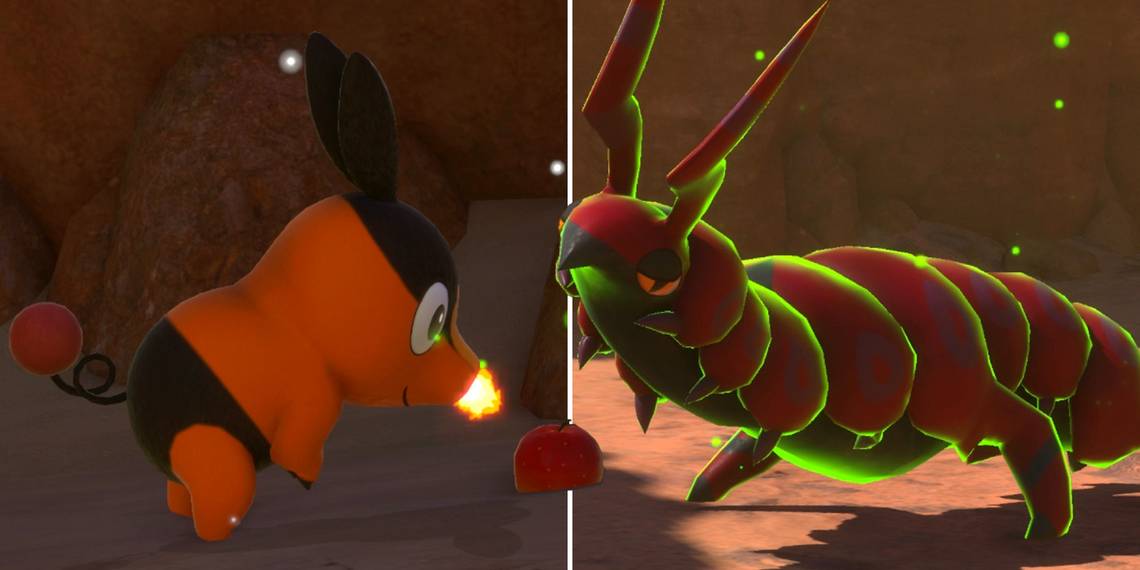
- Tepig - Tepig is one of the first Pokemon that players will see upon entering the course. It shows up numerous times throughout, particularly at higher research levels.
- Diglett - There are Diglett all over the place in Badlands (Day), with many popping up in the early stages of the course. There are more near the Onix holes too and a few near the course's exit. If players take the alternate route, they'll be able to get a Diglett to show up on the pillar with the three Torchic by luring them all together with Fluffruit and then hitting them with an Illumina Orb.
- Hippowdon - If players turn to their left immediately after starting the course, they'll be able to see a Hippowdon off in the distance.
- Mandibuzz - There's a Mandibuzz stood on some rocks near the beginning of the course and many more flying around throughout. Once players reach research level two, they'll find one walking around near the Onix holes and will be able to feed it a Fluffruit for a nice photo opportunity if they're quick. At higher research levels, another Bandibuzz will briefly fly past players from right to left as they enter the area with the poisonous gas, but only if they scare away the two Mandibuzz near the start of the course by hitting them with Fluffruit.
- Minior - Illuminating the Crystabloom near the start of the course will cause a Minior to crash down and knock the giant boulder into the geyser. Doing so quickly will allow players to scan for access to an alternate route. From research level 2 onwards, there'll be a bunch more Minior near the huge at the end of the area with the poisonous gas.
- Crustle - There are a few Crustle in the opening section at research level 1 and they'll start fighting each other once players reach the next research level. If players cause the boulder to fall, however, both will go into their shells and refuse to come back out. On the alternate route, there's an additional Crustle down to the player's right not too far from a Crystabloom.
- Torchic - Torchic likes to hang out in the opening section near the Mandibuzz on the right. Players will see it many more times as they make their way through the course, usually with Tepig and Shinx. From research level 2 onwards, they'll also be able to find three Torchic living together in one of the first Onix holes that they come to.
- Silicobra - There's a Silicobra buried in the sand near a Tepig not long after the part of the course between the opening section and the area with the poisonous gas. From research level 2, a couple of Silicobra will also escort Scolipede through the early stages of the course. If players hit the Scolipede with a Fluffruit and then illuminate the Silicobra while on the alternate route, they'll show up in the Onix holes on the right near the end of the course.
- Shinx - Shinx can be seen walking over one of the giant stone archways with Tepig and Shinx just before the area with the poisonous gas. If players turn around when they reach the area with the Onix holes, they'll be able to see the trio again hanging out in a clearing to their left.
- Swalot - There's a Swalot swimming around in a pool of toxic water in the area with the poisonous gas. At higher research levels, another one will show up over to the left in the same area.
- Koffing - A few Koffing can be found floating around in the area with the poisonous gas. At research level 2 and higher, players can hit the Salazzle on top of the giant pillar that's releasing the gas to make it fire another Koffing straight into a Swalot's mouth.
- Lycanroc - Lycanroc can be found in its midnight form near the section with the Onix holes. Another will run in front of players after they pass the second geyser, but only at research level 1. From research level 2 onwards, if players look down and to their left as they're just about to enter the area with the gas, they'll be able to find another one sleeping.
- Onix - Onix will poke its head out of one of the holes high above the player near the course's exit. At higher research levels, it will come out of one of the lower holes instead. Players will see it jump across from one side of the valley to the other upon reaching the exit, but it's impossible to photograph this moment as it doesn't happen until the run is fully over.
Research Level 2
- Rockruff - Upon reaching research level 2, players will find a Rockruff to their left in the opening area.
- Scolipede - Scolipede can be seen far off in the distance to the player's left near the start of the course. It will walk across one of the giant stone archways above them and then show up again on a path down below and to the right of the alternate route. At research level 3, two Scolipede will start fighting around the point where the two routes join back up with one another.
- Kangaskhan - Kangaskhan starts showing up in the area to the right of where players start their runs at research level 2. At research level 3, another will appear over by the giant crater near the end of the area with the poisonous gas.
- Salazzle - There's a Salazzle hidden behind a rock near the Mandibuzz at the beginning of the course. If players coax it out with a Fluffruit and then hit it with a few Illumina Orbs, it will do a little dance, allowing them to get a four star photo and fulfill a photo request. If players take the alternate route, they'll find another one on top of the giant pillar that's leaking poisonous gas over to the left of the NEO-ONE. If players wake Zeraora, it will scare the Salandit near the start of the course, causing it to run away and reappear later on a ledge in the area with the poisonous gas. Players can get another four star photo here by hitting it with an Illumina Orb.
Research Level 3
- Zeraora - The gen 7 Legendary can be found sleeping on a ledge to the player's right near the start of the course. If players wake it with a Fluffruit, it will show up again near the end of the course where Lycanroc usually hangs out.