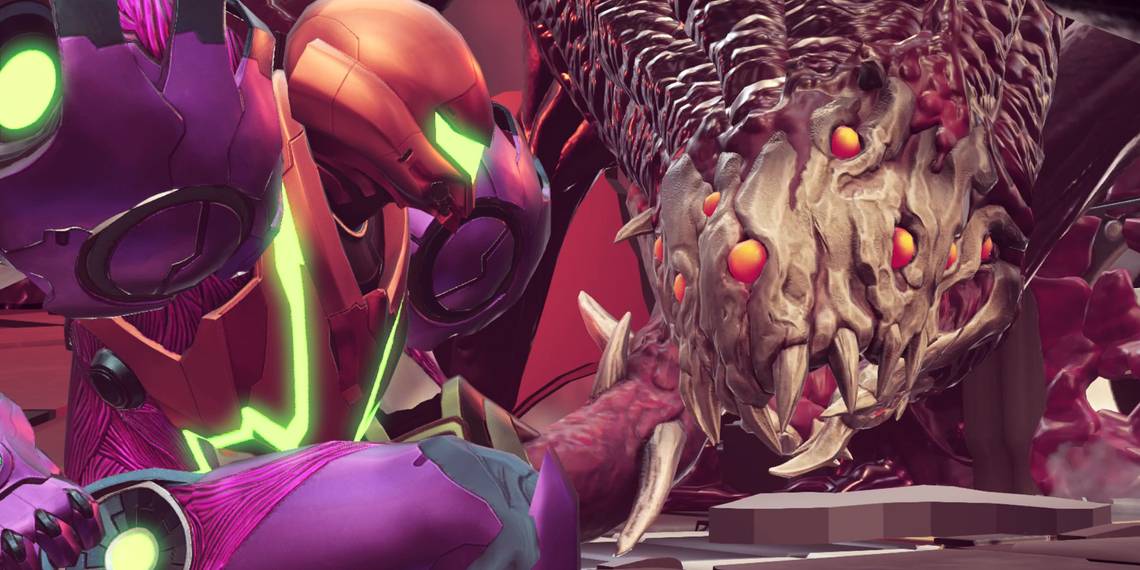
Few of the bosses in Metroid Dread are able to make players feel quite as helpless as Experiment No. Z-57. This huge X-Parasite-infested creature has attacks that can cover more than half of the screen at its disposal and is capable of shredding through Samus' health bar in a matter of seconds if players aren't careful.
In order to overcome this monstrous beast, Metroid Dread players will need to learn how to read its attacks and know where exactly they need to move to in order to avoid taking damage. They'll also have to figure out how to squeeze in some attacks of their own, being sure to target the boss' head whenever they're able to do so.
Updated December 4, 2021 by Tom Bowen: As a franchise, Metroid has always done an excellent job of rewarding those who seek to fully explore its games. This can often come in the form of easter eggs, or, in many cases, an easier method of taking down an otherwise powerful enemy. Knowing the series' history with such secrets, it didn't take Metroid Dread players too long to figure out that — with a little precision — it's possible to insta-kill the Experiment No. Z-57 boss during the second phase of the fight. This guide has been updated to explain how exactly players can pull this off.
Where to Find Experiment No. Z-57

The fight with Experiment No. Z-57 takes place in the southeast portion of Cataris after the Artaria region has frozen over. To reach the boss, players will need to head to a room that has three exits on its left side, one of which is a locked thermal door at the bottom. By passing through the boss door at the top of this room, they'll find a Morph Ball launcher in the following area which will take them straight to the boss.
How to Beat Experiment No. Z-57 (Phase 1)

Experiment No. Z-57 usually begins the fight with a swipe attack that covers more than half of the screen. These always come in pairs, with the boss attacking diagonally from one of the top corners to the opposite bottom corner and then switching sides for a second swipe. It will sometimes use this attack twice in a row (four swipes), though this is incredibly rare.

Whether the boss attacks from right to left or left to right first appears to be completely random, though players can get an idea of what the boss is planning by focusing on the position of its claws. Before attacking, it will raise one of them into the corner from which the first swipe will start, which should give players enough time to react. From here, it's a case of jumping into the opposite top corner and then immediately flash shifting over to the other side.

The most common attack that players will see during phase one is a red laser beam fired directly from the boss' mouth. This will go from side to side, leaving behind a pink substance that will erode Samus' health bar when touched. There'll always be a spot that doesn't have this substance though, and players should use Flash Shift to reach it in the brief windows when the boss stops firing.

The final phase one attack that players should look out for involves the boss moving its body to one side of the screen and then shooting the red laser in a circular motion. When this happens, players should get beneath the boss' head while being sure not to make contact with it. Immediately after the laser ends, there'll be a brief counter window that players should aim to exploit by pressinf the X button.

It's possible to damage the boss' head using rockets and charged shots during this phase, both before and during each of its red laser attacks. Players will deal considerably more damage when countering, however, so this should be their main priority. It's also worth noting that after the swipe attack finishes, the boss will stick its head forward a little, so players should avoid jumping or flash-shifting into the center of the screen immediately after the second swipe.
How to Beat Experiment No. Z-57 (Phase 2)

After dealing enough damage, the second phase of the fight will begin. At this point, the boss starts using two brand new attacks, one of which sees it grab onto the walls with all four of its tentacles. When this happens, players should charge the Storm Missile by holding the R button and then fire on all of the tentacles once they've been targetted.

Another new attack sees the boss moving to the right side of the screen and firing waves of pink projectiles over to the left. The resulting waves push Samus back, so players will need to constantly run to their right while using the space jump to pass through the gaps in the projectiles. It's a little tricky to master, but does get easier with a little practice.

Though not technically a new attack, the boss' swipes also receive an upgrade during the second phase of the fight. Now, after the second swipe, the boss will perform a third one which uses both tentacles at once. This leaves only a small spot in the center of the screen in which players can avoid taking damage.

Unfortunately, countering a second time during the fight will only provide players with missiles and health rather than another extended opportunity to attack. That said, if players exploited the counter opportunity in the first phase and are able to get in the occasional missile shot during the second, they shouldn't have too much trouble seeing the fight out.
The Reward for Beating Experiment No. Z-57

Though players won't get a reward immediately after defeating Experiment No. Z-57, doing so will directly lead to them getting one of the best pieces of equipment in the game. With the boss defeated, they'll be able to return to Artaria and travel to the now unfrozen area in the southwestern portion of the map.

Here, in a ball that's being held by a Chozo statue, players will find the Screw Attack. This allows them to destroy certain blocks and damage enemies by jumping into them, making map traversal considerably easier from here on out. As a result, this is a great time for players to hunt down any Energy Tanks or missile capacity upgrades they may have missed so far.
How to Insta-Kill Experiment No. Z-57

Much as they did with the Kraid fight a little earlier on in the game, the developers of Metroid Dread programmed in a few secrets when working on the showdown with Experiment No. Z-57. The most notable of these allows players to kill the boss instantly, though pulling it off can be a little tricky due to some of the precise inputs required and the speed at which players will need to react. With a little bit of practice though, it can be done fairly consistently.

During the second phase of the fight when the boss starts firing pink projectiles from right to left, it's possible for players to activate the Speed Booster if they're able to avoid getting hit. To do so, they'll need to press the left analog stick in and ensure that they're always moving to the right. They'll also have to successfully jump between the projectiles whenever needed until the Speed Booster triggers

Once it does, players should flick the left analog stick down to store the momentum and then wait for the boss' attack to end. As soon as it does, players should jump up to around the height of the boss' head and then unleash a Shinespark by holding the B button and pointing the left analog stick to the right. If successful, Samus will fly across the screen and hit the boss in the head, instantly triggering the end of fight cut-scene