Fans of The Legend of Zelda: Breath of the Wild will know that the great joy of the game comes from the freedom to try new things and search new areas. It’s liberating, not to mention humbling at times. Link’s Awakening may not offer such a vast world, but there is still a wealth of places to explore and hidden treasures to uncover.
A common stumbling block for new players exploring Koholint Island is how to find Yarna Desert, and/or how to move the Walrus that’s blocking the entrance once you do reach it. For anyone having trouble, this quick and handy guide will point you in the right direction.
10 Complete Key Cavern

The first step on the road to accessing Yarna Desert is completing Key Cavern. Prince Richard is just one of the fascinating characters Link will encounter in this title, and he has the Slime Key our hero will need to proceed to the cavern. Give Richard those Golden Leaves and on you go!
Key Cavern is a relatively straightforward little dungeon, but it does boasts some tricky ‘treasure chests’ with nothing but enemies inside. Proceed with caution, defeat the pesky Dodongo Snakes mini boss, then grab the Pegasus Boots and vanquish the Slime Eye.
9 Blow Up The Stone Skull With A Bomb

With that no-good slimy eye defeated, Owl will appear and tell the player that their next destination is Yarna Desert. Our feathered friend’s enthusiasm is getting the best of them, though, because Link has a lot of errands to do before he can get there!
First on the agenda is a job for a classic Zelda item: the bomb. A short distance from Key Cavern’s entrance (to the northeast), the player will find a stone skull. Destroying it with a bomb will make passage around Koholint much more convenient, which is especially nice if you have a trading sidequest to do. Which you have!
8 Trade With Tarin And Collect The Honeycomb

Often, trade quests like these are purely optional, requiring the player to put in a good deal of legwork in exchange for a powerful trinket of some sort. Trading a stick for a piece of honeycomb doesn’t sound like it’s going to be essential, but you’ll definitely want to do so.
Tarin will be found just ahead of the hole you’ve freshly blown in the landscape, so proceed onwards and give him the stick Kiki the Monkey gave Link. An inevitable honeycomb-based scene will follow, and the honeycomb will be yours.
7 Cross Over To Animal Village

With the honeycomb in hand, players who are fans of Winnie the Pooh surely had a brainwave: who likes honey? That’s right, bears! The nearby Animal Village is home to one, so that’s our next destination. Head back past the now-absent stone skull, then pass the gates of Kanalet Castle. Continue downwards through the trees (carefully dispatching or avoiding the enemies here,) and you’ll find Animal Village to the east, down the stairs.
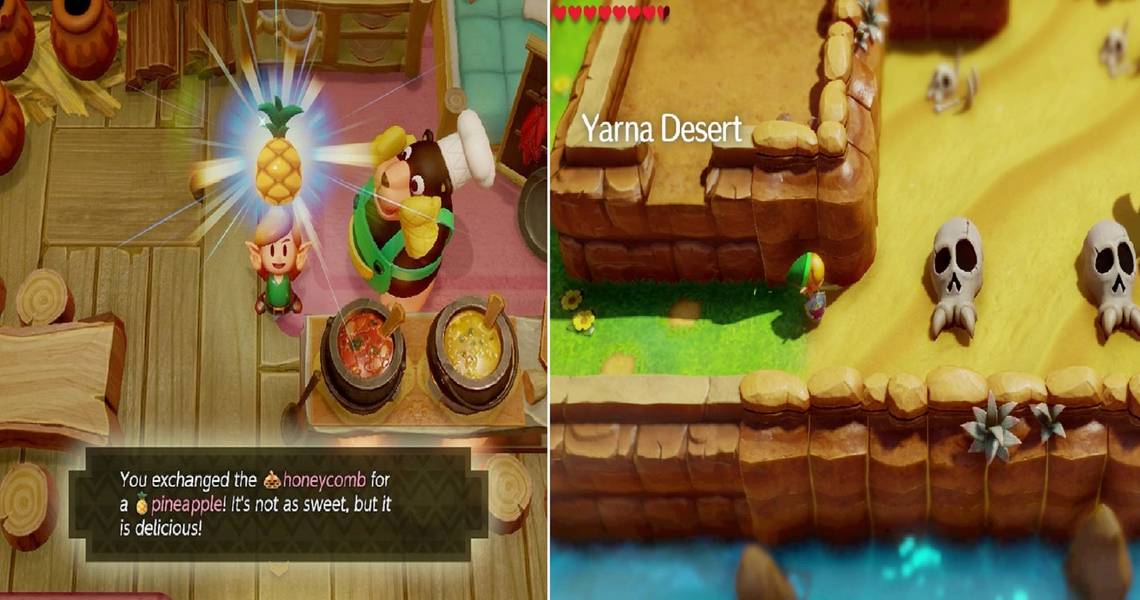
6 Give Chef Bear The Honeycomb

Those who are experienced with adventure titles like this one will know what happens when you enter a new area like this: it’s time to talk to EVERYBODY. The Animal Village denizen you’re looking for is Chef Bear, who can’t be missed. As the next part of the trade sequence, he’ll ask to swap his pineapple for the honeycomb. Accept the trade, then listen to his super important advice: Marin is the key to getting past the sleeping walrus blocking the entrance to Yarna Desert.
5 Visit Marin Back At The Village

If you remember waking the dozing Normal-type powerhouse Snorlax with a Poké Flute back in Pokémon Red & Blue, you can probably see where this is all going. Still, when a little music is needed, Marin in the one to call on. Back to Mabe Village it is! The girl can be found on Toronbo Shores, on a bench on the very far end of the beach.
4 Talk To Marin And She’ll Agree To Join Link

On Link’s arrival, Marin will invite him to sit with her for a little while. The pair share a very tender moment, in which Marin opens her heart and reveals her wish to become a seagull and soar away from the island (interestingly, one ending suggests that she did so, which has very interesting connotations considering how Link’s Awakening ends).
This is no time for sentimentality, though. Link’s on a mission. After the Toronbo Shores scene, Marin will ask, “the walrus wants me to go to him?” At this, she’ll join our hero for the for the final stage of effort to unlock Yarna Desert.
3 Let Marin Sing To Awaken The Walrus

With Marin alongside him, Link finally has all he needs to gain access to the crucial desert area. By means of handy warp points (Link’s Awakening can be a heck of a slog at times without them), the player should next return to the Animal Village.
Proceed through the village from right to left (if using the closest warp spot, which is highly recommended), then follow the narrow path that leads straight down. At the end, continuing to the right will bring you to the walrus. In front of the magnificent creature, Marin will sing, rousing the walrus and causing it to leap back into the water.
2 Proceed Into Yarna Desert

Congratulations! The path to Yarna Desert is clear. Simply proceed forwards and you’ll arrive in this perilous new corner of Koholint Island.
Link may have arrived at your intended destination, but there’s one last vital question to answer: why did the player need to come here in the first place? Well, there’s a typically odd Zelda boss (or rather, miniboss) to defeat and a key to acquire, for starters!
1 Defeat The Lanmola, Collect The Angler Key, And Head To The Angler’s Tunnel

The Yarna Desert leads to Link’s next port of call, the Angler’s Tunnel. Before taking on this dungeon, however, he’s going to need the Angler Key. To get that, it’s time for a battle against the troublesome Yanmola. The small sandy area just north from the starting point of the desert is the site of the encounter. This creature doesn’t really ‘attack’ in a conventional way, but the environment itself is dangerous enough: if Link falls into the small area below the sand, he’ll have to start the fight again when he emerges!
Avoiding the creature’s heavily armored body and strike its vulnerable head as it leaps out of the sand –while watching your footing — is the best technique here. Once Yanmola is defeated, Link can claim the Angler Key and, as Owl advises, head to Mt. Tamarinch & take a daring leap to reach the dungeon.