There's a lot to do in Kingdom Hearts 3. Whether it's side quests or crafting, the long-awaited third installment to this popular series is jam-packed with extras.
One of the earliest quests Sora picks up on his journey in Kingdom Hearts 3 is to document the various Lucky Emblems located throughout the game's many worlds. Longtime Disney fans will recognize these as Hidden Mickey's, which take the shape of the head of the company's iconic mouse and are secretly placed all around the various Disney parks for guests to find.
Now, Square Enix is doing much of the same in Kingdom Hearts 3, with Lucky Emblems placed throughout the game for players to snap photos of for rewards. In the Toy Box world, where Sora and friends team up with the cast of Toy Story, there are 11 Lucky Emblems. A video by Underbuffed Clips shows all of their locations, but we are providing a quick step-by-step guide to compliment it.
Andy's House
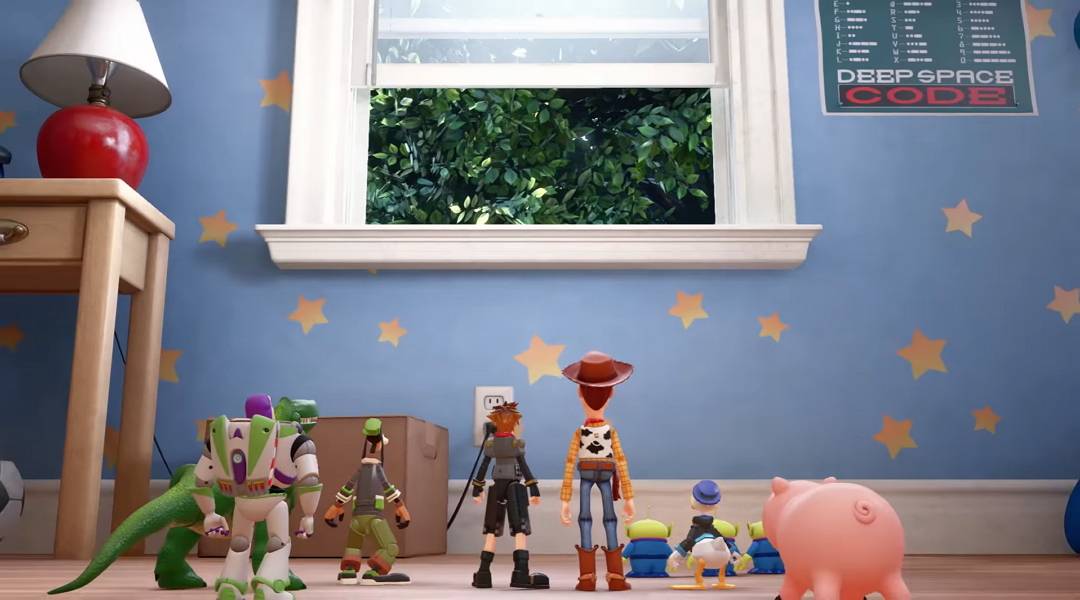
- Lucky Emblem #1 – In the beginning area, Andy's room, you'll find a Lucky Emblem on the side of a shoebox, resting on the shelves to the left of the doorway.
- Lucky Emblem #2 – As soon as you exit Andy's room and jump onto the roof, head down to the right. Just above the gutter, on the corner of the roof, you'll spot a Lucky Emblem in one of the shingles.
- Lucky Emblem #3 – Next stop is the front door of Andy's house. Hop onto the steps, then turn around. The Lucky Emblem will be made out of leaves on the walkway.
- Lucky Emblem #4 – From the porch, run straight ahead and check out the silver car to your right. The Lucky Emblem is just above its bumper.
Galaxy Toys
- Lucky Emblem #5 – Behind the counter with all the registers, there will be a gift wrapping station. The Lucky Emblem is made up of three rolls of tape.
- Lucky Emblem #6 – Hop into one of the giant mech toys and blast the display behind the giant capsule vending machine in the center. Once everything is cleared, you can easily spot the Lucky Emblem on the base of the display.
- Lucky Emblem #7 – Navigate through the vents until you get to the spot where a gust of air boosts you up. Jump off into the vent and turn around. The Lucky Emblem will be embedded in the vent.
- Lucky Emblem #8 – Use the rail to get to the third floor. Walk around to the doll shop, then turn to the railing and hop up. Look down onto the roof of the spaceship and find a Lucky Emblem on its hatch.
- Lucky Emblem #9 – Enter the doll shop and look for the shiny disco balls hanging from the ceiling. From on top of one of the shelves, it is possible to line up those balls to look like a Mickey head. That is your Lucky Emblem, so align them and take the shot.
- Lucky Emblem #10 – Still on the third floor, navigate to Play Place. To the left of the entrance are a few posters. All the way to the left of those is a life-size statue of Vic the Visitor. On the base of this is another Lucky Emblem.
- Lucky Emblem #11 – Finally, head back to the entrance of the store and step outside. To the right are a stack of boxes with labels that form the last Lucky Emblem for this area.
Sora first learns about Lucky Emblems in Twilight Town, where there are several more to find. It is worth taking the time to look for these photo ops, as the more players find, the more prizes that will be rewarded. Plus, it works as a nice detour from the main game, and provides an opportunity to take in the sights and appreciate the details of each world.
Once players are ready to get back to the meat of the game, it's important to be fully prepared to face the legions of enemies ahead. One way to ensure victory is to do a little grinding, so we prepared a few tips on how to level up fast. With some higher stats, it will be much easier to become a Keyblade Master.
Kingdom Hearts 3 is out now for PS4 and Xbox One.
Source: Underbuffed Clips – YouTube