Quick Links
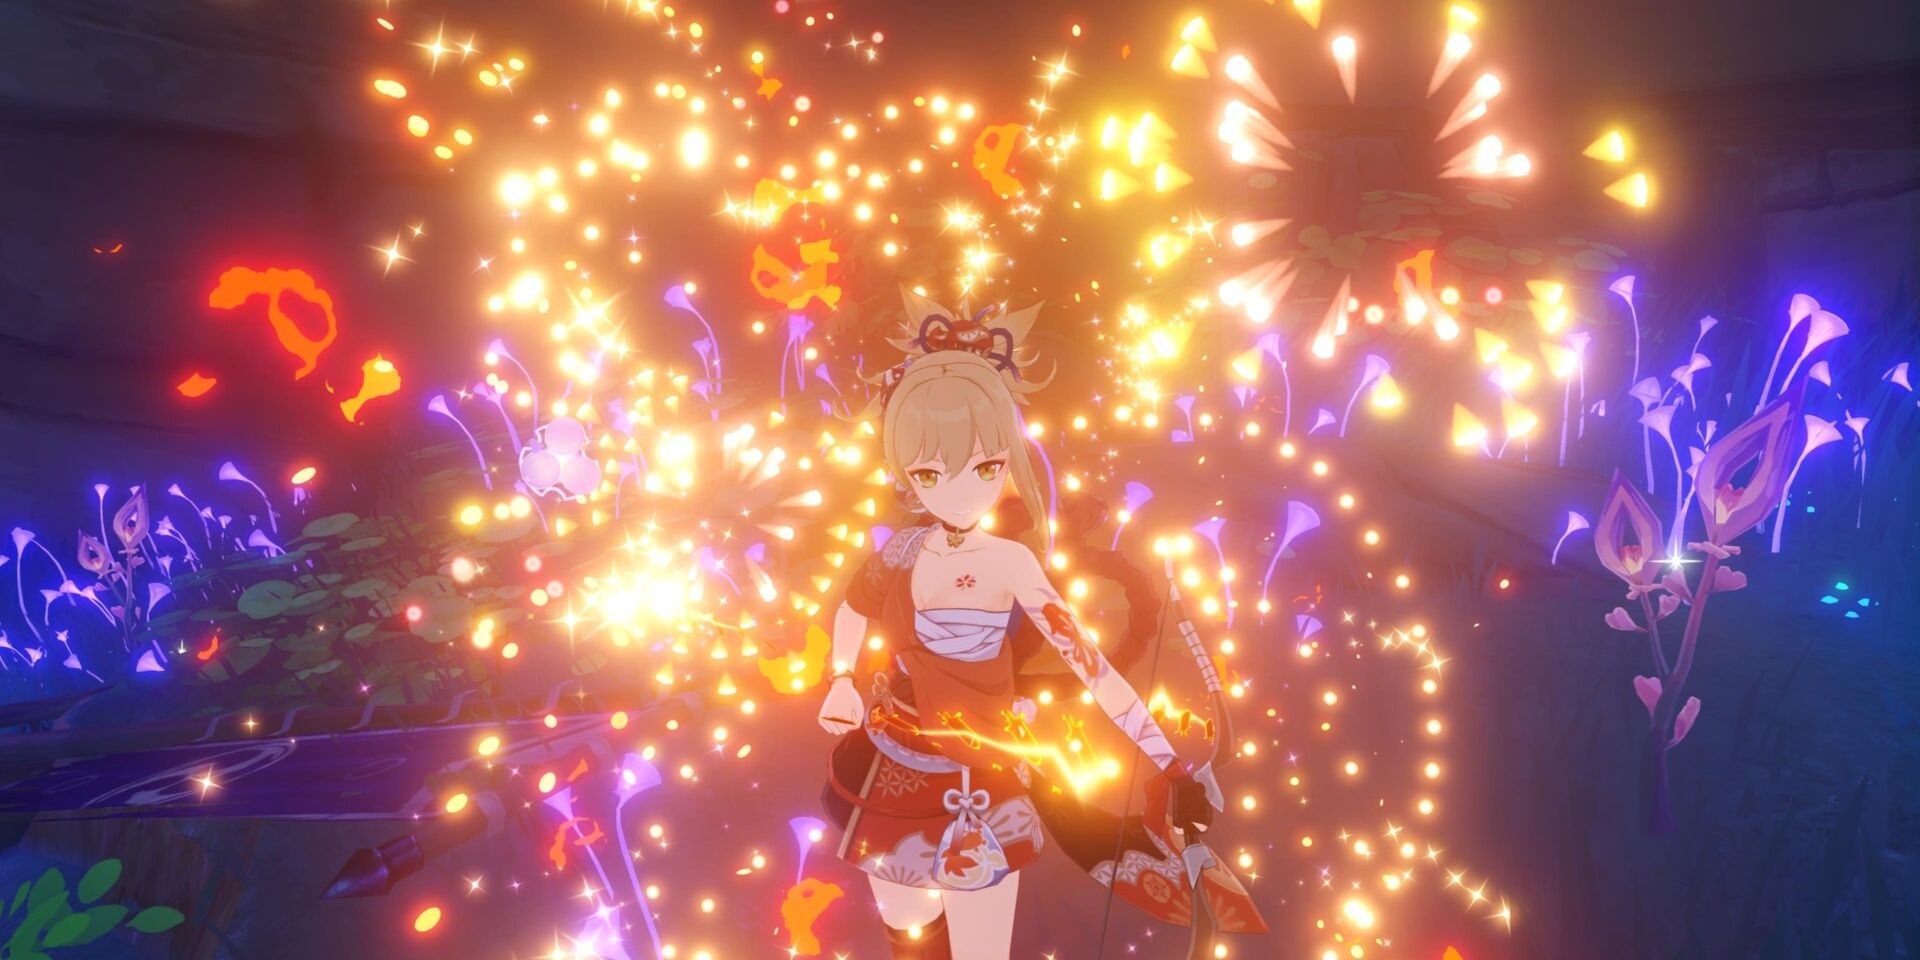
The recent Inazuma launch introduced two juicy new artifact sets that have Genshin Impact player’s Resin in a chokehold: Shimenawa’s Reminiscence and Emblem of Severed Fate. These performance-enhancing items can make or break some of the best characters in Genshin Impact, including new faces such as the Pyro bow-wielder Yoimiya and classic Spiral Abyss essentials like Xingqiu and Mona. Both powerful sets are potential rewards for defeating Inazuma’s most-frequented Abyssal domain: Momiji-Dyed Court.
Momiji-Dyed Court can be challenging, especially for those of a lower Adventure Rank. Electro bosses were once few and far between, but the violent landscape of the Raiden Shogun’s wilderness has welcomed several violet-faced atrocities into the fold. Bookmark the following guide for a breakdown of best team compositions and how to maximize their potential in Momiji-Dyed Court.
Genshin Impact: How to Get to Inazuma
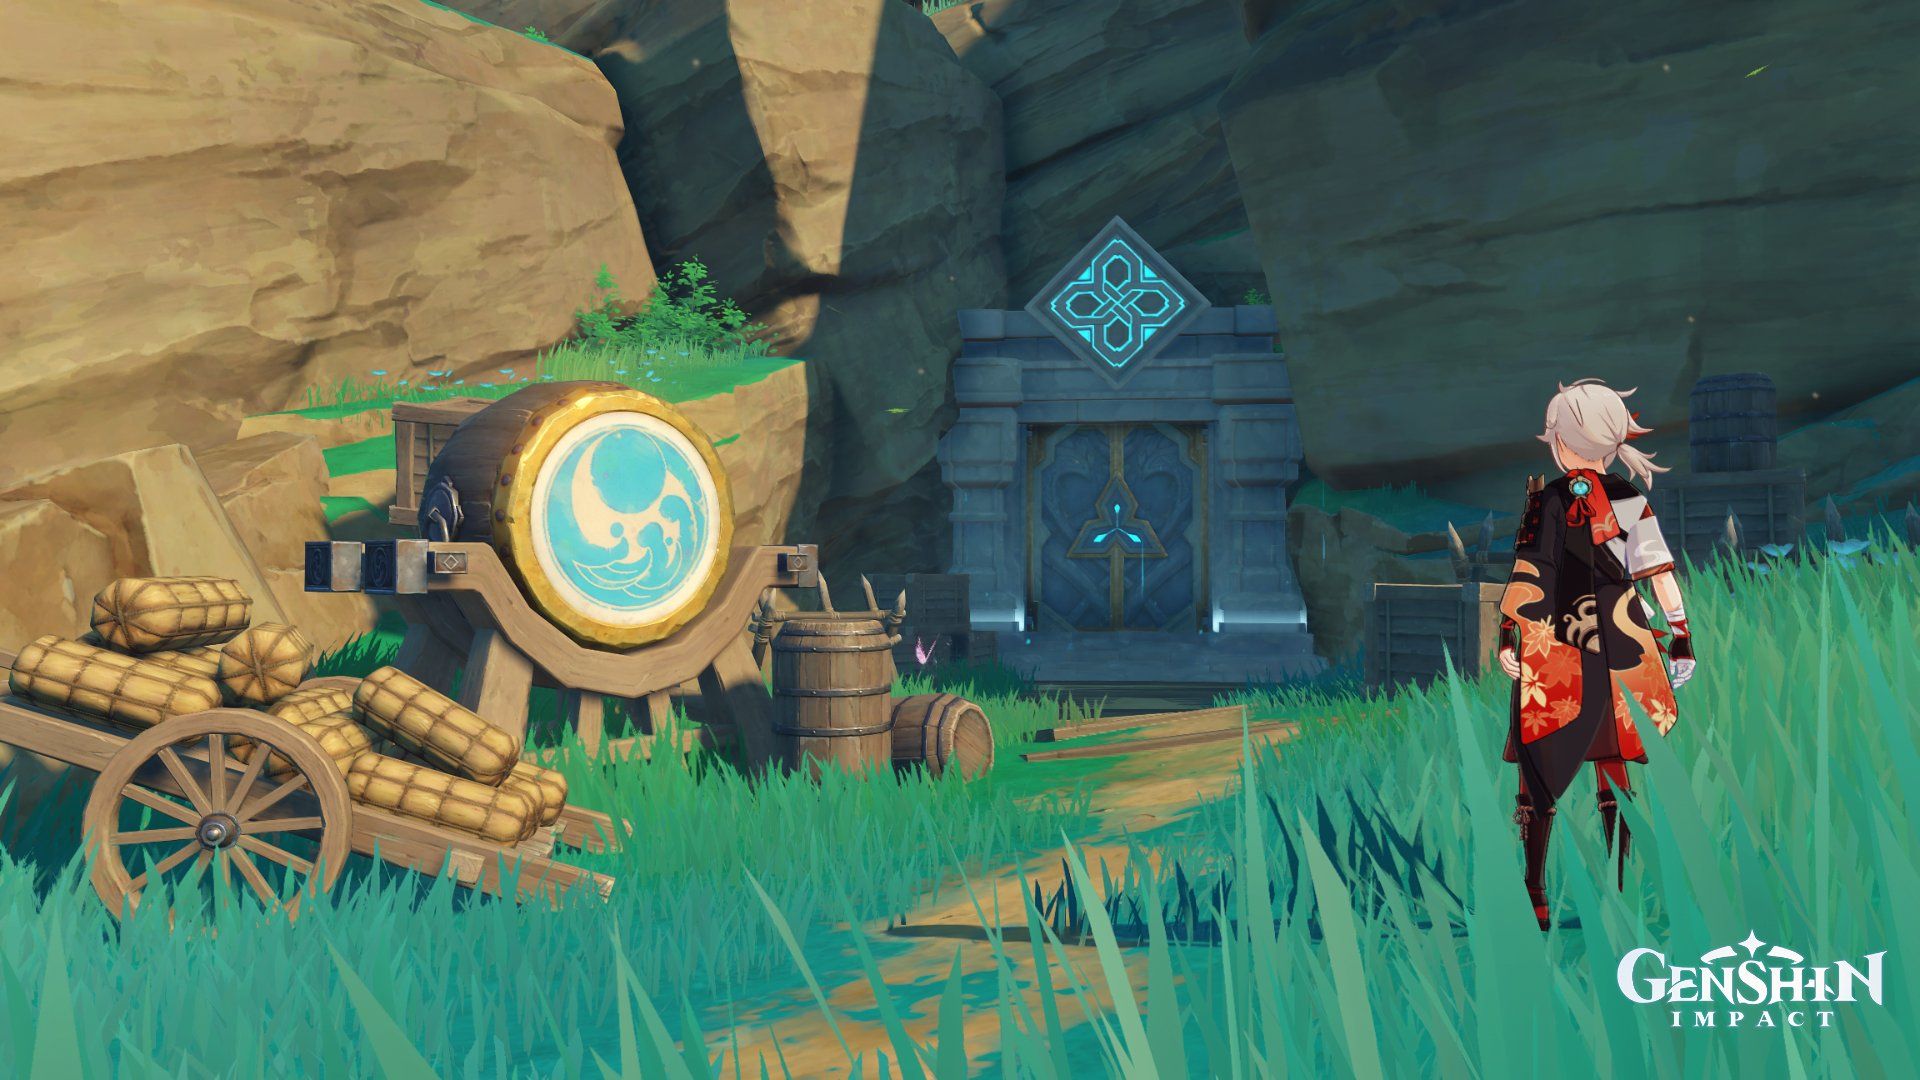
How to Unlock Momiji-Dyed Court
- Reach Adventure Rank 30
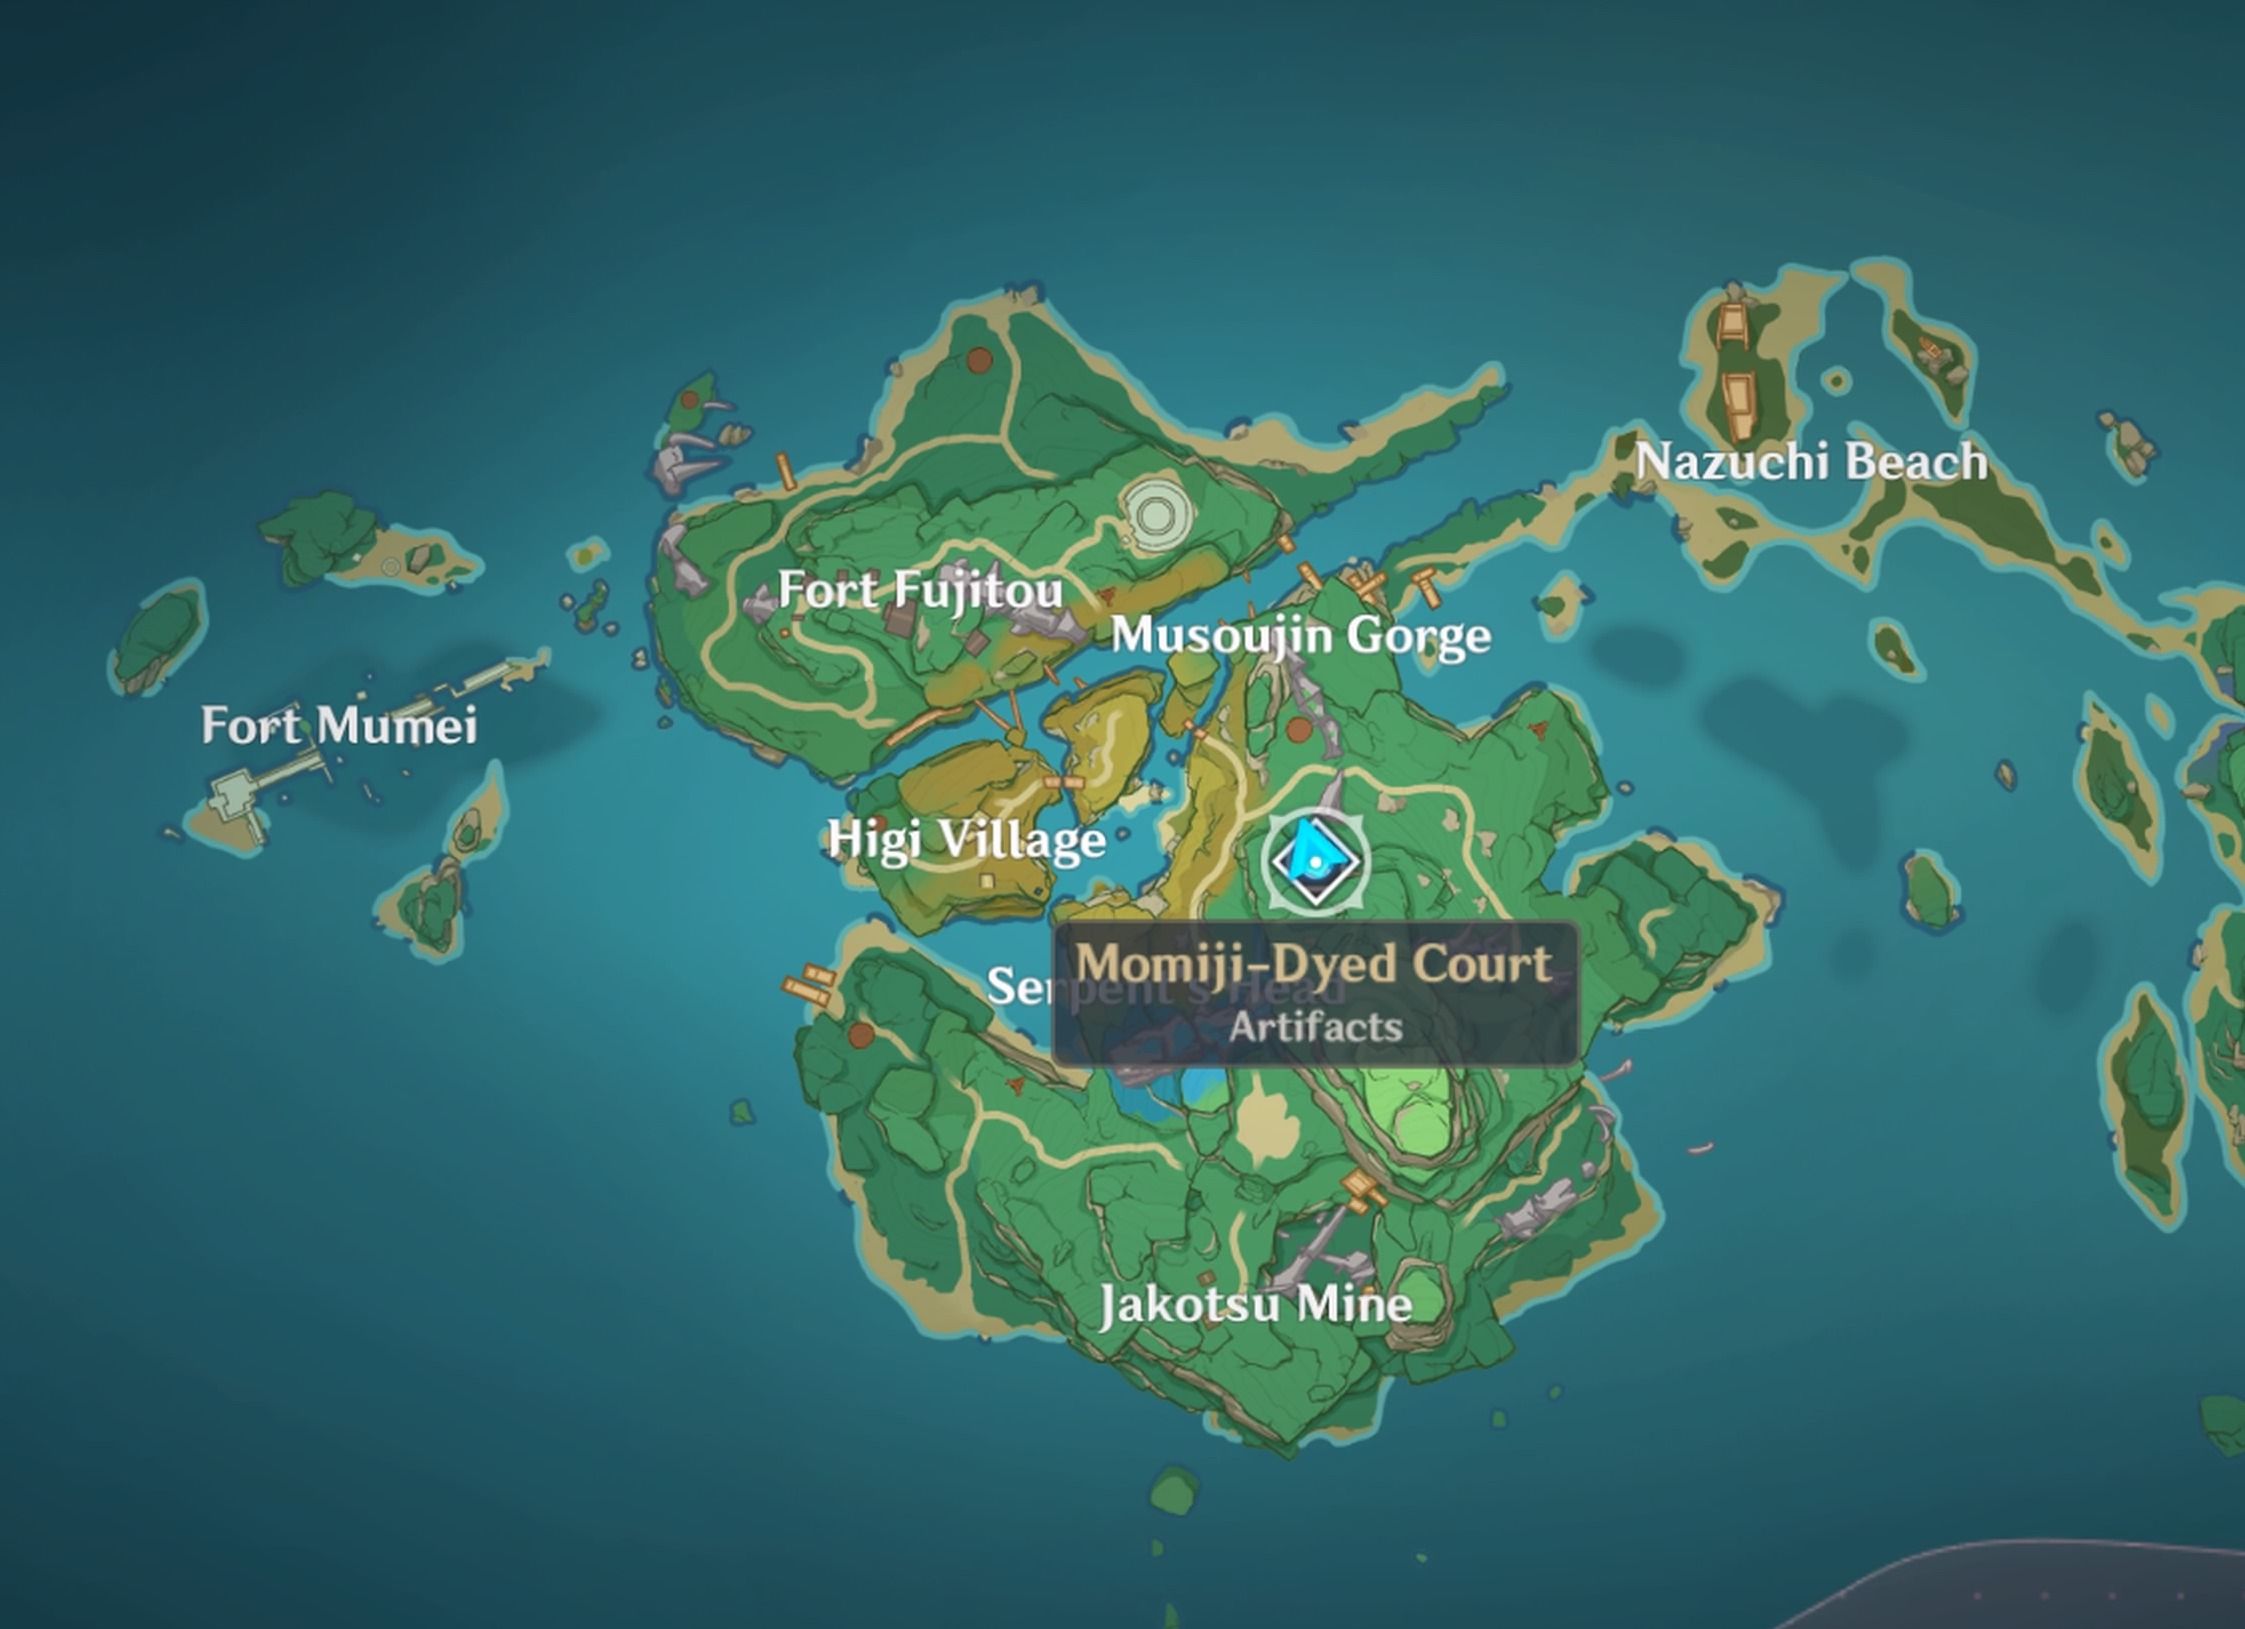
- Location: Yashiori Island, Inazuma
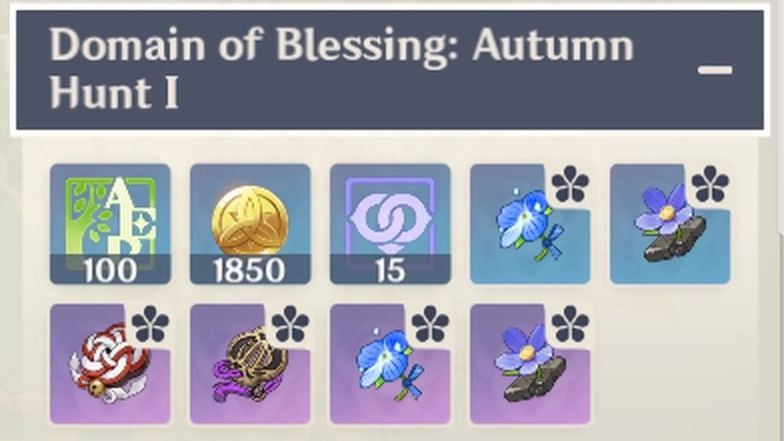
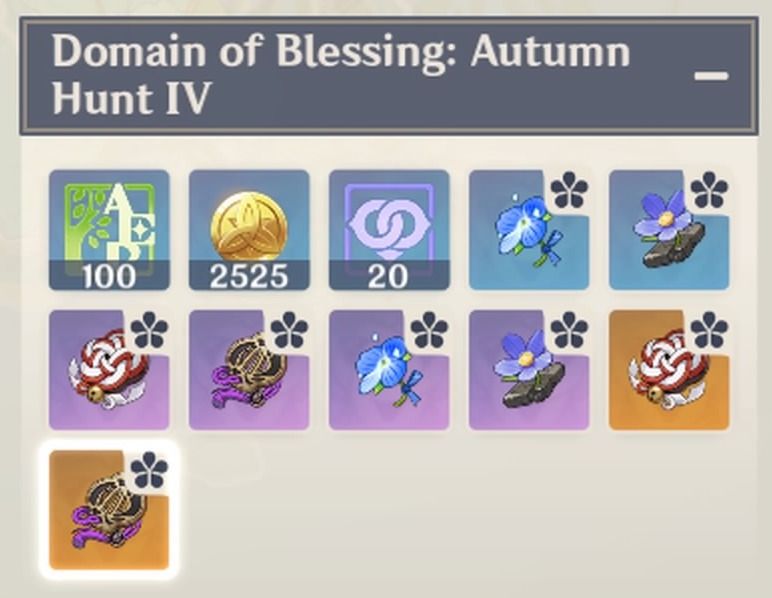
Rewards:
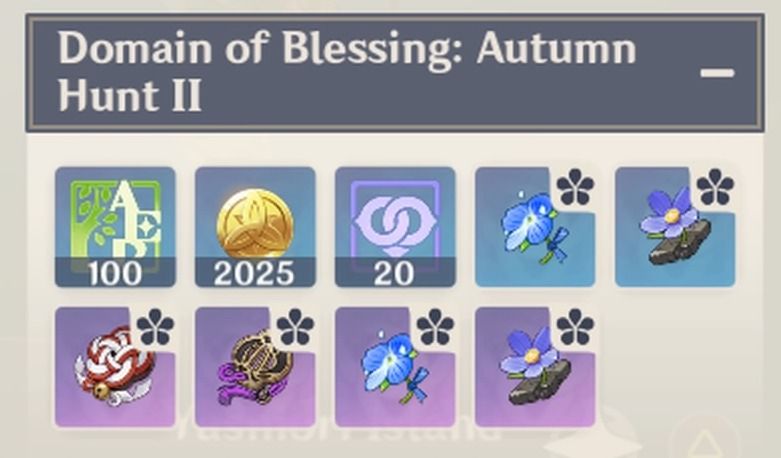
- 4* - 5* Emblem of Severed Fate: 2 PC – Energy Recharge + 20%, 4 PC – Elemental Burst DMG + 25% of Energy Recharge, max 75% bonus
- 4* - 5* Shimenawa’s Reminiscence: 2 PC – ATK + 18%, 4 PC – Lose 15 Energy when casting Elemental Skill to increase Normal/Charged/Plunging Attack DMG by 50% for 10s
- 3* Resolution of Sojourner: 2 PC – ATK + 18%, 4 PC – Charged Attack CRIT Rate + 30%
- 3* Tiny Miracle: 2 PC – Elemental RES + 20%, 4 PC – Incoming Elemental DMG increases corresponding Elemental RES by 30% for 10s
Ley Line Disorder:
The platforms in this challenge will intermittently switch between the Flame Boon and Frost Boon statuses. Characters will obtain different effects depending on the status of the platform they are on.
- Flame Boon: active characters will gain a 60% Pyro DMG Bonus.
- Frost Boon: active characters will gain a 60% Cryo DMG Bonus.
Domain of Blessing: Autumn Hunt I
- Recommended Party Level: 59
- Objective: Defeat 13 enemies in less than 6:00 minutes
Enemies:
- Electro Slime x 3
- Hilichurl Berserker x 3
- Electro Hilichurl Shooter x 3
- Electro Hilichurl Grenadier x 3
- Crackling Axe Mitachurl x 1
Tips:
- If comfortable with fighting on a higher level floor, skip Autumn Hunt I entirely: the majority of end-game Artifacts will be 5*, and this floor only rewards 3* - 4*.
- Refrain from attacking until the opponents have gathered together close enough to sweep up with Sucrose’s or Geo Traveler’s crowd control Bursts.
- Unleash the strongest attacks on their corresponding Elemental Boon: Xiangling’s Pyronado will snapshot on the Flame Boon, and Kaeya’s Glacial Waltz will snapshot on the Frost Boon.
Melt Team
- Xiangling DPS – 4 PC Emblem of Severed Fate or 4 PC Crimson Witch of Flames (Sub: Yoimiya or Yanfei)
- Chongyun Sub DPS – 2 PC Noblesse Oblige + 2 PC Blizzard Strayer or 4 PC Noblesse Oblige (Sub: Kaeya or Rosaria)
- Sucrose Support – 4 PC Viridescent Venerer (Sub: Venti or Kazuha)
- Diona Support – 2 PC Maiden’s Beloved + 2 PC Tenacity of the Millileth or 4 PC Maiden’s Beloved (Sub: Bennet or Barbara)
Party Buffs: 2x DMG (Melt), 1.5x DMG (Reverse-Melt), Affected by Electro for 40% less time (Cryo Resonance), CRIT Rate vs Cryo-affected enemies + 15% (Cryo Resonance), Normal ATK SPD + 8% (Chongyun’s Skill), Cryo RES – 10% for 8s (Chongyun’s Burst), Elemental Mastery + 50 for 8s (Sucrose-triggered Swirl), Elemental Mastery + 20% of Sucrose’s EM for 8s (Sucrose Talent), Movement SPD + 10% (Diona’s Skill), Stamina Consumption – 10% (Diona’s Skill), Enemy Elemental RES – 40% for 10s (Viridescent Venerer), ATK + 20% for 12s (4 PC Noblesse Oblige)
Potential Buffs: 15% Pyro DMG Bonus (Xiangling C4), Skill/Burst CD time – 15% (Chongyun C2), 20% Elemental DMG Bonus (Sucrose C6), Elemental Mastery + 200 (Diona C6)
Ordinarily, Melt or Reverse-Melt cannot be triggered on Electro Slimes: Xiangling and Chongyun are the exceptions. If Xiangling has Pyronado active in Chongyun’s Skill AoE, her speedy polearm jabs are just fast enough for that very brief moment in which the Pyro or Cryo application remains.
Keep this in mind when subbing that duo throughout the different levels, as Electro Slimes are present in all of them. Sucrose is there for crowd control and her Elemental Mastery buff. Viridescent Venerer on Sucrose causes resistance shred, though it may be difficult to Swirl the desired element with the abundance of Electro in this domain. Replace Chongyun and Diona with Fischl and Xinyan for an Overload alternative.
Crystallize Team
- Yoimiya DPS – 4 PC Shimenawa’s Reminiscence or 2 PC Gladiator’s Finale + 2 PC Crimson Witch (Sub: Yanfei or Hu Tao)
- Xingqiu Sub DPS – 4 PC Emblem of Severed Fate or 2 PC Noblesse Oblige + 2 PC Heart of Depth (Sub: Xiangling)
- Geo Traveler Support – 4 PC Archaic Petra (Sub: Ningguang or Albedo)
- Noelle Support – 4 PC Maiden’s Beloved or 4 PC Noblesse Oblige (Sub: Zhongli or Diona)
Party Buffs: 2x DMG (Vaporize), Shield strength + 15% (Geo Resonance), Shielded character DMG + 15% (Geo Resonance), Enemy Geo RES – 20% for 15s (Geo Resonance), ATK + 10% for 15s (Yoimiya’s Burst), ATK + 20% for 12s (4 PC Noblesse Oblige), Elemental DMG + 35% for 10s (4 PC Archaic Petra)
Potential Buffs: Enemy Hydro RES – 15% (Xingqiu C2), CRIT Rate + 10% (C1 Geo Traveller)
No Anemo character? No problem. Crowd control is essential in Autumn Hunt I, with a total of 13 enemies eager to cause interruption. Newer players embarking on this early dive into Artifact farming might not have Sucrose, Venti, or Kazuha, but Geo Traveler and Noelle are trustworthy alternatives.
Geo Traveler has their own form of crowd control with their mountainous Burst – concentrating the Hilichurls inside this rocky sculpture over a Flame Boon panel will allow you to hit a substantial group with Xingqiu’s Skill, then pick them off with instant Vaporize reactions via Yoimiya’s (or Yanfei’s) Skill and Xingqiu’s Burst.
Noelle’s shield will protect fragile fighters from projectiles and her Burst has a wide arc capable of decimating opponents blocked in from Geo Traveler’s Burst. Allow Archaic Petra Geo Traveler to Crystallize a Pyro-infected enemy and pick up the shard before activating Yoimiya’s Skill or Yanfei’s Burst for an extra Elemental DMG bonus.
Domain of Blessing: Autumn Hunt II
- Recommended Party Level: 69
- Objective: Defeat 9 enemies in less than 6:00 minutes
Enemies:
- Large Electro Slime x 3
- Mutant Electro Slime x 2
- Electro Hilichurl Grenadier x 3
- Crackling Axe Mitachurl x 1
Tips:
- Because half of the opponents are Electro slimes, the best teams for this floor rely on Overload and Superconduct.
- Remember that slimes have innate elemental properties that render them completely immune to their own element, direct or Swirled.
- This floor does not award 5* artifacts – skip if able to complete the next level.
Overload Team
- Yanfei DPS – 4 PC Wanderer’s Troupe or 4 PC Crimson Witch of Flames (Sub: Hu Tao or Xiangling)
- Xiangling Sub-DPS – 4 PC Emblem of Severed Fate or 2 PC Noblesse + 2 PC Crimson Witch of Flames (Sub: Xingqiu)
- Kazuha – 4 PC Viridescent Venerer (Sub: Sucrose or Venti)
- Bennet – 4 PC Noblesse Oblige (Sub: Xinyan or Zhongli)
Party Buffs: ATK + 25% (Pyro Resonance), 0.04% Elemental DMG Bonus x Elemental Mastery (Kazuha), ATK increase (Bennet’s Burst), ATK + 20% for 12s (4 PC Noblesse Oblige), Enemy Elemental RES – 40% for 10s (Viridescent Venerer)
Potential Buffs: Enemy Pyro RES – 15% for 6s (Xiangling C1), 15% Pyro DMG Bonus (Xiangling C6), Elemental Mastery + 200 (Kazuha C2)
Overload is simple with this arrangement of foes: Xiangling’s Pyronado and Gouba are easily swirled by Kauzha or Sucrose with immediate reaction results. Surround Yanfei with Xiangling’s flames and Bennet’s Burst after gathering enemies with an Anemo rep, activate her Burst on a Flame Boon and quickly delete any survivors.
Superconduct Team
- Eula DPS – 2 PC Bloodstained Chivalry + 2 PC Pale Flame or 4 PC Pale Flame (Sub: Rosaria or Kaeya)
- Kaeya Burst-DPS: 2 PC Blizzard Strayer + 2 PC Noblesse Oblige (Sub: Rosaria)
- Mona Support: 4 PC Noblesse Oblige (Sub: Fischl or Xingqiu)
- Beidou Support: 4 PC Thundersoother (Sub: Xinyan or Diona)
Party Buffs: Enemy Phys RES – 40% for 12s (Superconduct), Affected by Electro for 40% less time (Cryo Resonance), CRIT Rate vs Cryo-affected enemies + 15% (Cryo Resonance), Enemy Phys RES decreased (Eula), Enemy Cryo RES decreased (Eula), ATK + 20% for 12s (4 PC Noblesse Oblige)
Potential Buffs: Frozen duration + 15% (Mona C1), CRIT Rate + 15% (Mona C4), Enemy Electro RES – 15% (Beidou C6)
Despite the recommended elements of Pyro and Cryo in Momiji-Dyed Court, Melt reactions are difficult to set up with so much electricity flying around. Superconduct is the ideal reaction for physical carry Eula. Kaeya’s Glacial Waltz is an excellent Superconduct prompter that snapshots on the Frost Boon panels, and Beidou’s shield boasts 250% Electro DMG absorption.
Beidou’s main role in this team is to shield from slimes and apply Electro to the remaining Hilichurl/Mitachurl opponents. Mona may assist with Electro-charged infusions, holding Noblesse Oblige for the party, and helping Eula freeze the Mitachurl before she shatters it. The slimes won’t freeze, so C4 Xinyan or Bennet are great alternatives provided they don’t overwrite Superconduct with Overload. If Rosaria is C6, replace Kaeya to take advantage of her Phys RES shred.
Domain of Blessing: Autumn Hunt III
- Recommended Party Level: 80
- Objective: Defeat 7 enemies in less than 6:00 minutes
Enemies:
- Large Electro Slime x 4
- Mutant Electro Slime x 1
- Electro Abyss Mage x 2
Tips:
- Take out the slimes first: they have a tendency to jump and land in ways that defy even the Teyvat laws of physics.
- Keep an eye on the ground when fighting slimes to track a preview of where they’ll land.
- Beware the Electro Abyss Mage: they’re cute, they’re purple, they do a fun little dance, but their static field is lethal.
Overload/Melt Team
- Kaeya DPS – 2 PC Blizzard Strayer + 2 PC Gladiator’s Finale (Sub: Rosaria or Ganyu)
- Rosaria Burst DPS – 2 PC Noblesse Oblige + 2 PC Blizzard Strayer (Sub: Kaeya or Ganyu)
- Bennet Support – 4 PC Noblesse Oblige (Sub: Xiangling)
- Xinyan Support – 2 PC Retracing Bolide + 2 PC Noblesse Oblige (Sub: Diona or Bennet)
Party Buffs: 2x DMG (Melt), 1.5x DMG (Reverse-Melt), ATK + 25% (Pyro Resonance), Enemy Phys RES – 40% for 12s (Superconduct), Affected by Electro for 40% less time (Cryo Resonance), CRIT Rate vs Cryo-affected enemies + 15% (Cryo Resonance), ATK + 20% for 12s (4 PC Noblesse Oblige), CRIT Rate Buff (Rosaria’s Talent), ATK Buff (Bennet's Burst), Physical DMG + 15% (Xinyan's Skill/Talent)
Potential Buffs: Enemy Phys RES - 15% for 12s (Xinyan C4), Enemy Phys RES - 20% for 10s (Rosaria C6)
This hybrid team softens the severity of Electro DMG while increasing the party’s CRIT Rate and ATK. Concentrated Cryo and Pyro application will quickly break the Electro Abyss Mage’s shield, with the AoE Bursts incinerating the surrounding slimes.
Overload and Superconduct apply to the slimes, while Reverse-Melt and Melt are available once the Lawachurl's and Abyss Mage’s shields are down. C4 Xinyan could be elevated to Sub DPS with 4 PC Retracing Bolide alongside DPS Phys Kaeya, Eula, or C6 Rosaria.
Melt Team
- Hu Tao DPS – 4 PC Crimson Witch of Flames (Sub: Diluc or Xiangling)
- Xiangling Sub-DPS – 4 PC Emblem of Severed Fate or 4 PC Noblesse Oblige (Sub: Xingqiu or Bennet)
- Chongyun Support – 4 PC Noblesse Oblige (Sub: Rosaria or Kaeya)
- Zhongli Support – 4 PC Tenacity of the Milileth (Sub: Albedo or Diona)
Party Buffs: 2x DMG (Melt), 1.5x DMG (Reverse-Melt), ATK + 25% (Pyro Resonance), ATK Buff (Bennet’s Burst), ATK + 20% for 12s (4 PC Noblesse Oblige), CRIT Rate + 12% for 8s (Hu Tao’s Talent), Normal ATK Speed + 8% (Chongyun’s Skill/Talent), Cryo RES – 10% for 8s (Chongyun’s Skill/Talent), Enemy Elemental RES – 20% (Zhongli’s Skill), Enemy Physical RES – 20% (Zhongli’s Skill), ATK + 20% & Shield + 30% for 3s (Tenacity of the Milileth)
Potential Buffs: Pyro RES – 15% for 6s (Xiangling C1), 15% Pyro DMG Bonus (Xiangling C6), Elemental Skill & Burst CD time decreased by 15% (Chongyun C2), CRIT Rate + 12% for 15s (Hu Tao C4)
Hu Tao and Chongyun create Melt/Reverse-Melt reactions with Blood Blossoms and Chongyun’s Skill, occupying Hu Tao’s downtime. Draw the enemies to a Flame Boon corner and activate Zhongli’s Jade Shield inside Chongyun’s Skill field to start Tenacity of the Milileth; switch to Xiangling’s Skill/Burst, and finally, let Hu Tao apply Cryo with her Normal attacks until she can re-infuse with Pyro. Zhongli’s trusty shield will protect Hu Tao without weakening her low HP bonuses, while simultaneously damaging the resistance of nearby foes.
Domain of Blessing: Autumn Hunt IV
- Recommended Party Level: 90
- Ley Line Disorder: Same
- Objective: Defeat 4 enemies in less than 6:00 minutes
Enemies:
- Large Electro Slime x 2
- Thunderhelm Lawachurl x 1
- Electro Abyss Mage x 1
Tips:
- The Electro Abyss Mage and Thunderhelm Lawachurl need their shields broken to be affected by Melt or Reverse-Melt.
- Common deaths involve mishaps with the Abyss Mage’s static field: get up close and personal with melee characters or stay far away with ranged characters to avoid being caught in the Electro ring.
- When the Lawachurl rears back to perform a smash attack, outrun the shockwave circumference, and then wait a moment – a second smash is on the way.
- The landing zone of the Lawachurl’s jump will be announced by a purple circle prior to impact.
- Avoid the Electro Crystals produced by the Lawachurl; they explode, and it’s not worth the time to eliminate them.
Melt Team
- Diluc DPS: 4 PC Crimson Witch of Flames (Sub: Hu Tao or Klee)
- Kaeya Sub DPS: 2 PC Blizzard Strayer + 2 PC Gladiator’s Finale/Shimenawa’s Reminiscence (Sub: Rosaria or Ganyu)
- Kazuha Support: 4 PC Viridescent Venerer (Sub: Sucrose or Albedo)
- Bennet Support: 4 PC Noblesse Oblige (Sub: Diona or Zhongli)
Buffs: 2x DMG (Melt), 1.5x DMG (Reverse-Melt), ATK + 25% (Pyro Resonance), Elemental Burst increases party ATK by 20% for 12s (Noblesse Oblige), Elemental RES – 40% for 10s (Viridescent Venerer), ATK bonus (Bennet’s Burst), 0.04% Elemental DMG Bonus x EM for 8s (Kazuha)
Potential Buffs: Party Elemental Mastery + 200 (Kazuha C2), 15% Pyro DMG Bonus (Bennet C6), increased ATK buff (Bennet C5)
This Pyro-Cryo-Anemo-Pyro combination is a classic team most players already have built in some form or another. With only four enemies, melee characters with complementary elements like Diluc and Kaeya synergize perfectly.
Activate Bennet’s Burst between both Flame and Frost Boon panels (if possible), then Kaeya’s Burst (on the Frost Boon portion) to snapshot the 60% Cryo DMG, Bennet’s ATK buff, and Noblesse Oblige 20% ATK increase simultaneously. Switch to Diluc and move to the Bennet-enhanced Flame Boon panel, eliminating the slimes.
Move on to the Lawachurl until the Abyss Mage blinks closer, then quickly weaken its shield with Diluc’s Skill, Kaeya’s Skill, then Diluc’s Burst. Use Kazuha to absorb the residual Pyro, and his Skill should break the remaining Lawachurl and Abyss Mage shields. Trigger Kaeya’s Burst again and apply Cryo, then Kazuha’s Burst for enhanced Swirl damage and decreased Cryo resistance. If in range, move Diluc onto a Flame Boon panel to clean up.
Reverse-Melt
- Ganyu DPS: 4 PC Wanderer’s Troupe or 2 PC Blizzard Strayer + 2 PC Noblesse Oblige (Sub: Kaeya or Ayaka)
- Xiangling Burst-DPS: 4 PC Noblesse Oblige or 4 PC Emblem of Severed Fate (Sub: Klee or Hu Tao)
- Albedo Sub-DPS or Support: 2 PC Archaic Petra + 2 PC Defender’s Will or 4 PC Archaic Petra (Sub: Ningguang or Bennet)
- Zhongli Support: 4 PC Tenacity of the Milileth (Sub: Albedo or Qiqi)
Party Buffs: 2x DMG (Melt), 1.5x DMG (Reverse-Melt), Shield strength + 15%, Shielded character DMG + 15% (Geo Resonance), Elemental Burst increases party ATK by 20% for 12s (Noblesse Oblige), 35% Elemental DMG Bonus for 10s (4 PC Archaic Petra), Elemental Mastery + 125 for 10s (Albedo), 20% Cryo DMG Bonus in AoE (Ganyu), Enemy Elemental RES – 20% (Zhongli's Skill), Enemy Physical RES - 20% (Zhongli's Skill), ATK + 20% & Shield + 30% for 3s (Tenacity of the Milileth)
Potential Buffs: Cryo RES – 15% (Ganyu C1), Pyro RES – 15% for 6s (Xiangling C1), 15% Pyro DMG Bonus (Xiangling C6), Crystallize-shielded characters + 17% DMG (Albedo C6)
Ganyu can easily destroy this domain with a shield for her glass canon design: Geo Resonance will give her own damage a boost while strengthening Zhongli’s Jade Shield. With Zhongli: coax the Lawachurl into a Frost Boon corner and the slimes will follow. Activate Zhongli’s skill to proc Tenacity of the Milileth, then paralyze everyone with his Burst.
Dispatch Gouba, then use Albedo’s Burst to Boost EM, with Ganyu’s Burst immediately following. Activate Pyronado on a Flame Boon, then switch to a Frost Boon for Ganyu’s charged attacks. Once the shields are destroyed, Albedo has an opportunity to Crystallize Pyro or Cryo for the Archaic Petra 4 PC bonus with Pyronado or Celestial Shower on the field – though the battle is so short sans armor, players may prefer to keep a Sub-DPS build on Albedo and forgo attempting to Crystallize anything outside of Electro.
Honorable Mentions:
Superconduct Team
- Eula DPS – 2 PC Bloodstained Chivalry + 2 PC Pale Flame (Sub: Rosaria)
- Rosaria Sub-DPS – 4 PC Pale Flame (Sub: Kaeya)
- Fischl Support – 4 PC Tenacity of the Milileth (Sub: Zhongli)
- Diona Support – 4 PC Noblesse Oblige (Sub: Beidou or Xinyan)
Eula with Tenacity Fischl is a unique combo in which Oz occupies the field to proc Tenacity's 4 PC Bonus during the first wave, and procs while maintaining Superconduct on the second (once Electro Abyss Mage shield & Lawachurl armor are down).
Freeze Team
- Ayaka DPS - 4 PC Blizzard Strayer (Sub: Ganyu or Kaeya)
- Kaeya Sub-DPS - 2 PC Blizzard Strayer + 2 PC Noblesse Oblige (Sub: Ganyu or Chongyun)
- Xingqiu Support - 4 PC Emblem of Severed Fate or 2 PC Noblesse Oblige + 2 PC Heart of Depth (Sub: Mona or Kokomi)
- Diona Support - 4 PC Noblesse Oblige (Sub: Barbara or Kokomi)
This Freeze team is most effective in Co-op, where the abundance of on-field Cryo characters can rapidly wipe out the slimes and shields before permanently freezing the Lawachurl and Abyss Mage. Otherwise, it's a viable albeit slower option for single-player, especially with a main DPS equipped with Blizzard Strayer.
Genshin Impact is available on mobile devices, PC, PS4, and PS5.

