
Summons have been a staple of the Final Fantasy series ever since its fourth entry and that is once again the case in Final Fantasy X. Here, however, they're known as Aeons and play a very important role in the game's epic narrative. Players will obtain five of them as they make their way through the story, although will need to complete some fairly difficult challenges in order to do so. There are also three optional Aeons that players can recruit, but adding them to Yuna's list of summonable Aeons is also going to require quite a bit of work.
Rather than simply completing each of the temples' Cloister of Trials, players will also need to gain access to the six Destruction Sphere treasures. This guide will explain exactly how to do this, while also detailing when and where players will be able to find and recruit the three additional Aeons in Final Fantasy X. Obtaining all eight of them is not going to be easy and will take a considerable amount of time, although, with the right strategy, things do become quite a bit easier, not to mention faster as well.
Updated October 23, 2021 by Tom Bowen: Since being added to Xbox Game Pass back in May, the number of people who have played Final Fantasy 10 has increased dramatically. That trend looks set to continue too, with the game set to remain on the platform for at least the foreseeable future and also scheduled to be added to PS Now in early December. For those who are yet to delve into the title's epic story or are in the process of planning a return trip to Spira, this guide will explain how to unlock all eight Aeons as well as how to solve all of Final Fantasy 10's challenging Cloister of Trials puzzles.
Quick Links
How To Unlock Valefor

|
Location |
Besaid Temple |
|---|---|
|
Elemental Affinity |
Non-Elemental |
|
Unlock Requirements |
Story Related |
|
Summon Abilities |
Sonic Wings, Energy Ray & Energy Blast |
Besaid Temple Cloister of Trials Solution
- Examine the glyph on the far wall of the first room and then touch the one that appears on the right.
- Follow the newly uncovered stairway down and then pick up the Glyph Sphere in the next room.
- Insert the Glyph Sphere into the locked door and then retrieve it once the door is open.
- Place the Glyph Sphere into the recess on the wall in the next hallway to reveal a destruction sphere, but don't pick it up just yet.
- Head into the next room and examine the glyphs on the wall to reveal a Besaid Sphere.
- Place the Besaid Sphere into the nearby pedestal to reveal the exit.
- Rather than leaving straight away, double back and pick up the Destruction Sphere.
- Place the Destruction Sphere into the recess from which the Besaid Sphere was taken.
- Take the Rod of Wisdom from the newly uncovered chest and then exit through the nearby door to complete the Cloister of Trials.
Valefor's Base Stats
|
HP |
725 |
|---|---|
|
MP |
24 |
|
Strength |
18 |
|
Defense |
23 |
|
Magic |
21 |
|
Magic Defense |
23 |
|
Agility |
10 |
|
Luck |
17 |
|
Evasion |
19 |
|
Accuracy |
11 |
How To Unlock Ifrit

|
Location |
Kilika Temple |
|---|---|
|
Elemental Affinity |
Fire |
|
Unlock Requirements |
Story Related |
|
Summon Abilities |
Meteor Strike & Hellfire |
Kilika Temple Cloister of Trials Solution
- Grab the Kilika Sphere from the pedestal on the left and place it into the recess near the door.
- Once the door has burned away, remove the Kilika Sphere and place it into the recess on the far wall of the next room to make a glyph appear.
- Remove the Kilika Sphere once more and place it into either of the recesses on the side walls.
- Take the Glyph Sphere from the nearby pedestal and put it into the recess on the opposite wall.
- Examine the glyph to gain access to a new area and then step onto the glowing white tile to summon the pedestal from the previous room.
- Take the Kilika Sphere from the recess on the right, place it into the pedestal and then push the pedestal onto the glowing white tile.
- Grab the Glyph Sphere from the previous room and put it into the now-empty recess near the glowing tile to reveal a small room with a Destruction Sphere inside.
- Take the Kilika Sphere from the recess at the bottom of the steps and place it into the empty recess in the previous room.
- Grab the Destruction Sphere and put it in the recess at the bottom of the steps to reveal a chest containing the Red Armlet.
- After taking the treasure, grab one of the Kilika Spheres from the previous room and place it in the recess next to the door at the back of the area with the chest.
- Remove the Kilika Sphere after the door has burnt away before heading through the newly opened door to complete the Cloister of Trials.
Ifrit's Base Stats
|
HP |
857 |
|---|---|
|
MP |
23 |
|
Strength |
19 |
|
Defense |
29 |
|
Magic |
21 |
|
Magic Defense |
21 |
|
Agility |
9 |
|
Luck |
17 |
|
Evasion |
10 |
|
Accuracy |
11 |
How To Unlock Ixion

|
Location |
Djose Temple |
|---|---|
|
Elemental Affinity |
Lightning |
|
Unlock Requirements |
Story Related |
|
Summon Abilities |
Aerospark & Thor's Hammer |
Djose Temple Cloister of Trials Solution
- Take the two Djose Spheres out of the recesses on the left and right walls and place them into the door to open it.
- Head into the next room and place the the two Djose Spheres from the wall near the door into the recesses over on the right.
- Push the pedestal over to the spot beneath the now glowing pillar to charge up the Djose Sphere inside.
- Take the charged Djose Sphere and place it into the recess to the right of the door.
- Remove the two Djose Spheres from the wall on the right and place both inside the pedestal.
- Run over to the glowing white tile over on the left to reset the position of the pedestal.
- Push the pedestal through the door at the back and into the electricity field so that it hovers in the center.
- Hop over the electricity pit and push the pillar near the far wall to illuminate one of the symbols.
- Step onto the glowing white tile again to reset the position of the pedestal and then take the Djose Spheres from it and place them into the recesses on the left and right walls of the starting area.
- Take the charged Djose Sphere out of the recess to the right of the door and insert it into the one to the left to transform the pedestal into an elevator.
- Before hopping onto the elevator, run over to the spot near the glowing white tile and touch the Glyph to reveal a Destruction Sphere.
- Take the Destruction Sphere upstairs using the elevator and then push the five pedestals found there to open up a new passageway.
- Place the Destruction Sphere into the pedestal that appears and take the Magic Sphere from the newly uncovered chest on the right.
- Head up the stairs on the left to complete the Cloister of Trials.
Ixion's Base Stats
|
HP |
891 |
|---|---|
|
MP |
25 |
|
Strength |
20 |
|
Defense |
26 |
|
Magic |
20 |
|
Magic Defense |
29 |
|
Agility |
8 |
|
Luck |
17 |
|
Evasion |
11 |
|
Accuracy |
12 |
How To Unlock Shiva

|
Location |
Macalania Temple |
|---|---|
|
Elemental Affinity |
Ice |
|
Unlock Requirements |
Story Related |
|
Summon Abilities |
Heavenly Strike & Diamond Dust |
Macalania Temple Cloister of Trials Solution
- Head down the ramp to the left and pick up the Glyph Sphere from the nearby pillar.
- Place the Glyph Sphere into the pedestal and push it to the right to destroy the ice crystal.
- Push the pedestal towards the far wall to destroy another ice crystal and gain access to a second ice ramp that leads downward.
- Follow the pedestal down to the new area and remove the Glyph Sphere from it.
- Place the Glyph Sphere into the recess on the far left that's furthest away from the ice ramp.
- Head back up and remove the Macalania Sphere from the newly risen platform near the first ice ramp.
- Put the Macalania Sphere into the pedestal on the lower level and then push the pedestal to the right.
- Return to the level above and pick up the Macalania Sphere from the recess that's over on the right opposite the point where players first entered the area.
- Follow the ice ramp back down and place the Macalania Sphere into the column on the left near the recess with the Glyph Sphere.
- Go back up a level and take the Macalania Sphere from the recess near the top of the second ice ramp.
- Place the Macalania Sphere into the column from which the Glyph Sphere was originally taken.
- Head to the highest level near the now completed ice bridge and step on the glowing white tile to move the pedestal to the top of the ice bridge.
- Remove the Macalania Sphere from the pedestal and then push it down the ice ramp.
- Put the Macalania Sphere into the recess on the far right of the middle level of the area to create an ice crystal.
- Turn around and walk straight to find the glowing white tile which will return the pedestal to the middle section.
- Push the pedestal to the right so that it destroys the ice crystal and then remove the Macalania Sphere from the recess on the right.
- Place the Macalania Sphere into the recess at the back of the area so that the second ice ramp reappears.
- Push the pedestal down the second ice ramp and then follow it down to the lower level.
- Remove the Destruction Sphere from the pedestal and place it into the recess to the left of the ice ramp.
- Take the Luck Sphere from the newly uncovered chest and then grab the Macalania Sphere from the nearby column.
- Put the Macalania Sphere into the pedestal and push it over to the right.
- Take the Macalania Sphere from the column on the middle level and place it into the column on the lower level.
- Remove the Macalania Sphere near the top of the second ice ramp and place it into the column on the middle level to complete the ice bridge above once again.
- Head back up the first ice ramp and walk across the completed ice bridge to the exit to finish the Cloister of Trials.
Shiva's Base Stats
|
HP |
820 |
|---|---|
|
MP |
26 |
|
Strength |
19 |
|
Defense |
17 |
|
Magic |
23 |
|
Magic Defense |
24 |
|
Agility |
14 |
|
Luck |
17 |
|
Evasion |
32 |
|
Accuracy |
11 |
How To Unlock Bahamut

|
Location |
Bevelle Temple |
|---|---|
|
Elemental Affinity |
Non-Elemental |
|
Unlock Requirements |
Story Related |
|
Summon Abilities |
Impulse & Mega Flare |
Bevelle Temple Cloister of Trials Solution
- Turn right at the first intersection and follow the path down to the third level.
- Grab the Bevelle Sphere from the recess and place it into the pedestal.
- Push the pedestal back onto the tracks and ride it back up to the first level.
- Take a right at the second intersection on the main pathway and put one of the Bevelle Spheres from the pedestal into the nearby recess.
- Return to the beginning of the main pathway and take a left at the second intersection.
- Take the Bevelle Sphere from the recess and put it into the pedestal.
- Push the pedestal back onto the track and return to the beginning of the main pathway.
- Turn right at the first intersection and then take a left at the next one.
- Take a right at the final intersection on the second level and put one of the Bevelle Spheres from the pedestal into the recess.
- Return to the main pathway and take a right at the penultimate intersection.
- Grab the Glyph Sphere from the recess on the far wall and place it into the pedestal.
- Take a right at the final intersection on the second level and then remove the Glyph Sphere from the pedestal.
- Put the Glyph Sphere into the recess on the far wall and then pick up the Destruction Sphere.
- Place the Destruction Sphere into the pedestal and then take a right at the third intersection.
- Remove the Destruction Sphere from the pedestal and place it into the recess on the far wall.
- Take a right at the final intersection and take the Bevelle Sphere out of the recess on the wall to the left.
- Put the Bevelle Sphere into the pedestal so that there are now two of them in there and then take a right at the second intersection on the second level.
- Push the pedestal onto the final bit of track and ride it up to the highest level.
- Take the HP Sphere from the chest and then step onto the glowing white tile to transport the pedestal to the top of the stairs.
- Remove one of the Bevelle Spheres from the pedestal and place it into the nearby recess.
- Push the pedestal to the left and ride it over to the chest containing the Knight Lance.
- After taking the treasure, push the pedestal to the right and then continue walking to the right to complete the Cloister of Trials.
Bahamut's Base Stats
|
HP |
1,210 |
|---|---|
|
MP |
35 |
|
Strength |
23 |
|
Defense |
27 |
|
Magic |
18 |
|
Magic Defense |
28 |
|
Agility |
10 |
|
Luck |
17 |
|
Evasion |
20 |
|
Accuracy |
11 |
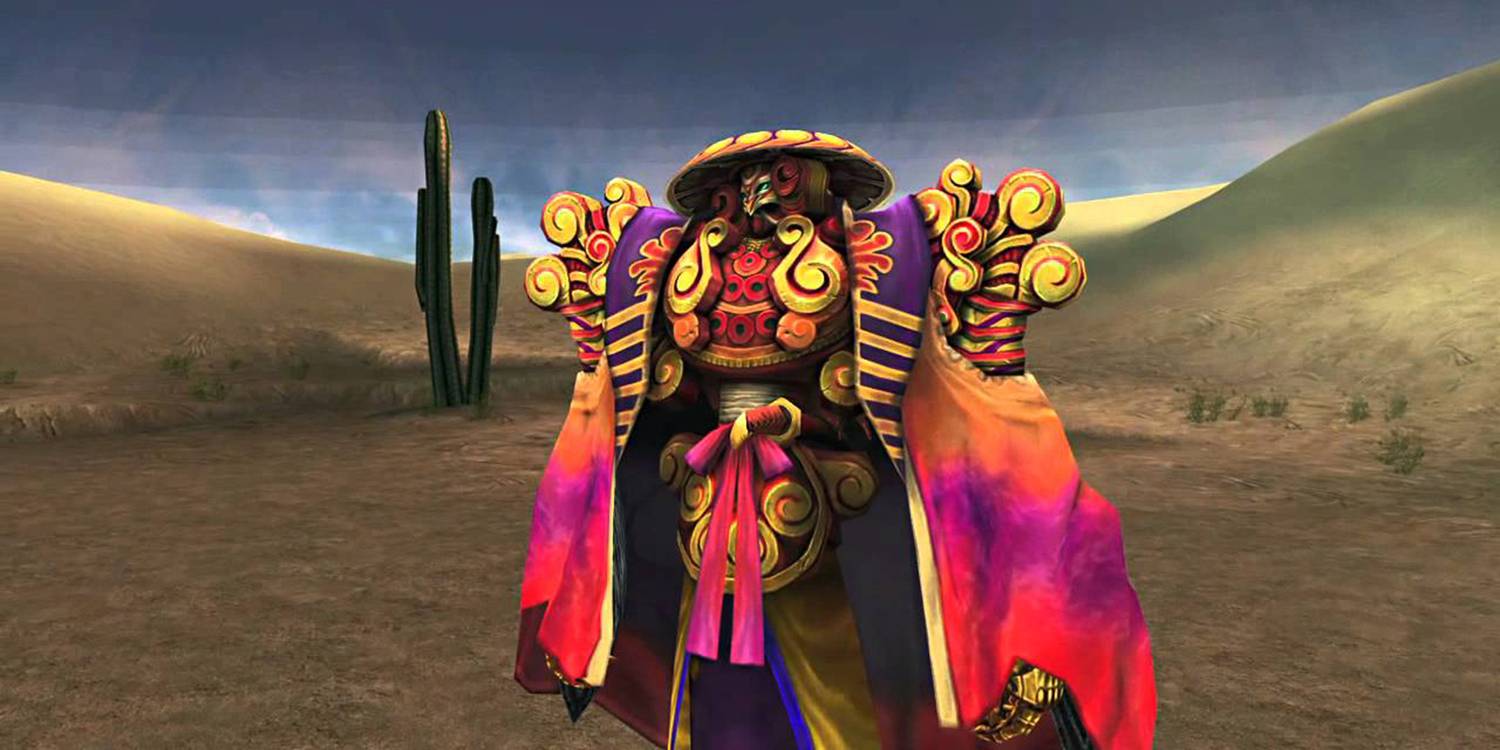
How To Unlock Anima

|
Location |
Baaj Temple |
|---|---|
|
Elemental Affinity |
Non-Elemental |
|
Unlock Requirements |
Collect All 6 Destruction Sphere Treasures |
|
Summon Abilities |
Pain & Oblivion |
Before players can obtain Anima, they'll first need to have obtained the Destruction Sphere treasure from the temples in Besaid, Kilika, Djose, Macalania, Bevelle, and Zanarkand. While the first five can and should be obtained on the player's first visit, the one at Zanarkand Temple can only be acquired by returning to the temple once the airship has been unlocked. Upon doing so, players will face a new Cloister of Trials and must complete it in order to get their hands on the Magistral Rod and break the final seal at Baaj Temple.
Zanarkand Temple Cloister of Trials Solution (Second Visit)

- Once players have found all six treasures, they'll be able to make their way to Baaj Temple by speaking with Cid onboard the airship and then entering the coordinates X=11-16, Y=57-63. Upon returning to the temple grounds, players will need to dive into the water and battle the Geosgaeno boss from the beginning of the game. After defeating it, they'll need to head towards the green square on the mini-map and then make their way inside the temple.
- Activate the three white squares in the small room (left) and then the four in the main area (right).
- Take the Destruction Sphere from the recess that appears behind the monitor in the small room and place it into the recess to the right of the monitor in the main area.
- Take the Magistral Rod from the newly revealed chest to unlock the final seal at Baaj Temple.
Players will eventually come to a room with six statues and must interact with each of them to remove the seal that's blocking the door leading to the Chamber of the Fayth. Upon entering, they'll meet with Seymour's mother, and a short conversation about how and why she became a Fayth will ensue. After it's over, she'll bestow her powers upon Yuna and players will finally gain the ability to summon Anima.
Anima's Base Stats
|
HP |
1,410 |
|---|---|
|
MP |
45 |
|
Strength |
33 |
|
Defense |
26 |
|
Magic |
22 |
|
Magic Defense |
23 |
|
Agility |
9 |
|
Luck |
17 |
|
Evasion |
20 |
|
Accuracy |
11 |
How To Unlock Yojimbo
|
Location |
Cavern of the Stolen Fayth |
|---|---|
|
Elemental Affinity |
Non-Elemental |
|
Unlock Requirements |
Defeat Lady Ginnem and then agree a contract with Yojimbo |
|
Summon Abilities |
Daigoro, Kozuka, Wakizashi & Zanmoto |
To gain access to the Cavern of the Stolen Fayth, players will need to make their way to the Calm Lands and look for the gorge in the northern area near the entrance to Mt. Gagazet. Here, they'll find a cave in which the restless spirit of Lulu's first summoner Lady Ginnem still lingers and must defeat her and Yojimbo in battle so that Yuna can send her to the Farplane. Once she's gone, players will then need to speak with Yojimbo in the Chamber of the Fayth and tell him that they'd like to secure his services "to defeat the most powerful of enemies."
At this point, players will need to agree a contract with Yojimbo before they're able to summon him. He'll initially ask for 250,000 Gil, although it's possible to drive this price down closer to the 200,000 Gil mark by offering half of his asking price plus one. Players will be able to submit up to three counteroffers providing they don't go too low, but if he doesn't accept the final one, they'll need to leave and reenter the area and try again. If players pay triple his asking price, they'll also get two teleport spheres as well as recruiting the Aeon to the party.
Yojimbo's Base Stats
|
HP |
1,030 |
|---|---|
|
MP |
0 |
|
Strength |
29 |
|
Defense |
25 |
|
Magic |
16 |
|
Magic Defense |
23 |
|
Agility |
9 |
|
Luck |
17 |
|
Evasion |
59 |
|
Accuracy |
19 |
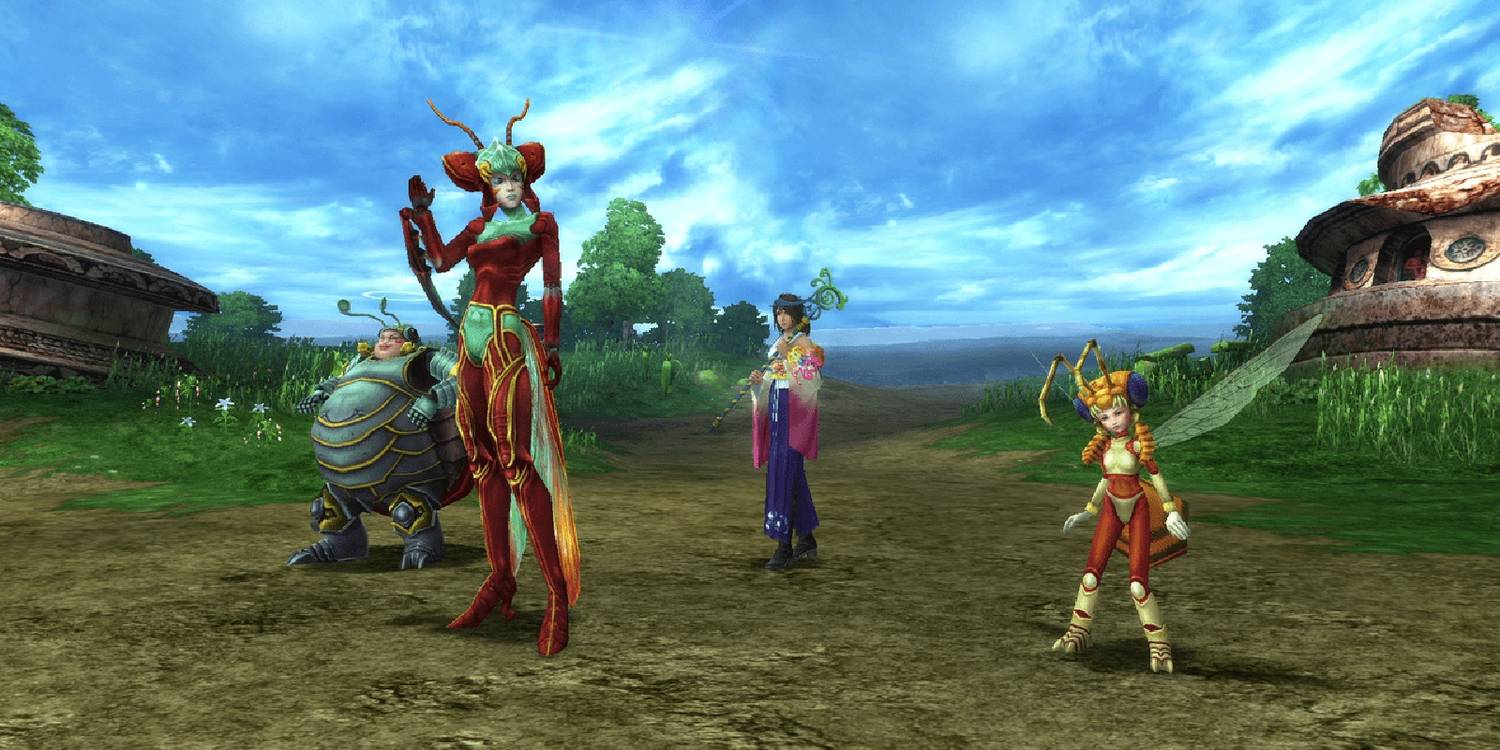
How To Unlock The Magus Sisters
|
Location |
Remiem Temple |
|---|---|
|
Elemental Affinity |
Non-Elemental |
|
Unlock Requirements |
Recruit the other 7 Aeons and obtain the Blossom Crown and Flower Scepter |
|
Summon Abilities |
Camisade, Razzia & Passado |
Before players can obtain the game's final Aeon, they'll first need to capture one of every monster at Mt. Gagazet to get the Blossom Crown from the shopkeeper at the Monster Arena. Once they've recruited the five story-related Aeons as well as Anima and Yojimbo, they'll then need to head over to Remiem Temple which can be found in the southeastern area of the Calm Lands. The path that leads there is near the entrance to Macalania woods, although it can only be accessed by investigating the yellow feather while riding a Chocobo.
Upon their arrival, players will encounter the unsent summoner Belgemine and must defeat the first five of her Aeons in combat to get the Blossom Crown. Defeating Anima and Yojimbo isn't required to unlock The Magus Sisters, although doing so will reward players with the Moon Sigil for Yuna's Celestial Weapon and so is definitely worth doing. With the two key items now in hand, players can break the seal on the door to the Chamber of the Fayth and head inside to obtain their eighth and final Aeon, The Magus Sisters.
The Magus Sisters' Base Stats
|
Cindy |
Sandy |
Mindy |
|
|---|---|---|---|
|
HP |
2,190 |
1,790 |
1,237 |
|
MP |
46 |
35 |
58 |
|
Strength |
28 |
42 |
23 |
|
Defense |
32 |
26 |
28 |
|
Magic |
21 |
24 |
28 |
|
Magic Defense |
28 |
28 |
28 |
|
Agility |
10 |
10 |
12 |
|
Luck |
17 |
17 |
17 |
|
Evasion |
20 |
17 |
23 |
|
Accuracy |
11 |
13 |
12 |