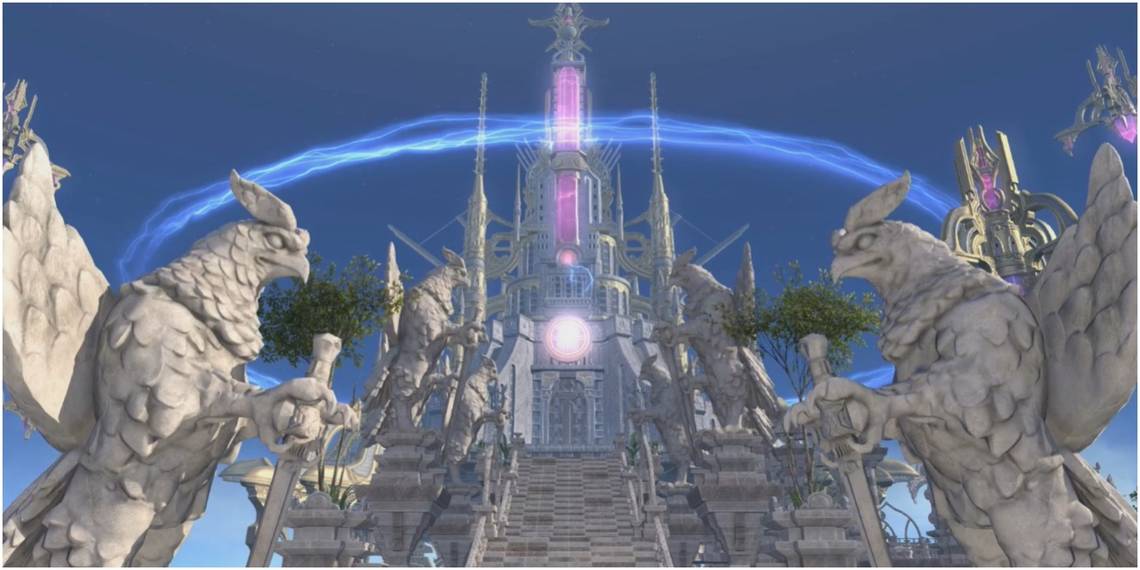
Final Fantasy 14's Aglaia raid was released in patch 6.1, introducing a new 24-person alliance raid that pits players against a couple of members of the Twelve. To do this raid, players must be level 90 with an item level of 565 or higher. Unlocking this raid requires picking up a quest called "A Mission in Mor Dhona." It can be picked up by an NPC called Fresh-faced Student in Old Sharlayan at X: 9.1, Y: 11.5.
At a certain point in the quest, the new raid will be unlocked. In total, the raid has four bosses: Byregot, Rhalgr, Azeyma, and Nald'thal. It also has two mini-bosses, Rhalgr's Emissary and the Lions of Aglaia. Besides gear, players can get a Nald Card, Wind-Up Azeyma, and an In the Balance Orchestrion Roll from the final chest.
Byregot

The first boss of the raid is Byregot, known for being a smith and god of architecture and industry. His fight has three phases. For the first phase, be wary of these attacks.
Builder's Build: This is not exactly an attack, but a buff that will cause Byregot's attacks to get stronger.
Byregot's Strike: A raid-wide knockback that puts a glowing circle in the middle of the arena. Do not stand inside the circle, or else there will be damage. If he uses this after casting Builder's Build, though, the knockback will also have several cone-shaped AOE that can deal damage and stack Vulnerability.
Byregot's Ward: This is the tankbuster that can deal splash damage, so the main tank must make sure this faces away from the rest of the raid and pop their cooldowns.
Ordeal of Thunder: An AOE that deals party-wide damage. Healers will need to keep players' health up here.
Phase Two
When Byregot yells "Behold the virtuosity of the Builder," that means the raid has gotten to phase two of his fight. He will get rid of the walls of the arena, meaning players can now fall off and die if they are not careful. Knockbacks will now be far more dangerous and players will be on a three-by-five grid. There are three new attacks to be wary of.
Hammer Divine: Four hammers will spawn on the sides of the arena. They will hit the grid the players are standing on, shifting the hit sides one square over. Players should be careful not to have the floor pushed out from under them. This mechanic will happen at the same time as some of the attacks.
Byregot's Spire: Byregot will go to one side of the arena and make a large three-lane-wide AOE which he will blast across. To not get hit, players must pay attention to Hammer Divine to seek out a safe spot after the hammers change the grid.
Levinforge: A hammer will be dropped with a purple line AOE, which will eventually blast through a column of the arena. Like with Byregot's Spire, players will need to adjust and find a safe spot according to how the arena changes with Hammer Divine.
Phase Three
Phase three will begin once Hyregot slams the arena with his hammer. The phase is a lot like phase one, but with a new attack to worry about. Phase three also includes sometimes transitioning back to phase two, so players will need to still keep an eye out for phase two mechanics.
Reproduce: This will create Byregot clones on one side of the Arena. Some of them will glow with lightning, slam to the ground, and make large AOE circles go across their lane. Those that have lightning are fast while those without are slower. Players should stand on the opposite side of the arena away from the fast lanes until the AOEs pass and then move into them to avoid the slower AOEs.
Rhalgr's Emissary And Rhalgr

Before facing Rhalgr himself, the raid must first take care of his emissary. This is a mini-boss and will get done fast, but does have attacks to be on the lookout for.
Boltloop: Makes pairs of AOEs in a circle pattern, and then will create two donut AOEs. Players will need to move in between the AOEs to stay safe.
Bolts from the Blue: A raid-wide AOE, healers will need to heal.
Destructive Charge: Two lightning balls will make traces on the floor. An AOE will go off where they traced, so make sure to stay out of the space the balls have traced. They trace in opposing quarters of the arena.
Destructive Static: The emissary will attack half of the arena. The AOE marker will be only there for a second before it goes off, so players will need to instead focus on the boss itself to prepare for the attack and dodging it.
Destructive Stike: A simple tankbuster.
Lightning Bolt: Some raid members will be marked with AOEs that will go off three times. They need to take the AOE away from other players and be on the move.
The Fight With Rhalgr - Phase One
Once the emissary is taken care of, it is time for Rhalgr himself. His arena is on the palm of a giant statue. Players should also be careful not to fall off. The attack has two phases. The first phase only has three attacks to worry about.
Advent of the Eighth: This is the main mechanic of Rhalgr's fight. Two of the loops floating around him will spawn at the edge of the arena. One will be orange and the other will be purple. These will be important to keep in mind.
Hand of the Destroyer: Rhalgr will raise either his right or left arm. As he does this, the other two loops will move to each side of him and glow orange and purple. Whichever arm he has raised will punch through the closest loop. The matching color from Advent of the Eighth will then spawn a giant punching fist that will take half of the arena up. To dodge, players must pay attention to his arm, the color of the loop near that arm, and the loop of the same color on one of the sides of the arena.
Lightning Reign: A raid-wide AOE.
The Fight With Rhalgr - Phase Two
For phase two, Rhalgr gains many more attacks with different mechanics. Some will happen at the same time.
Advent of the Eighth (Second Phase): In this phase, the loops will now be angled upwards.
Broken World: A meteor will come with a proximity AOE. Run as far as possible to minimize damage taken.
Bronze Work: Will summon alternating AOEs that are cone-shaped. Players will need to stand in the second set of markers, wait for the first to go off, and then stand where the first markers were.
Destructive Bolt: Tankbusters that will hit each tank of the three alliances. It has a little splash damage.
Hell of Lightning: Electric orbs will spawn around the arena and explode in larger circle-shaped AOEs.
Lightning Storm: Some raid members will be marked with circular AOEs. They should move away from the rest of the raid.
Rhalgr's Beacon: An AOE will appear with green arrows. It will push back everyone. Players will want to adjust their stance to be in front of the fingers so that the fingers can catch them.
The Lions Of Aglaia & Azeyma

After Rhalgr is beaten, the raid team will meet the Lion and Lioness of Aglaia. They are simple mini-bosses with three attacks to watch out for.
Double Immolation: A raid-wide AOE.
Slash and Burn: Each lion will be marked with one and two orbs as they cast this attack. They will then each attack with a massive AOE that will look like there is no safe space. However, one attacks first (the one with the single orb), and then the other one casts its attack. Players will need to stand in the AOE of the lion with the two orbs, wait for the first lion to attack, and then move before the second lion does its AOE.
Roaring Blaze: Each lion will cleave one side of the arena. They will have the orbs to indicate which goes first.
The Fight With Azeyma
Once the lions are beaten, it is time for Azeyma. She has many attacks to watch out for, but she is considered one of the easier bosses of the raid.
Fleeting Spark: An AOE that will cover nearly the whole arena. Players will only be safe behind Azeyma.
Noble Dawn: Will spawn three sets of growing circular AOEs. Players will wait for the first set to explode and move to where they were for safety.
Radiant Rhythm and Radiant Finish: Fans will do damage in a ring pattern around the arena with large circle AOEs.
Solar Fold: Four line AOEs will form a cross pattern in cardinal directions with the split up the arena into quadrants. Certain zones will get ignited with fire. This will coincide with another attack called Sun's Shine, which creates Azeyma clones that will cast a wind attack and spread the flames. Players will need to focus on where the flames will spread and run to a safe zone.
Solar Wings: Azeyma will cast wide cone-shaped AOEs at each of her sides. Players will want to stand in front and behind her.
Sublime Sunset: A proximity AOE that will be on one side of the area.
Warden's Prominence: Raid-wide AOE.
Warden's Warmth: Tankbuster on all three tanks. They must move away from the raid and split apart, as it has a wide damage radius.
Wildfire Ward: Known as the most difficult mechanic of the fight. The floor will light on fire except for a triangular space under Azeyma. Arrows will mark the floor, which indicates the sequence of directions the player will be knocked back. The player will have to make sure they stay in the safe zone and not get knocked out of it, so position accordingly to the arrows.
Nald'Thal

Past Azeyma is the final boss of the raid, Nald'Thal, the twin gods of trade. Be careful, as the edge of the arena here is as instant kill upon touch. This boss has three phases with most attacks seen in phase one. Unfortunately, some of their names can be easy to mix up.
As Above, So Below: Raid-wide AOE.
Far Above, Deep Below: Some raid party members will get marked and AOE explosions will spawn underneath them. They will need to move to the outer edges of the arena and run around to not stack the damage to other raid party members.
Fired Up: Three attacks happen. PA marker appears on the arena and displays a blue or yellow symbol above the boss's head. Yellow means a knockback attack and blue means a big AOE attack. Attacks detonate in a particular order according to the number of diamonds above the markers.
Heat Above, Flames Below: The Arena will be divided into a glowing red circle AOE and a blue donut AOE. Players need to look outside the arena at the color of the lamps to know which attack is unsafe and stand in the AOE that is not the color of the lamps.
Heavens' Trial: A couple of raid members will be targeted with cone-shaped AOEs that will track them. They will need to spread out the cone attacks to not hit each other or raid members. At the same time, one player will have a stack marker for unmarked players to stack on.
Hell of Fire: Half of the arena will be marked in purple light and get cleaved by the boss.
Golden Tenet: Tankbuster that requires the tanks to stack together.
Once Above, So Below: Similar to Heat Above, Flames Below. AOEs will be marked blue or orange and players will need to check the lamps outside of the arena to know which color is not safe.
Wayward Soul: Meteors will slowly hit the arena. Players will need to move in a clockwise pattern after the fourth meteor to avoid the others.
The Fight With Nald'Thal - Phase Two
Phase two is what wipes many raids. It begins with Nald'Thal summoning three large Soul Vessels that are modeled after a player in each raid party. The alliance should split into its three raid parties and take care of them. Once they are dealt with, Nald'Thal will summon giant scales and split the room in half.
Small weights will spawn above every raid member while larger weights will appear on the corpses of the Soul Vessels. The entire raid needs to move around to balance the scale Nald'Thal has summoned. If the balance is not made by a certain point, the entire raid wipes.
The Fight With Nald'Thal - Phase Three
If players get through phase two, there is little to worry about. Phase three is like the first phase but with some additional attacks. Just survive this phase and the raid is complete.
Hearth Above, Flight Below: A combination of Heat Above, Flames Below and Far Above, Deep Below. |
Hell's Trial: Raid-wide AOE.
Final Fantasy 14 is available now on PC, PS4, and PS5.