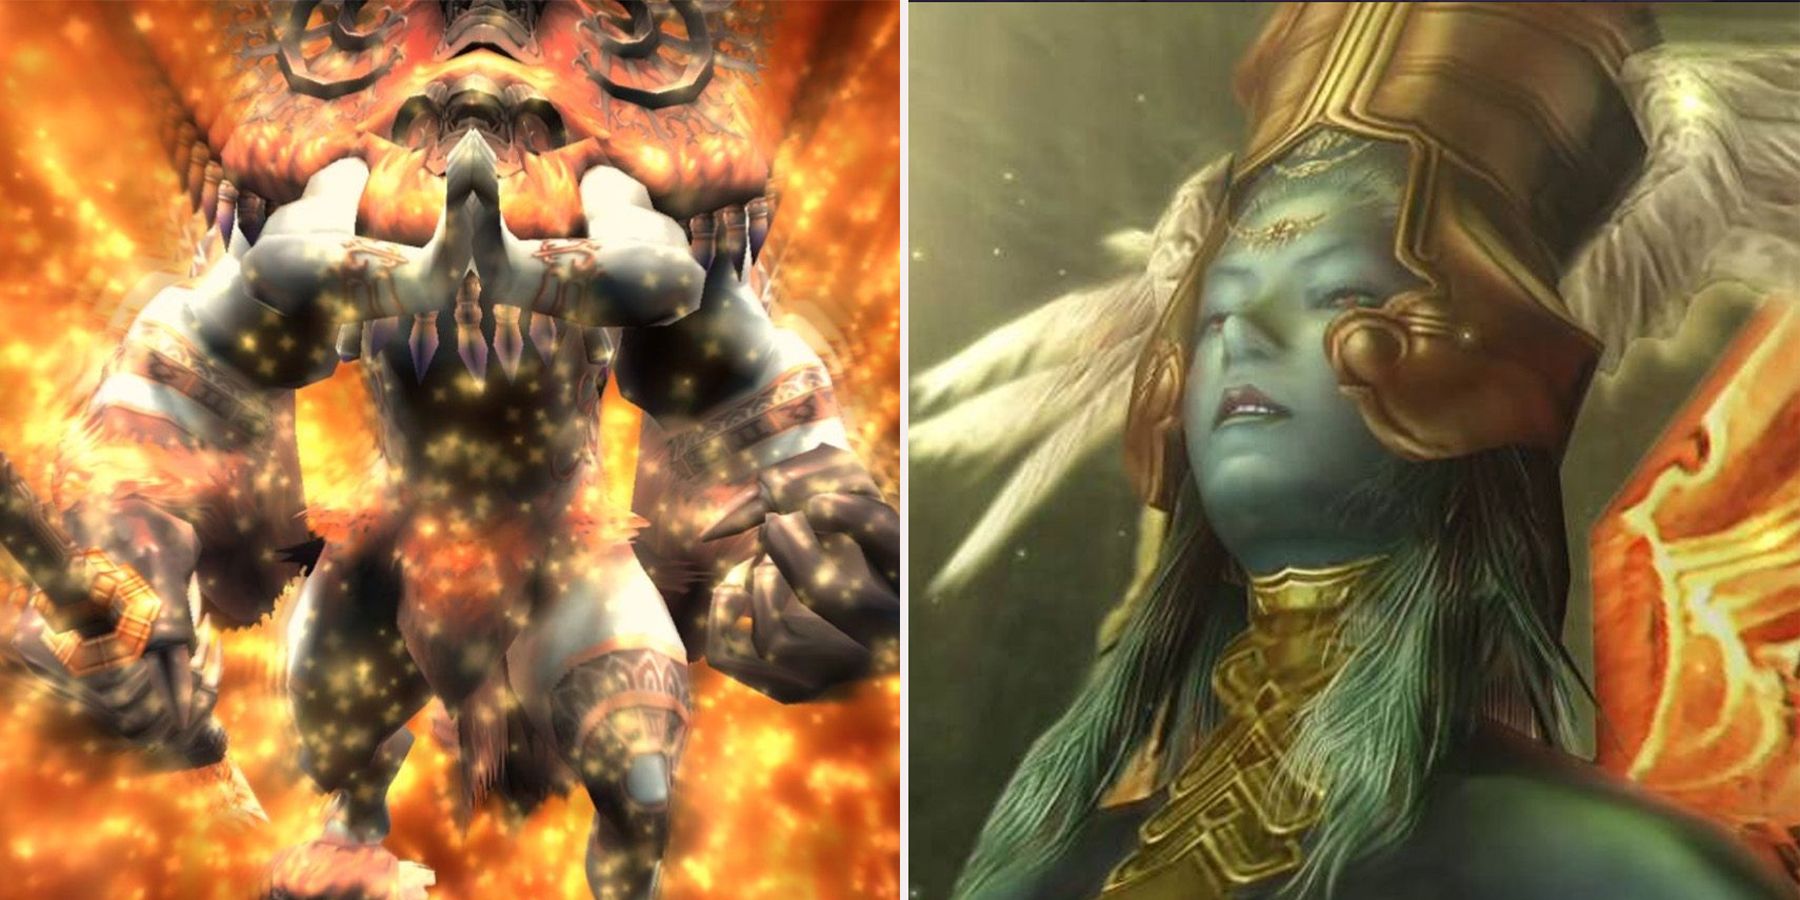
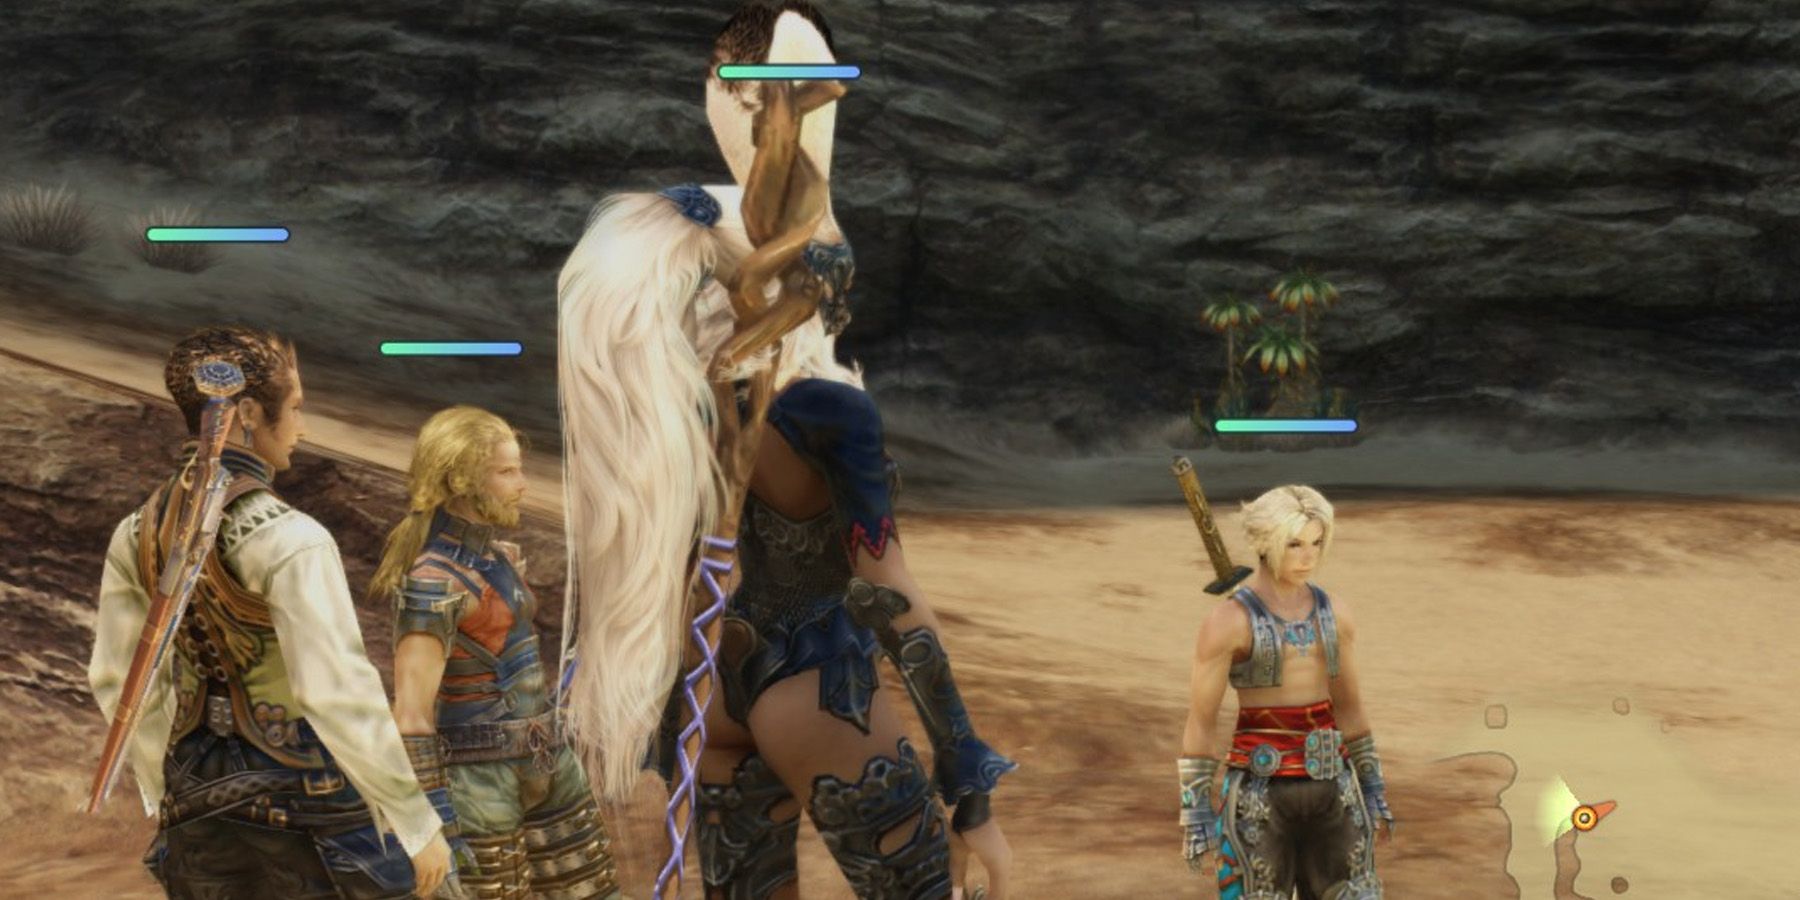
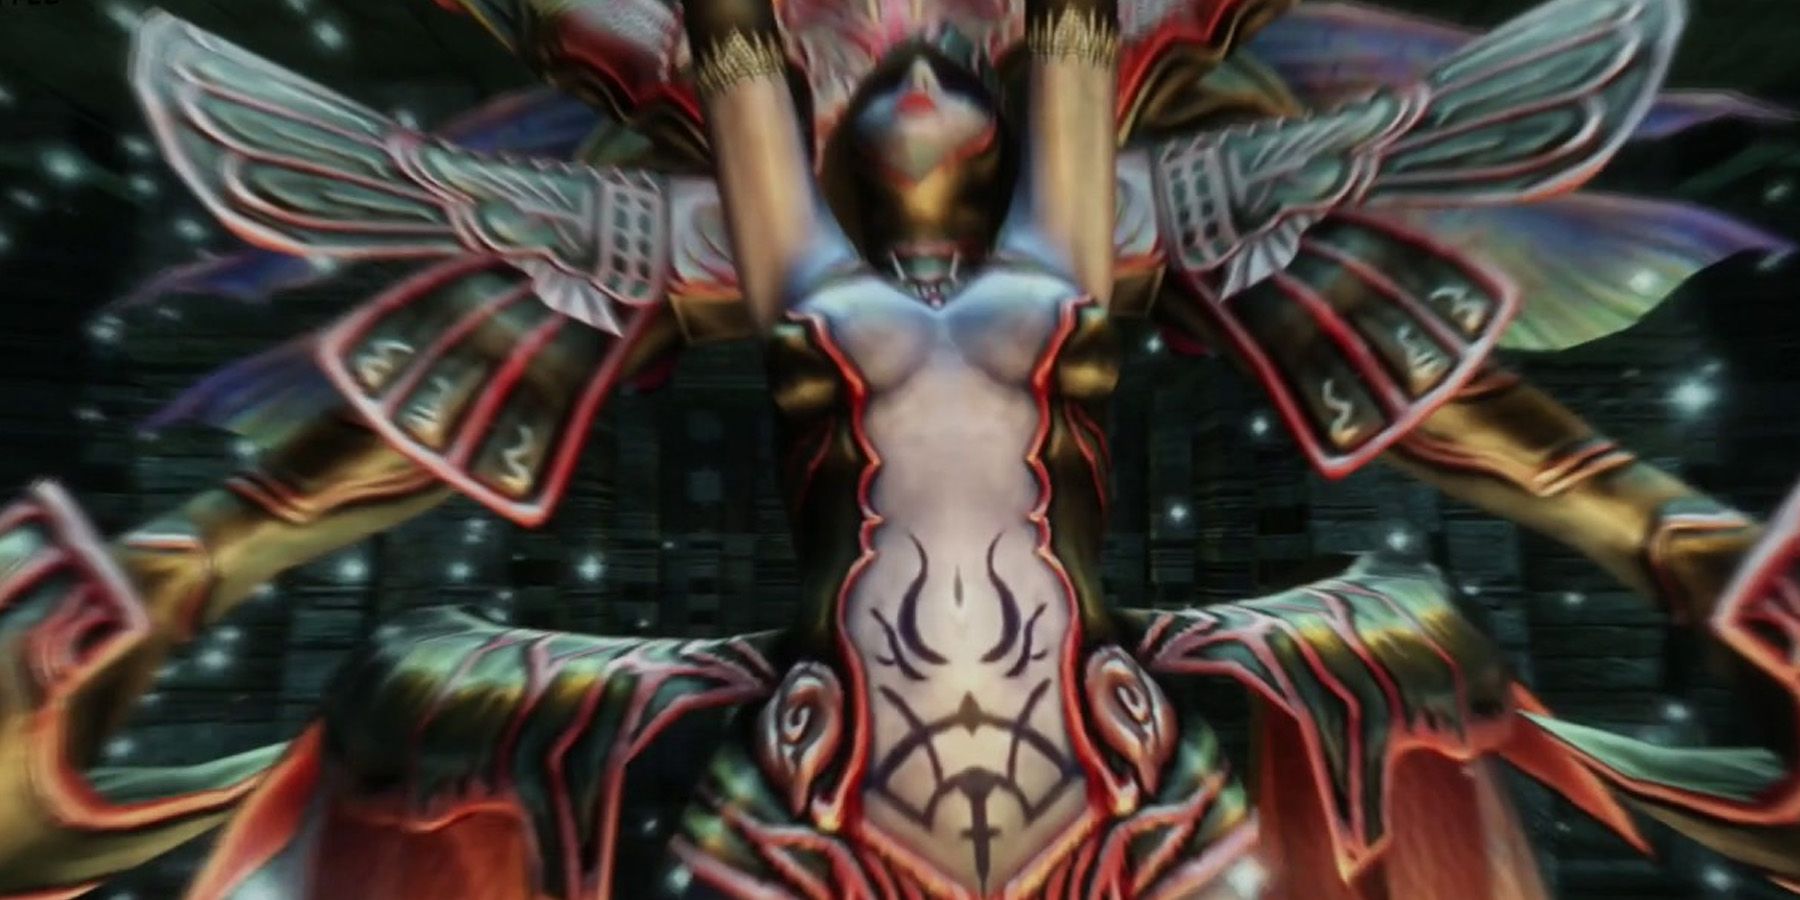
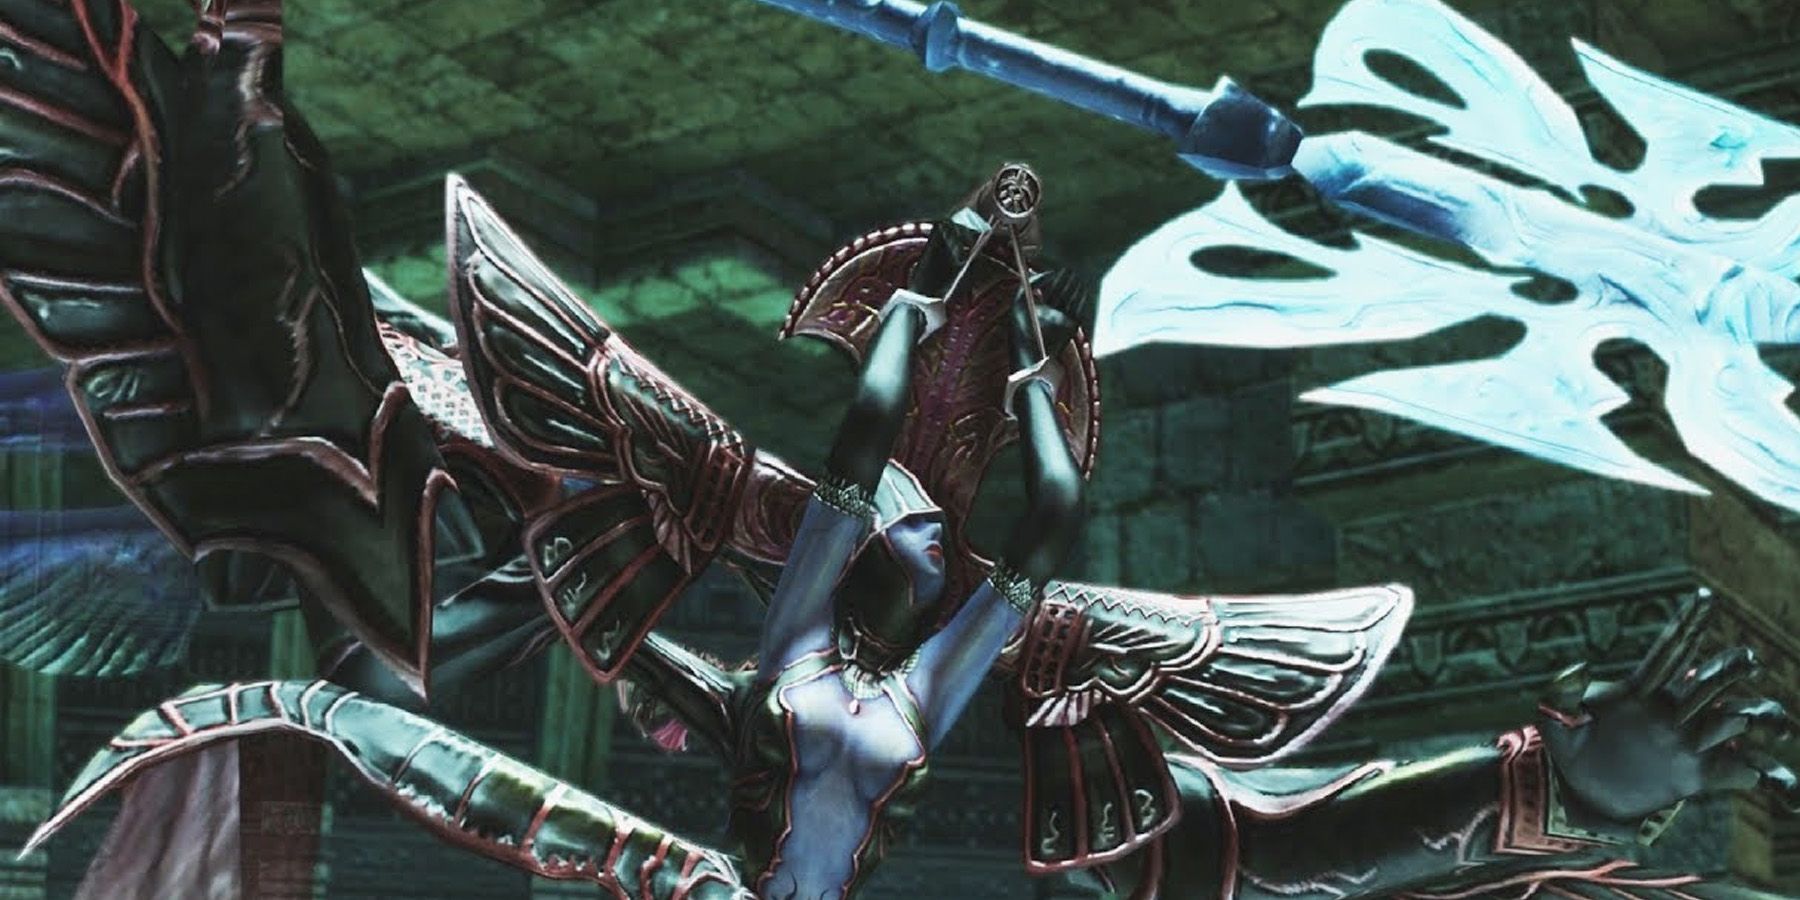
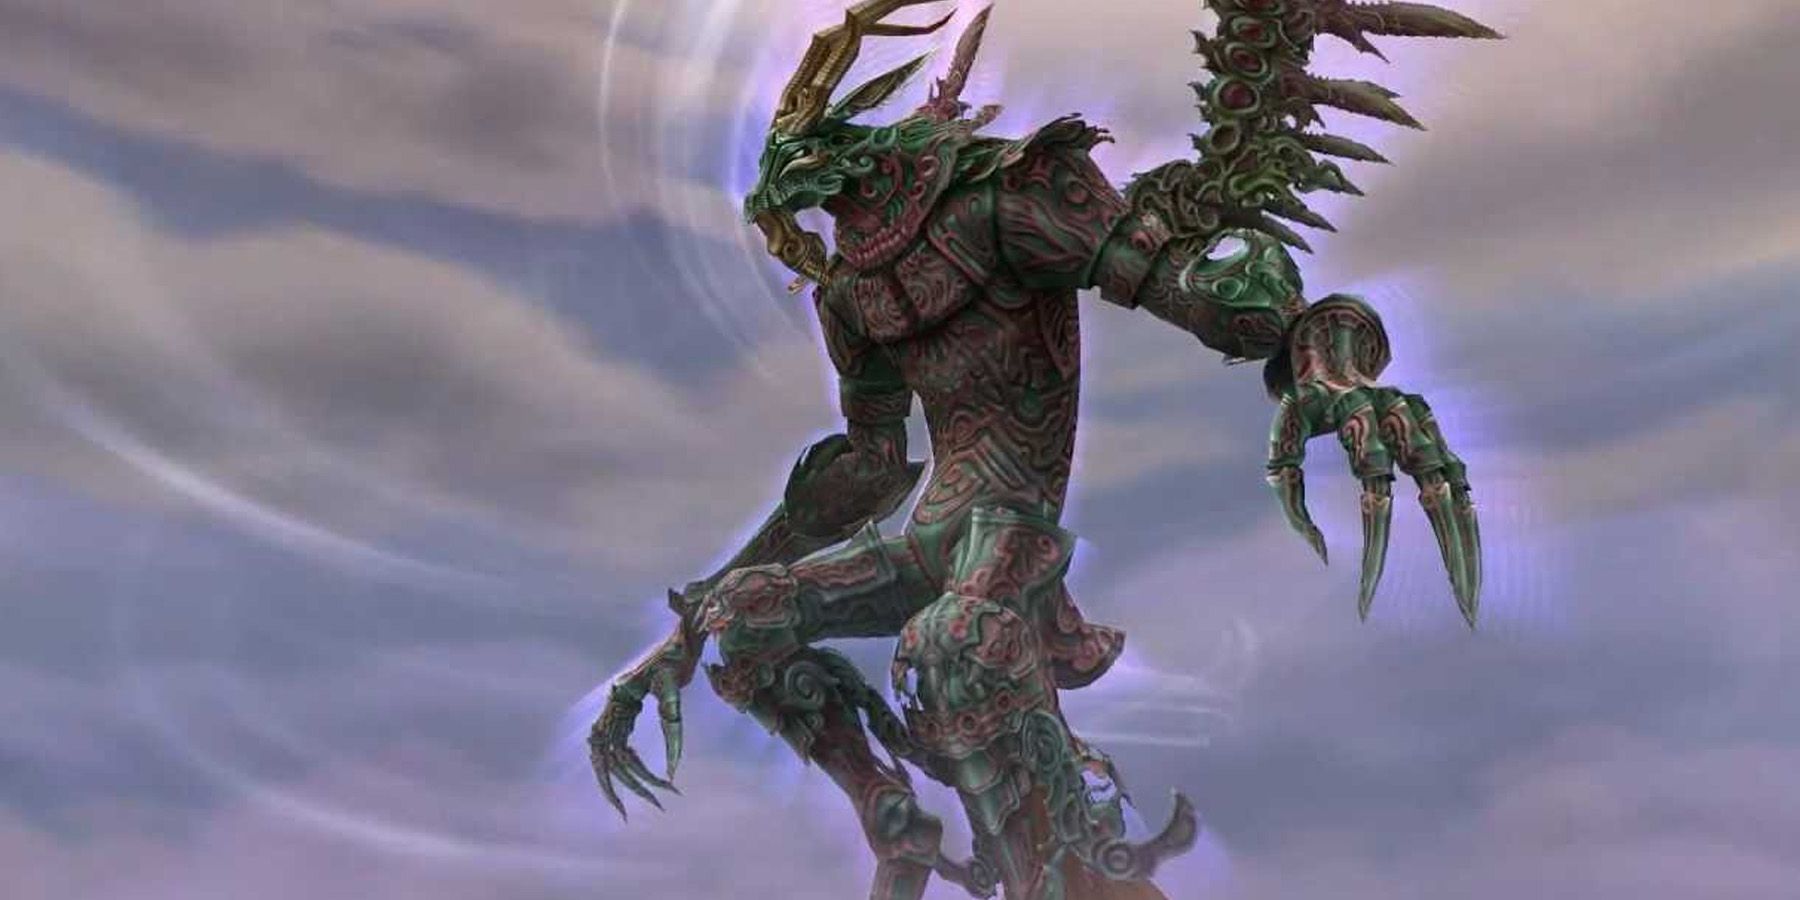
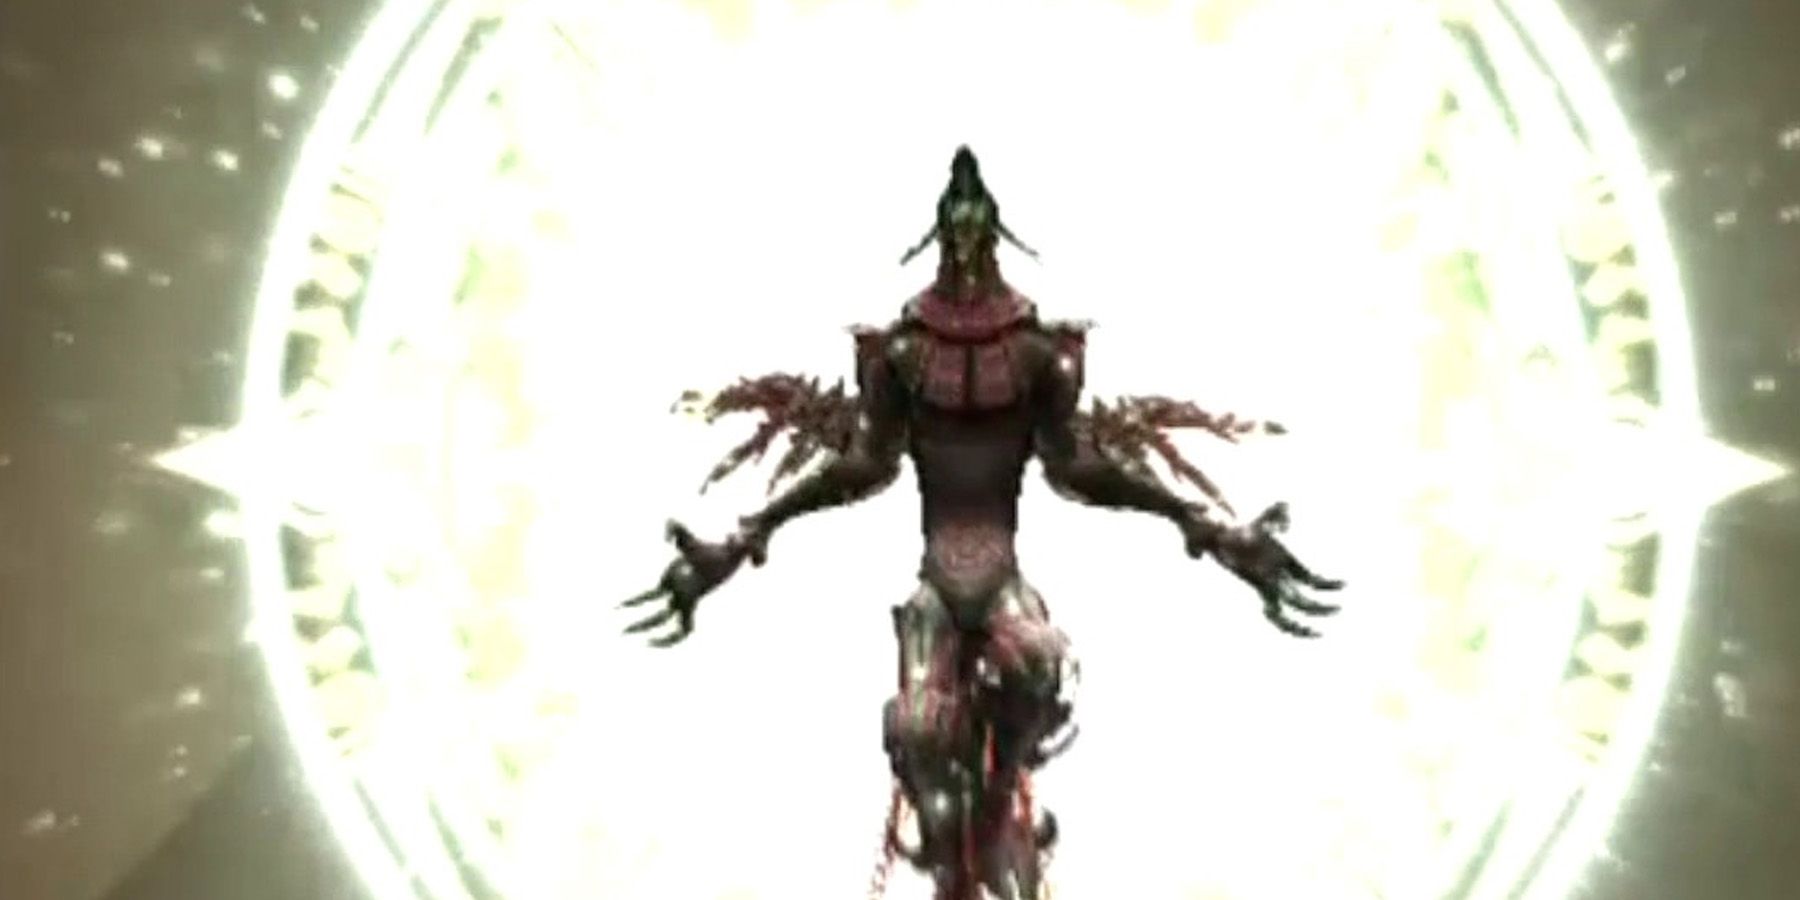
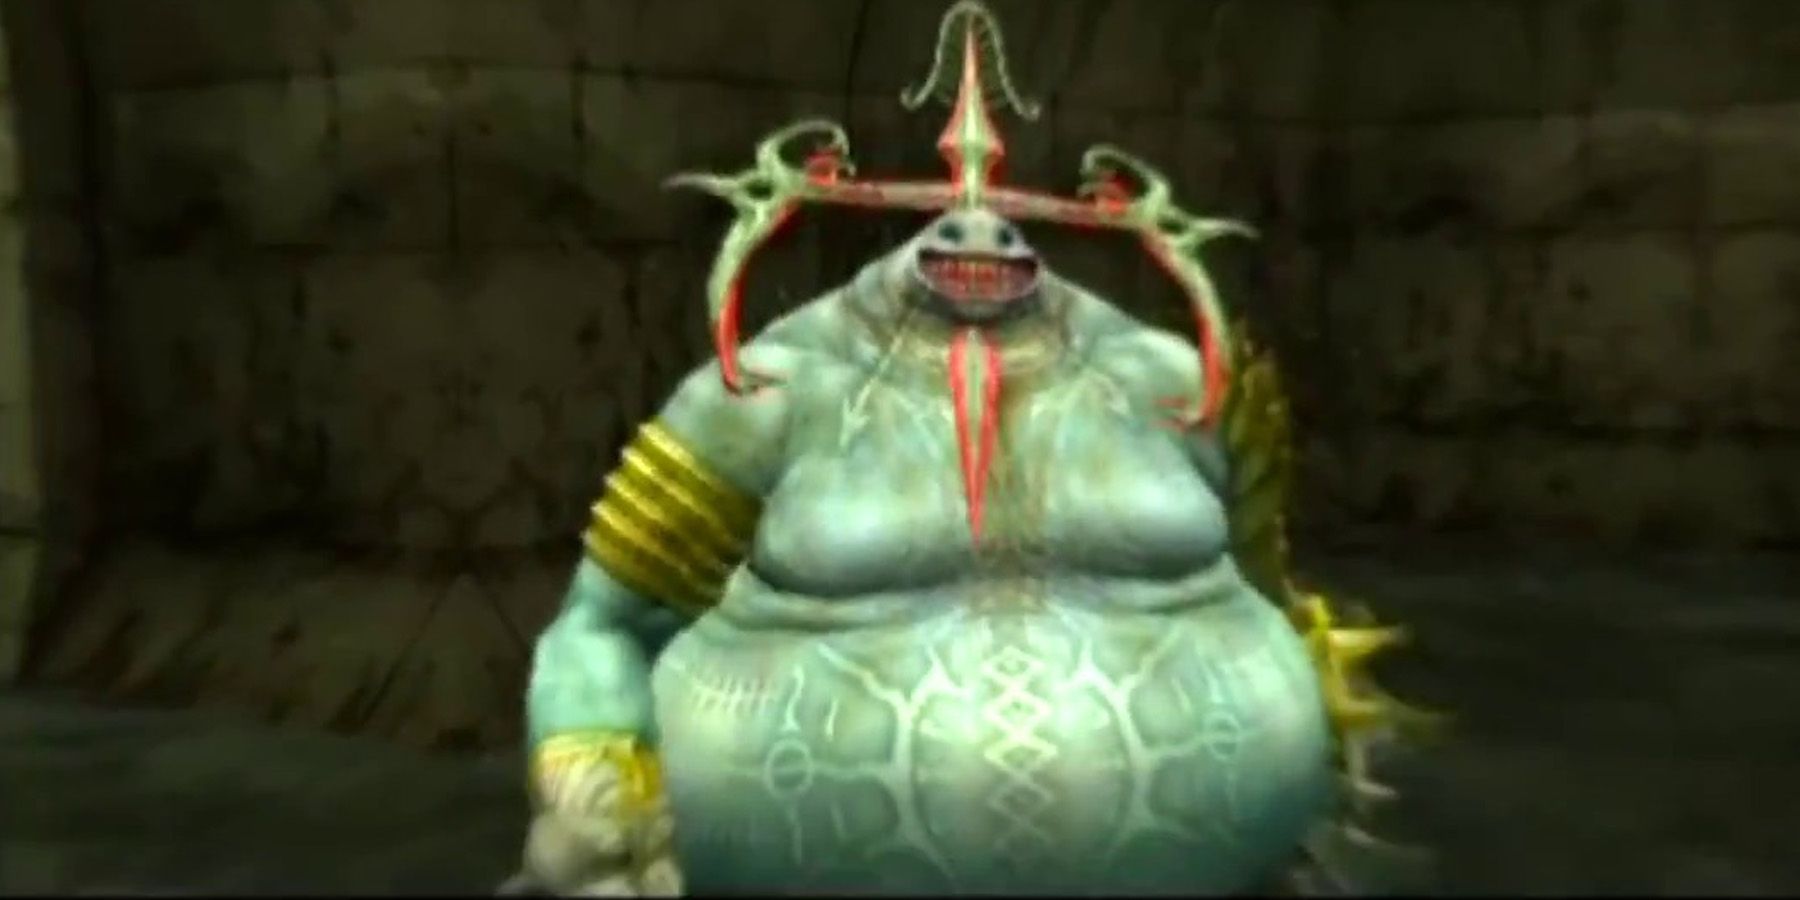
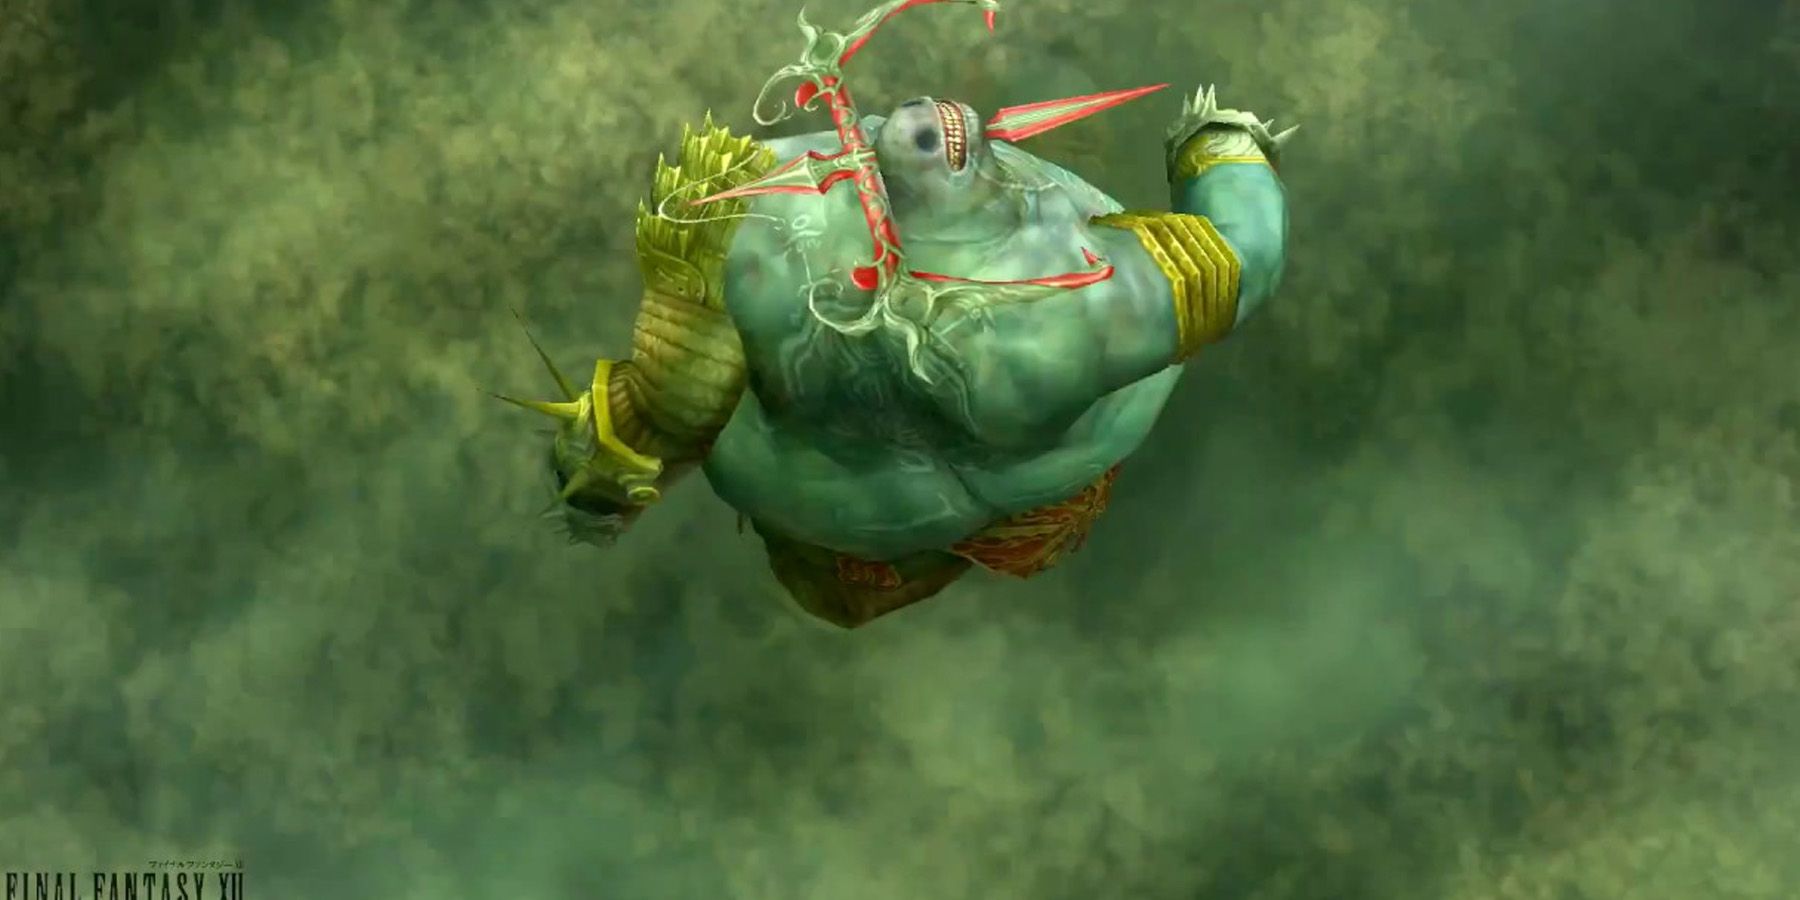
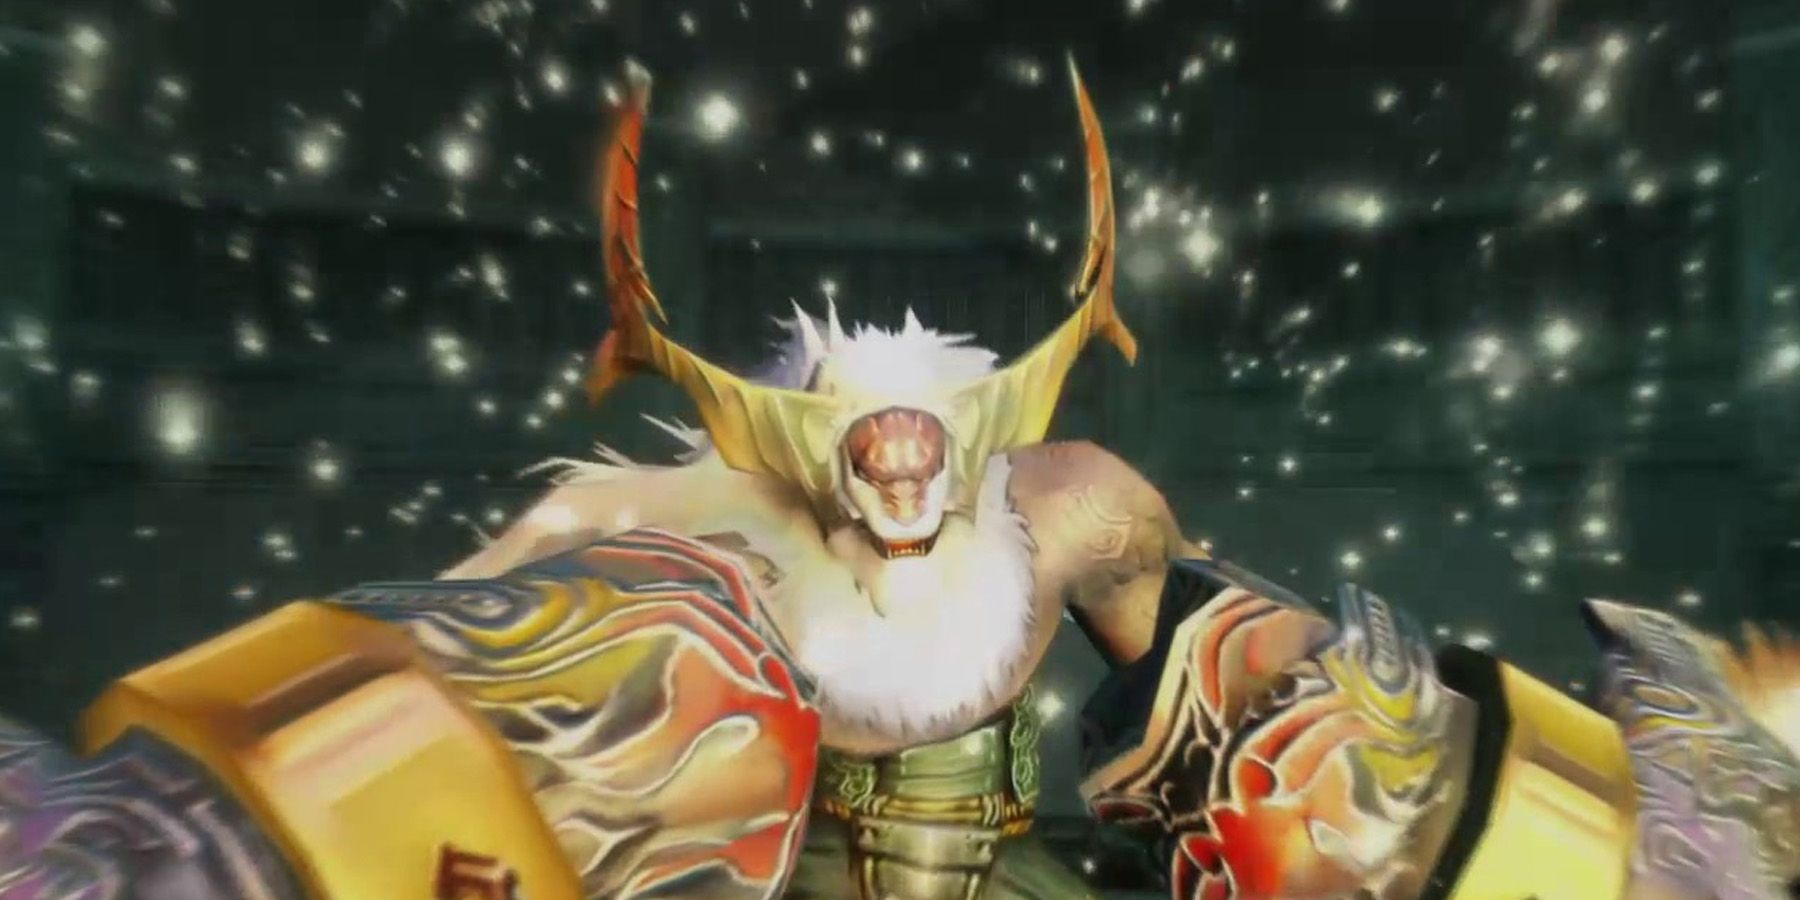
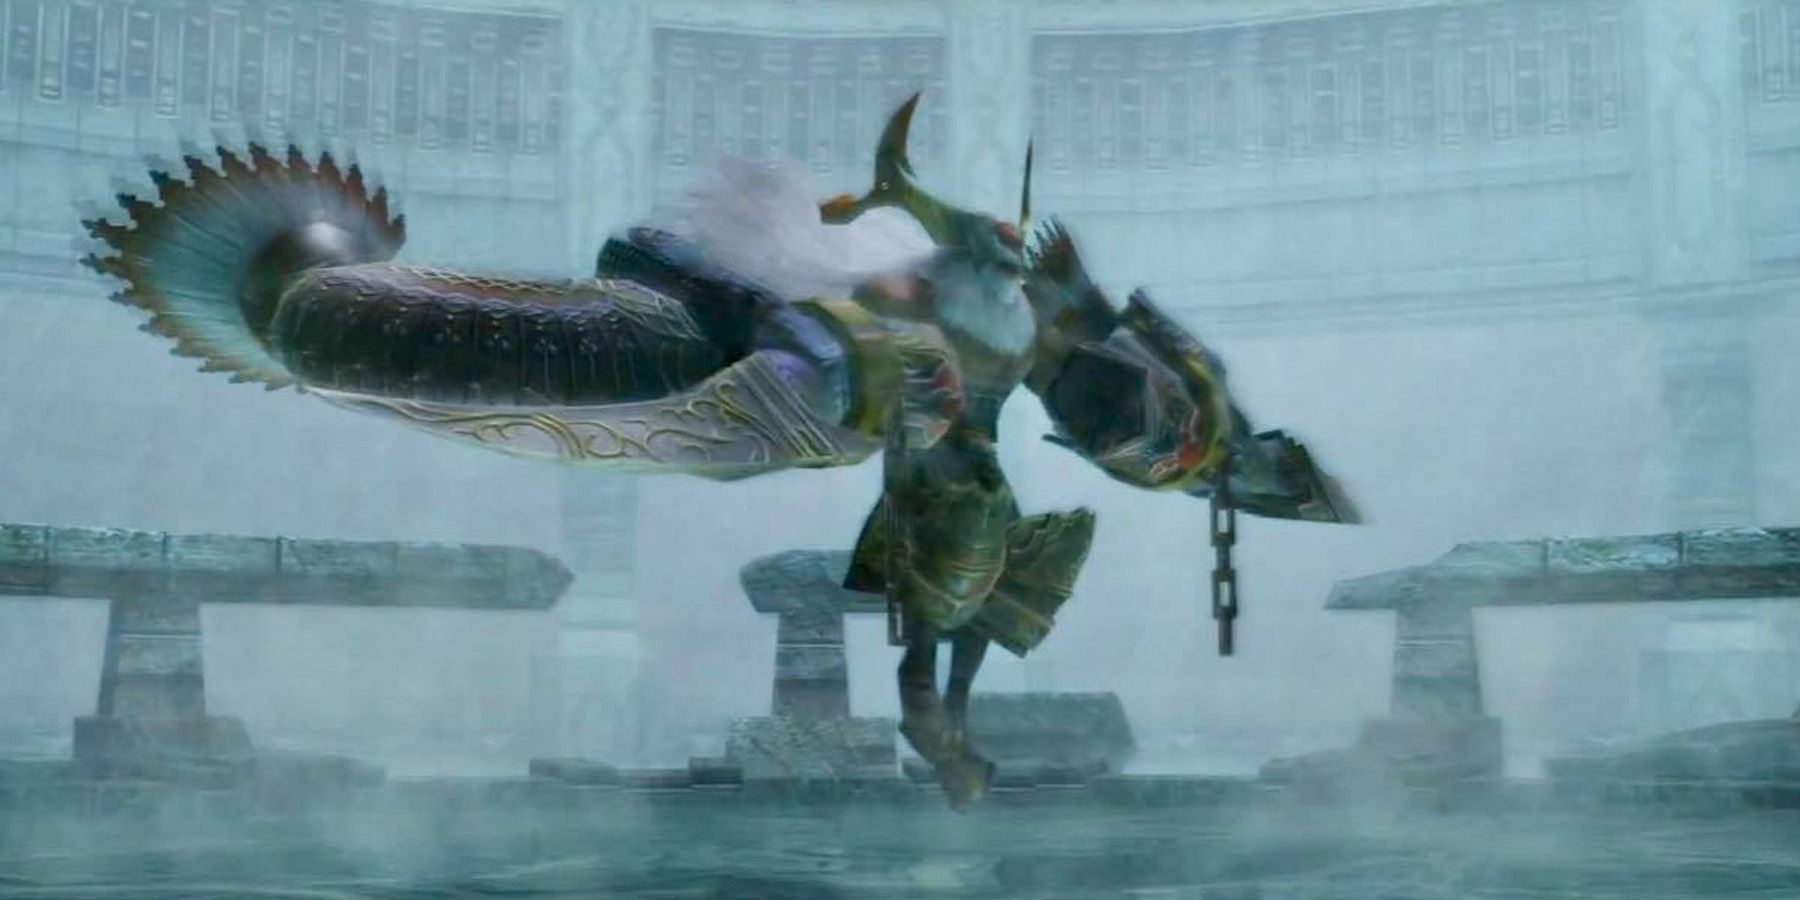
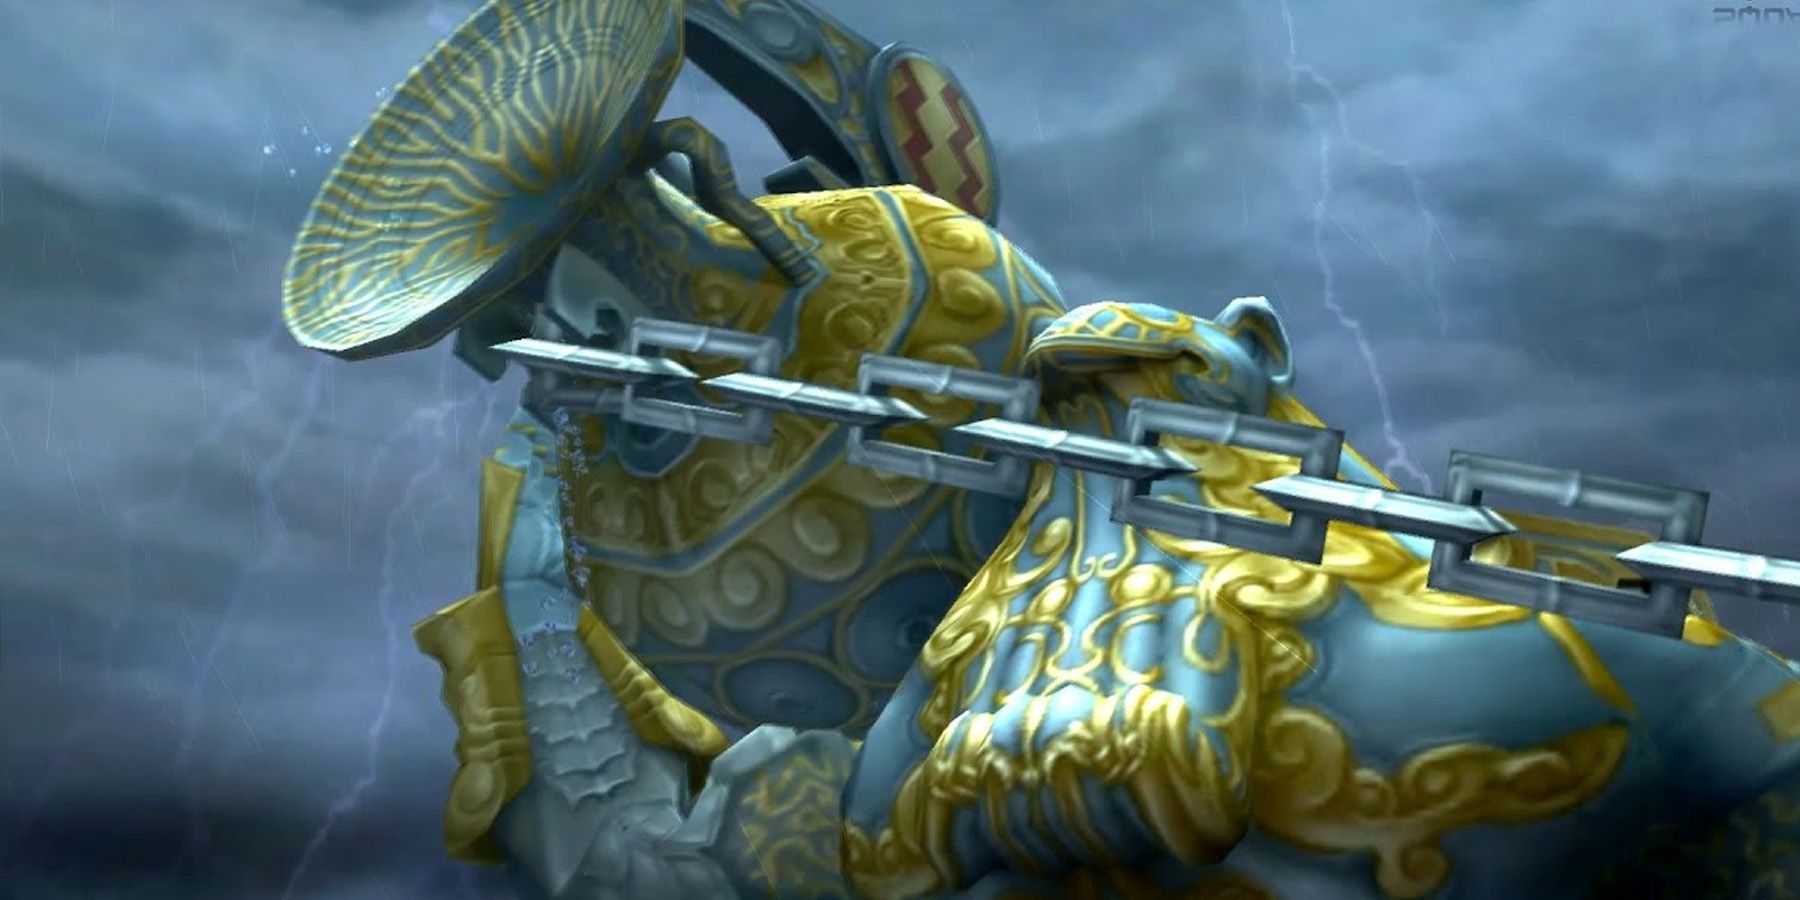
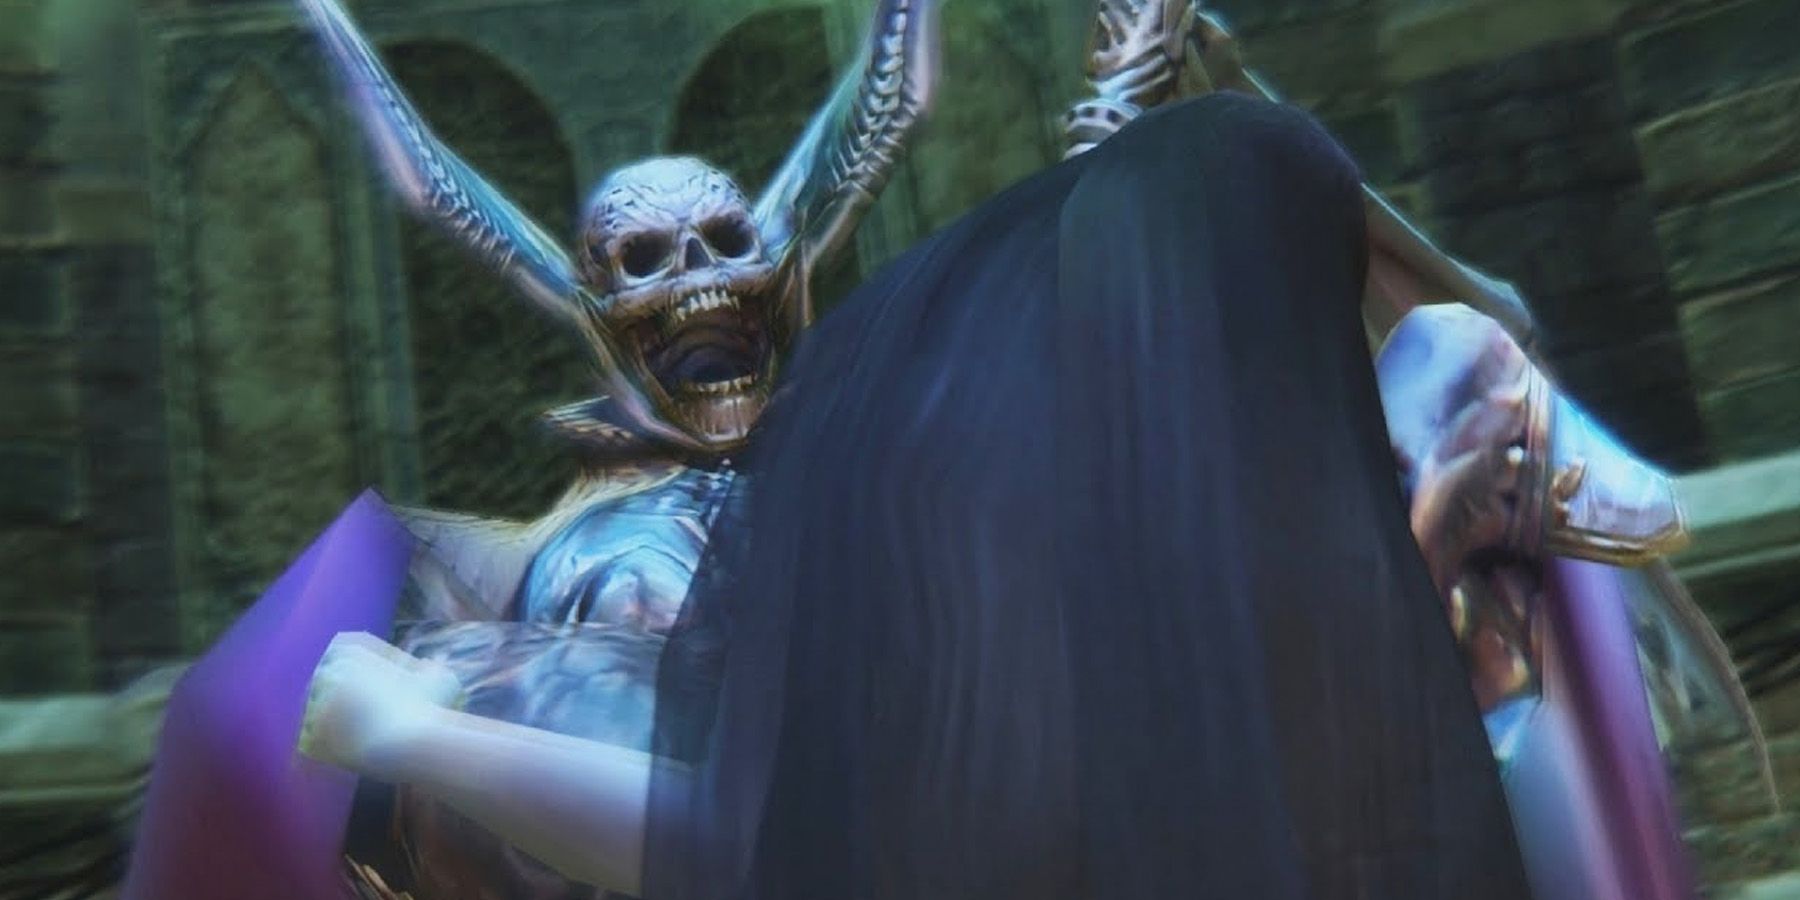
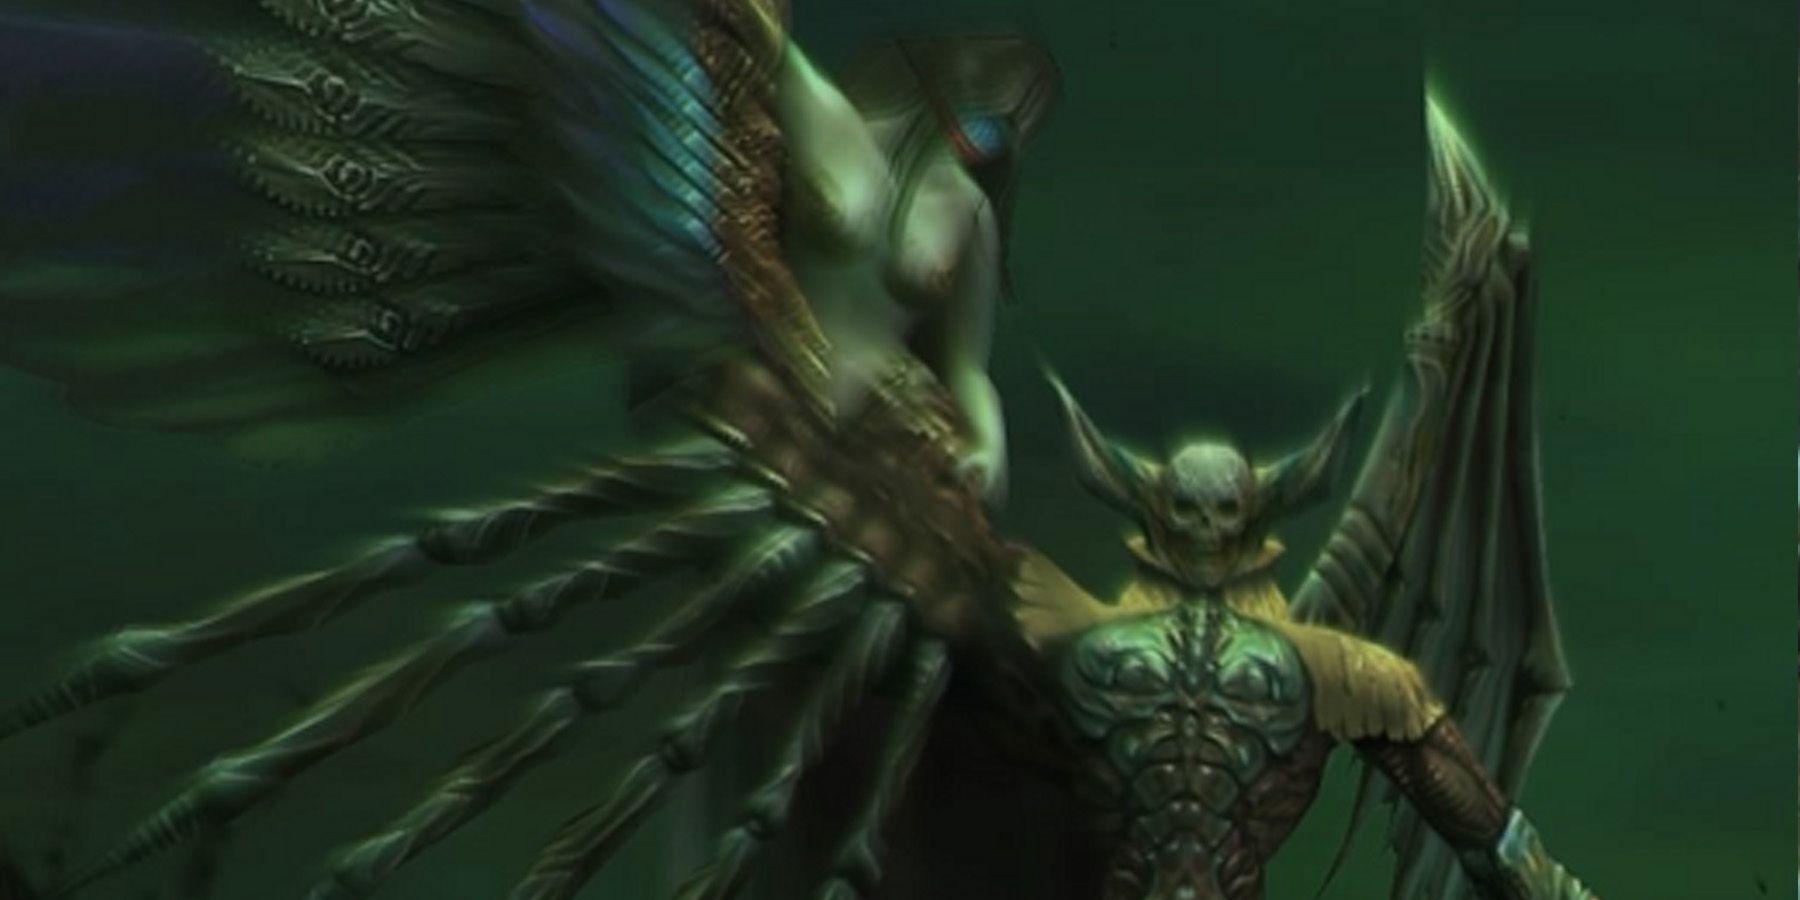
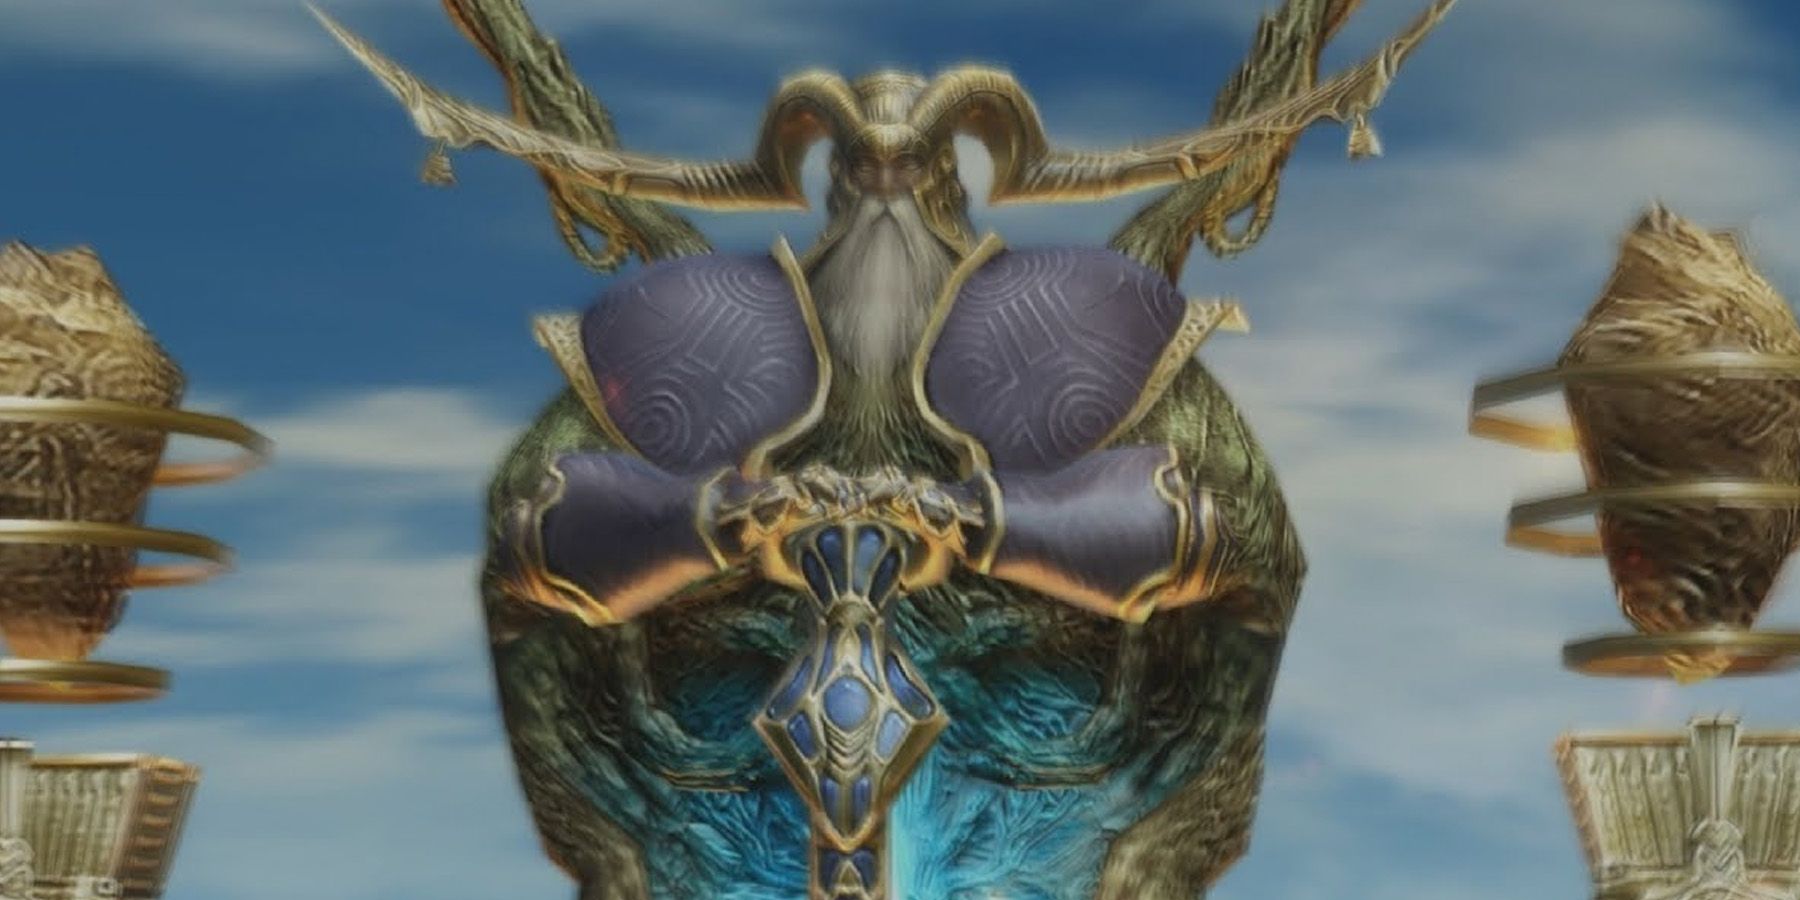
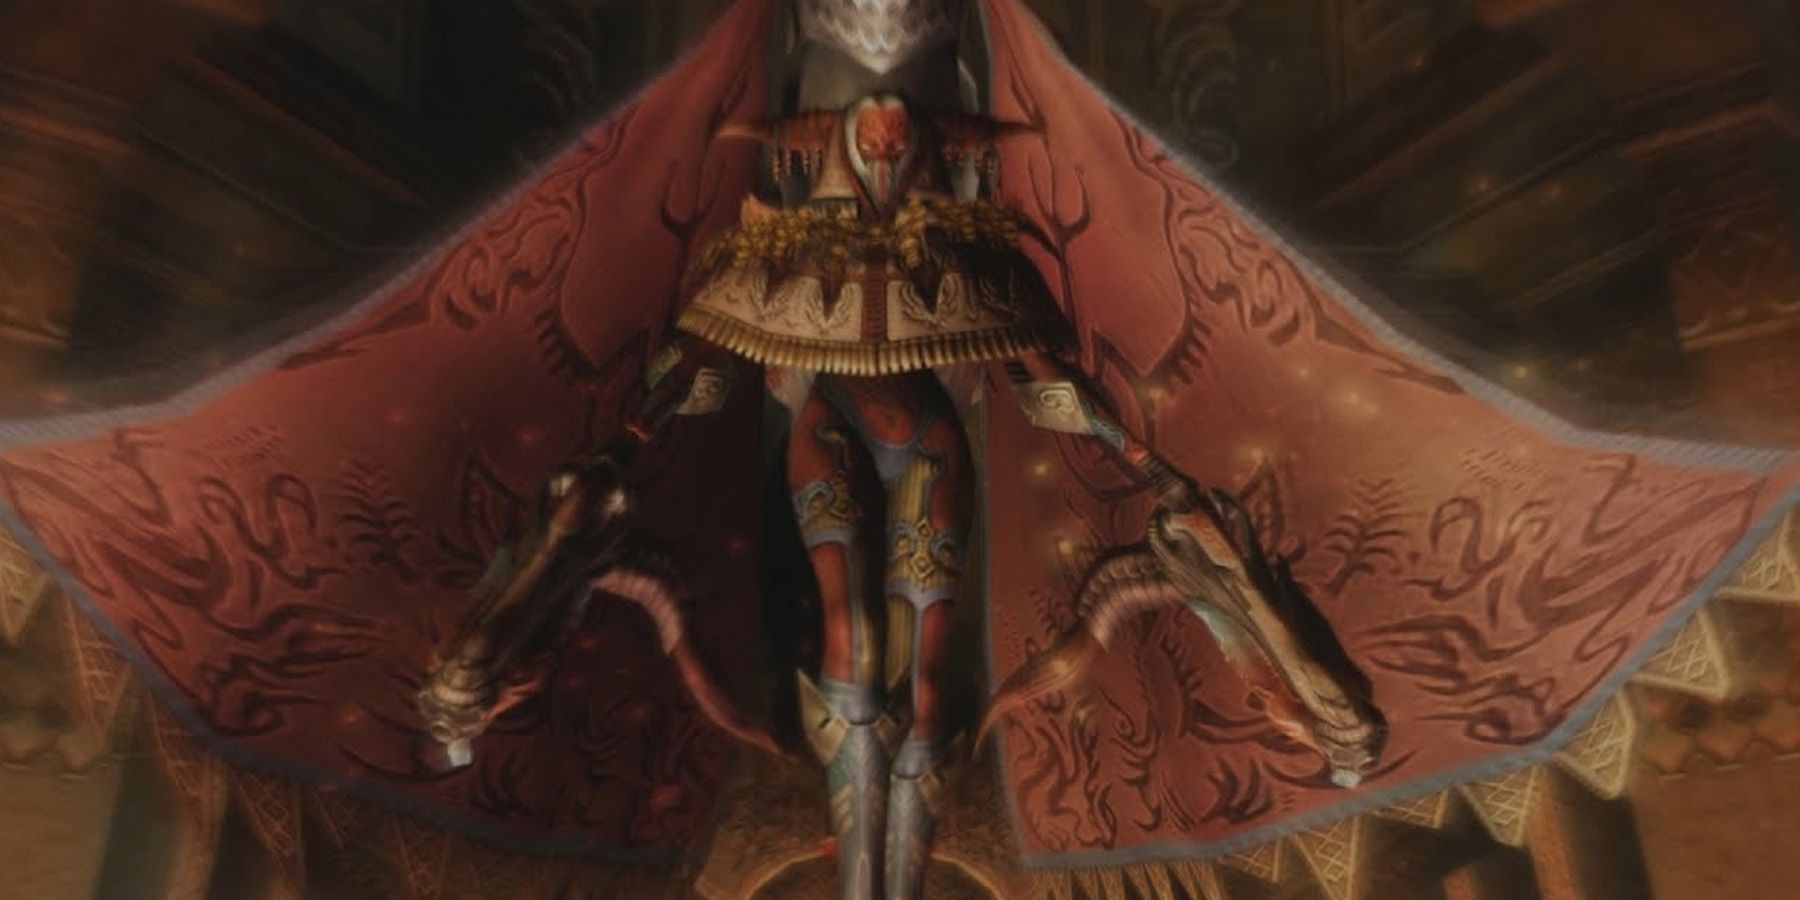
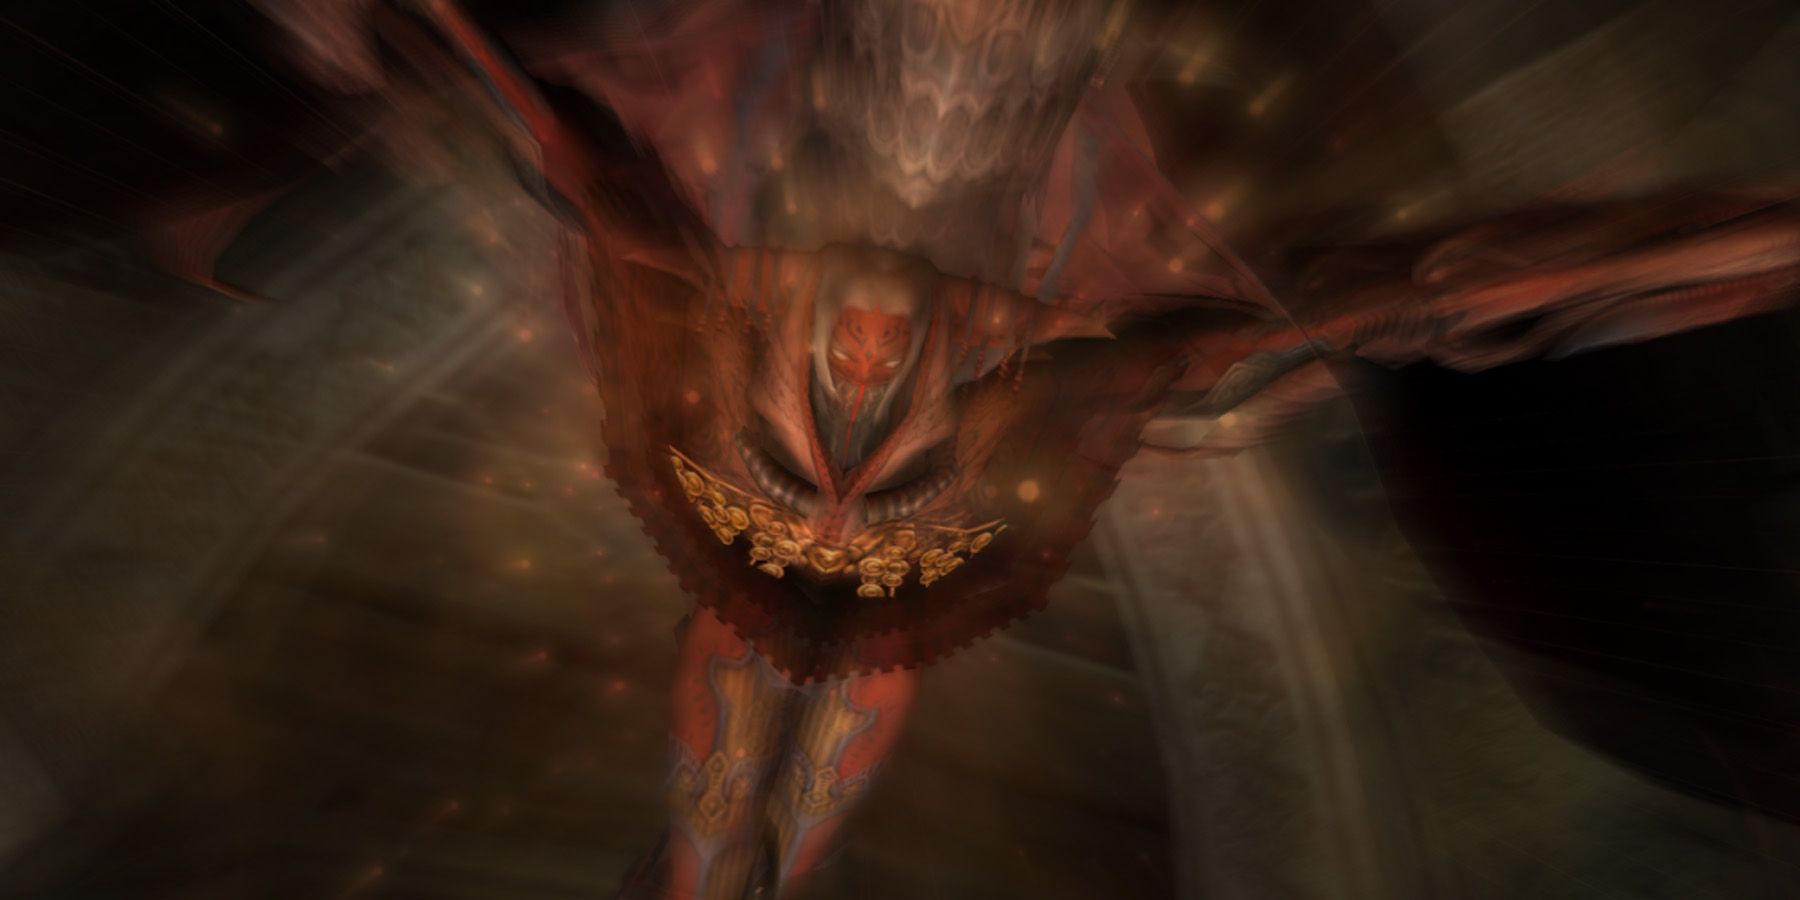
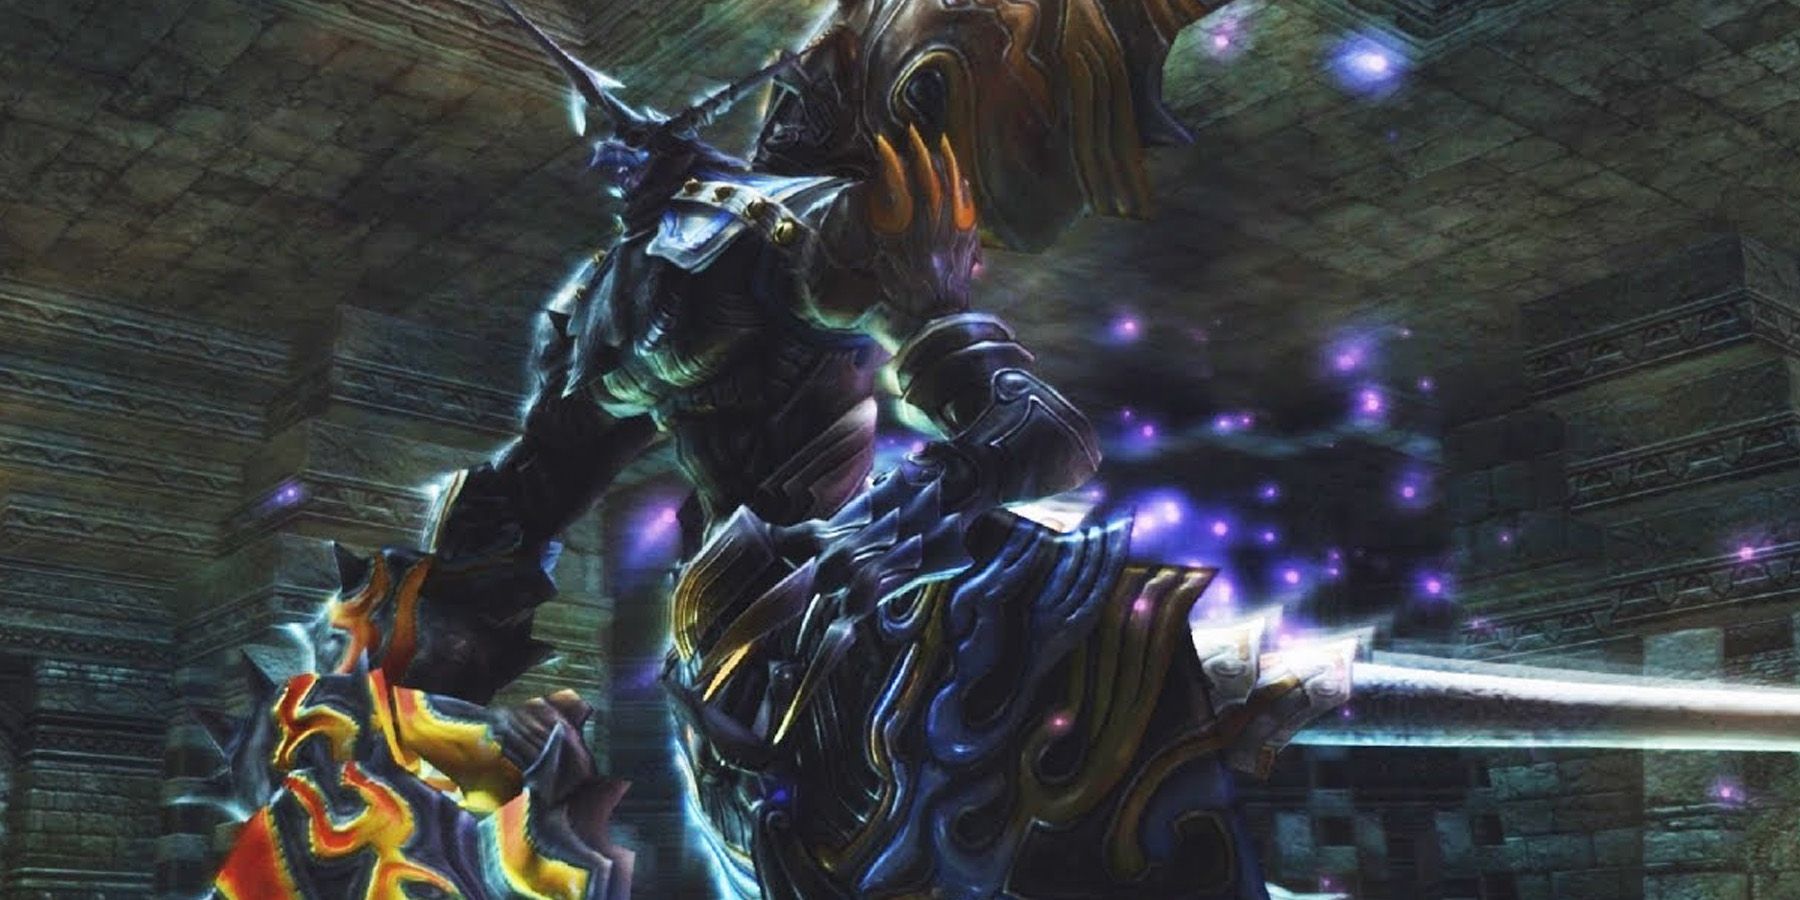
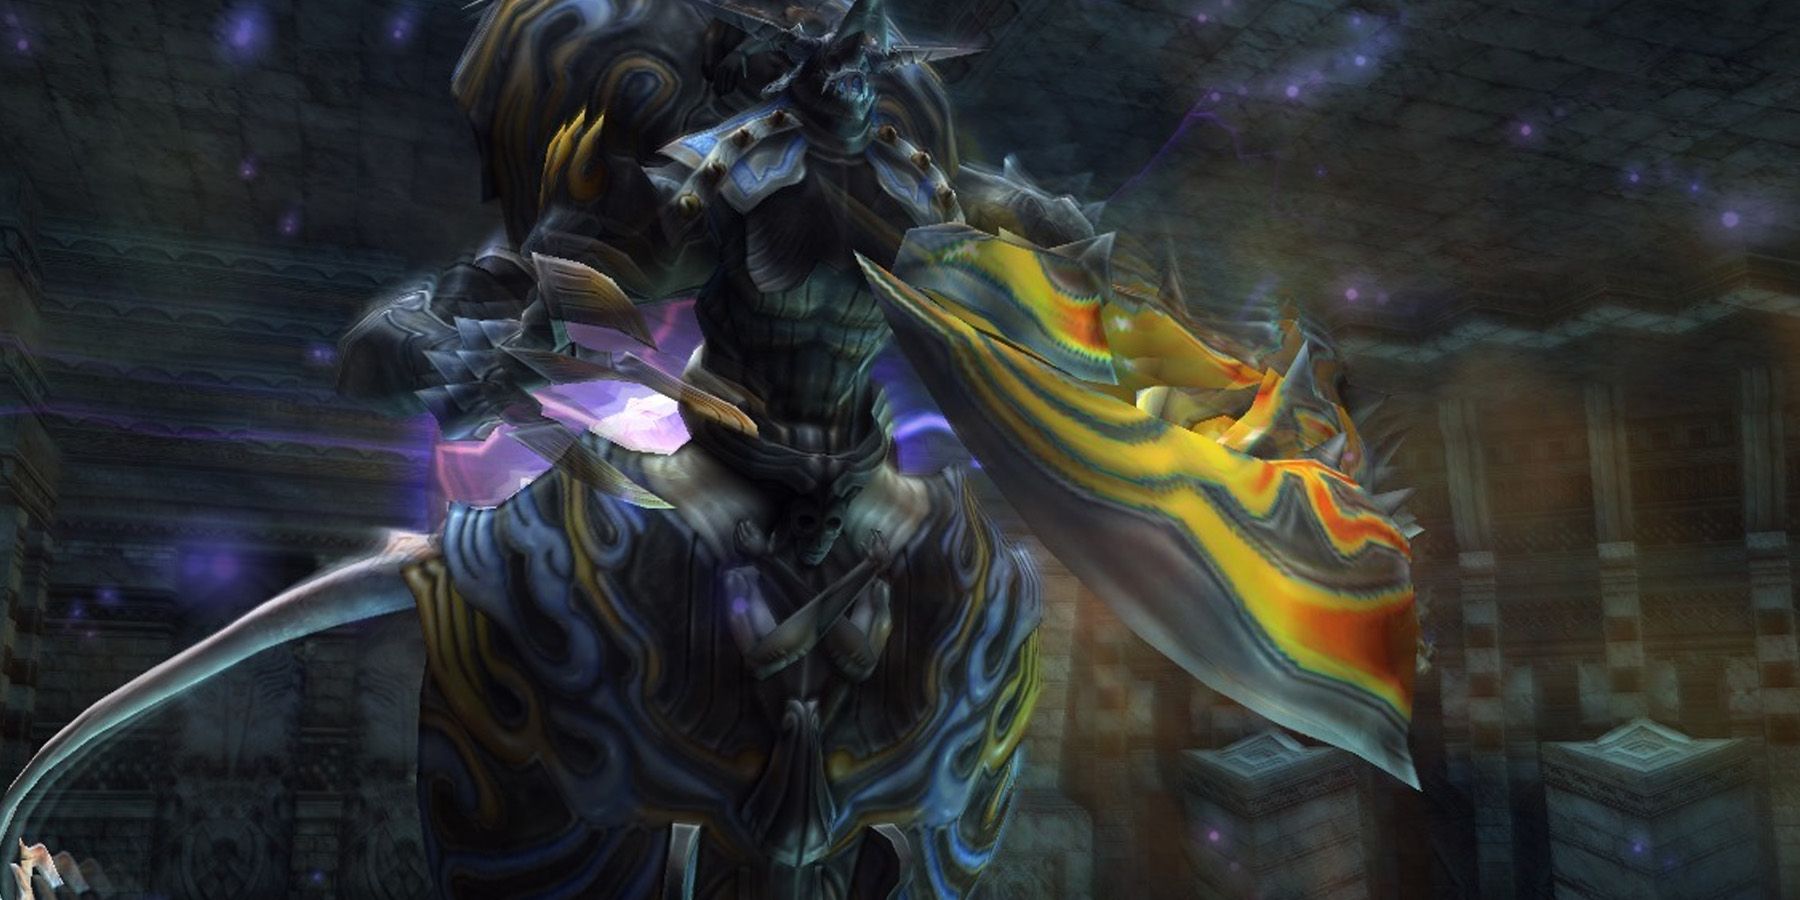
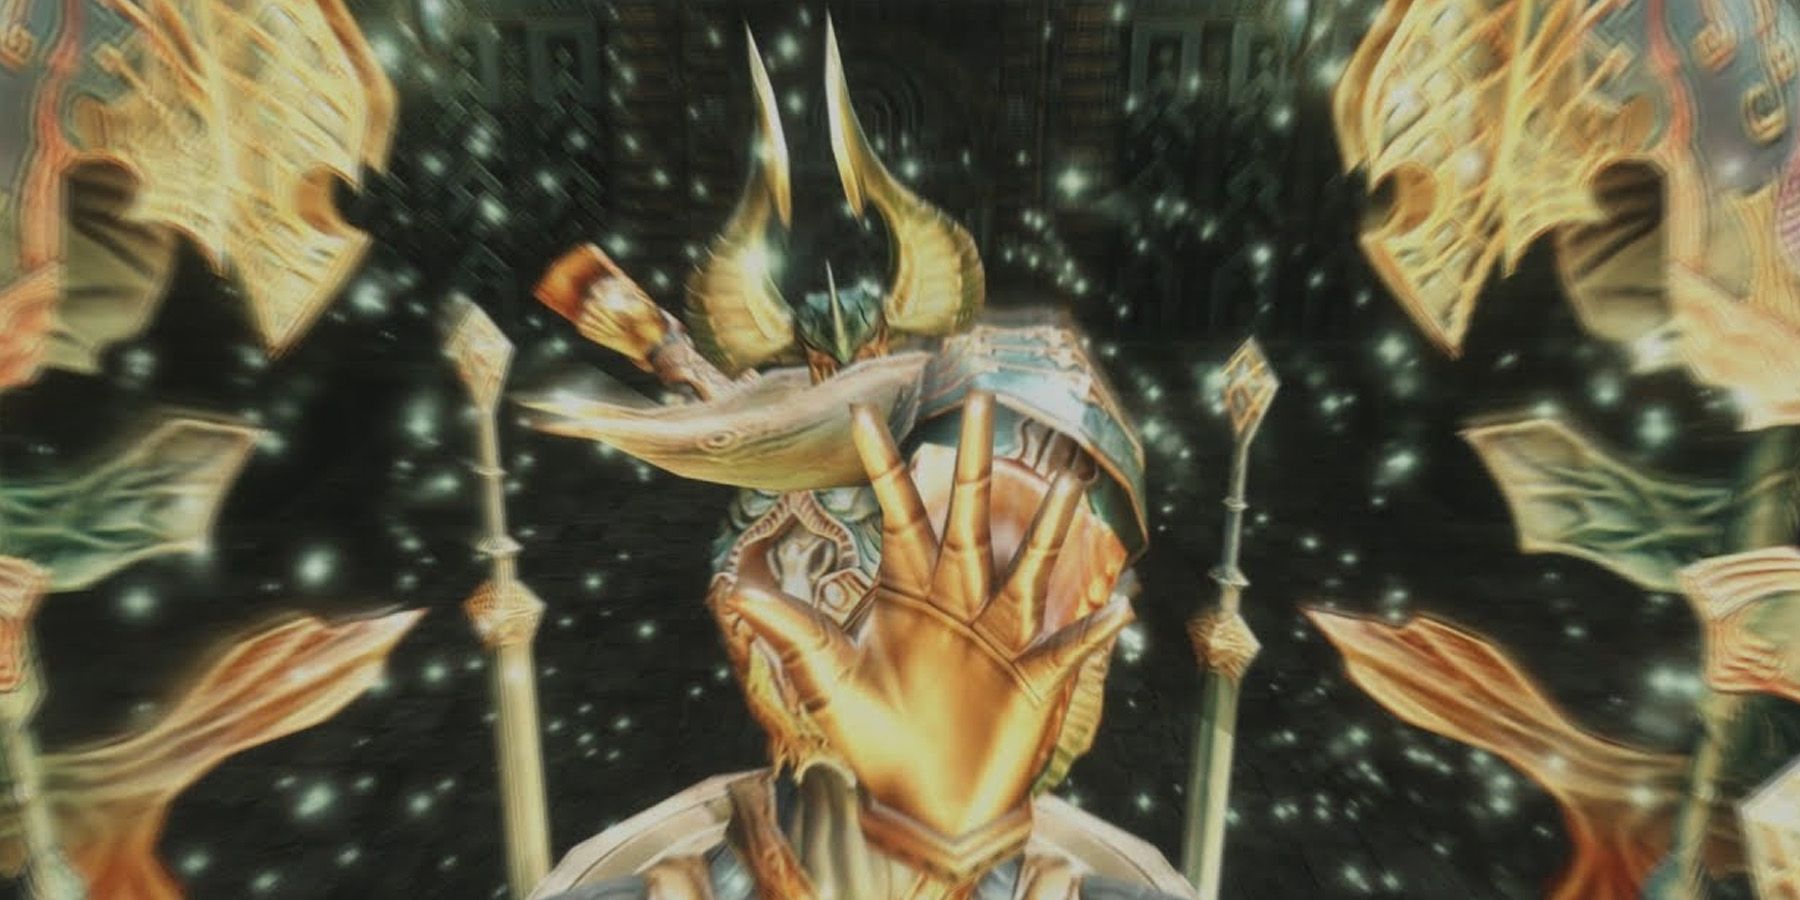
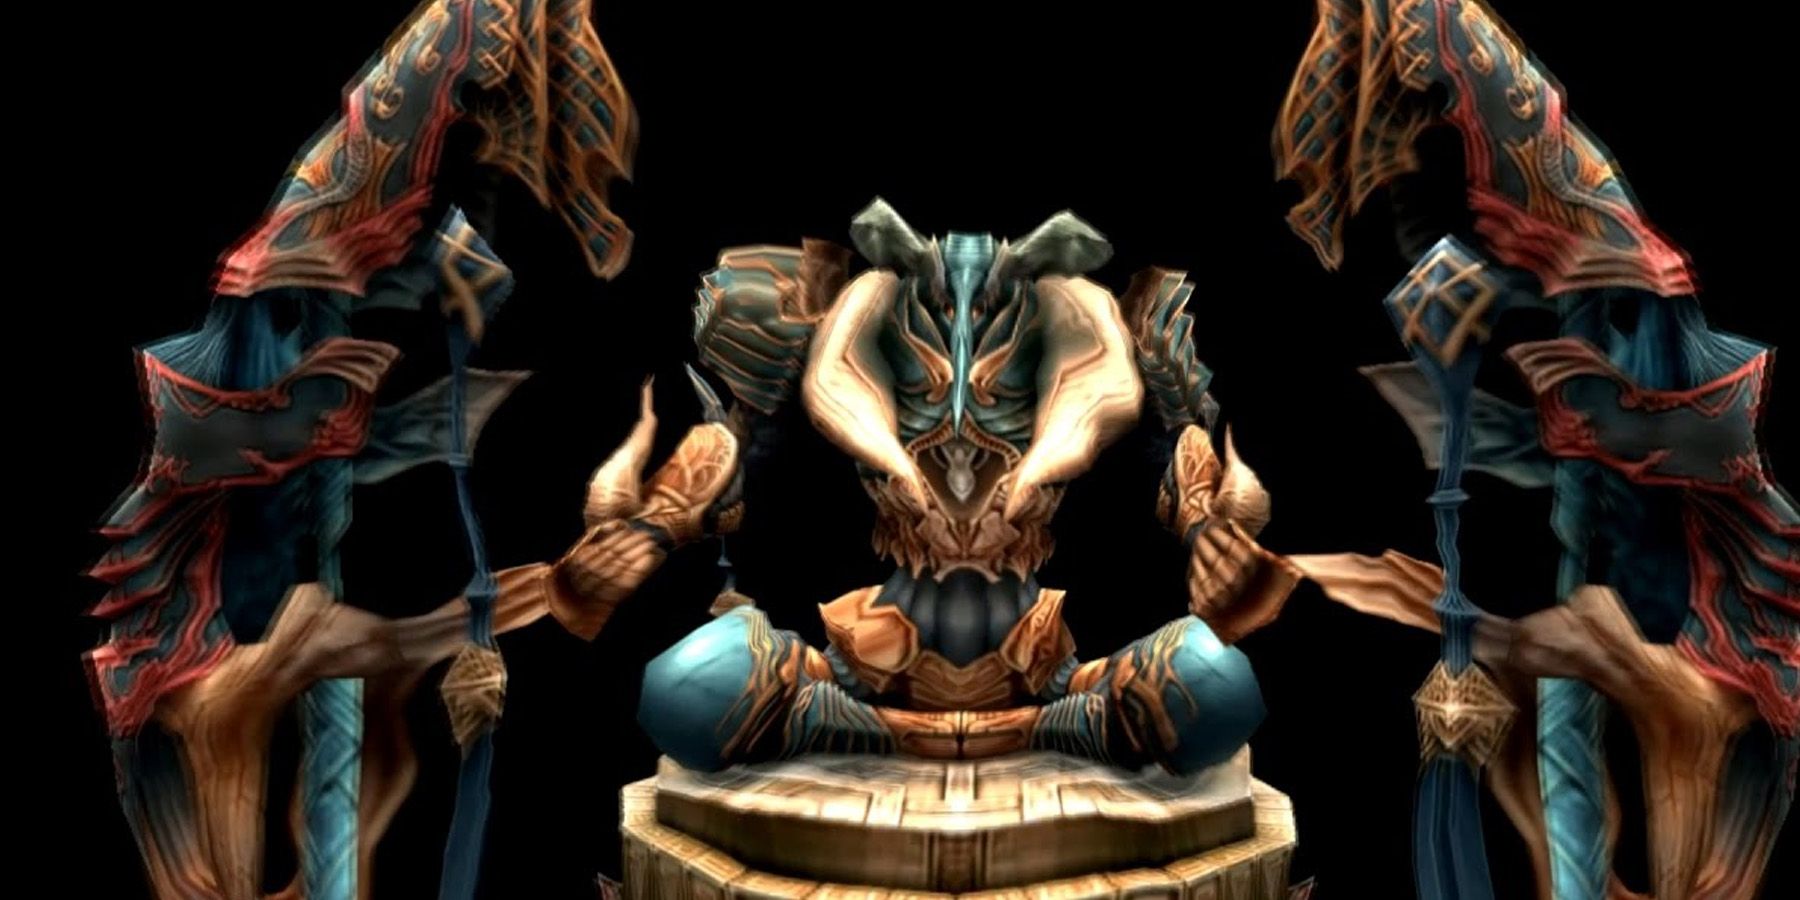
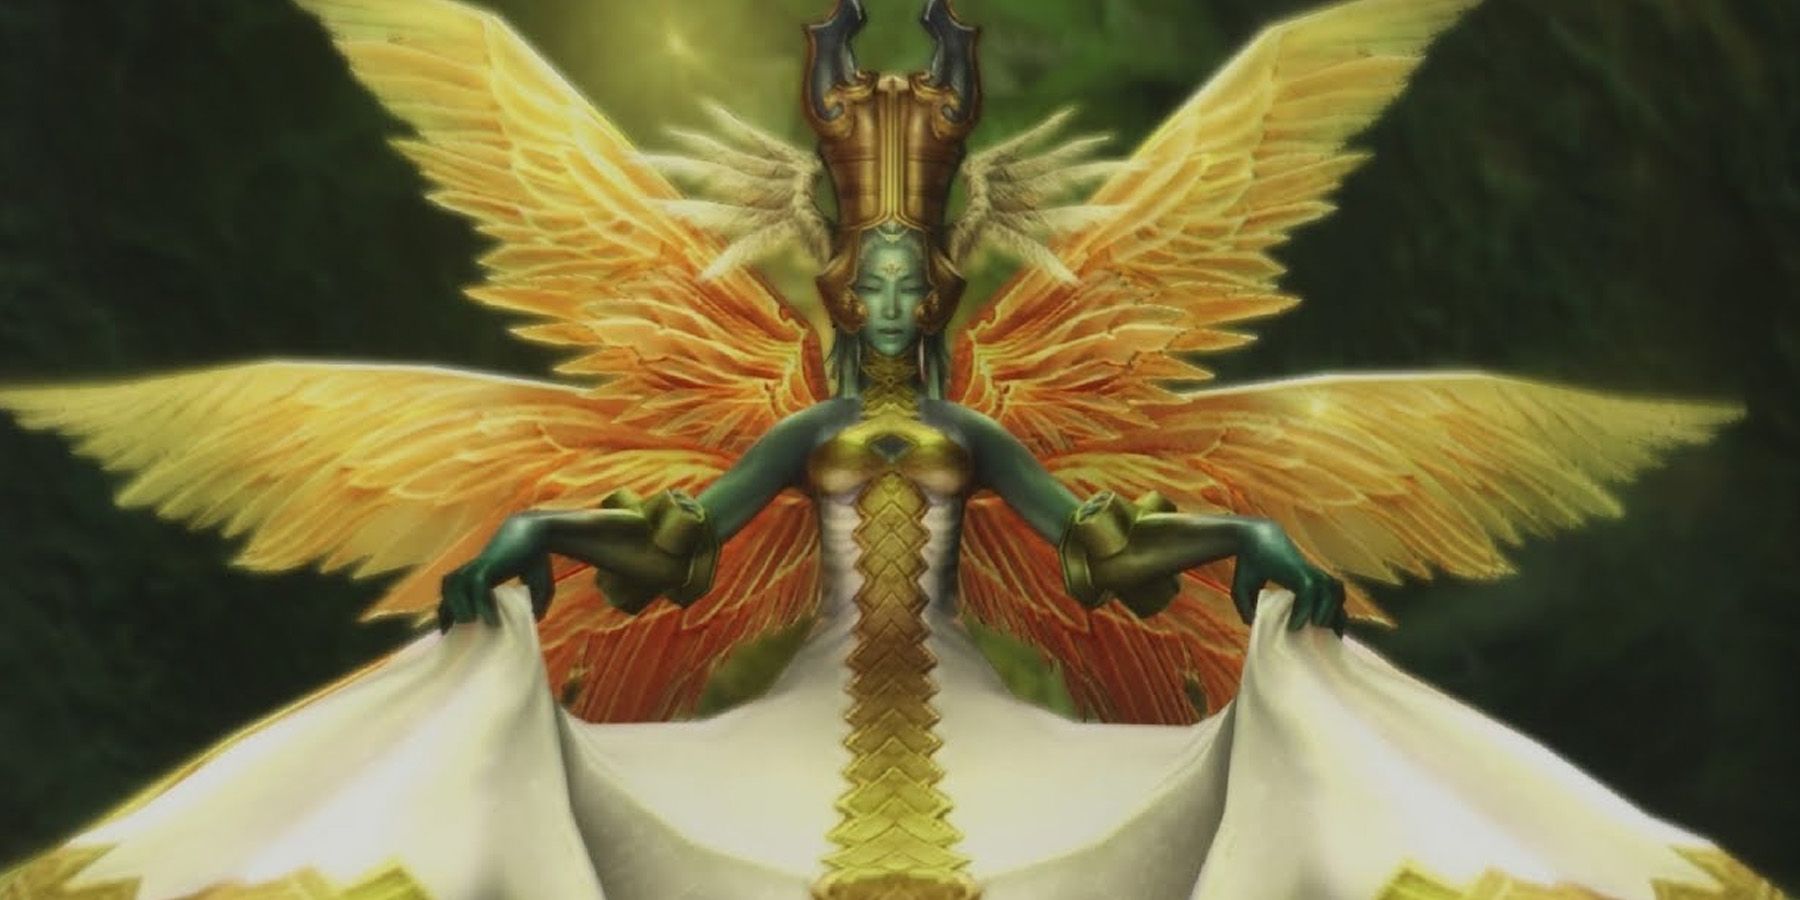
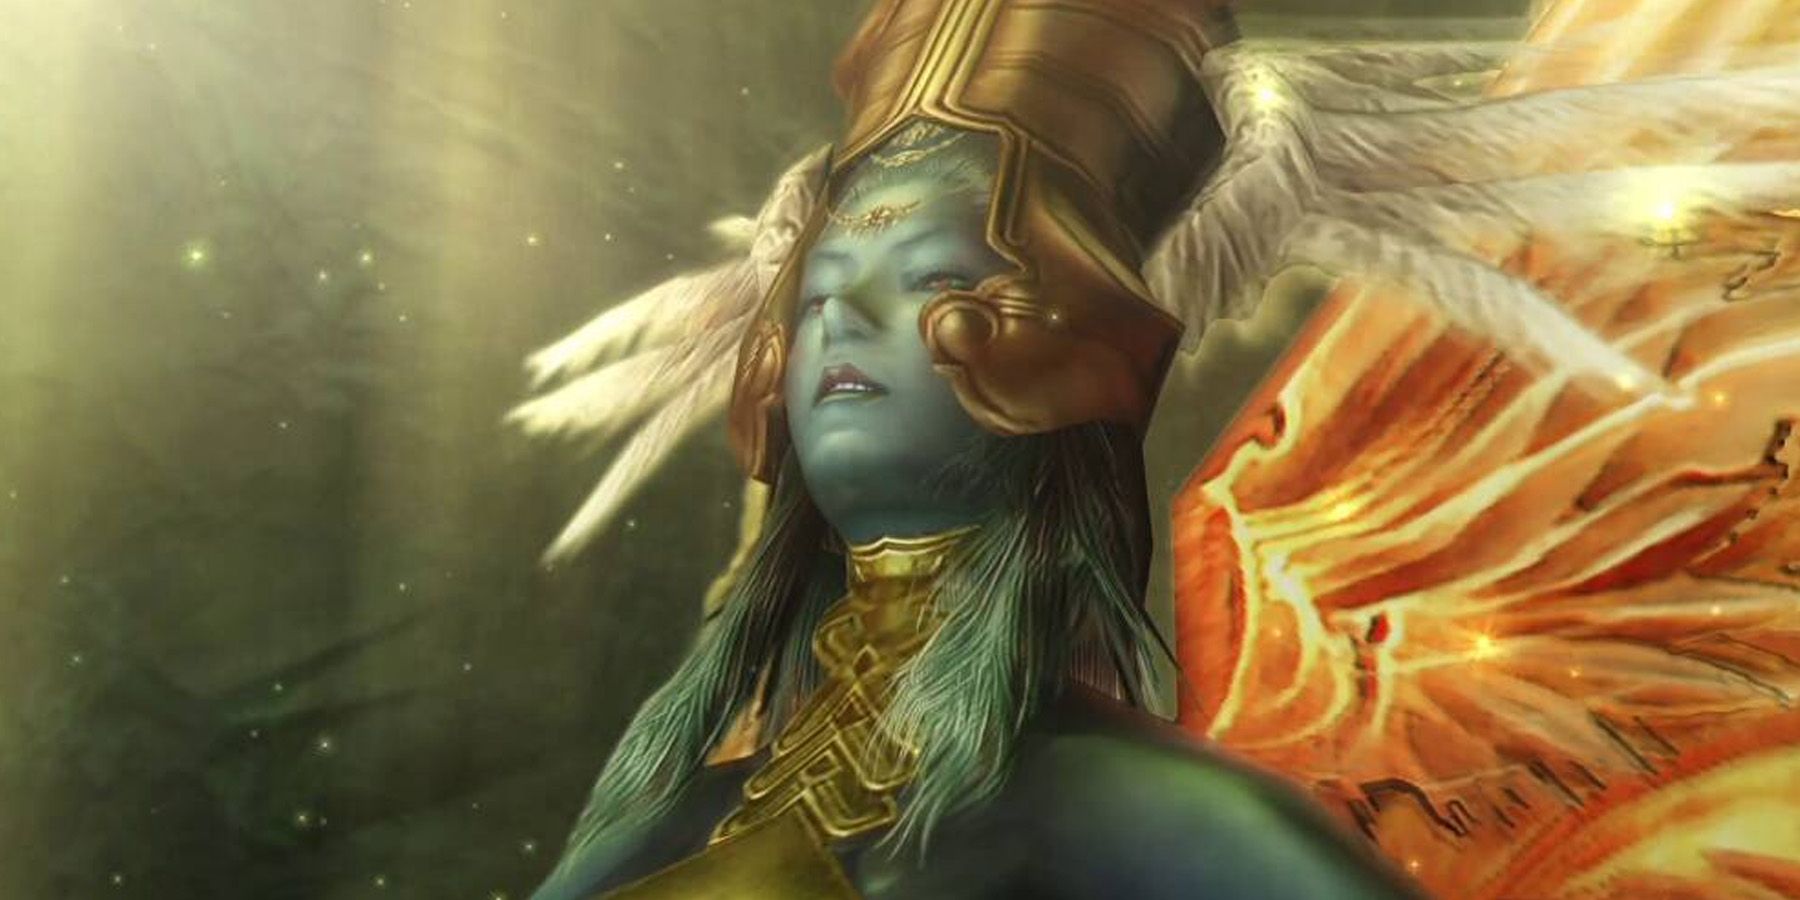
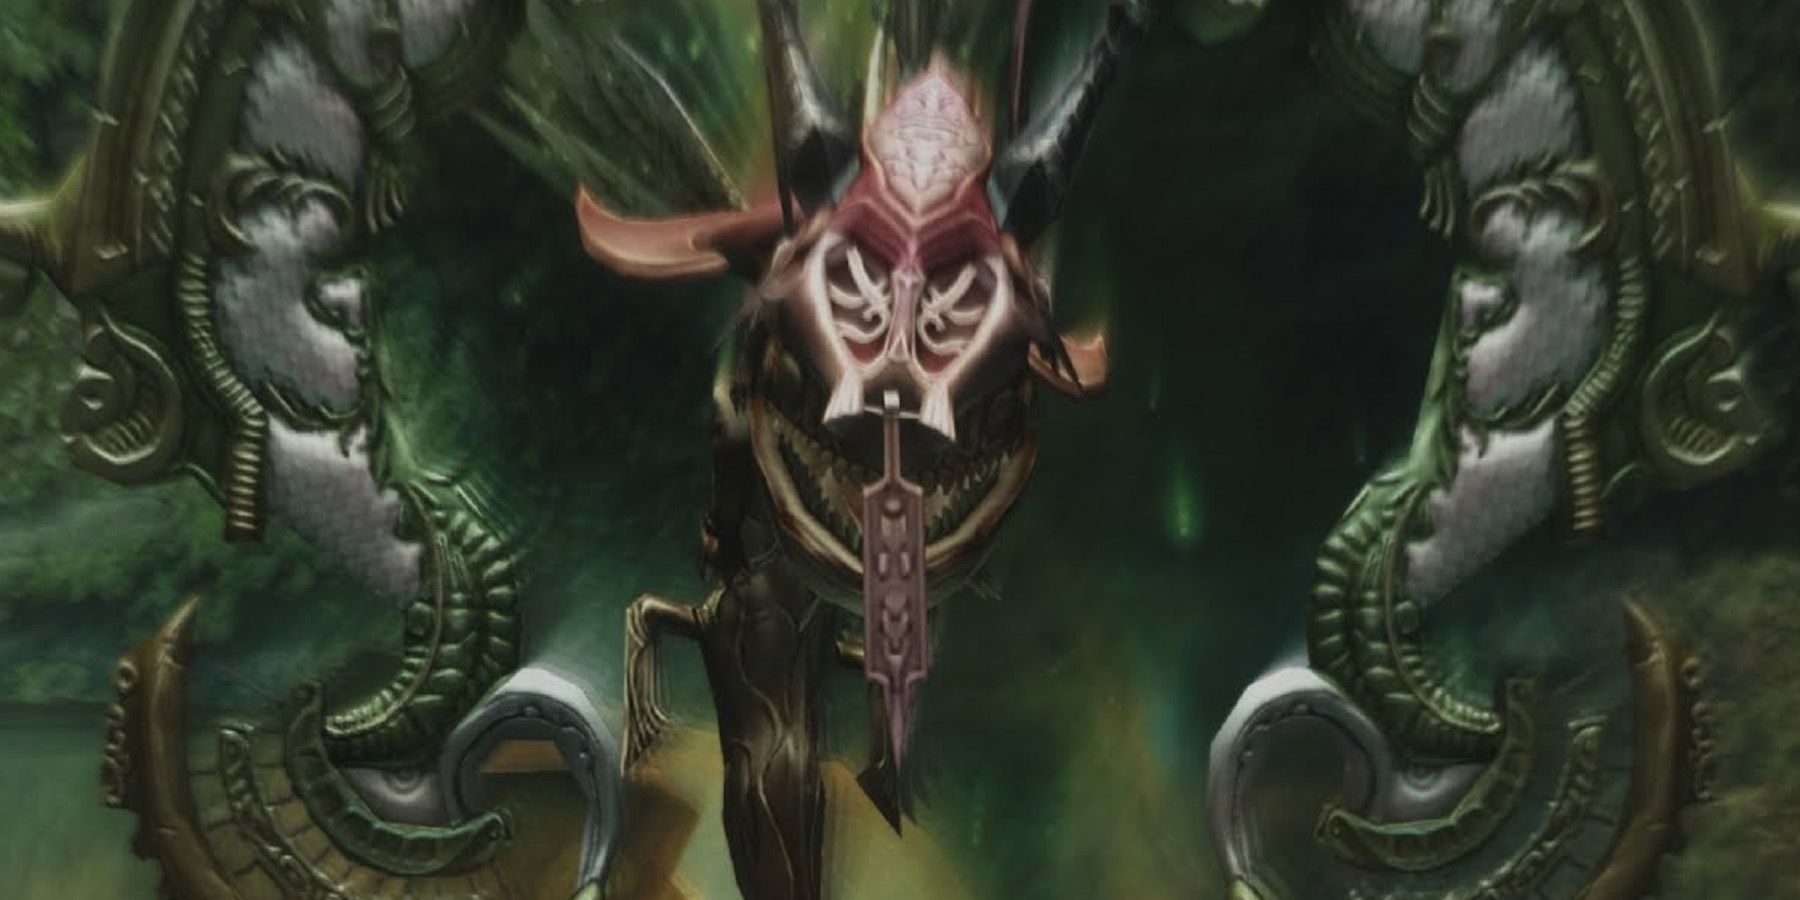
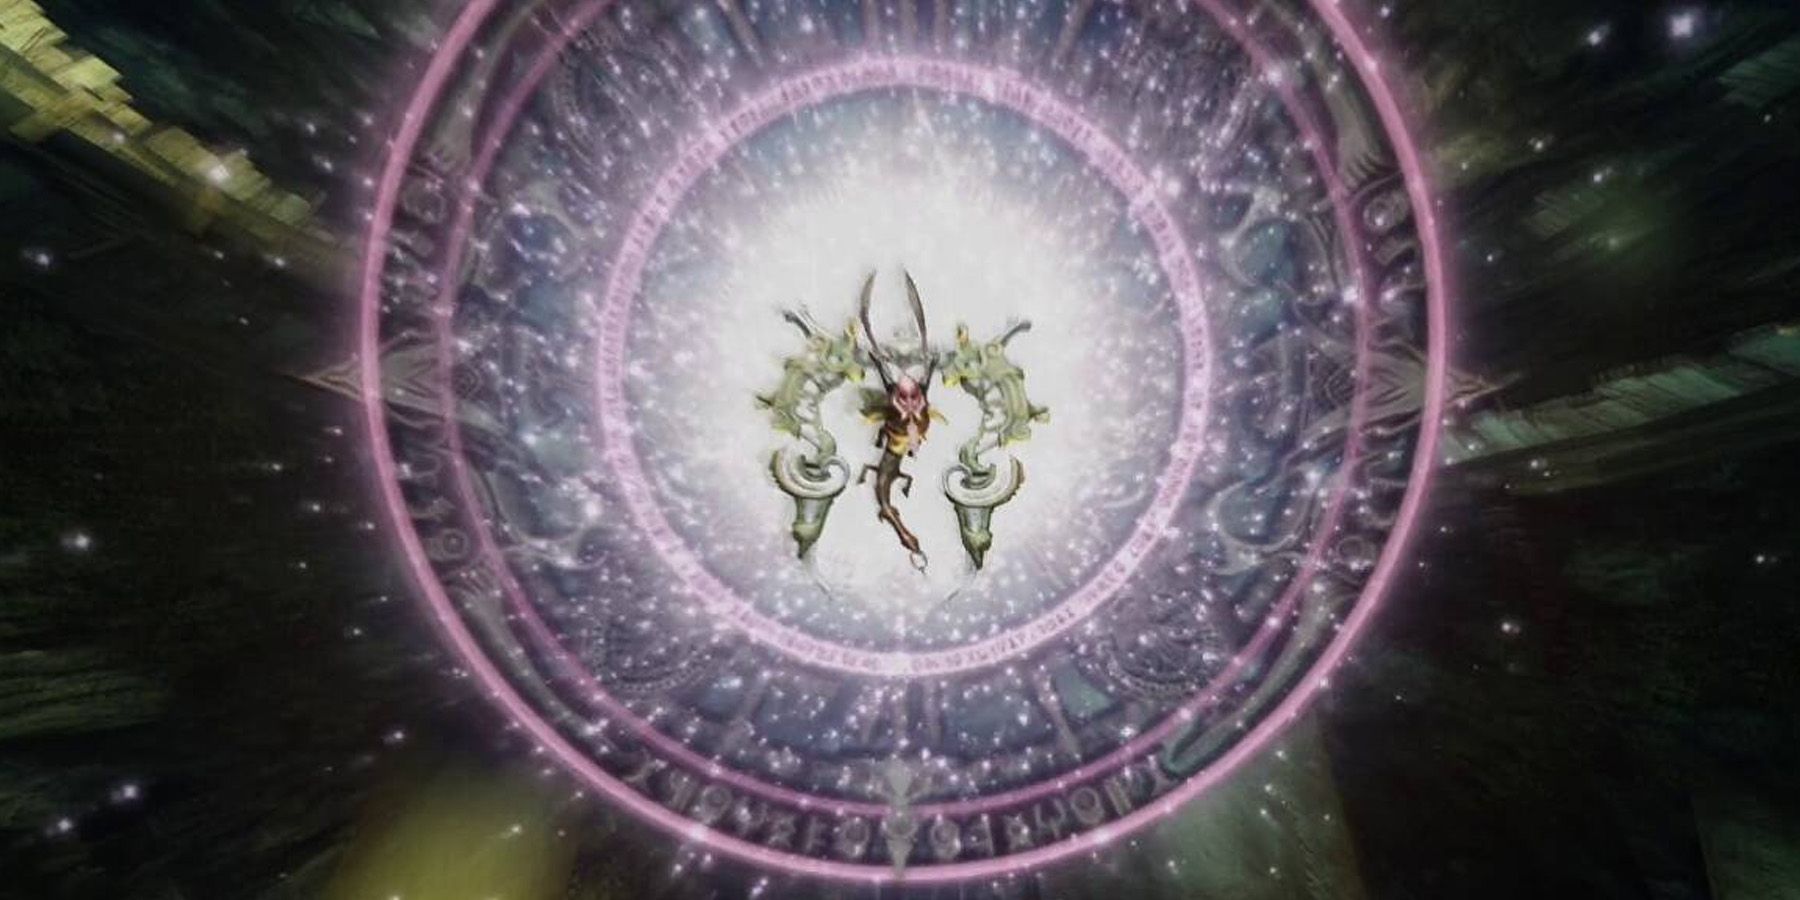
Appearing first in Final Fantasy 6, Espers are versions of Final Fantasy summons that provide powerful magic to the warriors that get to slay them. They returned in Final Fantasy 12 as demigod-like beings from the extradimensional Occuria, shunned to exist in Ivalice as powerful beasts. Vaan and his companions in Final Fantasy 12 actually encounter various Espers throughout their journey, with some of them even offering their assistance to these characters.
However, players of the Final Fantasy game might wonder just who they should assign specific Espers to. This is especially worth contemplating since each Esper offers unique advantages to combat, adding a degree of flexibility to the game’s mechanics.
All About Espers
Before players begin tinkering with assigning Espers to characters, it’s important to understand how Espers will affect the nature of the growth of characters they’re given to. Here are some things players need to consider when dealing with Espers:
- One Esper per character only: Each character in the game can only access one Esper, which means only they can get the benefits that said Esper provides.
- Espers “unlock” nodes in certain license boards: In Zodiac Age, each Job now has its dedicated license board, with some nodes in these license boards only accessed whenever that character has access to a certain Esper.
- Two Jobs unlock each other’s nodes: In Zodiac Age, each character can have two Jobs, meaning they have access to two license boards. Players who unlock one node in Job A’s license board can unlock the same node in Job B’s license board if it’s also located there. Esper choice is crucial here, as the assignment can get wasted if they unlock nodes that the player already unlocked anyway.
Vaan, Knight (Belias, The Gigas)
Unlocked as the party’s first Esper, Belias is located in the Tomb of Raithwall. Acquiring Belias allows players to assign a second Job to their characters. And considering Belias’s status as the “first” Esper, it’s best to assign Belias to a party member that focuses on defending the frontlines during the early stages of the game.
This means Belias fits the likes of Vaan, who tend to gravitate towards roles that either serve as melee DPS or defenders, such as the Knight. Of all Jobs in the game, the Knight has perhaps the most straightforward builds, and Vaan’s License Boards can benefit quite a bit from Belias’s bonuses.
License Board Unlocks
Being the first Esper in the game, Belias doesn’t have great License Board unlocks, since its effects on the character’s skill sets aren’t extremely substantial. Of its available unlocks, the Potion Lore 1 (Knight) might be the most practical, considering how it can improve Potion use in the early game.
- Bushi: Libra
- Foebreaker: Horology
- Knight: Potion Lore 1
Summon Abilities
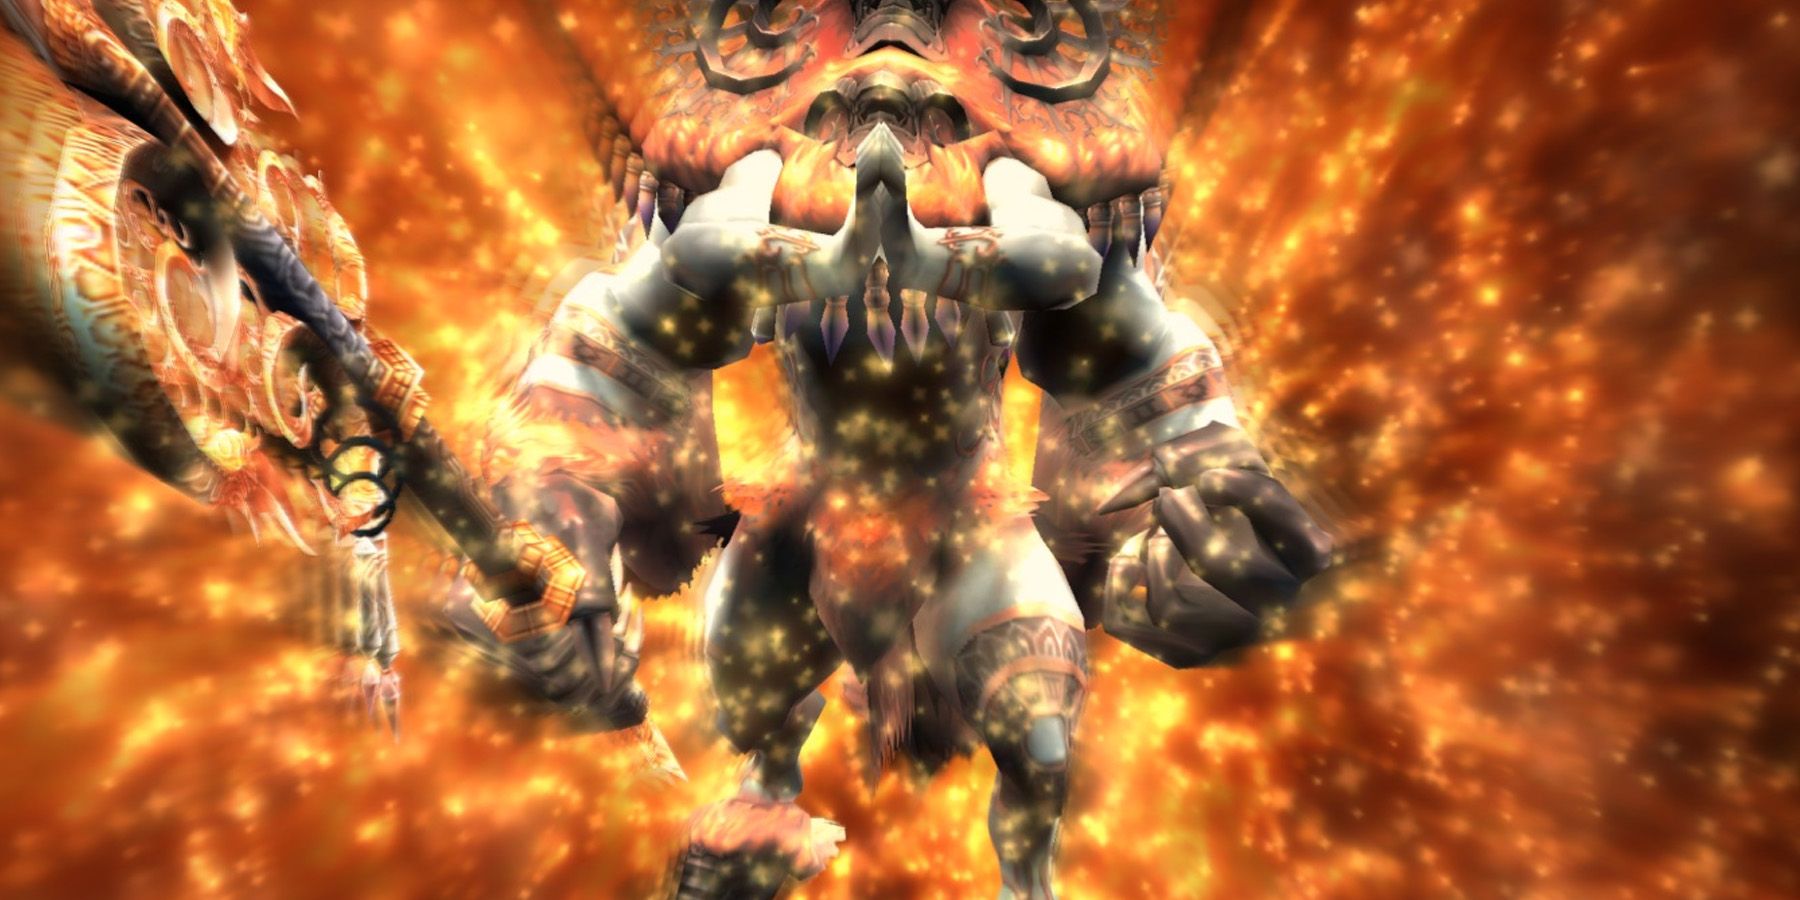
Although serving as the first Esper in the series, Belial is a potent summon once called upon. He has these abilities:
- Painflare: Serving as a more powerful version of the Fire spell, Painflare will have Belial summon fierce flames from within himself.
- Hellfire: Serving as Belial’s ultimate attack, this will have the Esper twirl his staff to summon a giant fireball. He jumps to the skies and then thrusts his staff down to the earth, prompting fire from hell itself to appear and burn everything around him.
Vaan, Knight (Mateus, The Corrupt)
A story-required Esper, players can acquire Mateus, The Corrupt in the Stilshrine of Miriam. While its bonuses do come with a wide range of benefits, its offerings for the Knight make it yet another viable Esper for the Job. As such, this means Vaan is a deserving recipient of Mateus’s blessings, particularly since the Knight benefits from License Board unlocks that give it access to powerful White Magicks.
Unlike Belias which is acquired early in the game, players who want to tap into Vaan’s potential as a healing Knight might want to skip Belias in favor of Mateus. That way, Vaan can maximize his potential as a tank and heal party members without relying on White Mages.
License Board Unlocks
Players who want to put Mateus into a character may want to choose a martial class that doesn’t have immediate access to healing spells. This will instantly make them tougher than tanks and capable of acting as secondary healers:
- Black Mage: Hand Bombs 3
- Knight: White Magick 6-7
- Shikari: Gil Toss
- Time Battlemage: HP 6 (230 HP)
- Uhlan: Magick Lore x2
Summon Abilities
When summoned, Mateus can bestow unique attacks to players that can devastate the battlefield:
- Flash-Freeze: A seemingly straightforward ice attack, Flash-Freeze is simply a boosted version of Blizzard.
- Frostwave: Contrary to Flash-Freeze, Frostwave has a unique ultimate attack. Frostwave will have Mateus charge his trident and launch it toward the enemy. This will create a column of water that engulfs and then freezes the opponent.
Balthier, Foebreaker (Adrammelech, The Wroth)
An optional encounter, Adrammelech can be located in the Zertinan Caverns via the Dalmasca Westersand (Galtea Downs) within the Athroza Quicksands zone. It’s recommended to avoid the Esper in The Balamka Fault, as the encounter here is with a powered-up Adrammelech. And similar to Adrammelech’s brutal combat encounter, his bonuses fit the powerful Foebreaker, best assigned to flashy Balthier.
Thanks to Adrammelech’s License Board bonuses, Balthier as Foebreaker may benefit from Battle Lore, especially with the kinds of weapons these tend to unlock. This allows Balthier to have access to more equipment he can experiment with, especially when he’s needed on the frontlines.
License Board Unlocks
While an optional Esper to fight, Adrammelech provides quite a lot of significant boosts to any Job it’s equipped to. The extra technicks provided to martial Jobs can improve their performance, while magicks provided for spellcasters can greatly improve their utility. Players should give Adrammelech to characters with more practical combat approaches:
- Black Mage: Hand Bombs 2
- Bushi: Souleater Technick
- Foebreaker: Battle Lore
- Shikari: Shades of Black
- Time Battlemage: Cura, Raise (Magicks)
- White Mage: Souleater Technick, Battle Lore
Summon Abilities
When summoned, Adrammelech has thunderous roars that let players know of the wrath he brings with him. He has two main abilities:
- Flash Arc: This will prompt Adrammelech to summon more powerful lightning arcs compared to the Thunder spell.
- Judgment Bolt: Serving as his ultimate attack, Judgment Bolt will have Adrammelech infuse his body with electricity as he flies at superhuman speeds. This will cause clouds to darken around him, which then prompts his supercharged body to unleash blasts of lightning on enemies.
Balthier, Shikari (Cúchulainn, The Impure)
After players complete Tomb of Raithwall, players can locate Cúchulainn in a new area within the Garamsythe Waterway. However, this can only be unlocked via the Sluice Gate Key, acquired after the Hunts “Waterway Haunting” and “Lost in the Pudding.” Of the Jobs where he offers License Board unlocks, Cúchulainn best serves the interests of the Shikari, especially with their tendencies to become mobile scouts.
Given the Shikari’s tendency to strike things at a distance with fast and loose attacks, Balthier seems like a viable Job to receive Cúchulainn’s benefits. This is especially since Protectga and Shellga allow Balthier to become a protective scout and defend allies with extra abilities in case of emergencies.
License Board Unlocks
Cúchulainn actually gives players quite the tempting License Board unlocks, with users having to choose just which unlocks would benefit their characters the most. It’s highly recommended to grab unlocks to enhance spellcaster abilities:
- Bushi: Stamp
- Foebreaker: Shades of Black
- Knight: Battle Lore
- Machinist: Magick Lore
- Red Battlemage: Firaga, Thundaga, Blizzaga, Sleepga (Magicks)
- Shikari: Protectga, Shellga (Magicks)
- Uhlan: Wither
- White Mage: Libra
Summon Abilities
Cúchulainn devastates foes in combat with his two unique abilities:
- Malaise: This non-elemental attack has properties similar to Drain, essentially a lifesteal ability that players can use to help them in a pinch.
- Blight: Cúchulainn sends himself to a forest that brings him laughter. He then jumps and unleashes his stinger, hitting the ground and injecting it wit hpoison that damages the enemy.
Vaan, Knight (Hashmal, Bringer Of Order)
A story-related unlock, players can acquire Hashmal, Bringer of Order near the end of Pharos, located within the Ridonara dungeon. Similar to Mateus, Hashmal can offer potent White Magicks to the Knight, making it an excellent source of some of the game’s most powerful White Magick spells. In turn, this makes Vaan a deserving recipient of Hashmal, provided he’s looking for a decent healing tank build.
Unfortunately, given how Hashmal is unlocked at a later part of the story, players do need to adjust to Vaan not having an assigned Esper for this particular Job. Moreover, the potential MP cost of Hashmal’s unlocks may mean Vaan has to have the right stats in order to maximize these benefits.
License Board Unlocks
The License Board unlocks of Hashmal can greatly benefit martial Jobs in need of nifty healing abilities, especially since this allows them to become more potent tanks or secondary healers. Here are some things to consider when equipping Hashmal:
- Black Mage: Hand Bombs 4
- Foebreaker: Swiftness
- Knight: White Magick 8-9
- Monk: White Magick 4
- Red Battlemage: Steal
- Shikari: Bonecrusher
- Time Battlemage: Channeling
- Uhlan: Bonecrusher
Summon Abilities
When summoned, Hashmal offers unique abilities to players throughout the fight:
- Roxxor: This move is the only offensive earth attack players get in Final Fantasy 12 that isn’t from weapons.
- Gaia’s Wrath: This ultimate attack will have Hashmal get deep into the earth and land on a rock amid flaming-hot magma. He then powers up for a jump that will have him tear earth to the surface, with rocks from his movement smashing to enemies in range.
Ashe, Black Mage (Famfrit, The Darkening Cloud)
Another story-related Esper, Famfrit, the Darkening Cloud can be unlocked once players access the end portion of Pharos located inside Ridorana dungeon. Being one of the few Espers to actively offer HP benefits, its License Board unlocks for the Black Mage make Famfrit a viable source of extra base HP for the vulnerable Job. Given Ashe and her affinity for casting spells, this character being the recipient of Famfrit makes sense.
Not only that, but the HP boost that Famfrit can provide for the Black Mage can make it a more combative Job unlike other spellcasters. Considering that Ashe tends to gravitate toward combat-oriented builds, she won’t suffer as many defensive detriments with high-enough HP.
License Board Unlocks
Compared to other Espers, players can use a lot of nifty Time Magicks that Famfrit can unlock for them. Aside from that, there are some beneficial unlocks for other Jobs that can benefit them depending on their needs, particularly special magicks and HP bonuses:
- Archer: HP 10-11 (825 HP)
- Black Mage: HP 5-6, 8 (730 HP)
- Foebreaker: Magick Lore
- Machinist: Time Magick 8 - 10
- Monk: White Magick 10
- Red Battlemage: Battle Lore x 2
- Time Battlemage: Battle Lore
- Uhlan: Battle Lore
- White Mage: Daggers 5, Numerology
Summon Abilities
When summoned in battle, Famfrit boasts the following abilities:
- Briny Cannonade: This water-based attack allows Famfrit to launch a powerful wave of water from inside his ewer.
- Tsunami: The ultimate attack of Famfrit, this will trigger the Esper to swing the chain of his ewer, as though “charging” it. The attack ends when he tips the ewer and spills its contents, with seemingly-endless water creating waves that attack the opponent.
Penelo, Time Battlemage (Zalera, The Death Seraph)
Unlike other optional Espers, acquiring the opportunity to fight and obtain Zalera, the Death Seraph can be quite tricky as it can only be accessed in a Barheim Passage hidden area. This begins after completing the “Dalmasca’s Desert Bloom” hunt, going to North Bank Village, and healing “Dran?” in the hut behind Dantro’s Wife. Despite the difficulty in obtaining Zalera, the Esper’s License Board unlocks can greatly benefit the Time Battlemage.
With Penelo gravitating toward the Time Battlemage Job, the Ether Lore 3 unlocks from Zalera give Penelo quite the boost in MP restored whenever she uses Ether. Considering the flexible skillset and spell list of the Time Battlemage, the extra MP per Ether used could be very well worth the while.
License Board Unlocks
The License Board unlocks for Zalera is quite tricky, as its provisions aren’t extremely mind-blowing compared to its benefits. Of its unlocks, Traveler isn’t as powerful given its step-based damage, whereas Steal isn’t extremely beneficial given its early-game acquisition. Its extra weaponry provision can be helpful, and the additional Health can benefit in the late-game as the benefits do allow HP to exceed 9999 even if the gauge cannot show it.
- Black Mage: Steal, Poach
- Bushi: Bloodsword, Karkata
- Foebreaker: Traveler
- Shikari: HP 11 (435 HP)
- Time Battlemage: Ether Lore 3
Summon Abilities
When summoned, Zalera boasts two extremely powerful abilities:
- Kill: A straightforward-enough ability, this inflicts Instant Death to any foe that doesn’t have the Safety passive ability. Unfortunately, enemies killed this way won’t give loot, License Points, or Experience Points.
- Condemnation: Serving as Zalera’s ultimate attack, the Esper will warp the target into another world and reveal a screaming mouth from within his right arm, attacking the enemy with conjured twisters.
Ashe, Red Battlemage (Exodus, The Judge-Sal)
Although an optional Esper, players can acquire Exodus, the Judge-Sal after finishing the events of Mt. Bur-Omisace and the Stilshrine of Miriam. Players need access to the Empyrean Seat within Babbling Vale, which can be done after a series of tasks in the Mosphoran Highwaste after repairing the gate to Phon Coast. Despite the long route players have to take to fight Exodus, its benefits for the likes of the Red Battlemage make it worth the while.
With Ashe gravitating towards combat magics, it makes sense for her to become a Red Battlemage. And while Red Battlemages have the ability to wear armor and use melee weapons on top of magic, their martial prowess isn’t ever going to be on par with other Jobs. With Exodus unlocking Heavy Armor 8-10, Ashe can very well be a combat magic powerhouse.
License Board Unlocks
Similar to the neutral judgment of Exodus, there are a lot of neutral node unlocks that the Esper provides to Jobs. Not a lot of them are necessarily “coveted” considering how some Jobs can already make their builds more powerful with the right combination, but it’s perhaps helpful to look for ways to improve the spellcasting capabilities of martial classes or the melee capacity of spellcasters:
- Black Mage: Heavy Armor 9
- Bushi: Magick Lore x 2
- Foebreaker: Magick Lore x 4
- Knight: HP 9 (350 HP)
- Machinist: Green Magick 1
- Monk: Souleater
- Red Battlemage: Heavy Armor 8-10
- Time Battlemage: Battle Lore
- White Mage: Battle Lore
Summon Abilities
When summoned, Exodus can perform:
- Comet: A non-elemental attack that has damage equal to either 0 or the Max HP of Exodus.
- Meteor: A non-elemental attack that serves as his ultimate ability, Exodus launches two meteorites into the atmosphere, which then converge into a gigantic meteorite that detonates above its target.
Fran, Archer (Shemhazai, The Whisperer)
Unlockable through the story mode, players can get Shemhazai, the Whisperer once they finish the Great Crystal and Giruvegan story events. And while Shemhazai seems like an easy-peasy Esper to obtain, her License Board unlocks can benefit certain Jobs greatly when used correctly, particularly the Archer – a Job that Fran naturally leans towards.
Thanks to Heavy Armor 10-12 node in the License Board, Shemhazai allows Archers to wear some of the strongest Heavy Armor in the game, permitting them to go toe-to-toe against the title’s toughest foes without worrying about their safety in melee. For gambits that rely on precision aim in critical areas, the safety net the Heavy Armor offers is something players can’t ignore.
License Board Unlocks
Unlike other Espers, Shemhazai, the Whisperer seems the most potent when equipped with either an Archer or a Red Battlemage. Aside from the benefits for these classes, Shemhazai’s unlocks can open up a lot of nifty equipables:
- Archer: Heavy Armor 10-12
- Black Mage: Heavy Armor 7
- Bushi: Shield Block
- Knight: Potion Lore 2
- Machinist: Hand Bombs 3
- Monk: Potion Lore 3
- Red Battlemage: White Magick 7
- Shikari: Guns 5-6
- White Mage: HP 6 (230 HP)
Summon Abilities
When summoned, Shemhazai can help players win fights with these two abilities:
- Devour Soul: While this is a non-elemental attack, Devour Soul is an attack with a unique damage mechanic where Shemhazai’s Max HP is divided by a random number from 1 to 10.
- Soul Purge: Serving as her ultimate attack, Soul Purge will have Shemhazai stand on a cliff under the moonlight. She then uses her guns to shoot pure soul energy toward enemies in range.
Penelo, Time Battlemage (Zeromus, The Condemner)
An optional Esper encounter, players can confront Zeromus, the Condemner via the Stone of the Condemner, obtainable via the Nu Mou Acolyte in Mt. Bur-Omisace after the events in the same area as well as the Stillshrine of Miriam. While optional, acquiring Zeromus for a Time Battlemage can give it some of the best Technicks in the game.
With Penelo as a Time Battlemage, players can use her to fight some of the peskiest magic-users in the game. Zeromus gives her access to both Addle and Shear, allowing her to lower an opponent’s Magick Attack and Resist respectively, leaving them open to powerful magical attacks but at the same time not giving them enough room to counter.
License Board Unlocks
The Condemner has a lot of great License Board Unlocks that can condemn opponents, depending on the right use. It’s always helpful to have unlocks that boost the spellcasting capabilities of mages or nifty debuff capabilities of other classes:
- Black Mage: Heavy Armor 9
- Bushi: Magick Lore x2
- Foebreaker: Magick Lore x4
- Machinist: Hand Bombs 4
- Monk: Sight Unseeing
- Red Battlemage: Channeling
- Time Battlemage: Addle, Shear
- White Mage: HP 7 (270 HP)
Summon Abilities
When summoned, players can rely on Zeromus for its two attacks:
- Gravity Well: A unique fractional damage attack, Gravity Well’s damage is dependent on Zeromus’s Max and Current HP.
- Big Bang: Another fractional damage attack, Zeromus’s ultimate attack will have him summon a cosmic vortex and open his shell. This allows him to charge a gravity spell that he unleashes to wreak havoc on his enemies.
Basch, Monk (Chaos, Walker Of The Wheel)
Facing Chaos, Walker of the Wheel requires quite a lot of key items before unlocking his area, the search of which begins after the Hunts “Waterway Haunting,” “Lost in the Pudding,” and “Crime and Punishment.” Players then need the Blackened Fragment, Grimy Fragment, Dull Fragment, and Moonsilver Medallion to gain access to three other medals – the Medallion of Bravery, Lore, and Lusterless Medallion – which then unlocks a new area in the Necrohol of Nabudis.
While optional, Chaos offers a lot of powerful License Board unlocks to characters it’s assigned to. This is more obvious with the Monk, befitting a more combat-oriented character like Basch, especially considering Chaos' White Magick unlocks. Essentially, Basch as a Monk will now have a slate of protective White Magicks to ensure he stays safe in the frontlines while at the same time giving him the capabilities of protecting his team.
License Board Unlocks
As appropriate with the rather difficult nature of unlocking the Chaos fight, his License Board unlocks can become extremely beneficial depending on the right assignment. Spellcasters can benefit from the extra powerful spells, while martial classes can work with the extra spellcasting capabilities provided by Chaos:
- Archer: Magick Lore x 5
- Bushi: Brawler
- Knight: Excalipur, HP 10 (390 HP), Revive
- Machinist: HP 9 (350 HP)
- Monk: Esunaga, Protectga, Shellga, Holy (Magicks)
- Red Battlemage: Ultima Blade (Equippable)
- Time Battlemage: HP 7 (270 HP)
- Uhlan: Aeroga, Bio, Blindga, Silencega (Magicks)
- White Mage: Defender, Save The Queen (Equippable), HP+310
Summon Abilities
When Chaos walks the wheel, enemies run in fear. His summoning lets him do the following abilities:
- Whirlwind: This wind-based attack damages its target by half of their HP.
- Tornado: Serving as the ultimate attack of Chaos, this will send the Esper to outer space where four swords begin to revolve around him. These swords eventually form a square pattern, summoning a square crest that emits light and winds that eventually damage opponents.
Basch, Monk (Ultima, The High Seraph)
While optional in terms of encounters, Ultima, the High Seraph is probably one of the best Espers in Final Fantasy 12. Located near the very end of the Giruvegan area after acquiring the Treaty Blade, Ultima can be one tough cookie to crack. Regardless, getting Ultima assigned to a fast character like Basch as a Monk can make him easily one of the best melee DPS characters in the game.
Seemingly straightforward, Ultima gives Monk the Swiftness x2 node unlock in their License Board. Despite its simple name, Swiftness can give at least 12-percent boosts to the character’s charge meter, allowing them to perform tasks much faster compared to everyone else.
License Board Unlocks
Despite the difficulty in the initial battle, Ultima has quite the efficient unlocks for certain Jobs. Swiftness is arguably one of the best passives in the game as it reduces action time by 10-percent, with Expose a close second benefit for other Jobs:
- Archer: Infuse
- Black Mage: Telekinesis
- Bushi: Stamp
- Foebreaker: Swiftness
- Knight: Battle Lore, Telekinesis
- Machinist: Magick Lore x3
- Monk: Swiftness x2
- Red Battlemage: Greatswords 1-2
- Shikari: Potion Lore x2
- Time Battlemage: Swords 7-8
- Uhlan: Expose
Summon Abilities
When summoned, Ultima boasts extremely powerful attacks that befit her name:
- Redemption: Ultima’s basic attack is an extremely powerful holy-element attack, one where she charges a beam toward her foes.
- Eschaton: Serving as Ultima’s ultimate attack, she flies into space and attacks her targets with a cannon from within her dress.
Vaan, Bushi (Zodiark, Keeper Of Precepts)
Perhaps the “ultimate” Esper, Zodiark, Keeper of Precepts is an optional encounter unlocked after collecting ten other Espers and finishing “The Mine Flayer” Hunt. Zodiark is faced at the end of the new high-level area in Henne Mines, which can be accessed after talking to Geomancer Yugelu. It’s best that players strive to unlock Zodiark and assign him to a character like Vaan after taking the Bushi role, as this endows him with the capabilities of being one of the best melee fighters in Final Fantasy 12.
When assigned to a Bushi, Zodiark unlocks Heavy Armor 9-11, allowing Vaan to wear the game’s strongest available armors. This allows him to persevere on the frontlines without being hindered by much threats, letting him pulverize enemies with Technicks without much trouble.
License Board Unlocks
Acquiring Zodiark after a lengthy battle at the end of the dreaded Henne Mines unlocks a lot of high-end equipment to Jobs that could otherwise not easily obtain them. Outside that, acquiring Renew is probably the next best License Board unlock for classes that need the nifty healing option:
- Archer: Infuse, 1000 Needles
- Bushi: Heavy Armor 9-11
- Knight: Excalipur, HP 10 (390 HP), Revive
- Machinist: HHP 10 (390 HP)
- Monk: White Magick 13
- Red Battlemage: Greatswords 4
- Time Battlemage: Swords 9
- White Mage: Greatswords 1
Summon Abilities
When summoned in battle, Zodiark is a menace to behold and has these abilities:
- Banish Ray: Despite being its basic attack, Banish Ray is a dark-elemental attack that is powerful against those who can’t resist Dark Element.
- FInal Eclipse: Serving as Zodiark’s ultimate attack, the Esper conjures an eclipse and falls into a sea, prompting an egg rising in the surface. It hatches and reveals Zodiark’s second form, that of a winged serpent, whose wings unleash powerful blasts of energy that obliterate its surroundings.
Final Fantasy 12: The Zodiac Age is available on PC, PS4, Nintendo Switch, and Xbox One.

