Illumina Pokemon play a central role in the story of New Pokemon Snap. These mysterious creatures are quite literally the stuff of legend and can typically be identified by their signature glowing aura. Throughout the game, players will be helping Professor Mirror to investigate the Illumina phenomenon by tracking down and photographing these magnificent Pokemon.
There are six Illumina Pokemon in total, although they only show up in certain locations. Players will need to gain access to special areas known as Illumina Spots and then figure out how best to photograph the creatures for the professor's research. This is usually pretty straightforward, although one or two of them can be a little tricky for first time players or those with poor aim.
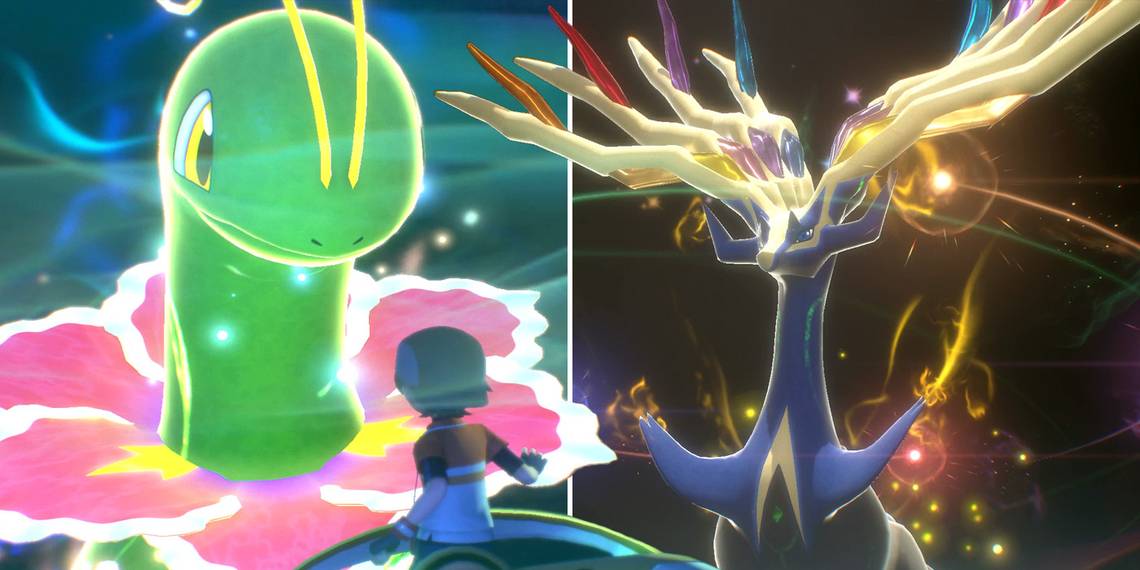
Meganium (Florio Island Illumina Spot)

Before players can take a trip to Florio Island's Illumina spot, they'll first need to complete a single run of the Park (Night) course. After doing so, Professor Mirror will inform them about a strong energy reading that he's picked up and ask them to head over to the Illumina Spot to investigate. After the conversation ends, players can select the course from the Florio Nature Park section of the map.
Upon arrival, they'll be greeted by a glowing Meganium that serves as the game's first Illumina Pokemon. As tempting as it may be to start snapping right away though, the game will only allow players to submit pictures of the Pokemon while it's basking in the light of a glowing Crystabloom which happens about one minute into the course. After getting a few good photos, it's then simply a case of waiting to return to the lab and hand one of them in.
Volcarona (Voluca Island Illumina Spot)

The next three Illumina Spots can be visited in any order, although to unlock the one on Voluca Island, players will first need to reach research level 2 in the Volcano course and then play through it again to exit near the ruins entrance. Once completed, there'll be another conversation with the Professor in which he mentions another strong energy reading and the Illumina Spot will be added to the Fireflow Volcano course select menu.
As soon as players begin the course, they'll see a pair of Volcarona flying around. To begin with though, they're protected by a shield of fire and so players will need to hit them with a few Fluffruit in order to remove it. Once their shields are down, a well placed Illumina Orb will cause them to start glowing and it's at this point that players can start taking pictures.
Milotic (Belusylva Island Illumina Spot)

In order to unlock the Illumina Spot on Belusylva Island, players will have to reach research level 2 in the Elsewhere Forest course, which shouldn't take more than one or two runs. Upon doing so, returning to the lab will prompt yet another conversation about unusual energy readings and the course will be added under the Elsewhere Forest menu.
Much like some of the earlier Illumina Pokemon, any photographs taken of Milotic before it's properly glowing won't be counted. This wouldn't be a problem were it not for the fact that the Pokemon stays underwater, so players will need to hit it with Fluffruit until it surfaces and then nail it with a quick Illumina Orb. From here, any picture will do providing that the Pokemon is still glowing.
Wishiwashi (Maricopia Island Illumina Spot)

Gaining access to the Illumina Spot on Maricopia Island can be a little tricky. First, players will need to photograph Frillish in the Undersea course by coaxing it out of its cave with a Fluffruit. This will unlock the pink Illumina Orbs, which can then be used to make a Clawitzer destroy a boulder and unlock a new route down to the very depths of the sea floor. After completing this new route, the Illumina Spot will be added to the Lental Seafloor course select screen.
Wishiwashi is a little different to the other Illumina Pokemon in that it has two different forms. It starts out in its solo form, but if players hit enough of the little Wishiwashi with Illumina Orbs they'll all eventually swim away and return in their large, glowing school form. All players need to do now is to snap a decent picture of it and then hand it in to the professor to move the story along.
Steelix (Durice Island Illumina Spot)

After reaching research level 2 in Outaway Cave, re-entering the course will lead to players taking an alternate route. At the very end of the course, they'll need to scan a large green stone which provides Professor Mirror with information about the whereabouts of the next Illumina Spot. It will show up in the Outaway Cave course menu as soon as the resulting conversation comes to an end.
Upon their arrival, players will encounter a Steelix which loves to hide in cracks and crevices. Throwing Fluffruit into the holes and craters, however, will cause it to come back out and provide plenty of great photo opportunities in the process. If players are struggling to figure out where exactly to throw their Fluffruit, they can simply scan the surrounding environment to get a better idea of where the Pokemon is lurking.
Xerneas (Aurus Island Illumina Spot)

To unlock the game's final Illumina Spot, players will need to make their way to the Ruins of Remembrance. In the underground section of the Ruins course, they'll find a number of monuments around a central pillar. Each one has a Crystabloom nearby that needs to be hit with an Illumina Orb to progress. Most of these are quite easy to find, although there's one behind a Golurk (the one with the Natu on its shoulder) which can be easy to miss.
Upon arriving in the Aurus Island Illumina Spot, players will be met by Xerneas, although it will quickly transform into a glowing ball and start flying around the course. Players will need to hit it with an Illumina Orb in order to get it to turn back into its solid form and it's not until they do so that they'll be able to snap a photo. The ball does move pretty quickly, but the path that it takes is fairly predictable, so players shouldn't have too much trouble hitting it.