Castle Thorn is the main dungeon included in the Stonethorn expansion to ESO. Unlike many of the other max-level dungeons, Castle Thorn only has one hard mode boss. With a dedicated squad, the first four bosses should not pose too much of a threat. However, even skilled ESO players will have a difficult time defeating Lady Thorn on hard mode.
This guide will focus on basic strategies for the first four bosses and cover the final boss fight in more detail. Those that survive the castle's five bosses will be rewarded with epic items and gear for their efforts.
Preparation & Initial Boss Fights

Players can use the dungeon finder tool to queue for a Castle Thorn group. To successfully defeat all of the bosses, each group will want to have a tank, healer, and two DPS characters. Each boss has 3.6+ million health, and every group will need a damage boost. On hard mode, Lady Thorn has 22 million health, and squads with just one DPS will have a hard time getting her health bar down. Apart from that, all of the typical dungeon roles and strategies will apply.
Dread Tindulra
The first boss should not take very much time to defeat. One of the attacks players need to look out for is when the boss performs a slam attack that will target and stun one of the people in the party. One of the other squad members will need to attack the boss to interrupt the stun. Tanks will want to save their ultimate for when the adds spawn in; that way they stay away from the DPS and healer.
Blood Twilight
Blood Twilight is a flying boss that has the lowest health pool of all the bosses. DPS characters can spam their AOE attacks and the giant dragon will die in less than a minute. The key to killing this creature is focusing damage as soon as he spawns in. If groups kill him fast enough, the boss will be unable to initiate an attack that causes high damage on the center platform. Everyone in the group should ignore the adds, and lay down damage until Blood Twilight is killed.
Vaduroth
The third boss in Castle Thorn has two potentially deadly attacks. The scythe attack can be dangerous if all of the characters dodge in the same direction. If that happens, everyone in the squad will be pulled together and explode, which is a good way to get the entire squad wiped at the beginning of the fight. Teams should coordinate the directions of each player's dodge.
Vaduroth will spawn a Reanimated Vampire, which can cause problems if it is not immediately dealt with. Tanks will need to taunt and kite the enemy until it is defeated. Healers and DPS can get killed by just one of the Vampire's attacks. With a fast tank, the Vampire will not be a problem.
Talfyg

Talfyg will pose a true challenge for squads. One of the main reasons the boss poses a threat is his devastating heavy attack. Fortified tanks will not be able to take the attack on the chin. The tank may survive the blow, but the bleed damage will continue to siphon health from the player. It is obvious when Talfyg is about to initiate the heavy attack, at which point everyone needs to run and dodge.
After the boss does the heavy smash attack, a large pool of blood will deal AOE damage to anyone within its radius. Another of the boss' attacks is a stream of blood that locks on to each character's position. Each person in the group will need to move away from the stream to survive. Squads can decide to fight the Gargoyles that spawn in, or nuke the boss before they have the chance to join the fight.
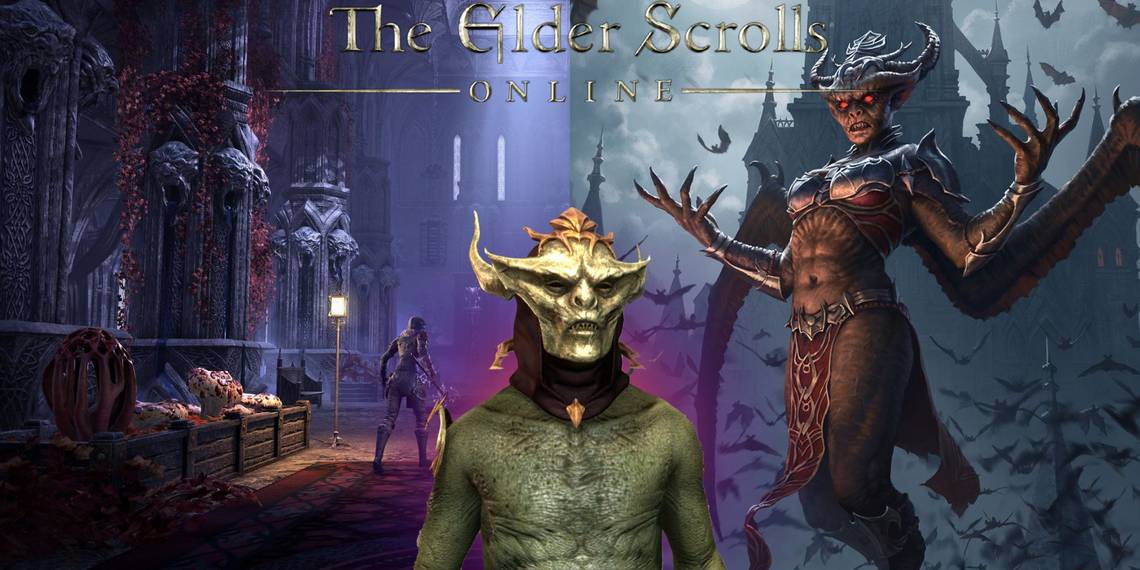
Lady Thorn

The final challenge for groups is Lady Thorn. On veteran difficulty, Lady Thorn has just 7.4 million health. However, she will have three times the health and inflict three times the damage on hard mode. When fighting Lady Thorn, there are a few tactics everyone should keep in mind.
As soon as the green AOE circle pops up, every member of the group has to get in the circle. Anyone caught outside of it will be killed by the bat swarm. There will be a couple of phases with moving safe bubbles as well.
Lady Thorn has an endless number of AOE attacks. Gamers should try to avoid them, but taking damage from a couple of them is not the end of the world. At the end of each phase, she will disappear and unleash a devastating attack right where she vanished. Another thing players will want to avoid is the invisible charge attack, as those that fail to block it will certainly be killed.
Moving Bat Swarms
At 60% and 20% health, Lady Thorn will glow red and the green safe bubble will appear. This time, the swarm will move throughout the room. Meanwhile, Lady Thorn will perform her charge attack from time to time. While staying in the bubble, tanks will need to taunt the Scavengers into it. Gamers will need the orbs dropped by the Scavs to survive before all four are killed. Once all four are collected, they need to be thrown at the boss to end the phases.
Final Phases
In the last swarm phase, the safe bubble will move around the room a lot faster. More AOE attacks will cover portions of the circle, forcing players to absorb more damage. Apart from that, follow the same steps above to get into the final phase of the fight.
At this stage, the swarm will remain in the room, but Lady Thorn will appear in the safe circle. Squads will have to juggle the circle, AOE attacks, and Lady Thorn's charges. This final phase is extremely chaotic, so everyone will need to be aware of all the threats while dealing damage to the boss. With concentration and persistence, Lady Thorn can be defeated.