
Quick Links
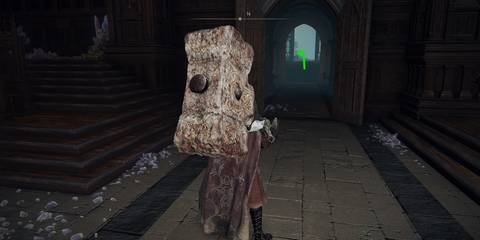
The Four Belfries is one of the stranger landmarks in Elden Ring's world, the Lands Between. It's a mysterious set of Waygates built by some unknown creator upon a hill where four different stand-alone Belfries are crafted to be tall enough so as to be easy visual landmarks for passersby.

Elden Ring: All The Obvious Berserk References Throughout The Game
Fans have been obsessed with comparing every aspect of Elden Ring to Berserk since the game was released, but how many actual references are there?At the base of each one of these belfries is a Waygate leading who-knows-where. But, players won't be able to just walk up to these gates and transport through them right away. First, Elden Ring players will need to unlock the mysterious seal of the Imp Statue 'guarding' each Waygate. Unfortunately, regular Stonesword Keys won't work on these 'special' statues as they would with regular Imp Statues, they'll only accept Imbued Sword Keys. Here's where all three of them are located.
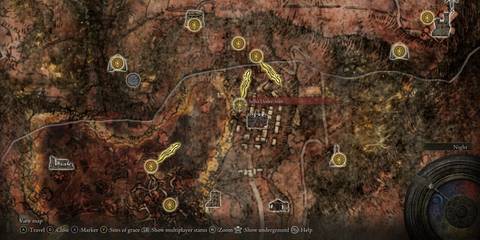
Updated December 30th, 2023 by Jacob Buchalter: There are a lot of Elden Ring players, in general, who never even stumbled across the Four Belfries in the Liurnia of the Lakes region of the Lands Between. These four stone towers might seem hard to miss once players are standing in front of them, but they're surprisingly easy for the Tarnished who haven't memorized the map to skip over entirely while exploring the region. With that in mind, let's take a look at the Four Belfries location, why it's worth going to, and what players can get from it.
The Four (Technically Three) Belfry Waygates
And Where Each One Leads
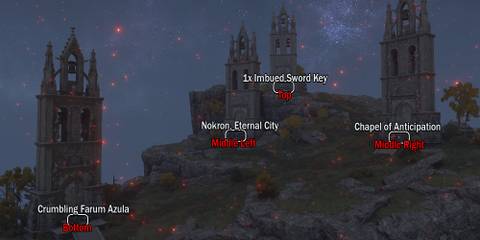

While the location is called the Four Belfries, there are actually only three Waygates. At the top of the hill underneath the fourth Belfry is a chest containing one of the three Imbued Sword Keys players will need. Each of these keys can be used at any of the Waygates, they're not gate-specific, and once they're used they're gone, though that probably seems obvious.
Each of the three Waygates, funnily enough, actually functions in a way that's similar to the Warp Paintings in something like Super Mario Odyssey. That is to say, they teleport players to areas of the game further along, but only a small 'patch' of those areas. So, players will want to know where each Belfry goes before using up one of their precious Keys, with that in mind, here's where each one leads, starting from the top of the hill where the first Belfry is (AKA the one with the Imbued Sword Key Chest), to the Belfry at the bottom of the hill:
|
Name |
Location |
Where It Leads |
|---|---|---|
|
Waygate #0 |
Top |
Top Belfry that does not have a Waygate at it. Instead, has a chest that holds 1x Imbued Sword Key. |
|
Waygate #1 |
Middle Right |
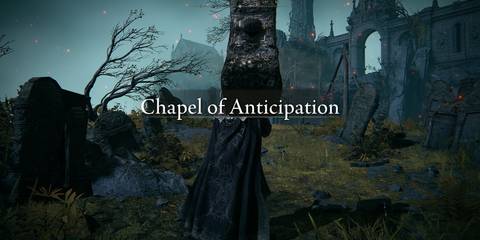
The 'second' Belfry Waygate leads players back to the Chapel of Anticipation, the area where, in classic From Software fashion (not including the Armored Core games), players are pitted against essentially a mandatory death the Grafted Scion before Elden Ring truly begins. This Waygate allows them to re-challenge The Grafted Scion to get the Ornamental Straight Sword and Golden Beast Crest Shield. Additionally, players can find a dead maiden for Varre's questline here as well as a few other key items, such as the Stormhawk Deenh Spirit Ashes and more, so there's plenty of worth in returning here. |
|
Waygate #2 |
Middle Left |
The third Belfry and second Waygate will put players in Nokron, the Eternal City, far beneath the earth. Here they can leap down onto a bridge-like structure to find the Mottled Necklace and fight a Lesser Crucible Knight. Like with the first Waygate leading to Crumbling Farum Azula, players will not be able to access the rest of Nokron, Eternal City from here, however. |
|
Waygate #3 |
Bottom |
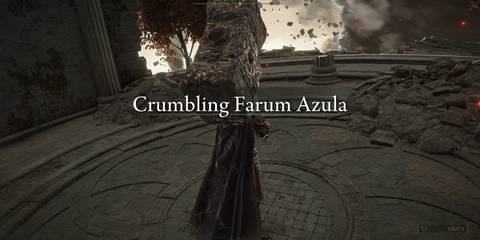
This final Waygate at the bottom of the hill will transport players to one of the late-game areas of Elden Ring, the Crumbling Farum Azula. This gives players a glance at what they can expect as they progress through Elden Ring's storyline, as most players up to this point in the game have only seen castles and marshlands. Within this section of Crumbling Farum Azula, players can jump down a series of platforms to reach a chest containing the Pearldrake Talisman. |
All Imbued Sword Key Locations
Suspiciously All Found In Areas Known For Their Magical Prowess

Now that players know where each of the Four Belfries Waygates goes, it's time to go over the location of each of the three Imbued Sword Keys. While the first Key is rather easy to find, the other two actually both appear in areas heavily associated with Sorcery. Here's where each of the three Keys can be found.
Imbued Sword Key #1
At The First Belfry Of The Four Belfries In A Chest

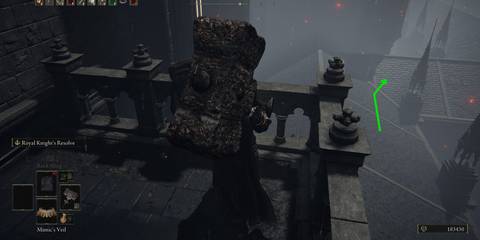
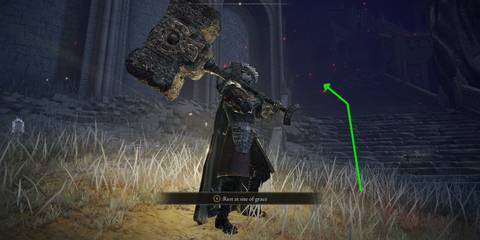
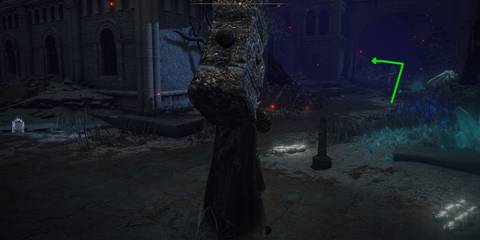
Players won't have to look hard or travel far for the first Imbued Sword Key as it's actually found right where the search starts at the Four Belfries in Liurnia of the Lakes. Three of these Belfries have a Waygate sitting at their base, but the fourth Belfry, located at the very top of the hill, has a chest beneath it instead of a Waygate. Inside the chest is the first Imbued Sword Key.
Imbued Sword Key #2
At Raya Lucaria Academy, Across The Rooftops
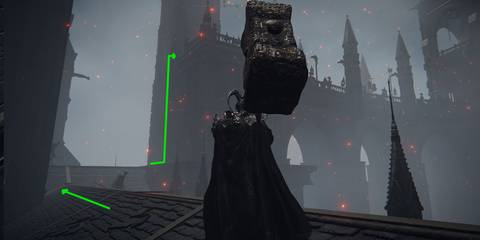
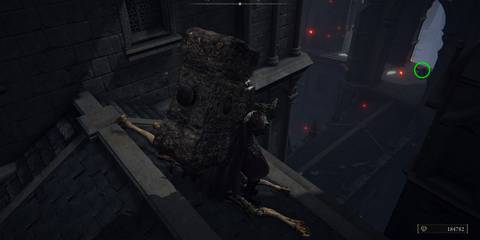
Getting the second Imbued Sword Key is a lot more of an involved process than getting the first key. Players will need to first reach the Raya Lucaria Academy, gain entrance to it, and finally explore it in full in order to have access to this Key's location. Once inside, players should progress to the Debate Parlor, home of the Red Wolf of Radagon boss fight. After clearing out this big red dog, head out from the Debate Parlor Site of Grace to the courtyard and up a staircase on the left side of the area.
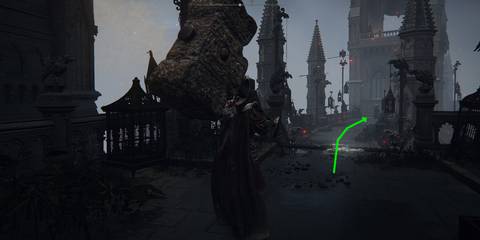
There are a lot of basic enemies here as well as two Glintstone Sorcerers, but players can easily run past them and jump off the railing at the top of the stairs. After hopping off, the Tarnished should have landed on the rooftops of Raya Lucaria, and after jumping off another railing directly ahead, the Tarnished should see a ladder going up. Up here there are lots of Avianettes AKA flying puppets as well as a Twinsage sorcerer. Once players get past them, jump off the right side of the building to reach lower levels of the rooftops.
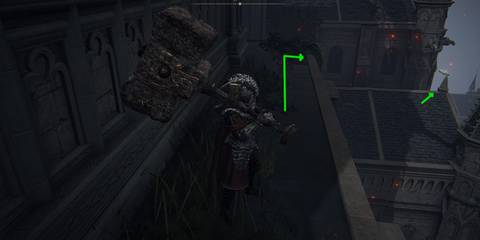
Continue to progress down the rooftops until the Tarnished sees another Marionette enemy. Players can leap down and kill the Marionette closest to them and then immediately jump down to the right to land on another rooftop. There, in the small gazebo-like area at the end of the long roof section is a corpse containing the Imbued Sword Key. It's a very involved process, at a glance, but it basically just boils down to following the only path forward until the Tarnished reaches the end of said path.
To make a simple set of steps in case the paragraph above seems like a bit much:
- Reach Raya Lucaria Academy.
- Get to the Debate Parlor Site of Grace.
- Head out into the courtyard and up the left-side staircase.
- Jump off the railing behind the Glintstone Sorcerers and land on the rooftops below.
- Head straight forward, jump off another railing, and climb the ladder straight ahead after landing.
- Follow this path forward, avoiding the Avaianettes, and head down the right side of the building the path stops at onto the series of rooftops below.
- At the bottom of this path of Rooftops are some Marionettes, after jumping down past these one last time, look for the Gazebo-esque building with a corpse inside it.
Imbued Sword Key #3
In The Backstreets Of Sellia, Caelid's Town Of Sorcery
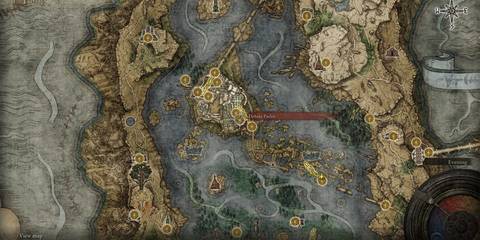
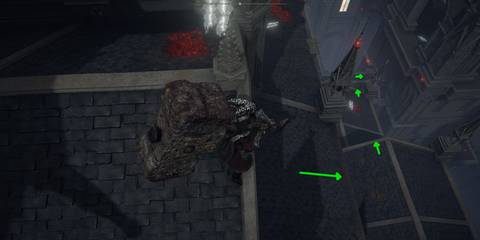
The final Imbued Sword Key location is in Caelid, the area of the game that a majority of players dread entering. Still, to obtain the Imbued Sword Key, they'll need to make their way to a place called Sellia, the Town of Sorcery. To get here, players will want to look at their map and find the big swamp of Rot around the middle of Caelid, this is the Aeonia Swamp. Look at the northeastern edge of this swamp and players should see a cluster of buildings on the map, this is Sellia.
After reaching Selia and hopefully activating either the Sellia Under-Stair Site of Grace on the western edge of the town or the Sellia Backstreets Site of Grace on the far north end of the town, players will need to 'solve' the braziers puzzle. Essentially, to dispel these magical gates all over town, look for the tallest towers and climb up them while avoiding the constant pestering of projectiles from the ghostly enemies inhabiting the town. At the top of these towers should be braziers to light, and doing so will open up these areas for looting. The Imbued Sword Key is in one of these chests. To find it, head to the most northern building in town (use the map as a reference), then head behind the building just southeast of it. Behind this building should be the alcove with the Imbued Sword Key chest inside.
Again, to break this down into a more step-by-step format:
- Get to Caelid.
- Find Sellia, the Town of Sorcery.
- Solve the 'puzzle' of Selia involving the braziers.
- After doing so, head to the building at the most northbound point of Sellia.
- Look to the building southeast of this building, and head behind that building.
- There should be an alcove behind here that was previously blocked off by Sellia's barrier, it's now accessible and has a chest with the Imbued Sword Key inside.

Elden Ring
- Platform(s)
- PS5 , Xbox One , PS4 , Xbox Series X , Xbox Series S , PC
- Released
- February 25, 2022
- Developer(s)
- From Software
- Publisher(s)
- Bandai Namco Entertainment , From Software