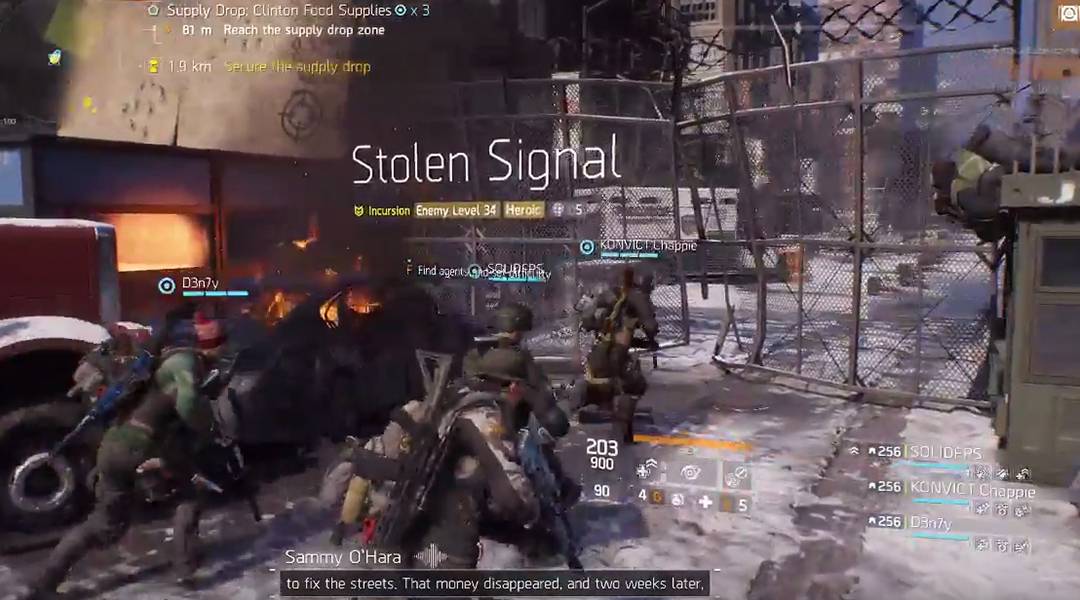
The Division's newest incursion, Stolen Signal, is available now on PC as part of the Public Test Server. Here's Game Rant's guide to completing Stolen Signal.
With Tom Clancy’s The Division experiencing a revival in its player base, gamers are looking forward to the next upcoming update and expansion for the cover-based shooter. Update 1.6 and The Last Stand expansion promise to restructure PvP in The Division, introduce new game modes and activities, increase difficulty for some missions, and expand the map for players.
One of the new activities coming with Update 1.6 and The Last Stand is a new incursion, dubbed Stolen Signal. The new incursion is currently available on the Public Test Server (PTS) for PC players, which is live right now for The Division.
A handful of players have already completed Stolen Signal, but for those who need a little help or looking to attempt the incursion for the first time, here’s Game Rant’s guide to beating the Stolen Signal incursion in The Division.
Prepare the Team
Before stepping foot in the TV broadcast center, players will want to fortify and prepare their characters for the onslaught of NPCs. The broadcast center is held by the Rikers gang and is packed full of heavy weapon enemies and shotgunners – the two most difficult NPCs in the group.
Since the new incursion incorporates a handful of different mechanics for players to experience, it’s important that the team members each take on roles that benefit the whole team. We recommend the team include at least one healer (using the updated Reclaimer gear set), a tanky player to keep NPC attention (the D3-FNC gear set is a good choice for this), and a couple damage-dealers (the new Seeker gear set could be quite useful for these players).
Player communication will be key as enemies spawn from all directions during the course of the incursion, and numerous sections include defending NPCs from enemies, while simultaneously fighting off waves of enemies and attacking named bosses.
Entering the Broadcast Center
Upon starting the Lost Signal incursion, players will need to fight their way to the broadcast center. This shouldn’t be difficult for a well-balanced team. Once players get into the broadcast center, they’ll be directed to take down security and make their way through three wings of the center in order to save captured JTF agents.
Players will be directed to rescue three sets of hostages. Once the hostages are safe, players will be guided to the final boss.
Wing 1: StarBreak Stage Room
The hallway to the first wing, the StarBreak stage room, is located directly behind the receptionist desk in the broadcast center lobby. Players will enter through the door and fight their way through the hallway.
The hallway is full of numerous enemies, including shotgunners, heavies, and others. This is a great place for players to use the Hungry Hog thanks to its new damage talent. We recommend players prioritize shotgunners, as they seem to be the most lethal if not dealt with. For heavies, focus fire on the packs, which will stop heavies from shooting and damage them. From there, players can focus on other NPC enemies.
Once inside the stage room, players will face off against waves of enemies and a boss. A hostage is suspended from the ceiling and needs to be protected. The floor is electrified, so players will want to use the Immunizer mod for the Support Station. This should help players avoid getting shocked.
Players will need to work together to take whittle away at the boss, Curveball, while holding off additional enemies. It’s best to have one player dedicated to firing on the boss, while the remaining players hold off enemies. Periodically, a heavy will arrive at the front of the stage that needs to be defeated before he can cause harm to the hostage.
Upon killing Curveball, players will be able to collect their loot and move to the next wing. If players are killed during the encounter inside the stage room, they will respawn back at the lobby, but won’t need to retake the hallway as those enemies will no longer spawn. However, enemies in the stage room will reset if the team fails.
Wing 2: Broadcast Studio
The next wing requires coordination from the team as one player will be required to carry a component down a hallway. At the end of each hallway is a set of turrets that do extensive damage and point both towards the hallway and to the right or left. Since the player carrying the component can only walk, it will be up to the team to keep him or her shielded.
The best tactic for this is for two players to use the ballistic shield to protect the component carrier. It’s also advised that the medic on the team hang back to keep the whole group full of health.
Players will need to defeat enemies along the way as they move through the hallways. Work together and communicate to make sure the component carrier stays alive and the enemies are defeated. At the end of the set of hallways, players will be able to restock and prepare for the bomb room. As with the other wings, once players make it into the bomb room, the hallway enemies will no longer spawn, even if the team is defeated and needs to restart the wing.
Once inside the broadcast room, players will quickly realize that cover is scarce. We recommend at least two players (not the healer) throw down the Mobile Cover skill with the extension mod so the team has a place to work from.
Players will need to defeat the first round of enemies in the room, after which multiple rounds of enemies will come for players. After a few rounds, the boss Checkers will show up. As with the previous room, enemy waves will continue until the boss is dead, so it’s highly recommended at least one player continue to maintain damage on the boss while the rest of the team focus on the other enemy NPCs.
Periodically, rushers will charge the hostage at the center of the room. Players will have 15 seconds to defeat the rusher. Communication and coordination is crucial as there will be many heavies and shotgunners to fend off that enter the room from nearly every angle. The team needs to use mobile cover and coordinate kills in order to clear the room.
Since there will be a near-constant onslaught by enemies, we recommend players use the Caduceus to keep the team healed, the new Hildr and Eir SMG combo with the new damage talent, and the Hungry Hog for crowd control and stacking enemy kills.
Depending on the team’s capabilities, it may be necessary for two or three members to have the Recovery Link selected, and one or two Tactical Links available. Once again, strategic use of these skills will help the team defeat enemies quickly and keep each other alive.
Once Checkers is defeated, players can collect their reward and move to the final wing.
Wing 3: Bomb Room
To reach the final wing, players will need to defeat a handful of enemies on their way to the room. By now, the team should be fairly proficient at defeating a small group of enemies. The final wing will have a bomb that needs to be deactivated and protected while players fight enemies and the third boss, Pigstick.
Upon entering the bomb room, players will have one minute to deactivate the bomb. It seems to work best for the team to rush through the room together to disable the bomb, with one player taking on the role of disarming while the other three provide protection.
Once the bomb is off, the boss will show up and fire on players from the balcony. He will rotate around the room, so players will need to keep track of his location in order to defeat him.
Additional enemies will continue to rush players, including heavies and shotgunners. The heavies will attempt to rearm the bomb, so players will need to defeat them quickly to keep from losing the engagement.
Enemies will continue to spawn until Pigstick’s armor is depleted. Once the boss’s armor is down, he will make one final rush for the bomb. The team will need to focus fire on the boss, while also fending off any final enemies before the boss can rearm the bomb.
When Pigstick is dead, players will be rewarded and can move to the final area.
Final Boss: Old West Movie Set
The final room introduces new mechanics that will test the team’s coordination. One simple misstep can reset the room. We recommend that at least three members of the team equip the Ballistic Shield before entering the room, as they’ll be needed to protect the hostages inside.
Once in the room, players will immediately notice the Gatling gun at the end of the movie set. Players need to defeat the NPCs while avoiding fire from the Gatling gun.
When the NPCs are dead, the Gatling gun will turn its attention to the hostages around the room. In the first round, the Gatling gun will select one of the three hostages, who will have an icon above their head. Players will have around 15 seconds to prepare to protect the hostage, so this is where the Ballistic shields come in. One or two members of the team will protect the hostage from the Gatling fire with the shields, while the remaining players hold off the attacking NPCs.
Once the onslaught against the hostage is complete, players will be tasked with activating pyrotechnics. Since the player activating the pyrotechnics will be subject to Gatling gun fire as well, one of the other team members should use their shield to protect that player until the pyrotechnics are activated.
When that’s completed, players will face the first of three bosses, Jackalope, along with a handful of other NPC enemies. We recommend taking down as many NPC enemies as possible while also attacking the boss, since the Gatling gun will focus on the hostages again once Jackalope is dead.
Once Jackalope is dead, players will need to protect two of the three hostages. Again, an orange icon will let players know which ones to protect, and players will have just over 20 seconds to get into position. With the hostages protected, players will activate another set of pyrotechnics, and another boss named Bighorn will spawn.
Players will face off against Bighorn and other NPC enemies like before. Once Bighorn is dead, the team will reach the final wave. This time, the group will need torprotect all three hostages from Gatling gun fire. The team will have around 30 seconds to prepare for the oncoming fire.
With the hostages protected, players will activate one final round of pyrotechnics and face off against the final boss, Bobcat. Bobcat may seem like a massive tank at first, but the trick is to clear the room of regular enemies before focusing fire on him. If the team doesn't, then they will be doing minimal damage. Since this is the final boss, we recommend players make use of their Tactical Links to deal extra damage to the boss when they can, while also dropping the other NPC enemies, including heavies and shotgunners.
When Bobcat is defeated, players need to finish clearing the room and the incursion will be completed. Players will be rewarded with the drops from each boss, as well as loot for completing Stolen Signal in The Division.