Few games offer as great of a challenge and a sense of adventure as Divinity: Original Sin 2. Anyone with a taste for great RPGs and real Dungeons & Dragons-style combat will appreciate this turn-based medieval fantasy adventure in the world of Rivellon. However, while the story's great and the game looks fantastic, the boss battles are a bit frustrating at times.
From demonic creatures that seem over-powered to monsters who can resurrect themselves, few will play through the game without feeling annoyed at least once. Not to worry, because there's a solution to 10 of the toughest boss fights in the game.
10 Cursed Revenants

The Consulate in Arx is one of the most difficult areas to deal with and for a good reason. The area is filled with Necrofire and Cursed Revenants who can be super hard to fight inside the building, even if they’re not bosses. There are two effective ways to deal with them: Teleport them out into the square or ignore them.
The first method requires teleporting teleport the members of the Cursed Revenants until they’re out of the door and in the square, where other NPCs can help with the fight. Ignoring them requires a skilled sneaky character, who can simply get past them while your party waits somewhere else patiently.
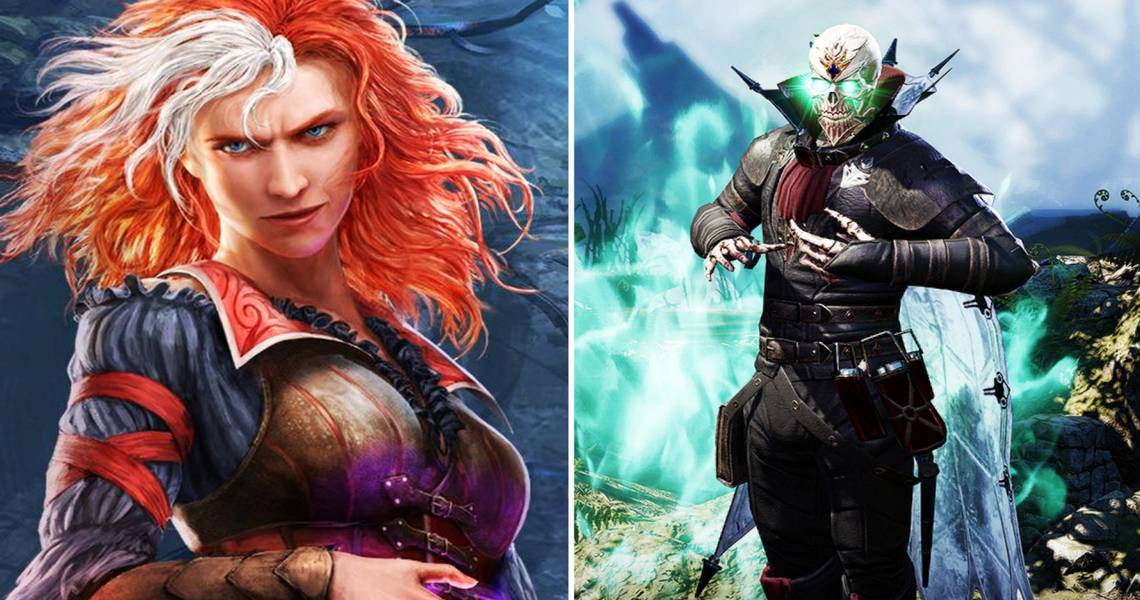
9 Radeka

The first Act of the game takes place in Fort Joy, the prison island where the main characters are confined. In the Southeastern most part of the island, a dragon can be found. After speaking with it, a quest will lead the party to a cave where a witch called Radeka will be expecting them.
Radeka will summon a few bugs and corpses to help her in the fight. However, she’s the strongest and most ferocious enemy and should be taken down first. The player's tankiest character should be immediately sent right in front of Radeka so they can deal raw physical damage and prevent her from using any of her spells on the weaker heroes of the party.
8 Bishop Alexander

One of the first major boss fights in the game happens at the end of Act I, which pits the player against not only Alexander but also a Voidwoken and a Gheist. The best initial approach is to enter the docks through a small doorway on the eastern side that leads to a platform looking over where Alexander is standing.
Using a sneaky character, the user can initiate the fight from the high ground and then run back through the door to create a tight choke point to deal with the oncoming enemies. This way, one of the Magisters on the opposite high ground will also be unable to attack the player, and the Gheist will take a long route around to influence the fight. However, once the Voidwoken arrives, the party should spread as much as possible to avoid its area of effect attacks.
7 Scarecrows

In Act II, the party travels to Reaper’s Coast. Very soon, they’ll encounter a field where a group of Scarecrows can be found. These creatures are actually possessed by Voidwokens and will turn hostile after a brief dialogue. At early levels, the fight is tough due to the Terrified aura that they emit.
Spells like Enrage and Clear Mind will help to deal with that aura. The Scarecrows have a weakness to fire and a low physical armor, which means prioritizing physical over magical damage is crucial. Alternatively, if the fight feels impossible, the Scarecrows can be lured towards the nearby Paladins that will help significantly in the fight.
6 Vault Demons/Mor The Trenchmouthed

Around Act II, the party will finally gain access to a desolate island known as Bloodmoon Island. A quest sends the player to investigate the vaults found around the island, which house powerful demons. One such is Mor the Trenchmouthed, a demon possessing a dwarf who comes out once the host is damaged enough and set free.
Mor is a formidable opponent, as he can randomly possess any of the main characters and then turn one of them against the rest. Because the party might be a high level and have high damage, it’s best to try and avoid this fight by saving rather than killing the dwarf, allowing the character to join the party in taking down the demon once it comes out. Use one character only to damage the dwarf while making sure to cast healing spells on them regularly. Eventually, the demon will leave the dwarf without having to kill the NPC.
5 The Sallow Man

One of Act III's more notable fights is without a doubt the Sallow Man, which takes place on the Nameless Isle. While not extremely difficult, he can get tricky over time if the party isn’t properly prepared. The first thing to note is that the Sallow Man will resurrect himself after being killed once, so he needs to be killed twice.
Secondly, the Sallow Man utilizes spells which will significantly weaken the characters’ attributes. These spells can stack, making them even more devastating. The best way to approach the fight is to use "Bless" to regularly purge these status effects before they stack up and completely wreck the party’s attributes.
4 The Dream Portal Arena

In Arx, a rather irritating fight will pit the party against Malady, Windego, and Alexander. Moreover, the area will be littered with black mirrors that allow them to respawn again and again. While there is no need to fight and getting the characters through the door is enough, winning nets quite a lot of experience points.
The trick is the break the mirrors. A sneaky character can go and break them before the fight starts. Alternatively, a talented Geomancer can use Fossil Strike on the mirrors even without having them in their line of sight. Finally, a powerful enough wayfarer or ranger can one-shot the mirrors by standing in the center area.
3 The Eternal Aetera

In Act II, during a trip down to an excavation of Blackpit Mines, the party will find a vault inside of which the Eternal Aetera is resting. To deal with this fight, the majority of the party should stick to the high ground above the coffin while one person with instant mobility abilities initiates the dialogue leading to the fight. Once the fight starts they can easily teleport away to high ground, where Aetera will spawn hounds.
Spells that deal stun and area of effect damage, as well as chip down the target’s magical armor, are best to be used on the dogs. For Aetera, while one character is stuck in the dialogue, another character can be used to set up traps and bombs around her coffin to help diminish her armors. After that, she’s an easy opponent.
2 The Doctor

In Act IV, the party will eventually receive a quest called "Doctor's Orders." If the Doctor isn’t targeted down quick enough, this fight can be particularly vicious. All focus should be on the Doctor rather than the minor enemies. While a dialogue initiates the confrontation, it’s better to attack them immediately and primarily use spells.
The Doctor’s weakness is their magical armor, which can be depleted fairly quickly. Spells that stun and prevent them from changing into their next form, which is much more powerful, will make this fight ten times simpler and easier to deal with.
1 Alice Alisceon

One of the most notoriously difficult encounters in the game, Alice is a powerful witch found in Cloisterwood’s northernmost part. She has the ability to one-hit kill almost immediately, which is why this fight feels extremely unfair. The most ideal way to kill her is to use teleportation and send her to the beach below.
This will force her to walk around to readjust and end up around Jahan the demon hunter’s house. While one party member waits around here, Jahan should be able to kill Alice easily with little damage done to the party. The teleportation trick is also good in general because it gives time to destroy Alice's powerful totems while she tries to relocate from her position.