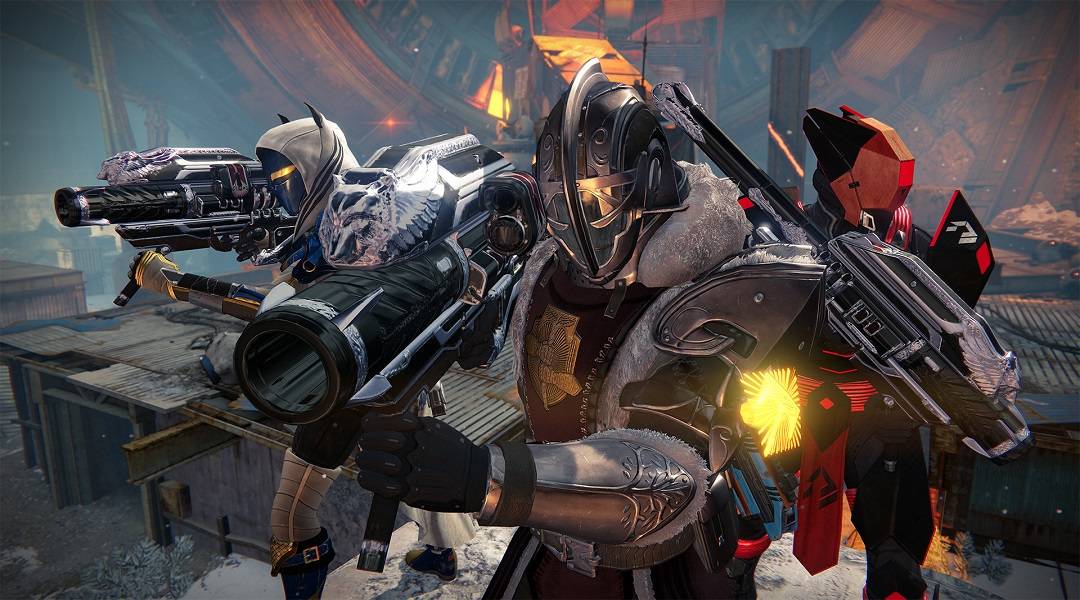
Bungie releases the new Wrath of the Machine raid for Destiny's Rise of Iron expansion. Use this guide to conquer its challenges and complete the raid!
Destiny fans haven't seen a new raid in the game since the King's Fall raid in The Taken King last year, but with the release of the game's Rise of Iron expansion, Bungie has introduced a brand new raid for players to master. This raid is called Wrath of the Machine, and like the other raids in Destiny, it requires strategy and skill to complete.
Before players decide to jump into the Rise of Iron raid, they will want to make sure that they are light level 370. Being a lower level will put players at a severe disadvantage, so taking the time to level up before trying to beat the Wrath of the Machine raid is important. It's also best to gather a team of six players if possible.
Once at the proper light level and properly equipped with some quality weapons, players are ready to start the Wrath of the Machine raid. We will explain how to complete the raid step-by-step, but for those that prefer a video guide, we recommend this one put together by Salvum:
[HTML1]
1. How to Defeat Vosik
The first step is to run through the white lights on the ground. Run through them all in succession to get a x4 Voltage Rising buff, but be aware that failing to get the x4 buff means death. This buff will be on a timer, so be quick about going to the three generators in the area and powering them up. Unleashing two max voltage charges on a generator should be enough to power it to capacity, releasing valuable SIVA charges for players to collect.
These SIVA charges are used in the fight against Vosik, the Archpriest, the raid's first boss. Chuck as many of these SIVA charges at Vosik as possible to lower his shields, then fight him like normal. Keep at it until Vosik is nearly dead, and then he will teleport out of the battle.
To get to the next part of the Vosik fight, players have to complete a platforming puzzle of sorts, jumping across falling platforms. Afterwards, they will be in the Splicer's Den with Vosik, who will spawn a bunch of Splicer enemies for players to deal with. Right now, Vosik is invincible with his shields up, so focus on killing the Splicers around him. Killing enough of them will cause some SIVA charges to drop, an event noted by an in-game audio tone similar to the one heard in the Prison of Elders.
Pick up the SIVA charges and try to throw them all at Vosik at the same time, or at least in quick succession. If done fast enough, the monitors behind Vosik will turn off instead of showing static. One monitor will then light up with SIVA energy, so shoot it.
If successful, Vosik's shields will drop, so pummel him with the Iron Gjallarhorn or other powerful weapons to deal as much damage as quickly as possible. If players fail to throw the SIVA charges at him fast enough or don't destroy the monitor in time, then Vosik's shields will regenerate and the process will start all over.
Players need to keep repeating this process until Vosik is dead, but there is an additional hazard to be aware of. Sometimes during the fight, SIVA density will be at "critical," which means players need to run to whichever rooms surrounding the boss fight area are lit up. Shoot the panel to the right of the open door in these rooms to shut it, avoiding instant death.
2. Death Zamboni
Upon defeating Vosik, collect the loot and then proceed through another platforming section. At the other end of this platforming section is a battle with the Death Zamboni, the next boss fight for the Wrath of the Machine raid. For the first part of the boss fight, have some members of the Fireteam blasting away at Death Zamboni's turrets, while everyone else deals with the smaller enemies that spawn.
Destroying the Death Zamboni's turrets will expose the weak point on its head. Attack its weak point until a platform falls on its side, allowing players to get on the Zamboni itself. Ride the Death Zamboni until it smashes into a wall, and then hop down and run to the other end of the platform. Kill all the enemies here, and then three Zamboni parts should drop.
Split into pairs, so three Guardians should be carrying Zamboni parts at any given time. Those not carrying the parts will be on protection duty. Carry the parts all the way back to the Zamboni itself. Have anyone not carrying parts to climb back onto the Zamboni and kill the Engineer standing on top of it. Doing this will lower a ramp that allows everyone else to carry the Zamboni parts onto the machine. Deliver the parts to their designated areas (they're color-coded), and the Death Zamboni should get moving again.
Keep riding the Death Zamboni until it smashes through the wall, then jump off and down the hole. From there, it's just a matter of carefully following the path until players reach the door of the raid's final boss fight.
3. How to Defeat Aksis
For the first phase of this battle, players will want to split into three teams of two, one for each section of the boss fight room (left, right, center). Kill the regular enemies that spawn here until Captains spawn in. Kill one of the Captains and it will drop a cannon that will be categorized as Arc, Solar, or Void. Picking up this cannon will make a Servitor of the same elemental type spawn, so go and kill it with a fully charged blast of the cannon.
Killing the Servitor will make it drop a SIVA charge. Pick up the SIVA charge and use it on one of the containment cores that appear on Aksis. Now repeat the process with the other two elemental types (the third time multiple Servitors of the type will spawn, and all must be destroyed). Then damage the boss as much as possible. Keep repeating these steps until the first phase of the battle is complete.
The second phase of the fight is much tougher, as Aksis is more actively involved in the fight, moving around the area in a tank of sorts. To bring his shields down, go through the same steps of killing Captains, shooting Servitors, and collecting SIVA charges, but this time throw the charges at Aksis himself. Once his shields are down, three players on the Fireteam will be selected at random to have a max voltage buff. Have these buffed players spread out across the room, so that there is one in each section (left, right, center).
Aksis will teleport to one area of the room randomly. When he does this, one of the buffed players needs to jump on his back and unleash the charge. This will stun him, leaving him wide open for significant damage. Aksis will keep teleporting around the room until all the buffed players have used their max voltage, and then players need to repeat the process from the beginning.
Eventually, Aksis will attempt some last-ditch efforts to wipe the team, including a move where he unleashes damaging SIVA energy everywhere. To avoid this, simply jump away from the room to one of the pillars that are standing in the darkness. His second desperation attack will come at the very end of the fight, when he has a sliver of health left. To avoid being wiped from this attack, it's just a matter of draining the rest of his health in time.
With Aksis defeated, players can rest easy. Congratulations on completing the Wrath of the Machine raid for Destiny: Rise of Iron!
Unless Bungie releases another raid in a future update, Wrath of the Machine may be the last new raid for Destiny players to master until Destiny 2 releases next year. In the meantime, fans can still explore the other content in Rise of Iron, such as the new Crucible maps, game modes, and more to help tide them over until the next game in the series launches in 2017.
Destiny: Rise of Iron is available now for PS4 and Xbox One.
Source: Salvum