It's been a year-long wait, but Destiny: The Taken King has finally arrived. The expansion's new missions, gear, and strikes all officially went live earlier this morning at 5:00am PT, and it's a given that the majority of the planet's Guardians will be dedicating most of their day to the exploration of all that Update 2.0 and the add-ons have to offer. This Friday, even if Destiny fans still haven't scratched the surface of what Bungie's included in the DLC thus far, it's a safe to assume that most active players will drop their current obligations in order to take part in the highly anticipated King's Fall raid.
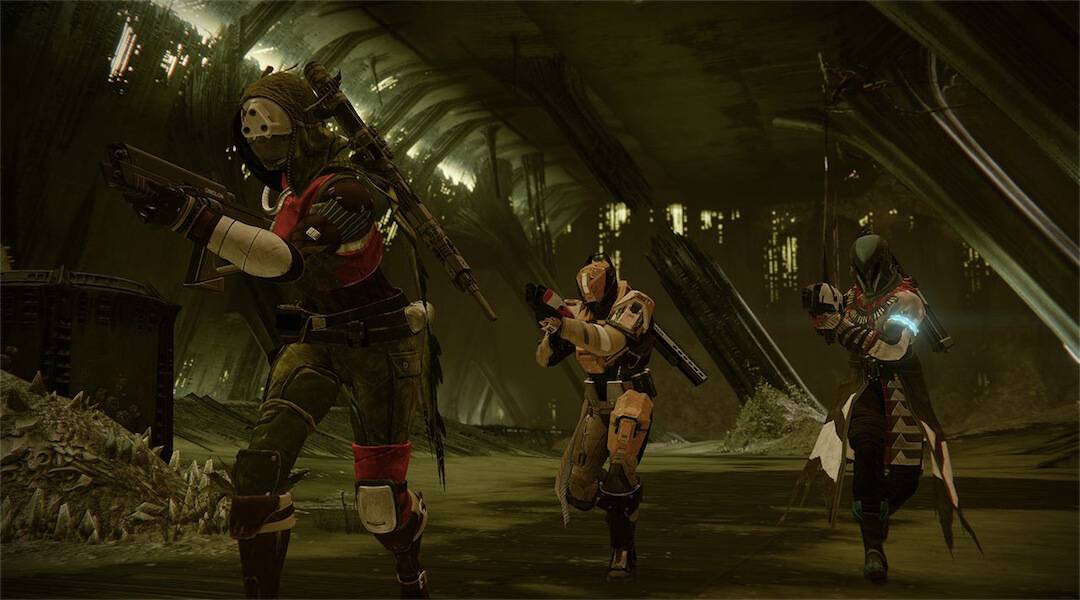
In the meantime, Destiny fans have plenty to keep them occupied, and they need to be in tip-top form to finish all the new expansion has to offer, particularly when it comes to the action-RPG's four fresh strikes involving encounters with the Shield Brothers, Rasputin in the Fallen S.A.B.E.R., Alak-Hul the Darkblade in the Sunless Cell, and the final boss in the PlayStation timed-exclusive strike Echo Chamber. Since the new material is less than a day old, there probably aren't very many pointers available online to assist fans in making it through unscathed, so we've put together a useful guide for the aforementioned strikes, with this one focusing on the Sunless Cell.
Since it's always possible for some gamers to hit a snag somewhere along the line in their cooperative adventures – especially since the Dreadnaught is a brand new area – it definitely helps to have a helping hand when needed. Ideally, the below steps should help any Guardian make it through the Sunless Cell strike and defeat Alak-Hul the Darkblade once and for all.
Begin with Quick Teamwork Kills in the Founts
Firstly, gamers will encounter several Acolytes, Wizards, and Thralls in the Mausoleum before getting to the Founts and it's important to stop them sooner rather than later in both locations with a steady combination of team-based gunplay, melee, and grenades. After finishing up in the Mausoleum, head to the Hive Prison in the Founts and drop down into the pit, ripping through the bad guys swiftly with each Guardian taking out targets together. Players should use focused attacks by making sure to keep a close perimeter with squad mates, as respawning in the area is restricted.
Right before reaching the end of the massive atrium, it's best to keep enemies at bay by staying on the bridge before the doorway takes players to the next stage. Essentially, battle the bad guys from a distance. For this strategy to work properly, sniper rifles, assault weapons, and a slew of grenades are key to dealing out the damage while ensuring no harm comes to the team.
Divide and Conquer in the Asylum
After clearing out The Founts and entering The Asylum, it comes time for the Nolan-bot version of Ghost to hack two runes in order to unseal two giant doors leading to the next area. Since there's going to be a large combination of Acolytes, Wizards, Knights, Centurions, and Shriekers, the best tactic in that particular situation will be for two of the fire-team members to draw attention to themselves in the center of the room while one player does the scanning.
Titans and Warlocks should remain in the main entryway of the hall, taking on any and all comers, as their skills are more conducive for this particular defense situation. Hunters will do well to move as fast as they can to the opposing ends of the room, using their Ghost to illuminate the outlines of the moving platforms leading to the runes.
At least two Wizards guard the artifacts themselves, so it would be prudent to take them out at a distance before actually scanning the runes and unsealing the doors. Once the Wizards are down, Hunters should deactivate the towers powering the door's lock, but be wary of the Shriekers waiting after the scans are complete.
Defeat the Taken
After getting the locked chamber open, a bunch of Taken enemies await, but they'll be a breeze to defeat should Guardians stick close together. Don't be afraid to unload on them, as they will drop a bunch of necessary ammo for later. Be aware of your fire-team members' locations, and try not to get split up by fighting separately on the outskirts, even though the Taken are materializing out of nothing in seemingly random areas. All players should stick to the main platform in the center of the room so as to let the enemies like Urlot the Thrasher come to them.
Once the Taken swarms are defeated, an Ogre and more Acolytes will pop up, but they're a cakewalk. Bottleneck the Ogre at the entryway that leads into the next area and waste it first with a three-pronged attack, and then mop up the remains of the Thrall with some close-combat gunplay and melee kills.
Snipe the Shriekers in the Hanging Crypts
After players defeat the Taken, the fireteam will follow a long pathway to the Hanging Crypts that lie right before Alak-Hul, where more baddies stand by to fight. The most effective strategy to ensure the first wave's speedy defeat is to stay on the main platform at the entrance and snipe them from a distance until all of the minions are kaput, chiefly because a plethora of Shriekers materialize.
Once the Shriekers are out of commission, it will prove useful to get on the floor and move toward the Centurions guarding the opening to the next area. Teamwork is essential at this point, since the Centurions can dish out a heavy dose of pain if Guardians don't strike first, so make sure everyone in the squad is on point with Supers and accurate shooting.
Enter the Circle and Defeat the Darkblade
Finally, Guardians will reach what is known as “The Circle”, an area shrouded in almost complete darkness in which Destiny fans must fight the Darkblade-wielding Hive monster. There isn't much room in the Circle, and with Alak-Hul appearing and disappearing at random intervals, the most advantageous way to track him is by keeping an eye out for his nametag and health bar in the gloom. Also, be wary of wayward attacks from Thrall and Acolytes, but don't make them the center of interest during combat.
The boss moves slowly, but occasionally he'll charge in for a sweeping area-of-effect axe attack that knocks characters back, so it's crucial for Hunter Nightstalkers to rely on their enhanced radar and tethering Super to lock him down until he's toast. It's extremely pertinent for Guardians to make use of their respective Supers and wield heavy firepower in these circumstances whenever the opportunity presents itself.
Once gamers defeat the Darkblade boss, it's of the utmost importance to bust a move, so they should make time to get their dance on in celebration. Then, they should head on over to Destiny's "Legend of You" website to make a custom trailer starring players' personal Guardians for an updated look at all they've accomplished thus far.
Have you finished the Sunless Cell strike yet? If so, share your playthrough tips in the comments section.
Destiny: The Taken King released today, and is available for PlayStation 3, PlayStation 4, Xbox 360, and Xbox One.
Source: Digital Spy Gaming