Destiny: The Taken King has been out for less than a full day, which means most Guardians are still delving deeply into the new content. With that new content comes new frustrations, however, as the expansion's new strikes are proving to be quite the challenge.
Bungie implemented new features to keep strikes interesting this time around, like dynamic enemy encounter rooms, so every replay should be a little bit different from the last. Combine that with four new strikes in Destiny: The Taken King all having their own unique challenges, like fighting a boss in darkness in the Sunless Strike, or facing two bosses simultaneously at the end of the Shield Brothers Strike, and the difficulty may catch some Guardians off-guard.
For Guardians who are struggling with the devastating duo, or those who want to learn the basics before trying the strike out, this guide should help.
Entering the Ship
Right from the start of this Strike, Guardians are given a choice. The hive and cabal are busy fighting each other, so Guardians can either take them all down, or simply run past them to enter the ship. Since they're pre-occupied fighting each other, defeating them is relatively easy, or Guardians can get by them without taking much damage. Either way, after passing through the Mausoleum, enter the crashed Cabal ship.
Get Past The Gate
Once inside the ship, players can head straight ahead to reach the first room, Dantalion Exodus VI. This room is variable, and it uses dynamic enemy placement. Due to this, players may encounter either cabal or hive enemies. Guardians will have to engage the enemy in order to proceed, but do so with caution, as respawning has been restricted in this area. Enemies can be fought from afar or up close, but most of them will fall almost immediately from sword attacks. Once all enemies are defeated, don't wait around: it's important to get past the fire gate before it goes up. Once it goes up, it deals extremely high damage to Guardians that may be enough for a one-hit kill.
Goliath Tank
The next room will initially be empty, but the double-doors near the end will open to reveal a Goliath Tank and some Phalanx defenders. This fight can be tricky due to the confined space, so pulling back, taking cover, and picking it off from a distance with a long-range weapon is the best idea to reduce the amount of damage players take. Aim for its boosters for maximum damage and to reduce its mobility.
Players should take care to remain aware of their surroundings, as Phalanx, Legionary, and Psion will move in and engage Guardians in combat. Most of these enemies will fall quickly, but balancing attention is necessary to stay aware of where the tank is aiming.
The Bridge
The next room is also variable, but shouldn't pose much of a threat. Players should take advantage of the cover available to them and attack from a distance. After defeating everything, move on towards the bridge. Guardians will get to see Taken and Cabal having it out on the way, but the conflict is out of the way and won't pose any threat to players.
The next encounter is a room full of Cabal, many of which will be shielded. Be careful here, as the shielded Cabal have a fairly high defense to bladed weapons, so sword-wielding Guardians can end up absorbing a lot of enemy fire. Either use a firearm to deal with all enemies or pick off some of them before moving in with a blade.
After finishing off the Cabal, move on to the Narthex, where the final boss encounter occurs.
Beating the Shield Brothers Bosses
Have Ghost scan the bombs in the Narthex to start the final boss encounter. After Ghost analyzes the bombs attached to the core, the first brother will emerge to fight.
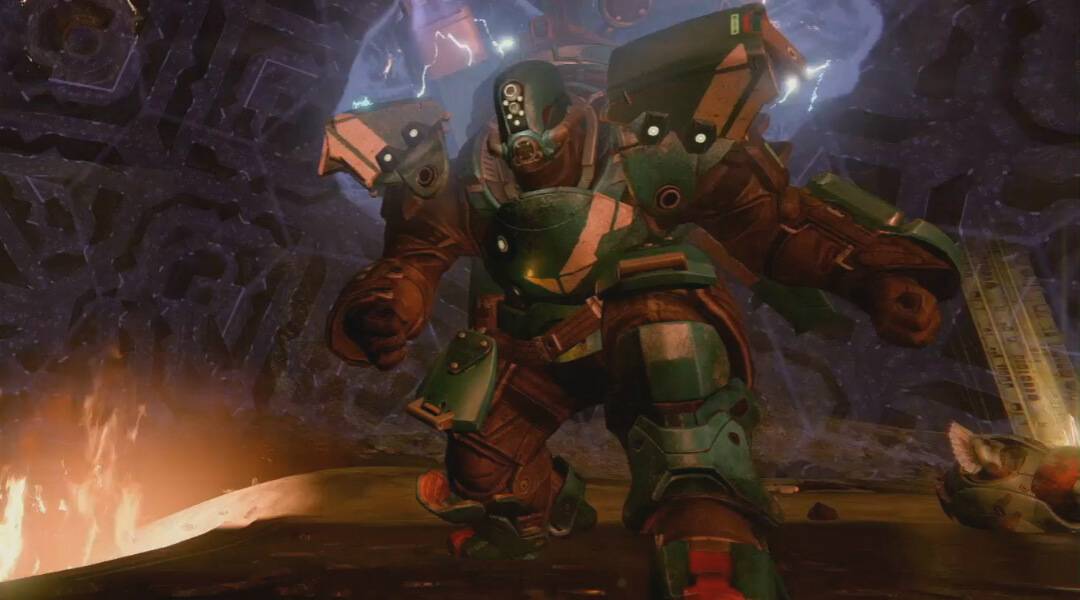
First up is Valus Mau'ual, who uses a short-range jet pack to attack with fast lunges and his sword, dealing substantial damage and knock-back. Guardians should keep their distance and be ready to pull back quickly if he begins to lunge to avoid taking damage. Take special care to not get too close to the walls, as the knock-back effect can send Guardians flying into walls and the combined damage can kill on impact. Wittle down his health to 40%, and he'll retreat temporarily from the fight. Finish off any remaining Psion Burners, Legionary, and Phalanx, and the second brother will come out.
After Mau'ual's retreat, Valus Tlu'urn will appear. Tlu'urn uses an energy cannon to attack from afar, but he isn't as agile as Mau'aul. Players can either get up and close and attack with a melee weapon, or keep their distance and use the space to avoid his long-distance attacks. Players who choose to get up close should be prepared to chase him around, as he'll pull back after Guardians get a few strikes in. Once he's down to 40% health he'll retreat, and once all enemies are defeated, it'll trigger the final stage of the fight.
Both brothers will now enter the fight at the same time, with full health and souped up abilities. Mau'aul now has added solar damage to his sword attacks, and also leaves behind a fire trap with each attack. Tlu'urn's now has an overshield that blocks all attacks coming from outside of it, so players have to get in his face to deliver any damage to him. He still likes keeping his distance, so he'll move if players get close enough to him, temporarily losing the effects of his shield.
The best strategy for these two brothers may be to take down the melee-wielding Mau'ual brother first, then focus on Tlu'urn. However, if one brother is defeated, the other will gain their signature attack, meaning that Tlu'urn will gain Mau'ual's blade. Whittling down Tlu'urn's health, and then defeating Mau'ual may make dealing with the sword-wielding Tlu'urn a little easier.
Have you defeated the Brothers yet? Did our strategy work for you, or did you try something else? Let us know in the comments.
Destiny: The Taken King is out now for PS3, PS4, Xbox 360, and Xbox One.