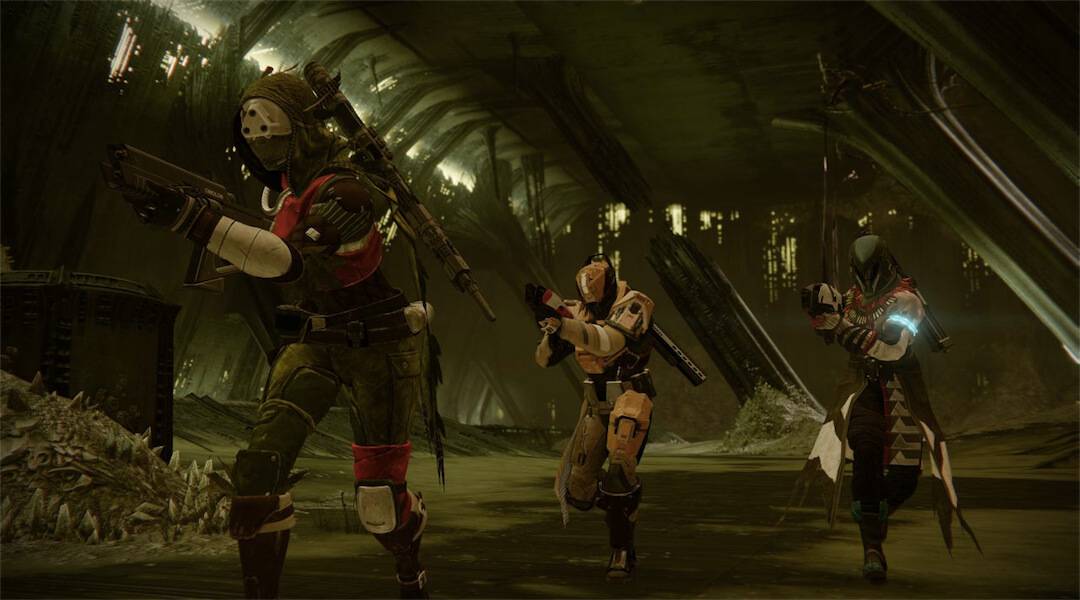
Although there are plenty of Destiny players still making their way through King’s Fall Normal mode in the hopes of nabbing new pieces of gear and upping their light level, others have jumped head first into the new raid’s Heroic (heretofore referred to as “hard mode”) mode for a greater challenge and also even better gear. But considering Hard Mode only just launched, some might be struggling to beat it, or they may be curious as to what’s different.
As Bungie had previously revealed, Destiny’s third raid was designed differently then the past two efforts. For King’s Fall, Bungie designed the Hard Mode first, and then began subtracting elements until they felt the experience was “easier” enough to be called Normal mode. As such, most will be surprised to find out that Hard Mode isn’t too different from Normal Mode; it just has a few additional mechanics for the main boss encounters, and some very slight changes.
Recommended Light Level
Obviously, the biggest change is that the recommended light level for King’s Fall is 310. That means some of the earlier enemies are recommended for a light level 300 player, and the final ones jump up to 320. The Oryx fight, for example, features plenty of enemies with a 320 light level recommendation.
The good news is that even though no player is light level 320 yet, light level is a lot more forgiving in Destiny: The Taken King. Now, a light level 306 player can still damage a light level 320 enemy, even if it will take a few extra bullets to down them.
For the ship-jumping puzzle the only major difference is that there is no platform to serve as a checkpoint. That means the entire team must complete the entire puzzle without falling once, or else that player has to start over. The good news, though, is that if there is a player struggling, only three need to make it to the end, and they can pull the rest of the fireteam foreword.
The Warpriest Boss Fight
The Warpriest fight doesn’t introduce any new mechanics, but the timing is much faster than in Normal mode. Now, if players don’t start the glyph sequence almost immediately, the Warpriest will reject the initiate and wipe the team. So make sure to start calling out the glyph order as soon as possible.
Then, during the damage phase, the Warpriest will have additional attacks, including the triple seeker missile attack that the Taken hobgoblins have, the blinding ball of blackness that the Taken captains use, and the axion darts the Cabal centurions use. So instead of simply standing there and getting max DPS on the boss, the fireteam will need to be careful to avoid those attacks. Outside of that, though, the mechanics are still the same.
Fighting Golgoroth
For Golgoroth, the one new element is a debuff called Unstable Light. The debuff is handed out at random to one or two players who jump down into the Pool of Reclaimed Light for damage to the Ogre, and features a 10-second timer. Once that timer elapses, the player(s) with the debuff send out a blast of energy that can kill their teammates, or even damage enemies/Golgoroth.
Since one player will be out of the DPS phase, it does put a lot more pressure on the other teammates, but it also frees them to help clear the enemies that spawn near the Pool. The good news is the single bubble strategy from our Golgoroth guide still works perfectly; it’s just a little more hectic because of increased enemies.
The Daughters of Oryx fight works exactly the same as in Normal mode, except the singing Daughter starts her Hymn almost immediately after the other one. Because of that it’s important to have clear communication and call out which platform needs coverage the second a player gets torn between dimensions. We recommend not killing the first Daughter on the first rotation simply because time is a bigger issue.
Beating Oryx in Hard Mode
And finally we reach Oryx, the fight that is sure to break plenty of fireteams. The good news is we know the fight can be beaten even if with players under 310 light; so don’t give up hope if you’re struggling. That being said, be prepared for one heck of a fight.
The key differences for Hard Mode Oryx are relatively simple, but still can be hard to keep track of. Essentially, in addition to a group of Ogres spawning around the map, a group of Light Eater Knights now spawns as well. These Light Eater Knights function almost exactly like the Vessel, in that they will try to devour one of the Corrupted Light bombs on the map. So, once an Ogre is down, a Knight will spawn diagonally across from that Ogre and try to eat the bomb.
Because of the Light Eater Knights, it becomes a lot more chaotic to manage a platform. Killing the Knights, killing the Ogres, and not dying to the Taken enemies that spawn can be difficult. Not to mention, dealing with all the other mechanics in the raid, including the Wrath of the King explosions, the fight with the Echo of Oryx, and detonating the bombs and making it back to the Aura of Immortality alive. It’s called Hard Mode for a reason.
Truthfully, though, the Knights are the only “new” addition, but they can change up a fireteam’s strategy significantly. For more on how best to tackle Oryx on Hard Mode, stick tuned to Game Rant later this week.