Destiny – The Taken King is here, which means Guardians are already hard at work completing new missions, seeking out the latest and greatest gear, and shooting their way through the numerous new Strike missions. There are a lot of aspects to this new content, especially the Strikes, that will feel very familiar to seasoned Destiny players. Still, the new Strikes definitely aren’t cakewalks, and will require players be at the top of their game to succeed.
One of the four new The Taken King Strikes is called Fallen S.A.B.E.R., and centers around Rasputin, a Warmind in the Cosmodrome on Earth. Rasputin sends out a signal seeking help and naturally, it’s up to the Guardians to answer the call and provide the necessary support.
Since the Fallen S.A.B.E.R. Strike is barely a few hours old, it’s likely most players don’t yet have a solid strategy for traversing the level and beating the Strike’s boss. Fortunately, we’re Destiny fans, so we’ve put together a useful guide to give fireteams their best shot at completing the mission.
-
Preparing for Fallen S.A.B.E.R.
As with any Strike, it’s best if each member of the fireteam has a microphone and can easily hear and understand the rest of the team. While the Fallen S.A.B.E.R. Strike can be done without players talking to each other, it will be incredibly more difficult if they are unable to coordinate their actions.
As for the team’s arsenal, this Strike is open to players’ personal preference. However, grenades, rocket launchers, and powerful supers will all come in handy during the final boss battle, so including these in the loadout will be very beneficial.
Finally, select a member of the Destiny fireteam to be the relic holder, and the other two will be support. This will only be necessary at one point in the Strike, but knowing ahead of time who’s doing what will greatly benefit players once they’re engaging enemies. The relic holder should be whoever is the most agile of the bunch.
Protect the WARSAT
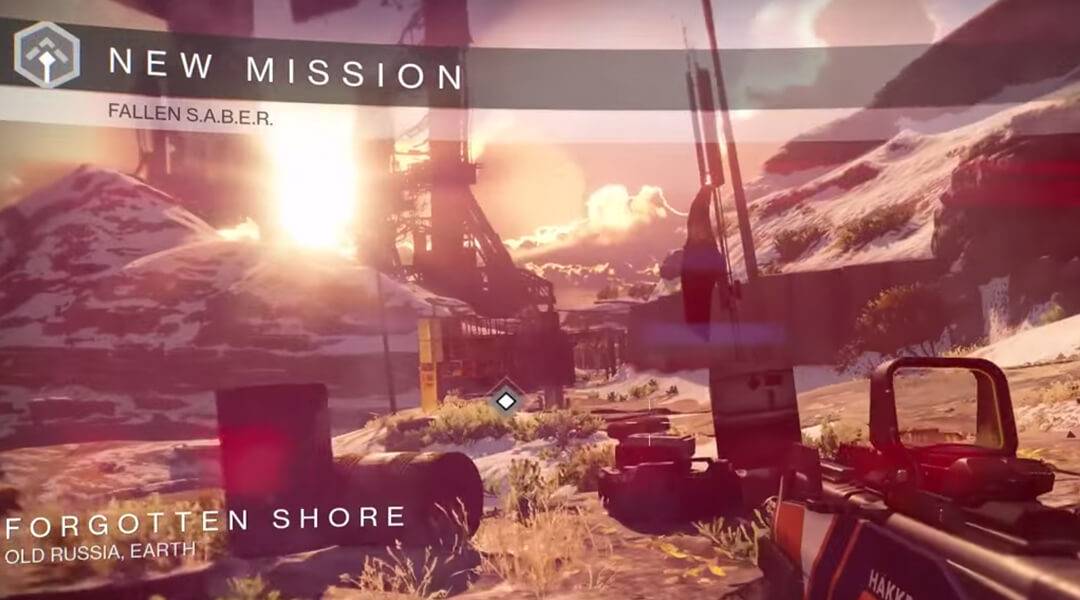
Fallen S.A.B.E.R. opens in Forgotten Shore, but players must use their Sparrows to quickly reach the Grottos to begin. Once in the Grottos, Rasputin will drop a WARSAT with the necessary codes for players to move forward. Naturally, the Fallen aren’t too fond of that idea, and so begins the action.
Fallen enemies will be attacking from every angle, so it’s best to quickly get off the path and find a decent bit of cover. Leave one fireteam member by the WARSAT to maintain transmission, while the rest of the team dispatch enemies. Each time there’s a lull in the waves of attacking enemies, make sure the whole team meets at the WARSAT to speed up the transmission until the next round of bad guys appear.
There is a time limit on the WARSAT transmission, but it’s nothing to worry about, as it offers plenty of time for the fireteam to complete the transmission. Once the transmission reaches 100 percent, kill the remaining enemies and head toward the bunker as directed.
Enter the Bunker
Guardians will make their way through a cave into Rasputin’s complex. This area will likely look familiar, as it was discovered last week by an adventuring Guardian who glitched into the complex. Of course, at the time there were no friends or foes, but that’s all changed now. Once inside the complex, players will be prompted to defeat Rasputin’s defenses – a handful of enemies who don’t put up much of a fight. Naturally, those defenses wouldn’t have done much to protect Rasputin against the other enemies in the Cosmodrome, which players can bet are on their way to find Rasputin.
Work together to take out the defenses, and be sure to stay clear of the exploding Shanks. They can easily take down Guardians with their explosive personalities.
Open Bunker Doors and Don’t Get Shocked
Once the enemies are dead, head to the end of the room and throw a grenade into the small opening. When the explosive goes off, move back across the room and head through the small openings on the wall. Be sure to take out the enemies guarding the entrances. Shoot out the grates on the ground and drop down.
Move through the two-track hallway, keeping clear of the electric currents moving the opposite way. It’s best to use the open spaces in the middle of the track to avoid the currents as they go by. At the end of the hallway, duck into the alcove on the right hand side. One Guardian will grab the relic and head back down the hallway.
While that Guardian gets the relic, the rest of the team should hang out about halfway down the hallway to dispatch enemies while the relic-carrier takes it nice and easy. With the right amount of teamwork and coordination, this part should be over quickly. Just be sure not to get blown up by the exploding Shanks.
Once the team makes it to the end and opens the gate, head through and prepare for the final boss. Collect ammo and use any necessary synthesis before facing off against the boss.
Beating the S.A.B.E.R.-2 Boss
The fireteam will face off against two Servitors once inside the room, but they shouldn’t present much of a problem. Work together and take them out.
Once the Servitors are dead, the Strike boss, S.A.B.E.R.-2, arrives ready to demolish the fireteam. S.A.B.E.R.-2 is basically a giant Shank, albeit with more health and a few tricks up its sleeve.
As players face off with the Shank, the boss will alter the area around the players, giving himself an advantage. Make sure to follow the warning messages on the bottom left side of the screen and make any needed adjustments in order to stay safe and continue attacking. Above all else: communicate. The purpose of S.A.B.E.R.-2’s tactics will be to shake up the fireteam and disrupt their ability to work together, giving the boss an advantage in the battle. So be sure to maintain an open connection and coordinate together.
Additionally, the boss will call for reinforcements to help him defeat the Guardians. These enemies will come in all forms, from snipers to turrets to more exploding Shanks. Make sure to communicate with fireteam members about where they’re coming from and when to avoid them.
Be sure to use cover whenever possible to avoid the boss' wrath, and stick together so the team can quickly and easily revive fellow fireteam members when they die. Things can go south rather quickly once Guardians start dying.
Make sure to use as much heavy firepower against S.A.B.E.R.-2 as possible. This includes grenades, supers, and rocket launchers. Using these will help the team defeat the boss quickly and collect their reward.
Have you completed the Fallen S.A.B.E.R. Strike in Destiny yet? Let us know your experience in the comments.
Destiny - The Taken King is out now for PS3, PS4, Xbox 360, and Xbox One.