Bungie may have given the world Halo, but for the past seven years, they have been working on the Destiny franchise, a first-person shooter MMO that has had its fair share of issues since launch but has still managed to maintain a strong contingent of loyal fans. Like other MMOs, Destiny provides players with an array of PVE activities, with raids being the most difficult and rewarding of them all.
As of now, the series has produced nine raids and two raid lairs, all of which have powerful final bosses, but some of these bosses are far more troublesome to deal with than others, either because of the number of enemies that spawn in their arena, or because the mechanics are plentiful and complex.
Updated on April 6, 2023, by George Voutiritsas: With the release of Destiny 2's Lightfall expansion, the end of Destiny's Light and Dark saga is truly on the horizon. The expansion brings with it a new raid, called Root of Nightmares, and the final boss is yet another servant of the Witness. His name is Nezarec, and although he is a Disciple like Rhulk, his encounter is far less complicated, which means that a lot more players can hopefully defeat him and earn some achievements. Nezarec may not be as difficult as Rhulk, but the mechanics of his fight can still be a bit overwhelming for players who are facing him for the first time. He may not be the hardest final raid boss, but defeating him still feels like a major accomplishment. That being said, fans of the franchise cannot forget that every final raid boss in Destiny was difficult to deal with in their own way.
14 Crota

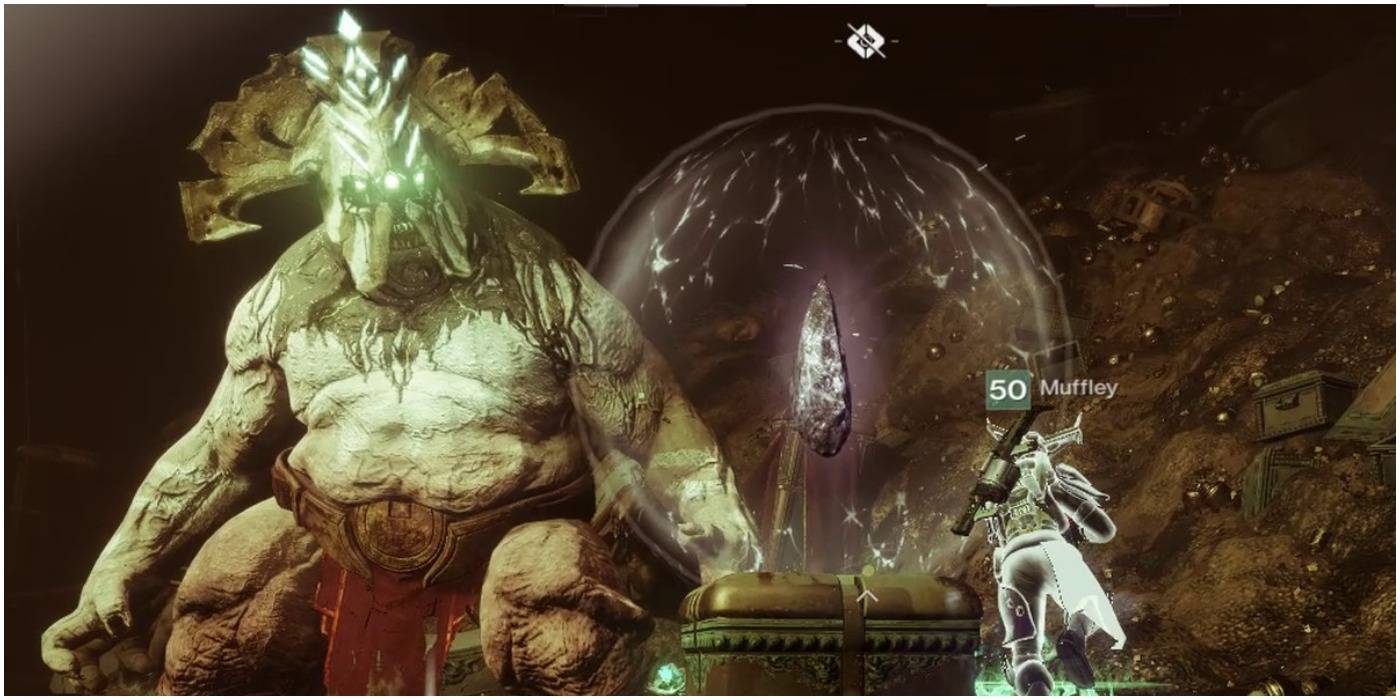
Crota may have been a Hive God who single-handedly killed hundreds of Guardians on the Moon, but he wasn't much of a final raid boss. The son of Oryx possesses a shield that can be damaged, but it regenerates almost immediately if no one hits it, but a Guardian can take the Shield down for five seconds by taking a Hive cleaver from a Swordbearer and slamming Crota with it.
The Fireteam then has to repeat this process until Crota is dead, but every time Crota stands back up, he causes a grey sphere to expand behind him, and this sphere will wipe the team if they do not destroy it within ten seconds.
13 Emperor Calus
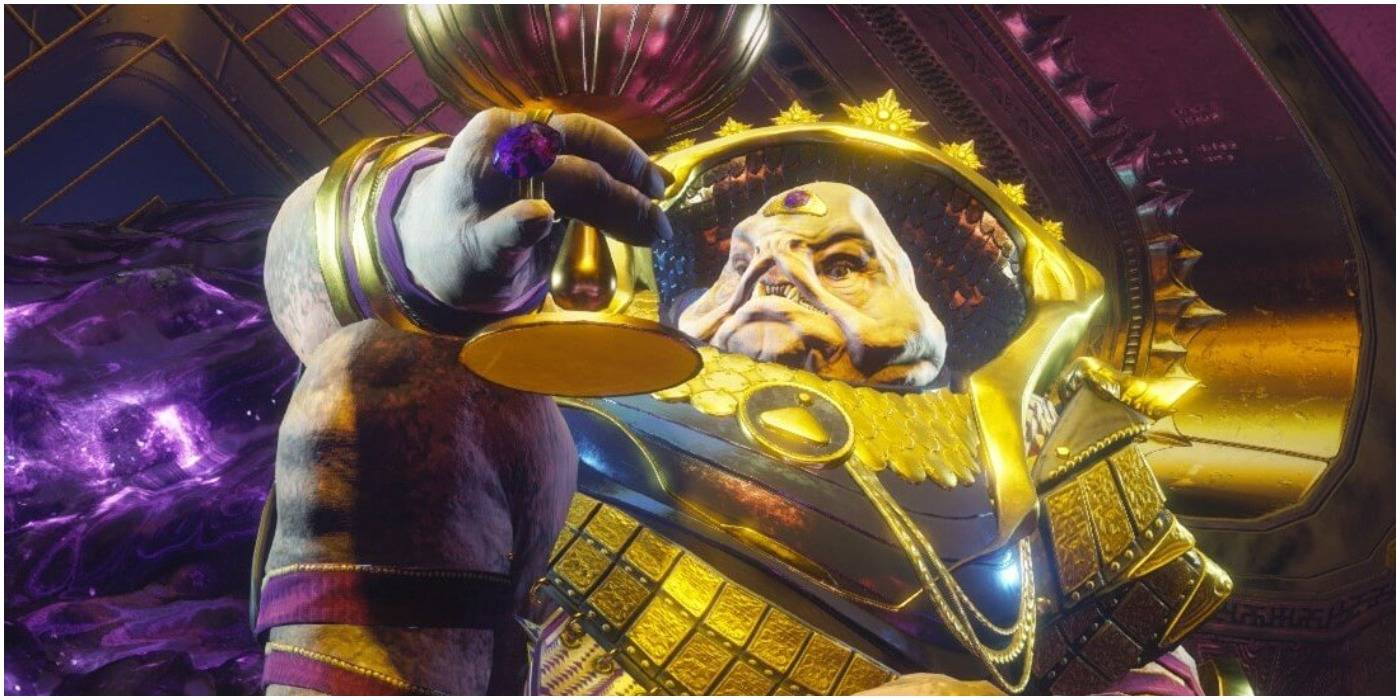
The Cabal were the main focus of Destiny 2's base game, and there is still plenty of story left to tell. Calus is the former Cabal Emperor and the first raid boss that players encountered on The Leviathan, and depending on the loadouts, a Fireteam could beat him in one phase.
While half the team gains a damage buff for the damage phase in Calus' shadow realm, the other half has to kill adds and kill the right Psion to make things easier for the shadow realm team. There are four Psions, one on each plate of the arena, and the correct Psion can be identified by the shadow realm team, who need to call out "chalice, axes, sun, or dog." Whichever symbol is not called out, is the correct Psion, and someone in the throne room needs to kill it to prevent a wipe. This must be done three times in a row in order to get to the damage phase, which begins as soon as someone steps on a plate. Calus then becomes a literal damage sponge, whose crit spot eventually moves from his head to his chest.
The fireteam will have to jump from plate to plate because Calus will attack the plate and kill anyone on it. Before he dies, Calus will initiate a final wipe mechanic, and the only way to stop it is by bombarding him with as much damage as possible before he finishes charging. Newcomers to Destiny 2 are going to have to wait a while before they can fight Calus, as the entire raid was placed into the content vault as part of Beyond Light's release. That said, he can be encountered in a new form in the Lightfall campaign.
12 Argos, Planetary Core
The Argos fight may be a bit time-consuming, but the massive Vex Hydra is not that hard to take down. In order to lower Argos' shield, players have to cook a few Vex skulls in designated elemental fire pits. Once they're cooked, players need to shoot the elemental shield nodes and drag them to a central node that will lower the shield and trigger the damage phase. When the damage phase is over, players must attack two of the six weak spots that appear when Argos charges void energy. Unless enough damage is done to stop the charge, Argos will wipe the team.
The Fireteam will have to repeat this process multiple times, and they will have to avoid kamikaze Harpies and nets that will carry players off to their death. Another player needs to destroy this net. This may sound troublesome, but the worst part of this encounter is by far the ADs that constantly spawn. There should be at least one or two players dealing with the ADs because they can overrun the boss arena. Argos was located inside Calus' Leviathan, which means that the massive Vex has also been placed inside the content vault.
11 Atheon, Time's Conflux

Atheon was the boss of the franchise's first raid—The Vault of Glass—and he was a relatively easy boss to take down, especially if several fireteam members had the Gjallarhorn rocket launcher. In order to get to Atheon, players must first awaken the Glass Throne by destroying a Hydra, Oracle, and a few Gatekeepers who will drop an Aegis.
When the massive Vex finally emerges, it will eventually open up a timestream that randomly teleports three players to a distant future or past, and they will have to destroy every Oracle in order to get back before the team wipes, while the other three have to free themselves from a bubble and dispatch a Templar while avoiding self-destructing Harpies. Someone will then grab the Aegis which will grant a damage buff to use on Atheon.
Bungie brought the raid back in Beyond Light during Season 14, and they made a few changes to the encounter. When players enter the timestream, they will see three red Oracles, and the reader will have to call them out in the right order while the other two players deal with exploding Harpies. A designated player in the main room will have to then shoot the corresponding Oracles, while the other two players in the room eliminate as many enemies as possible. This needs to be done a total of three times. Harpies are still an issue in the main room, but the trick is to leave one alive on each side to prevent them from respawning. It should be noted that one player will have the Imminent Detention debuff during the damage phase, and they will have 5 seconds before they get detained. Any players around them will also be detained, and if it is a sizeable portion of the fireteam is caught, no one will be able to break free and the team will wipe.
10 Gahlran
Gahlran was created by Calus so he could control a brood of Hive, and in doing so, the Crown of Sorrows boss is capable of using some level of Hive magic. This magic is the reason why Gahlran is able to create Deceptions of himself.
Players will split into three teams of two and manage the "Witch's Blessing" buff which allows them to kill Blessed Knights, but it also allows players to destroy the Deception's shield. The Fireteam will have to kill three deceptions before they can damage the real Gahlran, and at that point, they must shoot his hands before moving to his head. Gahlran was located on the Leviathan, which means that new players won't be able to fight him until the raid comes out of the content vault.
9 Aksis, Archon Prime

Aksis was a Fallen Archon Priest who augmented his body with SIVA, and to beat him the Fireteam needs to split up into three teams of two, where one player uses a Scorch Cannon to destroy Servitors with specific elemental shields. Once destroyed, these Servitors will drop a bomb, and the other player needs to grab it and throw it at one of the nodes at the center of the boss arena. This process is then repeated in order to take down Aksis' shield
When that is done, half the Fireteam will receive the "Empowered" buff, and one of these Guardians will have to follow Aksis wherever he teleports to. That player will have to jump onto his back to cancel his wipe mechanic. While Aksis is temporarily staggered, he can be damaged before teleporting again. He will teleport three times, and when he returns to the center, the room will be filled with a critical density of SIVA. Players will then have to rush to one of four pillars in the back of the room to avoid dying, and once a pillar is used, it cannot be used again.
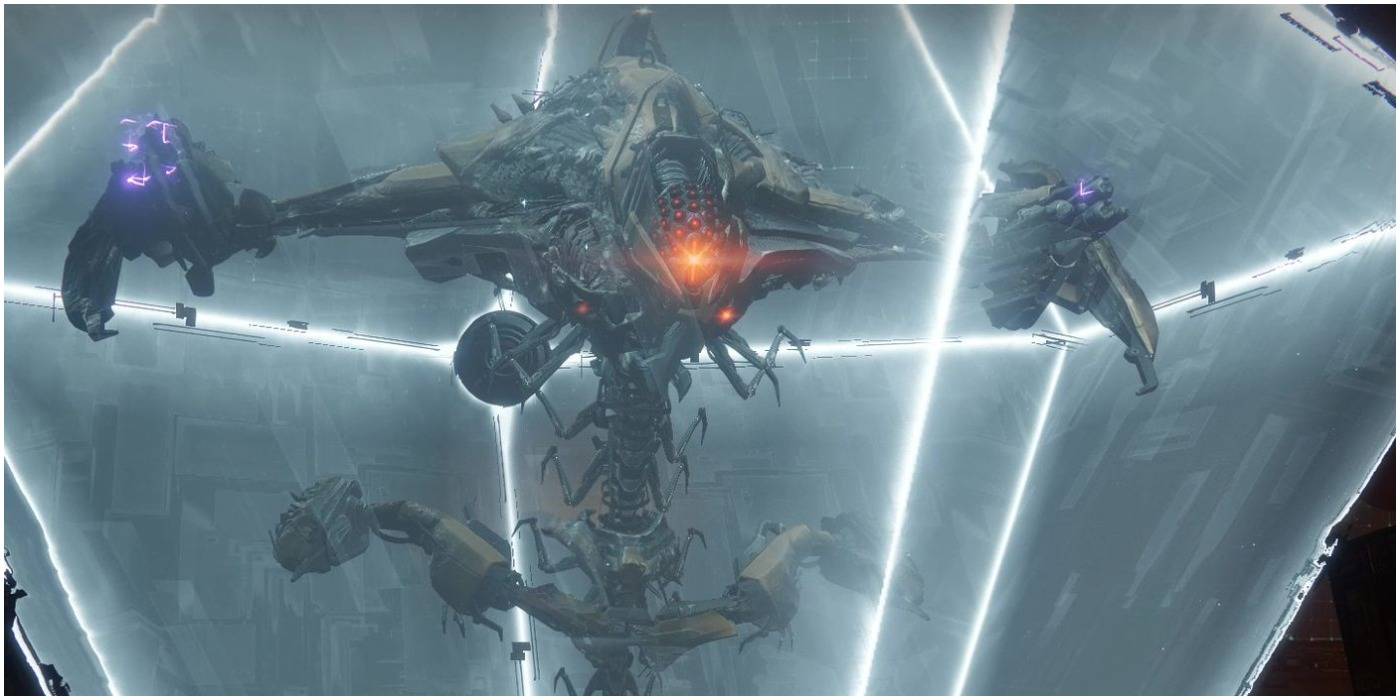
8 Insurrection Prime, Kell's Scourge
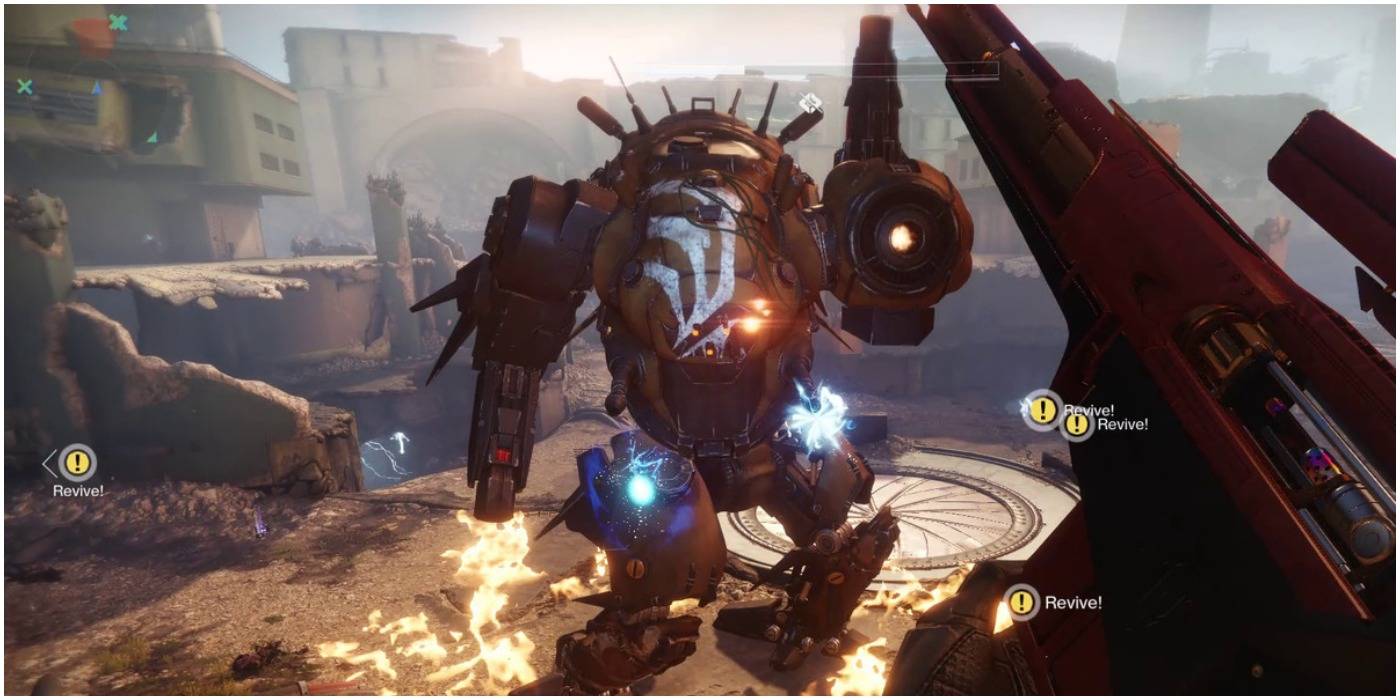
This boss is basically a Fallen Servitor inside the body of a giant bipedal tank, and a great sniper rifle will make short work of it, but it is the lead-up to the damage phase which is quite annoying because the Fireteam needs to split up into three teams.
One player needs to look at the map and call out the location of the batteries and then the assigned runners will have to charge them. Another group will have to kill the Berserkers that spawn, while the snipers destroy the shield nodes on the boss' body, and only when all those things are done simultaneously can players actually damage Insurrection Prime. This raid was part of Season of the Forge, and it has since been vaulted along with the rest of the season's content.
7 Val Ca'uor

Spire of Stars' final encounter has an absurd amount of mechanics. First, the team will have to cleanse themselves of the Engulfed debuff, and then the team will have to defeat gladiators and select someone with the Superior Retainer buff to go up to space to find two symbols.
These symbols will lead to the arming phase-which will force players to arm bombs on specific plates and once that is done, two players with Superior Retainer must go up and destroy specific ships while the others try to not die. All six players then have to play a game of Hot Potato with an Engulfed ball that gives Curse stacks (and this must be done until there are three balls in the arena). Only after doing all that can Val Ca'uor take damage. This raid lair proved to be very difficult, and players will have to wait to beat it again since it was vaulted along with the rest of the Leviathan's content.
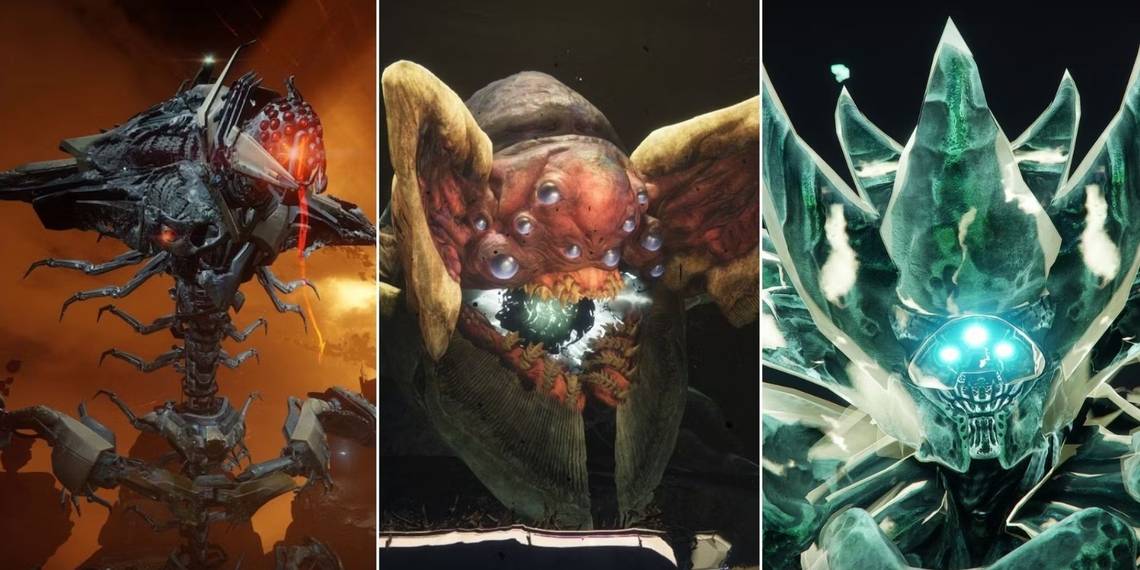
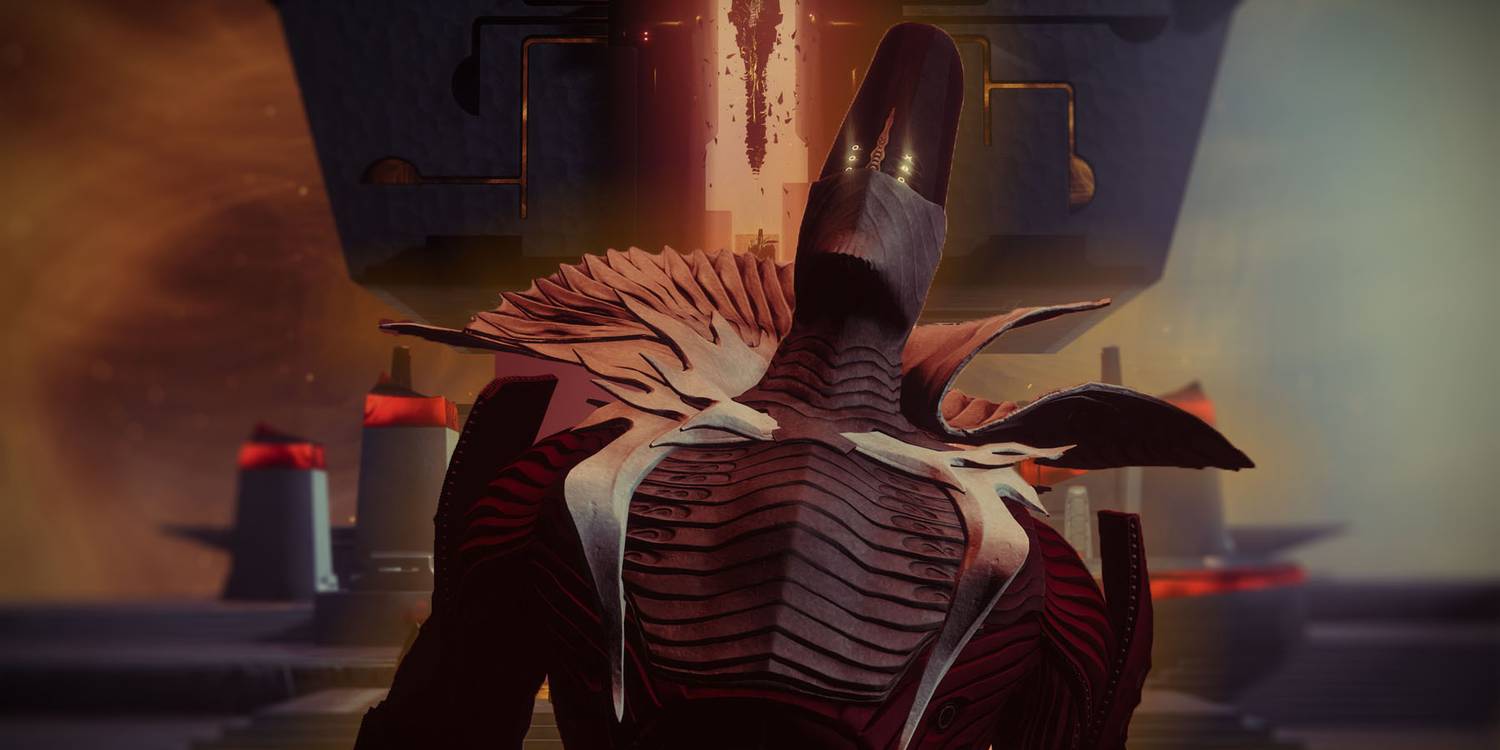
6 Nezarec, Final God Of Pain
Since his name was first mentioned, Nezarec has been a mysterious and feared individual, and he finally appears in Lightfall as the final boss of the Root of Nightmares raid. He is a Disciple of the Witness, and he enjoys causing fear and pain. He led the Black Fleet during the assault on Earth, which is commonly referred to as the Collapse, but he was betrayed and killed by Savathun. His cursed remains were then entombed within the Moon pyramid.
His encounter includes a mechanic that can be seen throughout the raid, and it involves players growing a seed and connecting multiple nodes until a chain is formed. The fireteam needs to be split into two teams of three. Each team needs a Gardener, who must grow the seeds and complete the chain. This encounter also requires them to create safe havens, which protect the fireteam from Nezarec's wipe mechanic. The Clearers are responsible for clearing adds in the side lanes so that the Gardeners have an easier time moving through the arena. They also have to clear the middle lane so that the Tanks can deal with Nezarec.
The Tanks need to keep Nezarec distracted. The boss will hit the team with Nezarec’s Hatred debuff, and the Tanks must shoot Nezarec in the chest in order to gain the debuff and his aggro. When this happens the Tank needs to shoot Nezarec's shoulder, which will cause an explosion. The explosion will produce a white or orange light, and the Tank must call out the color because it will tell the Gardeners where to create the safe haven. If the light is orange, the safe haven must be created by the Gardener on the light side, and the white light is for the Gardener on the dark side. The Tanks need to juggle the debuff until Nezarec starts his wipe mechanic or the Gardeners complete their chains.
5 Oryx, The Taken King

Savathun was the main villain of last year's expansion, but her brother Oryx was a much tougher adversary. His raid encounter starts with one player having to collect motes of light above four platforms which can be activated by another player jumping on their designated platform, and grabbing these motes will spawn Cursed Ogres. When these ogres are killed, they will drop a Taken blight.
A special Knight will spawn once all the motes are collected, and the runner must break its shield in order to kill it. When that is done, an aura will drop and Oryx will start a wipe mechanic. If it's stopped, a weak spot will open in Oryx's chest. Players can attack this weak spot, but they can also approach the aforementioned blights to make them explode. The explosions will deal immense damage to Oryx. Once he gets to 50% health, Oryx will produce a bubble that Guardians will teleport into. The teleported players will need to kill a Shade of Oryx, and their health does not recharge while they're inside the bubble.
Many Destiny fans consider King's Fall to be the franchise's best raid, and it made its return during The Witch Queen expansion. For the most part, the encounter is the same, but there are a few minor changes. For starters, when Oryx slams a plate, a random member of the Fireteam becomes the runner when they are Torn Between Dimensions, and they will have to run above the plates in order to acquire the buff that will allow them to kill the Knight which drops the aura. Other than his final stand, Oryx's chest can only be damaged after detonating a Corrupted Light orb as they prolong the damage phase and stop his wipe mechanic. The Shade of Oryx encounter is slightly more difficult, as the shade is far more aggressive, and the area is a bit smaller.
4 Taniks, The Abomination

Veterans of the original game know who Taniks is, and Bungie decided to bring him back a third time as the final boss of the Deep Stone Crypt raid. Taniks will move to one of the arena's three sections, and the fireteam will need to shoot his thrusters. When enough damage has been dealt, each thruster will drop a nuclear core, and four members will have to pick them up and deposit them in so-called "washing machines" located in the other two sections. It should be mentioned that Taniks will try to bombard and ensnare players during this section.
Players will be very slow while holding this core, and if they do not deposit it before the Radiation debuff reaches 10, they will die. If this is done successfully, players with the Operator, Suppressor, and Scanner buffs will have to get rid of them. The DPS phase will see Taniks surrounded by two rings, both of which can kill players. The only way to damage Taniks is to stand in between these rings. During Taniks' last stand, he will teleport all over the map, and players will have to burst him down as quickly as possible, preferably with supers, sniper shots, and decent Heavy weapons.
3 The Sanctified Mind

The final boss fight of the Garden of Salvation raid is a messy affair. Two players will have to jump through a portal to collect motes on an island while the other players clear adds and restore portions of the map which randomly disappear.
The mote team will then deposit their motes into a pillar on each side of the arena, which will cause the Sanctified Mind to produce a white or yellow bomb that needs to be destroyed by having several Guardians link up. Doing this will disorient the boss and open up the damage phase.
2 Riven Of A Thousand Voices

Forsaken may be the best Destiny 2 expansion, and Riven is by far the hardest final boss in the series. Queen Mara Sov found Riven when she was a baby, and she raised her in secret, away from the Guardians who wiped out the rest of her kind. When Oryx attacked, he found Riven and Took her, transforming her into the monster that trapped the Dreaming City in an endless loop.
The best way to beat Riven is to cheese the encounter because the fight can be a real handful. The Fireteam needs to split into two groups of three, and if even one person messes up, the entire team will likely get wiped. After killing some Taken, Riven will appear in one of two rooms, and teams will have to either dodge a tentacle attack or fire blast. Shooting the tentacle afterward can stagger Riven, and players will need to shoot her mouth if she breathes the fire in order to stagger her.
After a while, two of her ten eyes will glow, and it will be the job of the second group in the other room to shoot those eyes. After identifying the right symbols to cleanse the lifts, players will find themselves in a room filled with Ogres and Hobgoblins, and when this room is cleared, players will see Riven's full body, and they will need to shoot cysts to deal more damage. After repeating this process several times, the team will be sent to the Ascendant Realm once Riven's health gets low enough. They will then have to complete a timed jumping puzzle. When the puzzle is done, the team will be sent to the Ogre Room where they will have to shoot Riven's mouth one last time to stop her from wiping the team.
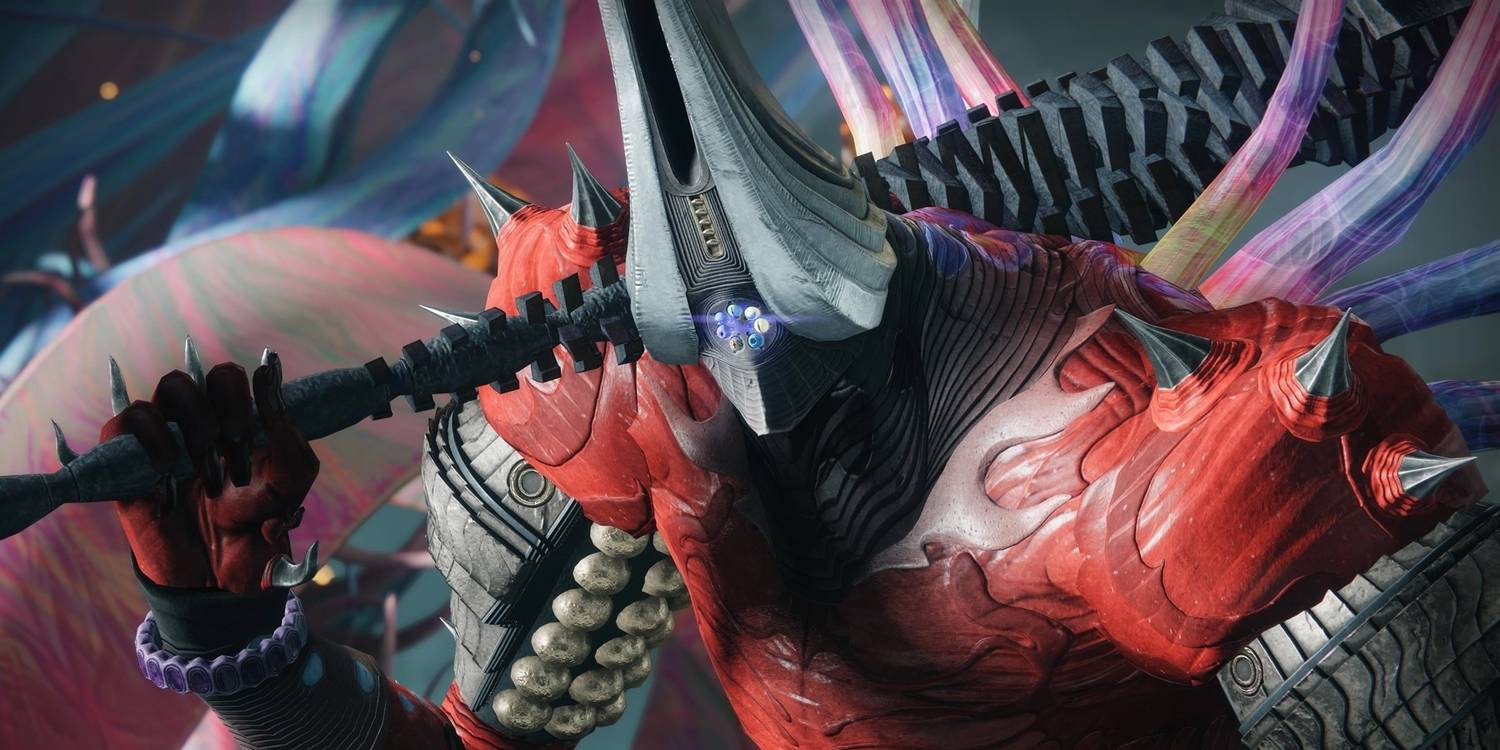
1 Rhulk, Disciple Of The Witness
As far as the lore is concerned, Rhulk is the strongest enemy that Destiny players have faced thus far, so it is fitting that he is the final boss of the Vow of the Disciple raid. When the encounter begins, Rhulk can be seen floating behind a shield, and in order to take it down, players need to dunk energy into specific glyph-aligned pillars that can be found around the boss arena. Rhulk also summons a darkness crystal above his head, and anyone who shoots it gets the Leeching Force debuff. Rhulk will then summon enemies and fire blasts at players.
When a player absorbs this attack, they gain the Emanating Force that needs to be dunked. In order to find the right pillar, the fireteam needs to kill three Glyphkeepers who will each drop a glyph with a common symbol. Once the energy is dunked into the correct pillar, Rhulk's shield will pull back, and this process will continue until it is completely gone.
As Rhulk retreats though, he summons more crystals, and once he spawns a third wave of crystals, they all become immune. Leeching Force needs to be alternated between players, who must stand on a plate on the side of the arena. If it ever reaches zero, the team wipes. After pushing him back six times, the team can then fight him in his inner sanctum. While in the sanctum, Rhulk is still immune to damage, but it can be removed by copying the same glyph steps as before. Players need to be careful though because Rhulk will dash toward them and deliver devastating melee attacks.
Unlike the first phase, dunking the energy will only reveal one weak spot at a time, and it can be hard to hit since Rhullk moves around a lot. The whole process is repeated until his health reaches zero, at which point he begins emanating Pervading Darkness, which will wipe the team if it reaches ten stacks. At that point, the fireteam needs to burst him down as quickly as possible.
Destiny 2 is available on PC, PlayStation 4, Xbox One, PlayStation 5, and Xbox Series X/S.