Destiny 2's newest raid Vow of the Disciple takes players deep inside a pyramid ship located in Savathun's Throne World. Within, an ancient threat awaits those brave enough to enter and challenge its supremacy. In terms of difficulty, this raid definitely requires a bit more communication and participation from all members of the fireteam.
That being said, Vow of the Disciple isn't quite as challenging as Last Wish, and once players have a clear idea of what to do and where to go, the raid is quite self-explanatory. There are a few things, however, that players will need to know before diving straight into the pyramid. Here are a few helpful tips to complete the Vow of the Disciple raid in Destiny 2.
Spoilers on the raid boss and encounter mechanics ahead.
10 Prepare Separate Loadouts
Players should consider two things before starting the raid:
- Reach the recommended light level of 1530.
- Prepare separate loadouts for clearing ads and dealing boss damage.
Completing the raid while under-leveled is possible but very challenging for players who don't have a lot of experience raiding. Therefore, make sure to level up the artifact before heading in, and infusing any weapon and armor players plan to use during the raid.
And speaking of gear, players will be able to get through the raid with two general loadouts: an ad-clear loadout which allows players to kill a bunch of rank-and-file enemies, as well as a boss damage loadout, which focuses solely on dealing a lot of "precise" damage on a single target.
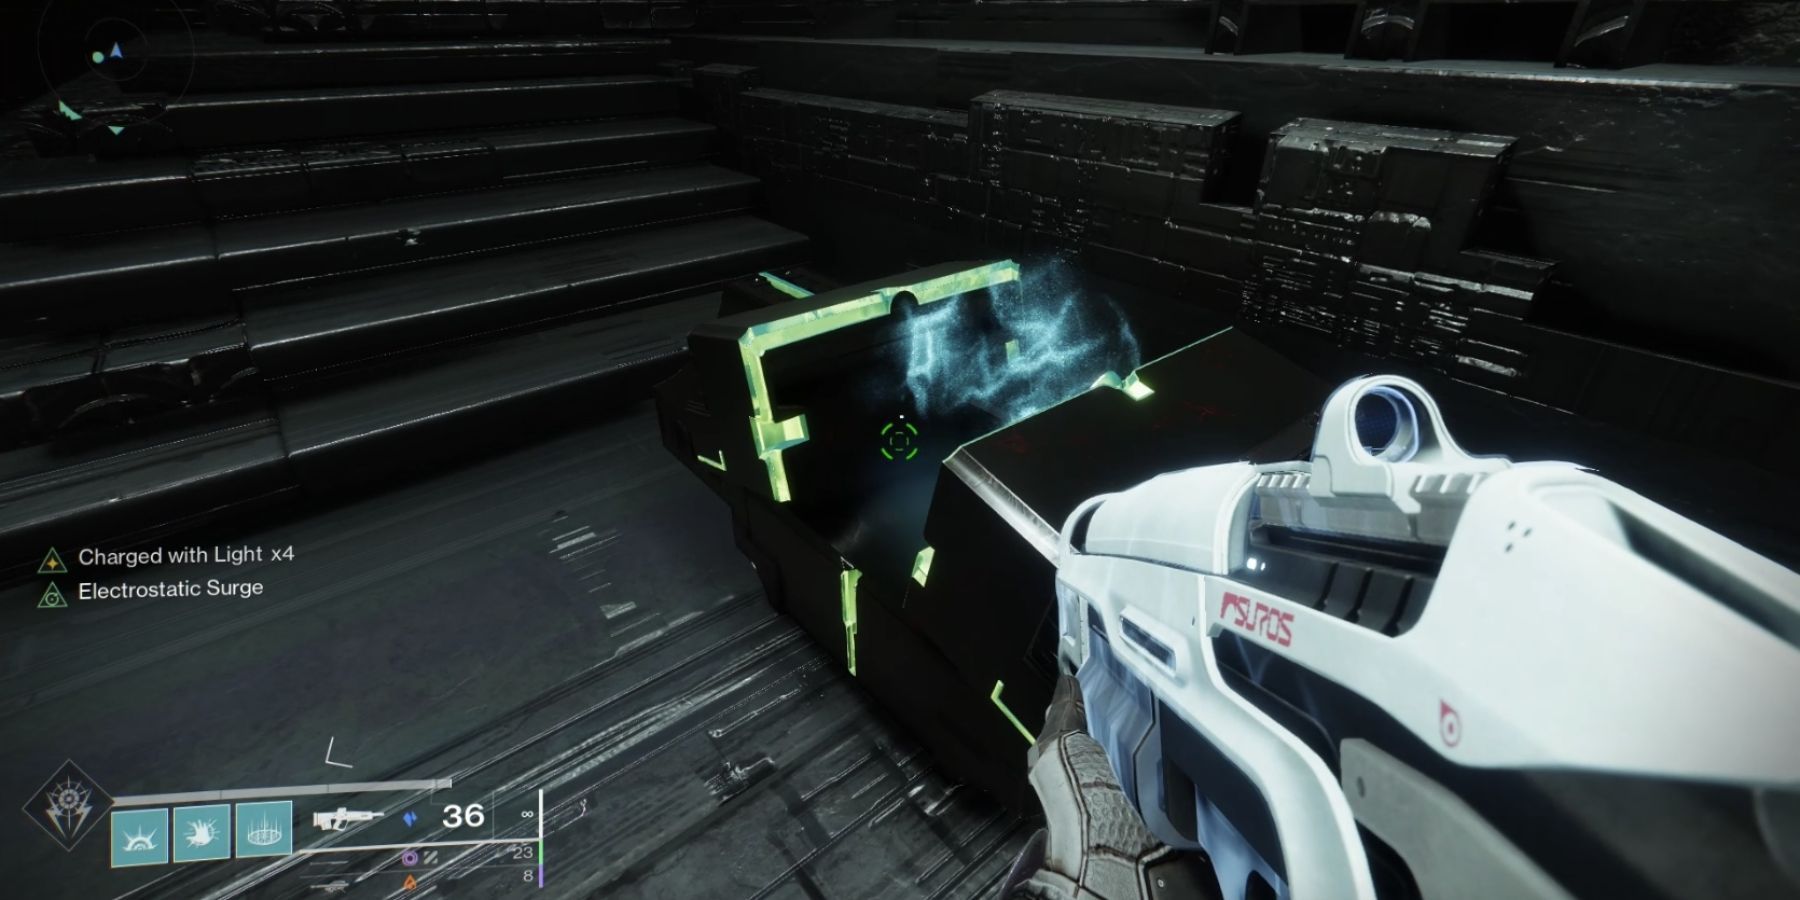
When creating loadouts, players with high stat Artifice armor from the Grasp of Avarice dungeon should make use of it, since it allows players to input two artifact mods in one armor piece. Prioritize armor mods that increase damage (Charged with Light, High Energy Fire, Void Weapon Boost, etc.), and which provide protection (Protective Light, Well of Tenacity, Concussive Dampener, Void Damage Resistance).
9 Grab The Secret Chests After Completing The Raid
The Vow of the Disciple raid features three additional chests on top of the four regular encounter chests. These are the chests and their rough locations from the start to the end of the raid:
- Secret Chest #1 - In the Disciple's bog, players need to activate a few switches to open up one of the building doors in the swamp to find this chest.
- Encounter Chest #1: Acquisition - After completing the Acquisition Encounter, players will receive this chest.
- Encounter Chest #2: Caretaker - After defeating the Caretaker in Collections, players will receive this chest.
- Secret Chest #2 - In the jumping puzzle, after the first jumping section when reaching the room with enemies and a Taken Phalanx, take the platforms to the right instead of the left to reach this location.
- Encounter Chest #3: Exhibition - After depositing all three Relics at the end of Exhibition Encounter, players will receive this chest.
- Encounter Chest #4: Dominion - After defeating Rhulk, players will receive this chest.
- Secret Chest #3 - If players activate three glyphs shown on a totem when first entering the Pyramid in various rooms scattered around the raid, Rhulk will grant players an additional chest drop after being defeated.
Note that Secret Chests will only drop loot from the pool of items the player has already unlocked. Because of this, players should play the raid fully once and open only the Encounter Chests before opening any of the Secret Chests.
8 Make Sure To Have Anti-Champion Mods
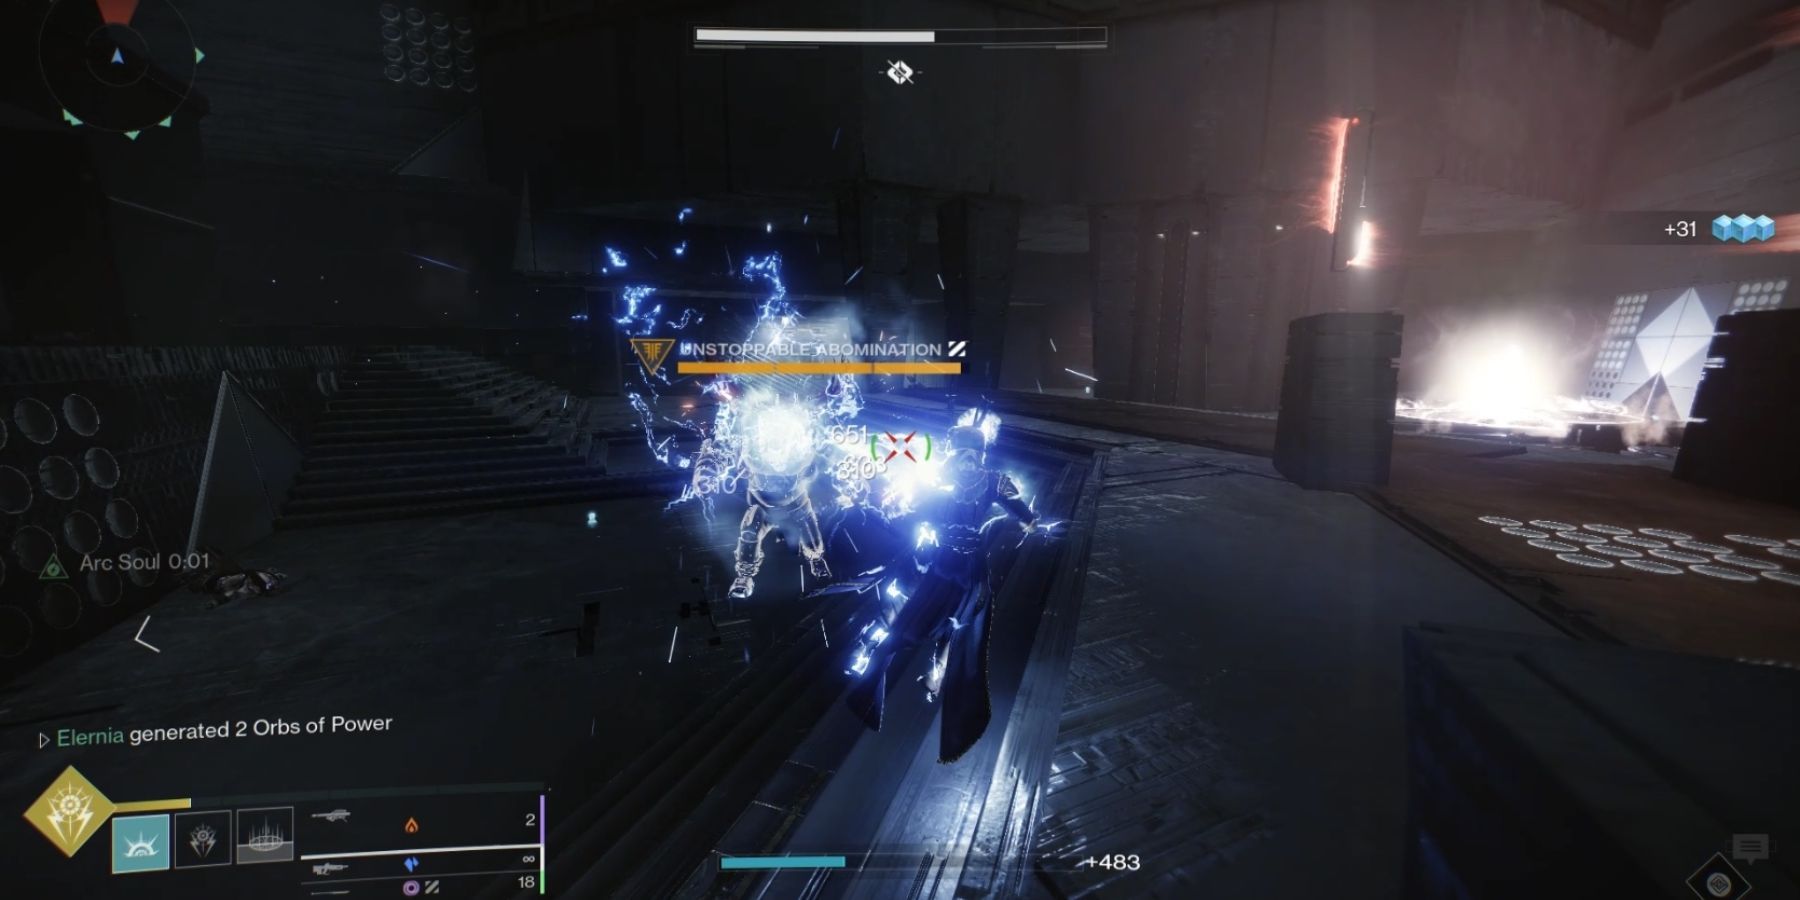
The raid does feature two champions: Overload Champions and Unstoppable Champions. Given that this is the highest raid right now, players will most likely struggle against these champions without any mods, unless they are over-leveled for the challenge. Unstoppable Champions in particular can be difficult even for over-leveled players to burst down due to their low damage intake.
Unstoppable Champions will appear in abundance during the Acquisition Encounter, or the first rally banner encounter of the raid. Players defending obelisks during this encounter should have either Unstoppable Hand Cannons or Unstoppable Glaives. Overload Champions will pop up during the Exhibition Encounter and should be easier to burst down with two players focusing them at once.
7 Don't Use Ricochet Rounds Or Explosive Payload Perks
For players who plan on dedicating themselves to clearing ads, it might be tempting to go for useful weapon perks like Ricochet Rounds and Explosive Payload. While these are great choices for primary weapons when defending obelisks or clearing ads in general, they pose a problem when it comes to shooting glyphs on obelisks.
Players in charge of shooting the obelisks to activate glyphs should remove these two perks from their weapons. The reason for this is that both of these perks are notorious for activating multiple buttons at a time and messing up puzzles.
6 Use In-Game Callouts For Glyphs
There are quite a few symbols for players to memorize in Vow of the Disciple, but the good thing is that ADS-ing on a hovering symbol will actually reveal the in-game name of it. This should significantly help players with their callouts, as these symbols will keep on returning in each encounter.
Players can also have their own callouts, but they simply need to make sure the entire fireteam is on the same page with each symbol. Most of them are self-explanatory, but others might be more metaphorical and difficult to describe. Use colors to help with description when communicating as well.
5 Anyone Can Shoot Glyphs
During the Acquisition and Caretaker encounter, players will be tasked with shooting glyphs on an obelisk. In the Caretaker encounter, in particular, it can be misleading when a message appears at the left, stating that the obelisk is waiting for X player's offering.
The truth is, anyone on the fireteam can shoot the glyphs, and the order doesn't matter either. What matters is that the correct glyphs are activated within a fairly short timeframe, so players shouldn't hesitate for too long or the obelisk will reset itself. Having multiple players covering a single side of the obelisk can be a great idea, and beginner fireteams can even divide the job further by assigning one glyph per player.
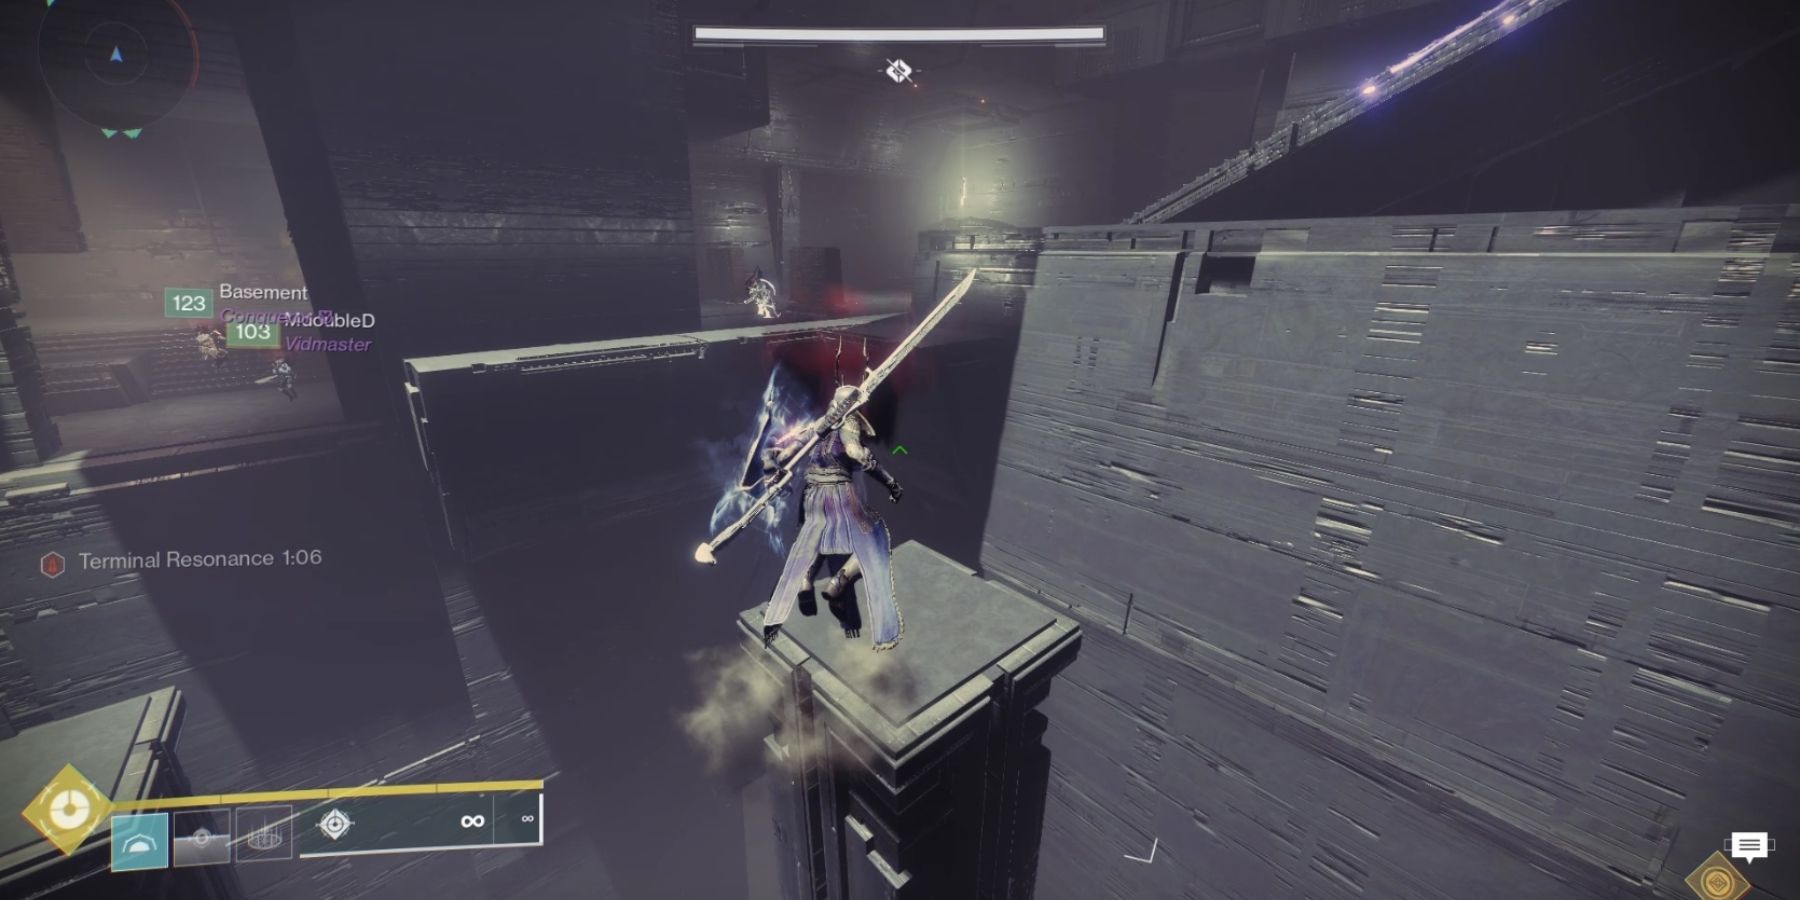
4 Have Two Players Complete The Jumping Puzzles
The jumping puzzle sequence inside the pyramid has two parts that require players to use a button to make platforms move into position. Once one player makes it through the platform sequence, a message stating "The path has stabilized" will appear, meaning the platforms have stopped moving and the rest of the team can go through.
One player can stay by the button for each puzzle sequence and community with the second player actually doing the jumping. This helps to ensure that the whole team won't wipe and waste a lot of time in this part of the raid. Also, players less confident in their jumping skills can just wait for more skilled players to stabilize the path for them.
The jumping puzzle with the moving cylinders can be difficult to get through, but players can actually shoot the button twice to reverse the path of the moving platforms and therefore make it easier for whoever is doing the jumping to actually reach the end.
3 Create Predetermined Teams For Exhibition Encounter
The Exhibition Encounter is likely one of the most chaotic parts of the raid. It's easy to panic here because every player needs to be aware of what's going on and what's happening. Moreover, this encounter is timed, so players need to move with purpose. There are a lot of moving parts to this encounter, so assigning clear roles beforehand might be a good idea.
There are three relics for players to worry about, and three major zones to get through (excluding the first room where the rally banner is). One player can't hold a relic two rooms in a row, so players will have to switch around per zone. Here are all three relics and what they're used for, ranked from easiest to hardest.
- Pyramid Relic: The first relic acquired in front of the rally banner. Whoever holds this only needs to kill Taken enemies with white shields (one spawns after two Glyphkeepers are dead). Doing this extends the fireteam's time bank per each room.
- Vault of Glass shield: The second relic acquired before the first big room. Whoever holds this must cleanse his teammates regularly to get rid of the Pervading Darkness debuff.
- Taken Orb: The third relic acquired before the second big room. Whoever holds this must use their grenade ability to destroy taken blight orbs scattered around the map. This is necessary, as the blights turn enemies and Glyphkeepers immune to damage.
Dropping a relic will make a player unable to pick it up again for 30 seconds. If players die, drop their relic, and get resurrected, they can pick it up again as dying cleanses the debuff. If a relic falls over the edge of the map, it will return to the room it was picked up from.
2 Speed Up The Boss Fight By Doing Double Energy Banks
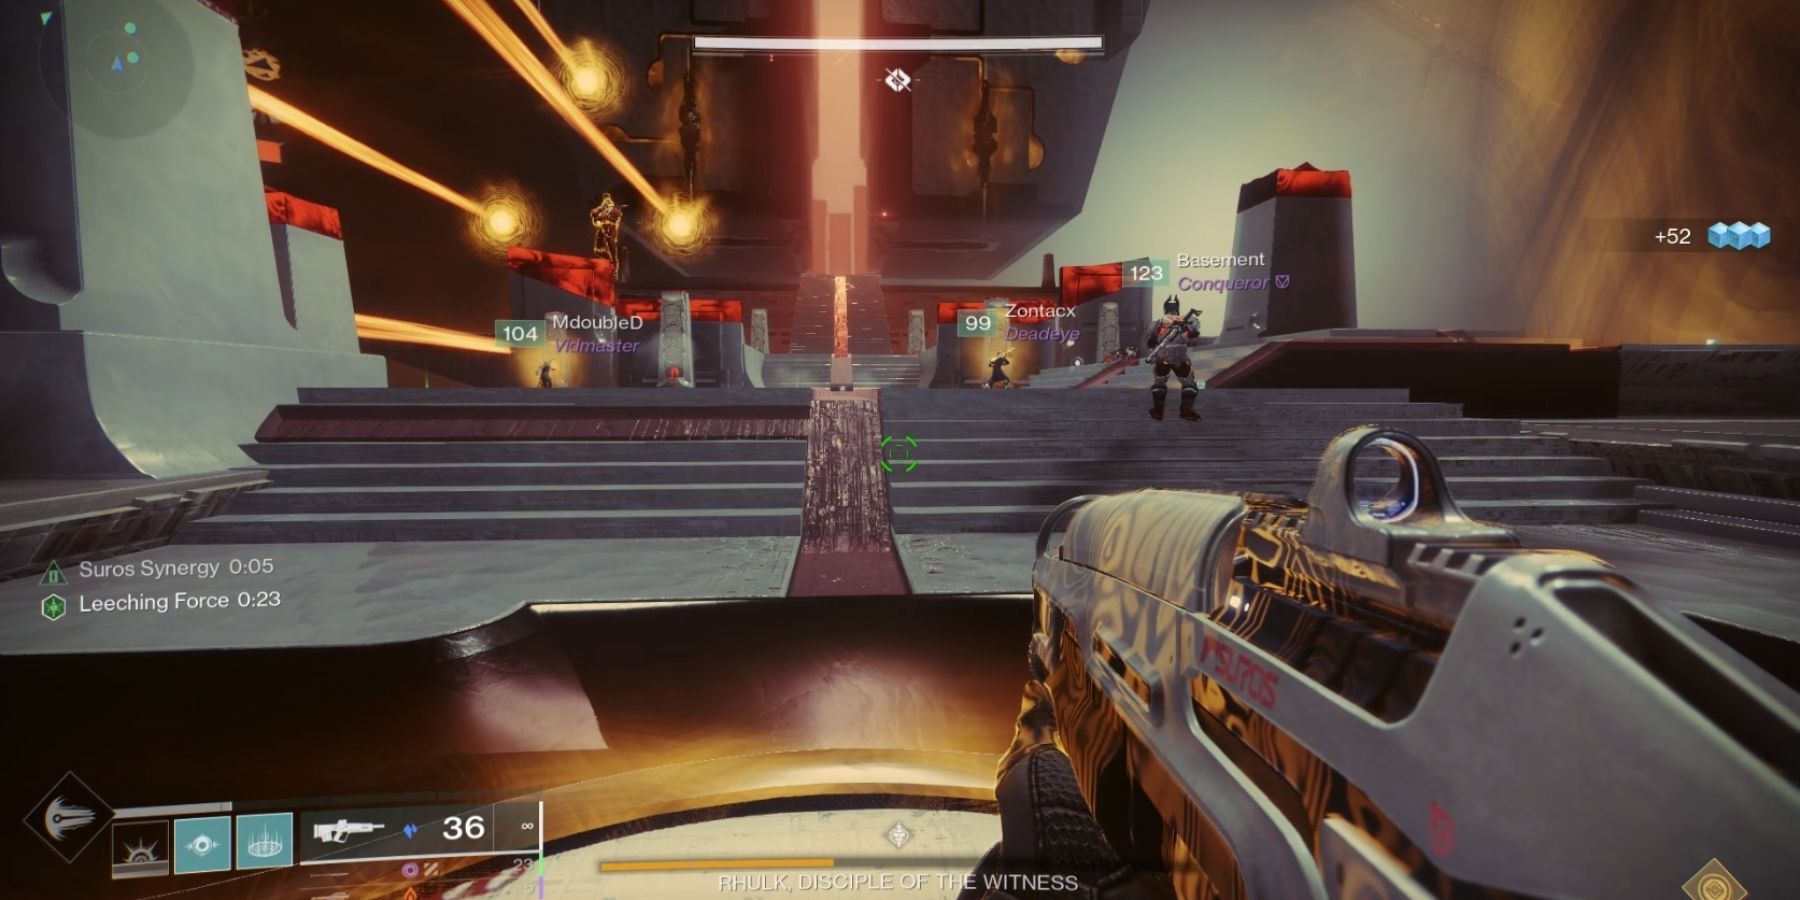
Once players reach Dominion, they'll face off against the final boss Rhulk. The first part is quite self-explanatory, but some fireteams may have not noticed that they can do multiple energy banks to speed up the process.
This involves having two people juggle on and off the Leeching Force buff and two players receive the Emanating Force buff by being first granted Leeching. The two players can then bank two energy deposits, and if they do it around the same time, the fireteam can even unlock a cool triumph while they're at it. This might take some practice, but once done, it can make the first, somewhat boring fight of Rhulk's encounter go by in a blink of an eye.
This same method also works for the upper arena, where players need to shoot at Rhulk's staff to get Leeching Force, and then Emanating Force from his beams to bank the four symbols. If two players do this, they can start damage phase much quicker for the entire team.
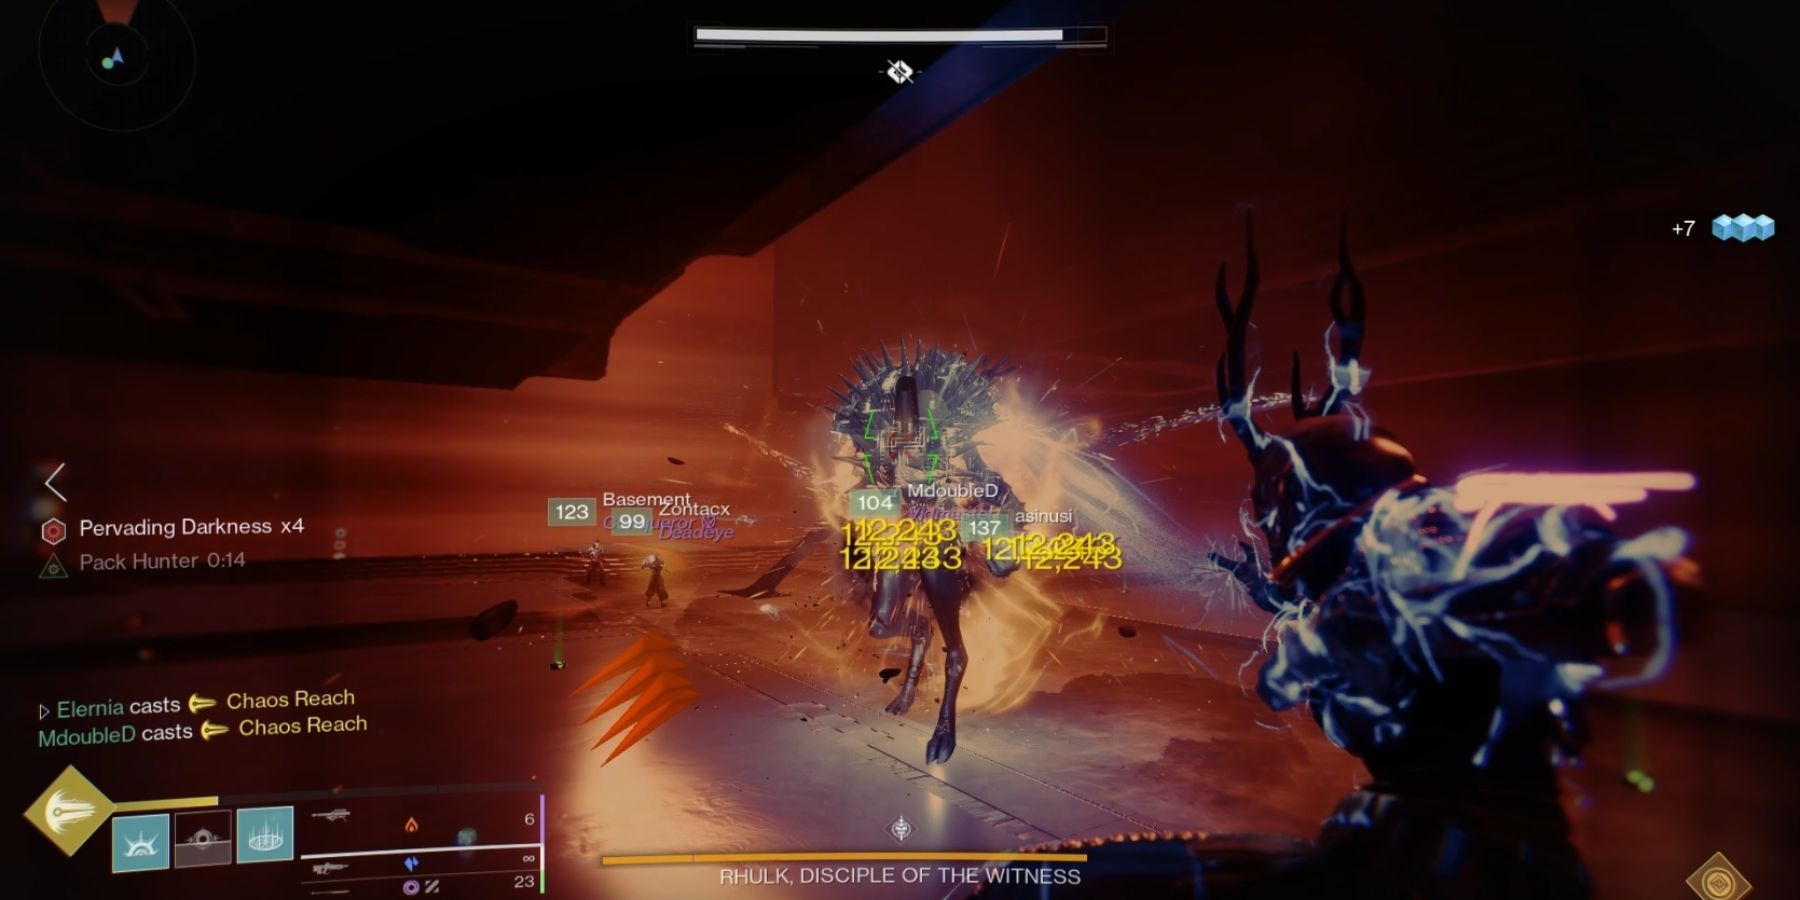
1 Switch To Damage Supers For Rhulk
Rhulk is a highly mobile boss. Once players reach the upper arena, he will walk around and dash at players with his staff or glaive. After damage phase is initiated, he will remain mobile in his secondary form, so standing inside a Well of Radiance or having a Ward of Dawn bubble might be a bad idea.
Instead, players should go for purely damage Supers, such as Thundercrash, Moebius Quiver, Nova Bomb, or even Chaos Reach if teams are trying to complete the Arc challenge. On top of that, so far a great damage combination is to have one player on Divinity, one with Gjallarhorn, and the remaining players rotate their damage between a Palmyra-B with Auto-Loading Holster perk and Izanagi's Burden Exotic sniper rifle.
Destiny 2: The Witch Queen is available on PC, PlayStation 4, Xbox One, PlayStation 5, and Xbox Series X/S.

.jpg)
.jpg)
.jpg)
-1.jpg)
.jpg)
