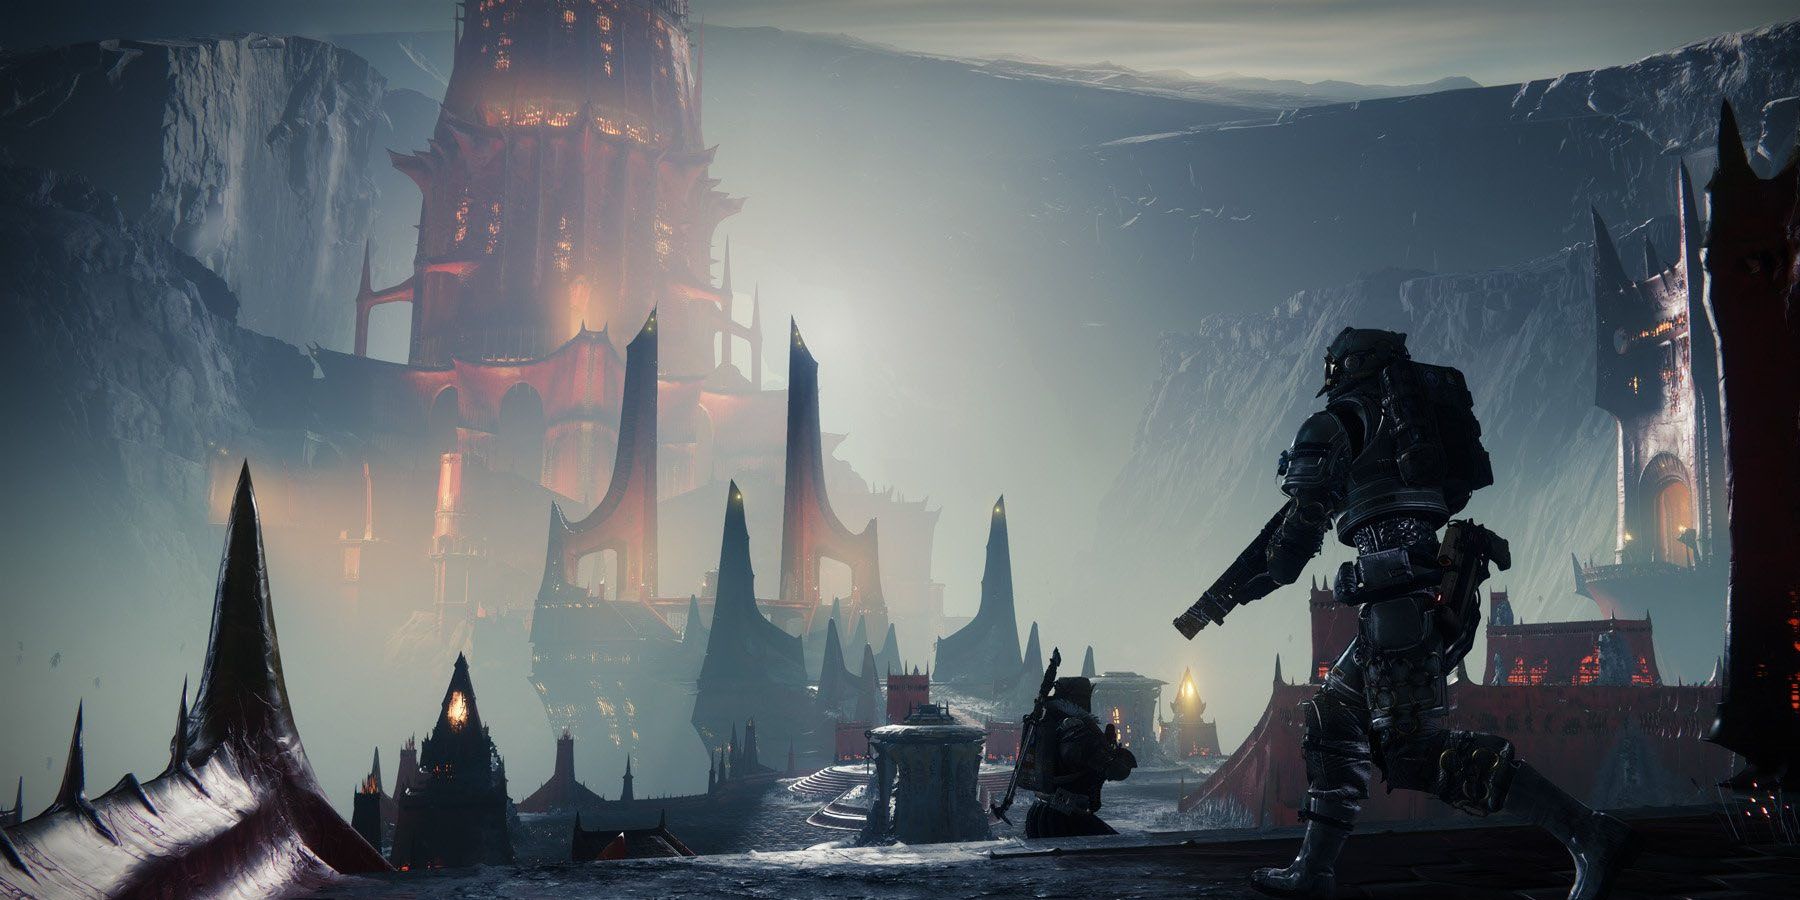
Players currently waiting for the Lightfall expansion still have a lot of things to unpack from Destiny 2: Shadowkeep. After all, Savathun’s plans for the universe have just been unveiled, and it will take more than a few measly encounters to stop her from wreaking havoc. Thanks to lore inside dungeons such as the Pit of Heresy, Destiny 2 fans may have better insights into the bigger picture about to come to the game.
At its core, the Pit of Heresy is the first Hive-centric dungeon in the game, making it integral to studying the nature of the Hive and its role in the larger scheme of things. And for players finding it rather difficult to complete the Pit of Heresy may want to rely on some of these tips.
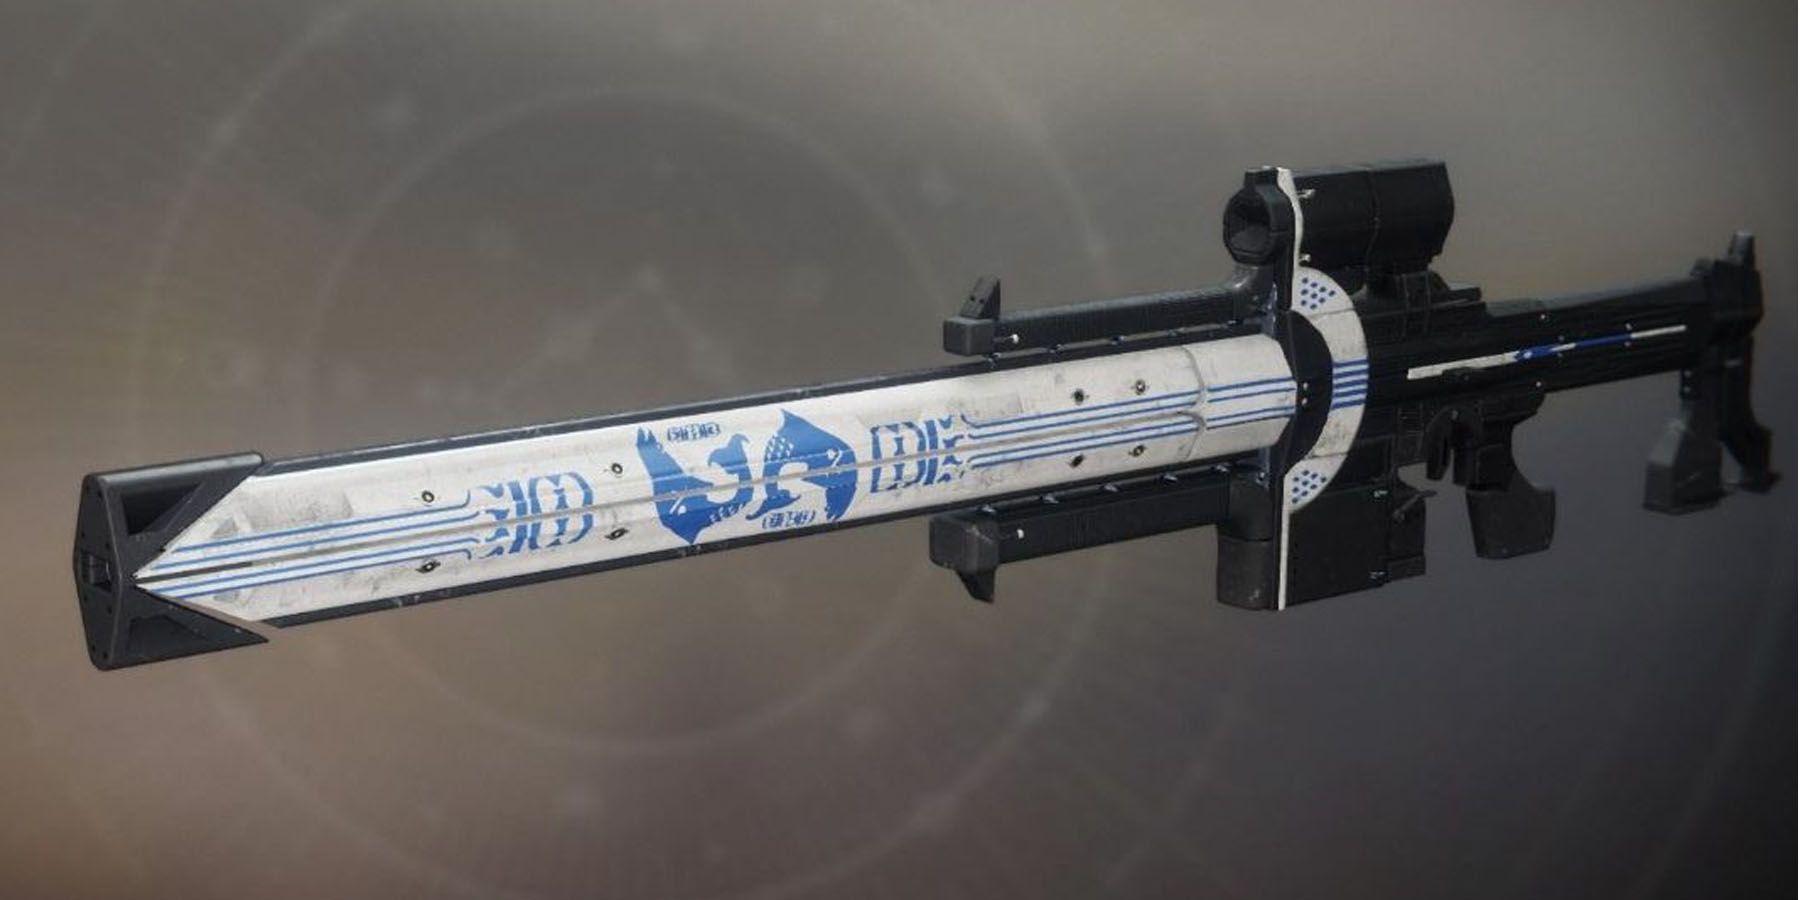
10 Izanagi’s Burden Brings The Burden Back To Enemies
Fans of Destiny 2 weapons know how powerful Izanagi’s Burden can become as a rifle. Being touted as one of the best Exotic Kinetic Sniper Rifles out there, Izanagi’s Rifle is easily an asset in Pit of Heresy that has quite a lot of long-ranged encounters. This has much to do with its Honed Edge (Exotic Perk) that consumes a magazine in place of a super strong round.
Ideal companions to Izanagi’s Burden are high-reload, high-firing rate weapons to ensure players have something to feed opponents with as their Izanagi loads its rounds. Much of the long-ranged encounters in the Pit could be finished with a couple of shots with Izanagi per opponent, lessening the need for players to burn time with their other weapons.
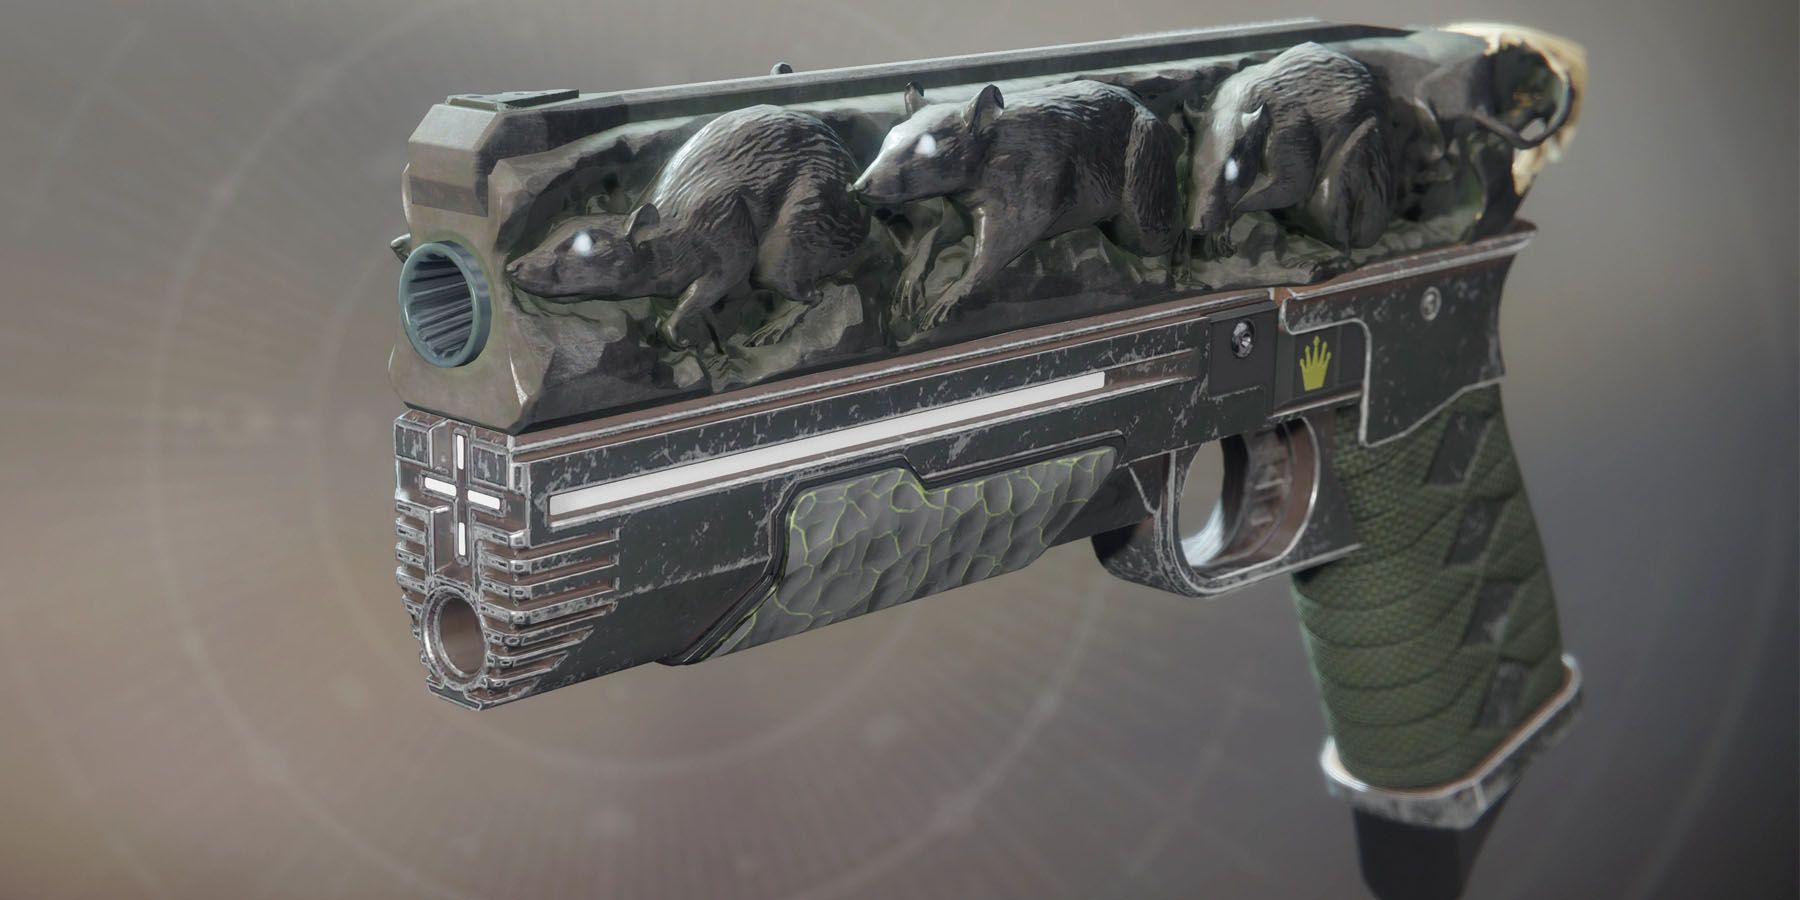
9 Rat King Emphasizes Team Play, Invisibility
Two (2) more recommended ways of finishing this Destiny 2 dungeon would be relying on either invisibility and/or a team. And in both situations, Rat King is probably the best pistol to equip, particularly with how these tips work hand-in-hand with the Rat King’s capabilities. At its core, Rat King is an Exotic Kinetic Sidearm that has Exotic Perks that enhances its power when other teammates wield it (Rat Pack), and can render users invisible when reloading as soon as ending a kill (Vermin). This makes it an ideal sidearm when paired with more vicious Destiny 2 Pulse Rifles.
These Perks work well with how the dungeon is built to support both team play and invisible players. When regularly invisible, players immediately get a boost in survivability as enemies won’t target them often. This can get insanely crazy when playing with a Fireteam, especially since everyone turning invisible every few kills can ensure enemies won’t get an effective room to damage players.
8 Hive Mods Take Priority Here
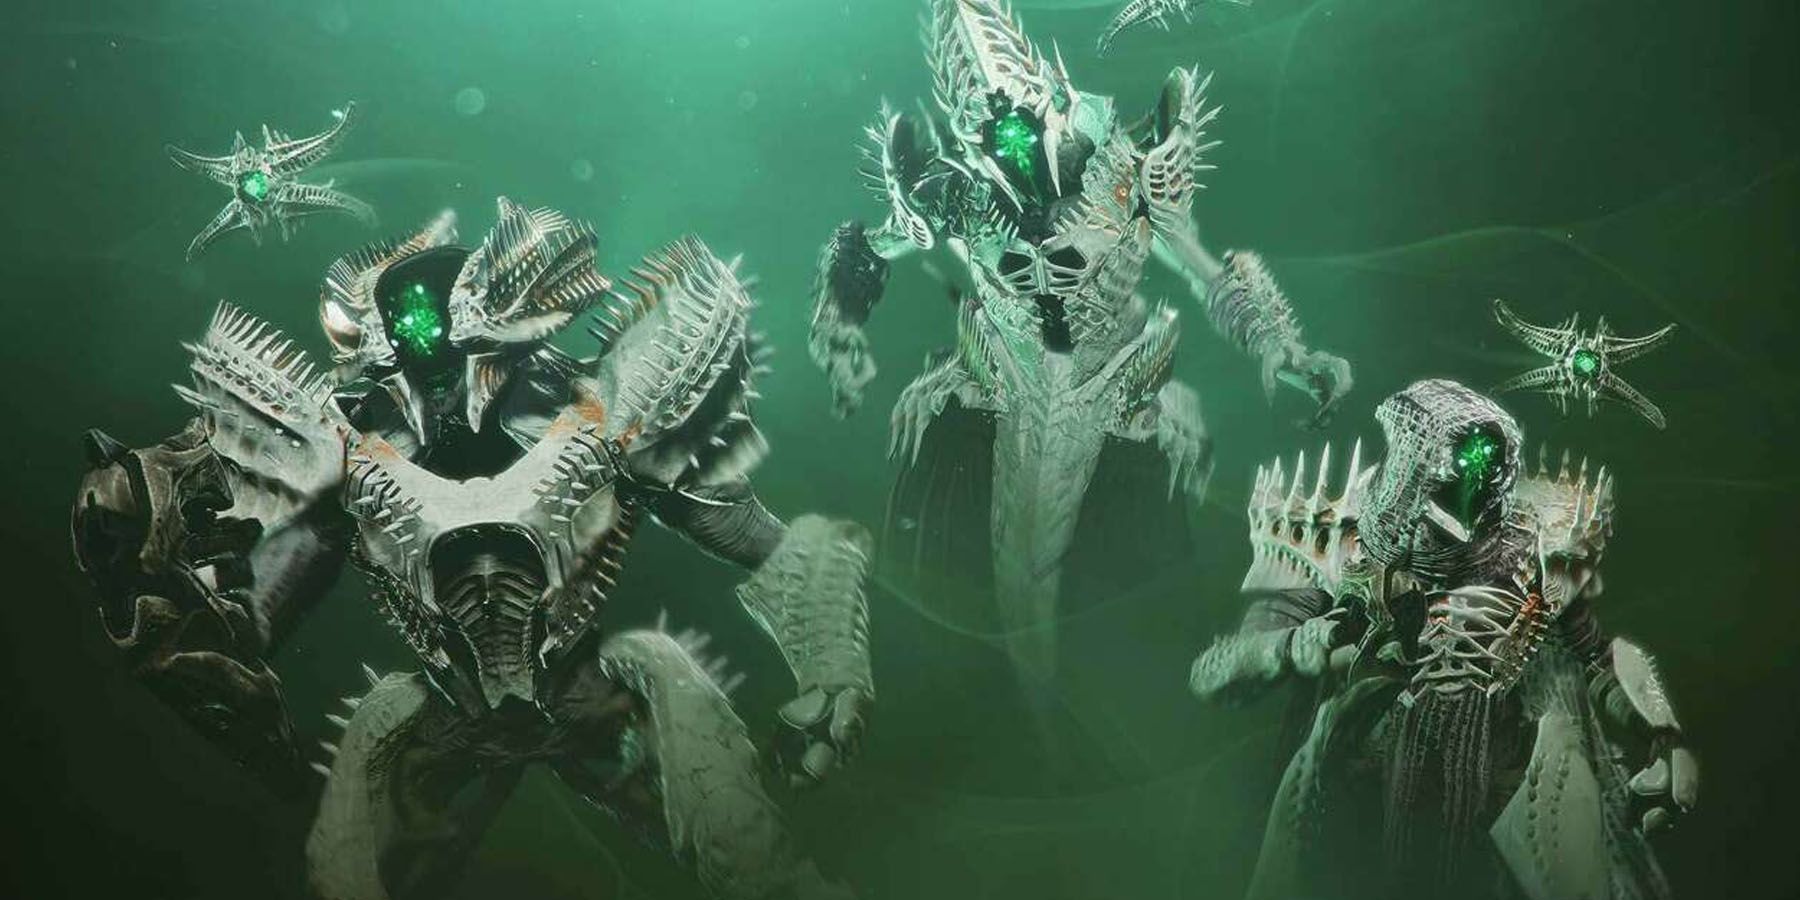
Thanks to Destiny 2 mods, players can augment their gear to ensure they get stat boosts and, most importantly, become better-equipped to handle specific enemy factions. Considering the nature of the Pit of Despair as a Hive-leaning dungeon, it’s safe to assume most, if not all, of the enemies encountered here belong to the Hive faction.
In turn, players can have much faster progress doing their Pit runs with anti-Hive weapons. Mods such as Hive Armaments and Hive Barriers can be extremely effective against Hive creatures. Moreover, having a buff that constantly generates damage resistance against Hive creatures as well as quick refreshers for Heavy ammo can make clearing levels much faster.
7 Get Mods That Prioritize Clearing Shields
A lot of the enemies in the Pit of Heresy Destiny 2 dungeon have tough shields to break especially for new Destiny players, forcing enemies to spend unnecessary time and ammo just trying to clear through. In turn, players may want to focus on acquiring Mods specifically geared towards eliminating shields and protections in various ways. Here are some to take note of:
- Anti-Barrier Rounds: This Seasonal Mod gives shield-piercing rounds that can bypass shields, especially against Barrier Champions.
- Breach Refractor: This Seasonal Mod provides grenade energies when shield-piercing weapons are used for final blows, or when any member shuts down the ability of a Barrier Champion.
- Oppressive Darkness: This Seasonal Mod allows Void grenades to weaken combatants.
6 Build Ammo With Armor Mods
Another approach players could make when building their Pit of Heresy character for Destiny 2 has to do with securing the right Armor Mods. These Destiny 2 Mods in particular should focus on building special ammunition for special attacks. Mods for focus here include:
- Ashes to Assets: This Seasonal Mod secures Super energy with Grenade kills.
- Rocket Launcher Loader: This Mod builds up the reload speed of Rocket Launchers.
- Ammo Finder (Sniper, Rocket Launcher): This Mod increases the chances of finding specific ammo when the particular weapon type is equipped.
- Scavenger (Sniper, Rocket Launcher): This Mod ensures that bonus ammo is acquired when picking up ammo for that particular weapon type.
5 Memorize The Tunnels Of Despair
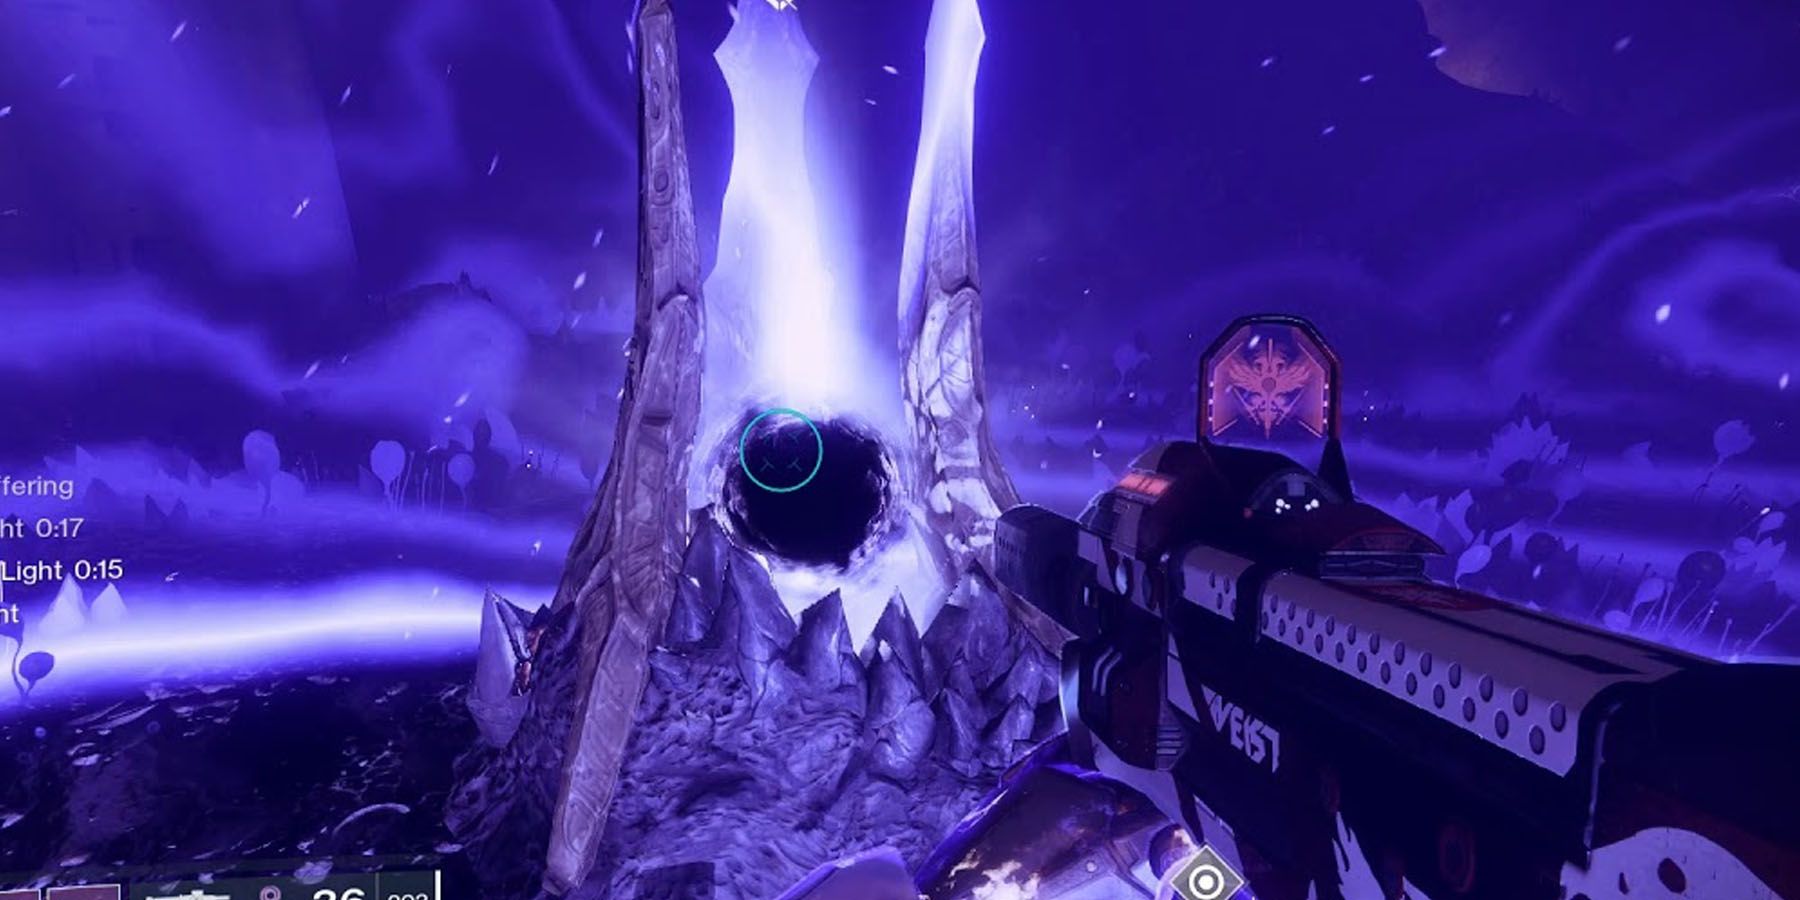
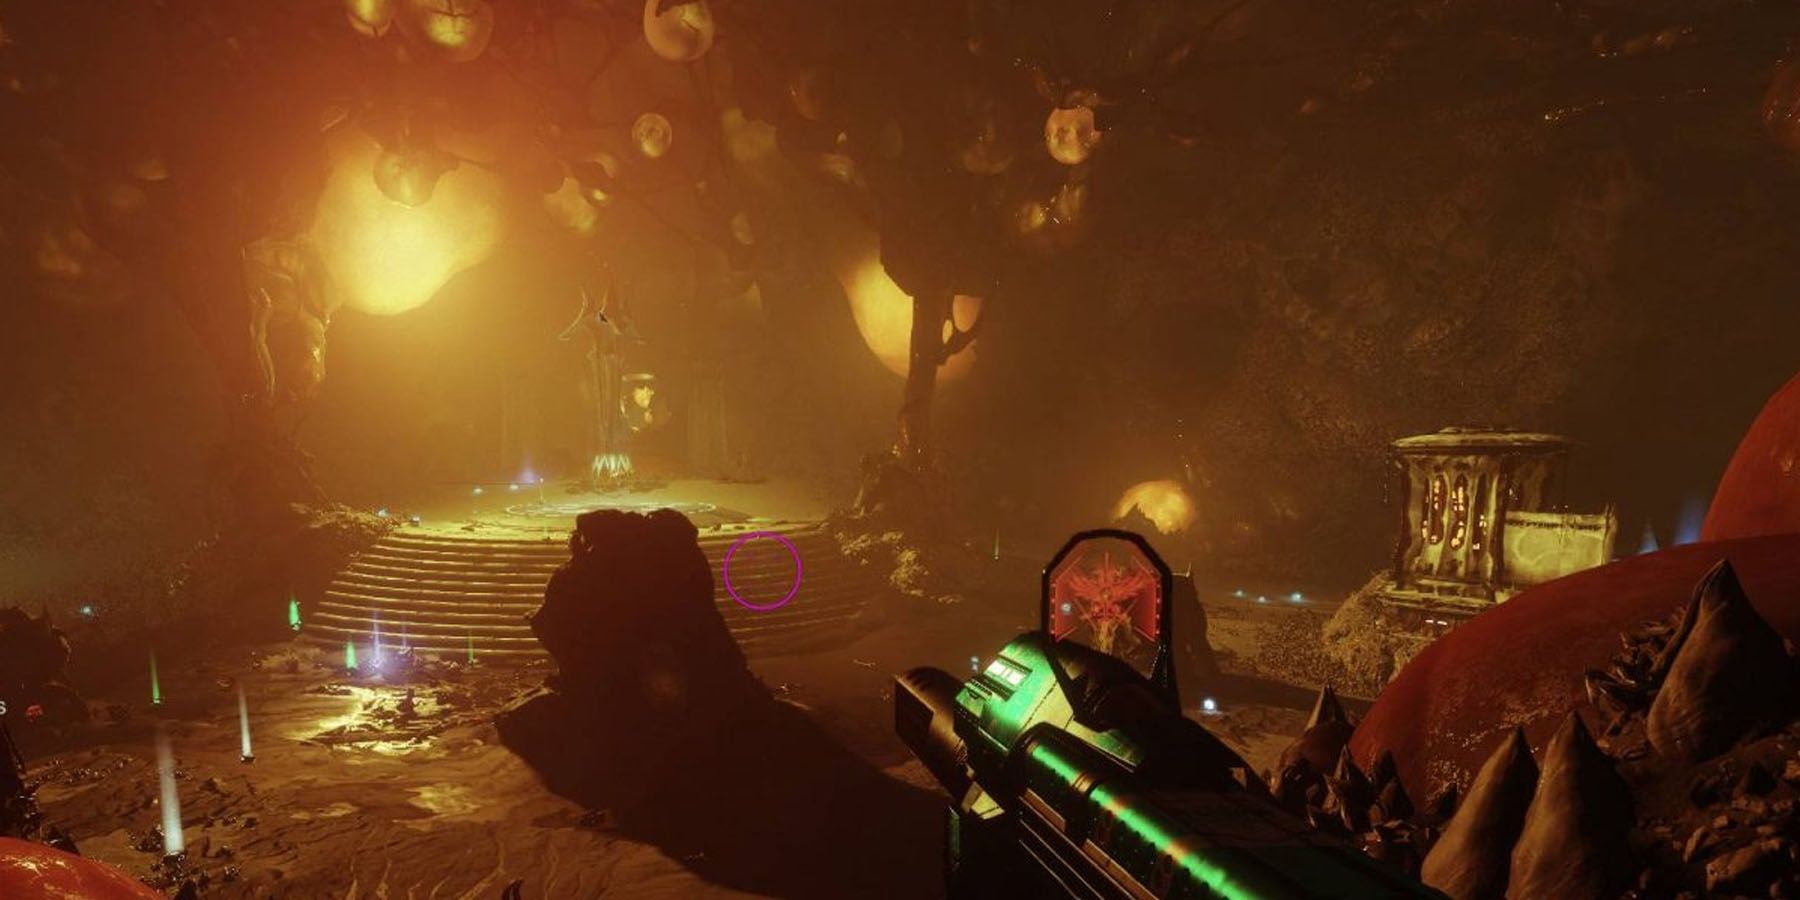
One of the trickiest parts of the Pit of Heresy involves the Tunnels of Despair, which is the “maze” that divides the sections with energy pillars for players to explore during the first part of the Destiny 2 dungeon. Due to the dark and desolate nature of the place, the Tunnels of Despair add a lot to the lore component of the dungeon. However, this can also lead to extremely confusing encounters.
Players who want to have a much faster Pit experience should consider memorizing the Tunnel and its sections. While Reddit’s u/Bloody-Mando has created a nifty map for players to use, an important secondary tip here is to try and aggro Ogres to drag them to certain Tunnel entrances. That way, players can blast through multiple foes quickly and clear energy stations much faster.
4 Check The Double Ball Glitch
As with other Destiny 2 missions, some stages of the Pit of Heresy do need players to collect energy orbs to deposit in various stations. And like other quests, placing the energy orb in a pillar does let players do an animation while the interaction button reaches 100-percent.
Those who want to speed up their Pit progress a little bit might want to consider trying a glitch in the system. When players dunk their orbs into the pillars, they should consider swapping their Destiny 2 weapons before the meter gets full. This should have players drop the energy orb and switch their weapon but still have an orb to dunk - essentially doubling their progress.
3 Suffer As Less As Possible In Chamber Of Suffering
Of the encounters in this Destiny 2 dungeon, it’s the one in the Chamber of Suffering that perhaps causes the most suffering, especially with the number of things the room needs players to do. At its core, players need to ensure the Annihilator Totem doesn’t get enough power, which they can achieve by killing Boomer Knights and using their Void Charges in six (6) rune locks. It doesn’t help that on top of Heretical Knights that spawn occasionally to stop the players in their progress, the Totem unleashes a debuff up to 10 times that eventually kills the player.
Ideally, players would want to largely ignore the Heretical Knights and instead maximize their time to kill the Boomer Knights as fast as possible. Each Class could tackle this encounter in some aspects:
- Warlock: Focusing on Voidwalker with a Devour build can ensure players get as much Health as possible with every kill. Not only that, they can also use Vortex Grenades to dish out as much damage as possible to ensure both Knight types don’t become as disruptive as possible.
- Hunters: Maximizing Dodges and Vortex Grenades can help as much as possible, especially with Feed the Void that can constantly give players Health when needed.
- Titan: Due to the bulky nature of both Knights, Destiny 2 Titans can have it hard due to the constant need to stay up close to boost their shields. Ideally, getting into Strength and securing Defensive Strike can at least ensure the Titan gets as much survivability as possible.
2 Get Comfy With Platforming
The Harrow is probably the worst area in this Destiny 2 dungeon for those who hate platforming, especially since falling off the ledge can mean instant death. This encounter map from u/prime_pastafarian is especially helpful to navigate the zone, especially since there are Glyph Towers with enemies in between the spike traps.
At its core, players should take their time in between platforms, especially since ledges here are rather sensitive to movement. The ledges close to the spike traps are relative safe zones, and players shouldn’t take jumps they’re not confident with. The same advice on caution could be applied to the Glyph Towers, with a recommendation to players being to use their long-range Destiny 2 Sniper Rifles to deal with the Wizards here. It’s recommended to make an effort to push these Wizards close to the ledge, so losing their shields may force the Wizards to fall off the cliffs to their deaths.
1 Focus Less On The Boss In The Boss Level
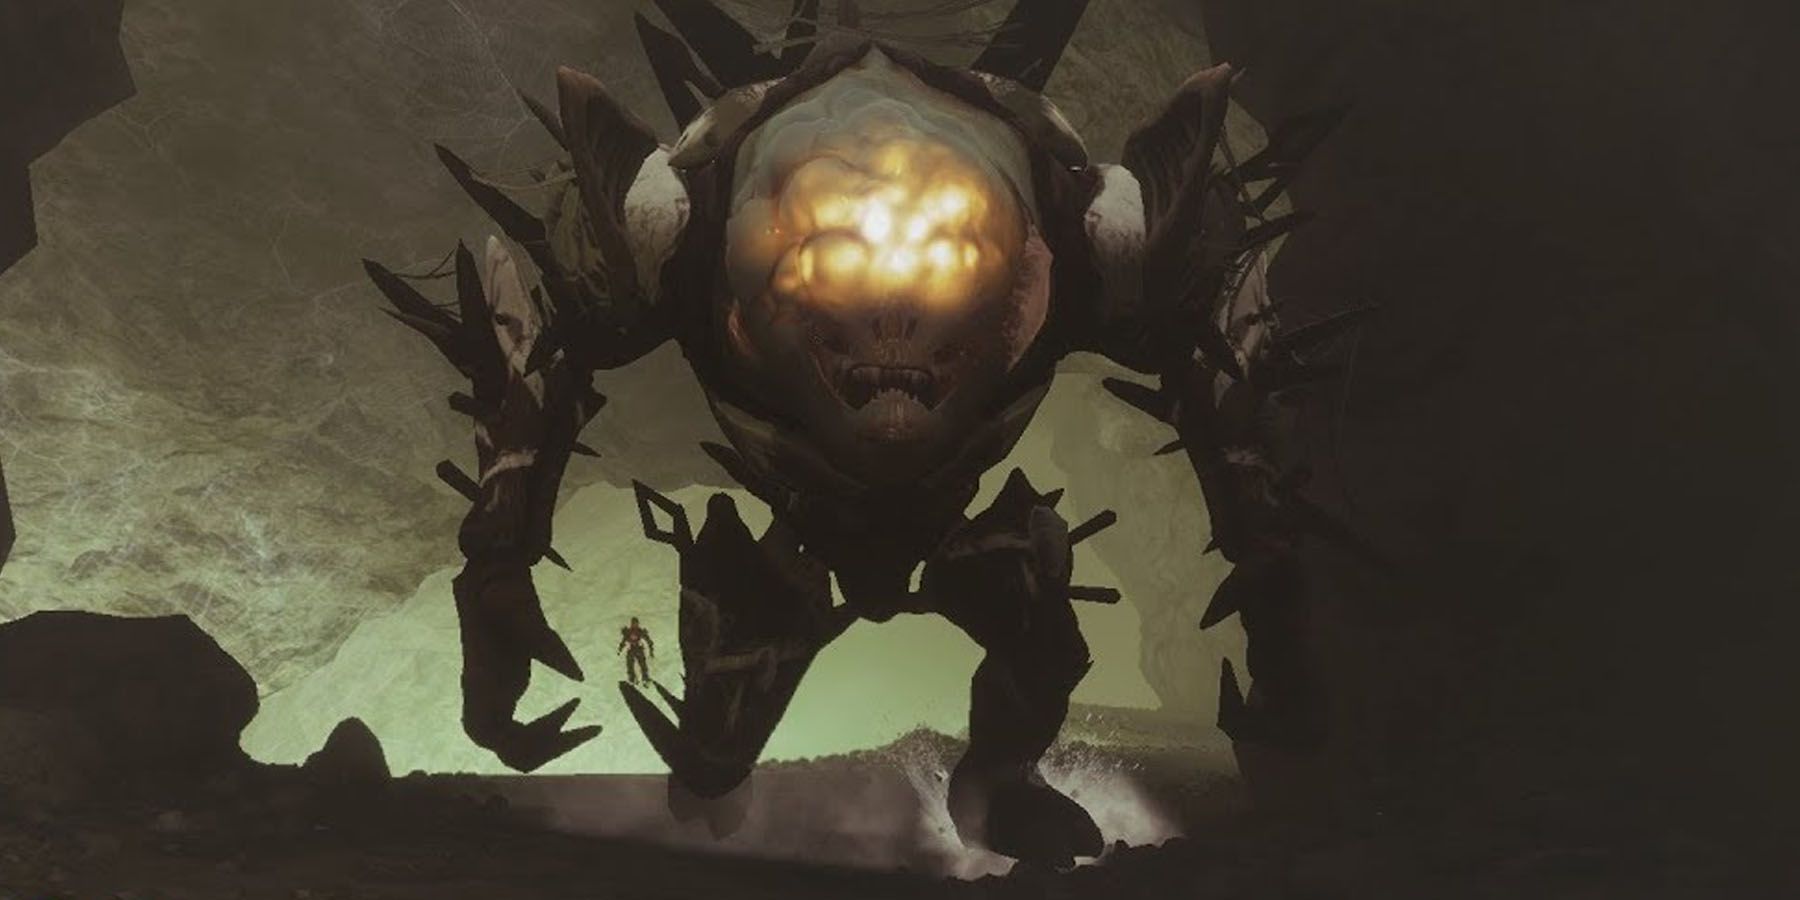
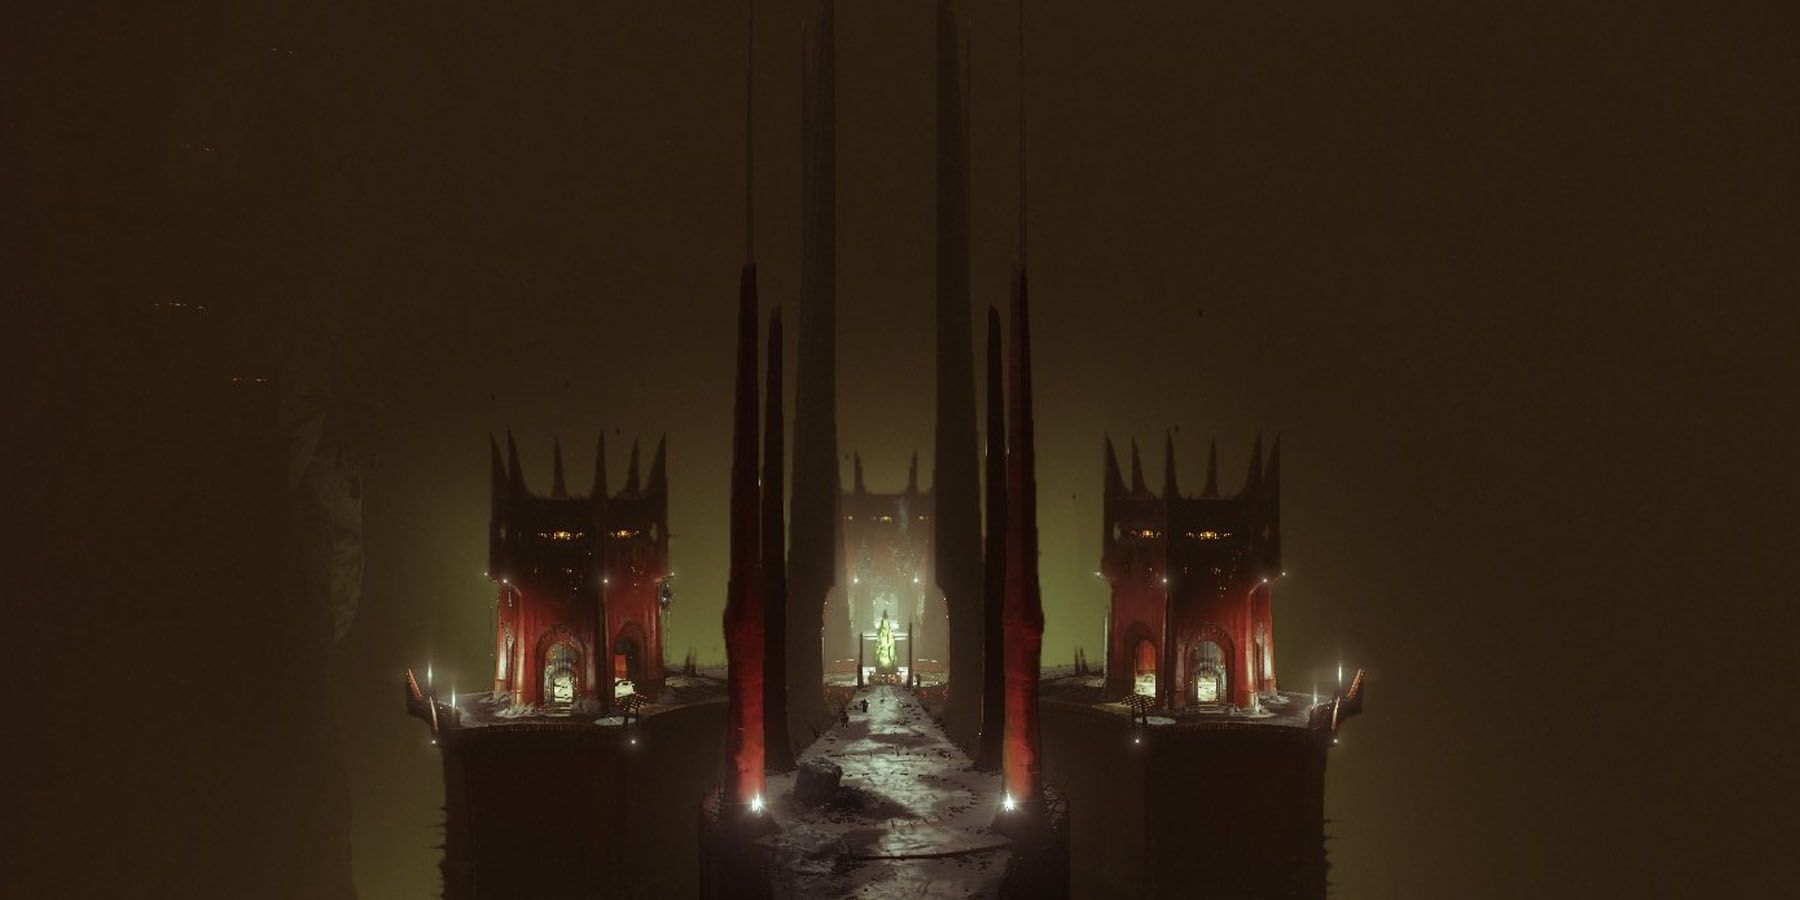
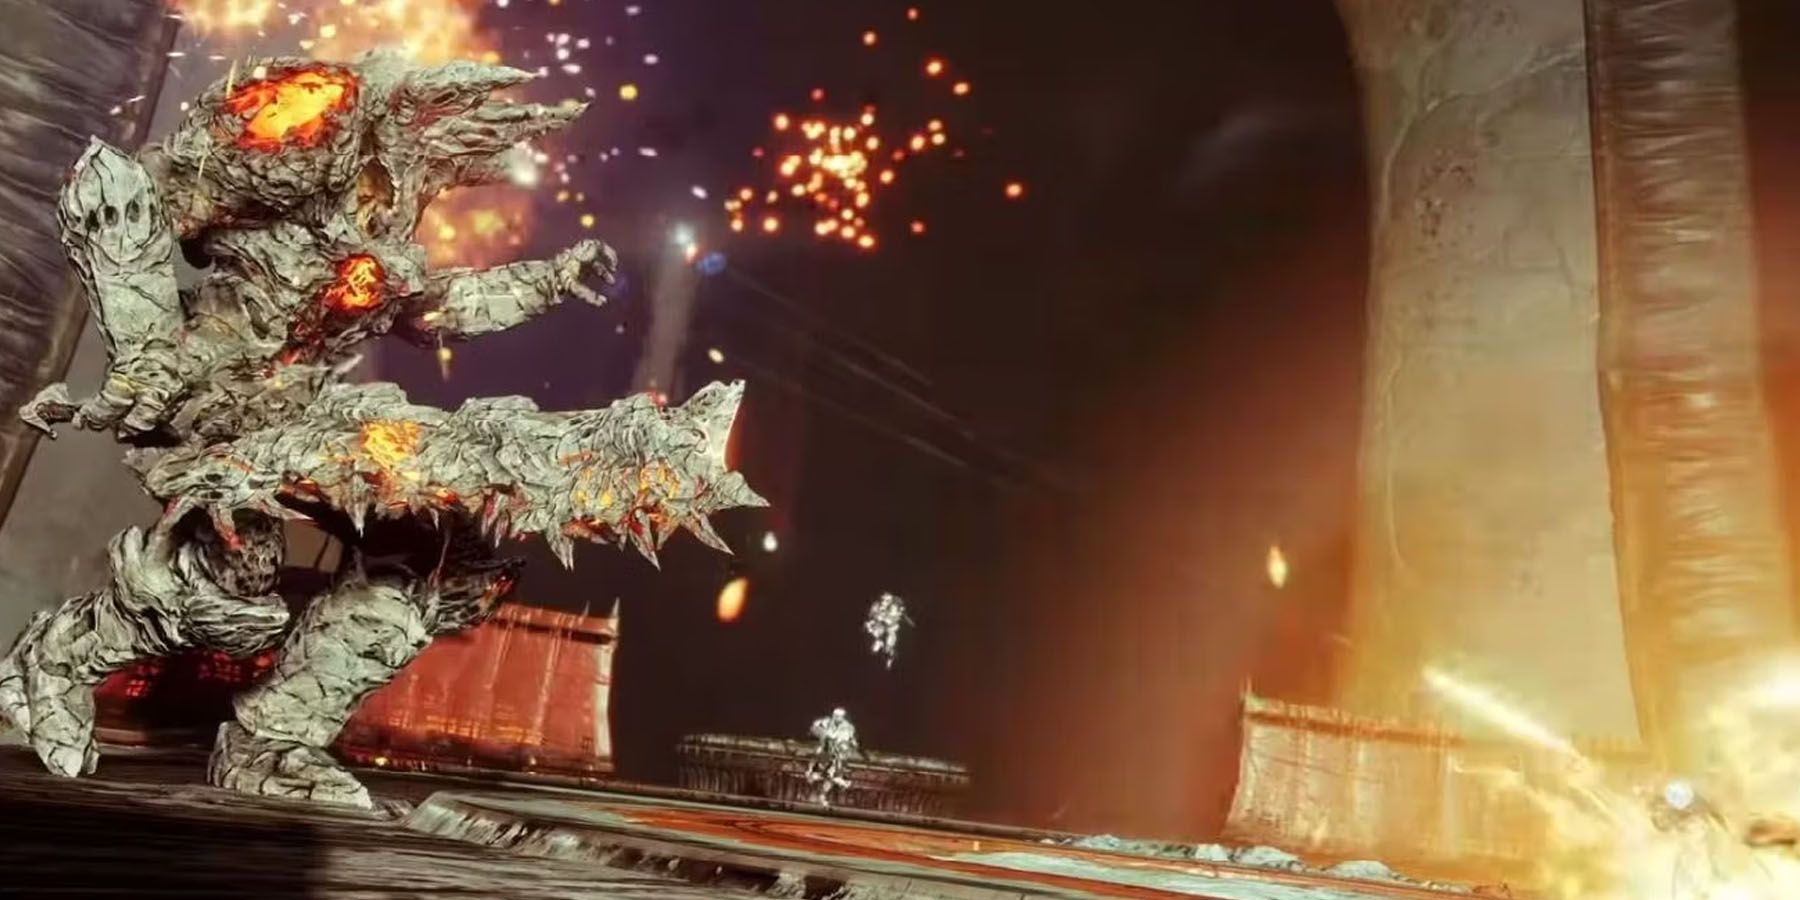
Players used to Destiny 2 gameplay know that the boss is always found at the end of the dungeon, and usually have special mechanics dedicated to them in the process. This isn’t the case with Zulmak, Instrument of Torment, as the Pit’s boss needs players to focus more on some environmental encounters than the base boss fight. Try to complete this stage in these steps:
- As soon as combat starts, players should go to the left-side tower and fight the Swordbearing Knight, which will spawn Acolytes. After eliminating these, players should go to the middle tower and eliminate its Shrieker, and then to the final tower. When players clear these, they should move back to the central platform and dish out damage to the other Swordbearing Knights.
- Clearing some Swordbearing Knights should grant players access to a Relic Sword, which they can use to kill other minibosses in a tower. They should drop Void Charges. However, instead of dunking the orb in that tower’s station, players should go to the tower that is in the counter-clockwise direction of their station. This is because Zulmak tends to ground slam on the station where the player got the recent Void Charge.
- When players pick up their third orb, they should prepare their weapons for maximum DPS as much as possible. This is because Zulmak will not only do a ground slam, but release a fire pit with an extended damage-over-time. Players need to keep their sustains up this time around, making this job perfect for a Destiny 2 Titan.
- It’s after Zulmak’s sword slam that a DPS phase begins, and players can start dishing out damage. After this, players need to stay away from the center platform, and they will have to do Steps 2 through 4 again.
Destiny 2 was released in 2017 and is playable on PS4, PS5, Xbox One, Xbox Series X/S, Google Stadia, and Windows.

