.jpg?q=50&fit=contain&w=1140&h=&dpr=1.5)
King's Fall is the reprised raid for Destiny 2's season 18 in 2022 and is the second raid to make a return after Vault of Glass came back in 2021. Undoubtedly one of the most iconic raids from the original Destiny, players are once more sent to the Dreadnought to take down Oryx, the Taken King.
While King's Fall shows some age in some parts of its encounters, there are still various mechanics that might be unfamiliar to Destiny 2 players. These tips won't go into details on how to complete each encounter, but rather provide small pointers on what to focus on. Guides to each encounter can be found next to the relevant tip.
7 Bring A Sword With Eager Edge

One of the more infamous features of King's Fall is its two unique jumping puzzles. These can be quite a headache to go through for players who feel uncomfortable with jumping puzzles in general. Both of these puzzles require good timing from players.
Having a sword with Eager Edge will completely trivialize both jumping puzzles. Pair this up with the easiest jump on whatever class the player is on, and jumping from tomb ship to another should be a piece of cake. Moreover, the second jumping possible before entering the final boss room has Taken Phalanxes and blights, so having an Eager Edge to correct bad positioning mid-air can be a huge help.
6 Totems: Speed And Solar Damage Are Key
.jpg?q=50&fit=crop&w=1500&dpr=1.5)
When players arrive to Totems, they're in for their first real encounter. For those confused about how Totems work, check this guide on how to complete the Totems encounter in King's Fall.
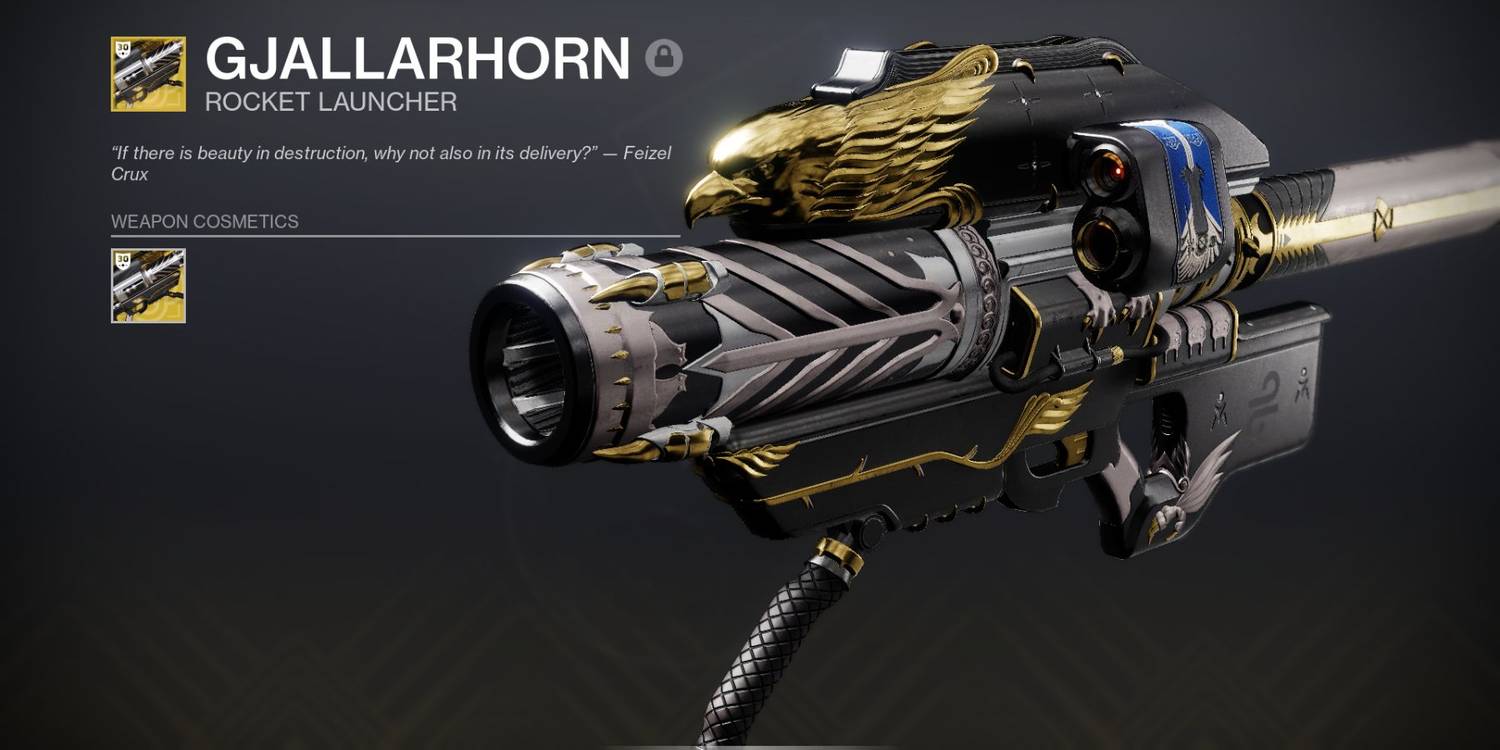
Totems is an encounter that's all about speed. Players need to be able to kill the Solar-shield Wizard and Taken Knight as fast as possible to get the Brand Stealer buff and go release the Brand holder from their Totem plate. To do this, players will need one-hit kill weapons. Gjallarhorn is perfect for this encounter since it can one-hit kill the Taken Knight, as well as kill the Solar shield on the Wizards. Put on some ammo finder and reserve mods, too.
5 Warpriest: DPS Phase From The Side

Warpriest stirred up quite the controversy during the day 1 raid race due to the immense DPS requirement it took to defeat them. To find out how to properly complete the Warpriest encounter, check out this guide.
What makes Warpriest annoying is that during the damage phase, he will walk back and forth on his platform. This means that the first damage phase has a chance of him walking behind one of the three pillars in the room and breaking the line of sight. To circumvent this, always set up for damage phase on the side, closer to the edge of the platform he's on so that players can see him fully at any given moment.
Once the middle pillar has been destroyed, players can simply do damage from the middle plate.
4 Golgoroth: Use The Unstable Light Debuff Against Him

Golgoroth is a fairly straightforward yet fun DPS fight. Check out the special Golgoroth encounter guide to know what to do exactly against him.
The players standing in the pool of light doing damage against the ogre fill suffer an Unstable Light debuff. Or rather, one player will suffer this debuff. Their screen will start to turn green, and if they stick next to their fireteam members, an explosion will kill those around them. Similarly to Atheon's Detain, it's important that players move away from their friends.
There's actually a perfect place for players to move to as well. As soon as the Unstable Light debuff appears, simply run over to Golgoroth. The explosion will deal some damage to him and ensure players can finish the encounter faster by not wasting time and damage.
3 Daughters: The Two Bosses Are Actually Vehicles
Right before the fight against Oryx, players will have to deal with his two daughters in the final boss room. This encounter will also introduce some key mechanics for the Oryx fight. For a full rundown on how to defeat the daughters, check the dedicated encounter guide here.
Oryx's daughters are actually considered by the game to be vehicles, which makes the particularly vulnerable to certain weapons and archetypes. One of the best weapons in the game to use against them is the Gjallarhorn, and this is one of the few encounters where having multiple Ghallys won't hurt the fireteam.
Those who can't have a Gjally can simply have a Legendary rocket launcher to get the Wolfpack Rounds from the Gjallarhorn user. This strat will likely melt both bosses within seconds.
2 Oryx: Unused Bombs Carry Over To The Next Round

The final encounter of King's Fall pits the guardians against the Taken King himself. For a full encounter guide on how to defeat Oryx, check this guide.
In order to stun Oryx out of his powerful darkness attack, players will need to spawn and protect bombs around each plate in the boss room. However, what most players may not know, is that in order for Oryx to be stunned, only a minimum of one bomb needs to be detonated per round.
This means that players can keep detonating one bomb while saving the others every round for a major explosion and a super long DPS phase later. It's also one of the challenges for this encounter and will unlock a Triumph.
1 Oryx: Killing The Knights Ends Post-DPS Phase Faster

After a DPS phase with Oryx, the Taken King still has a trick up his sleeve. When he returns to the front of the arena, he will either create a large orb into which he will randomly teleport players, or chase the players with Taken blight explosions around the arena.
This phase is incredibly annoying, but the cool thing is that players can end it extremely fast by quickly killing all the Taken Knights that will have respawned on the four plates around the room. Killing the last Knight will always immediately end this post-DPS phase and force Oryx to move to one of the plates.
Destiny 2 is available on PC, PlayStation 4, Xbox One, PlayStation 5, Xbox Series X/S, and Stadia.