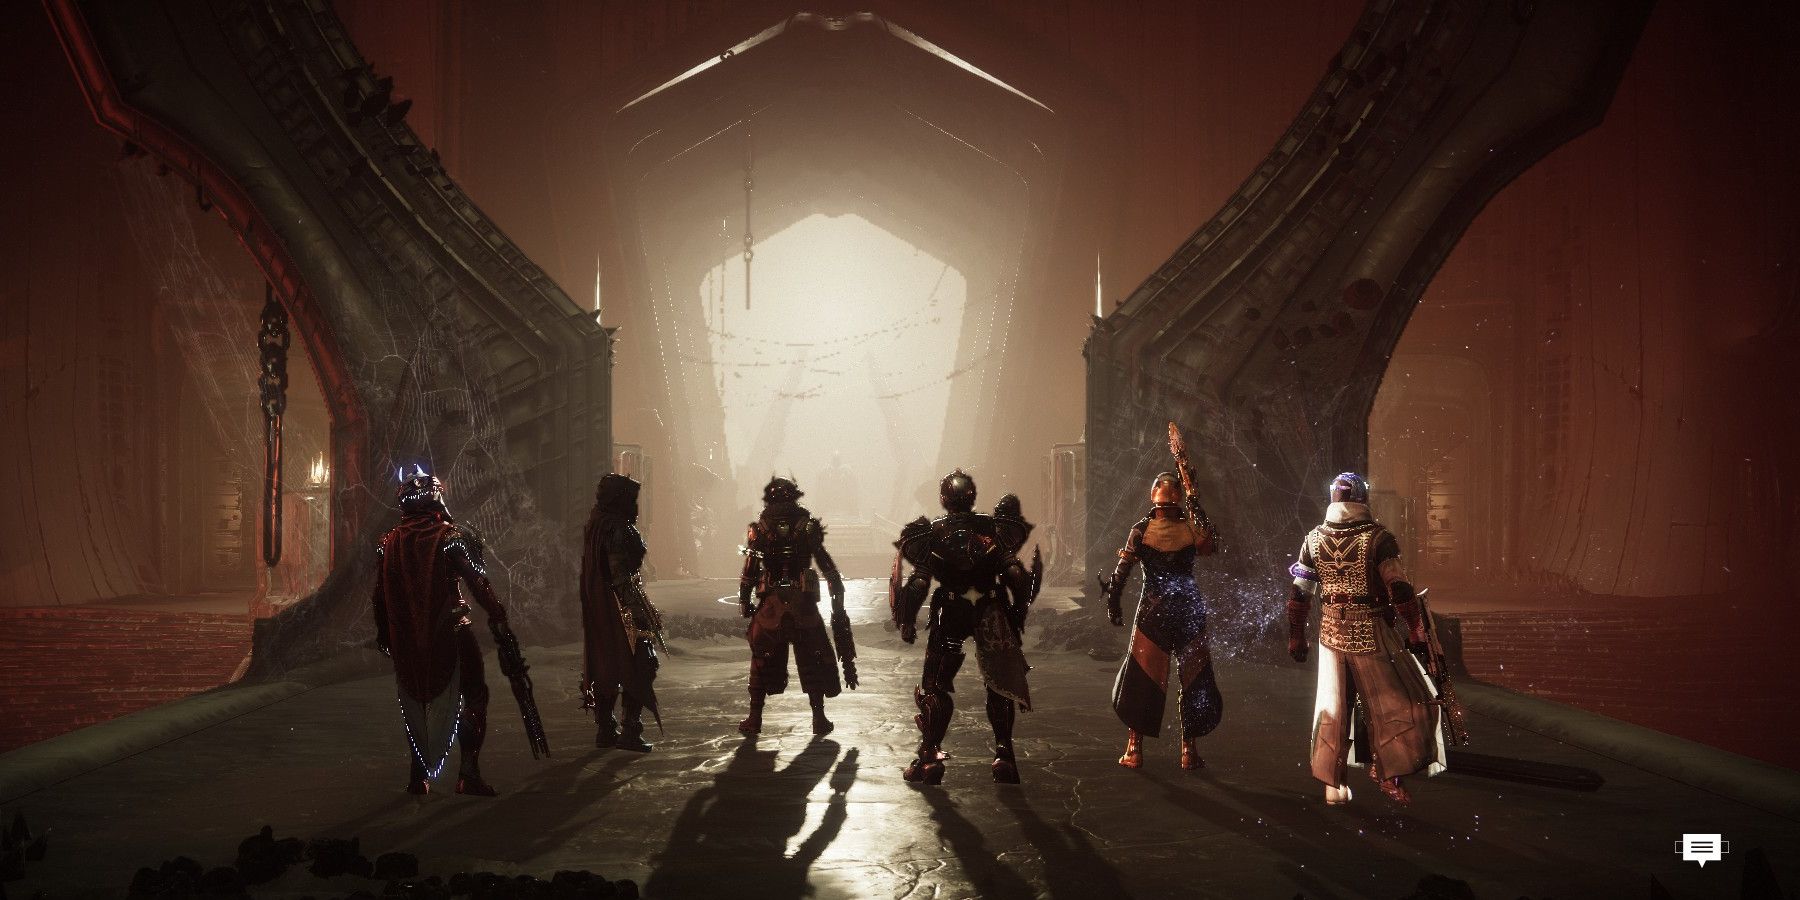
King's Fall was a very popular and well-loved raid back in the original Destiny, so it made sense for Bungie to bring it into Destiny 2 for players who never had a chance to do the raid when it first came out back in 2015. While the Destiny 2 version of King's Fall may look a lot like the original version with a fresh coat of paint and improved lighting, it plays very differently, considering how different the two games are in every conceivable way.
This guide will provide the latest strategies on how players can overcome the updated version of King's Fall, up to and including the Totem encounter.
Entrance Encounter
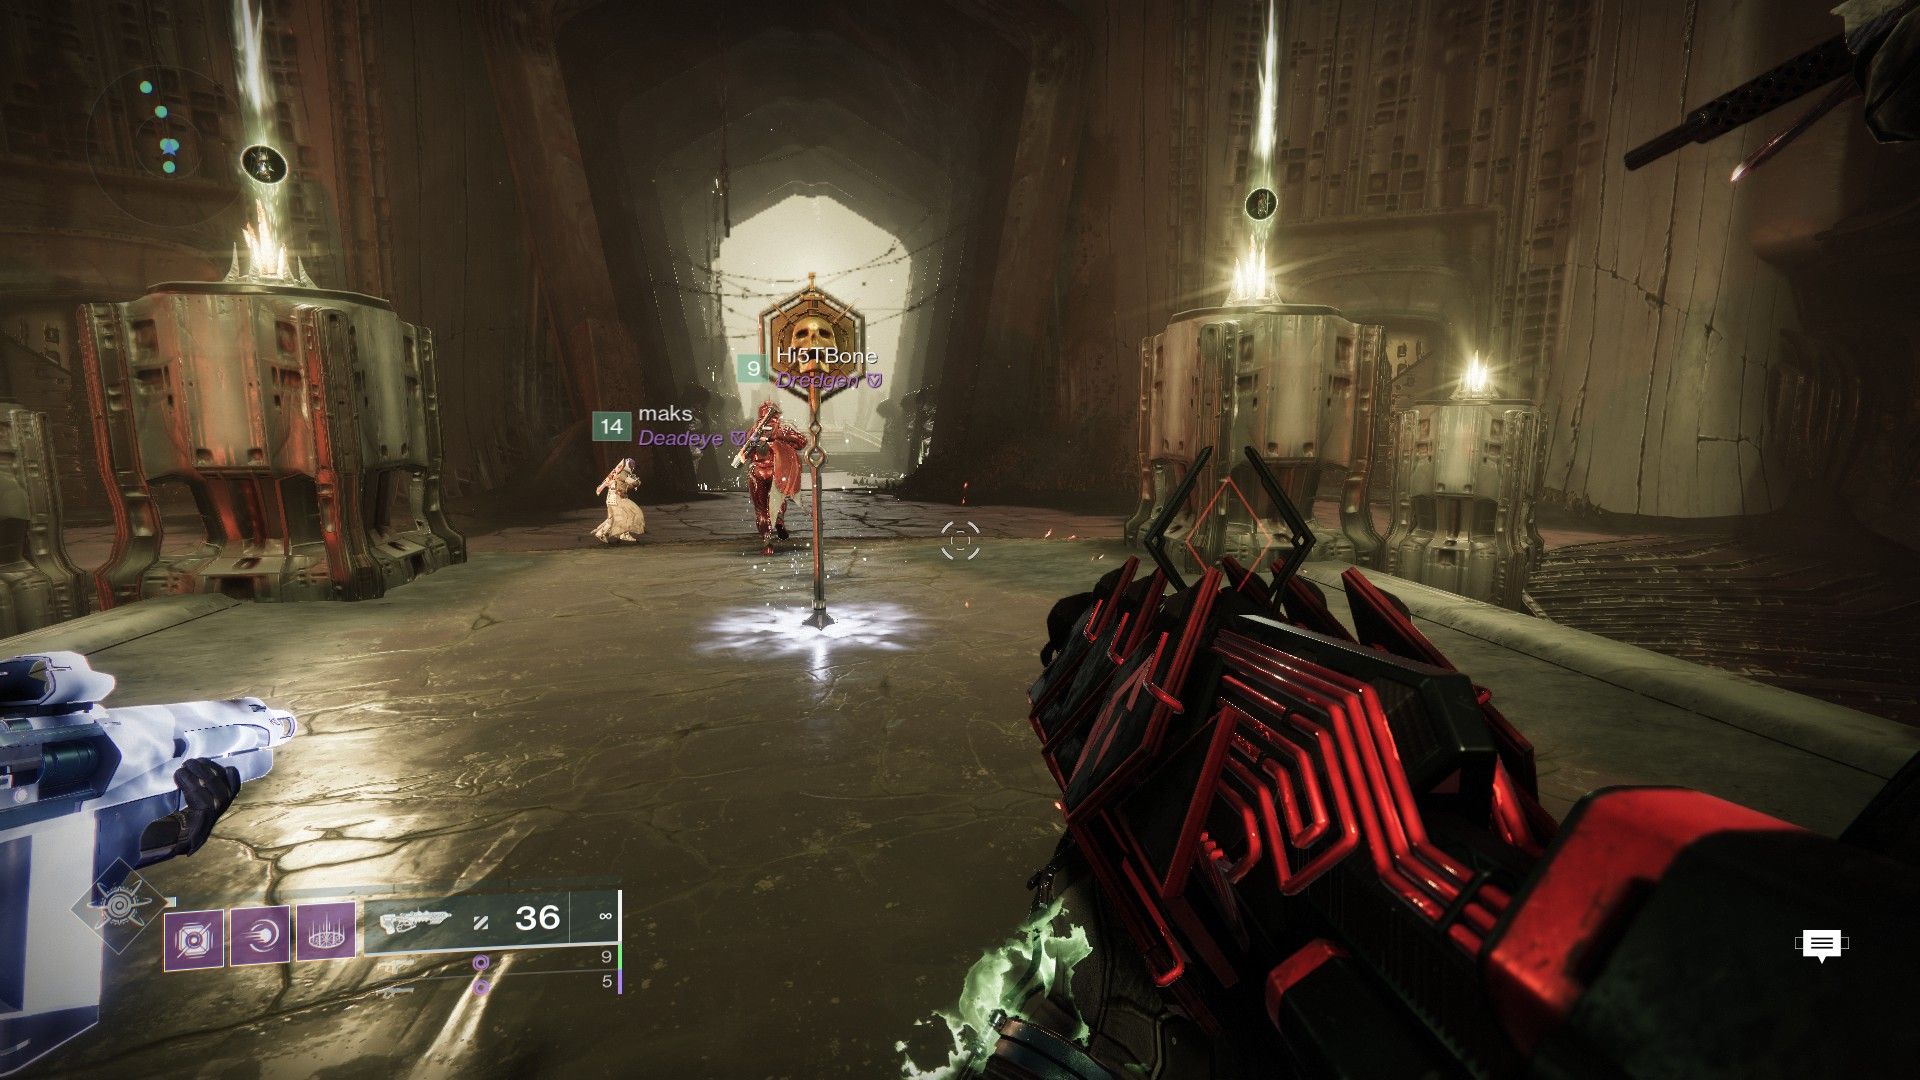
After a brief little cutscene, players will find themselves in a small room. Directly in front is a hallway with six statues, three on the right and three on the left. There is also a doorway on the left and right that lead to different rooms. Players will also notice two orbs glowing with green energy. The objective for this area is to have two players pick up the orbs and deposit them into the statues in the hallway. Both orbs must be put into a single statue as close to the same time as possible. An important thing to note is that the orbs do expire after a little while, so players will need to move fast. Once players have dunked the first set of orbs, another statue will begin to glow. That is where the orbs will be deposited next.
The next set of orbs will spawn further away and out into the rooms on the left and right of where players started. The team will need to divide into groups. One group will go right, one group will go left, and the last group will stay in the middle to help deal with enemies as they spawn. In the left and right groups, players will need to decide who will pick up the orb and who will destroy barriers and kill enemies that spawn once the orb is picked up. The player that picks up the orb will need to be careful as they move back toward the entrance, as Taken Phalanxes will spawn, and they can easily knock players off the ledge and to their death. If the timer on the orb expires or a player falls off the edge with it, the orb will spawn back where it was first found.
This first area is not a respawn-restricted zone, so players cannot fail on this encounter. Once all six statues have had orbs dunked into them, the portal will open in the room beyond the hallway, and players will be able to use it to enter the next area. Don't forget to grab your loot from the chest that appears immediately after walking through the portal.
Jumping Ship
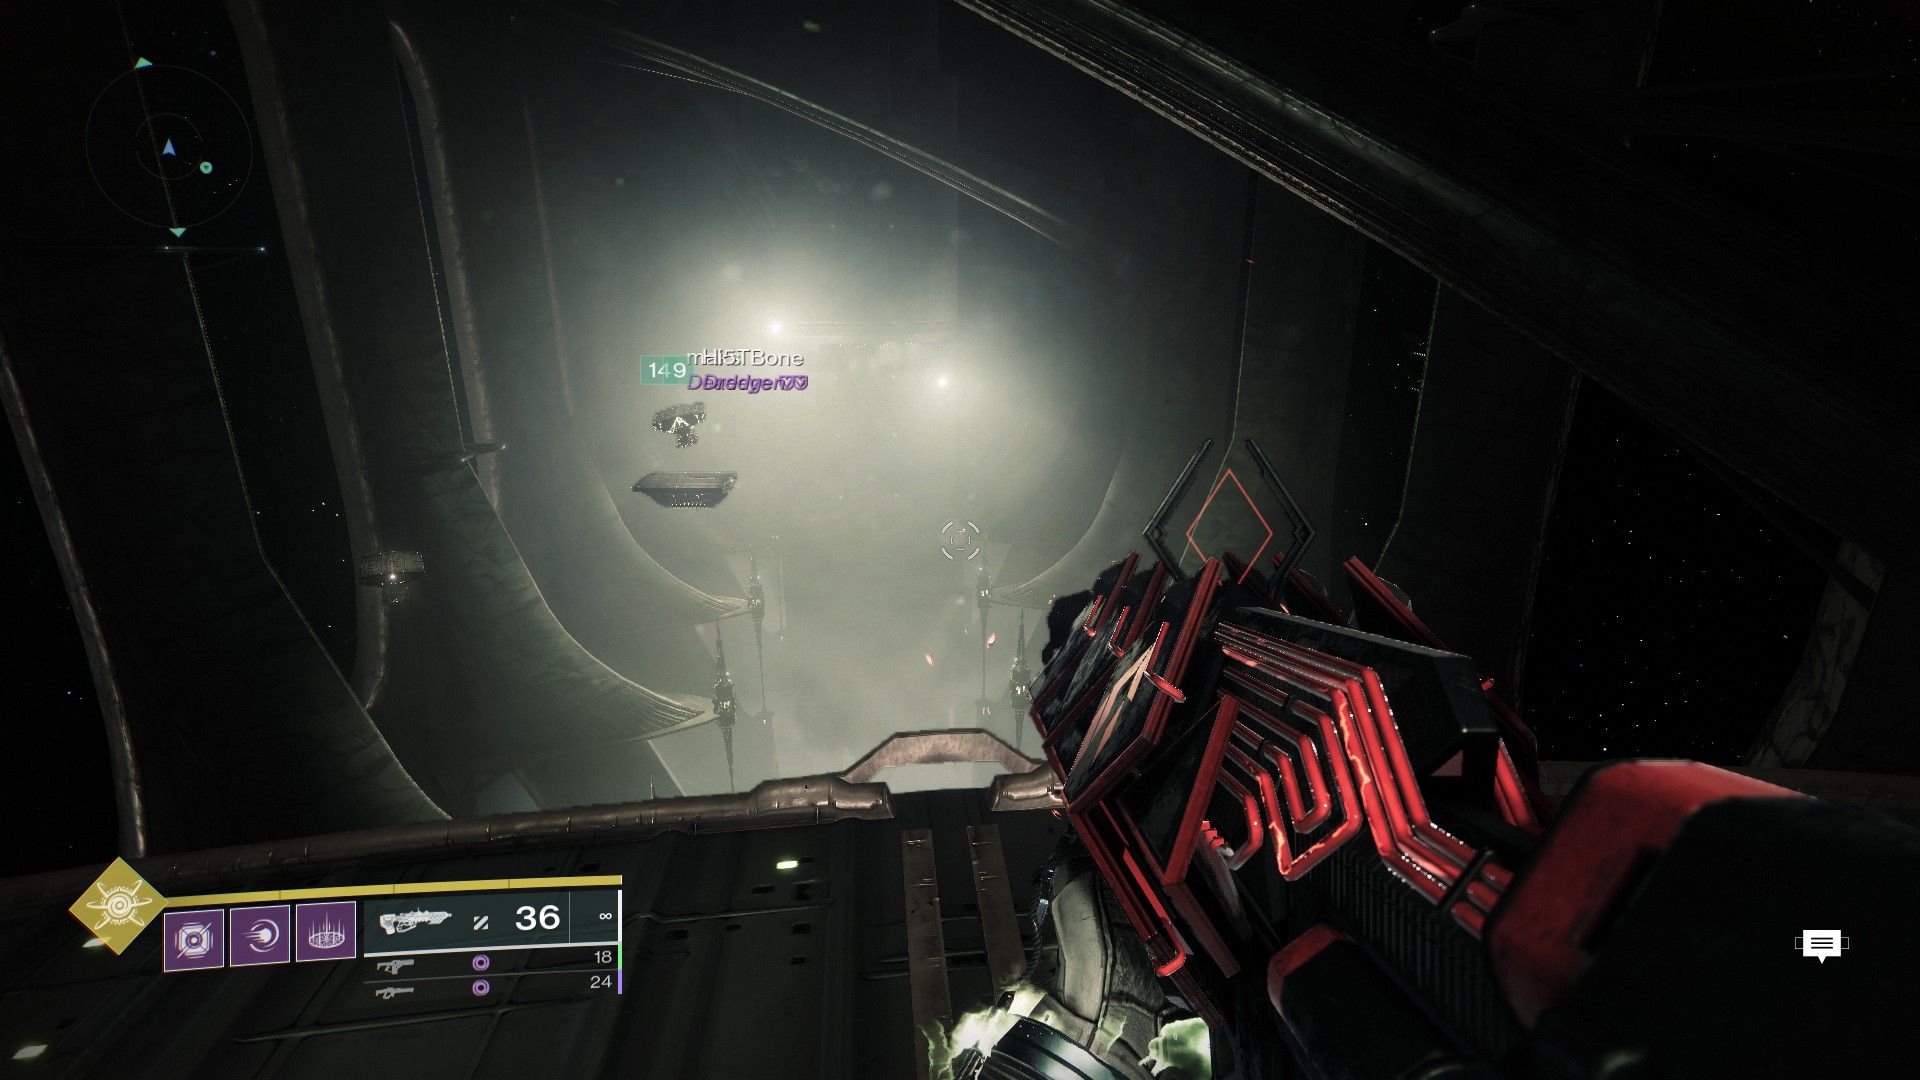
After navigating through the series of rooms ahead of them, players will come across a vast chasm with seemingly no way of getting across. This is the first platforming section of the King's Fall raid. Players simply have to jump onto the ship that is docked at the end of the platform, and it will begin moving forward. Unfortunately, players cannot take this ship all the way to the end. After a short while, the ship will begin to glow, and players will need to jump onto another ship before the one they are on disappears and sends them falling to their deaths. There will often be several ships to choose from, but players will have to be careful as some are just going to carry them away from other ships.
As players progress, they should aim to make a stop on the platform on the left wall. This area acts as a checkpoint, so if players should happen to fall in the next section, they will not need to start over from the beginning of this puzzle segment. Shortly after making it past the check point, one ship will fly directly on top of the ship that players are on. Don't jump on it and move back from it as much as possible in order to avoid getting knocked off. Players will want to jump onto the ship after that one. From there, it is just a few more well-timed jumps, and players will make it safely across the chasm and on to the first real encounter of the raid.
Totems
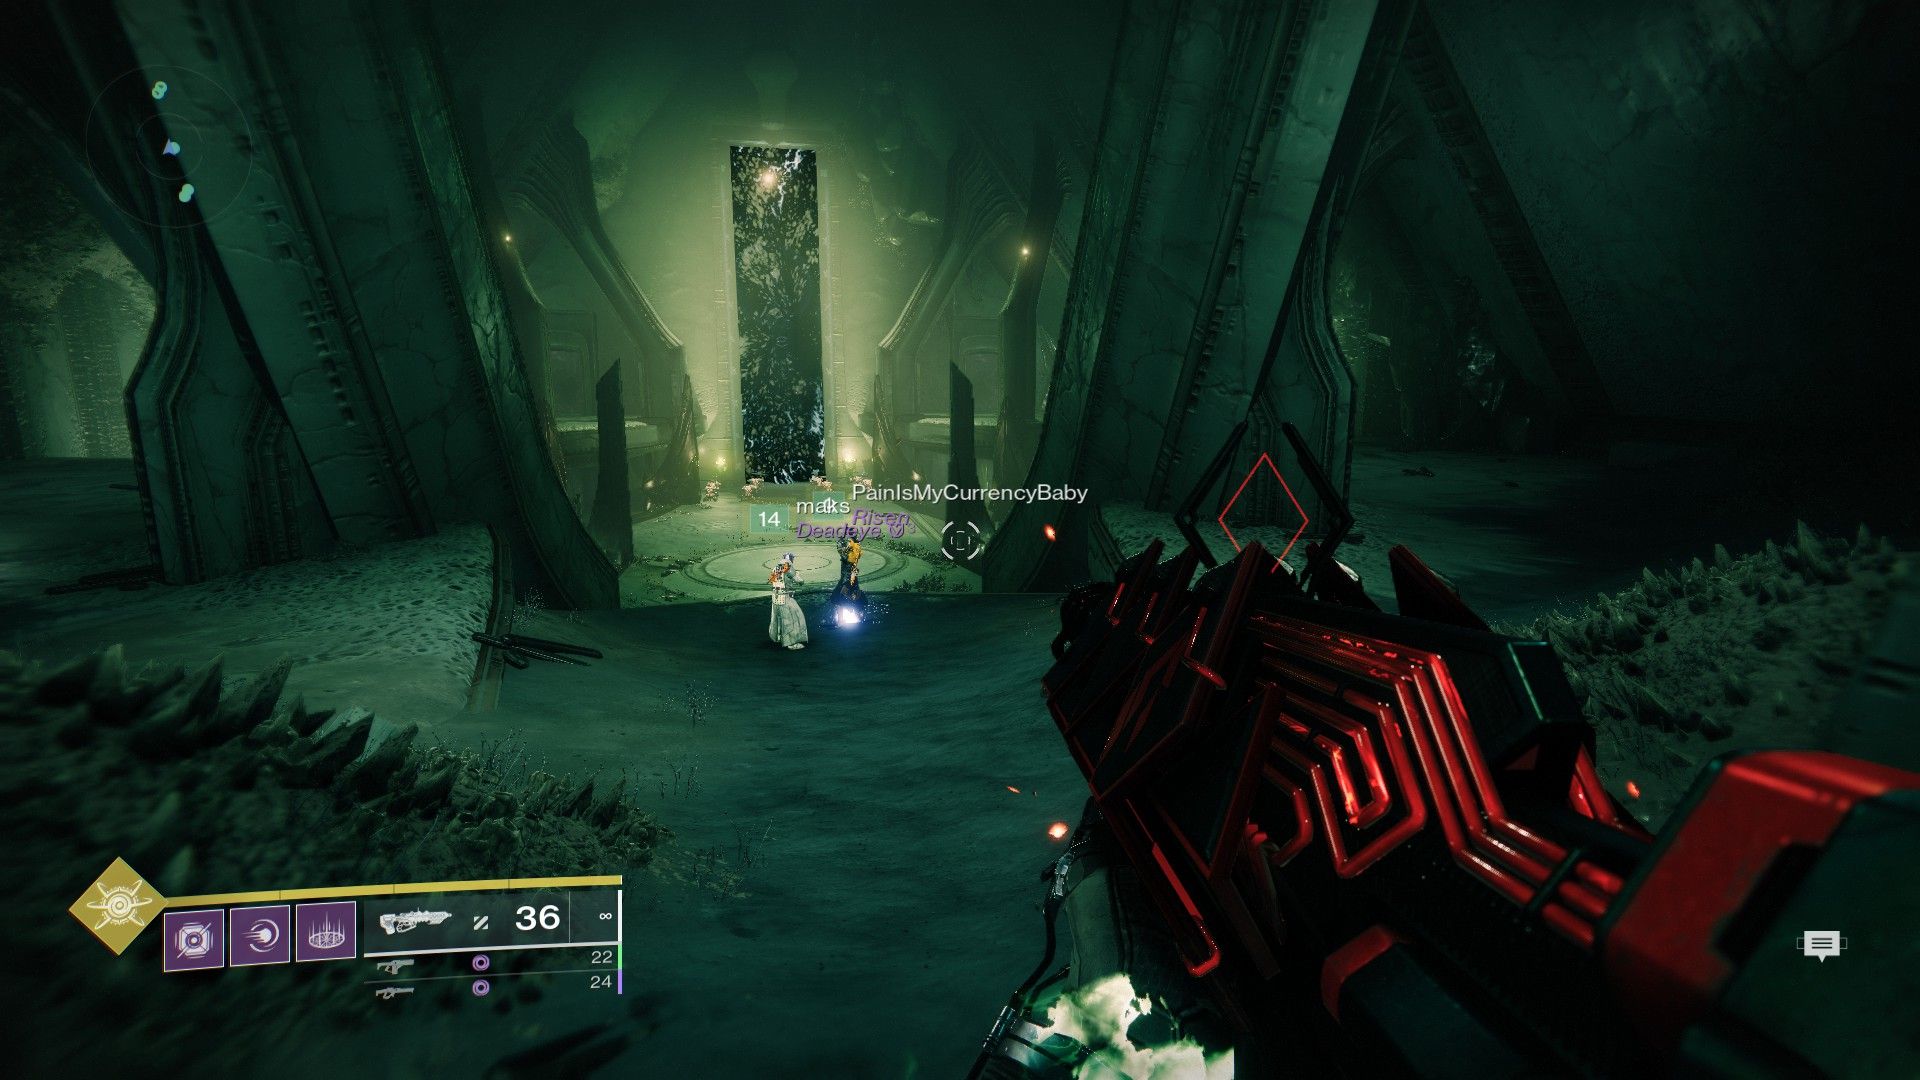
This encounter is where King's Fall begins to show its fangs. In this room, there is a big doorway with a bunch of Hive acolytes kneeling in front of it. There are two smaller rooms on the left and right, each with a totem at the far end of the room. In addition, there is also two buffs at the entrance of each room, but players should avoid picking them up until it is time to start the encounter. In order to proceed, players must charge the runes on the door that blocks their path. This is the premise of the Totem encounter. Players should make sure to use weapons and supers that allow them to handle a bunch of enemies at once. Rocket Launchers and Fusion Rifles are ideal here, along with Exotic Primaries like Osteo Striga and Outbreak Perfected.
Players should divide into two teams of three. One player on one team will go into the left room, and another player from the other team will go into the right room. Before doing this, they will pick up the buff that is just at the entrance of each room and then run and stand underneath the totem as fast as they can. If there is not a player on the totem, then it will begin to activate after a few seconds. If the totem fully activates, it kills the entire team, and they will have to start the encounter all over.
The buff that these players pick up grants them immunity from the poison clouds that are in the side rooms. If the player holding this buff dies once these two players are in position, they must begin killing as many enemies as they can in order to gain stacks of Deathsinger's Power. Players in these rooms should focus on taking out the Taken Minoutars and Hive Knights that spawn on the ledge above them, as they do a lot of damage and can easily kill players in a few hits.
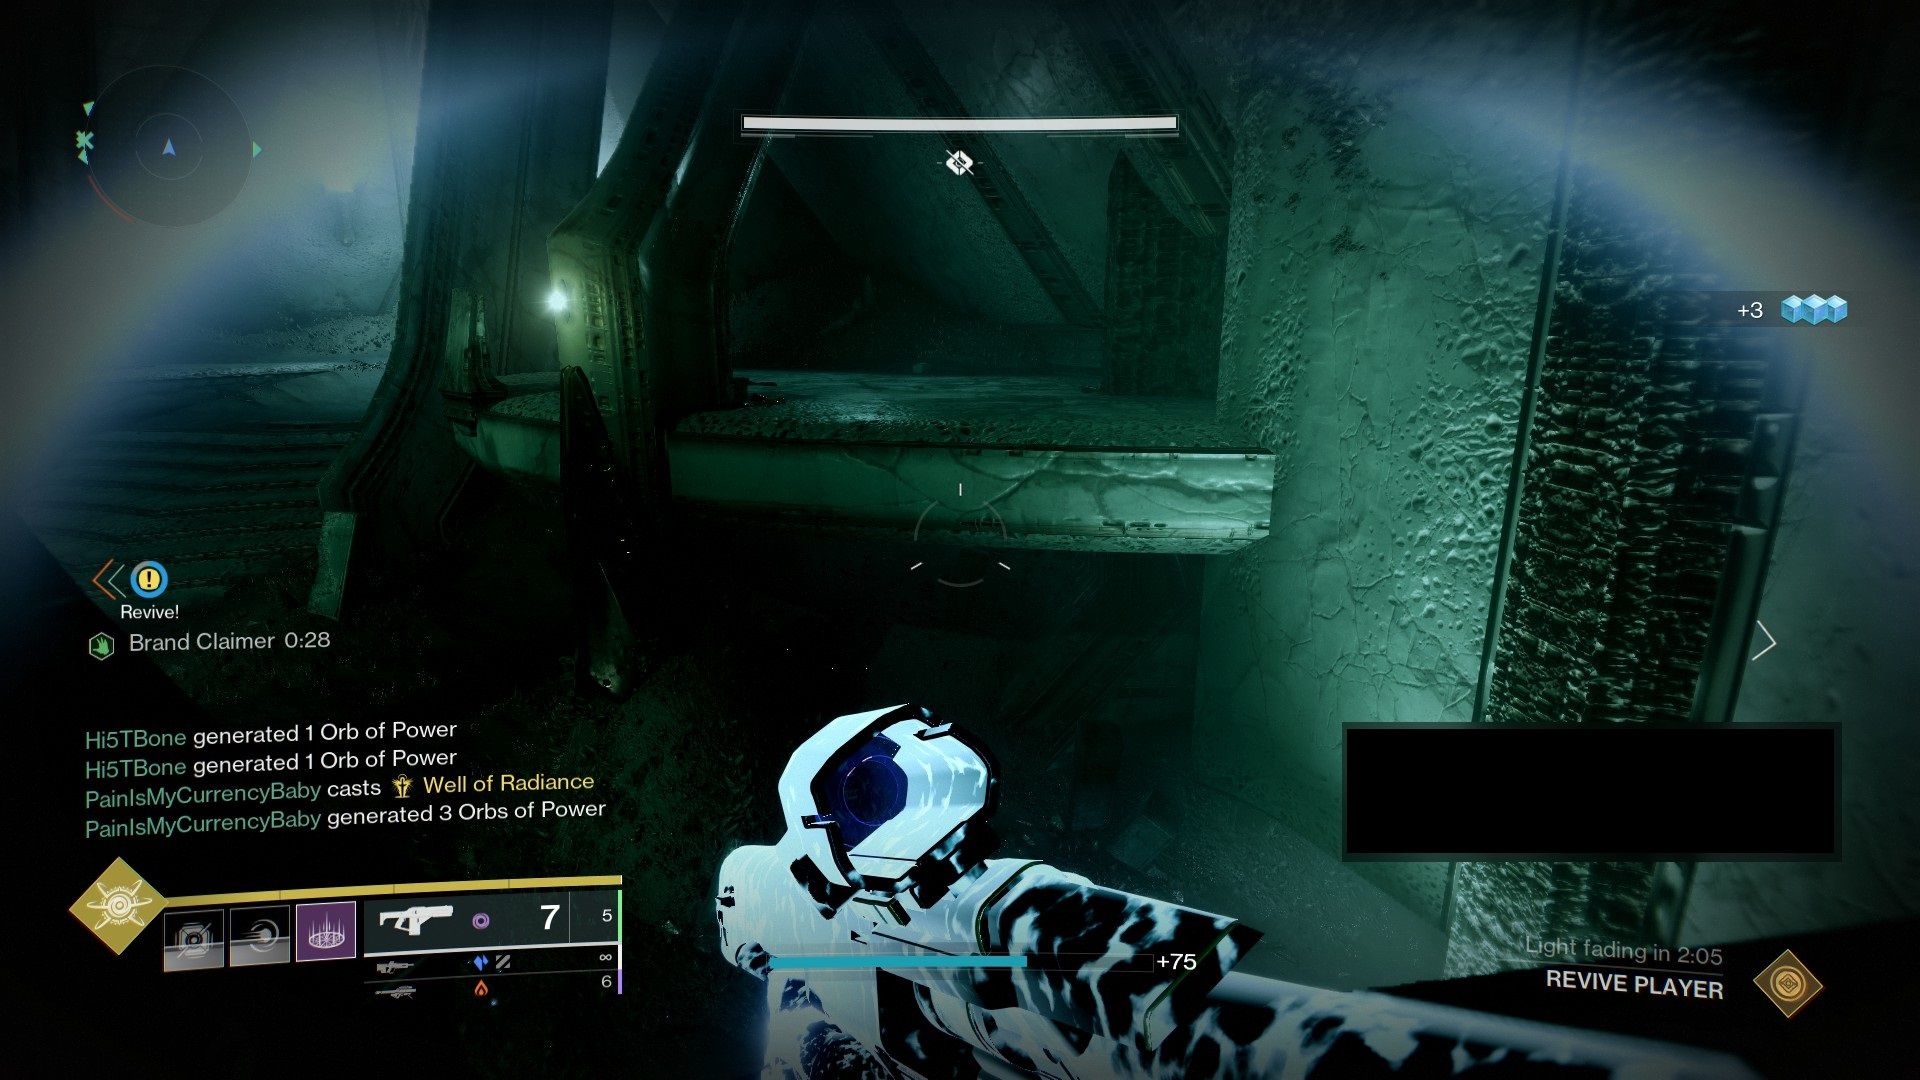
The buff that these players picked up has a timer, and when it expires, the player who has it on them dies. If the person holding this buff dies, the buff can be picked up at the entrance to the room. In order to prevent this, another player must go into the room and steal it from the player that is currently holding it (they will see a prompt to do so when they get close enough). However, in order to do this they must first claim a buff called Brand Claimer from a knight that spawns in the middle room on the ledge, but more on that below.
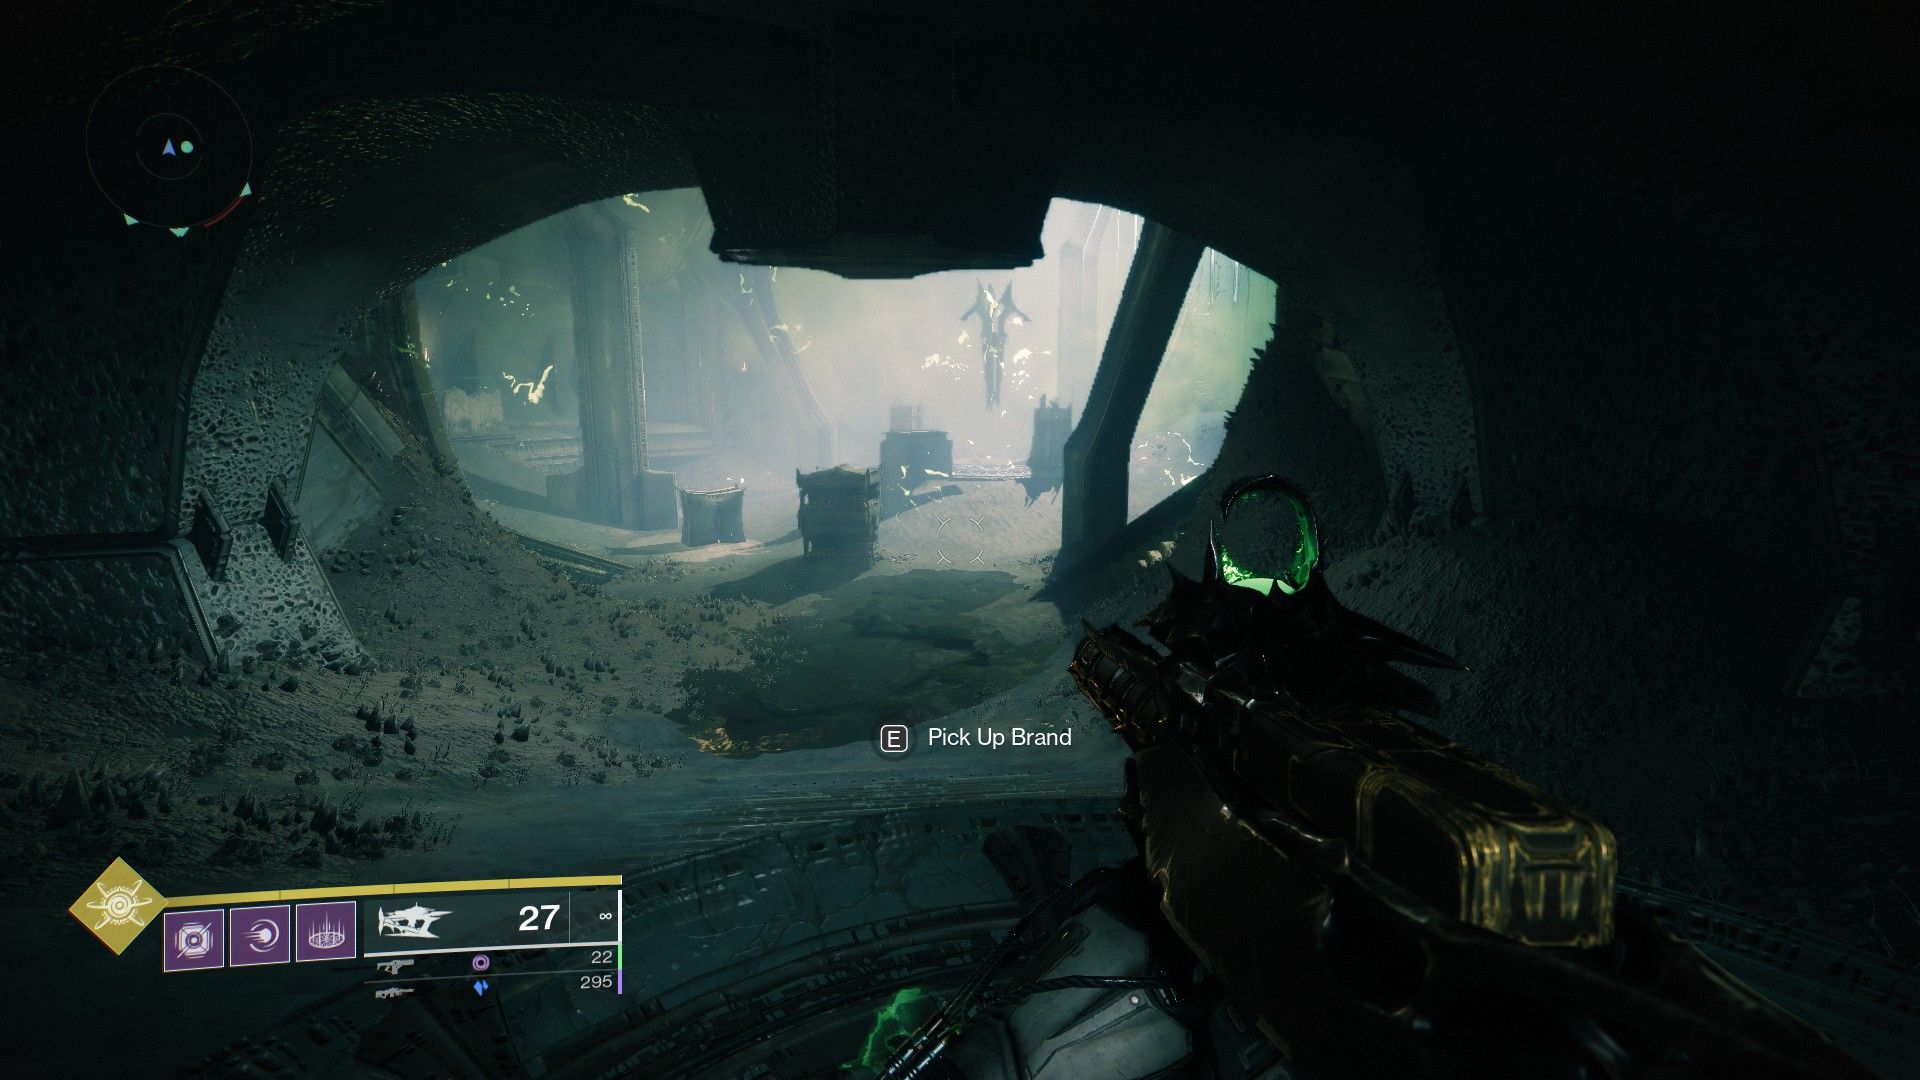
Meanwhile, the other four players will be in the middle room killing enemies. Shortly after the encounter starts, two Hive wizards will spawn on the left and the right. After they are killed, two Taken knights spawn. After the knights are killed, a glowing sphere will pop up that can be claimed. Picking this up gives a player the Brand Claimer buff. Two players will pick these buffs up and will run into the left and right room respectively toward the players on the totems. They will see a prompt to steal the brand and once they hold the button down they will claim the buff that the other player had and will stand on totems in their place, killing enemies and gaining stacks of Deathsinger's Power.
While this is happening, the players who just had the buff stolen from them will run up toward the middle room and stand on the giant glowing plate. They will gradually lose stacks of Deathsinger's Power which will charge the runes on the door. Players with stacks of Deathsinger's Power must make sure that all their stacks have dropped off of them before they attempt to take the Brand Claimer buff, as they cannot pick it up if they have even a single stack of Deathsinger's Power. Once all of their stacks are gone, they will help with enemies in the middle room and bring down the wizards and knights in order to get Brand Claimer. This repeats until all runes are charged, and the door will open.
Unfortunately, there is one last thing players will need to watch out for. As the fight progresses, a Hive Ogre Unstoppable Champion will spawn in the middle room. Players in the middle room will need to quickly kill these Ogres as fast as possible so that they do not kill the entire team. Timing in this encounter is everything. If a player is several seconds or more too late in stealing the brand from another player in the totem room, it can cause a wipe. There are a lot of moving parts to this encounter, and if one thing goes wrong it can cause a snowball effect that wipes out the entire team before long.
In summary:
- Two players go down into the left and right rooms and stand under the totems, grabbing the two buffs as they go. They then kill as many enemies as they can before their timer expires.
- The other four players kill the wizards and knights that spawn and two of them will pick up the Brand Claimer buff.
- These two players swap with the other two players who have stacks of Deathsinger's Power and stand under the totem to get their own stacks of Deathsinger's Power
- Any player with Deathsinger's Power should move to the plate in the center room and wait there while stacks drop off of them. Then they go back to helping with enemies and killing the wizards and knights that spawn.
- Repeat this process until all the runes have been filled.
Upon completing the first encounter and claiming their loot from the chest, it is time for players to take on the Warpriest, which will be covered in another guide.
Destiny 2 is now available for Epic Games Store, PS4, PS5, Stadia, Steam, Xbox One, and Xbox Series X/S.

