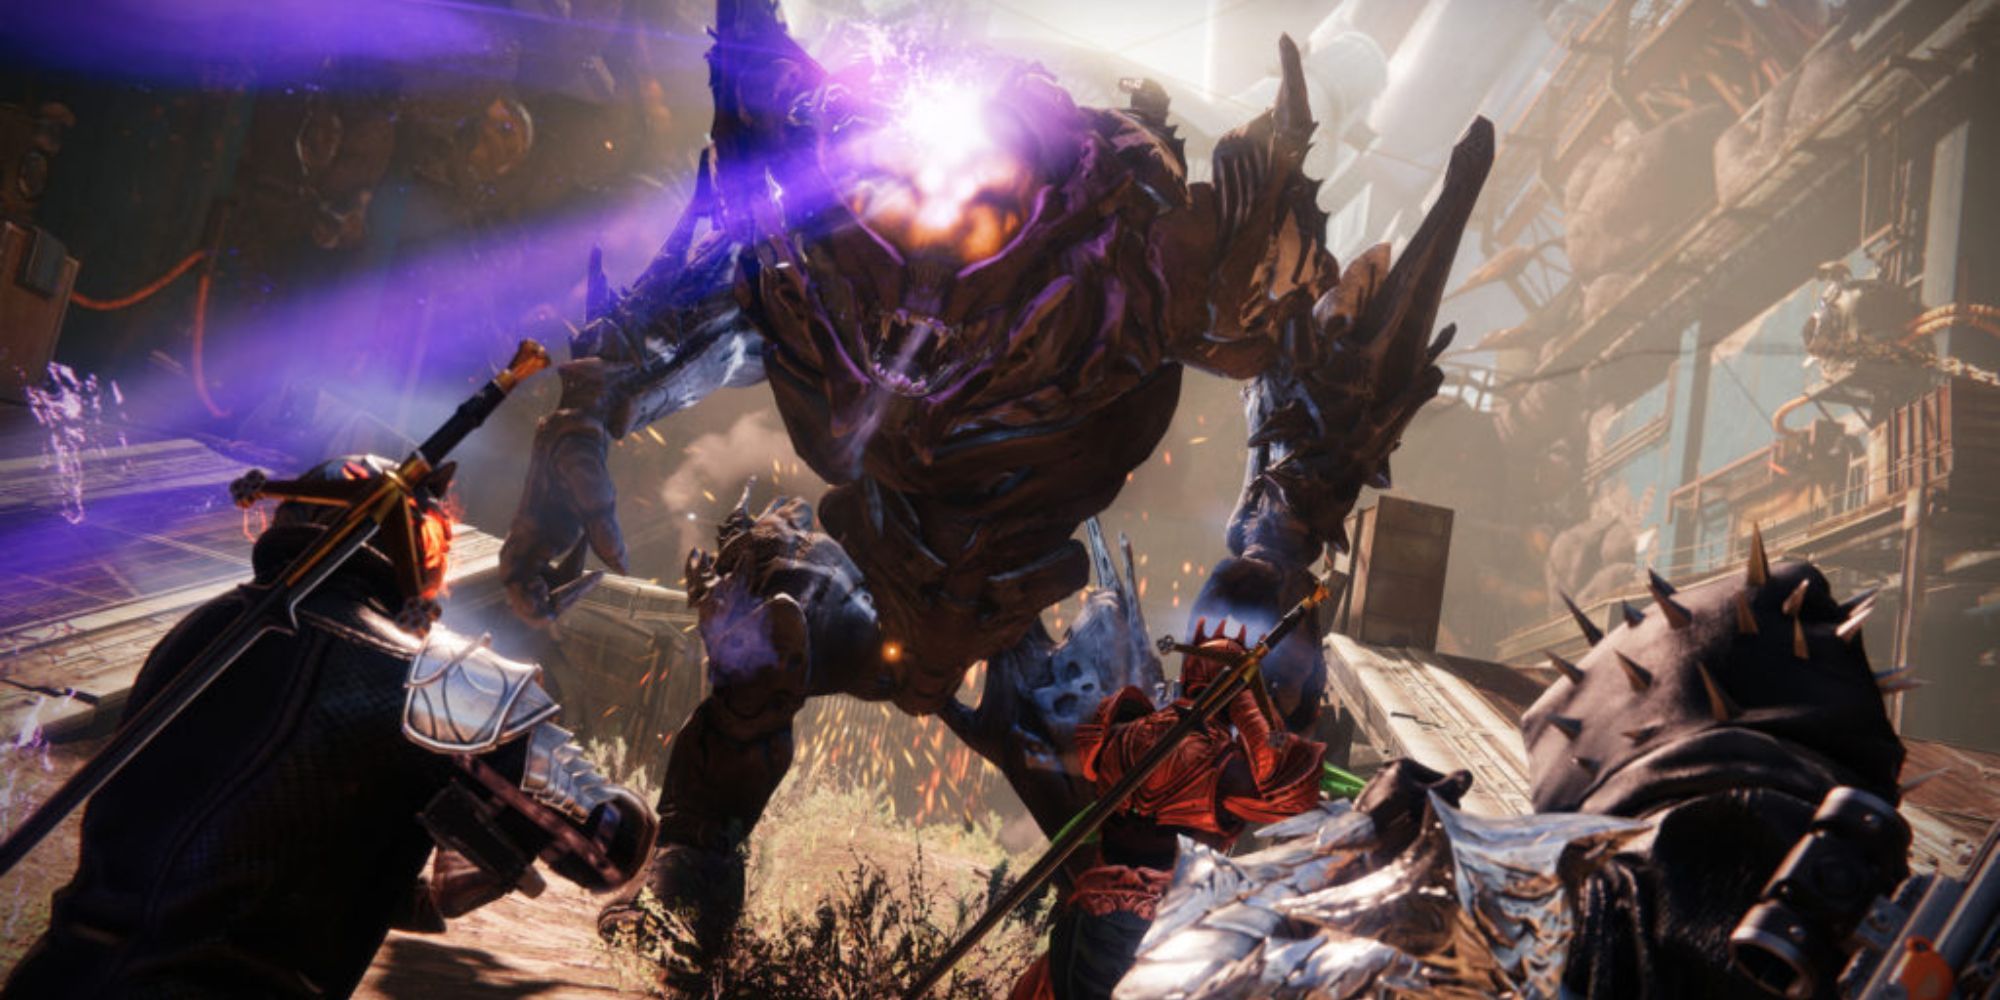
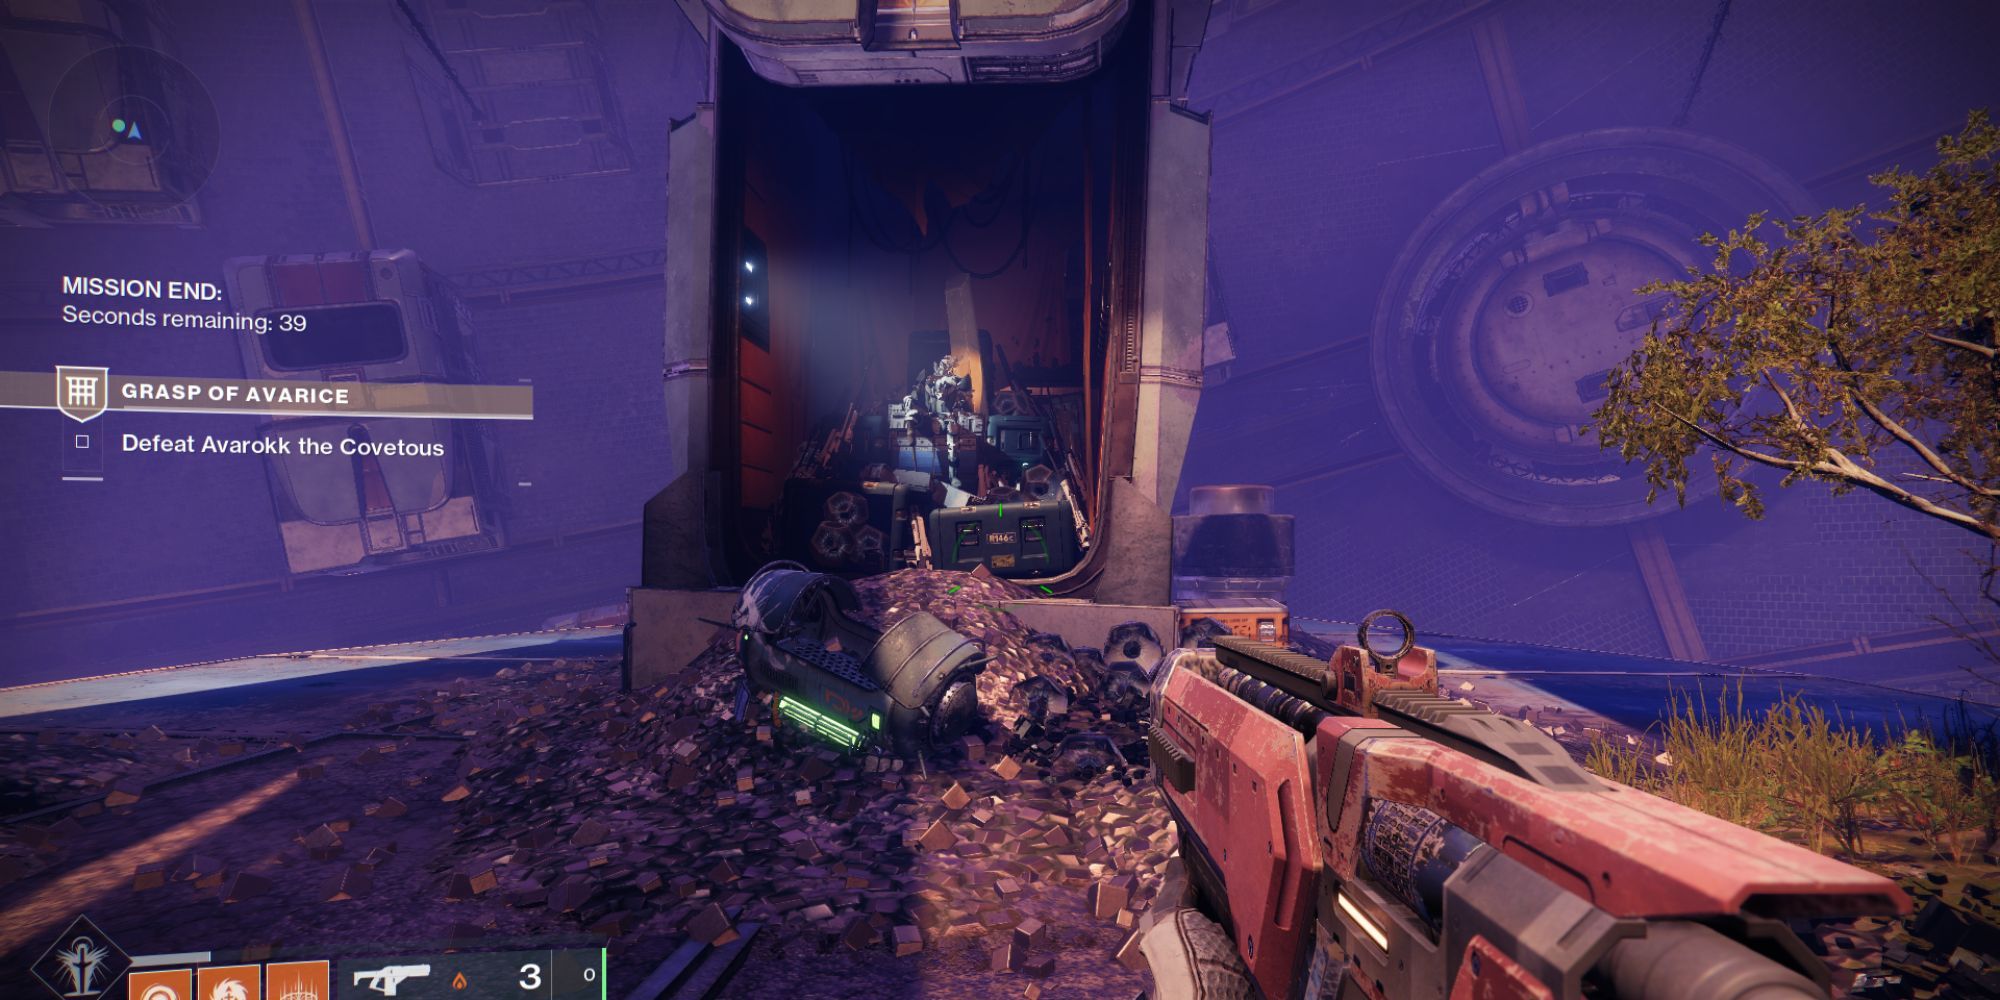
The new 30th-year anniversary dungeon for Destiny 2 is here: Grasp of Avarice. Dungeons are an interesting PvE activity in the game, since they fall somewhere between a raid and a campaign storyline mission, with sometimes complex mechanics and fairly challenging boss fights. Grasp of Avarice is no different in that regard, with a recommended light level 1310 and the potential to earn the first item needed for the Gjallarhorn exotic quest.
The dungeon also has a host of other returning Destiny items such as the Eyasluna, the 1000 Yard Stare, the Matador 64, Hero of Ages, as well as the new thorn-themed armor set. With that, there's no reason not to complete this dungeon as many times as possible. This guide will explain exactly how to complete the Grasp of Avarice dungeon in Destiny 2.
Build & Loadout Guide
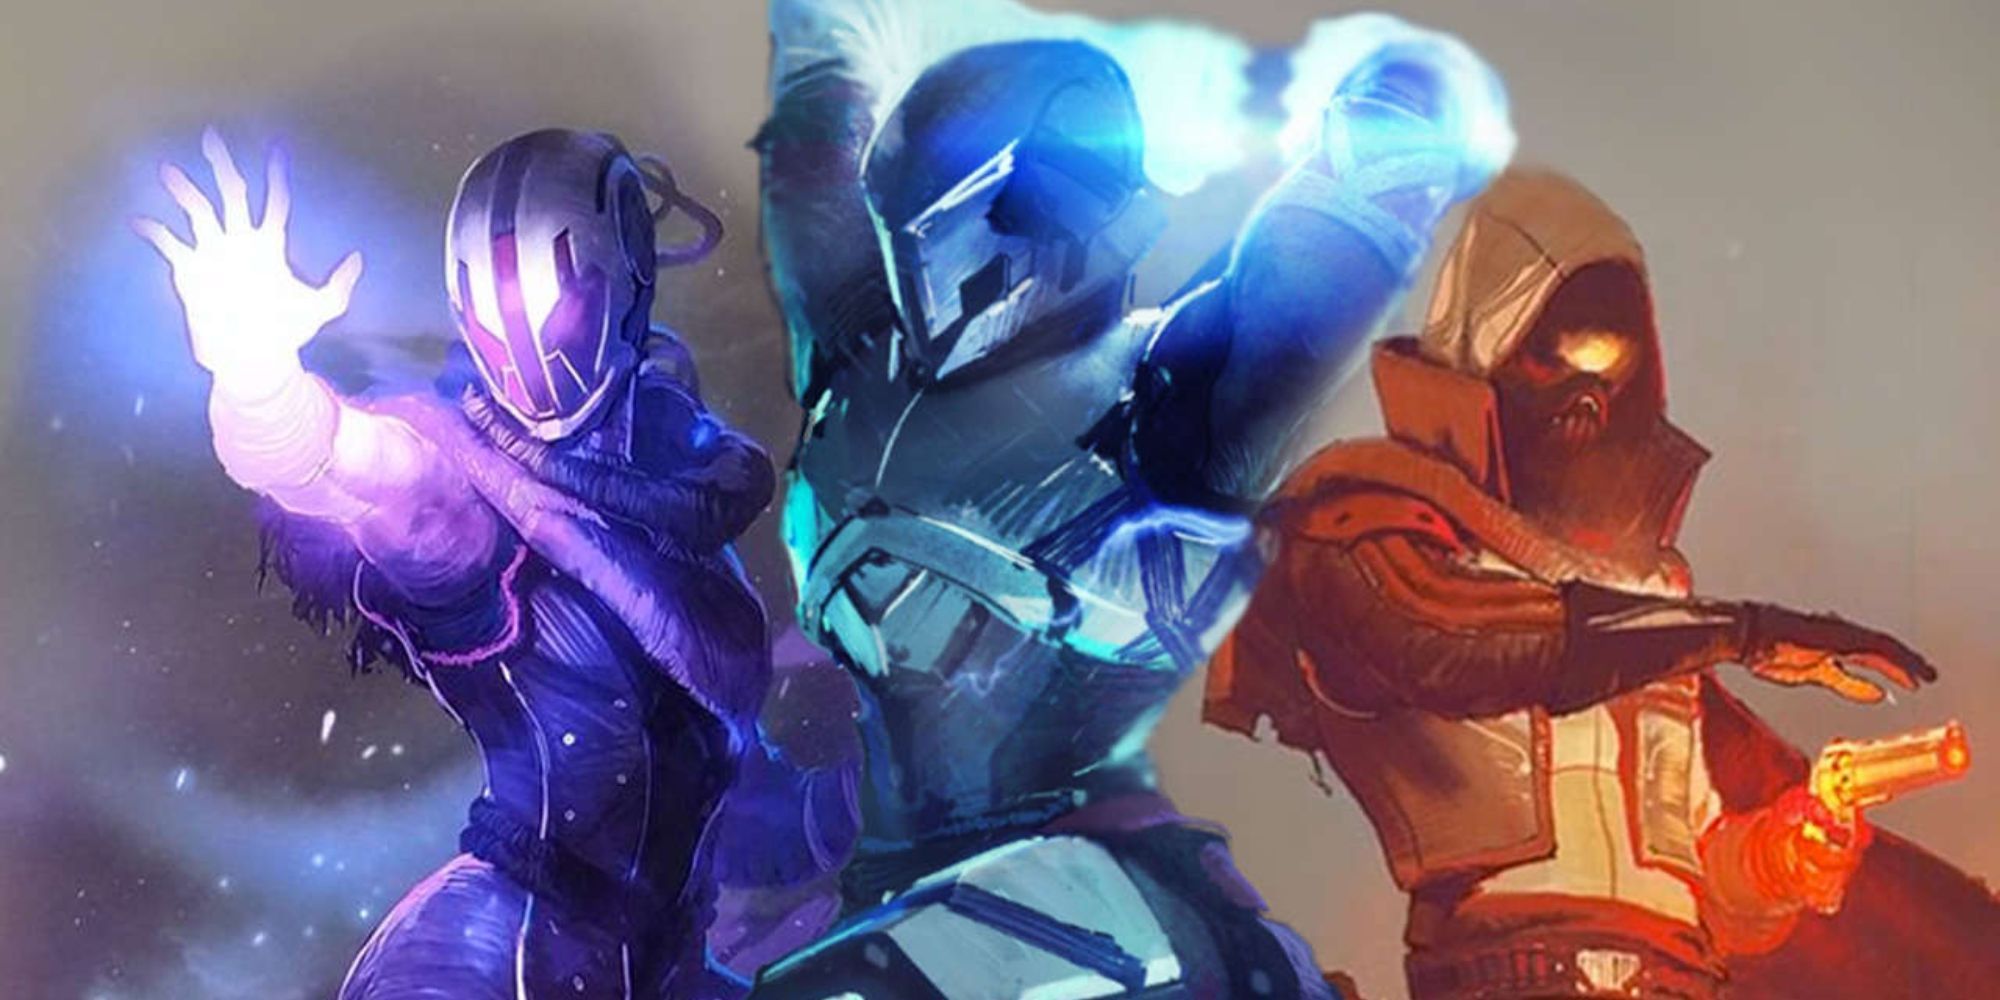
With a light level recommendation of 1310, Grasp of Avarice can feel tough for newer lights to complete. Because of this, players should prioritize running safe meta loadouts to make their time in the dungeon easier. Of course, everything comes down to preference, but the table below gives a meta-friendly suggestion for each class to run.
|
Hunter |
Warlock |
Titan |
|
|---|---|---|---|
|
Subclass |
|
|
|
|
Exotic Gear |
|
|
|
On top of having the right subclasses, players should put on Particle Deconstruction on their class item, and run Fusion Rifles and Linear Fusion Rifles, with Vorpal Weapon perk. Great options for Legendary items include the Cartesian Coordinate, Threaded Needle, Null Composure, and Tarantula. A Grenade Launcher with Blinding Grenades can also be fantastic for controlling ads.
For exotic weapons, players can run the Witherhoard for clearing ads, Vex Mythoclast, One Thousand Voices, or Sleeper Simulant.
Enter The Loot Cave
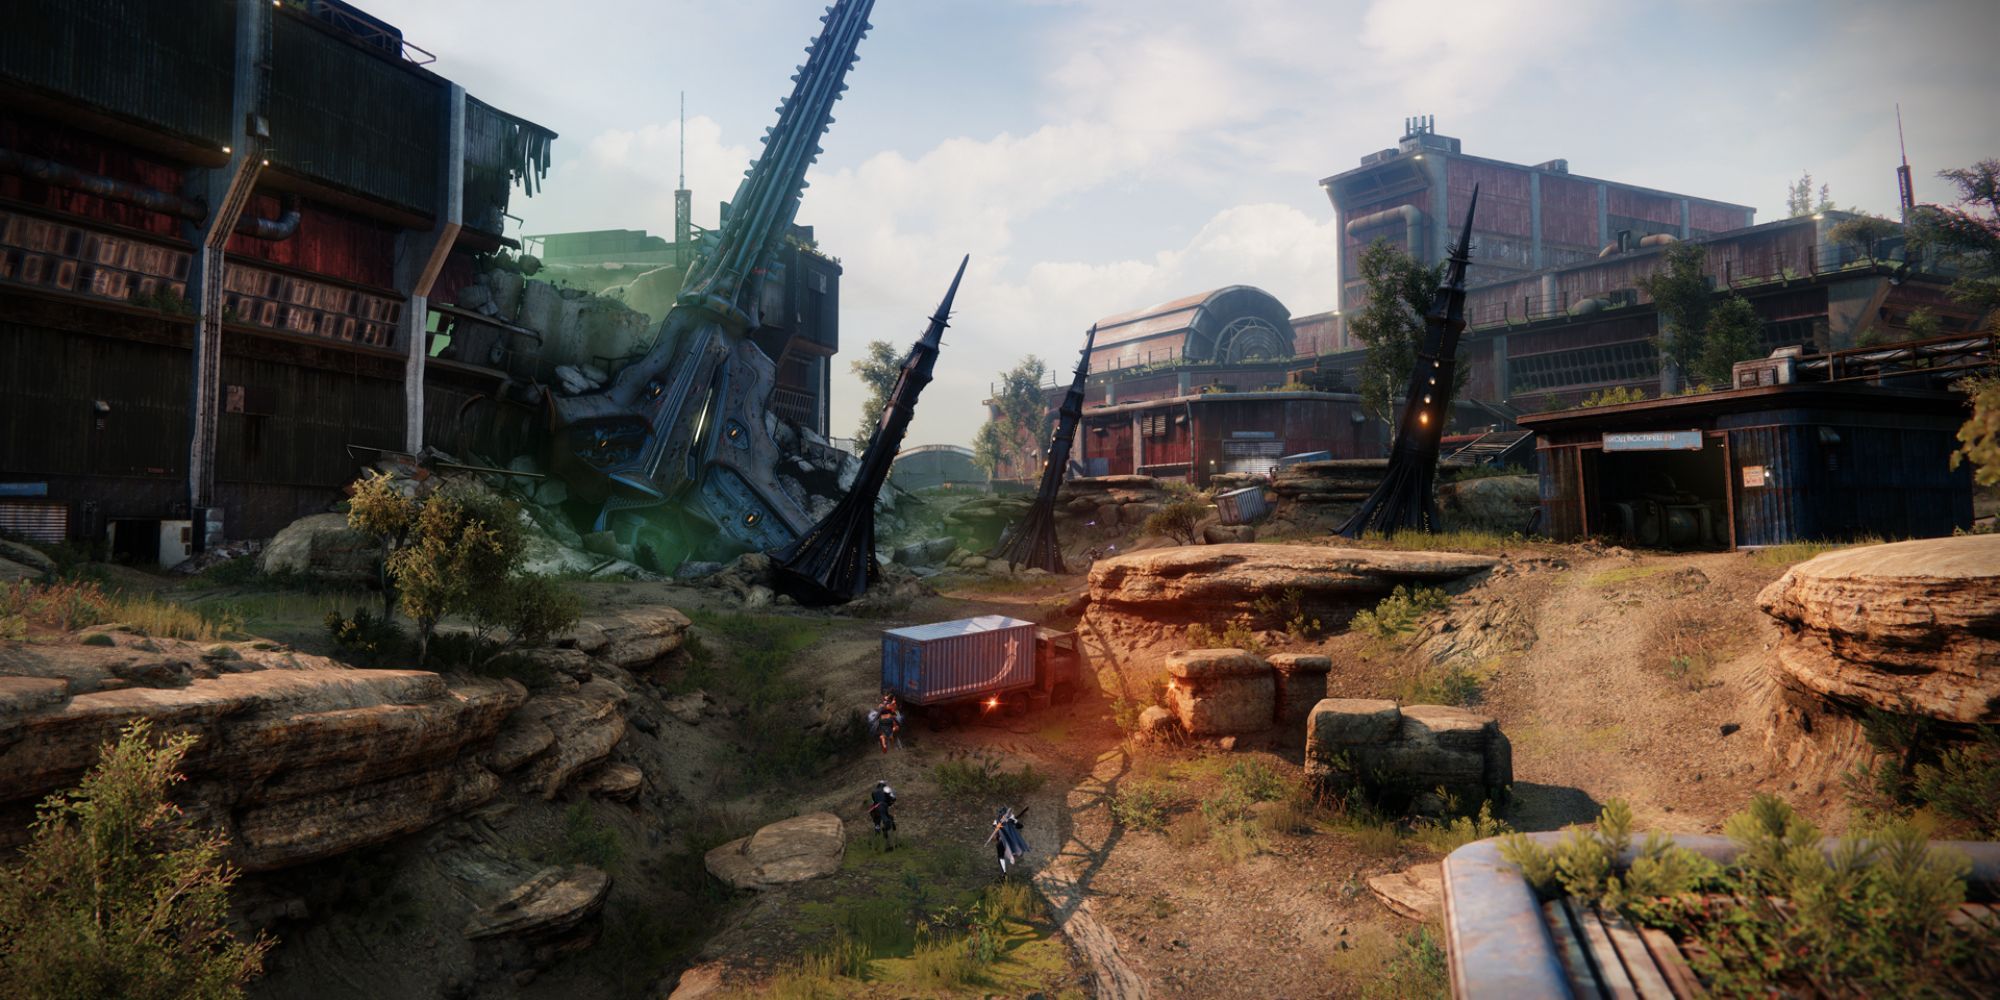
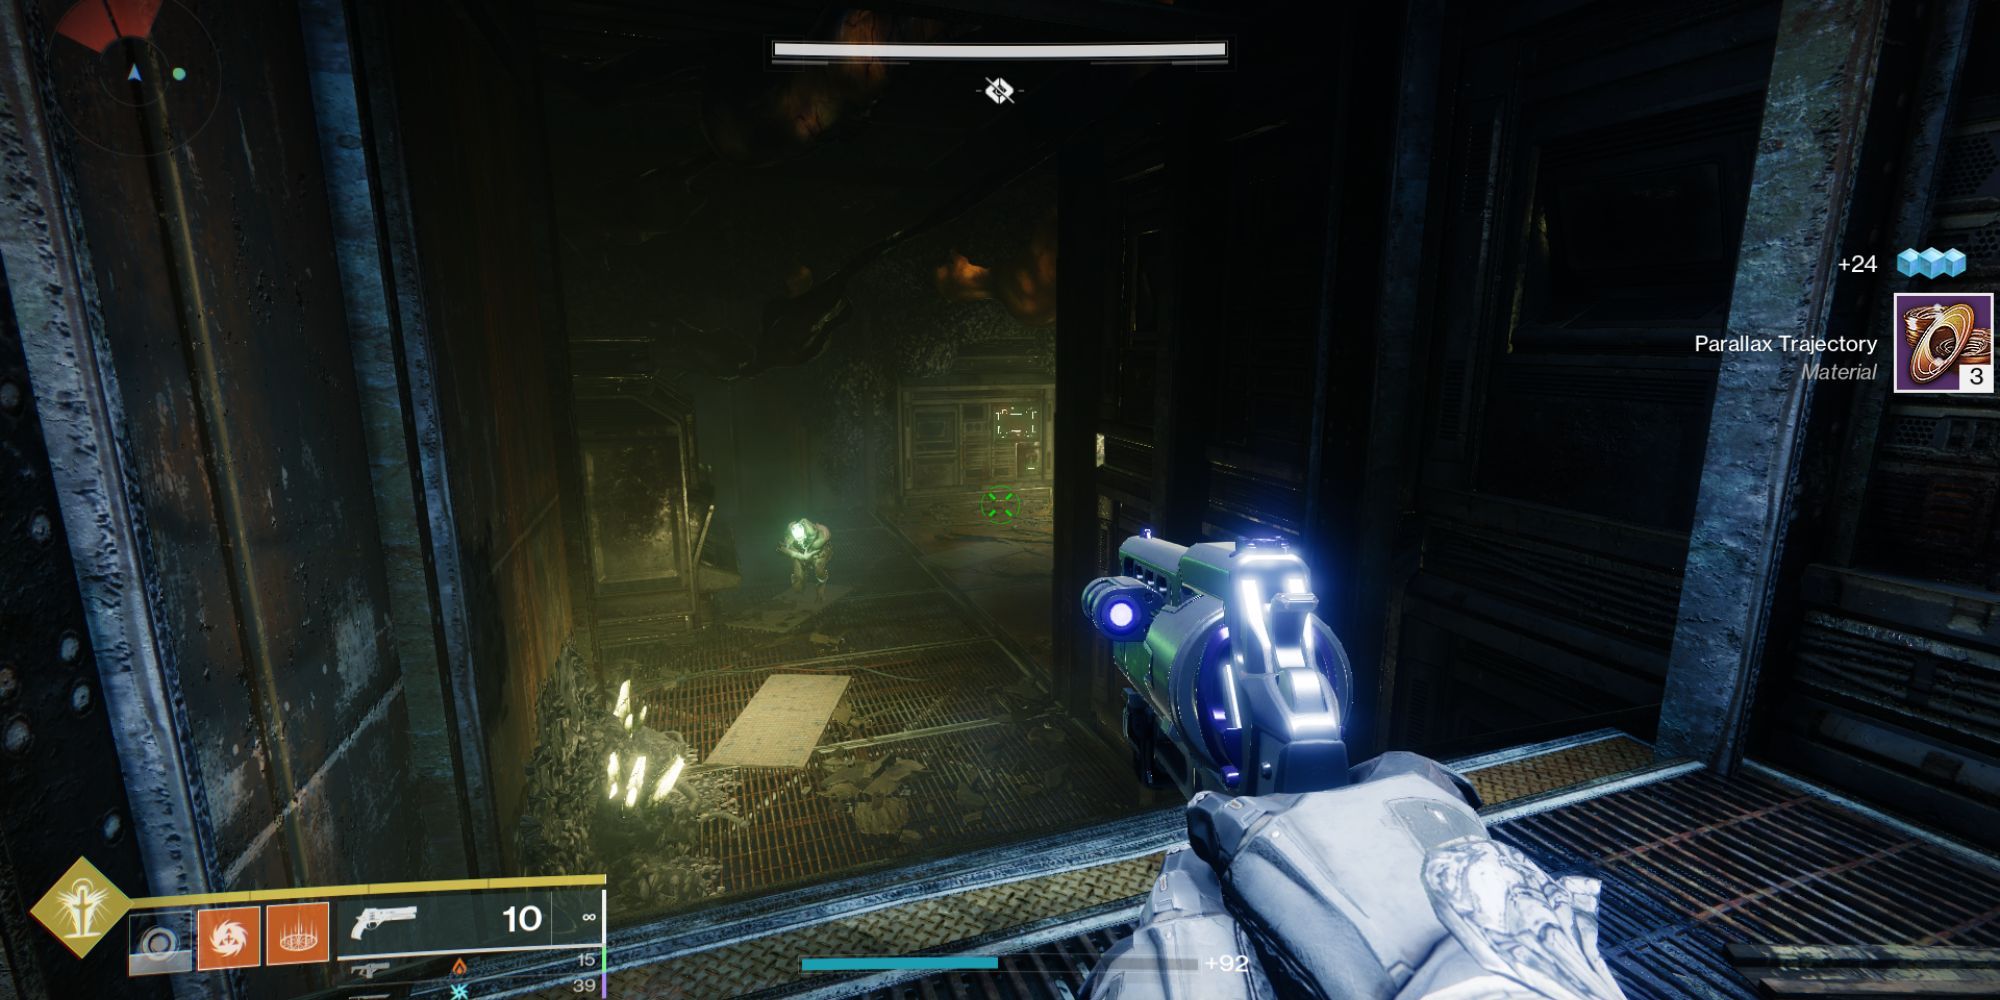
Players will spawn in a familiar location in the Cosmodrome, with enemies fighting nearby a small cave entrance.
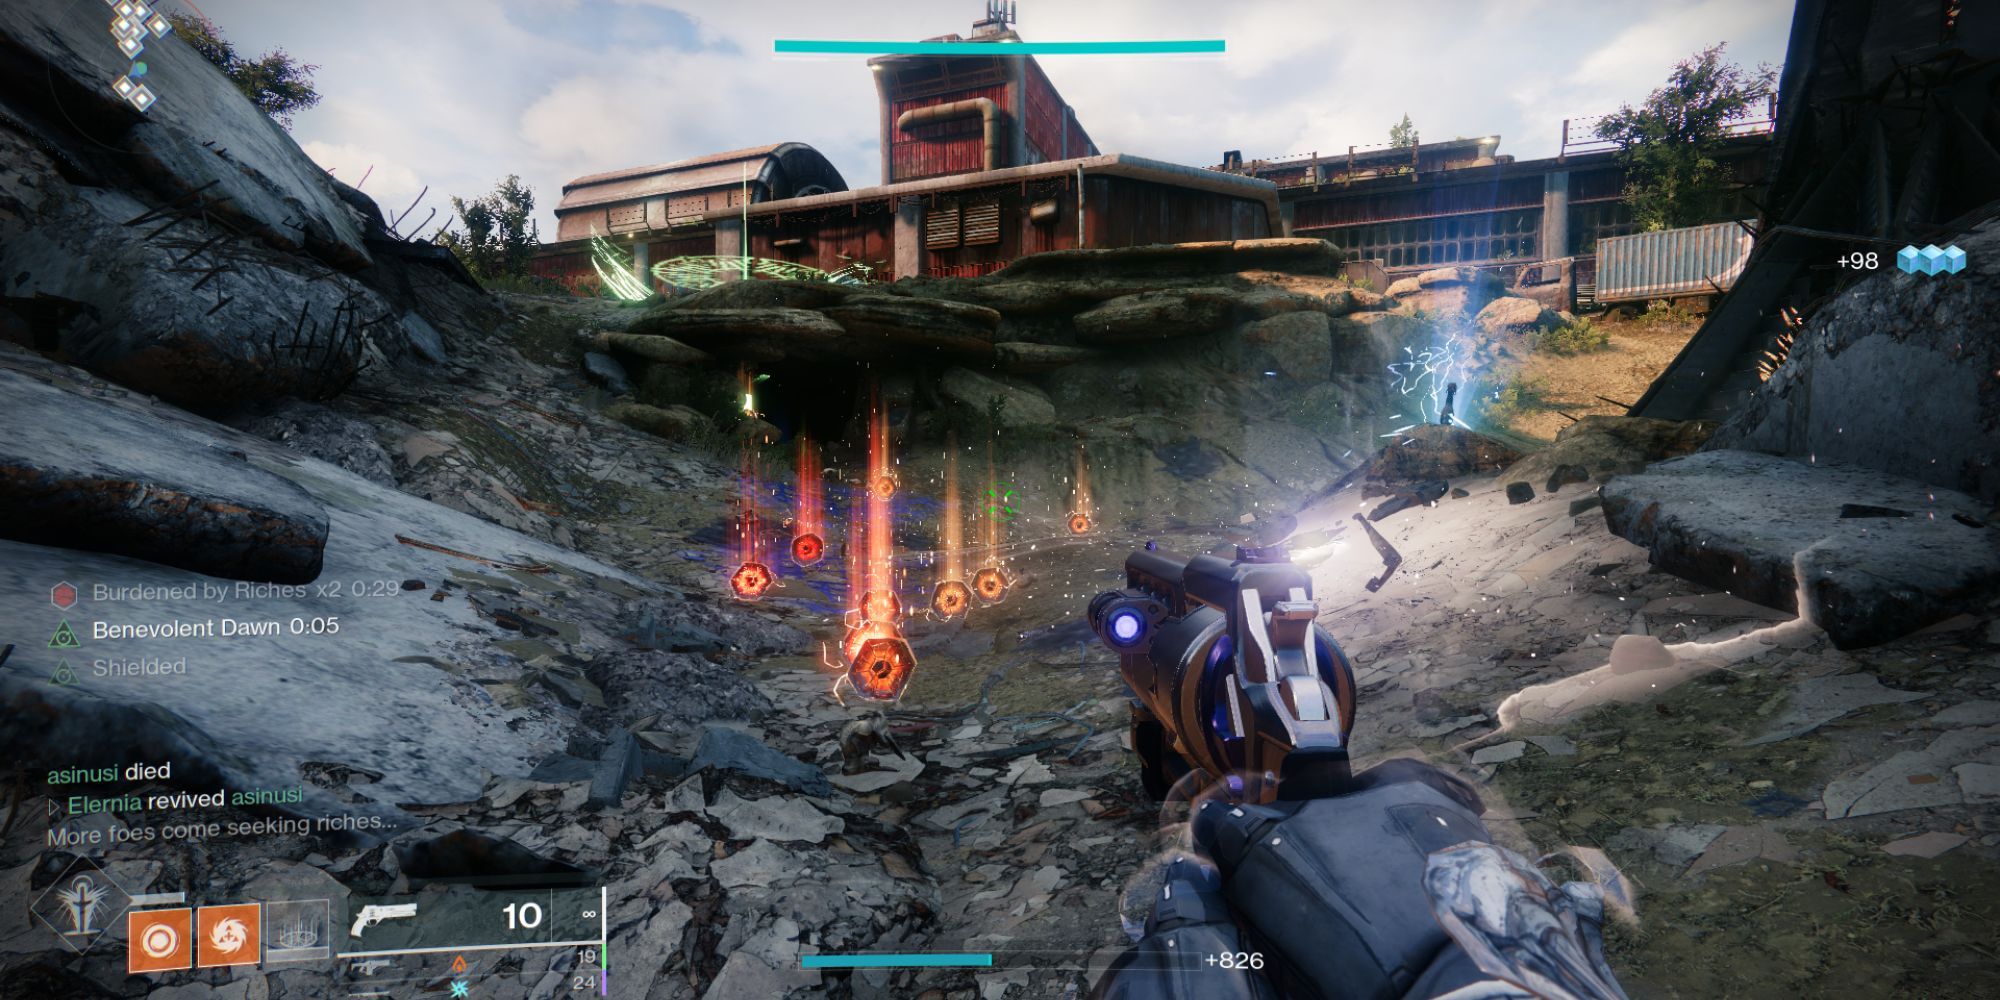
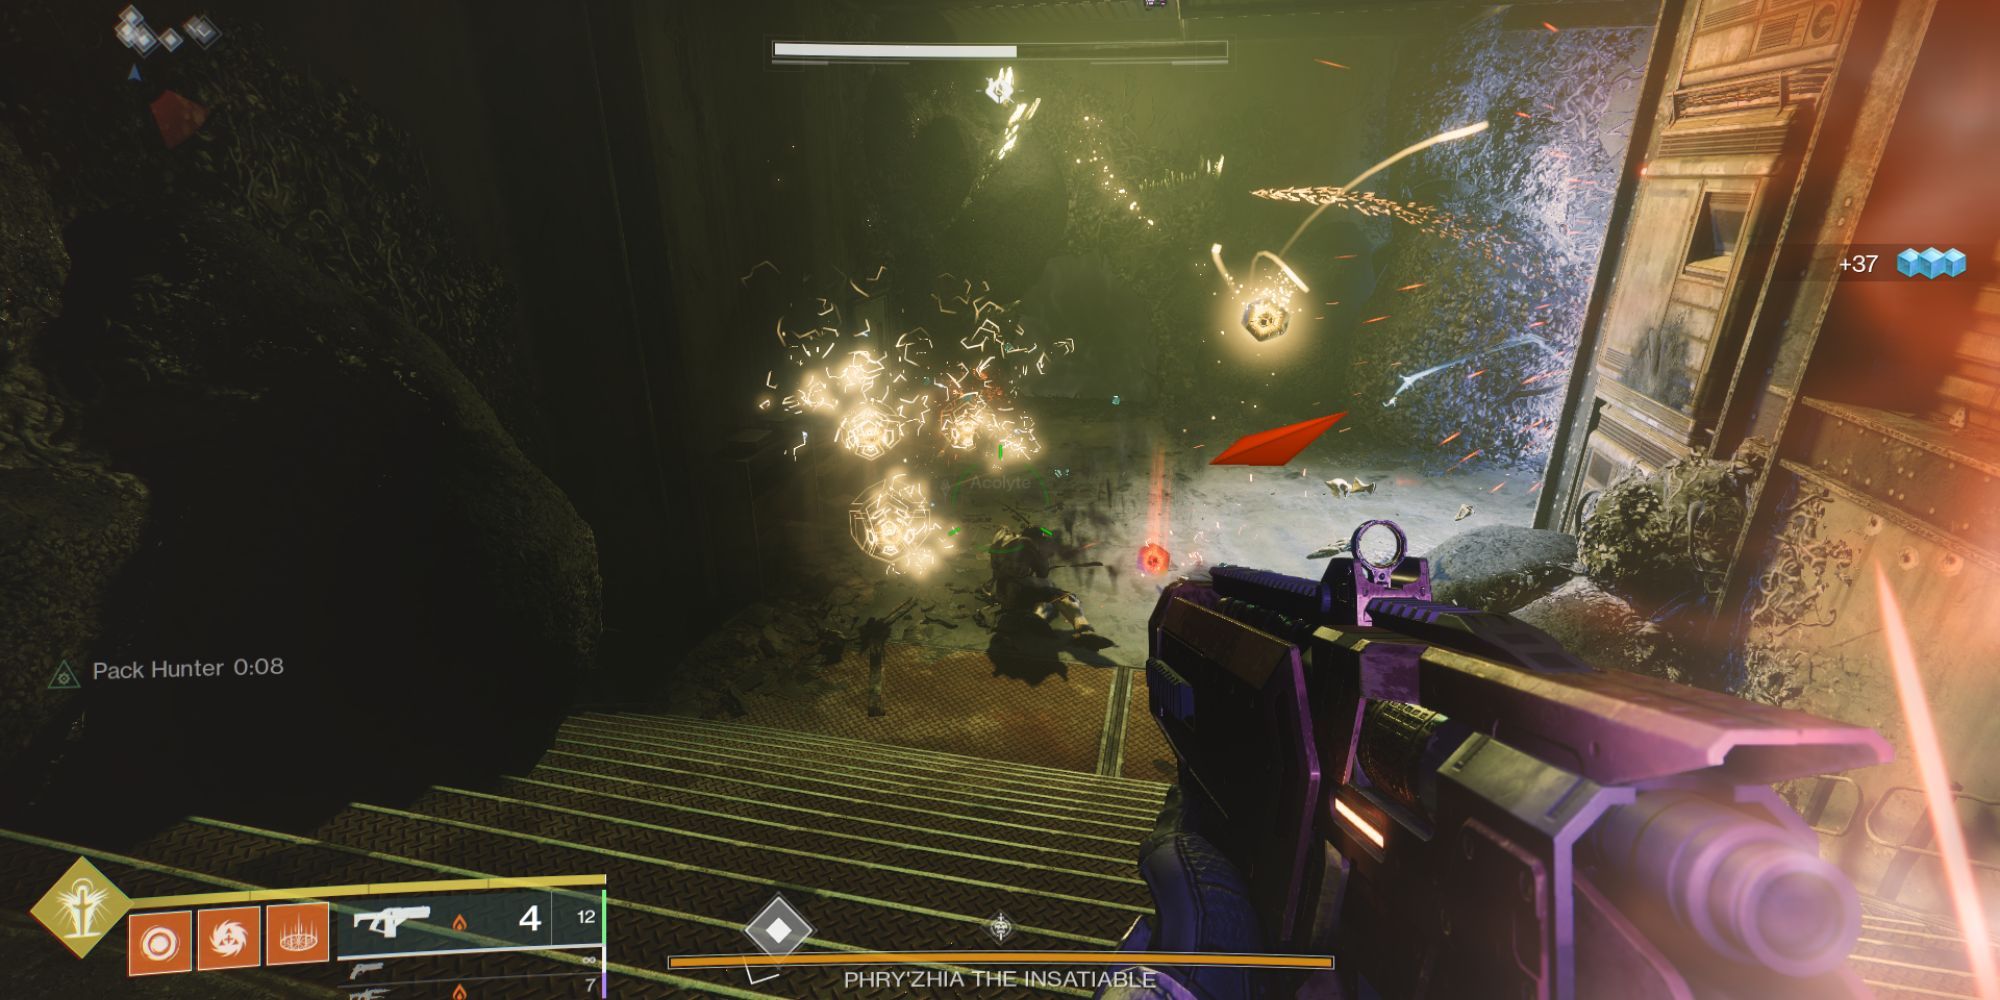
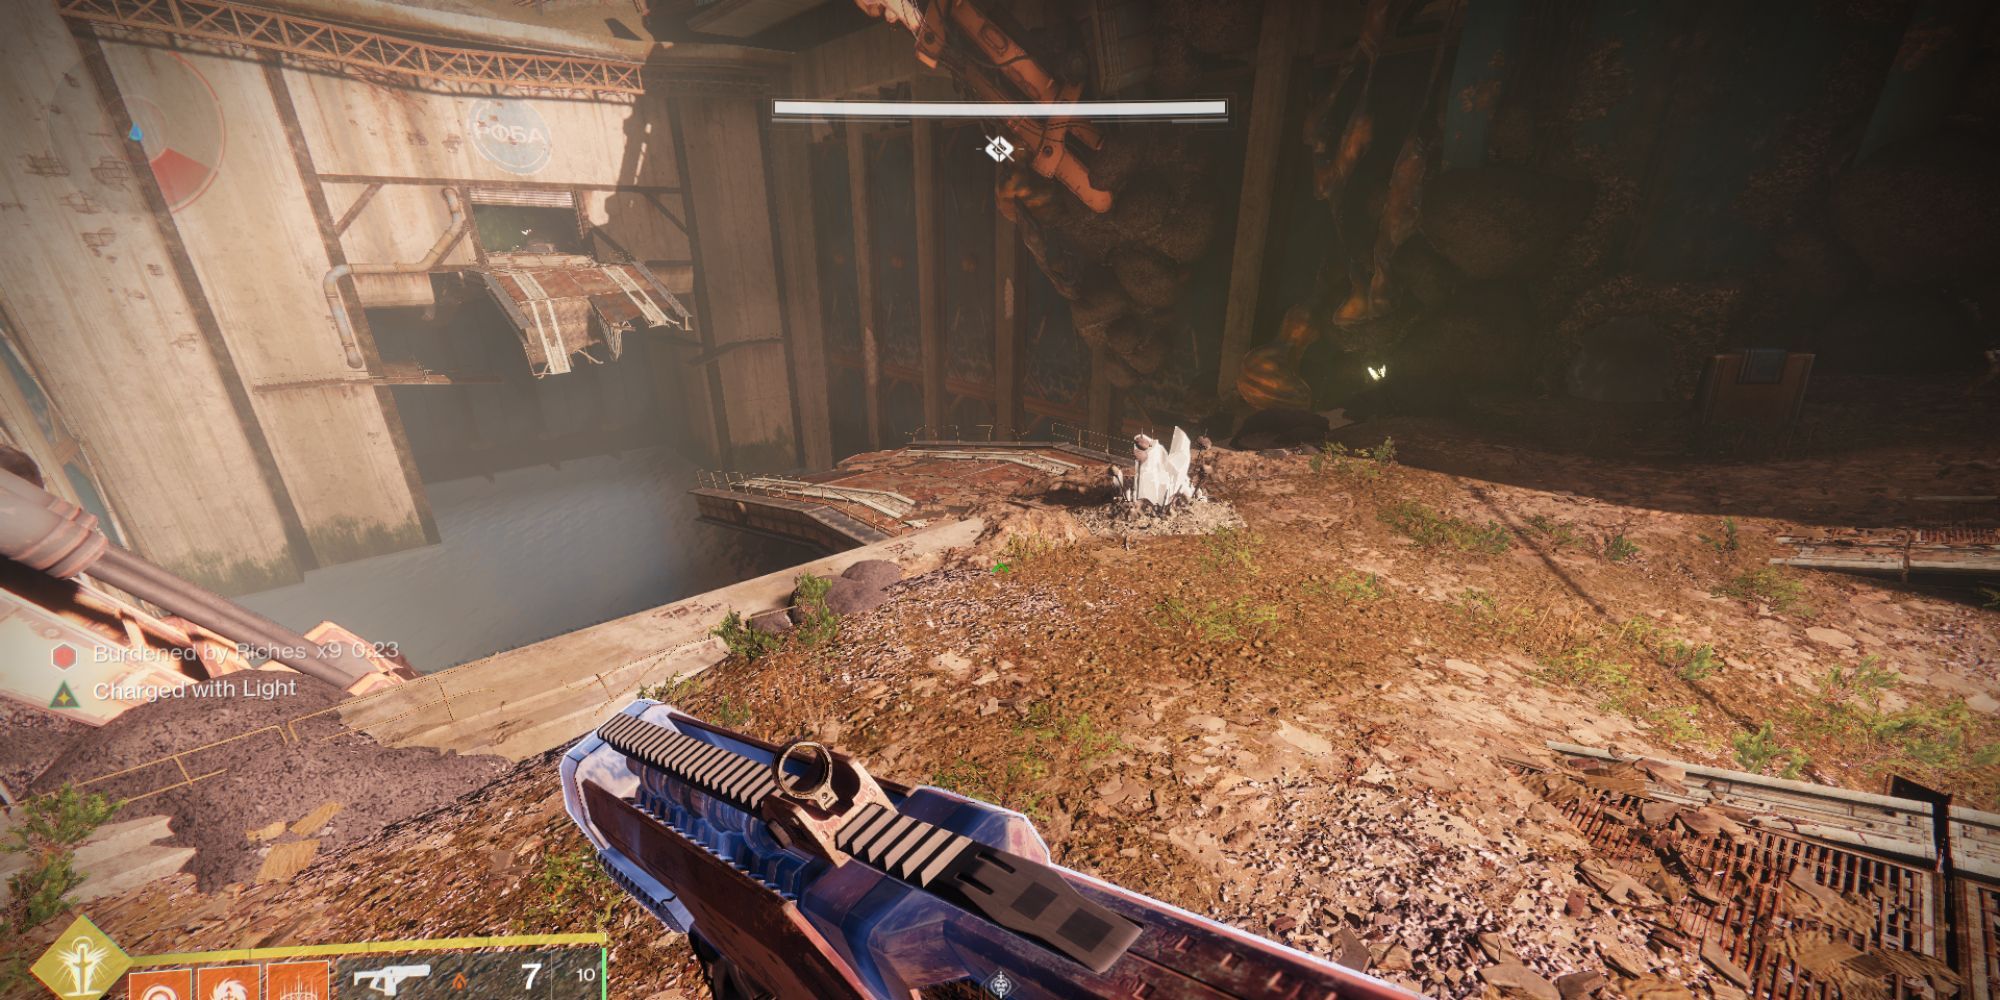
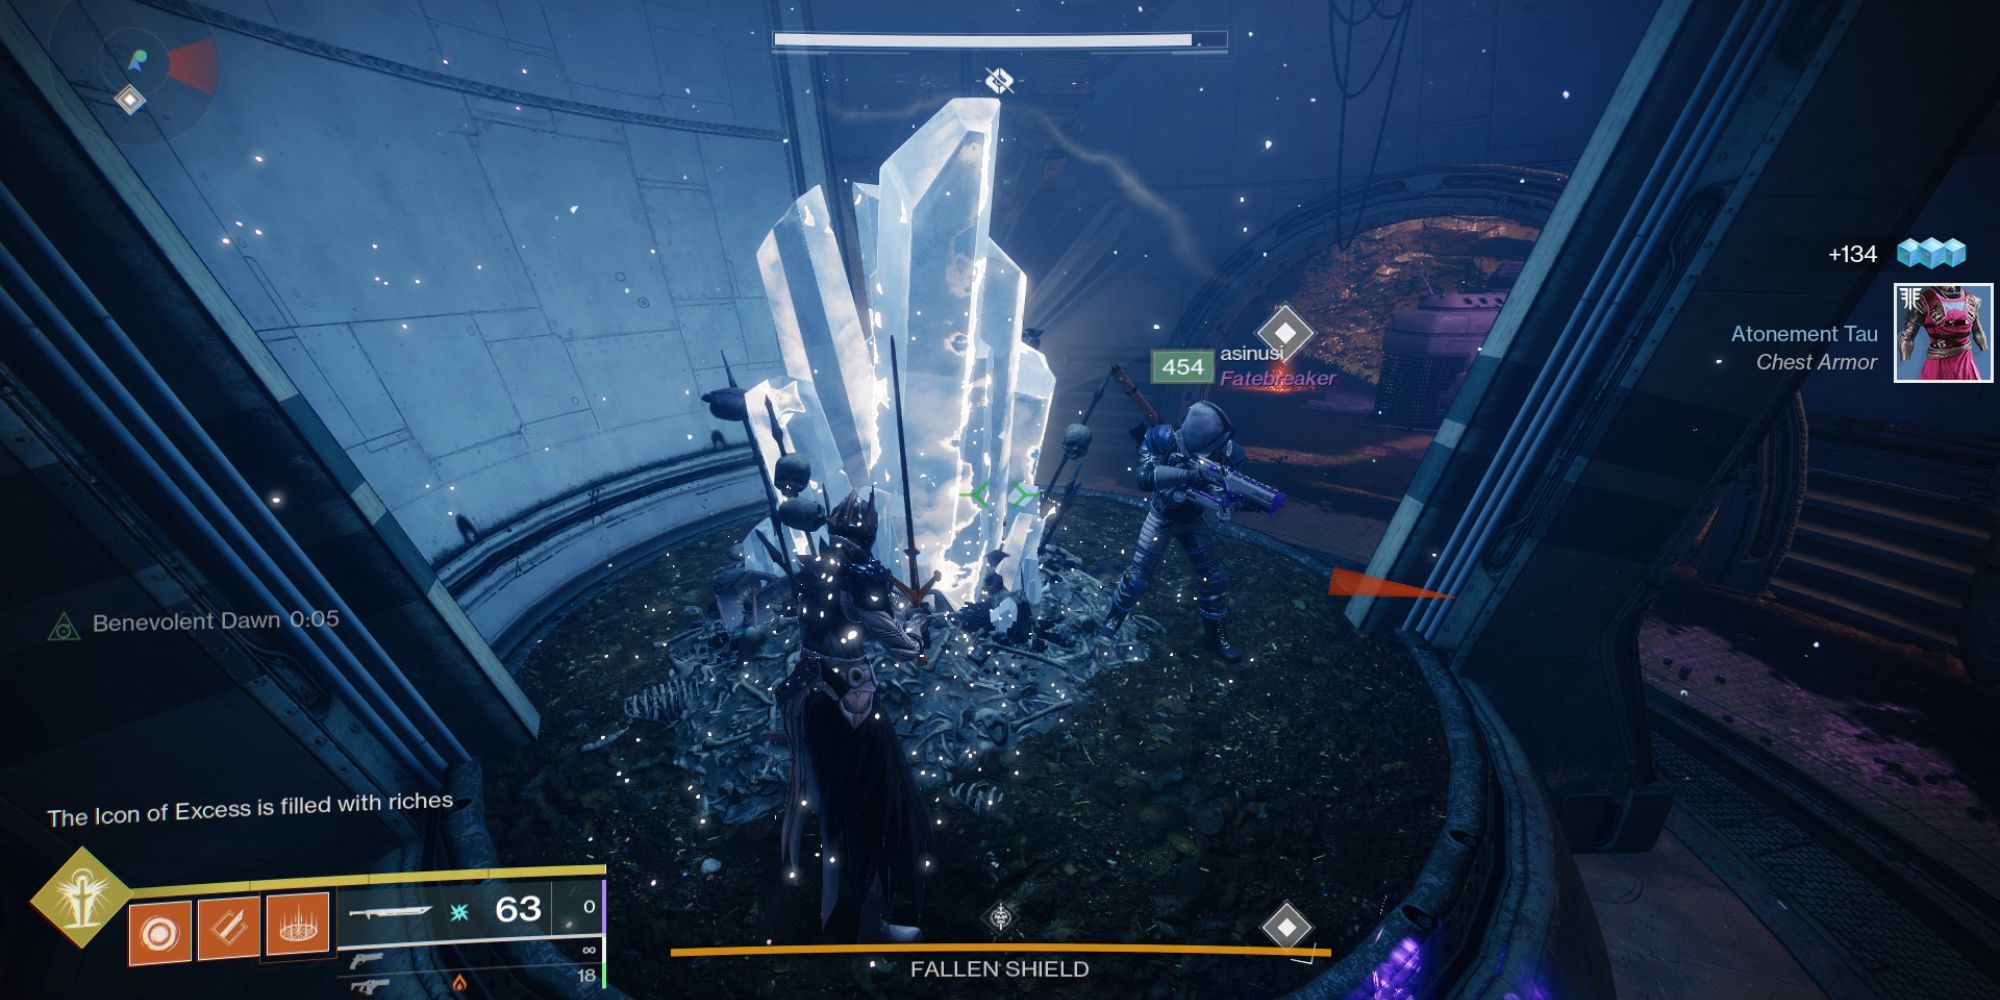
Start clearing out the enemies, who will drop special engrams. When picked up, these engrams give the player the Burdenered By Riches debuff with a timer. Players should pick up as many of these engrams as possible. There's no limit to how many times the debuff can stack. However, once the timer runs out, the player will die.
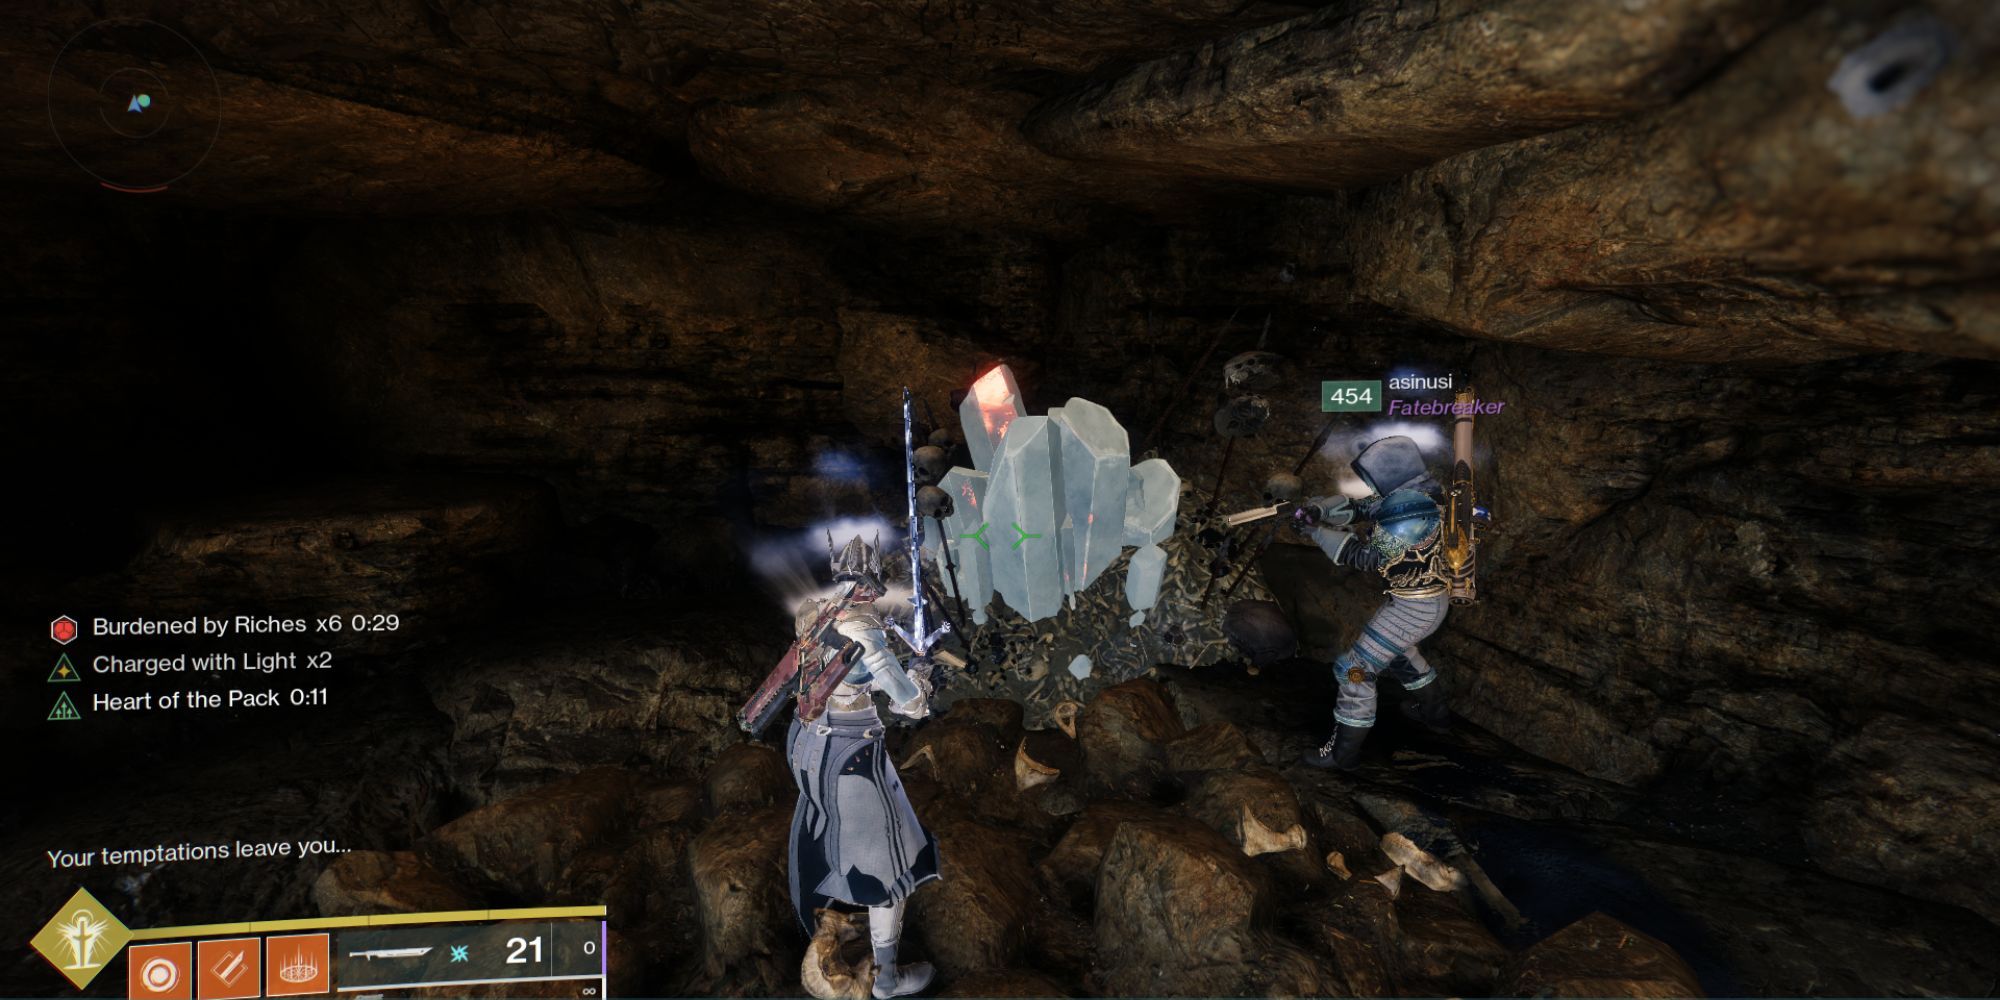
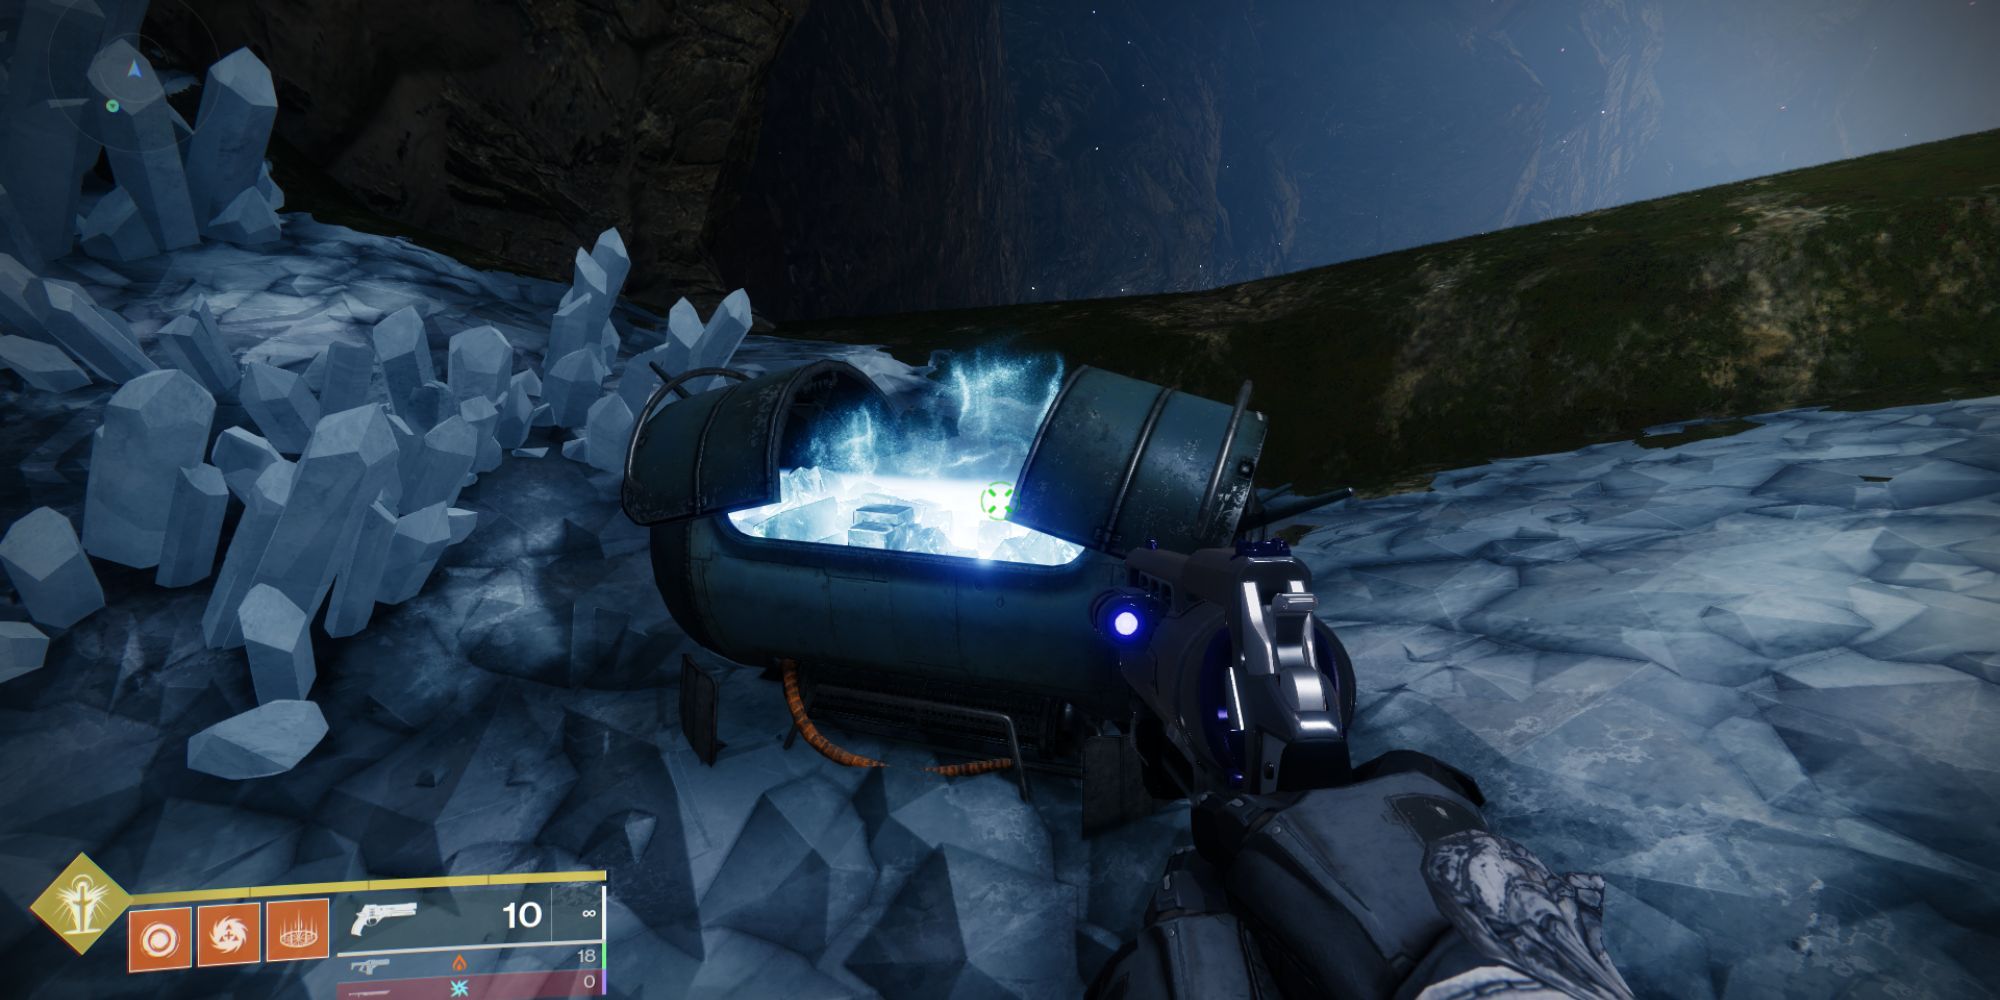
At the back of the cave, a crystal altar can be found. Standing next to it will progressively remove the debuff from a player. The goal is to basically collect as many engrams as players can and remove the debuff at the crystal altar to open the entrance to the loot cave.
Once several waves of enemies have been defeated, the floor will disappear inside the cave and players can fall down to continue their quest. The cave below is fairly straightforward to go through, and there are only a few unremarkable enemies on the player's path until they arrive at the Rusted Gangplank.
Navigate The Facility
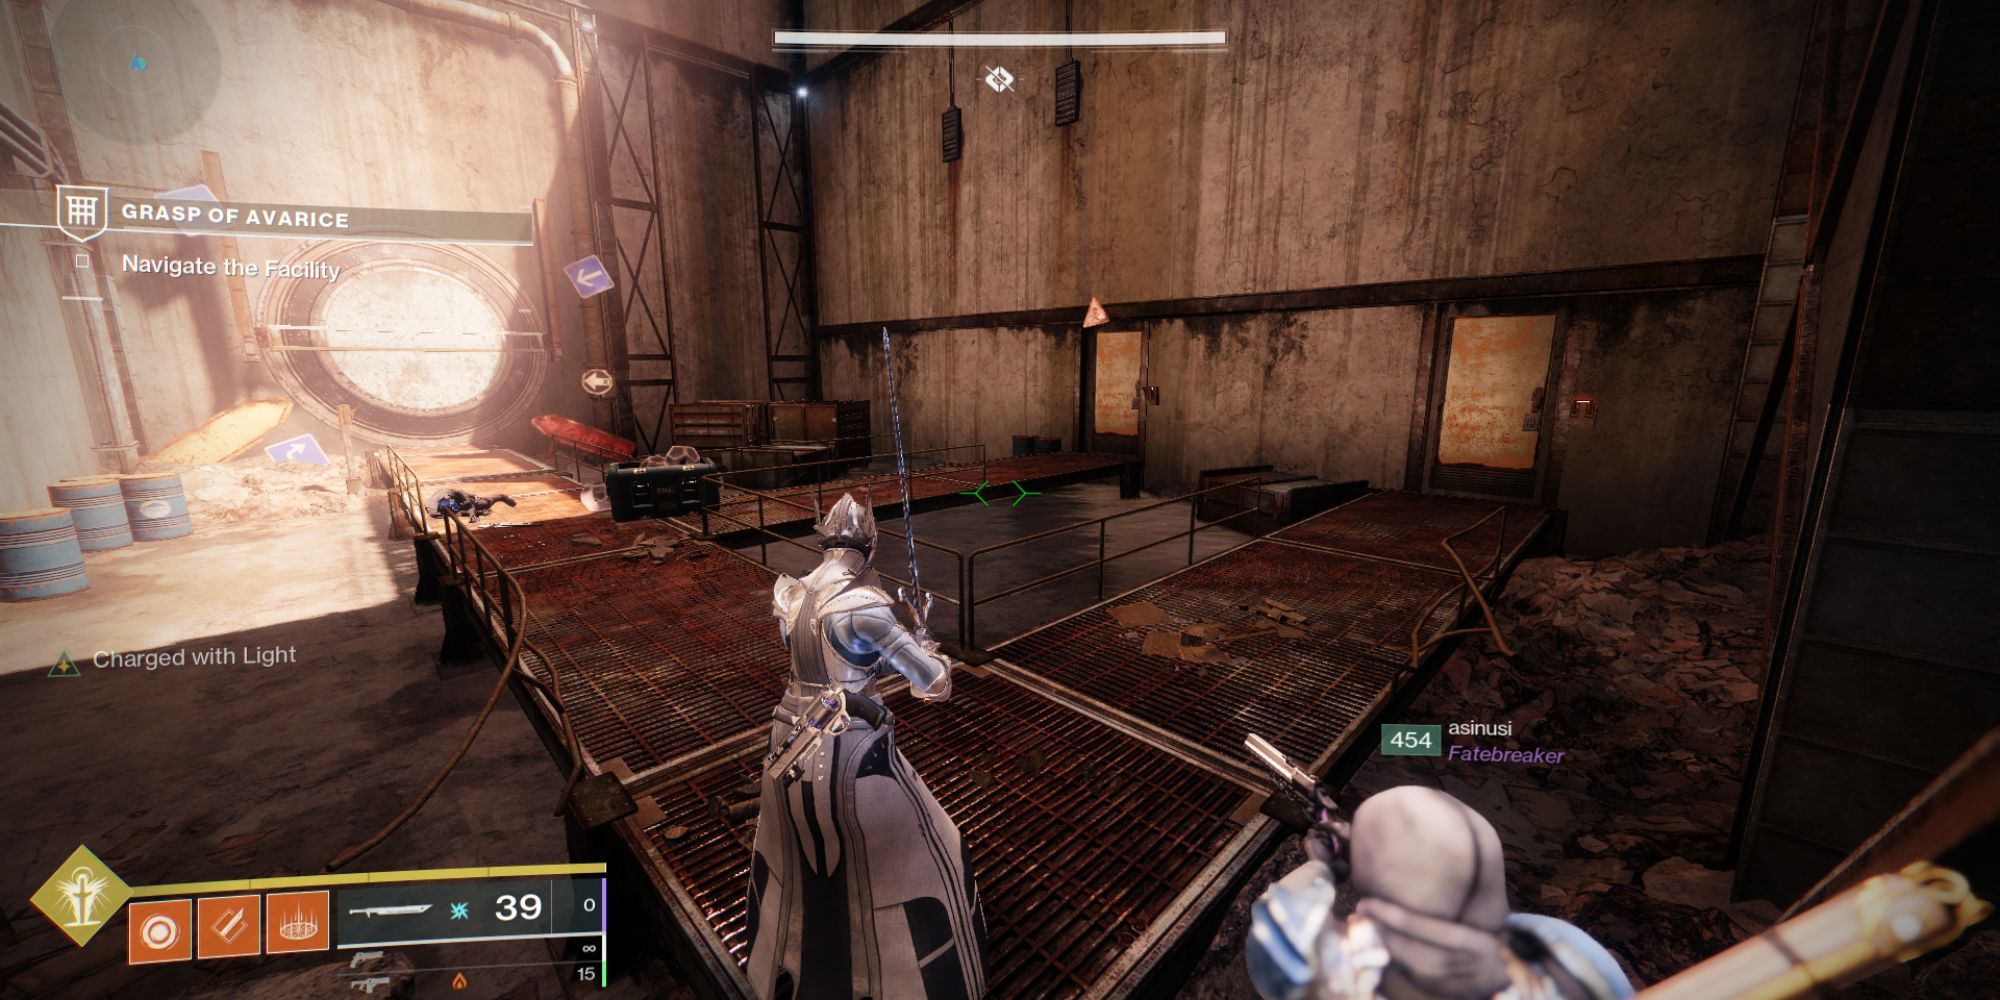
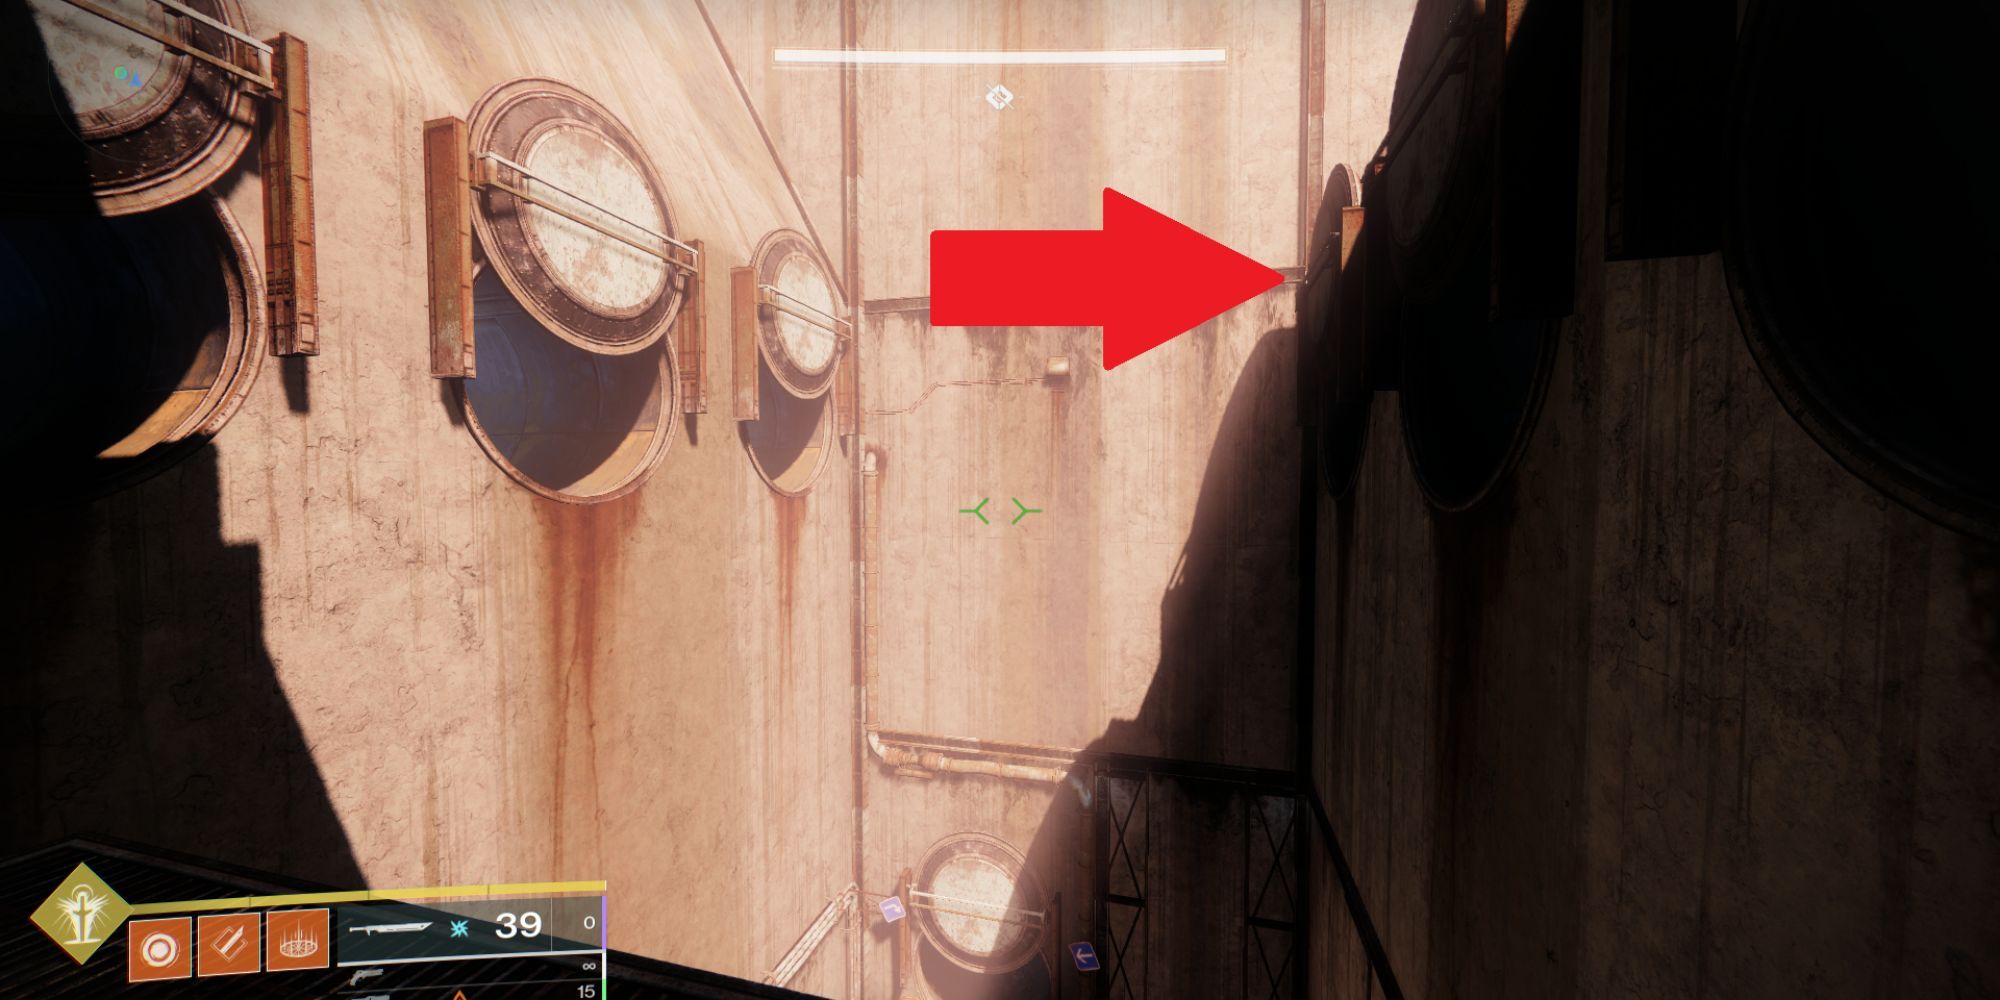
Upon arriving at the Rusted Gangplank, players will have to navigate the golden age facility while avoiding traps sprung by pressure plates. The first area features two doors on the right, one with warning signs next to it, and one massive round door in front. There are also six, round doors above the player's head, three on the right and three on the left.
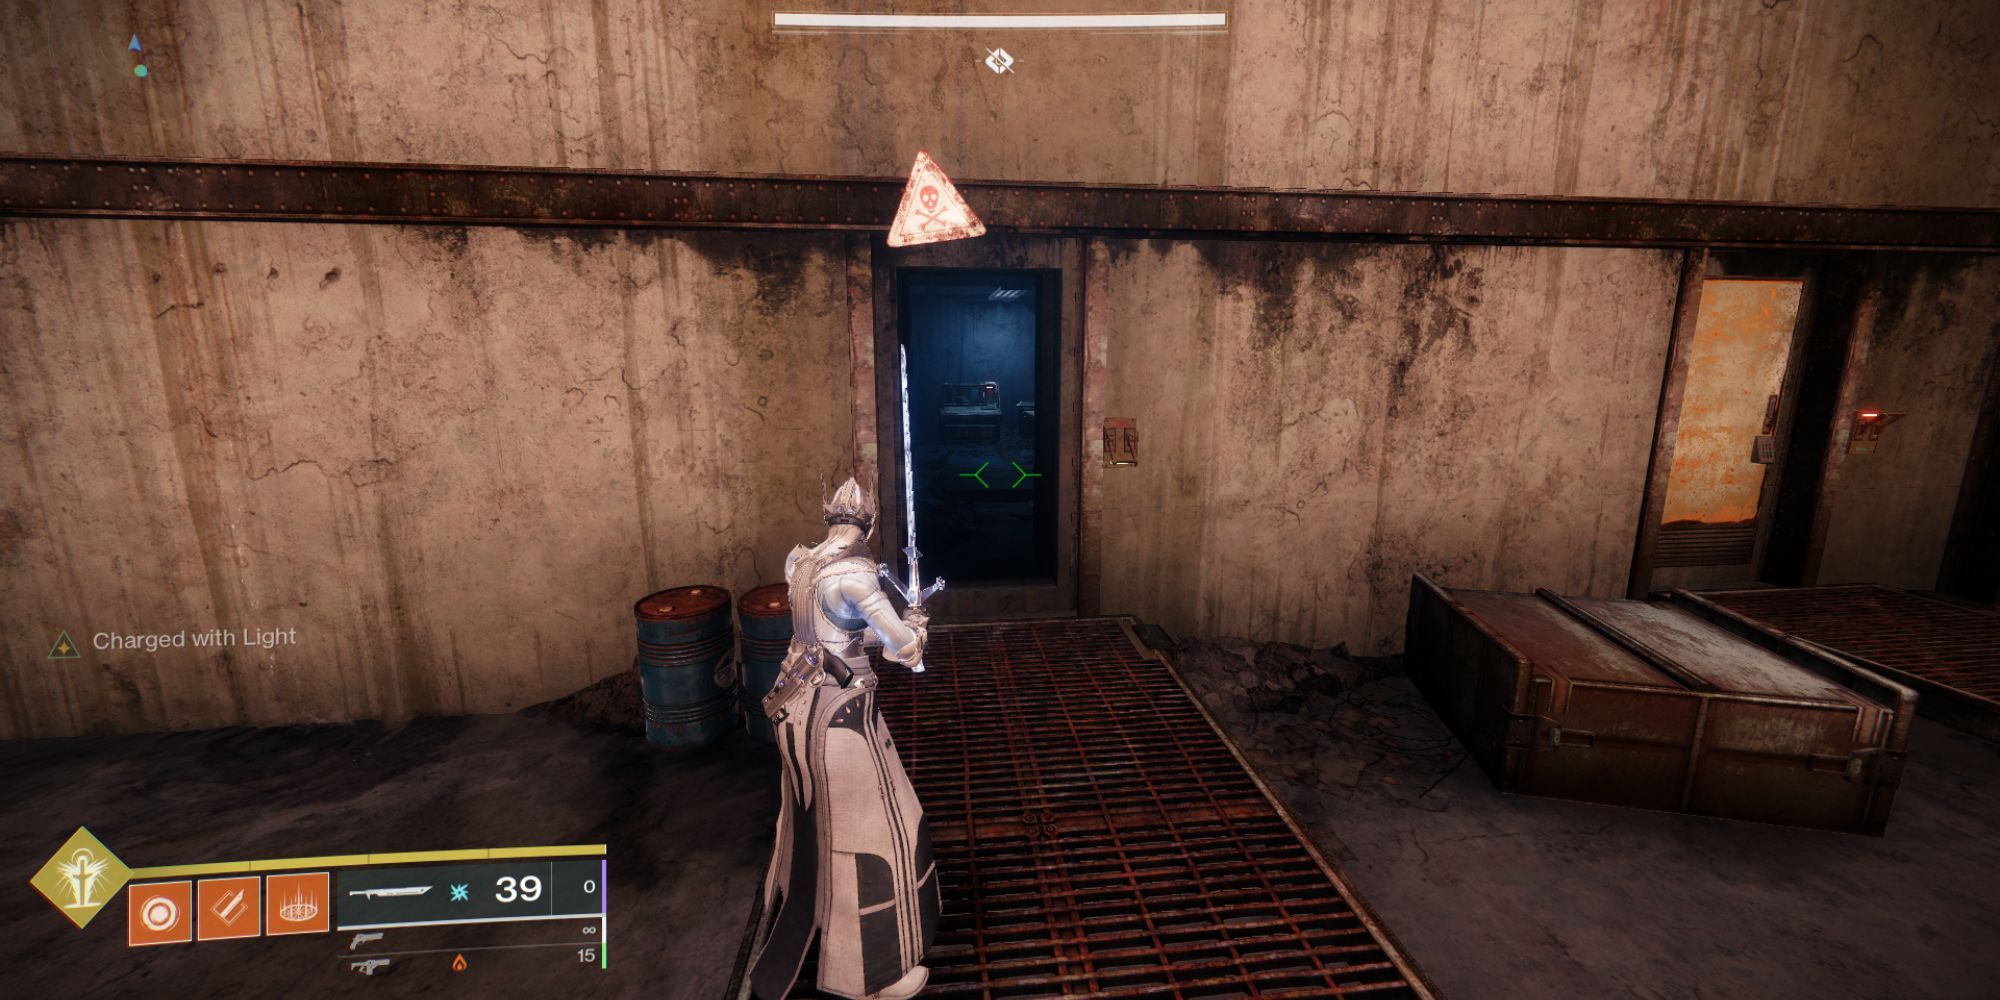
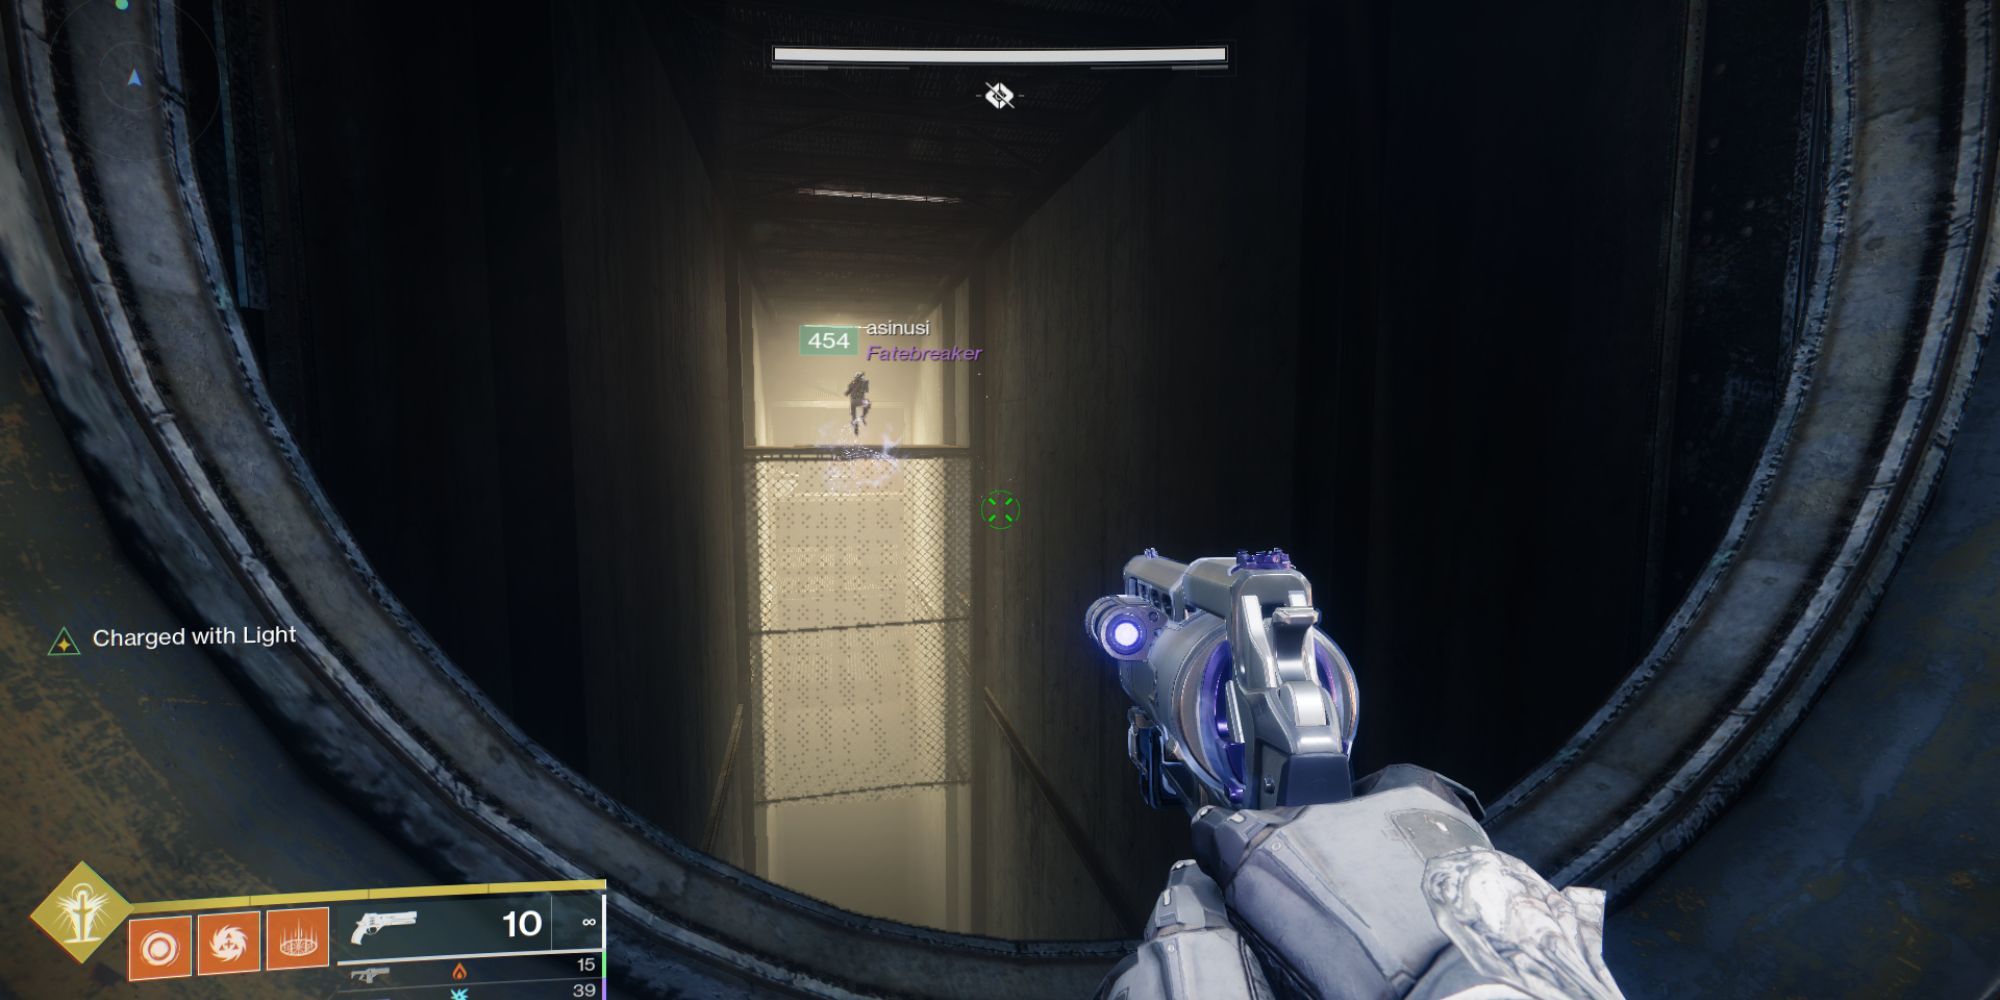
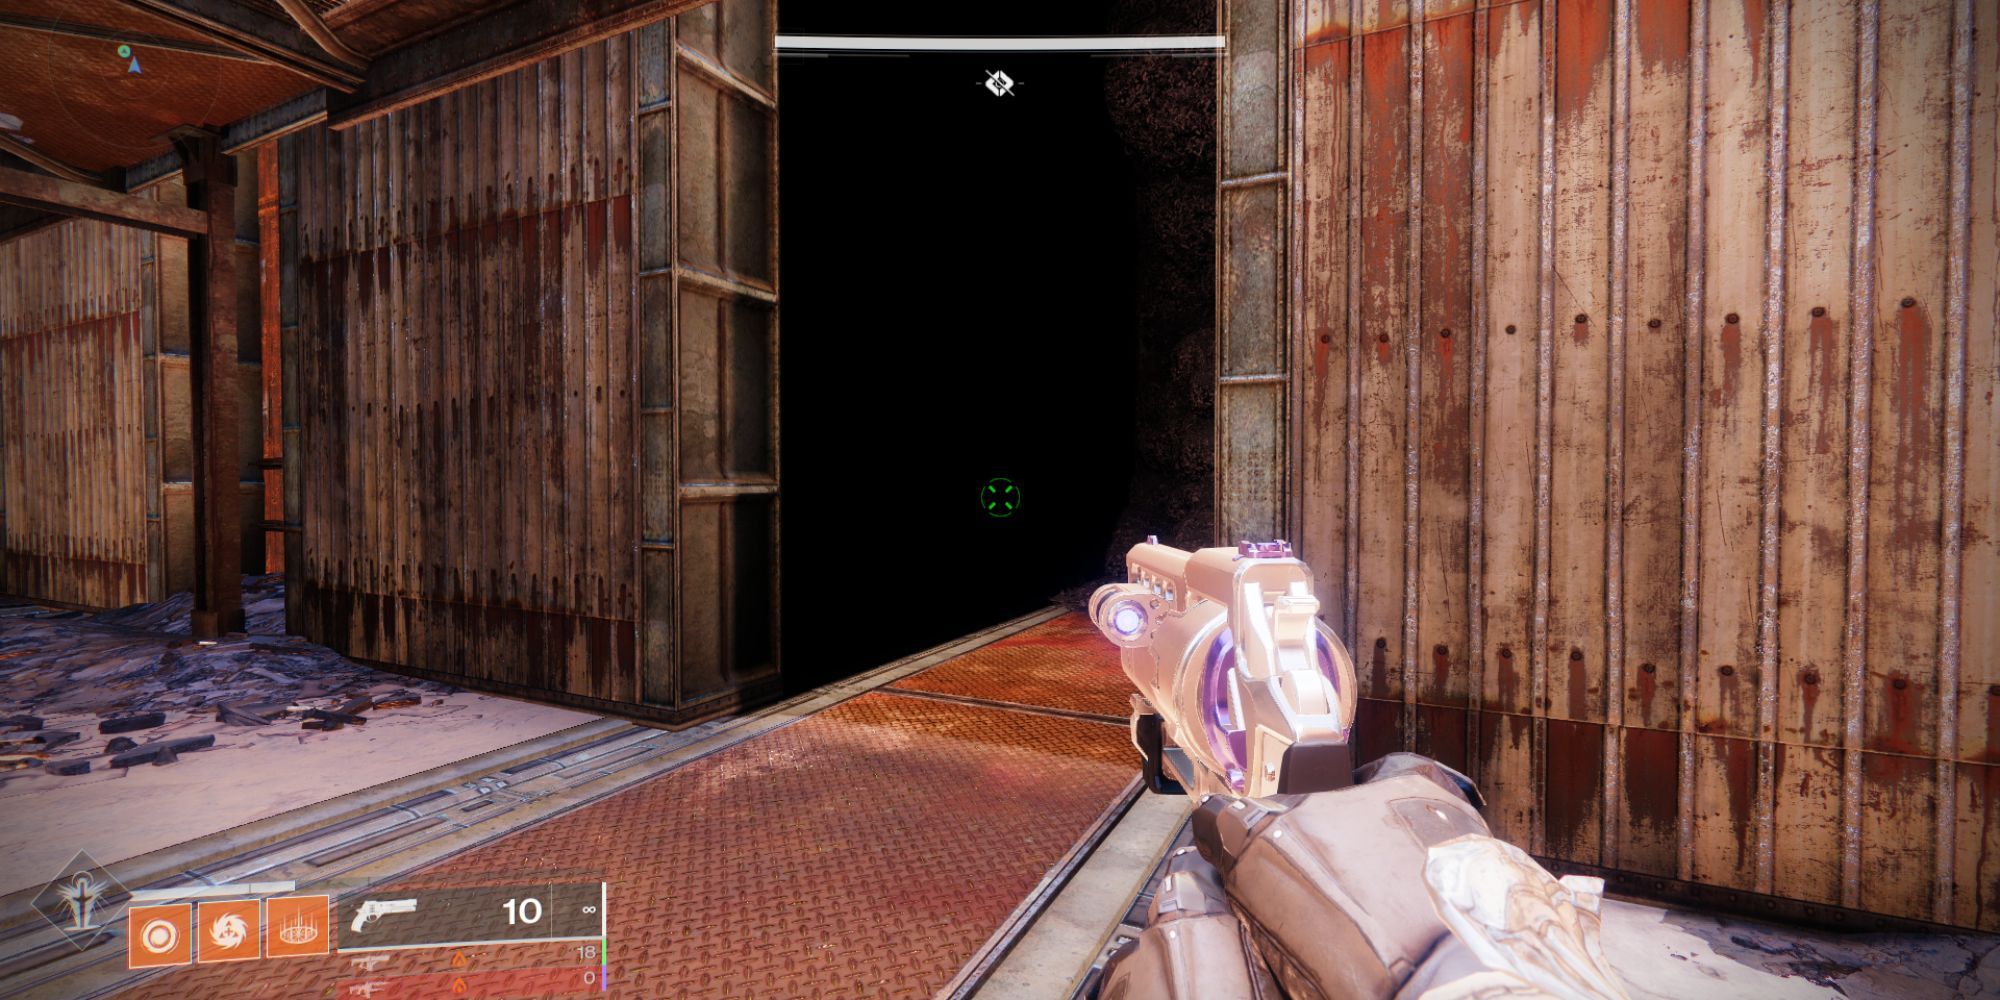
Open the door with the warning signs, and avoid stepping on the pressure plate. Activate the lever at the back of the room, which will open the round door in the previous area. Go through the round door to enter a short tunnel.
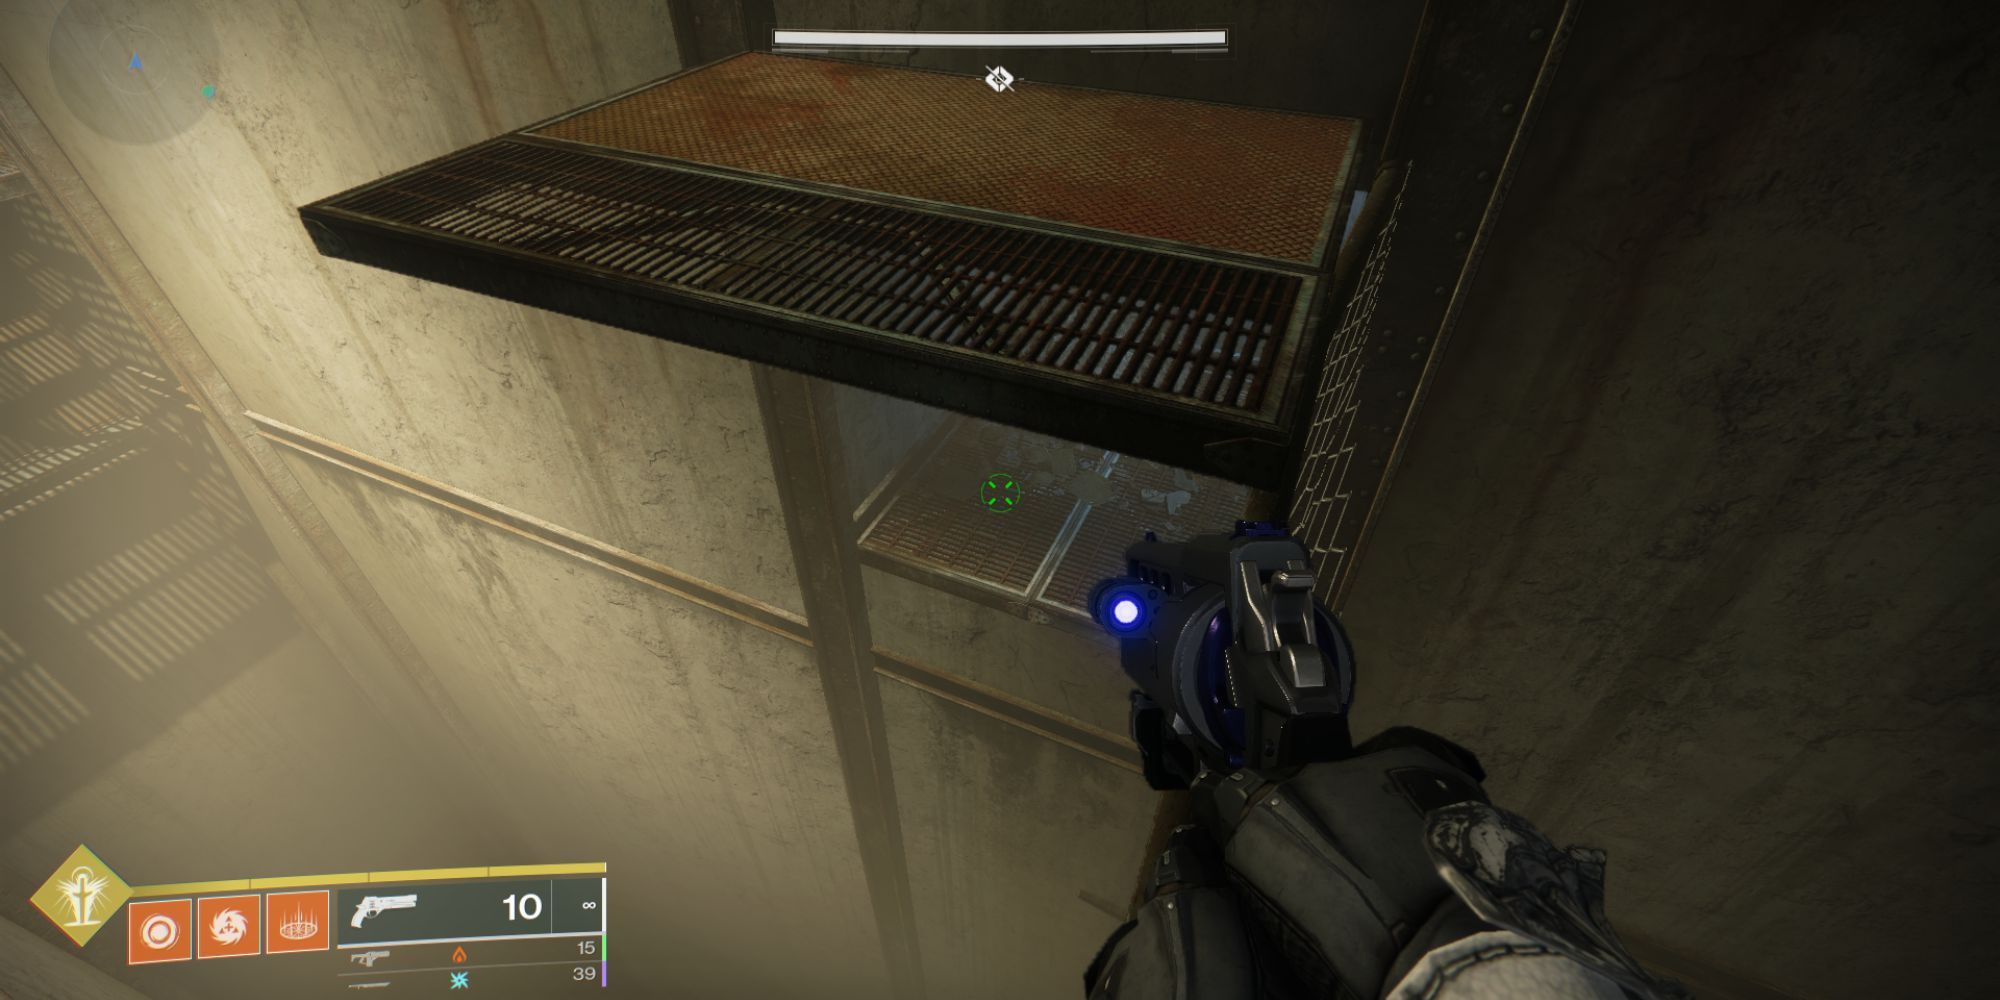
Rather than going to the other end, jump on the platform that folds down in the middle, and enter a small room located underneath the folding platform.
Once there, activate the lever.
This will open up those six doors above in the first room.
Head back in, and jump up to reach the six doors. Five of them have pressure plates, and one of them is filled with rubble. The correct pressure plate to stand on is the far right one, which will open up a latch above and allow players to proceed to the next area.
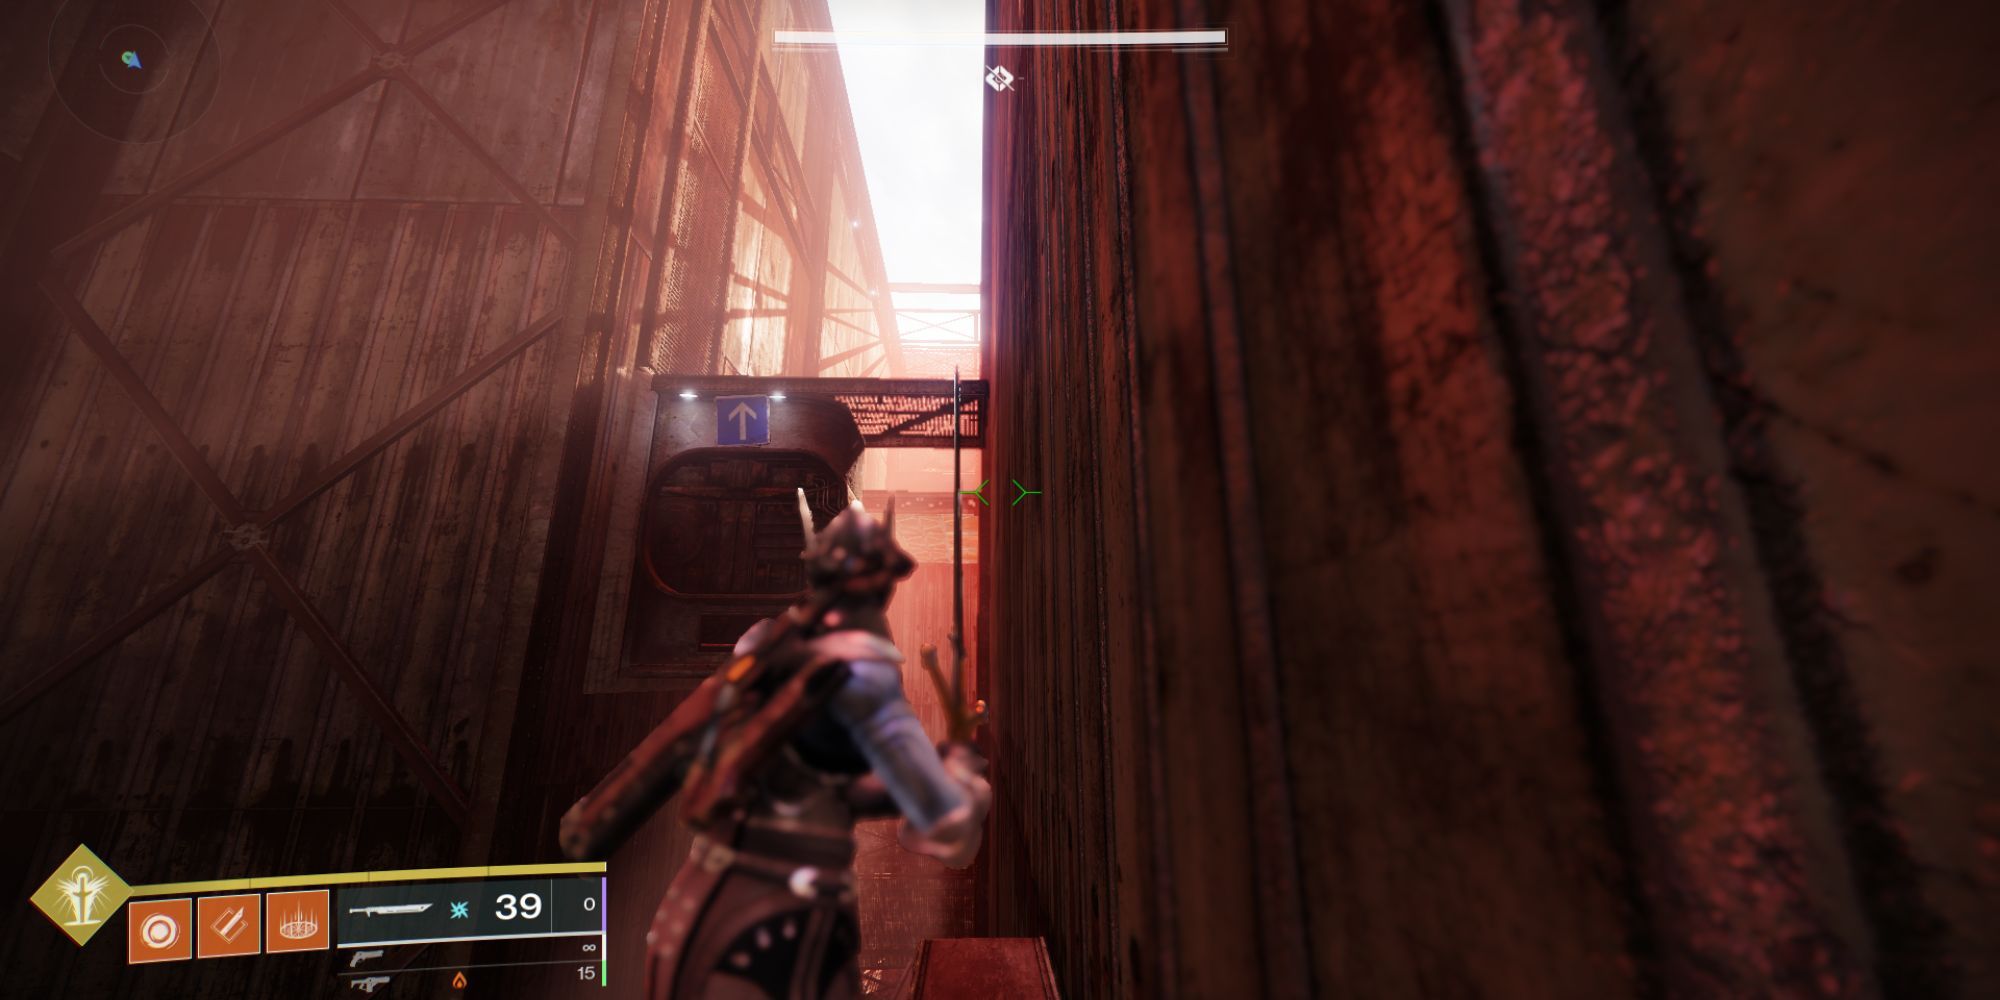
Continue up and straight ahead, while avoiding another pressure plate trap and several folding platforms.
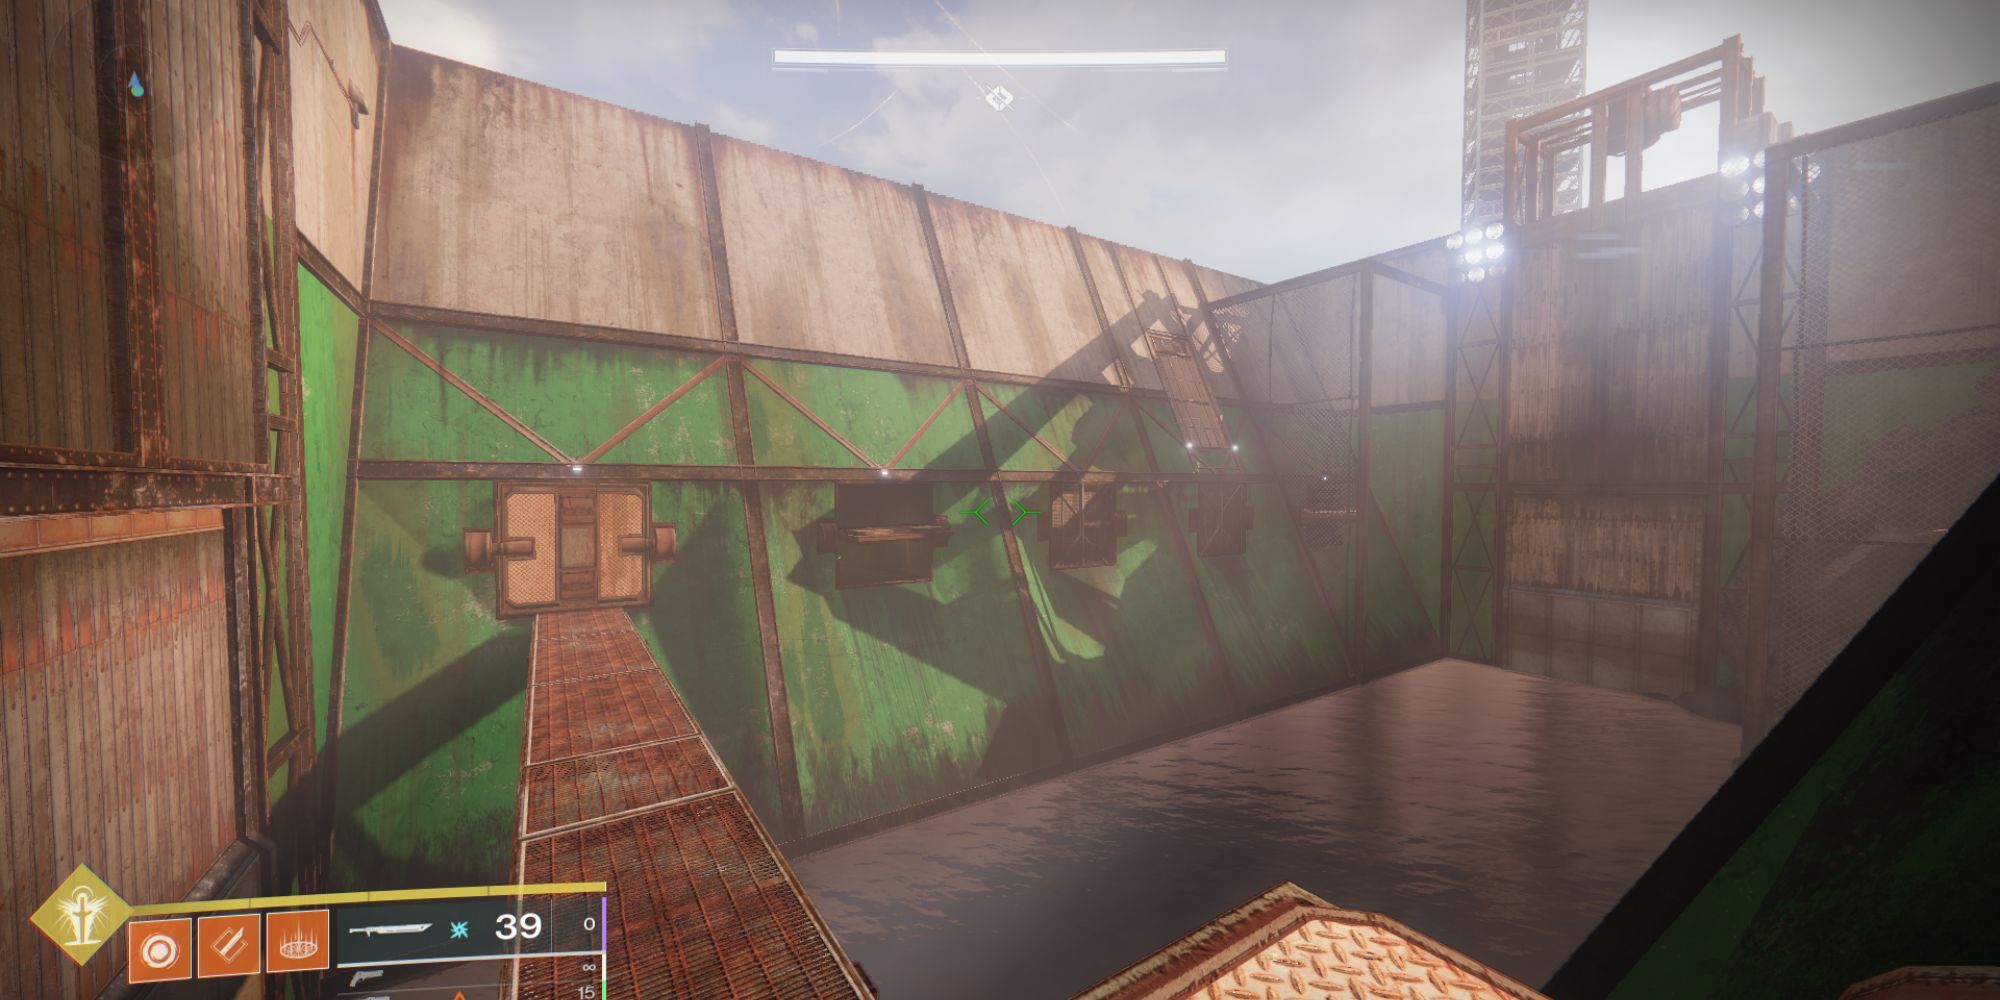
Players will then reach a square door. Open it up by pulling the lever next to it to enter a metallic walkway with four square doors on each side long side, and two square doors on both far sides.
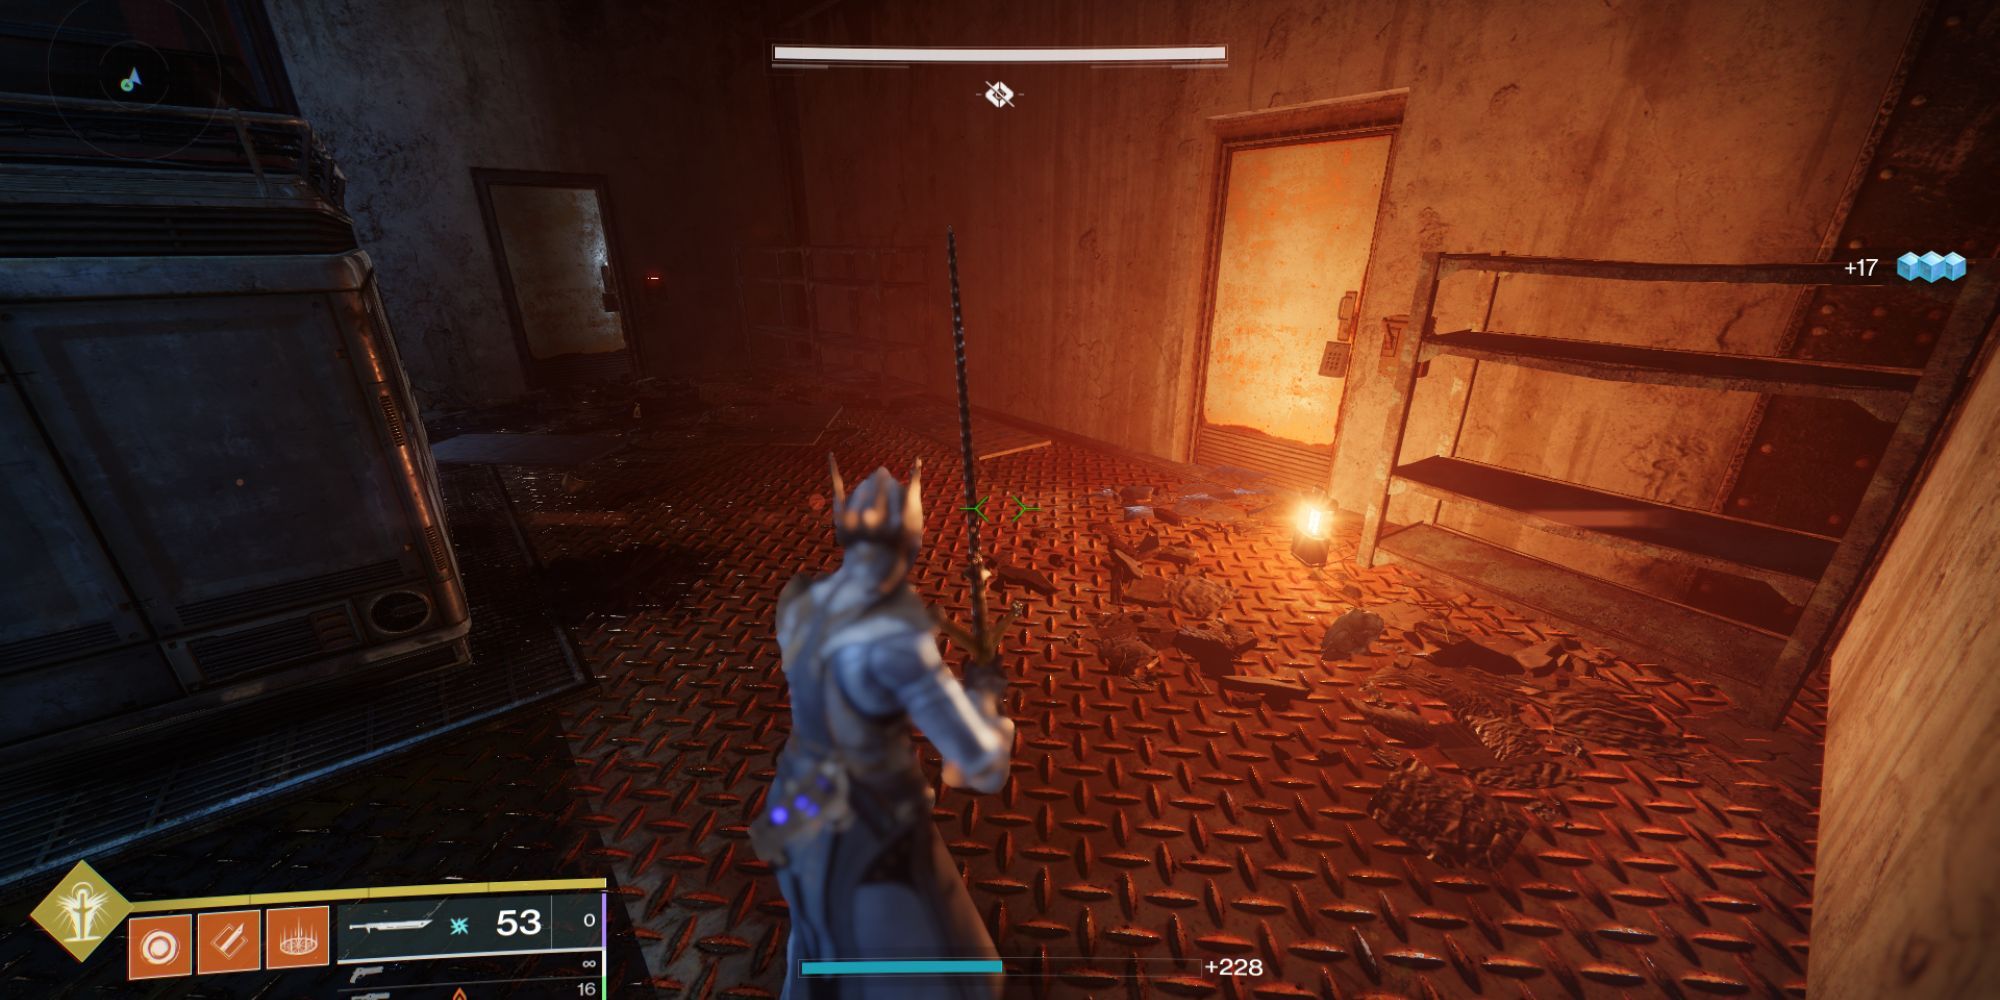
One of the square doors ahead will have opened, so jump in. Careful of another pressure plate, as enemies can also activate the traps in the facility. Kill any enemies around and move to the back of the room to pull the lever. Return to the main area, and back on the other side, another rectangular door will have opened.
Head in, and repeat the above. Kill the enemies inside, and pull the lever in here as well. Return to the main area, and jump to the final room on the other side to pull the lever. This lever is actually in a room upstairs through the ceiling.
This will open the massive room back at the metallic walkway where players first entered the area, and spawn a Shrieker in the middle. Kill the Shrieker and the other enemies in this new room, and pull another lever there, which will open the final door at the end of this area and allow players to proceed.
There are once again two doors to choose from, one at the back and one on the left.
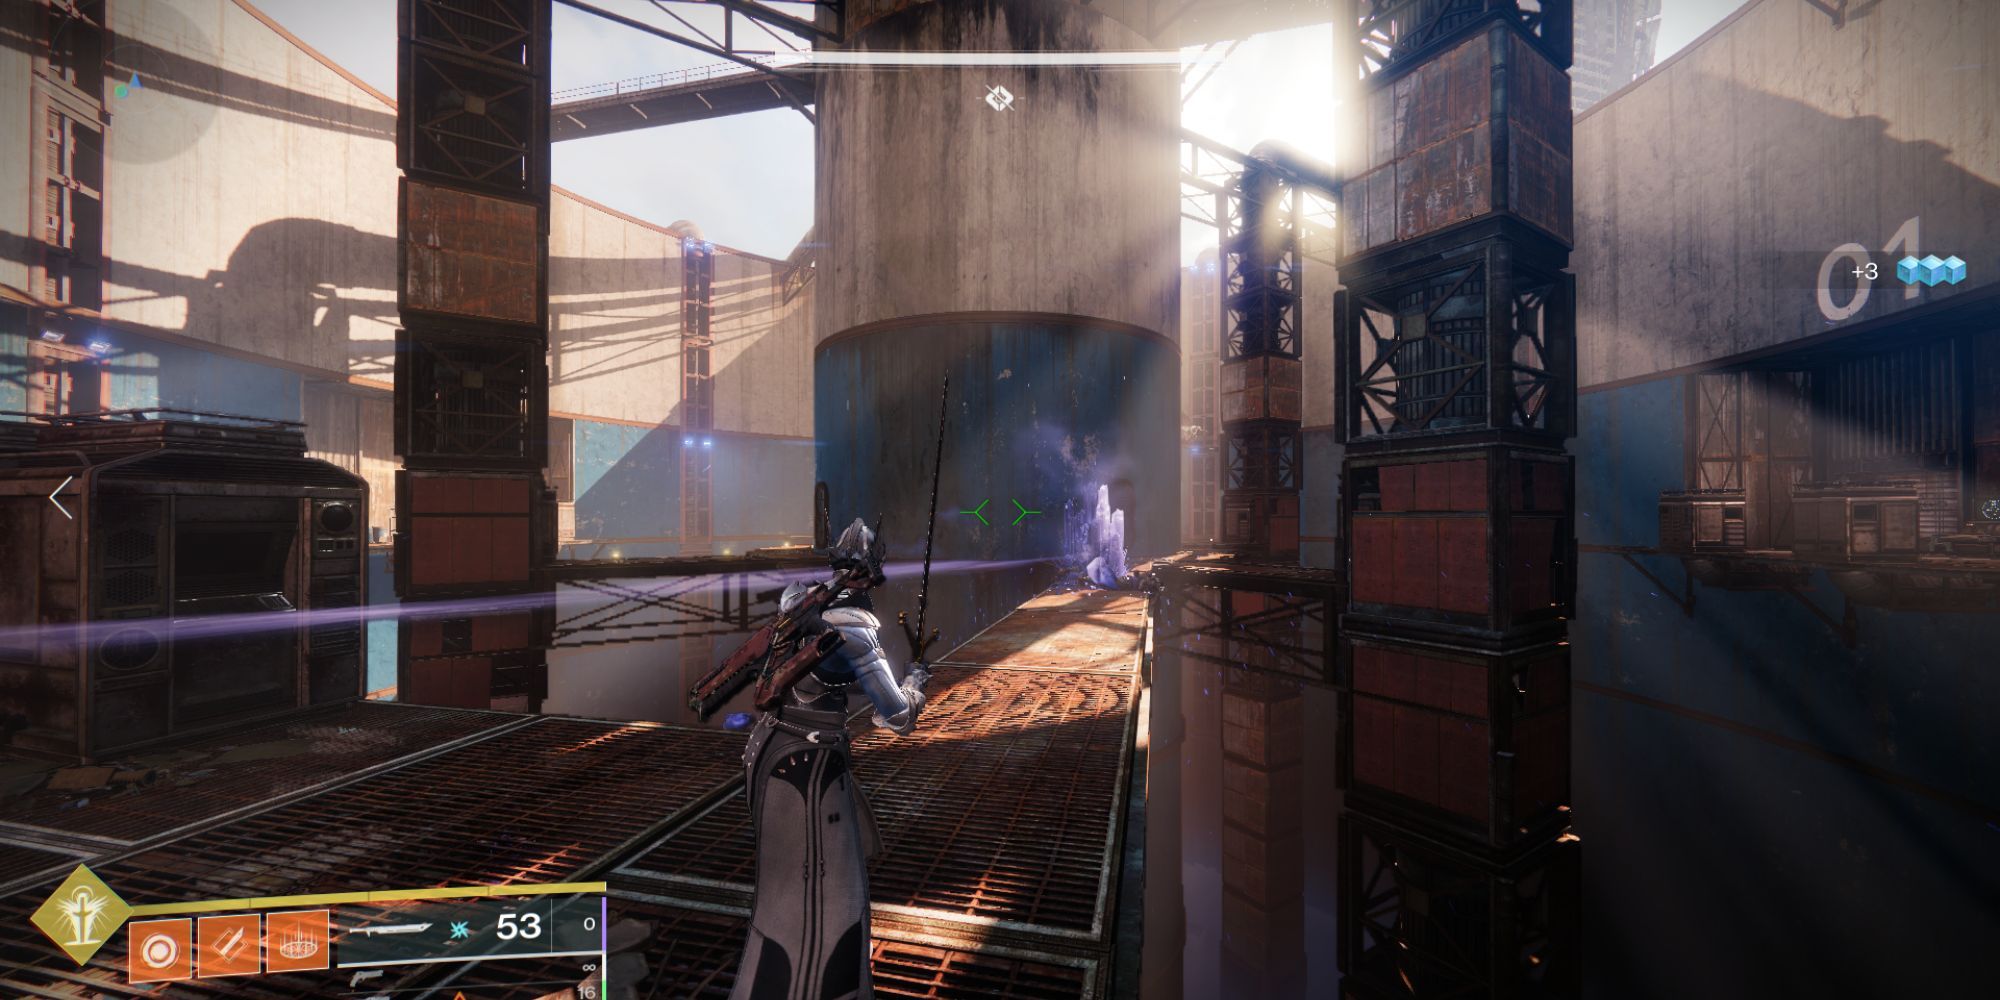
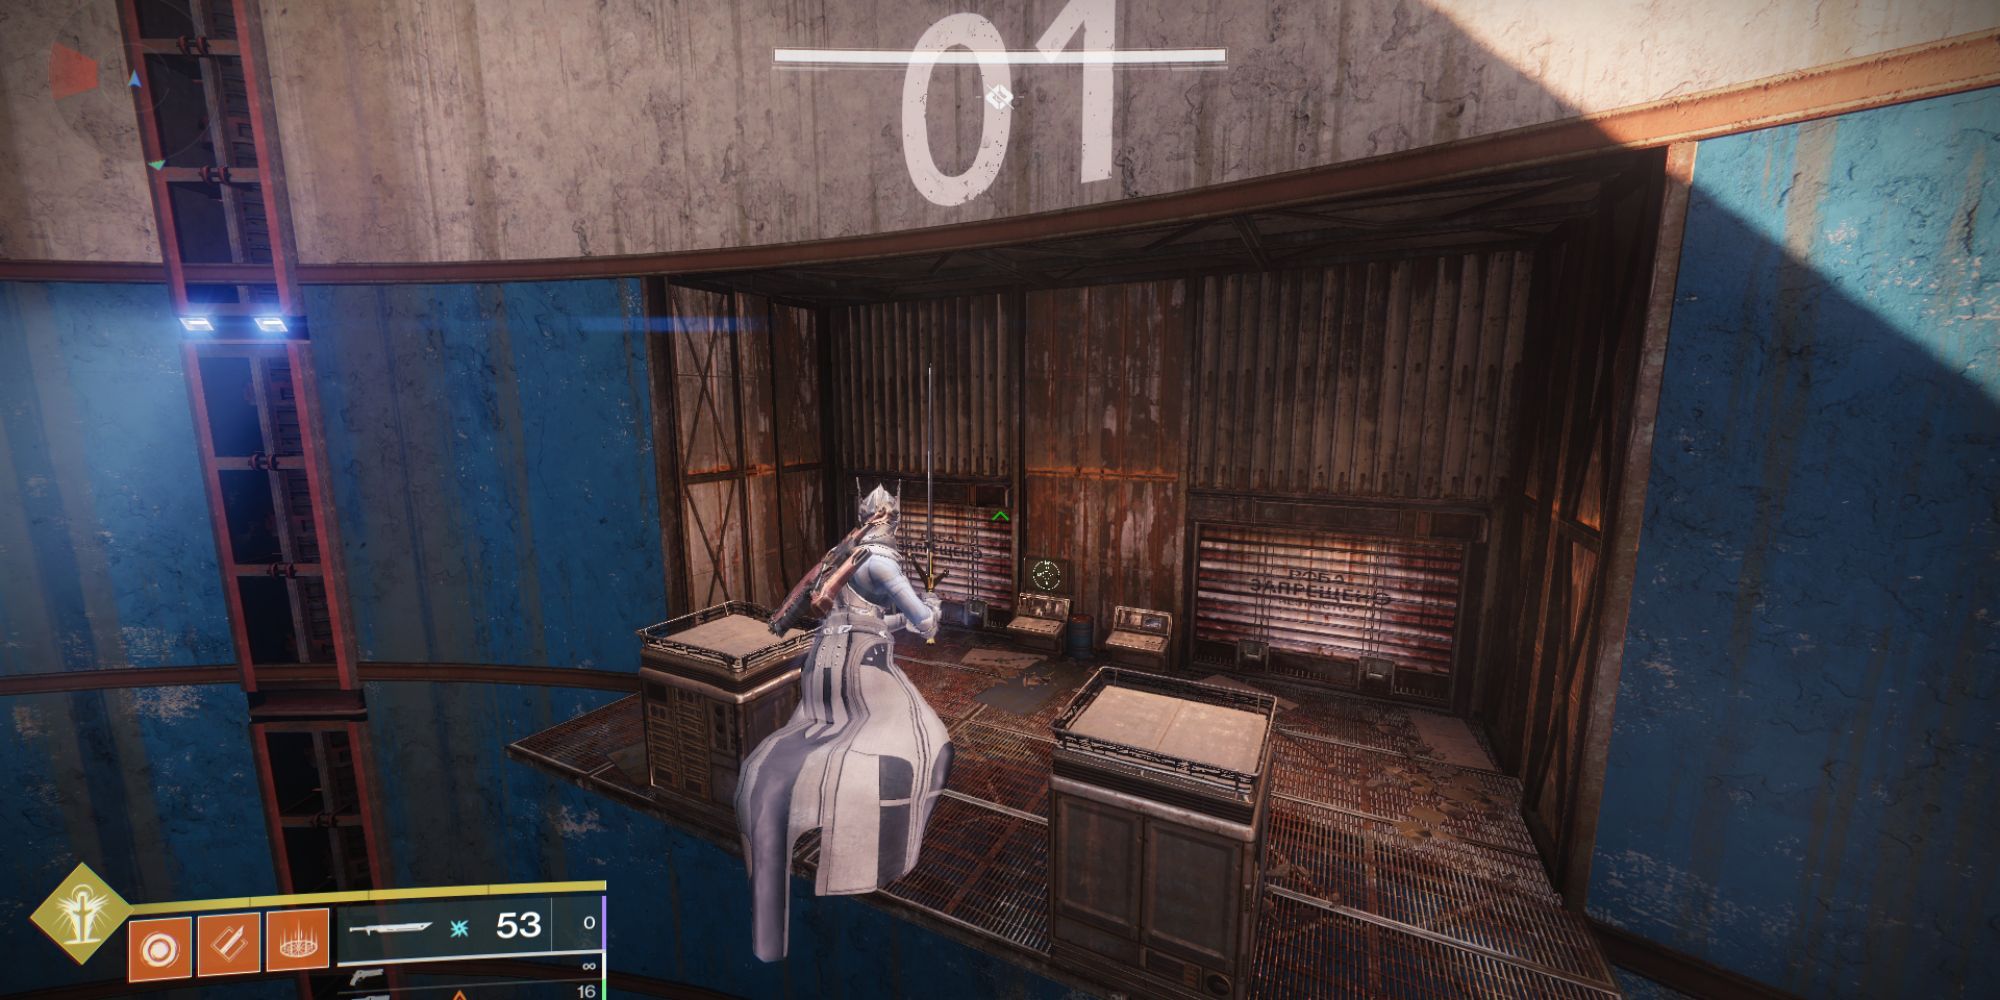
Go through the back one, and players will arrive at a massive round arena. There are four areas with shutters, labeled 01, 02, 03, and 04.
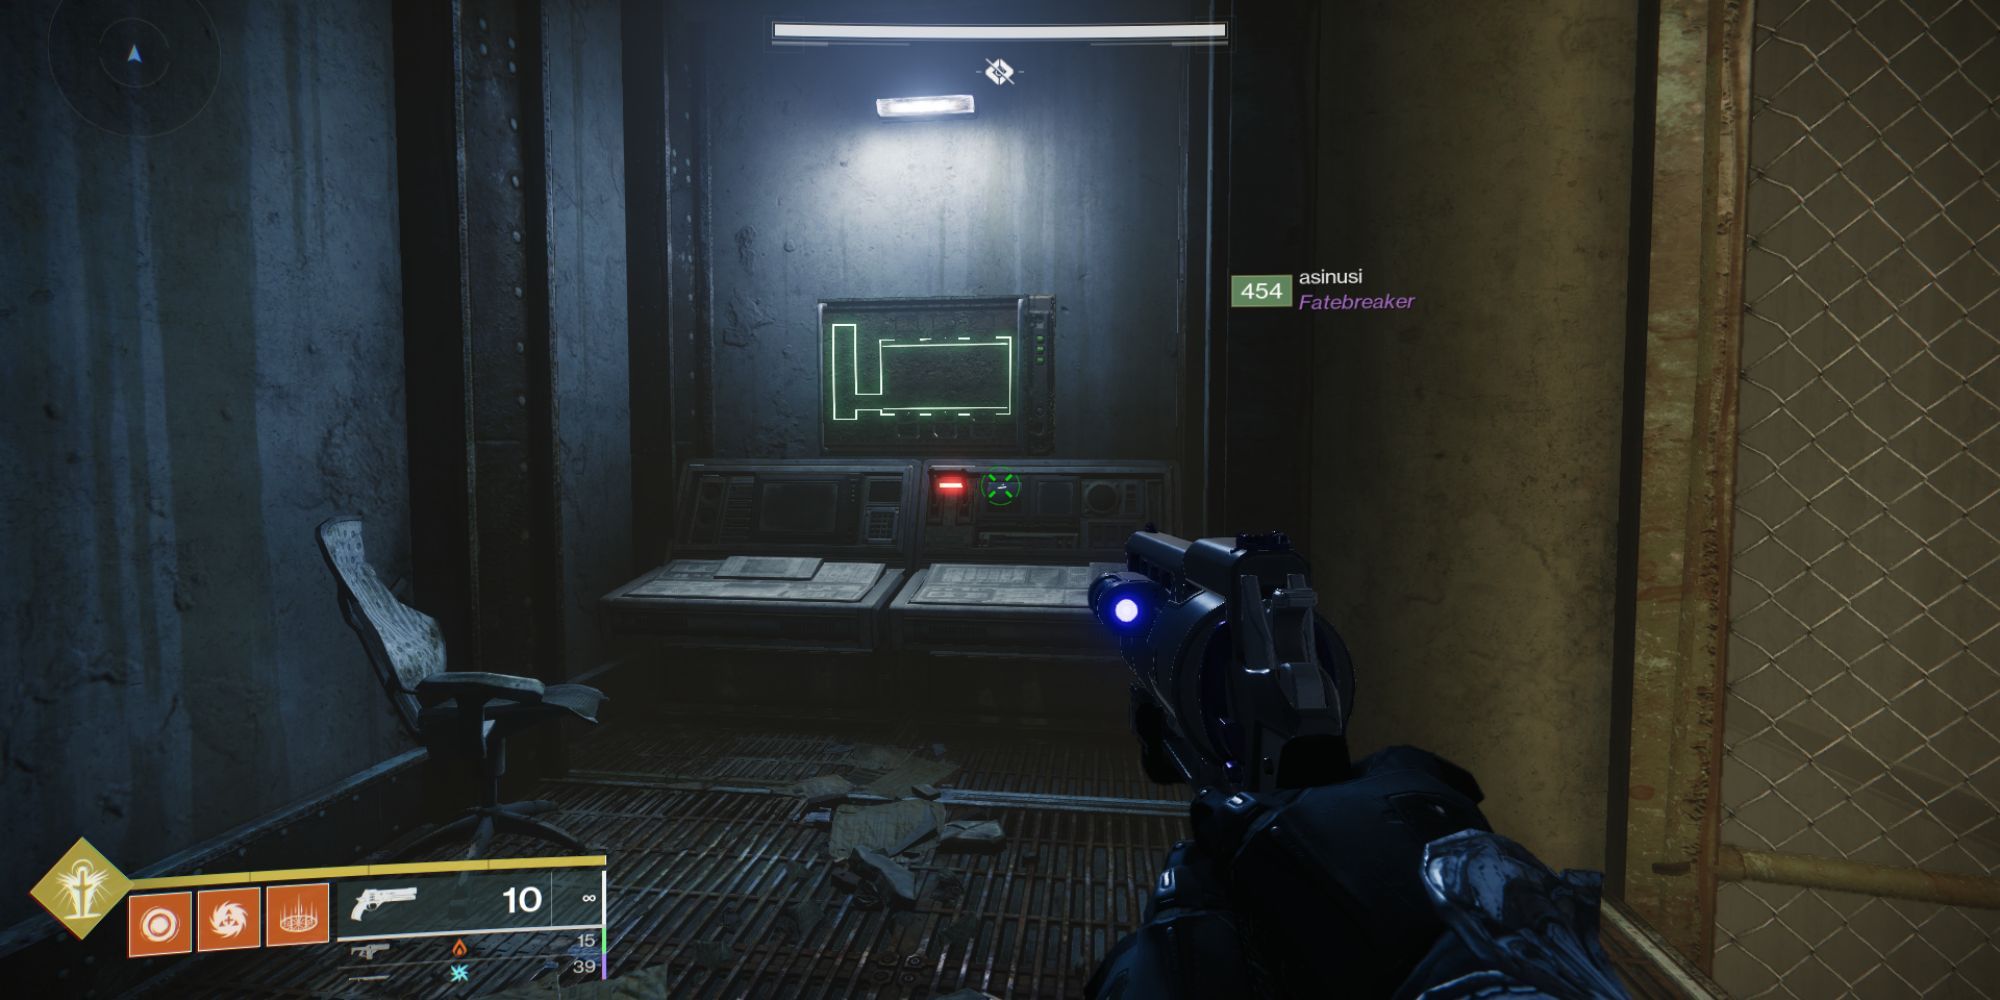
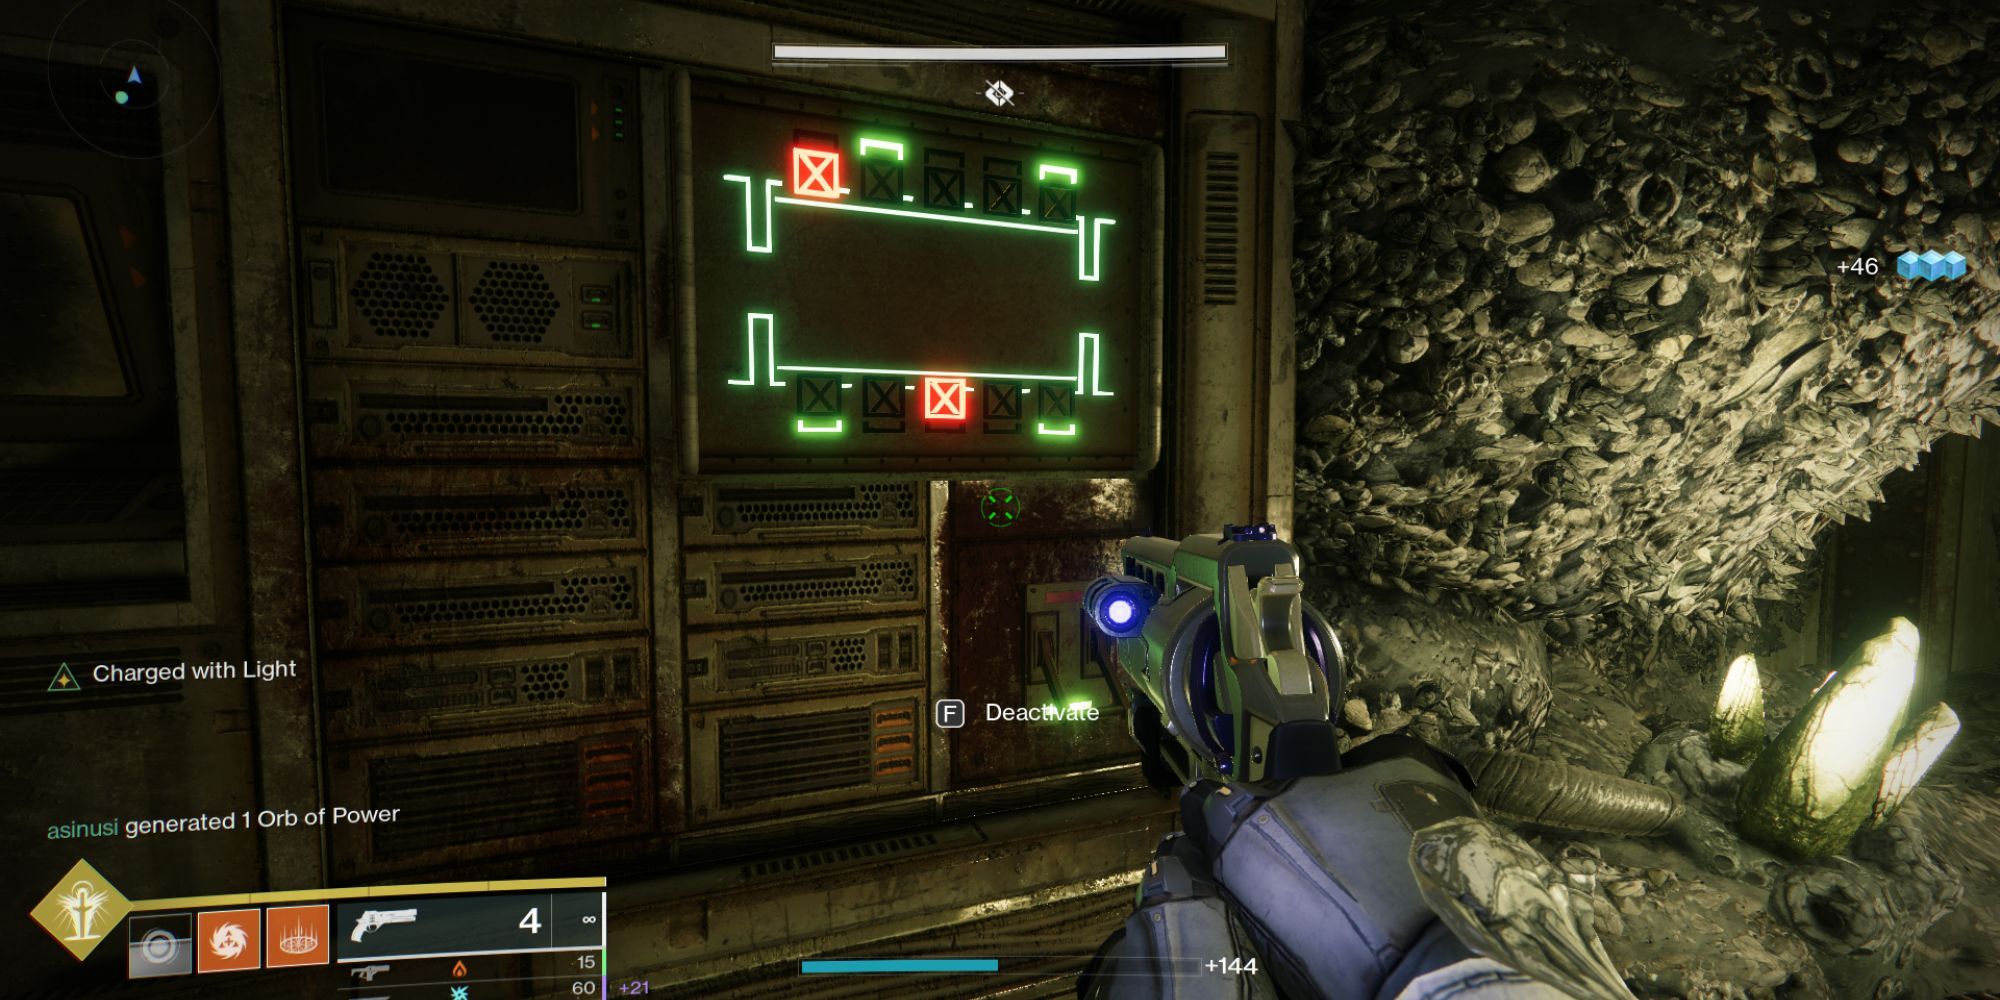
Head to number 01 first, and interact with the control panel with numbers.
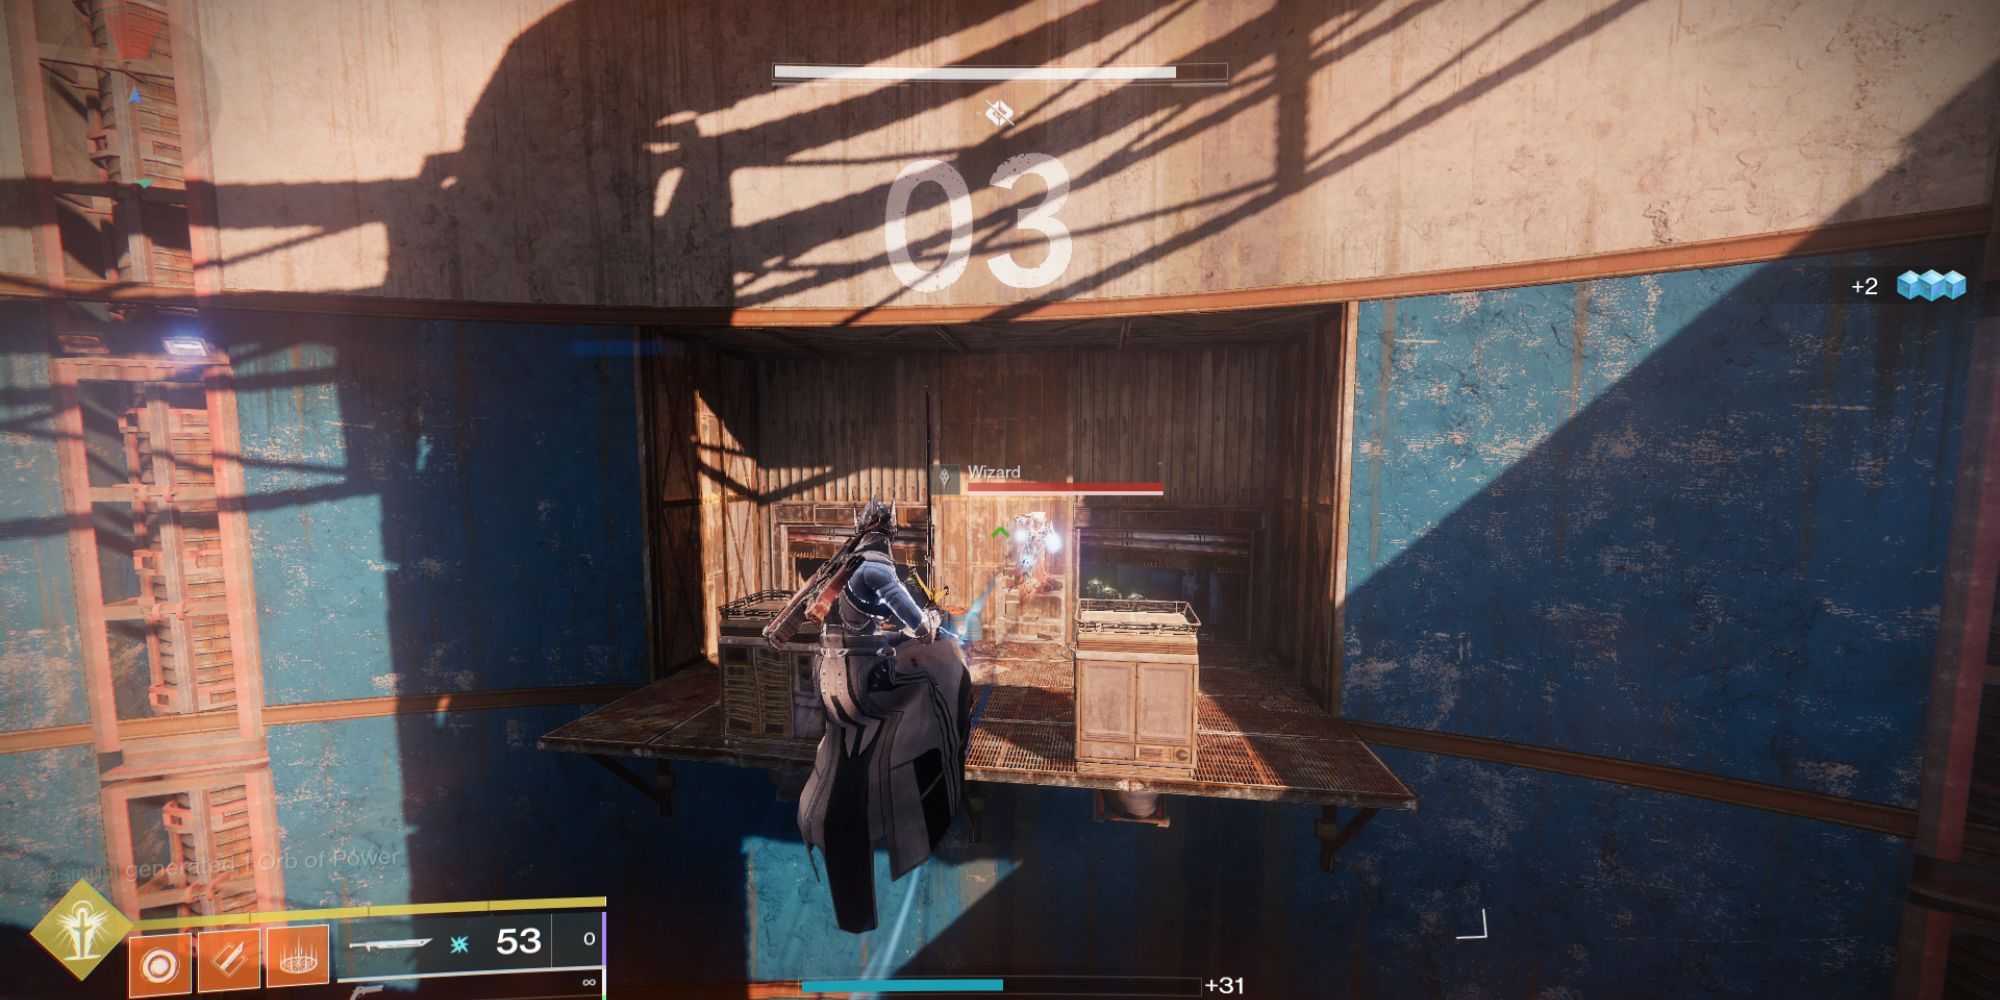
Head across to 03 now, and interact with the same panel, which will open up the shutters back in 01. So head back to 01, and walk into the room previously behind shutters to interact with the control panel. This will open up the shutters at 02.
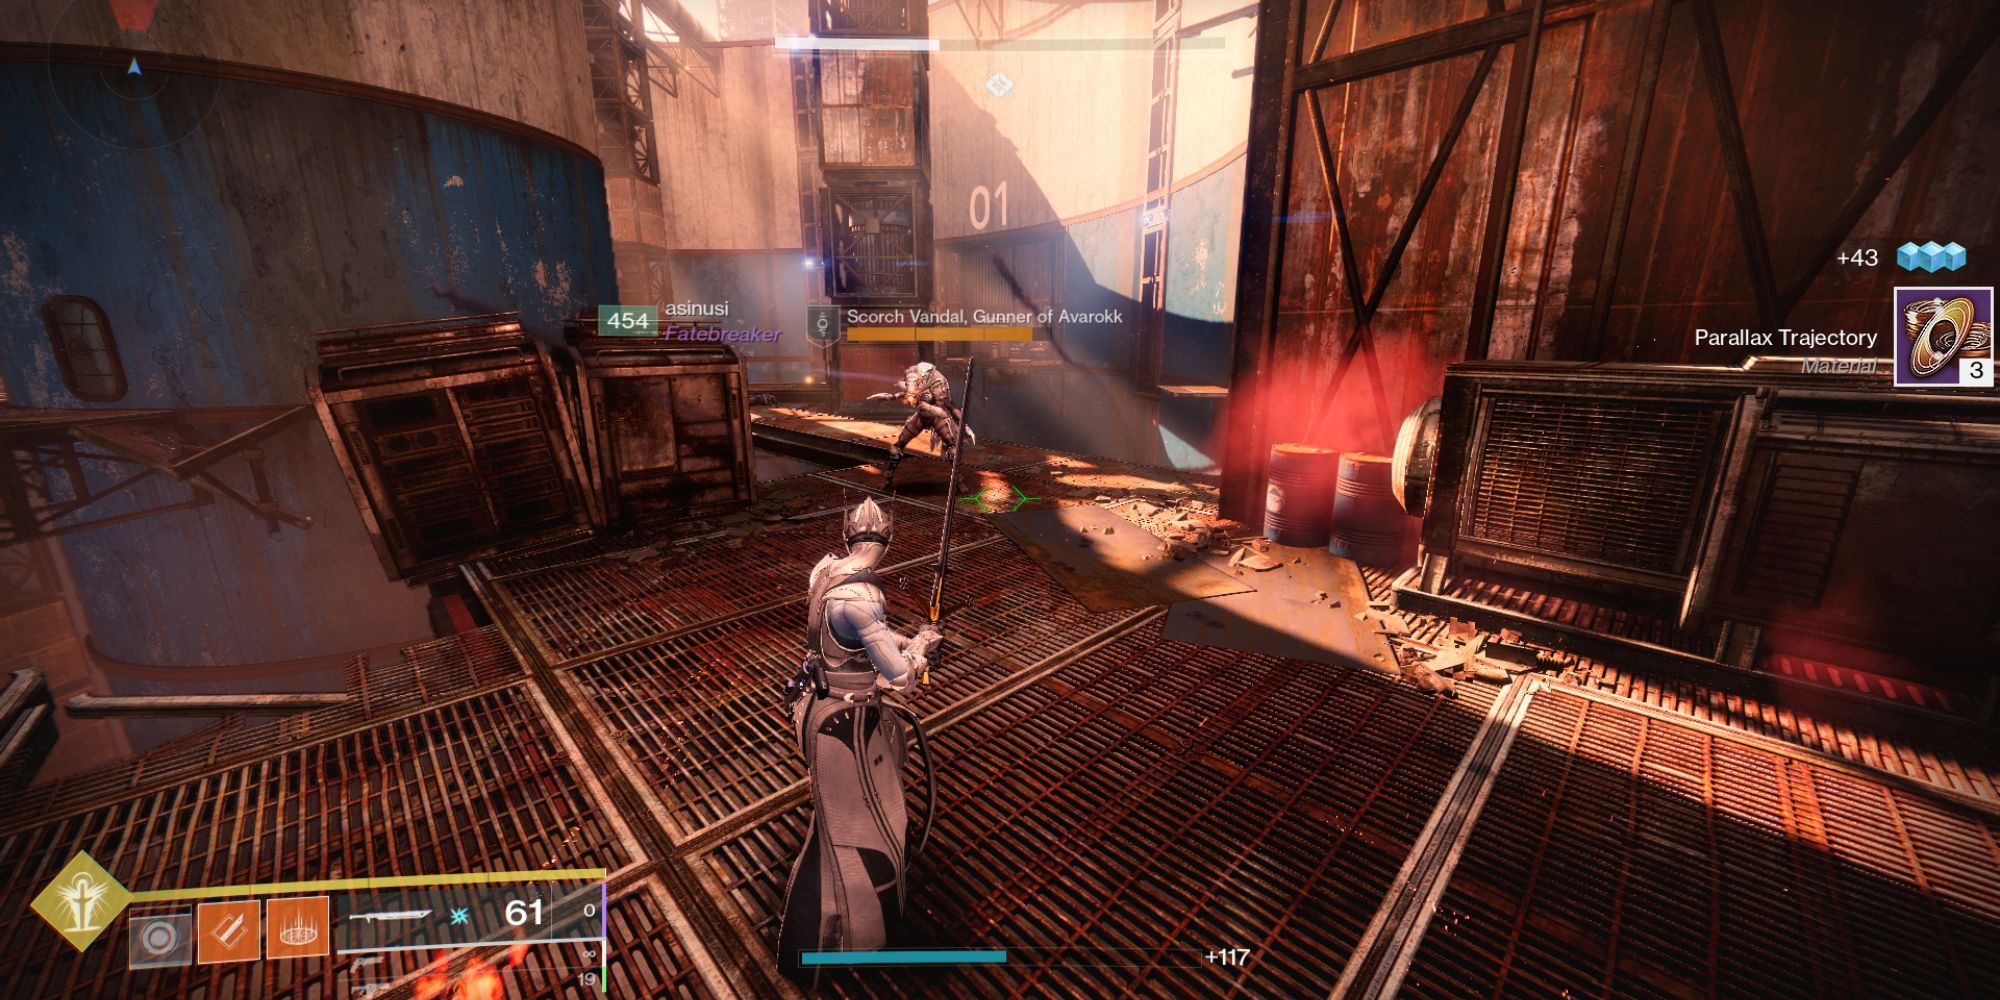
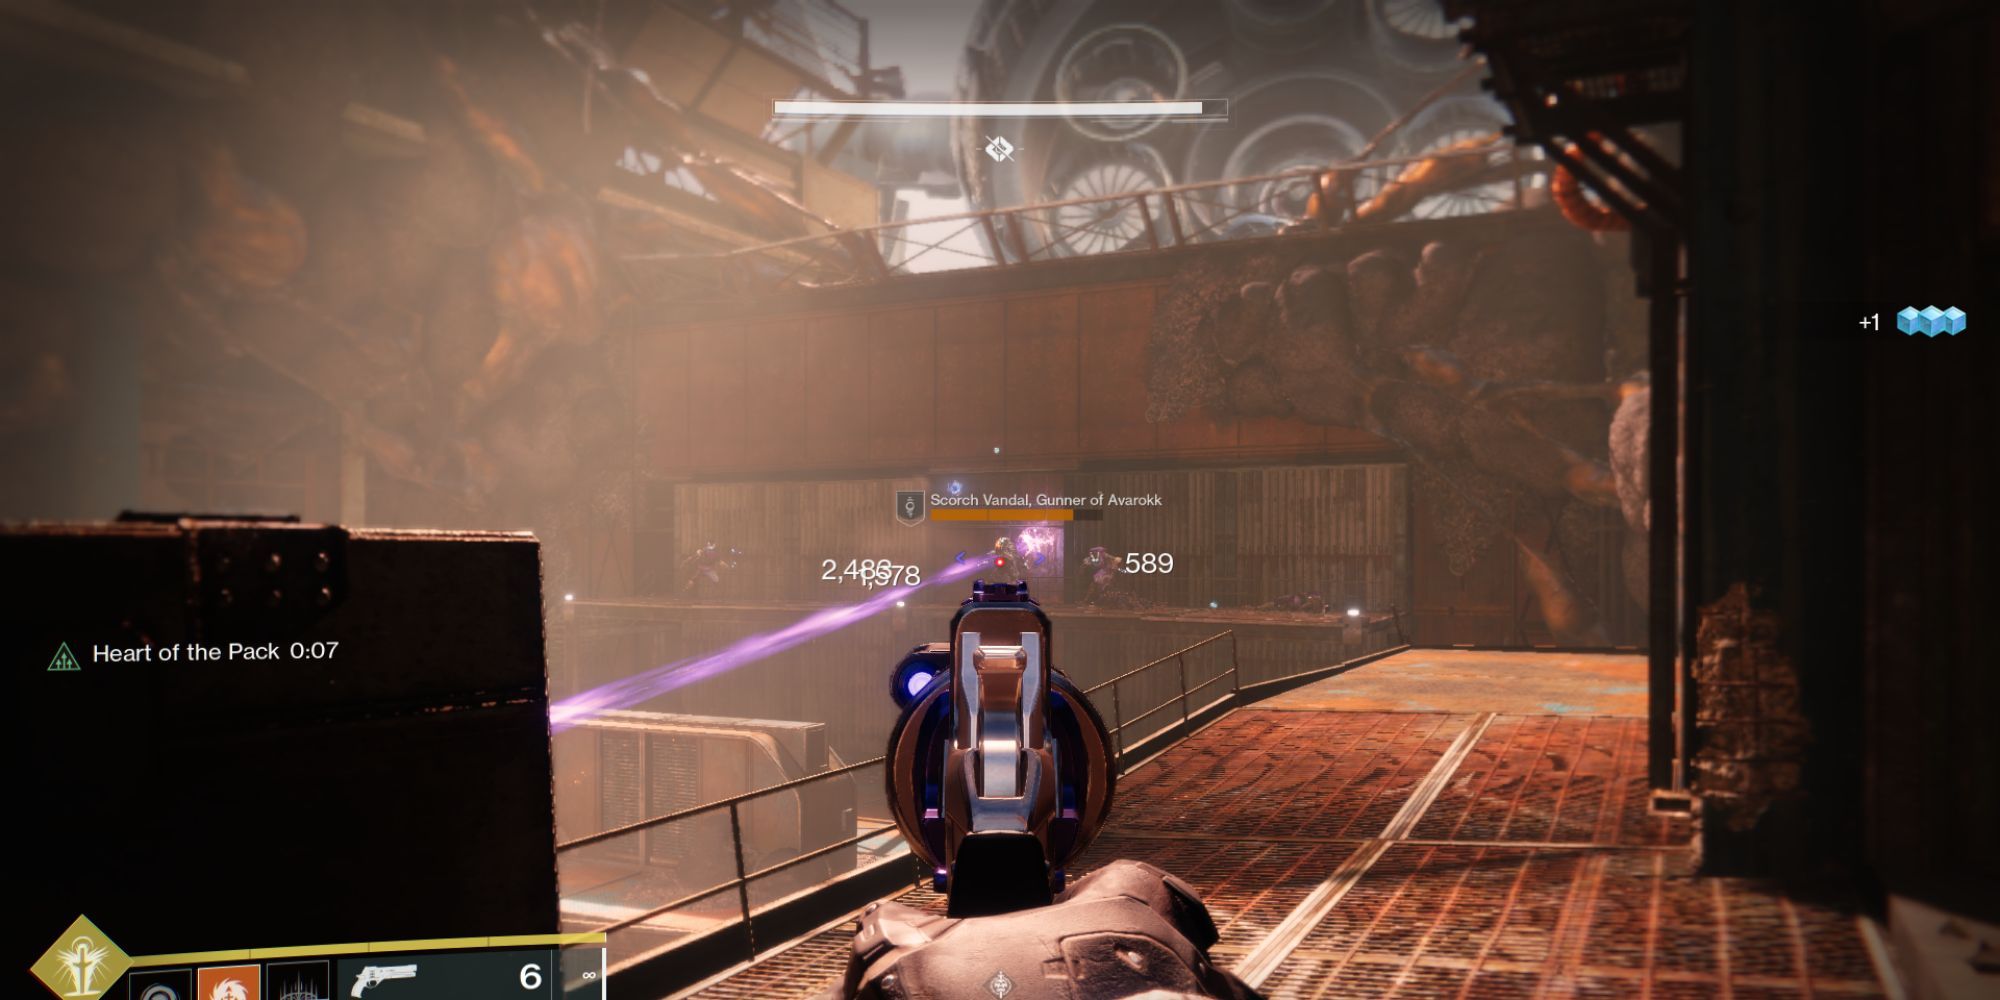
A special Fallen enemy will spawn at 02 and will drop a Scorch Cannon when killed.
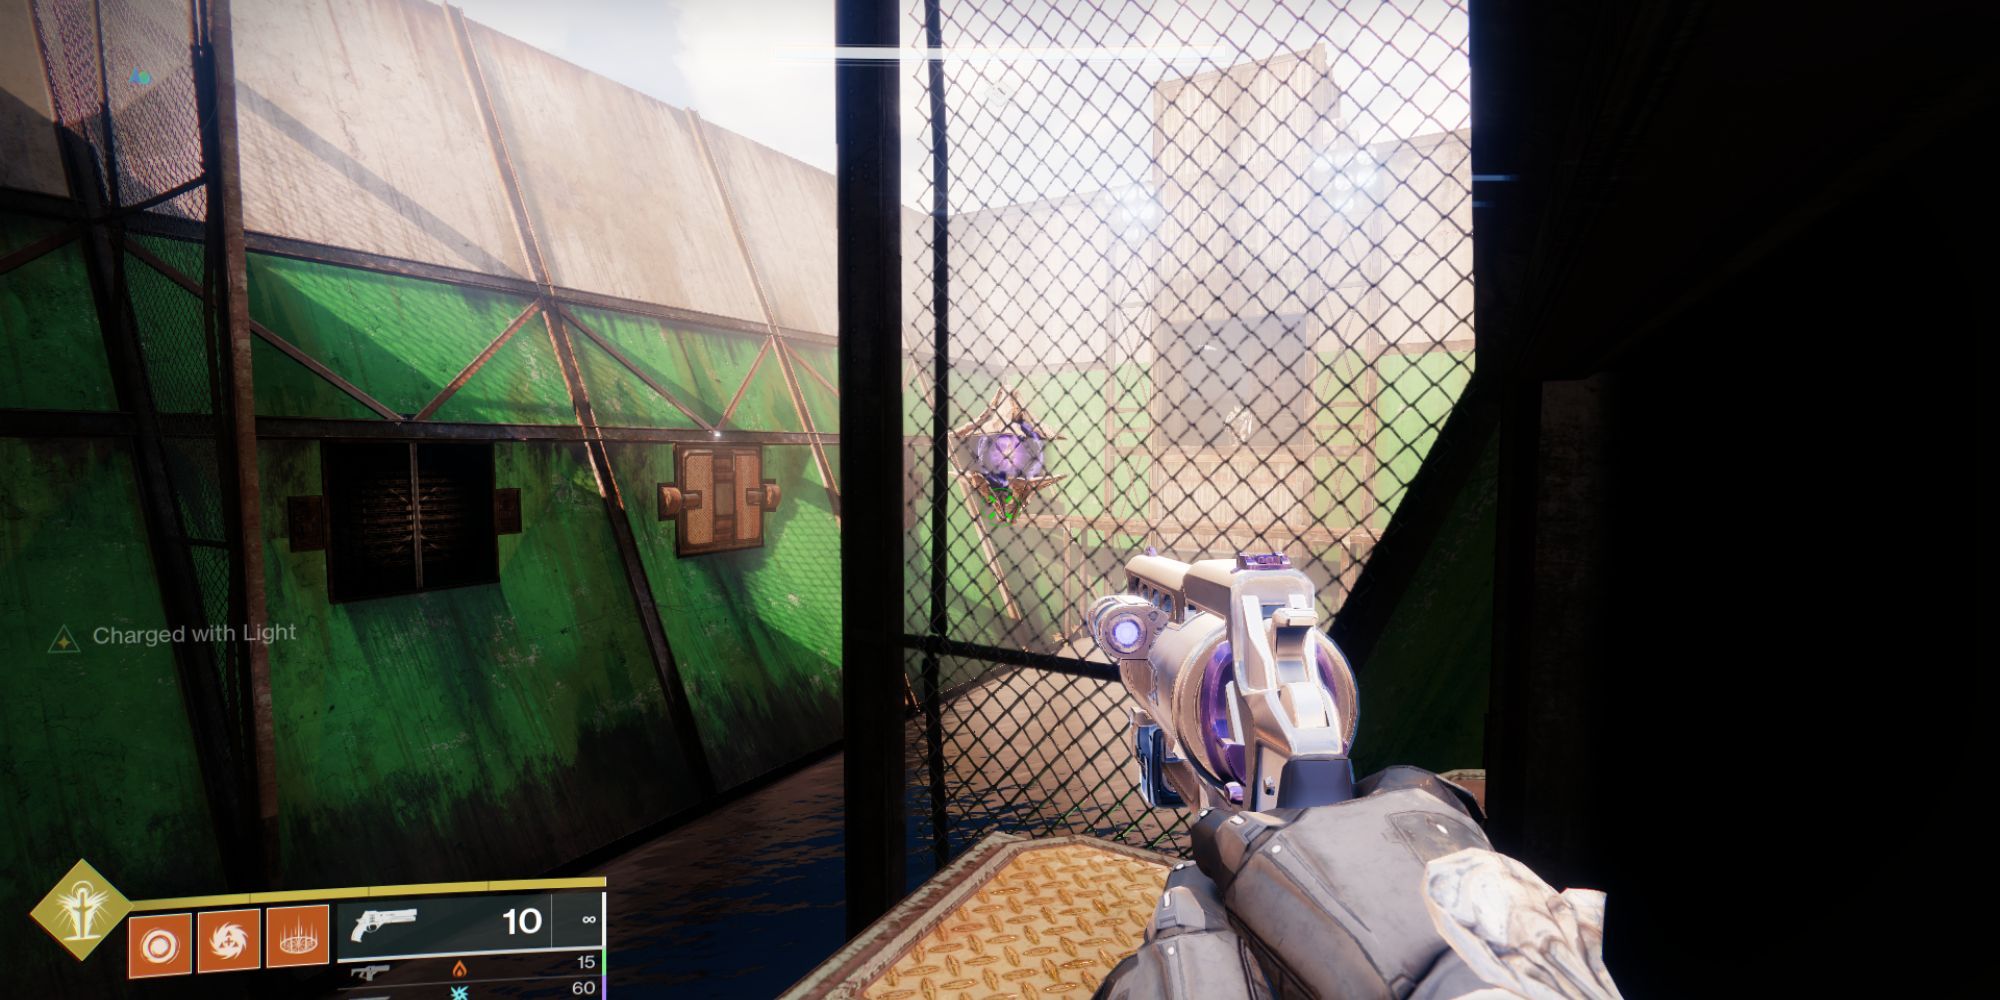
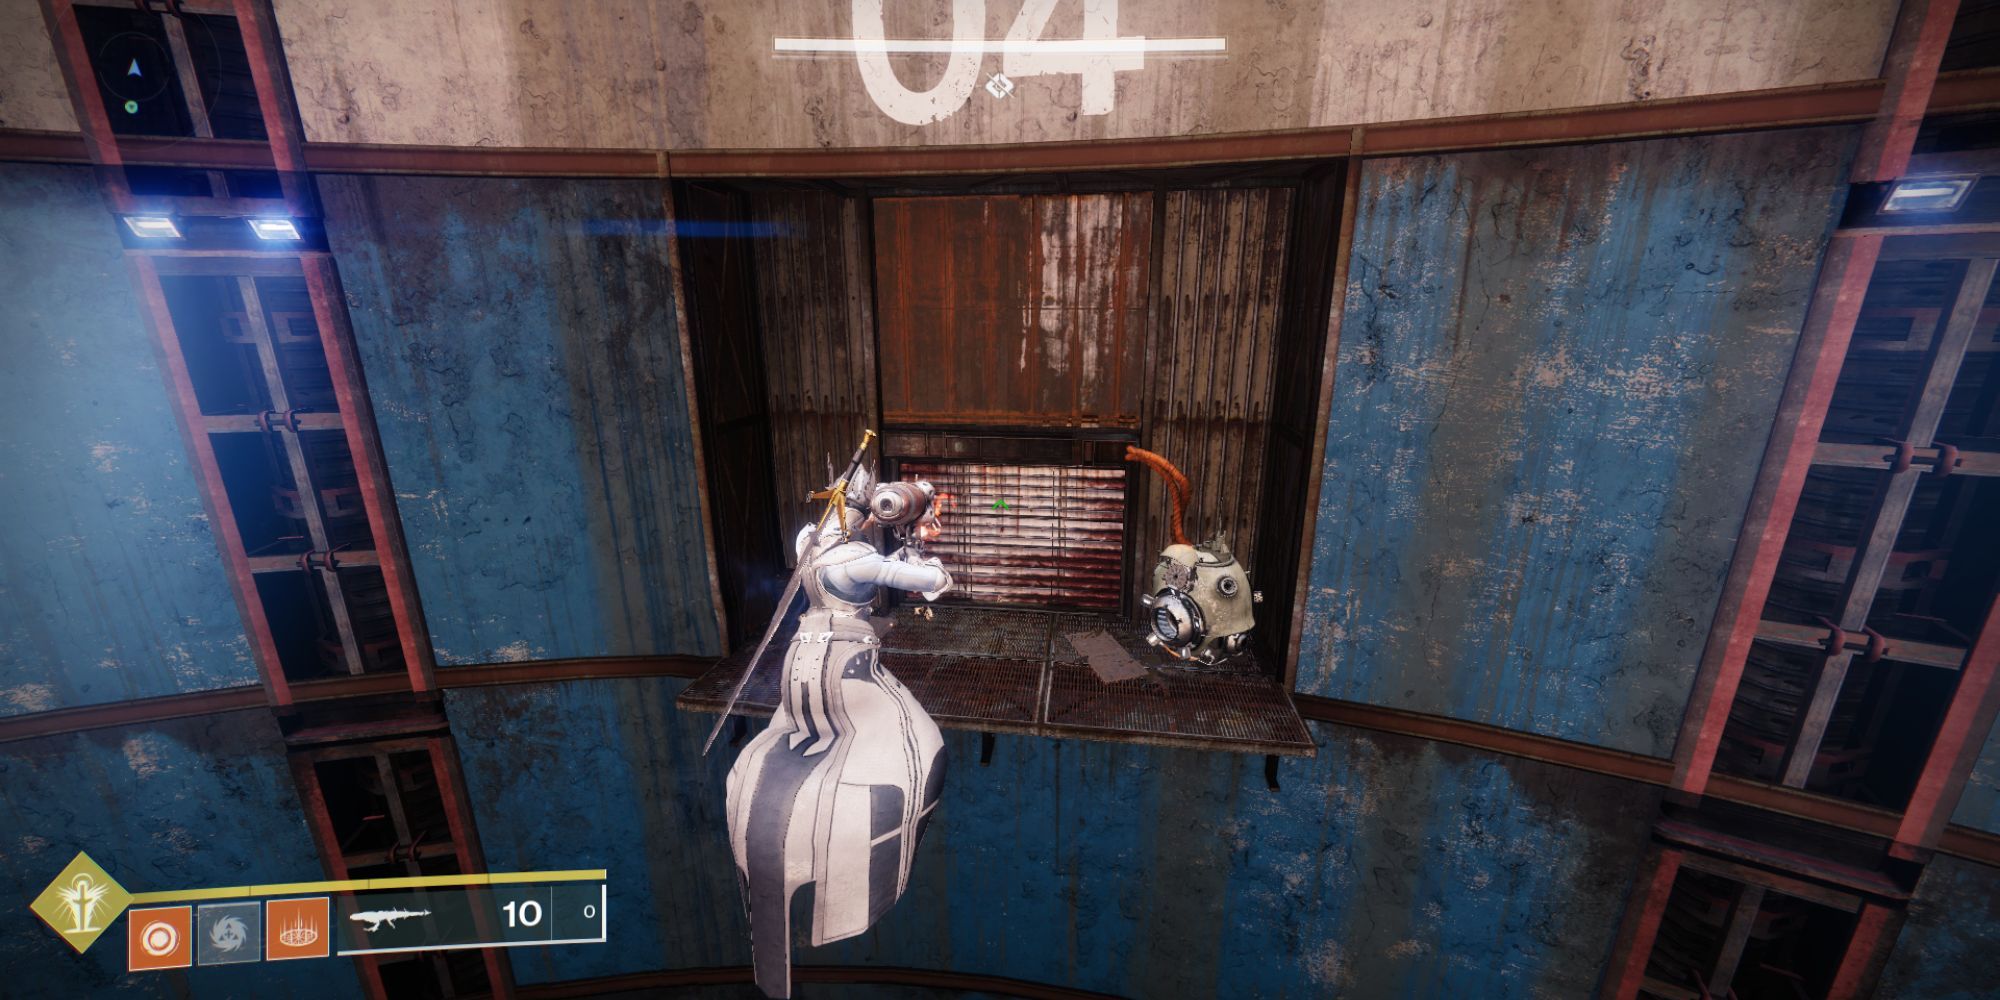
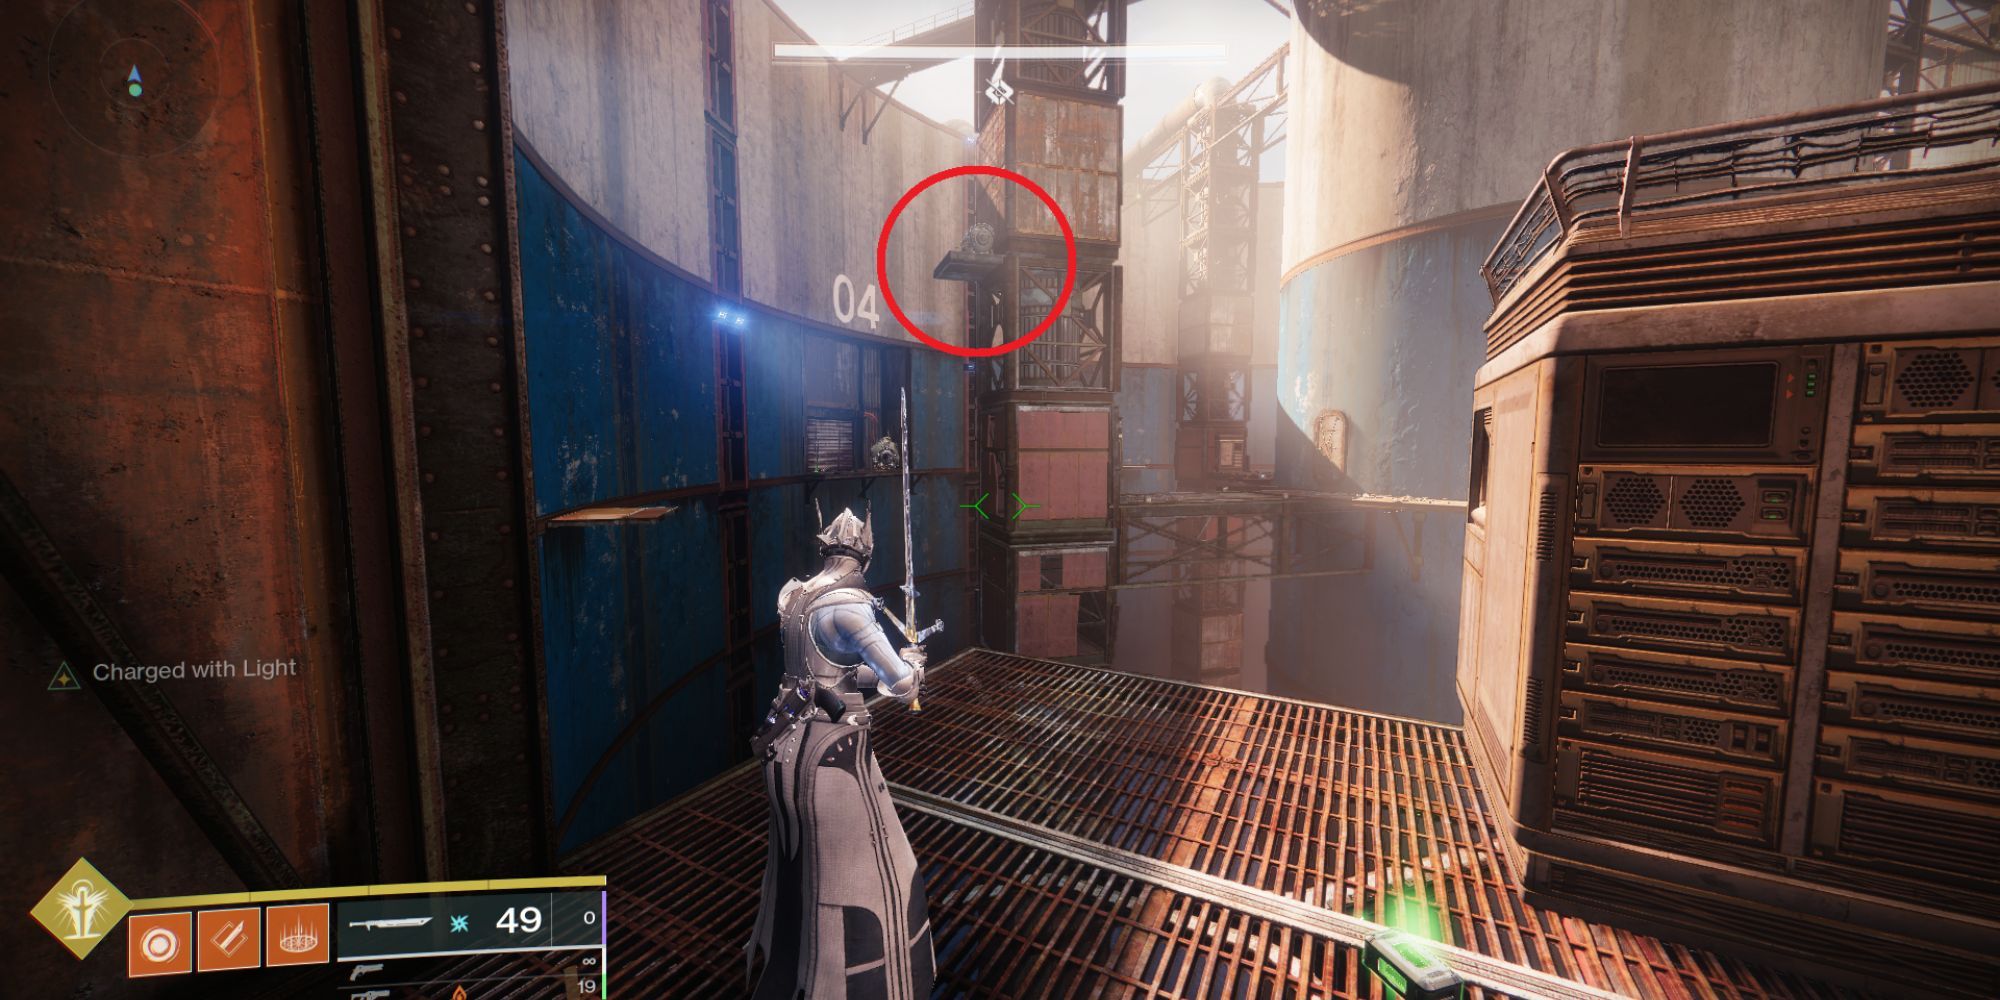
Pick up the cannon and cross over to 04. There's a device next to the door. When shot with the Scorch Cannon, it will power up the door and open it.
Before heading further in, climb up the tower between 03 and 04 to find a loot chest.
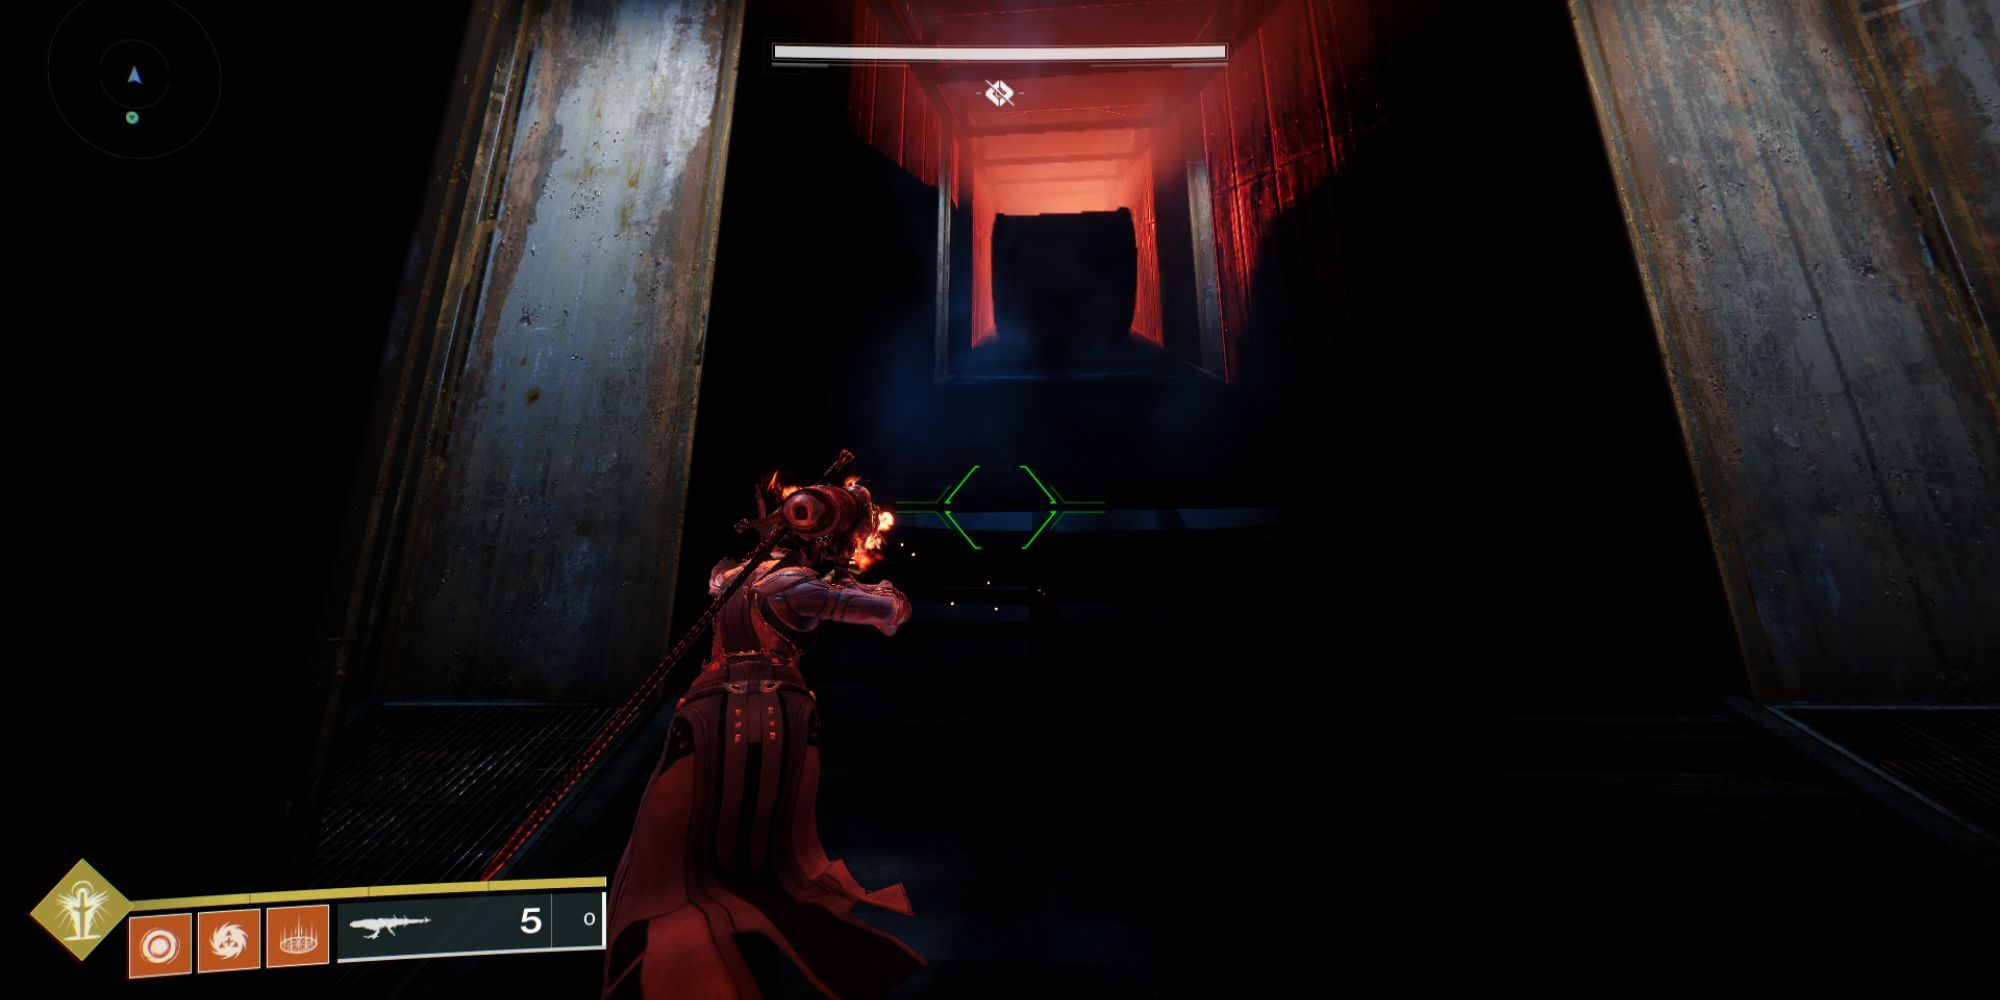
A set of stairs will open up behind the shutters of 04, but as soon as players make their way up a giant barrel will come rolling down. Take cover in the small alcoves on the side of the stairwell.
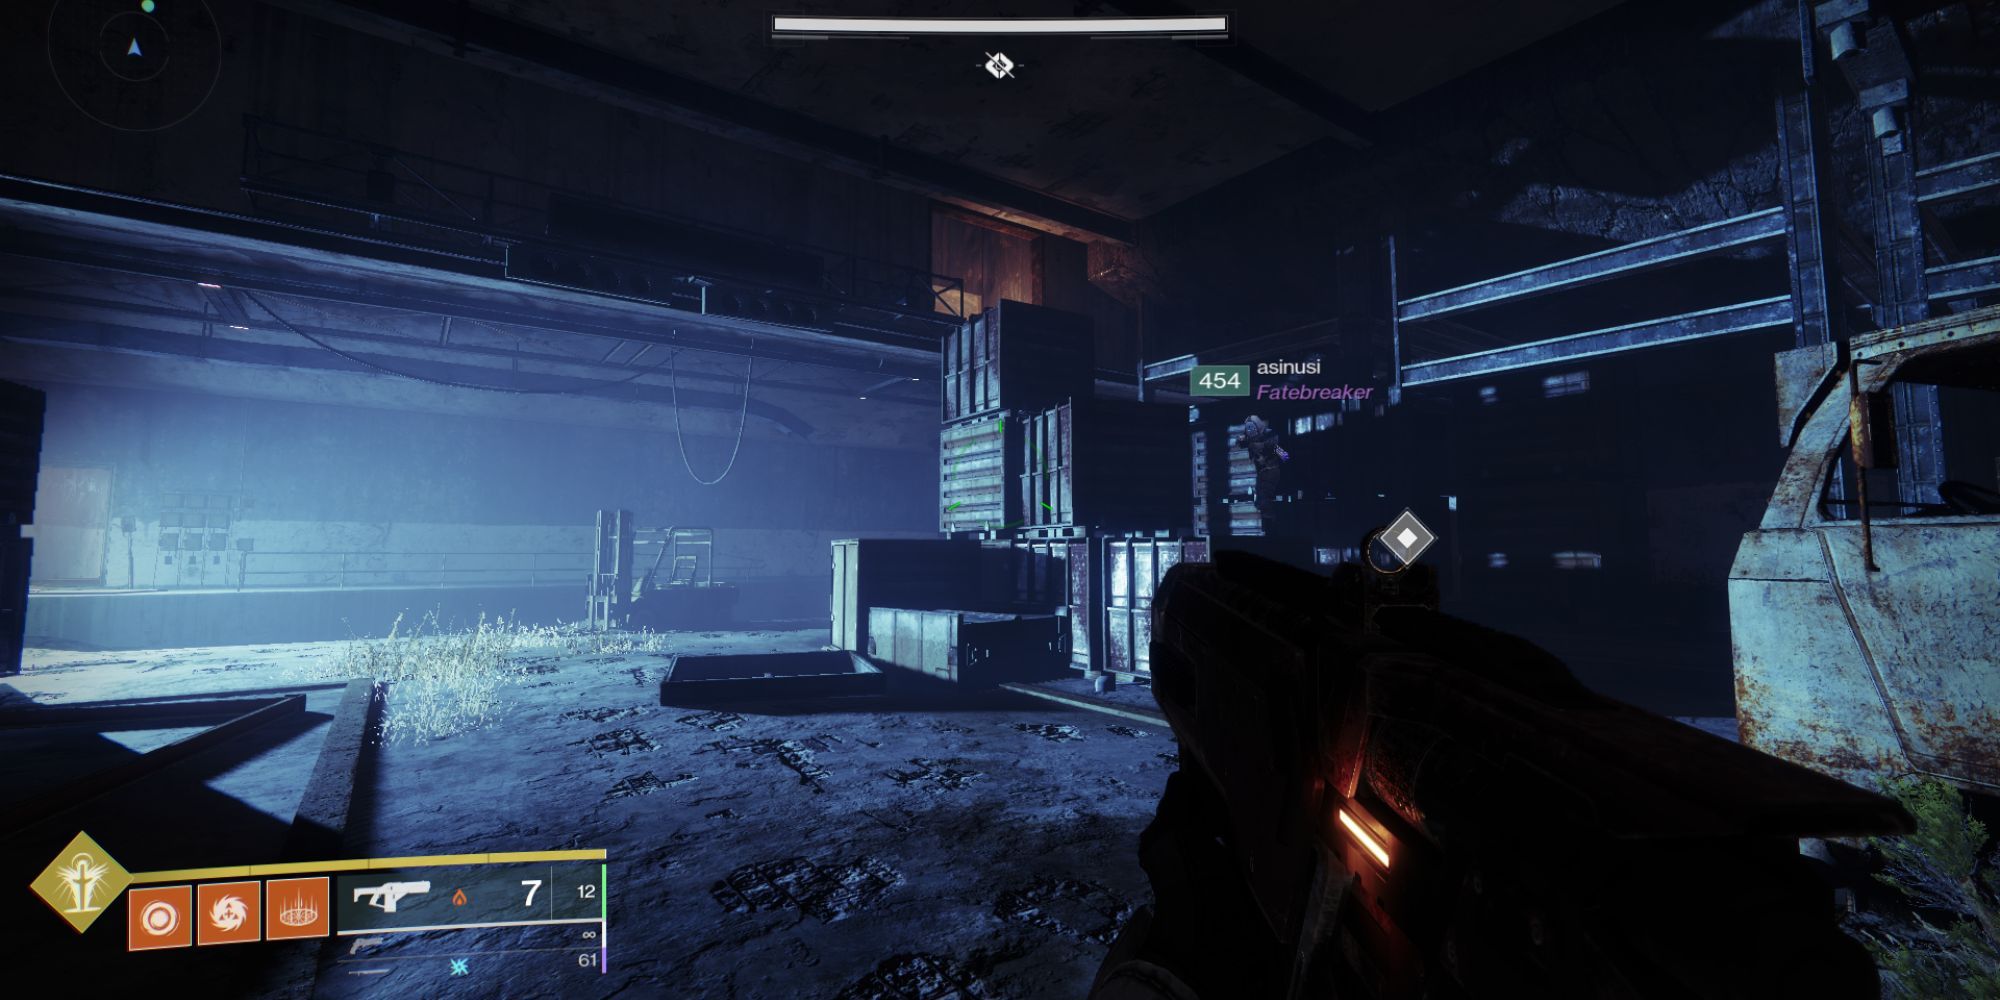
Head up the hallway until inside a large room with a stack of crates directly on the left when walking in. Climb up the crates into an airway and cross the large water-filled chamber. Once players emerge into a large room with a rally flag area, they have made it to the first real encounter of the dungeon.
First Encounter: Defeat Phry'zhia The Insatiable
- Potential Loot: Matador 64 Shotgun, Artifice Leg Armor, Artifice Class Item
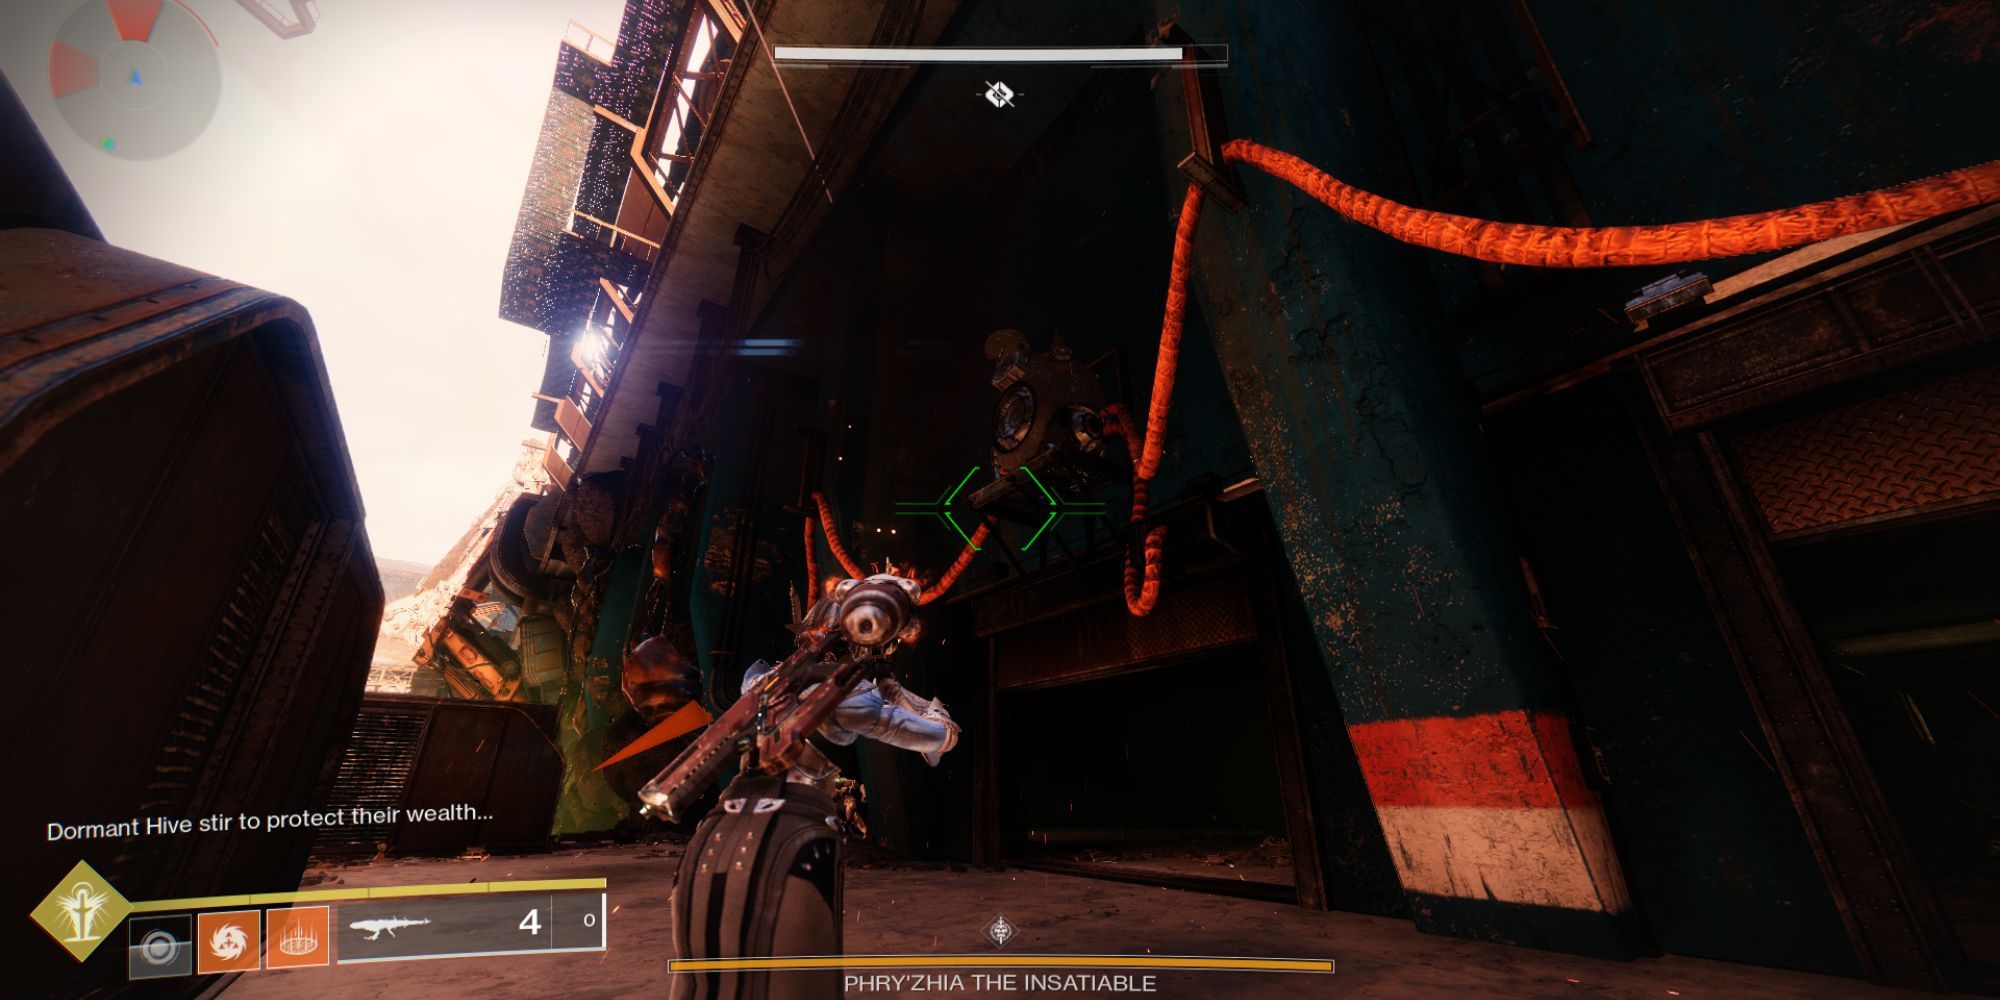
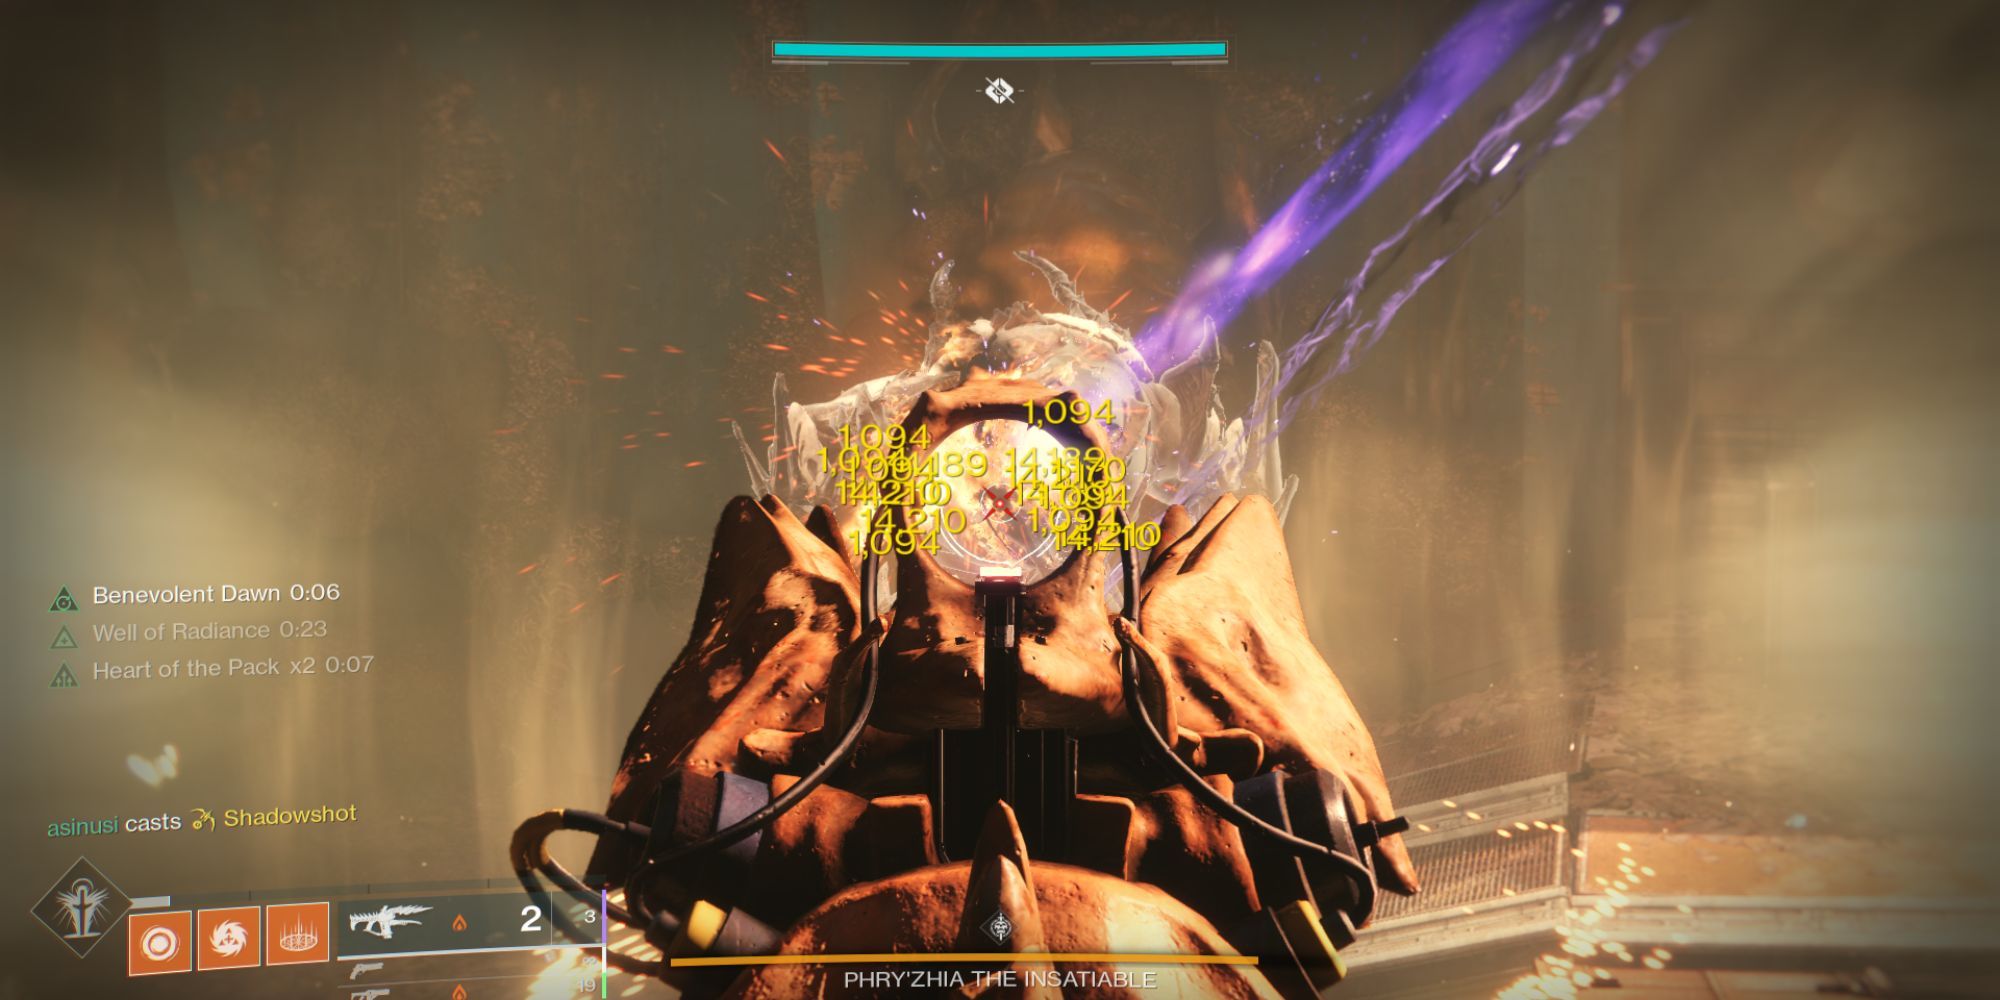
A giant ogre is the first boss of the dungeon. However, Phry'zhia is immune when players first jump to the main arena from the rally flag area. To lower his shield and start the damage phase, players need to kill enemies found on the right and left sides of the room behind shutters, collect those special engrams seen in the first part of the dungeon and bank them at the crystal altar, which in this encounter is found at the front of the arena, towards where the rally flag is.
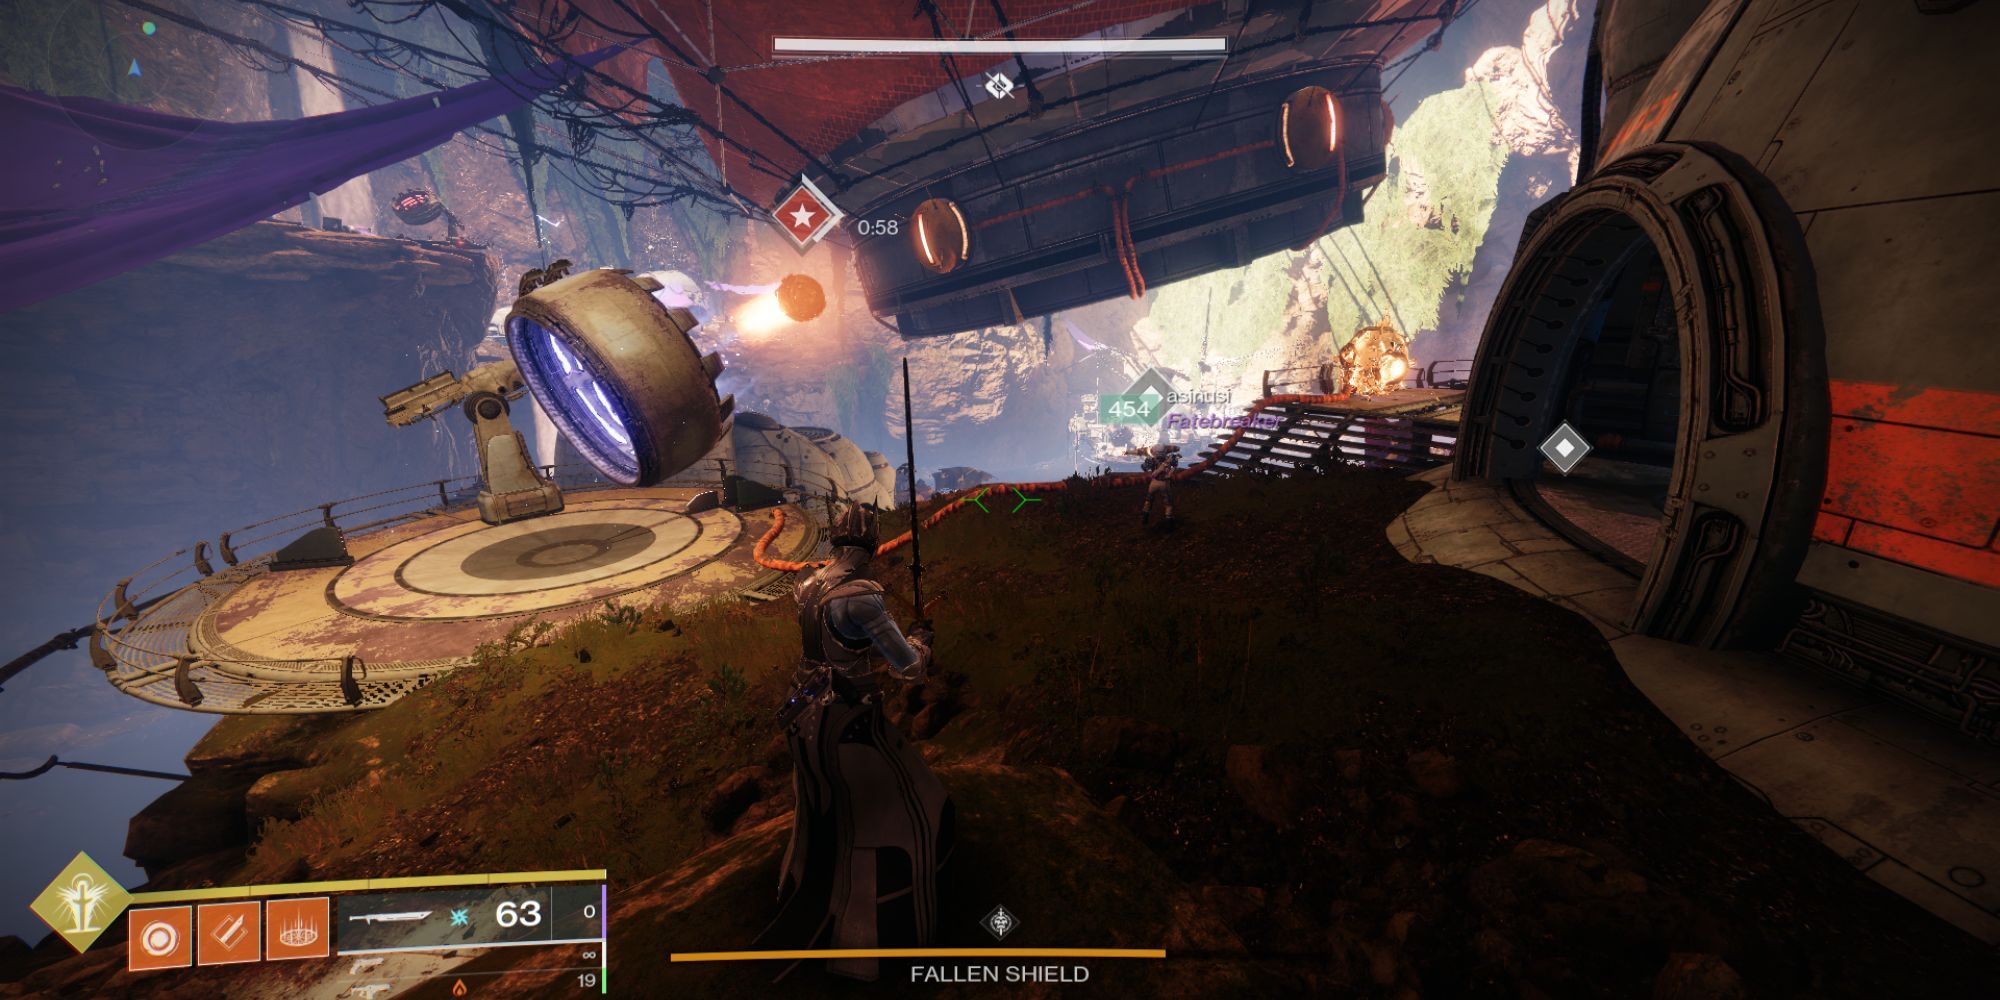
To open up the shutters, players should find the special Fallen enemy who usually spawns at the back of the arena on a balcony. Kill him and pick up the Scorch Cannon.
High up on the wall above the shuttered doors is another device where players can shoot with the Scorch Cannon to open up the shutters.
Then, walk in and kill all of the enemies while collecting as many engrams as possible to build the Burdened by Riches debuff.
Bank the engrams at the crystal located at the front of the arena.
After banking enough engrams, a message will appear stating "Phry'zhia the Insatiable has succumbed to temptation". This marks the beginning of the damage phase. Warlocks can cast Well to protect their allies and Titans can cast Ward of Dawn. Since Phry'zhia has quite a bit of health even for high-level players, it's likely players will have to two-phase him. The next phase is virtually the same as the first one, with players repeating the same process all over again.
Once the ogre is defeated, loot the chest in the middle and head through the doors in the back, down into the depths of the facility, until players arrive at a large set of doors and a lever, leading to the next major encounter.
Disarm The Mines
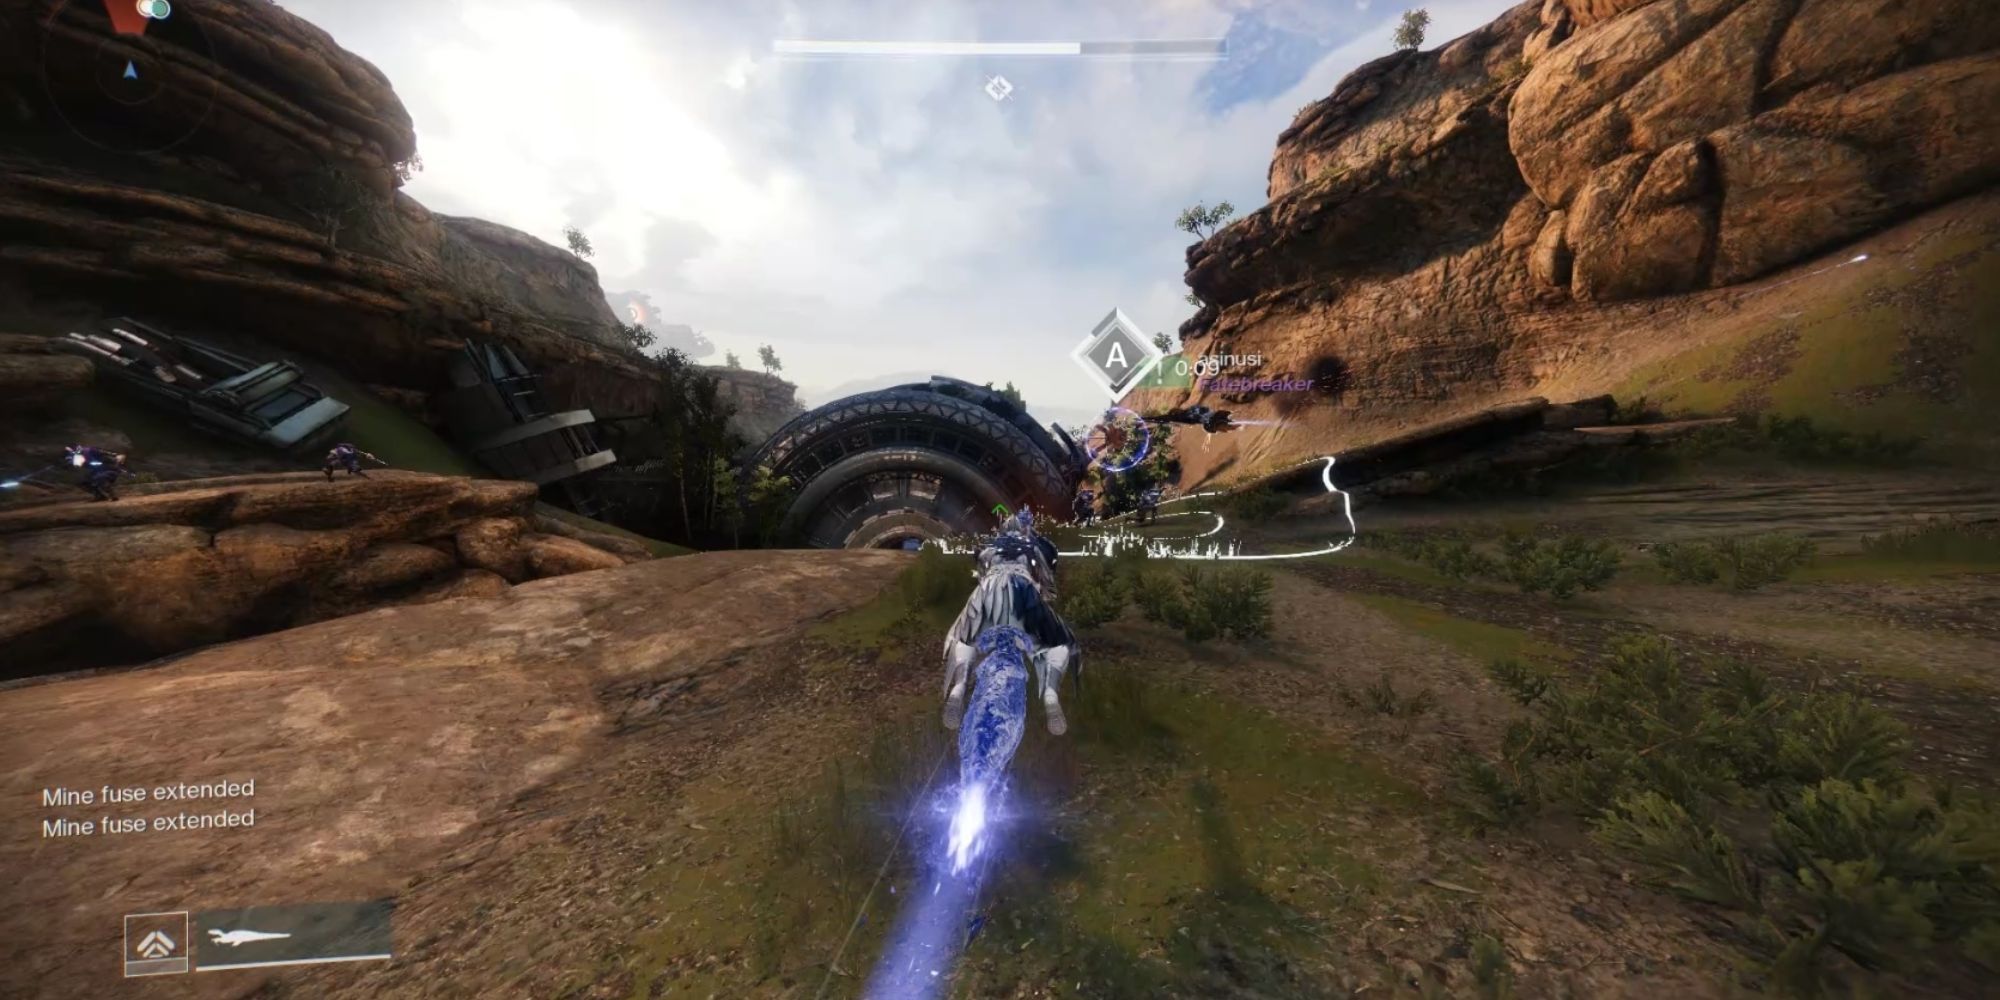
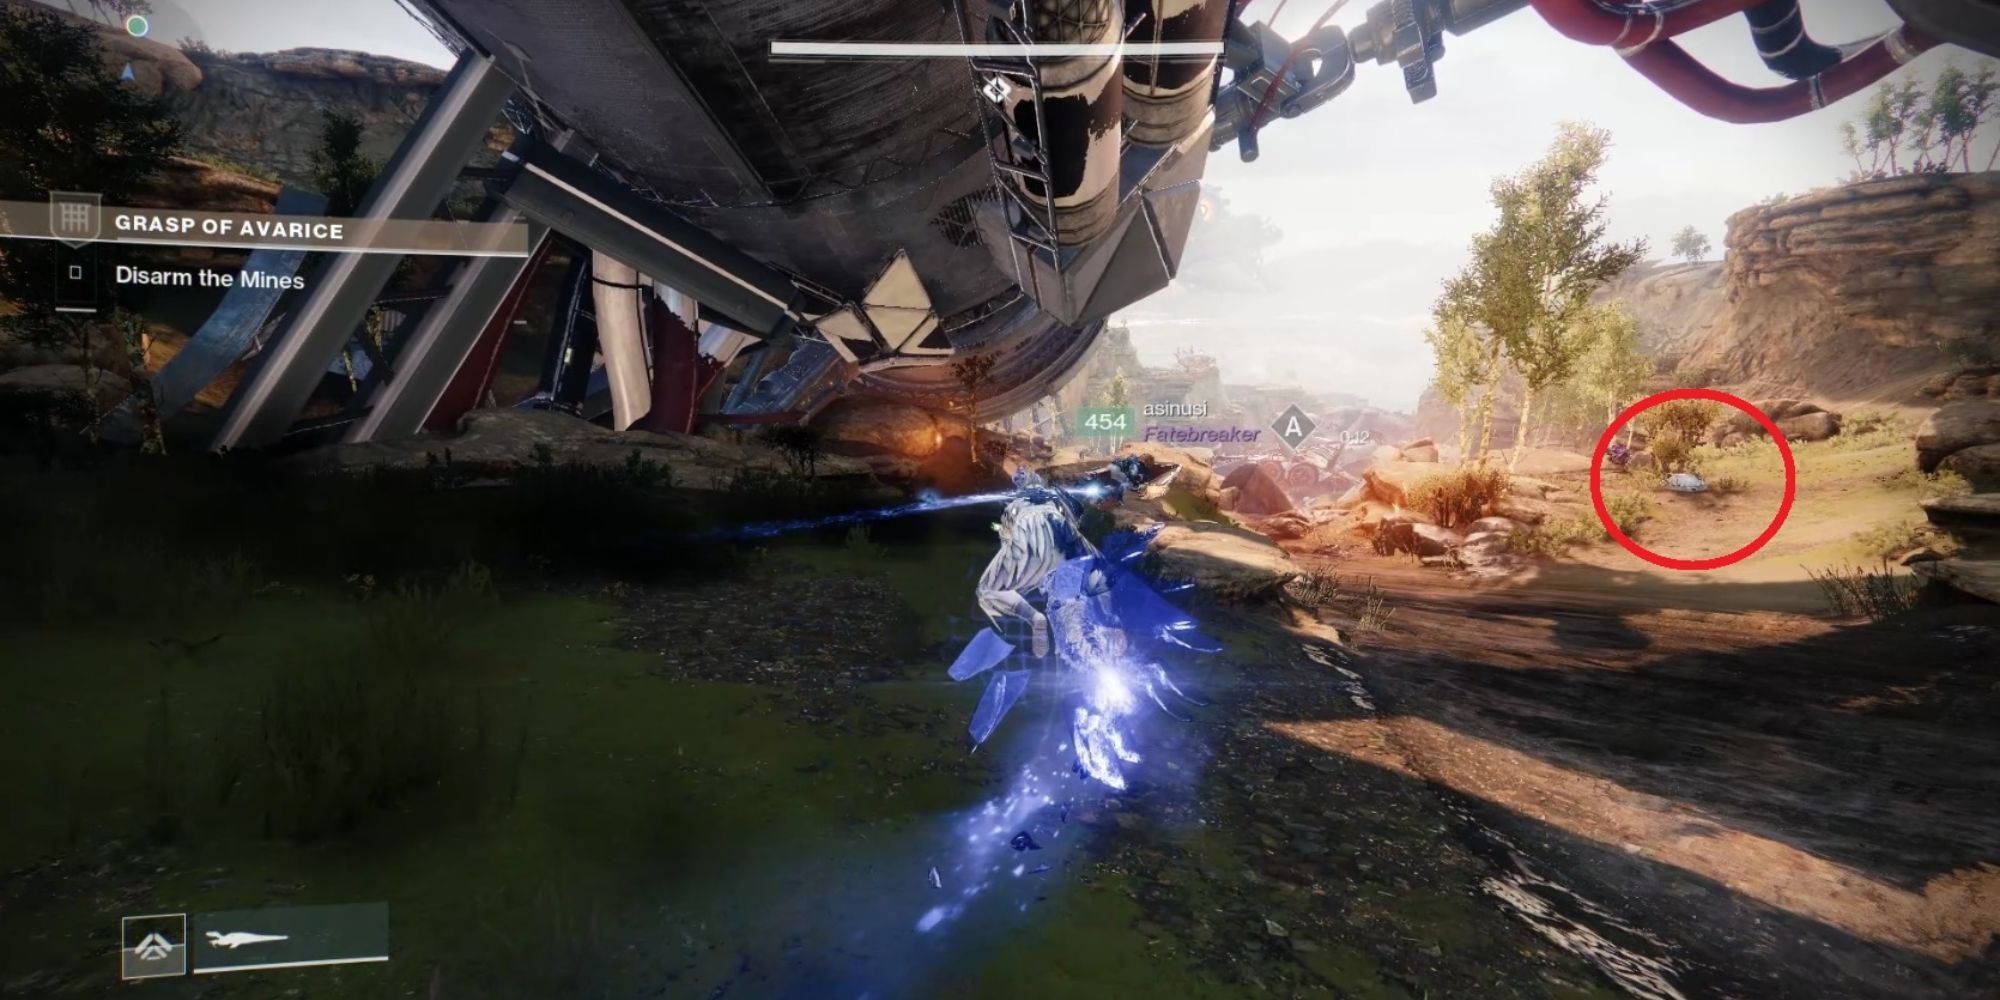
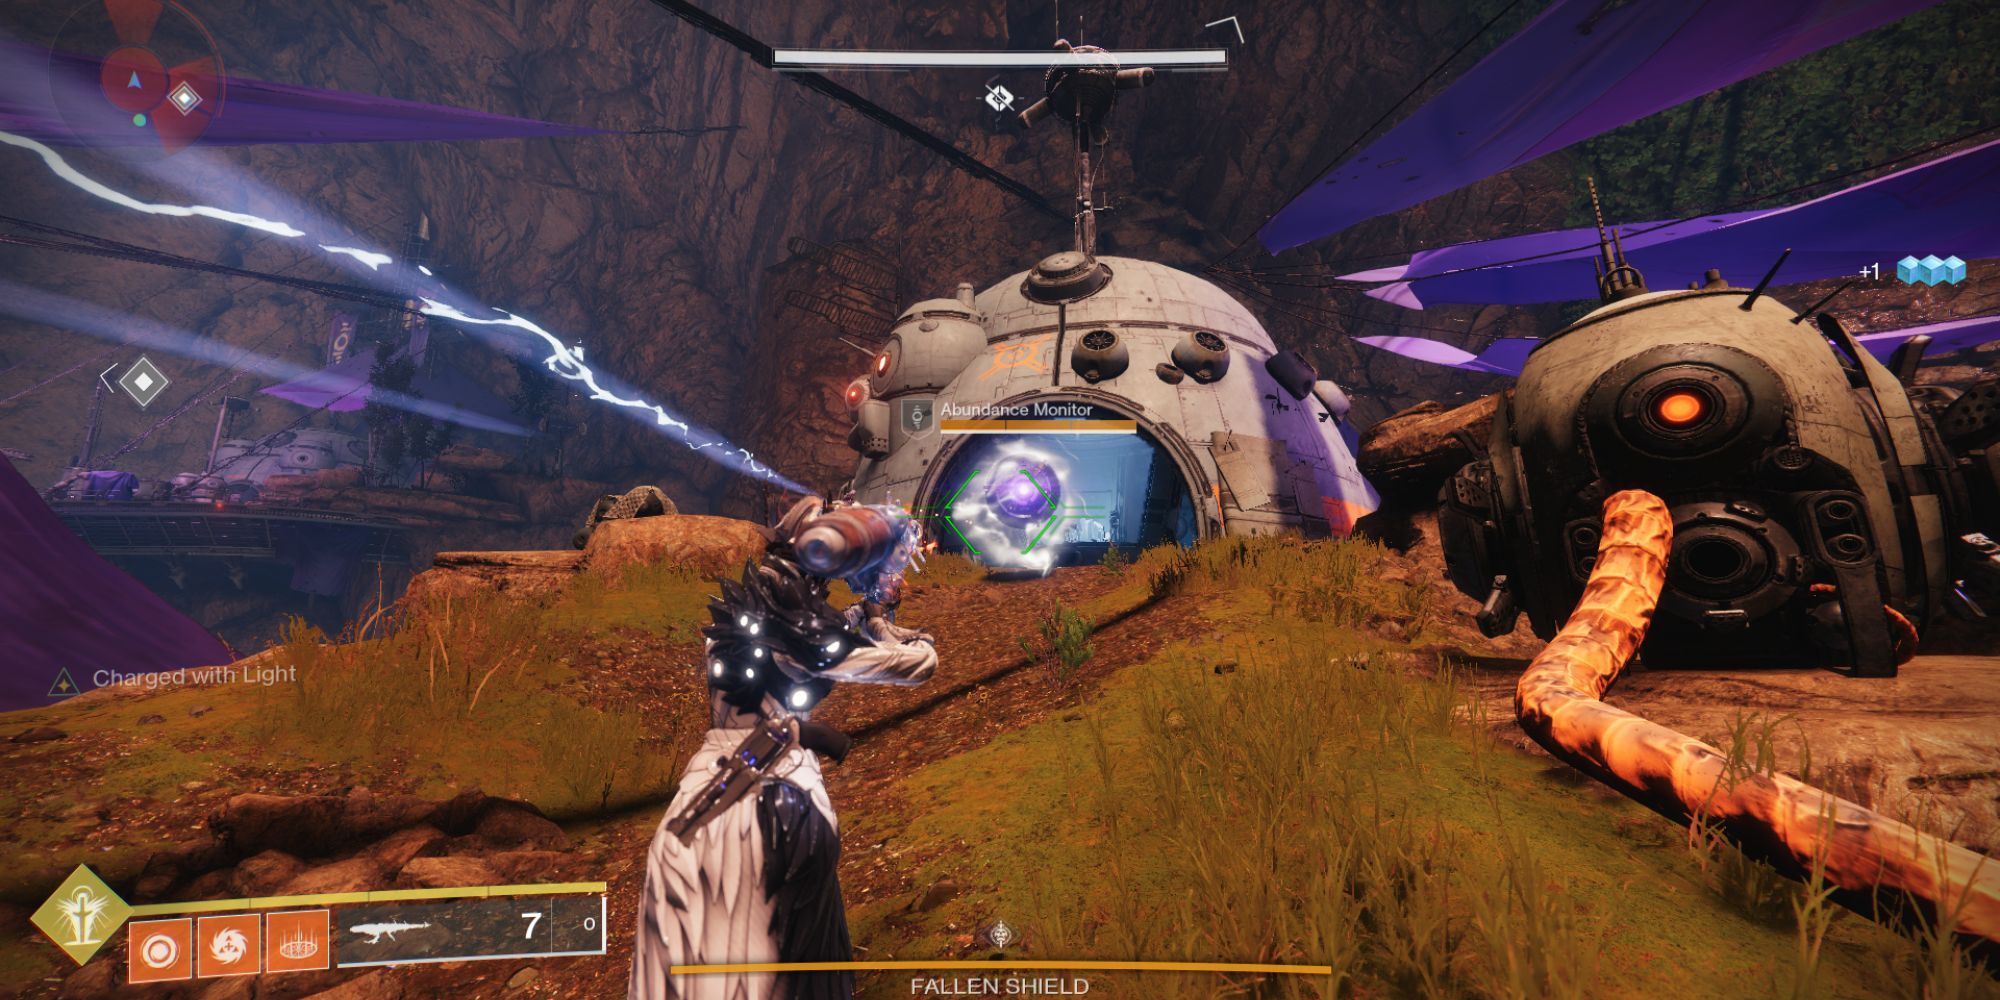
In this section, players will have to get on their sparrows and run through a course until the end while defusing four mines before the timer ends and the mines blow up, wiping the whole fireteam. Actually defusing the mines doesn't take long, and players only really need to pass through the capture point area to do so. However, there are tons of Fallen around who will be shooting at the players and worst-case scenario forcing them off their sparrows.
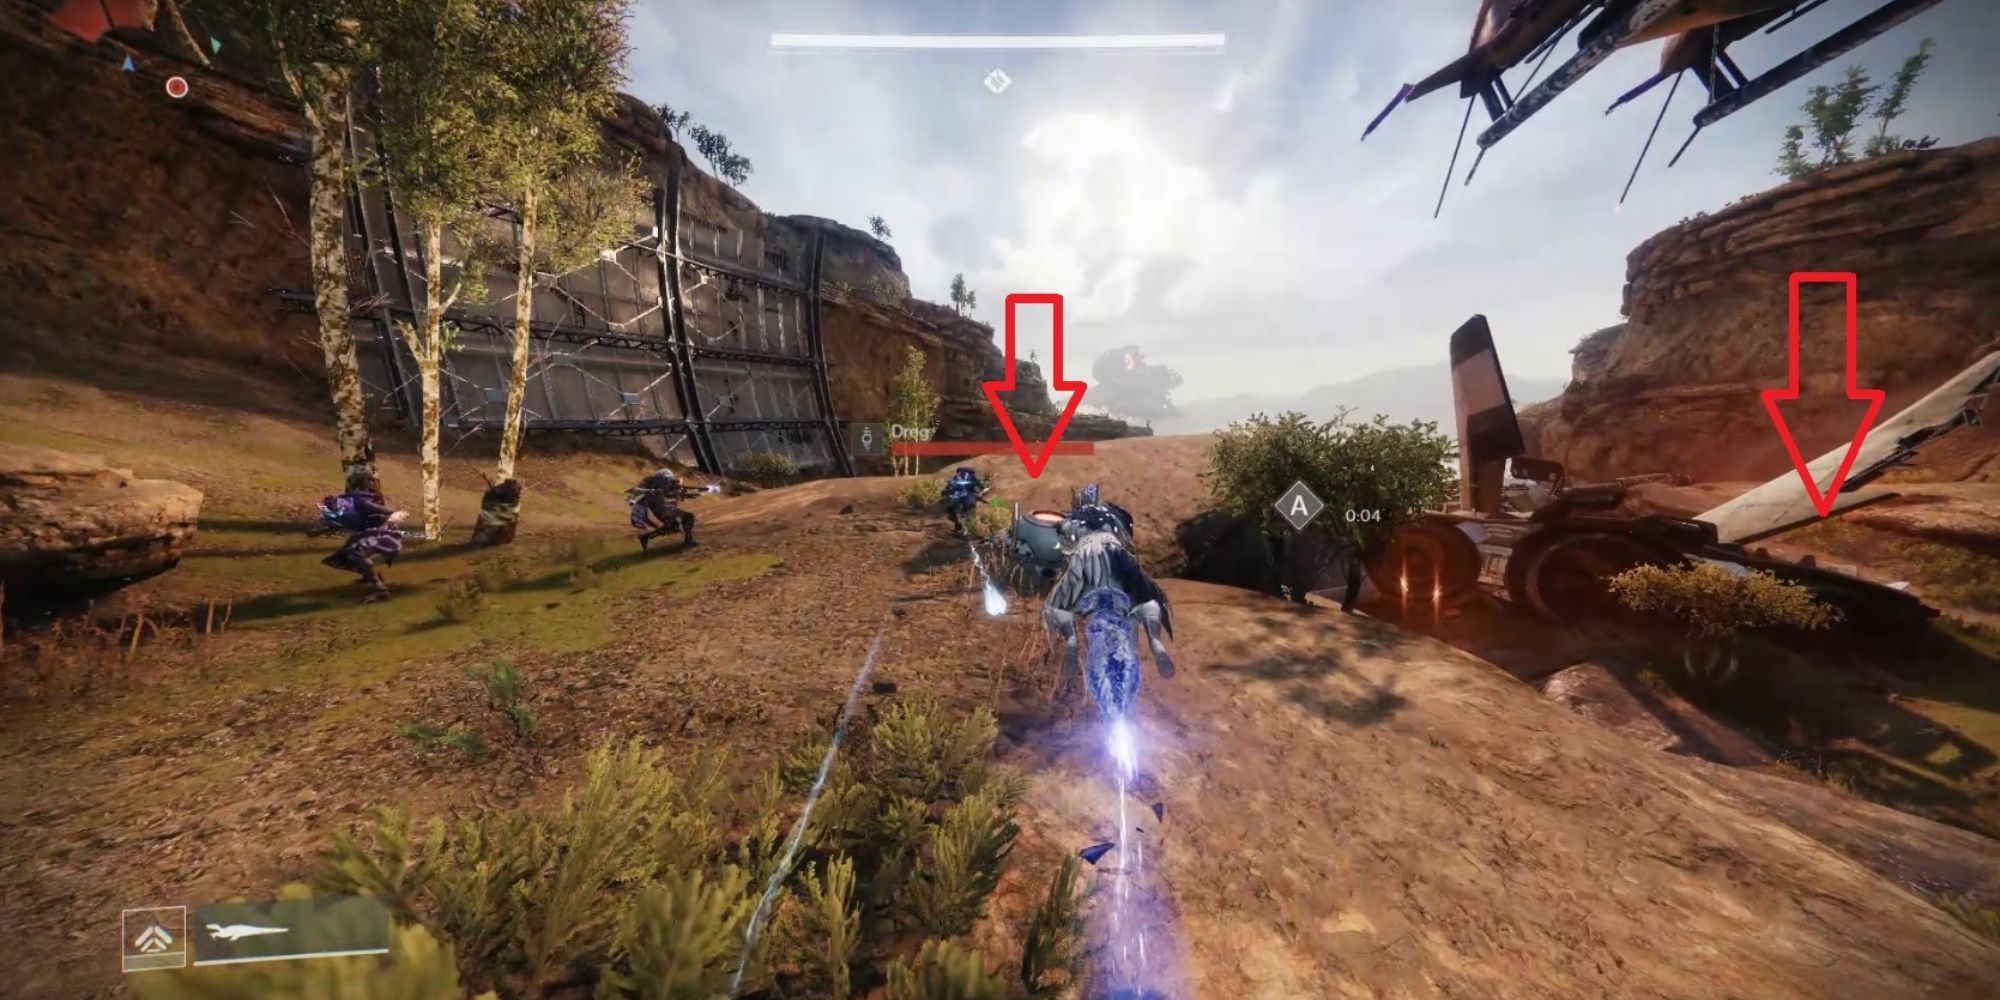
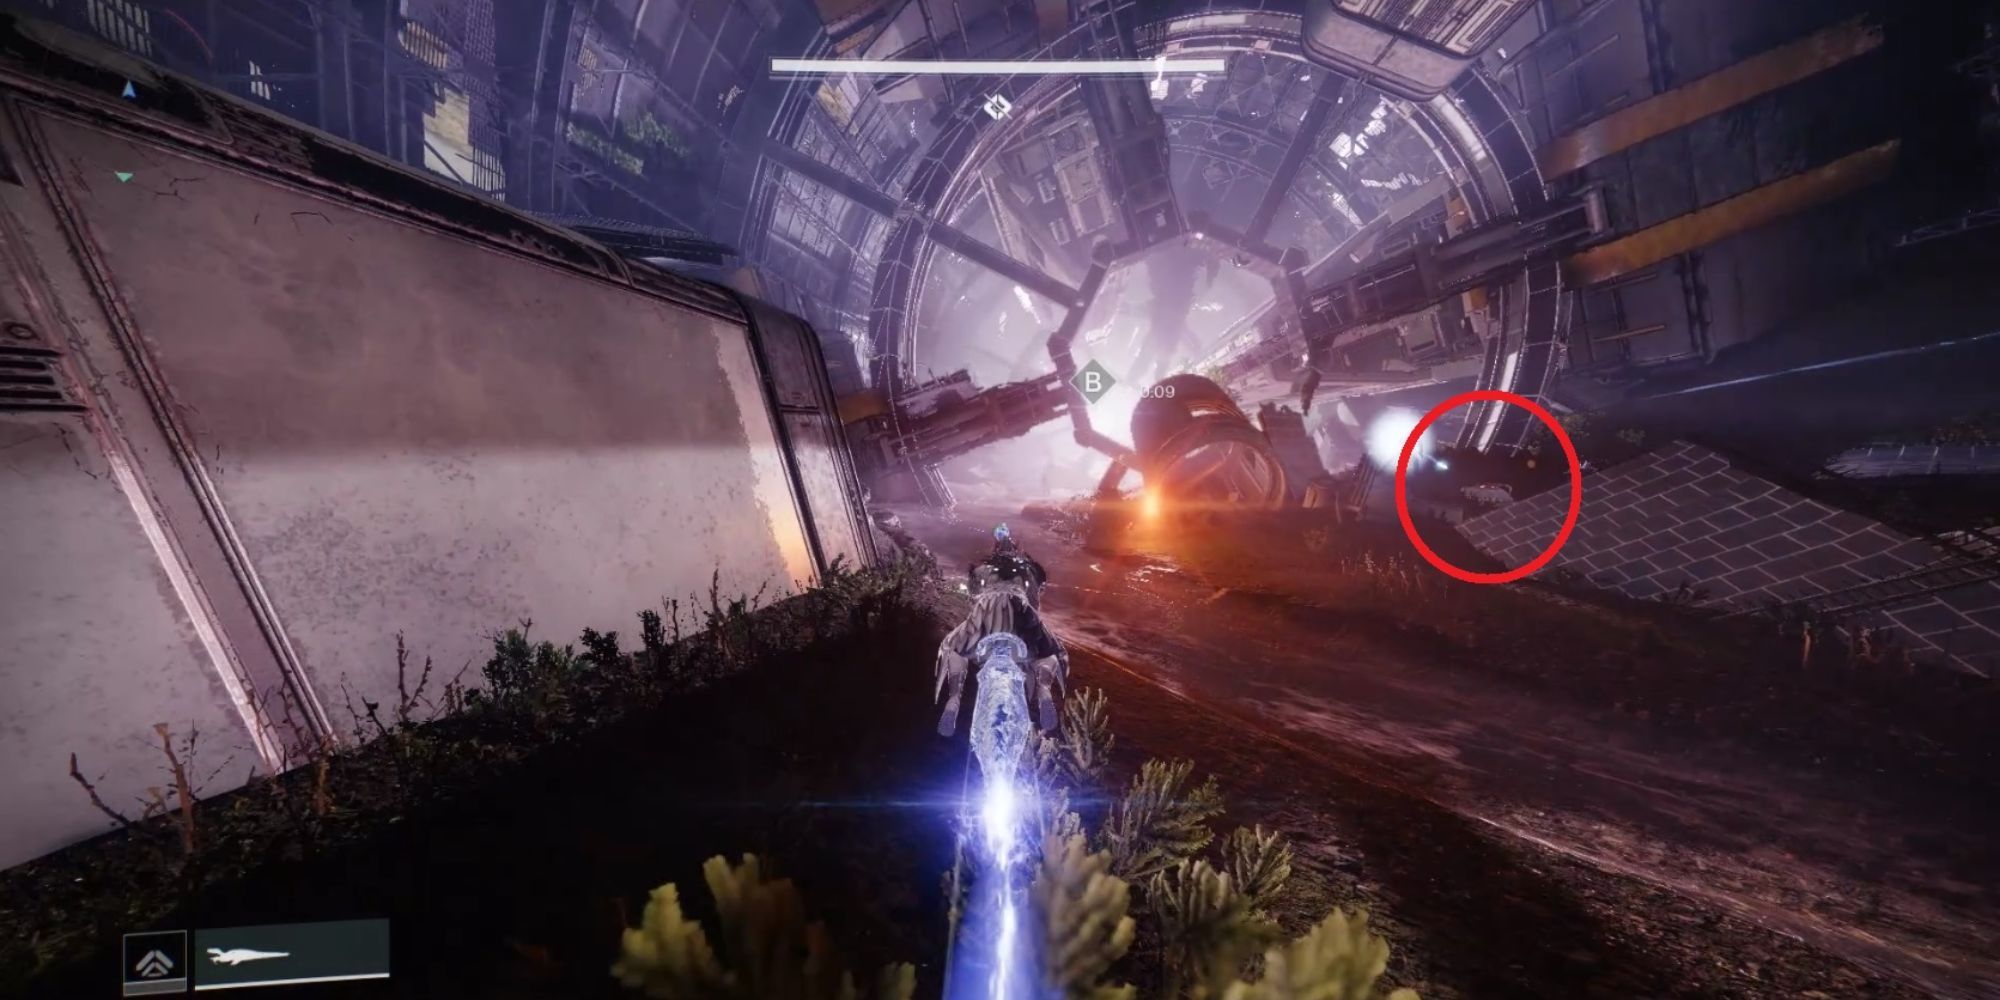
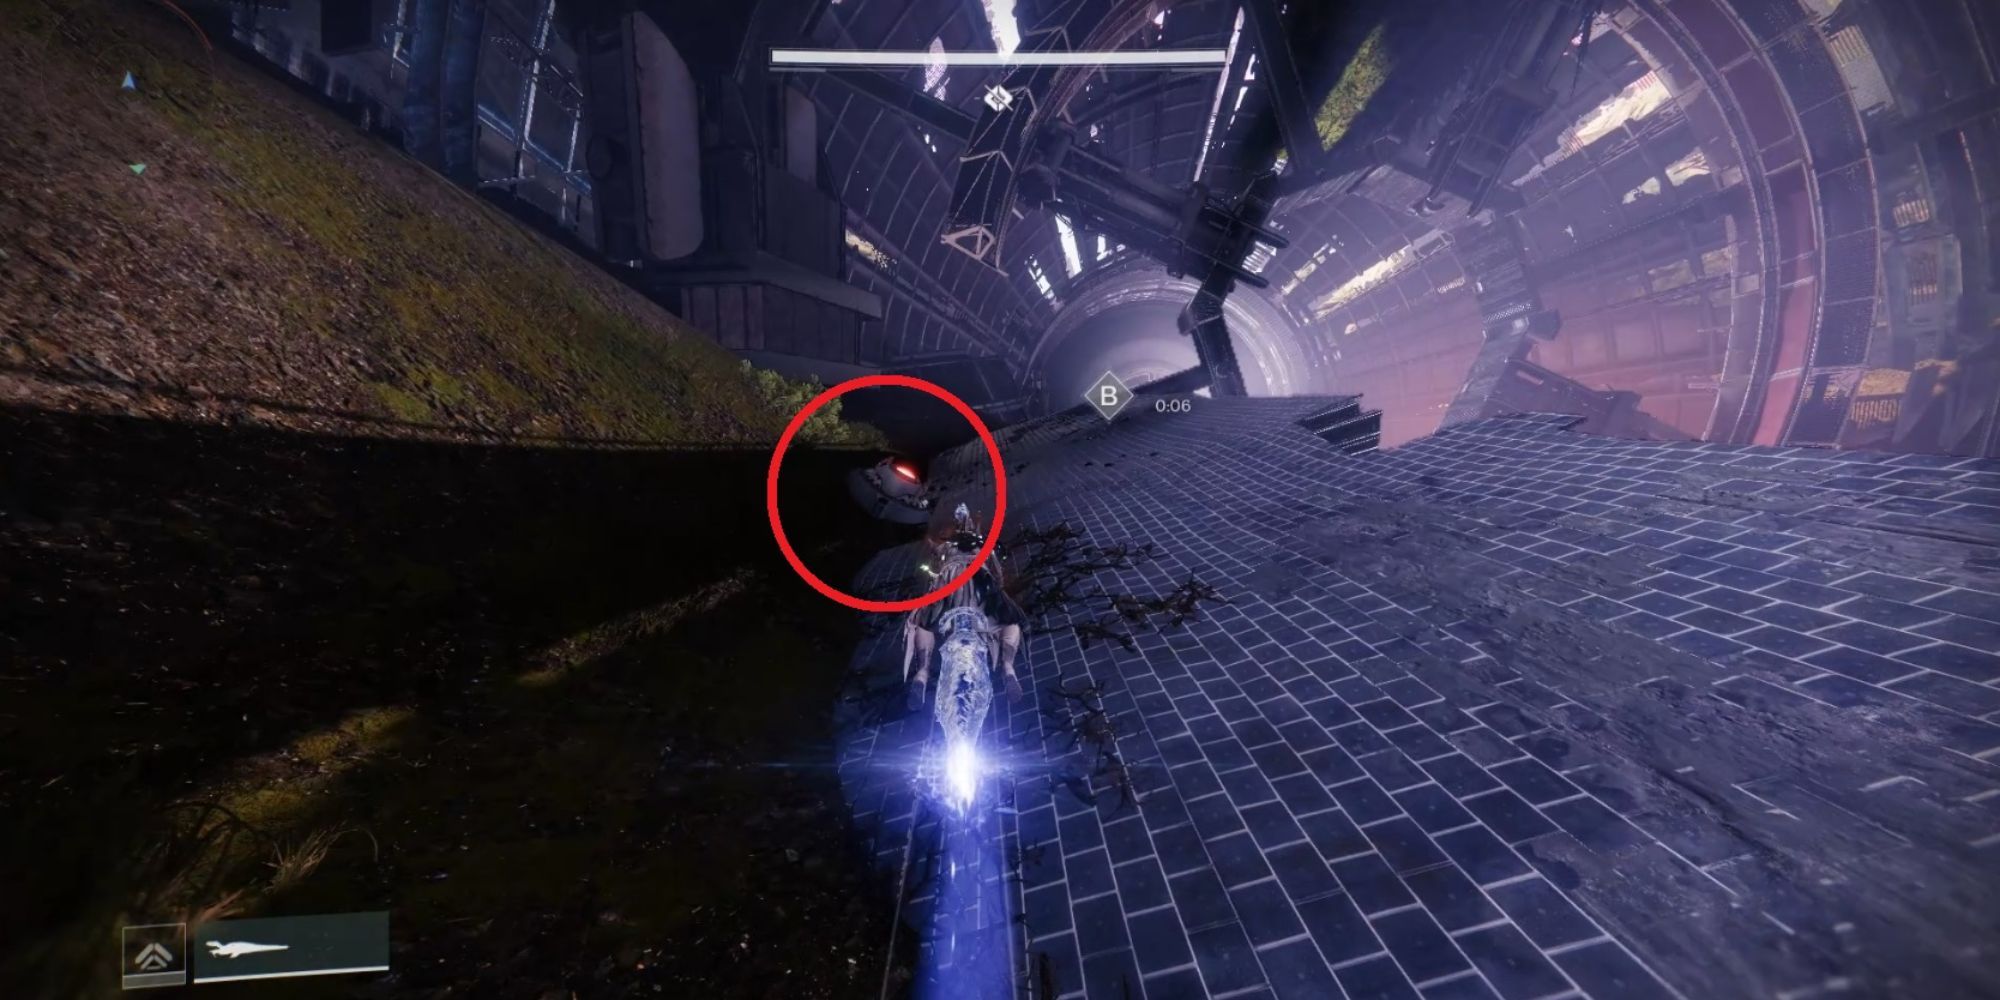
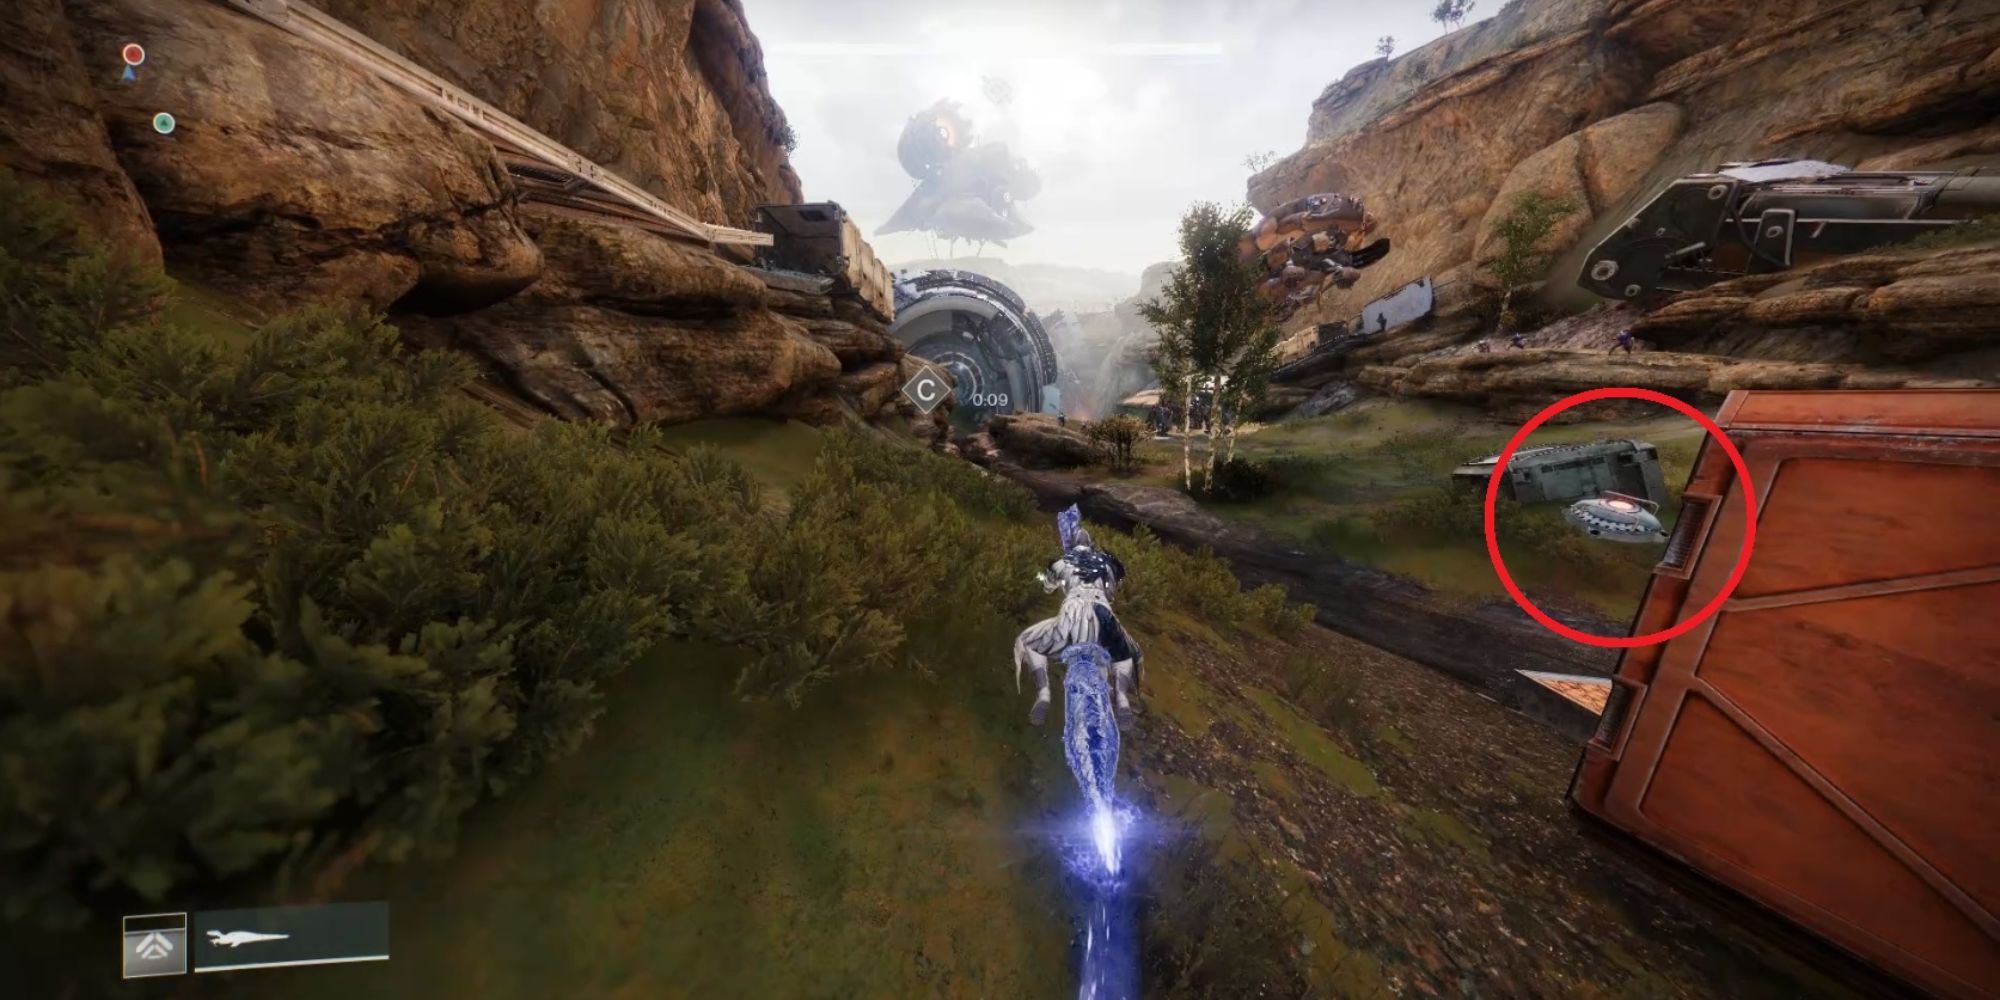
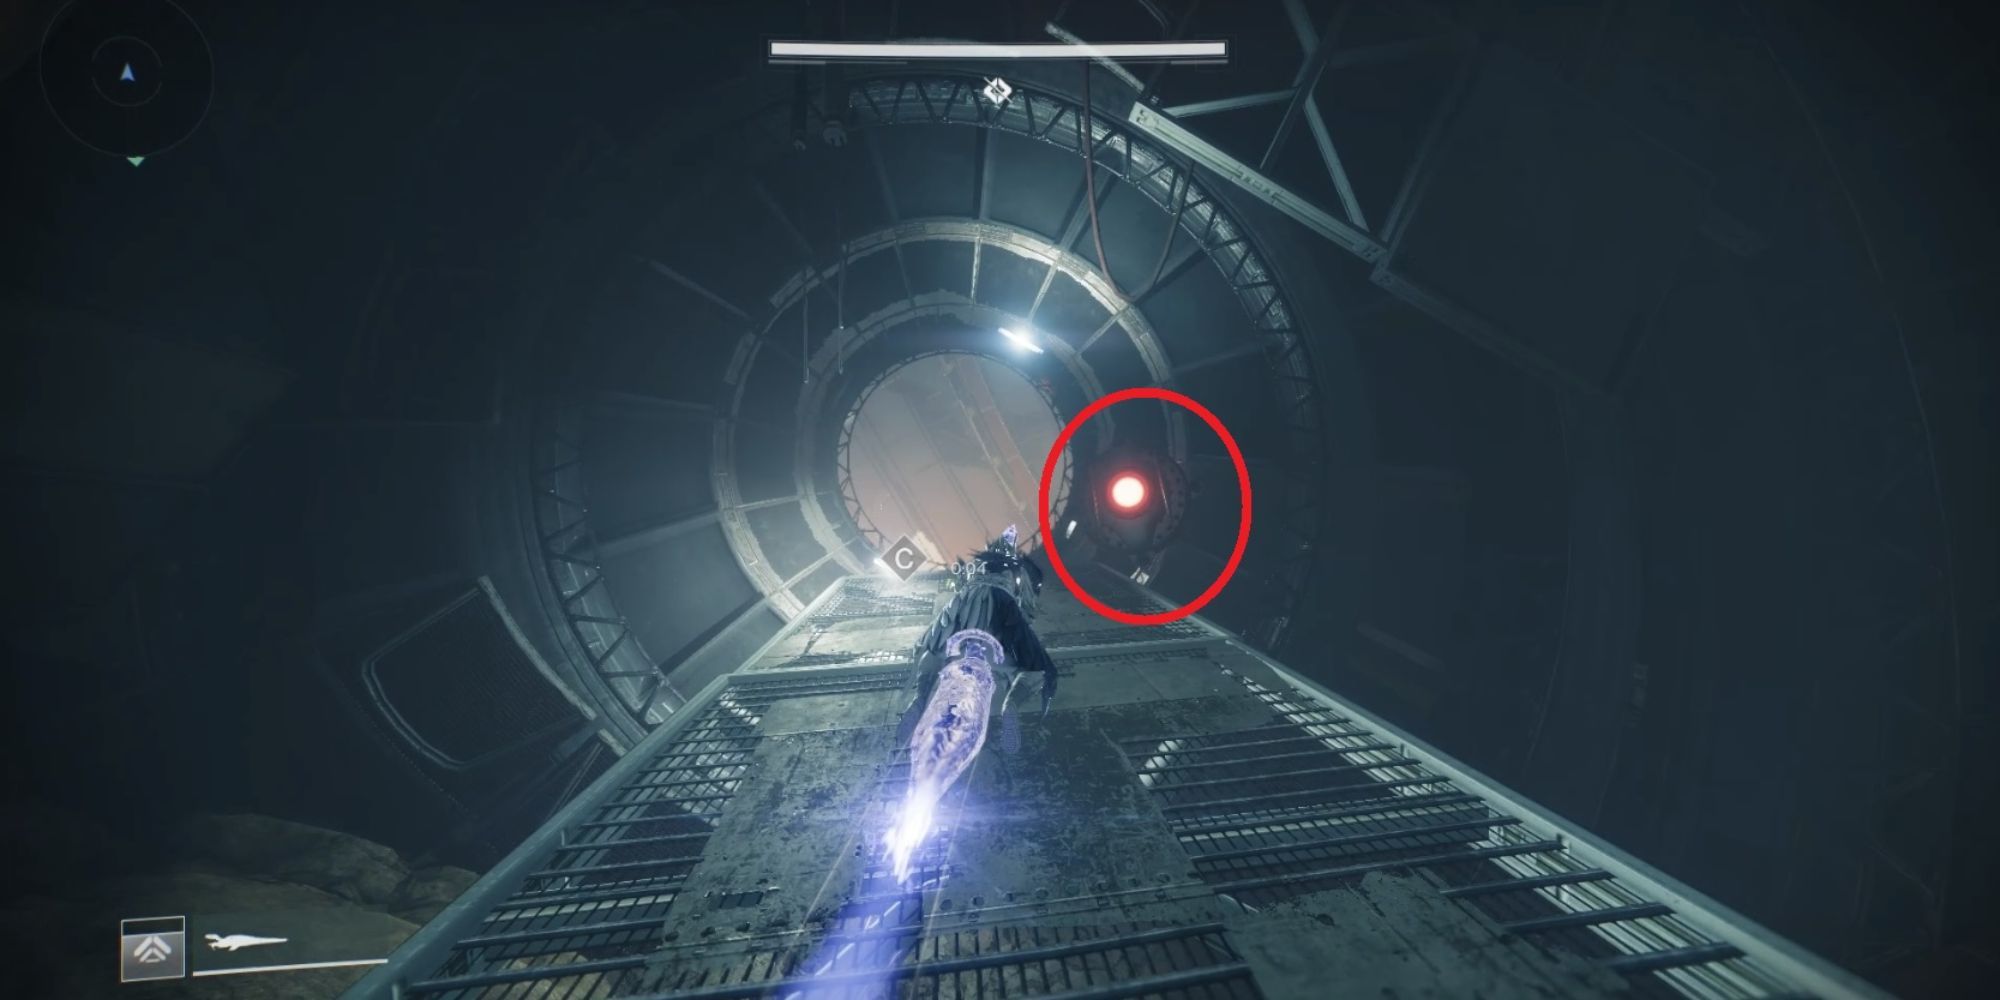
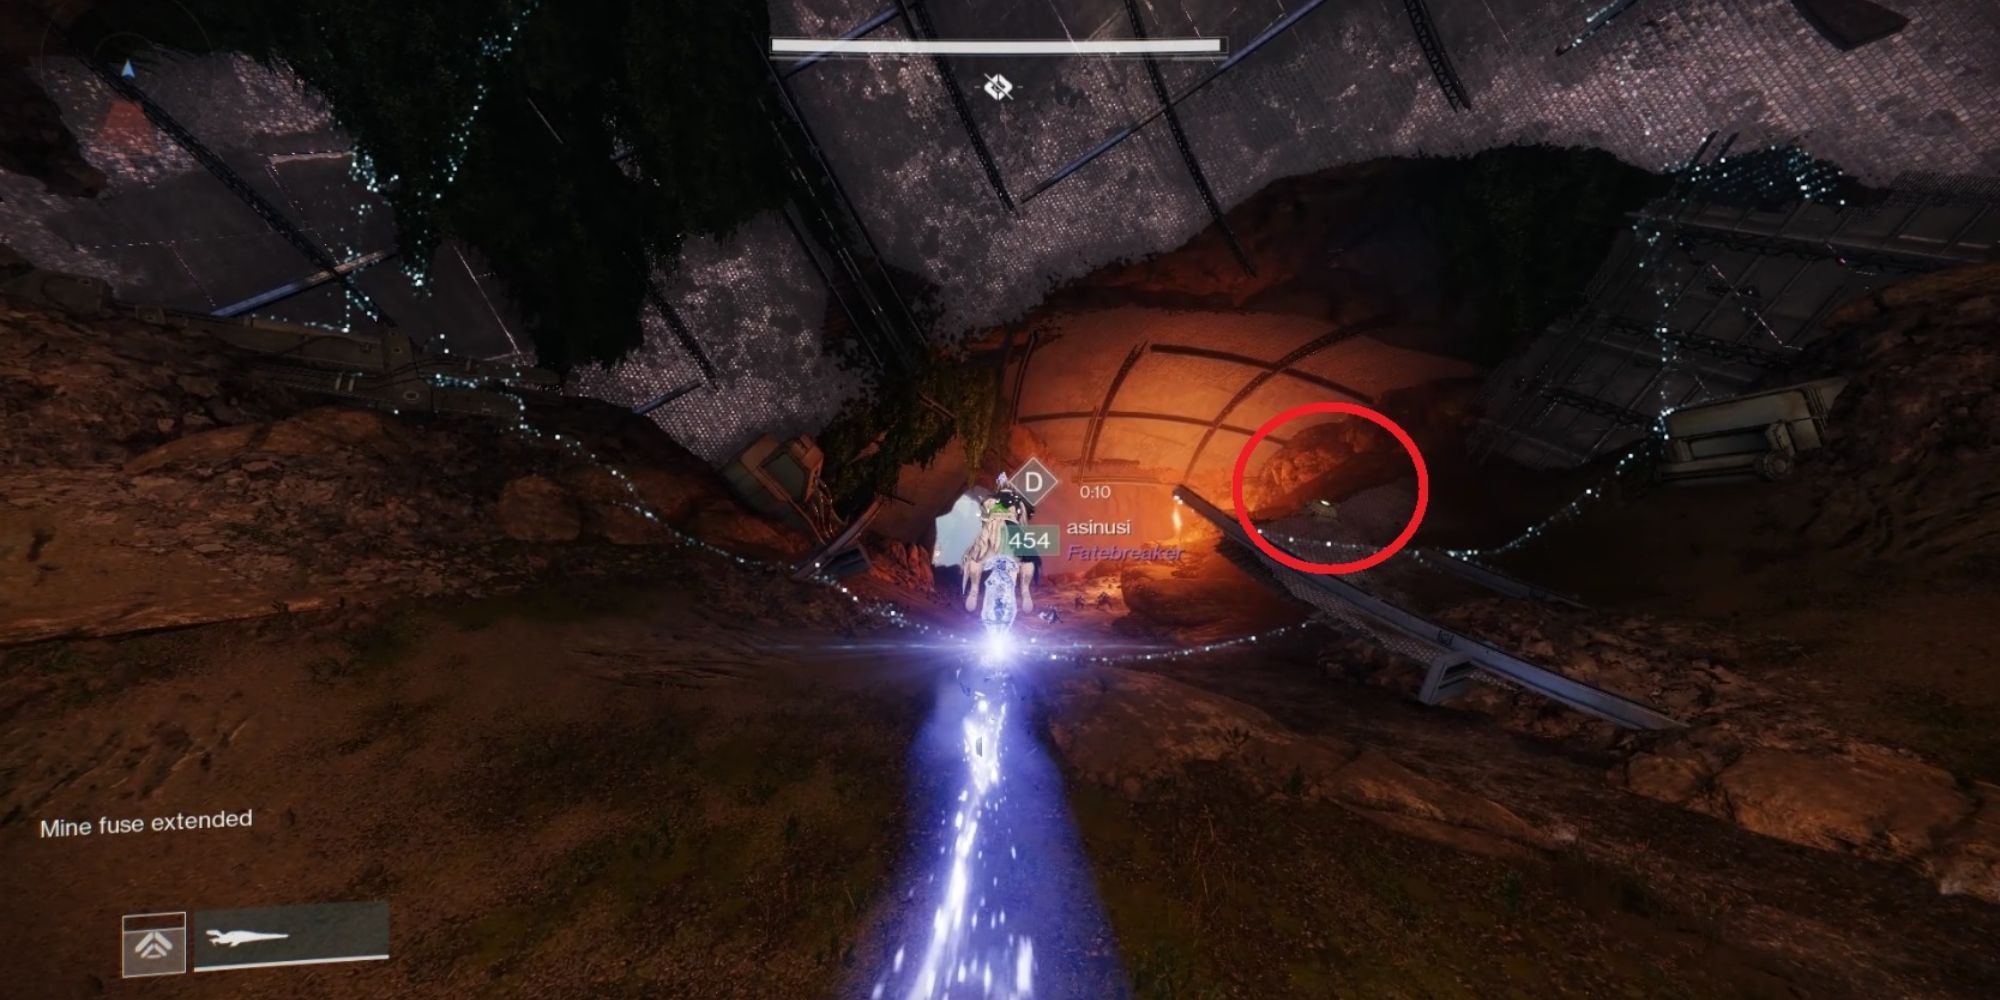
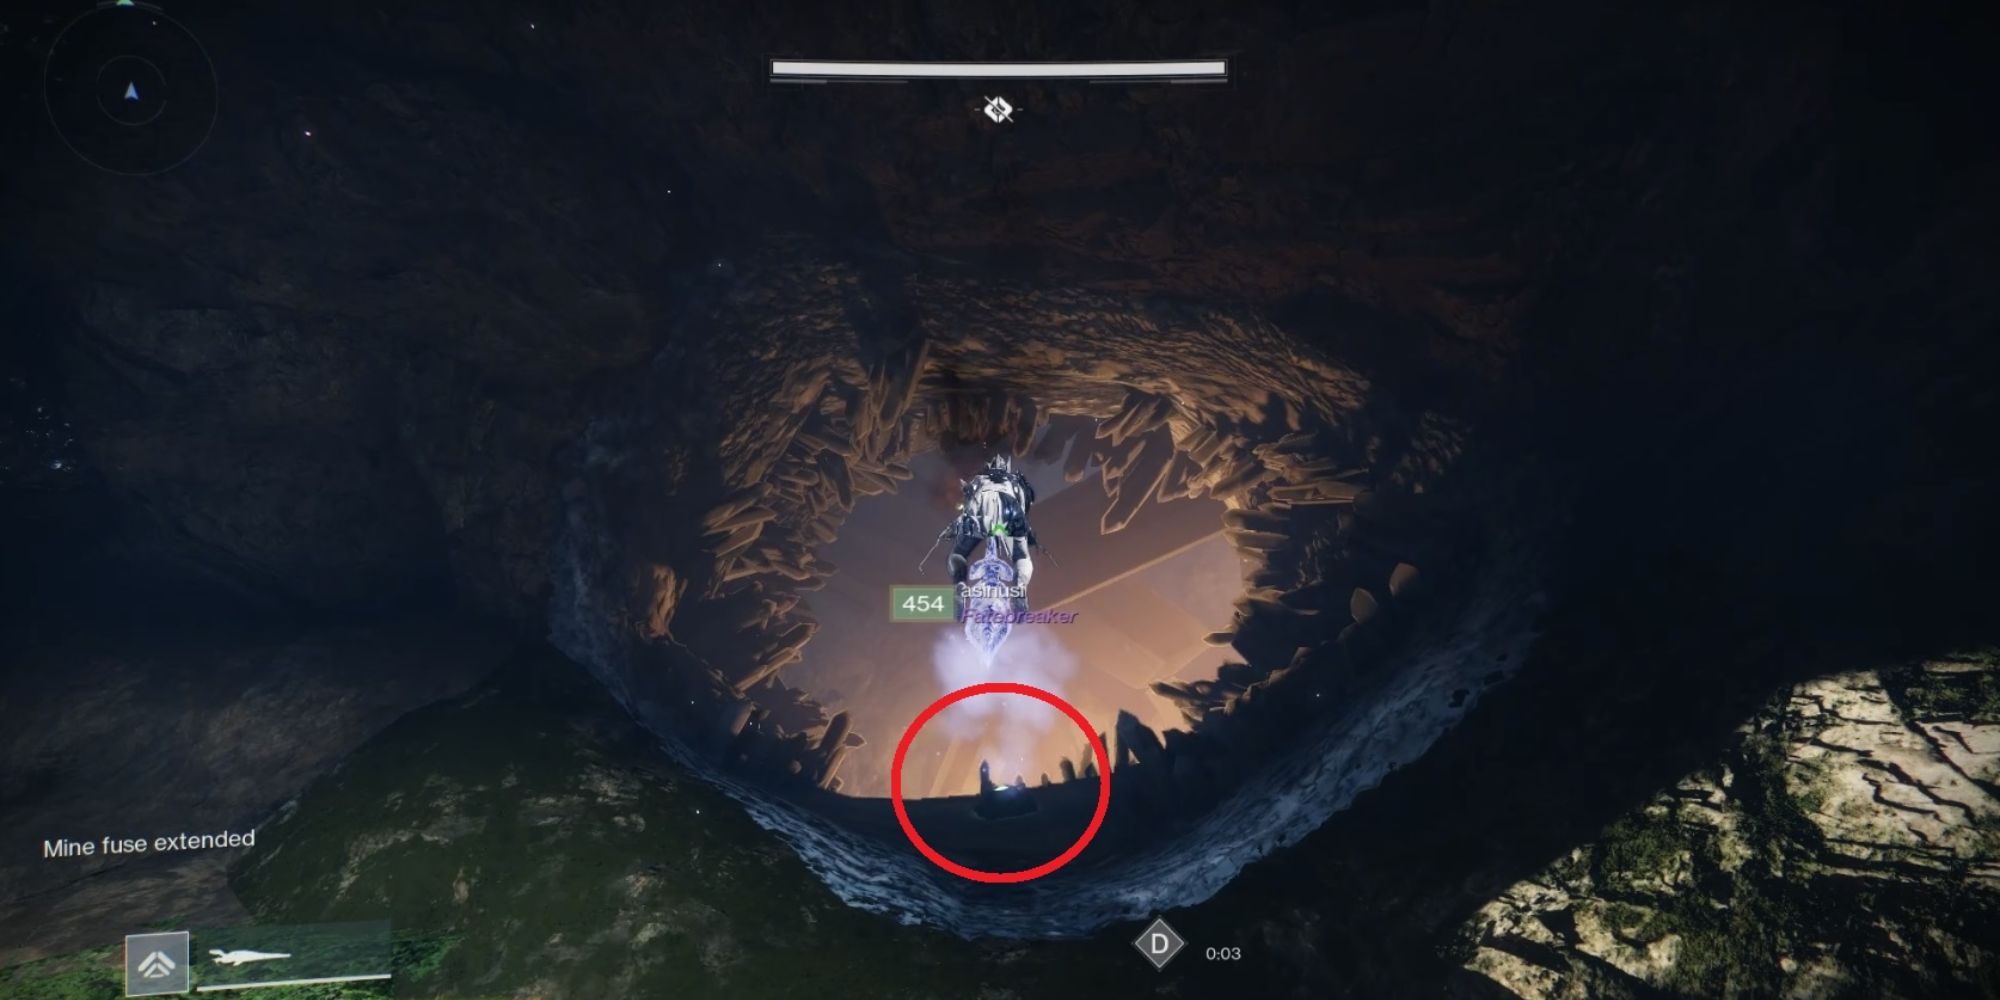
Luckily, scattered across this racing path are several buttons which, when driven over, will be activated and will extend the timer for defusing the next mine. A few of them are easy to find, and some are better hidden:
One button on the right side, close to where players start, on the rocks.
The second one is on a cliff on the left side right before the wreckage of an aircraft. A third one is on the right of the wrecked aircraft.
The fourth button is right next to a small tube-like ramp in the first indoor area after Mine A.
The fifth button is on the left side of the same indoor area, a bit after, on a makeshift ramp.
The sixth button is next to a crate in front of a tree, by the river, just before the Fallen Walker, and right after defusing Mine B.
The seventh one is in the round tunnel players will go through after passing the Walker.
The eighth is on the second ramp, left side of the cave after defusing C.
A final button can be reached by driving into the left purple cannon to cross the chasm into the skull-shaped skull, located exactly inside the skull's left eye.
There's no special strategy to this mission, other than to find as many of these buttons as possible to extend the timer, and to learn the terrain. The path itself is very straightforward, but crossing the final chasm into the skull cave might be tricky if players boost while on their sparrow.
Once players have made it inside the skull, they can grab the chest located inside the skull's left eye (when looking at the skull from the inside). Climb up further in from an opening on the right side and pass through a crystal cavern before dropping down into a large area of water and several islands.
Second Encounter: Destroy The Fallen Shield
- Potential Loot: Hero of Ages Sword, Artifice Arm Armor, Artifice Chest Armor
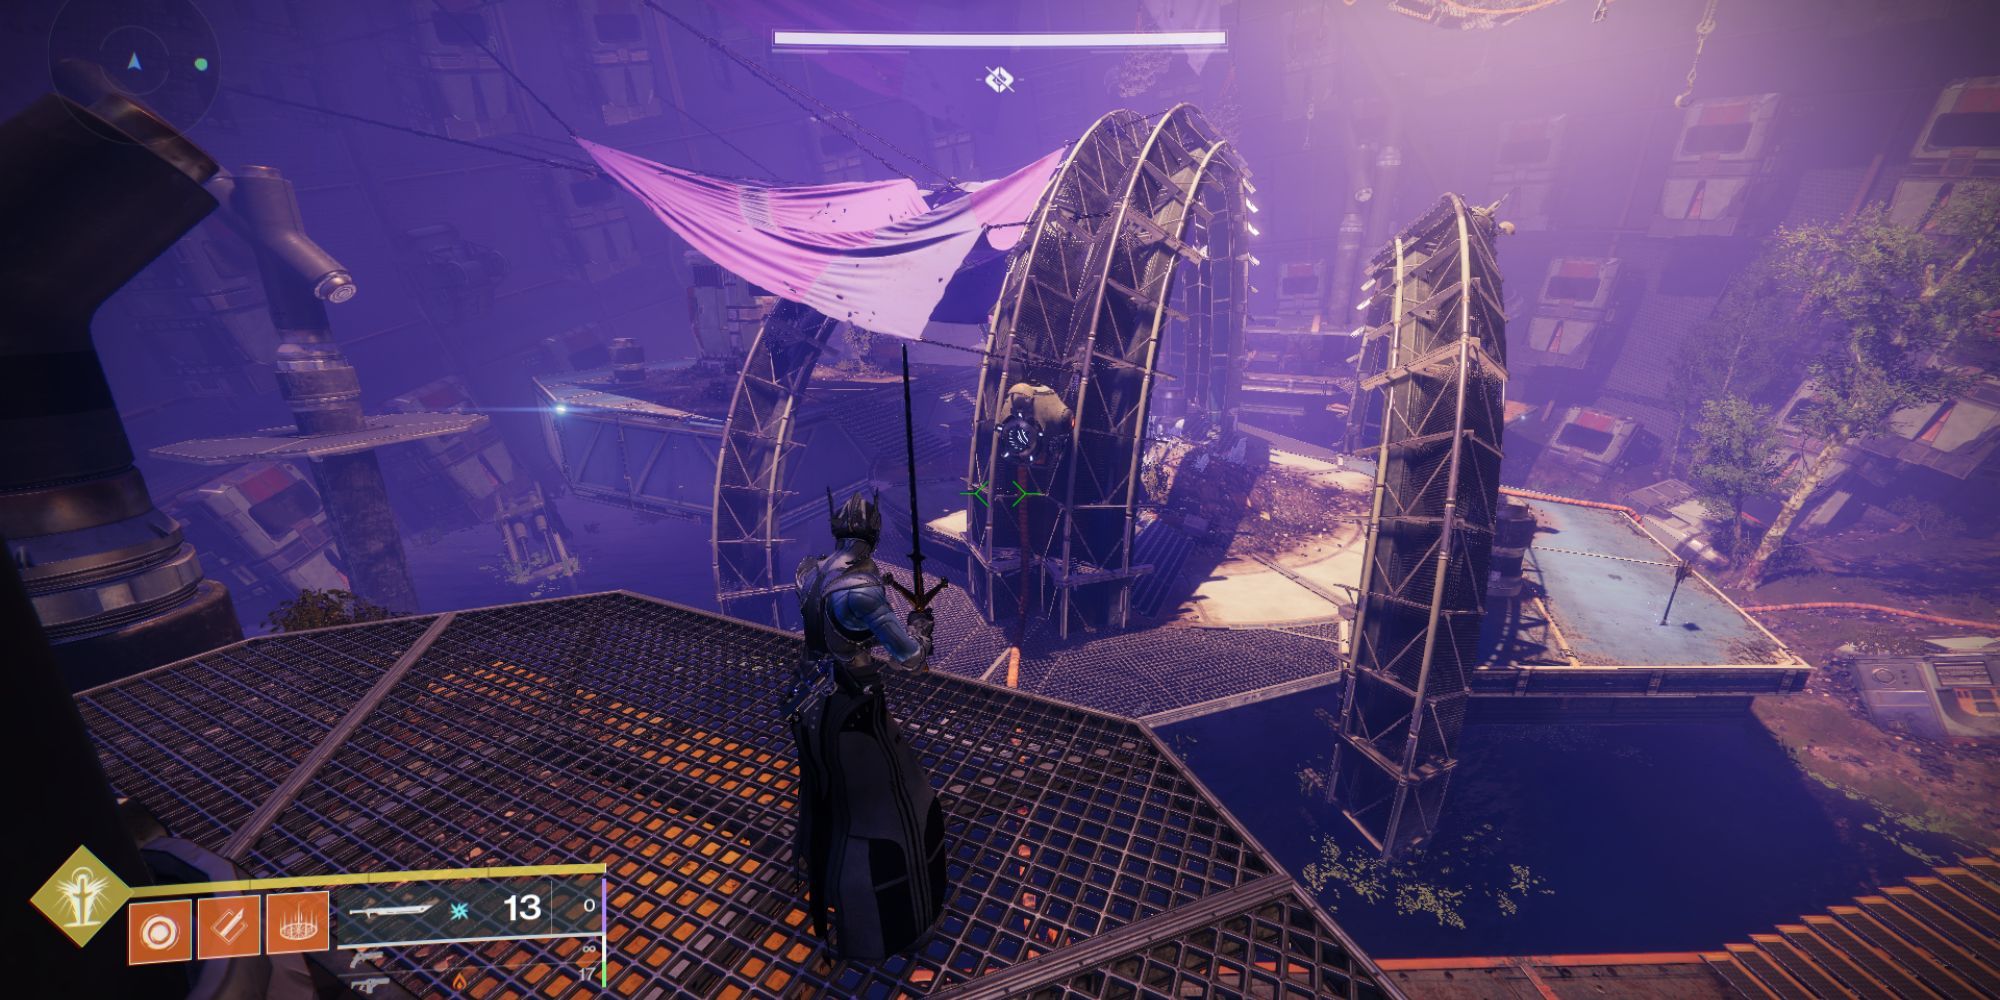
The second "boss" of the dungeon is actually a large sphere blocking the fireteam's entry to the final boss.
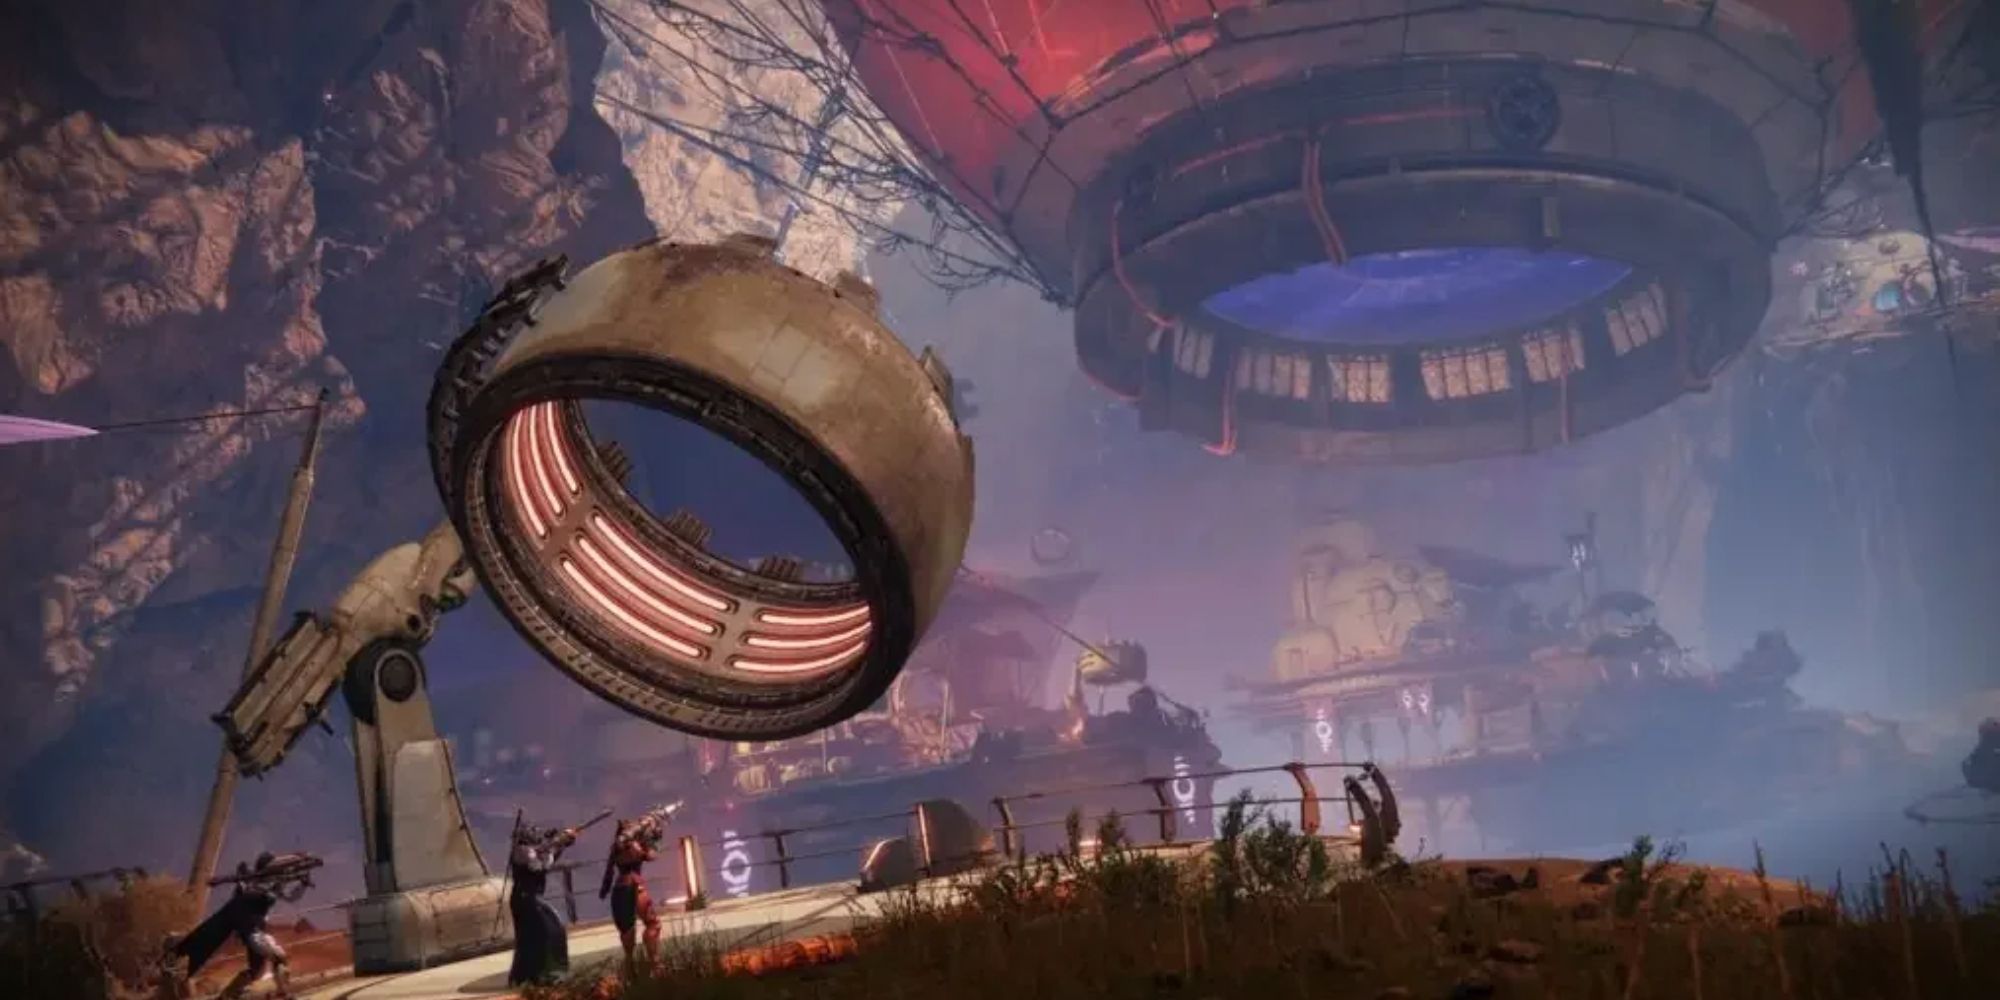
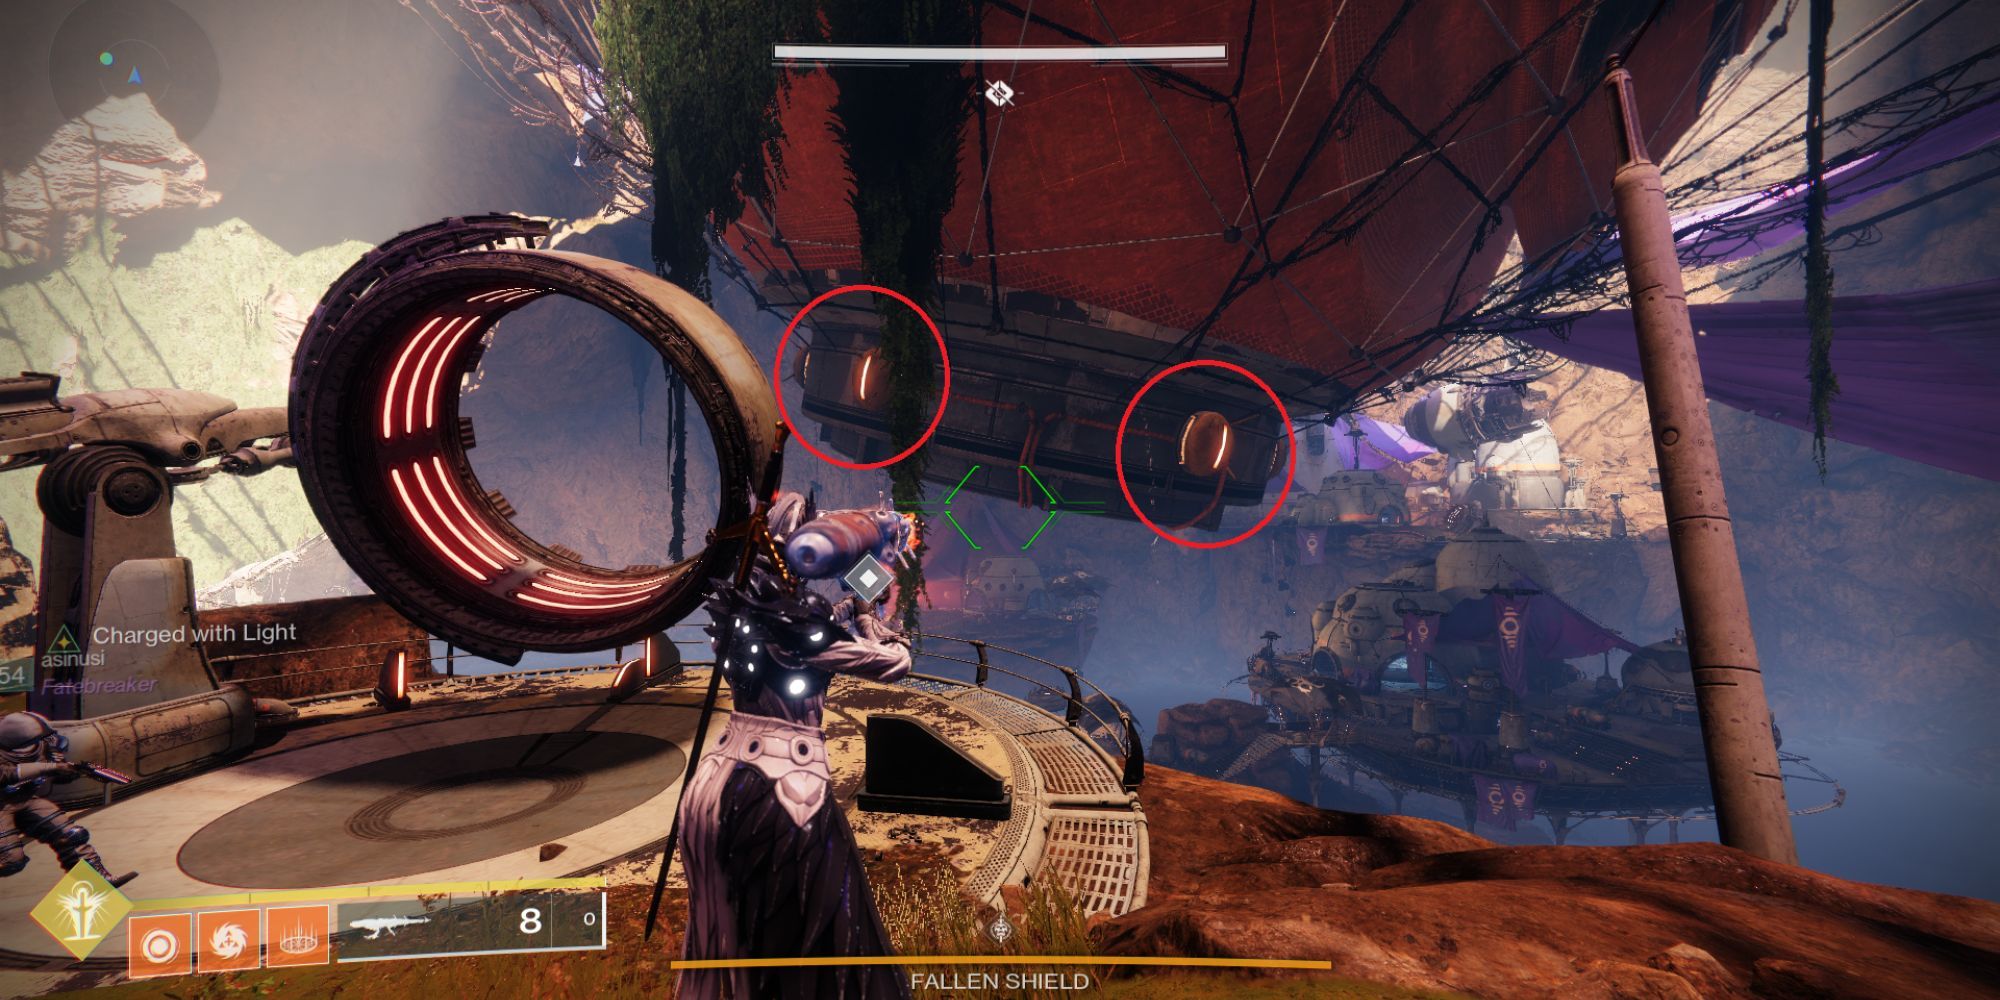
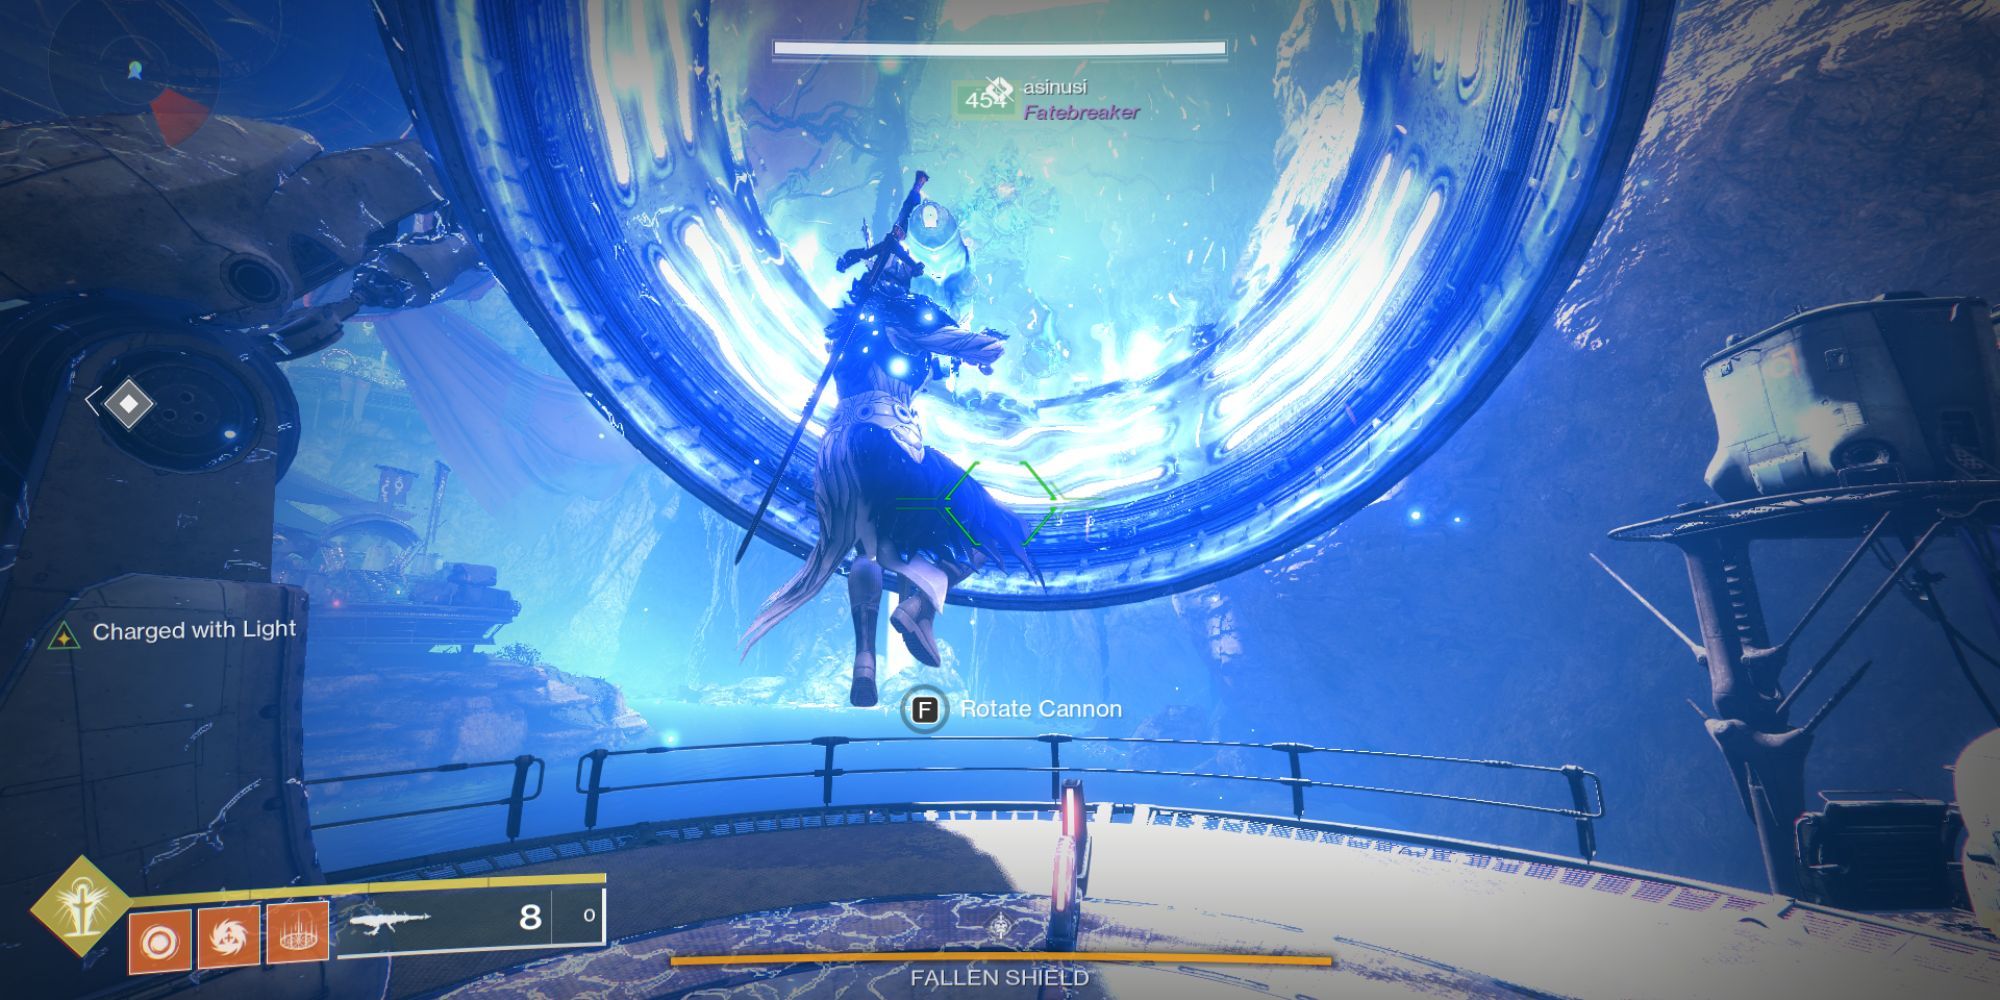
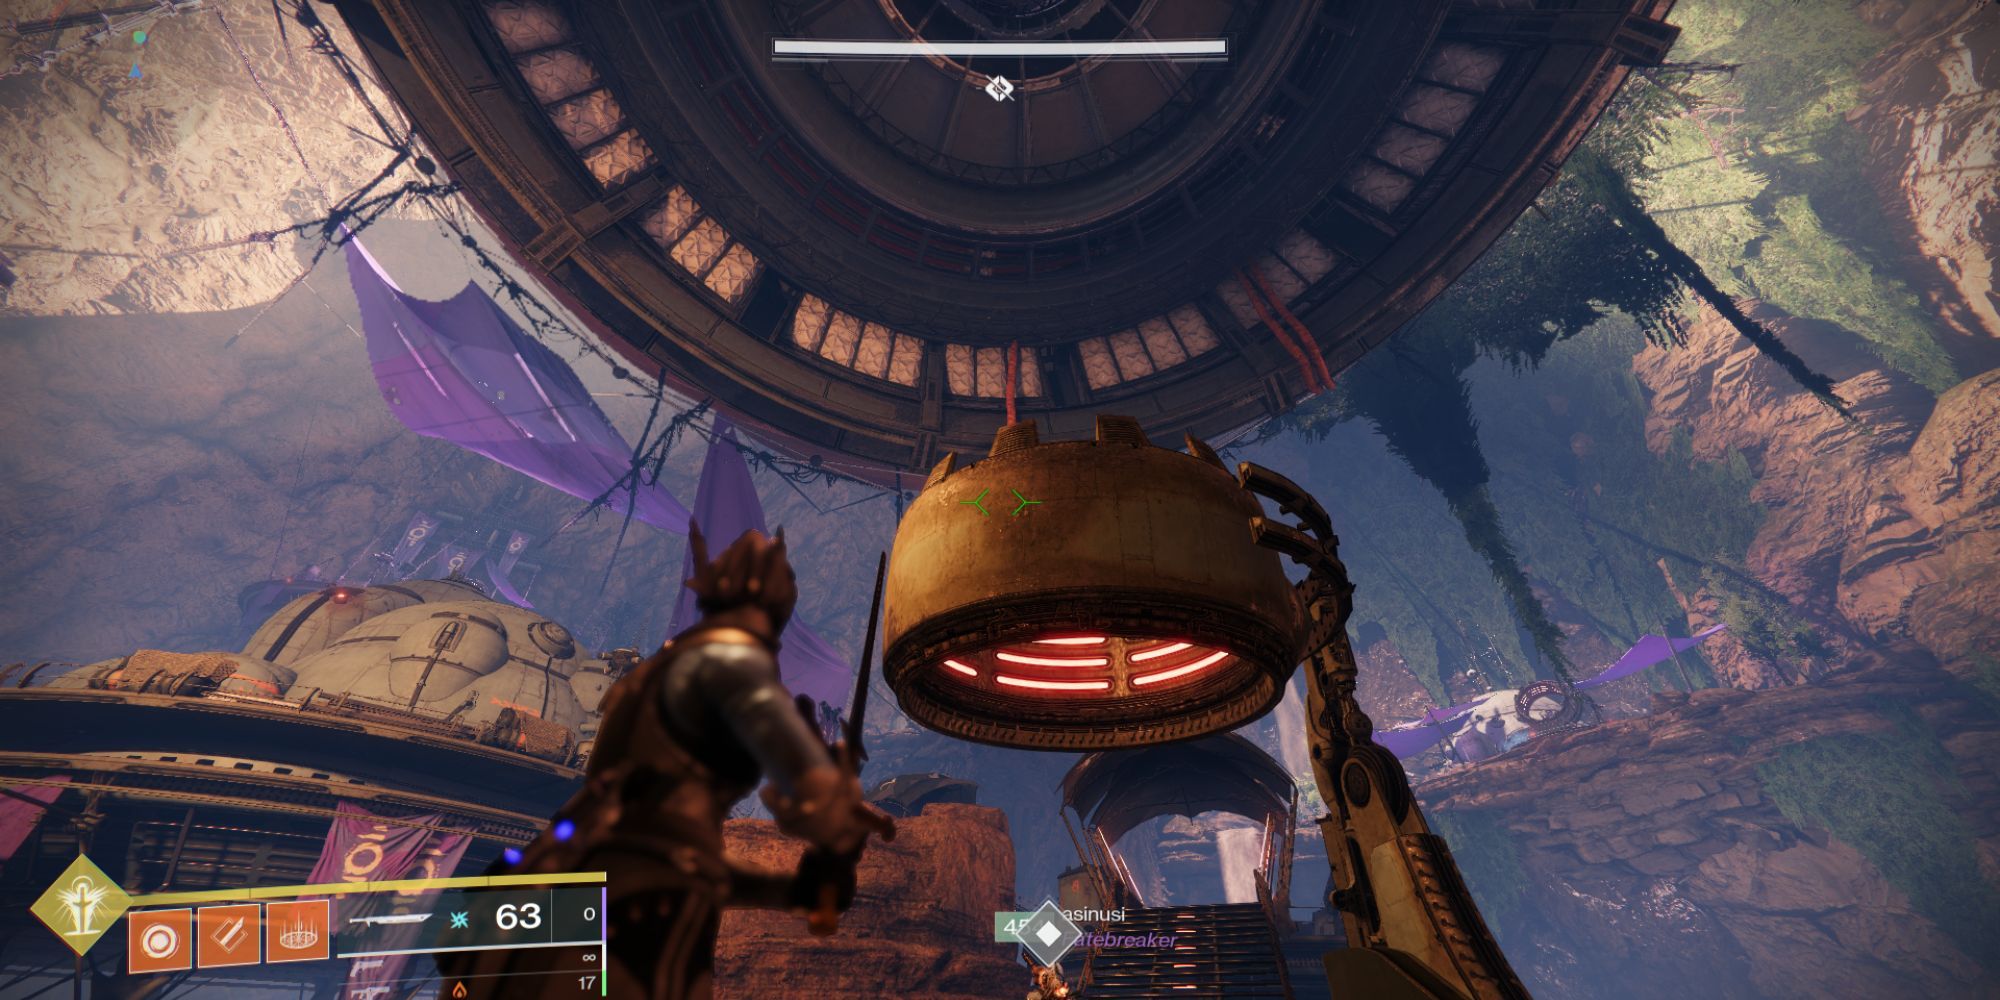
The goal is to destroy the shield by using the large cannons to send explosives on the yellow areas that are keeping the shield up.
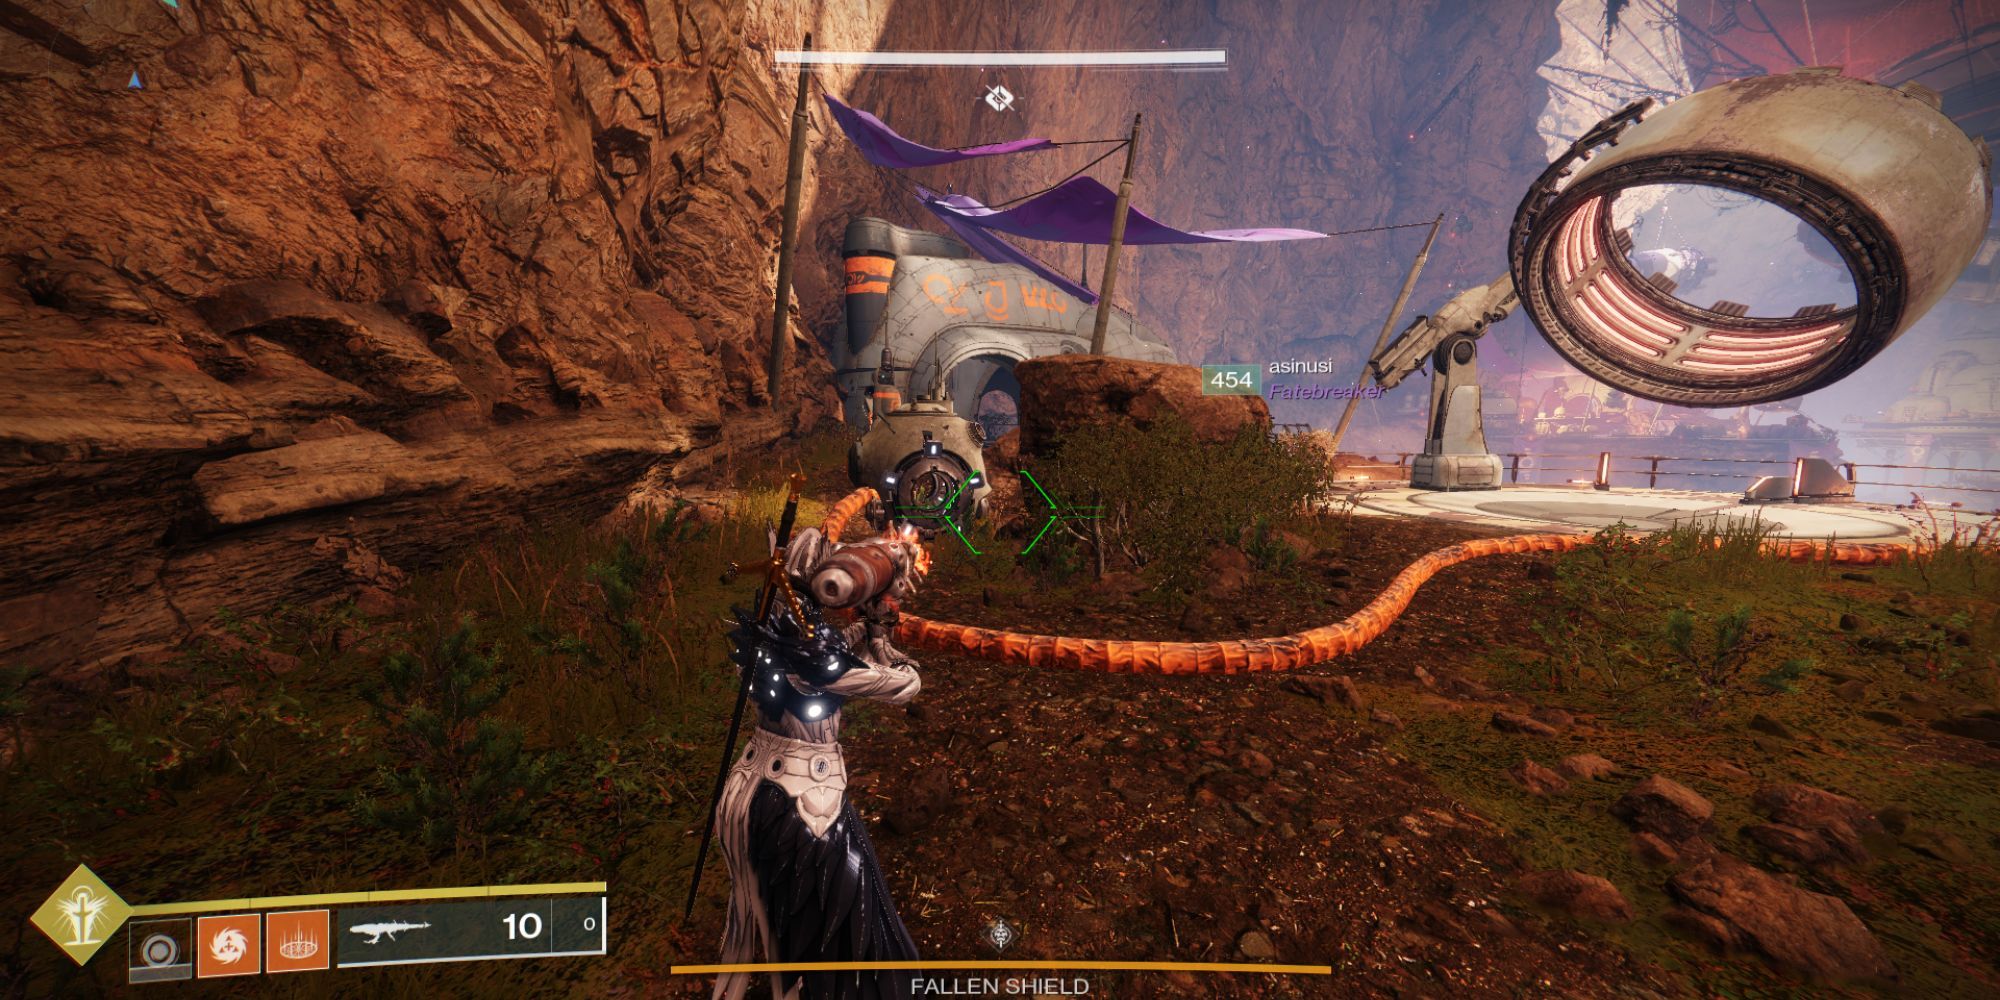
On the first island, kill the Fallen with the Scorch Cannon. Rotate the cannon to the first island on the right to start the encounter, and then power the cannon by shooting into the machine connected to it with a red tube.
Players with the Scorch Cannon can press and hold M1 after shooting into the mechanism, and then release, to make sure they can make it back to the cannon platform in time for launch.
Several other "islands" are located around the large sphere and its shield. Players need to look around and travel to the one which has a Servitor with a white shield around it and a bunch of enemies. Use the cannons to move around easily, and always keep a Scorch Cannon handy.
Once the fireteam finds the Servitor, kill all the regular enemies around it. They will once more drop special engrams, which players must bank at the crystal altar located in one of the buildings on each island. Once enough Burdened by Riches debuffs have been banked, the Servitor's shield will disappear and it can be killed.
The Servitor turns into a ticking timebomb when it dies, with a timer above its head. Players now need to push the bomb towards the cannon platform, rotate the cannon to face the closest yellow area of the center sphere, and then power up the cannon to shoot the bomb into it. This will destroy a part of the Fallen shield. Repeat this process until all yellow parts have been destroyed and the shield is down.
The final chest of this encounter spawns in the middle island. Loot the chest and then take the middle island's cannon up to the ceiling, inside the giant sphere. Head down the short hallway, and prepare for the final boss encounter of the dungeon.
Final Boss: Defeat Captain Avorakk The Covetous
- Potential Loot: Hero Of Ages Sword, Eyasluna Hand Cannon, 1000 Yard Stare Sniper Rifle, Any Artifice Armor Set Piece
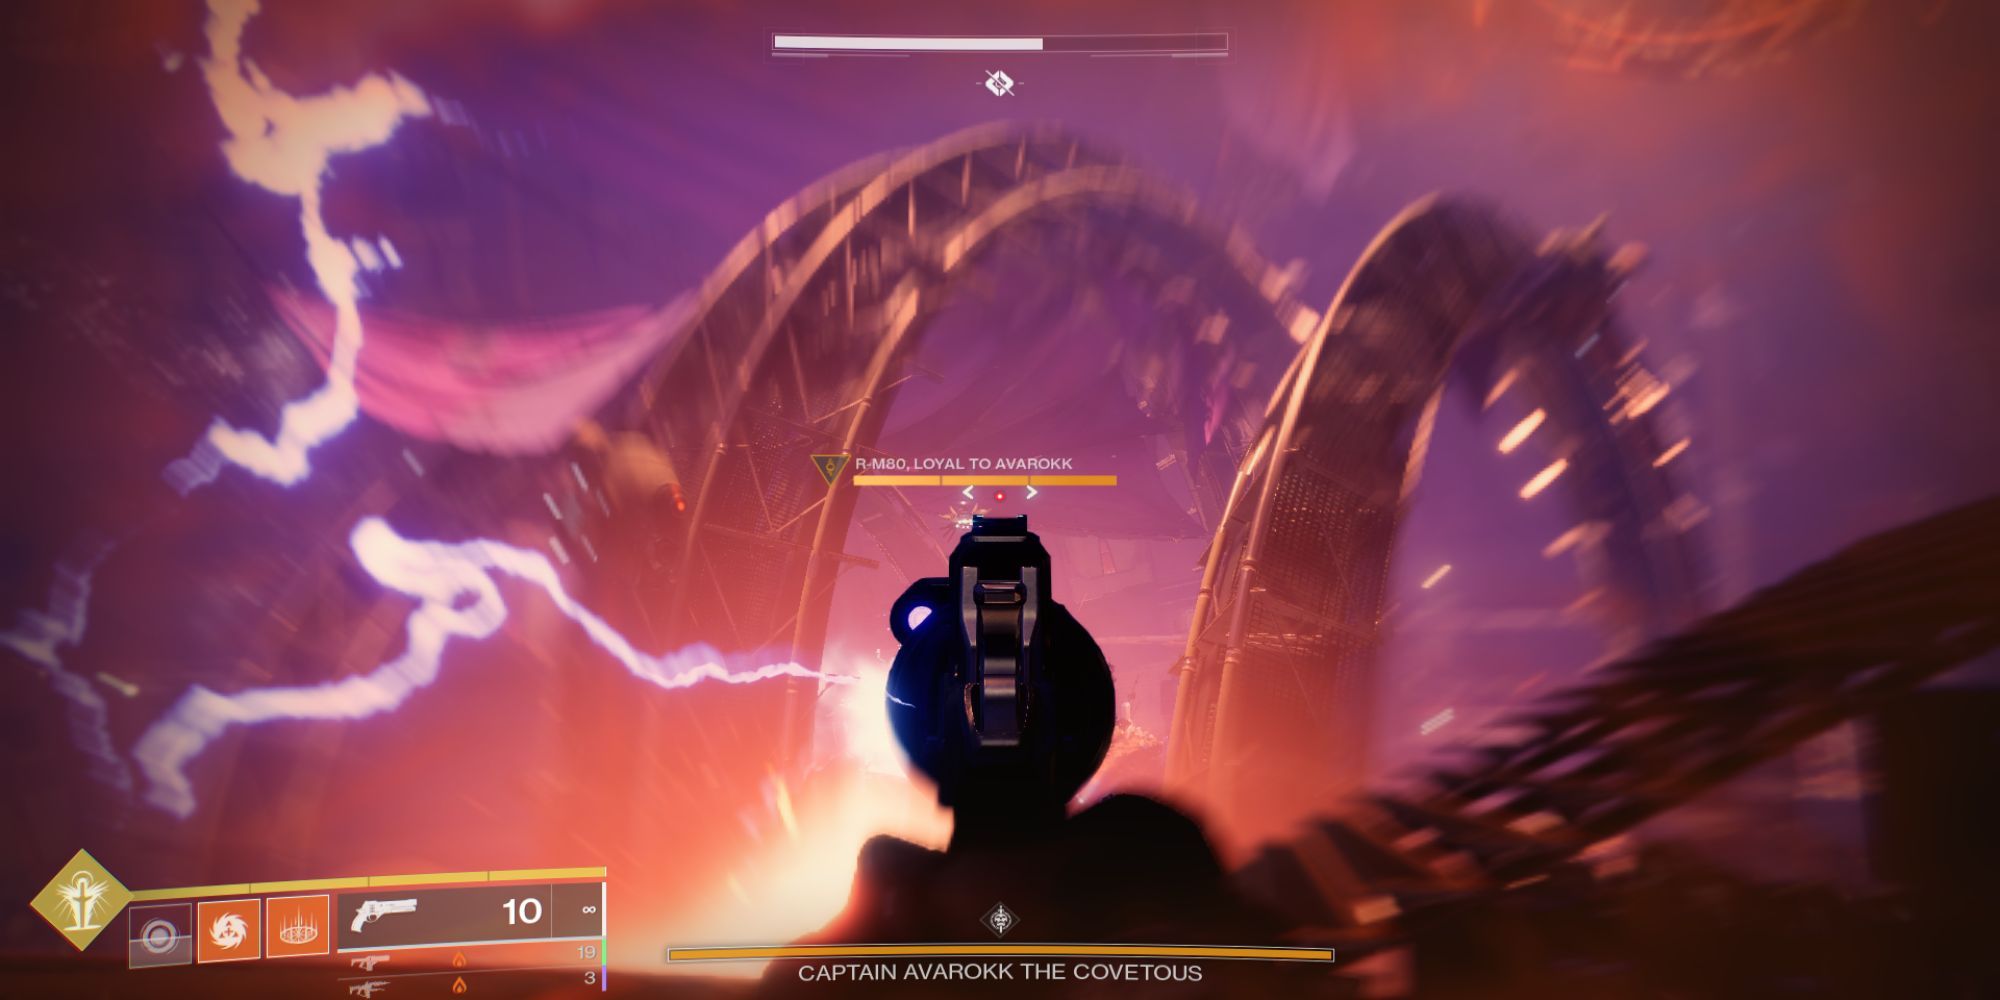
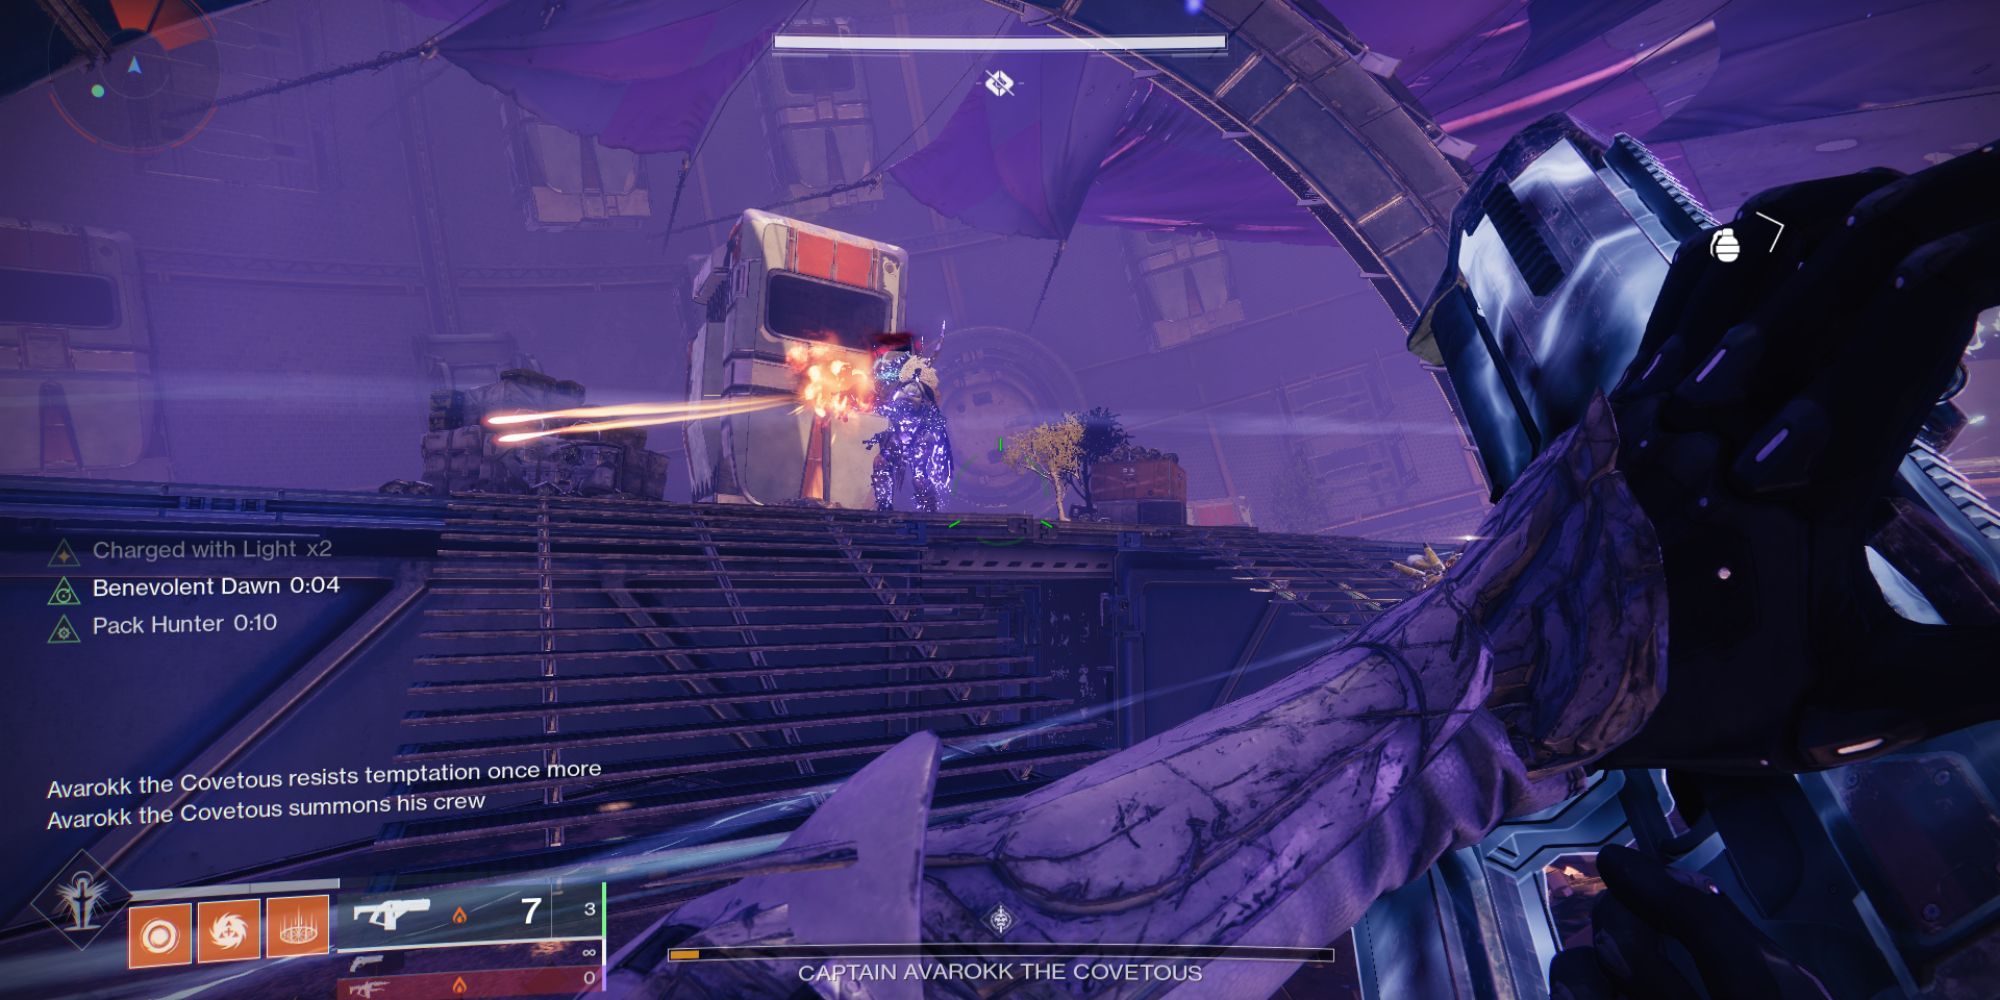
The final encounter will combine the two main mechanisms of the dungeon: special engrams and Scorch Cannons. To start the encounter, rally up at the center area of the arena, and walk past the crystal altar to an engram sitting on the floor. This will spawn Avorakk The Covetous, as well as a ton of other enemies, including two yellow-bar minibosses in the middle.
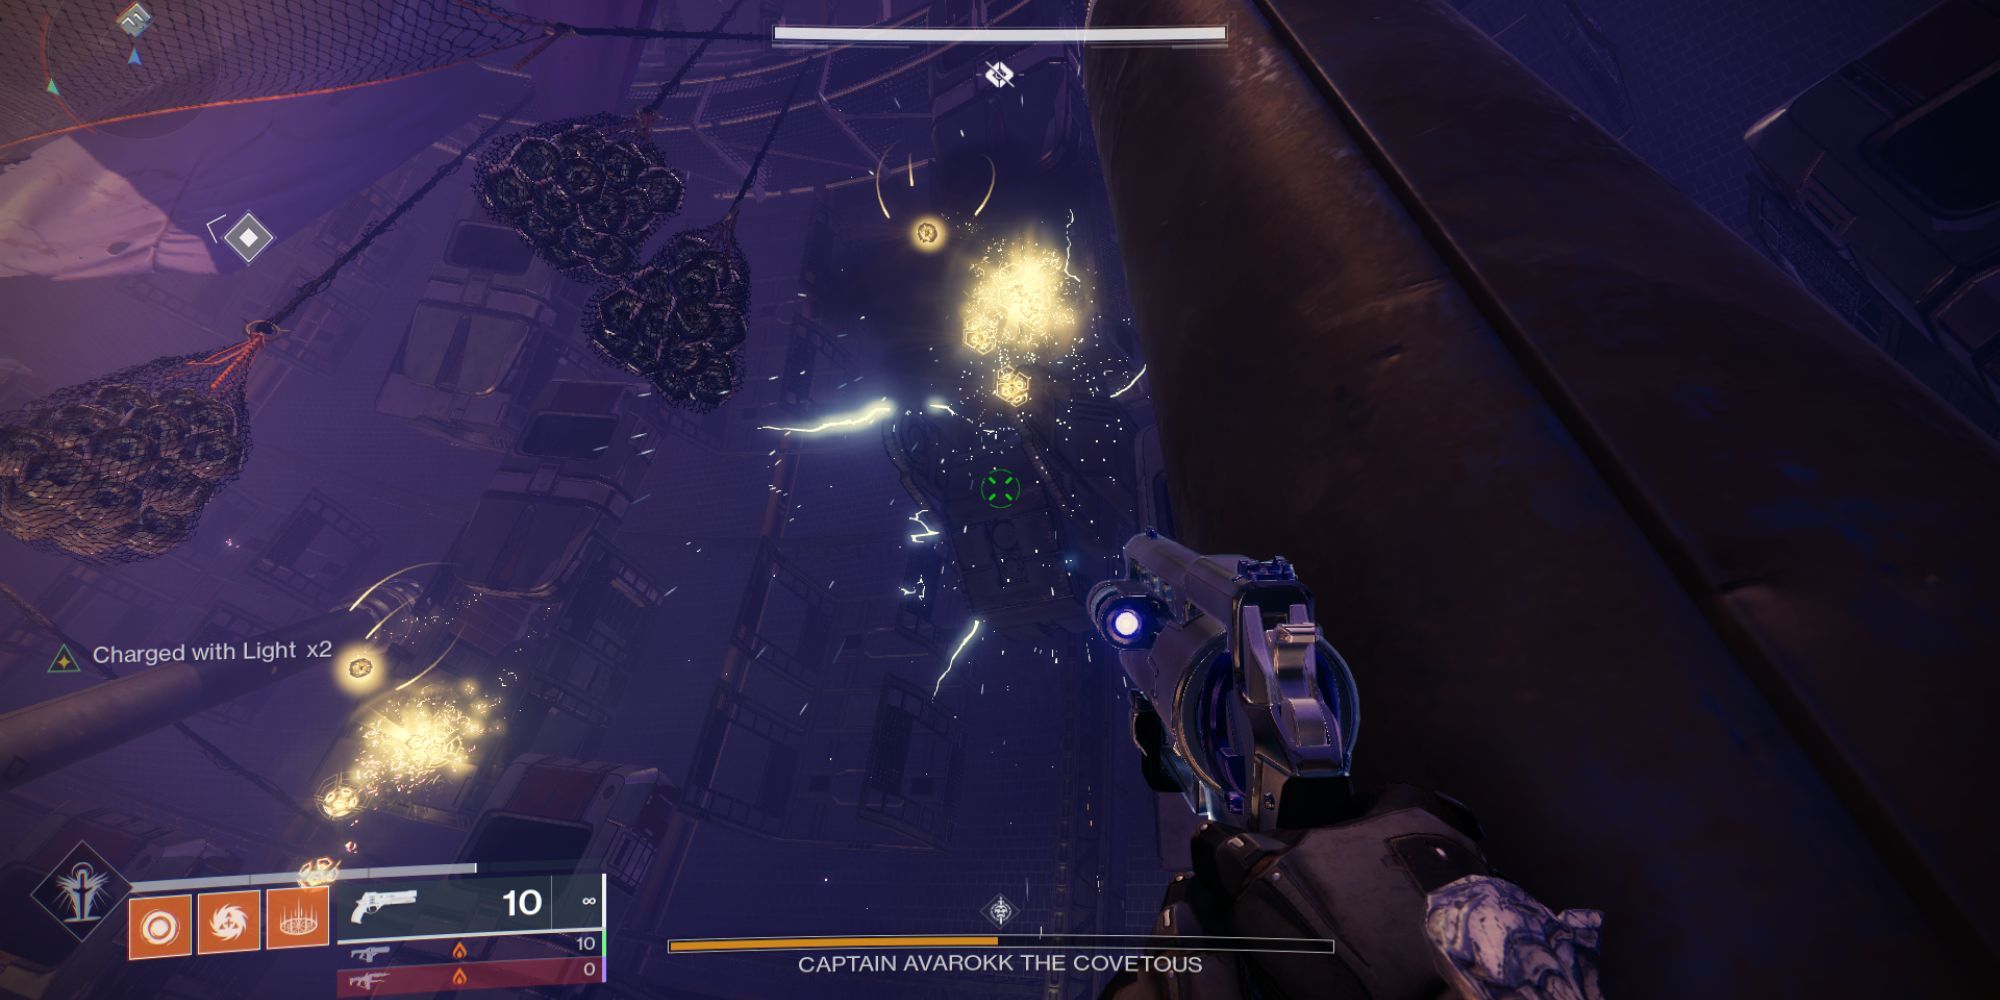
Avorakk is immune to damage at first, and so players must bank special engrams at the crystal altar to trigger the damage phase, just like with the ogre earlier. To get engrams, players will need to fire Scorch Cannon shots into the mechanisms located on the arches of the center arena. There's one in the middle, left and right. Not all of them will be active all the time, so look for one that glows on the inside after defeating the Fallen with the Cannon.
Players can also kill the yellow bar minibosses in the middle for extra engrams.
When triggered, the mechanism will move several crates up on the walls of the chamber and break open crates filled with special engrams. Collect all of them up and bank them at the crystal.
Once Avorakk succumbs to temptation, he will teleport to the back of the arena, and players can begin to damage him. If the encounter isn't completed in one phase, players simply need to repeat the process all over again.
Once defeated, players can loot the chest at the back of the arena and get their first piece of the Gjallarhorn exotic quest.
Destiny 2 was released on September 6, 2017, and is available on PC, PlayStation 4, Xbox One, PlayStation 5, Xbox Series X/S, and Goggle Stadia.

.jpg)
