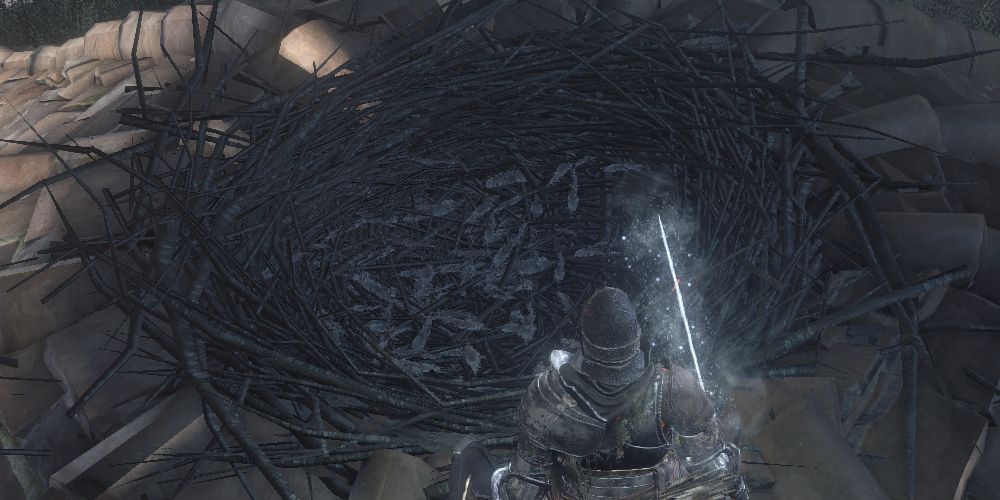
After using the Tower Key to access Firelink Shrine's roof, players will have the opportunity to trade with Dark Souls 3's Pickle Pee, Pump-a-Row Crow. However, this unseen NPC is not willing to take every item that a fan might place in its nest, and it is certainly not uncommon for an offering to be outright rejected by Pickle Pee. For those players that are curious about exactly what items this crow will accept, and what it will provide in return, a list of Dark Souls 3 Pickle Pee trade items may be useful.
Before detailing all of the Pickle Pee trade items in Dark Souls 3, it is worth mentioning that players can only make each of these exchanges once per New Game. This means, as an example, that fans cannot stockpile Titanite Chunks by giving this DS3 NPC Black Firebombs in large quantity, and players will know that they have already offered an item if Pickle Pee responds with "Enough, enough."
Updated February 1st, 2022 by Russ Boswell: Although Elden Ring is right around the corner, there are still droves of dedicated players running through Dark Souls 3. Even in 2022 there are gamers loading up this FromSoftware classic for the first time (perhaps in anticipation of Elden Ring at the end of this month). One of the most interesting mechanics in Dark Souls 3 is a trading mechanic with an adorable crow. To better help new players decide what items they want to part with, the following list has been updated to include even more information about what Pickle Pee offers.
Dark Souls 3 All Pickle Pee Trade Items
- Alluring Skull → Hello Carving
- Avelyn → Titanite Scale (3)
- Black Firebomb, Rope Black Firebomb → Titanite Chunk
- Blacksmith Hammer → Titanite Scale
- Coiled Sword Fragment → Titanite Slab
- Divine Blessing → Very Good Carving
- Eleonora → Hollow Gem
- Firebomb, Rope Firebomb → Large Titanite Shard
- Hidden Blessing → Thank You Carving
- Homeward Bone → Iron Bracelets
- Large Leather Shield → Twinkling Titanite
- Lightning Urn → Iron Helm
- Loretta's Bone → Ring of Sacrifice
- Mendicant's Staff → Sunlight Shield
- Moaning Shield → Blessed Gem
- Prism Stone → Twinkling Titanite
- Sacred Chime (Any) → Help Me Carving
- Seed of a Giant Tree → Iron Leggings
- Shriving Stone → I'm Sorry Carving
- Siegbrau → Armor of the Sun
- Undead Bone Shard → Porcine Shield
- Vertebra Shackle → Lucatiel Mask
- Xanthous Crown → Lightning Gem
As players that peruse this list of Dark Souls 3 Pickle Pee drops will see, leaving acceptable items in the crow's nest is good way to get a number of different upgrade materials, including Gems and Titanite of various types. It is also the only method for obtaining the unique Carvings that are available in DS3, and fans that are looking to improve their online communication should consider trading for these strange tools.
One very important thing to say about trading with Pickle Pee in DS3 is that players should be very careful not exit the game or the area before they have collected their items from the nest. Indeed, any item that the crow gifts to a fan will be lost if this advice is not followed, and players will not be able to trade for it again until they reach the NPC in a subsequent Dark Souls 3's New Game Plus playthrough.
A Closer Look At What Players Can Get From Pickle Pee
For the most part, the items that players can snag from Pickle Pee the crow are helpful and useful in their own right. However, some items may not be nearly as useful as others when it comes to specific player builds and some players may be a bit disappointed in the item they receive in trade. Some players may even wish they had kept the original item after finding out what Pickle Pee gives them in return for it.
To better help players make an informed decision about what they may want to trade to Pickle Pee or keep for themselves, here's an in-depth look at everything the crow has to offer.
|
Item |
Effect |
|---|---|
|
Armor of the Sun |
Chest Piece. Part of set worn by Solaire of Astora. |
|
Blessed Gem |
Used to create a Blessed Infusion. |
|
Hello Carving |
A tool with unlimited uses that, when used, leaves an audible "Hello" sound. |
|
Help Me Carving |
A tool with unlimited uses that, when used, leaves an audible "Help Me" sound. |
|
Hollow Gem |
Used to create a Hollow Infusion. |
|
I'm Sorry Carving |
A tool with unlimited uses that, when used, leaves an audible "I'm Sorry" sound. |
|
Iron Bracelets |
Arms. Part of set worn by Solaire of Astora. |
|
Iron Helm |
Helmet. Part of set worn by Solaire of Astora. |
|
Iron Leggings |
Leggings. Part of set worn by Solaire of Astora. |
|
Large Titanite Shard |
Used to upgrade regular weapons to 6. |
|
Lightning Gem |
Infuses a weapon with Lightning Damage. |
|
Lucatiel Mask |
Helmet. Part of the Mirrah Set. |
|
Porcine Shield |
An infusible shield shaped like a pig's head. |
|
Ring of Sacrifice |
Prevents the player from losing souls if they die. |
|
Sunlight Shield |
Shield. Part of set worn by Solaire of Astora. |
|
Thank You Shard |
A tool with unlimited uses that, when used, leaves an audible "Thank You" sound. |
|
Titanite Chunk |
Used to upgrade regular weapons from levels 6 - 9. |
|
Titanite Scale |
Used to upgrade regular weapons to 4. |
|
Titanite Slab |
Used to upgrade regular weapons past 9. |
|
Twinkling Titanite |
Used to upgrade unique weapons to 4. |
|
Very Good Carving |
A tool with unlimited uses that, when used, leaves an audible "Very Good" sound. |
Dark Souls 3 is available now for PC, PS4, and Xbox One.


