Highlights
- Dark Souls 3 features challenging boss fights that divide the community, with some arguing they are too easy and others finding them incredibly difficult.
- The Curse-Rotted Greatwood, High Lord Wolnir, Vordt of the Boreal Valley, Iudex Gundyr, Oceiros, and Dragonslayer Armour are just some of the tough bosses players will face in the game.
- Players should study each boss's attack patterns and use appropriate strategies and weapon choices to defeat them. Dodging, parrying, and utilizing elemental damage are effective techniques.
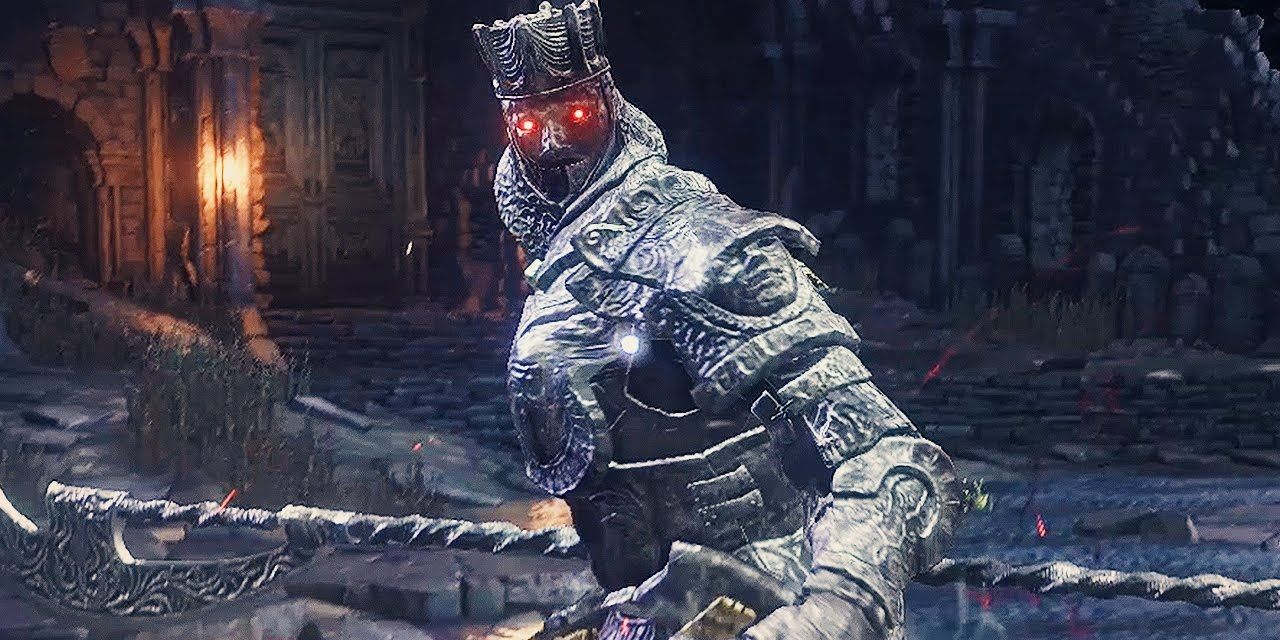
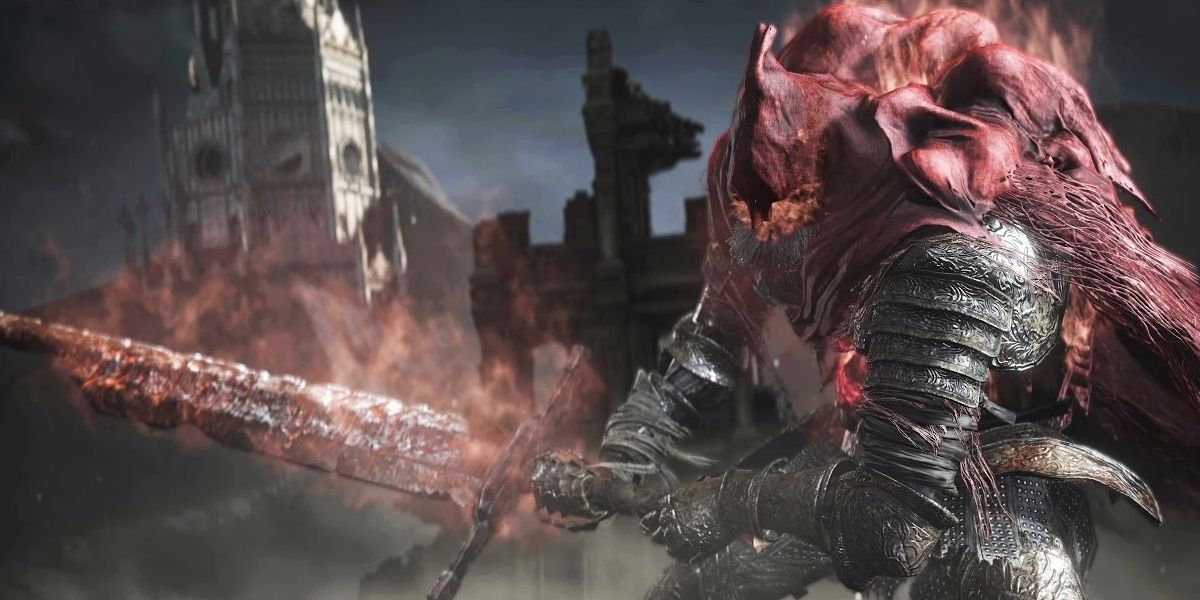
The Dark Souls series is renowned for its grueling boss fights, yet Dark Souls 3 is possibly the most divisive game in the series. The direction that developer FromSoftware took with its bosses tends to cause heated discussions in the Souls community. Some would argue that they are too easy, but the game's optional bosses bring a new meaning to the word "difficult."
Dark Souls 3: All Staff Weapons, Ranked
Dark Souls 3 has a plethora of staffs that players can choose from, but these are the best options.In Dark Souls 3, players embark on a journey as the Ashen One. Their goal is to return the five Lords of Cinder to their rightful thrones so that they may link the flame at Firelink Shrine. To accomplish this goal, players must face a plethora of painstaking bosses. These monumental encounters can be pretty challenging in their own right, and players must be confident in their equipment and skills to beat some of the toughest enemies in the game.
Updated on April 23, 2024, by Ritwik Mitra: Dark Souls 3 is a fitting end to one of the most unique action RPG trilogies of all time that sparked an entire subgenre of its own that fans can't get enough of. While some people would argue that the third game does end up retreading tried-and-tested concepts, and the level design is a step back from the first game, the enduring sense of discovery and the satisfaction one can enjoy from toughing it out against challenging enemies and bosses is endlessly rewarding. There are many tough bosses that players can encounter in Dark Souls 3, with most of them wasting no time in showing players who the boss is. That said, some of these relentless foes are much harder to deal with than others.
21 Yhorm The Giant
Can Be Easy Or Hard, Depending On Whether Players Use The Stormbreaker
|
Health |
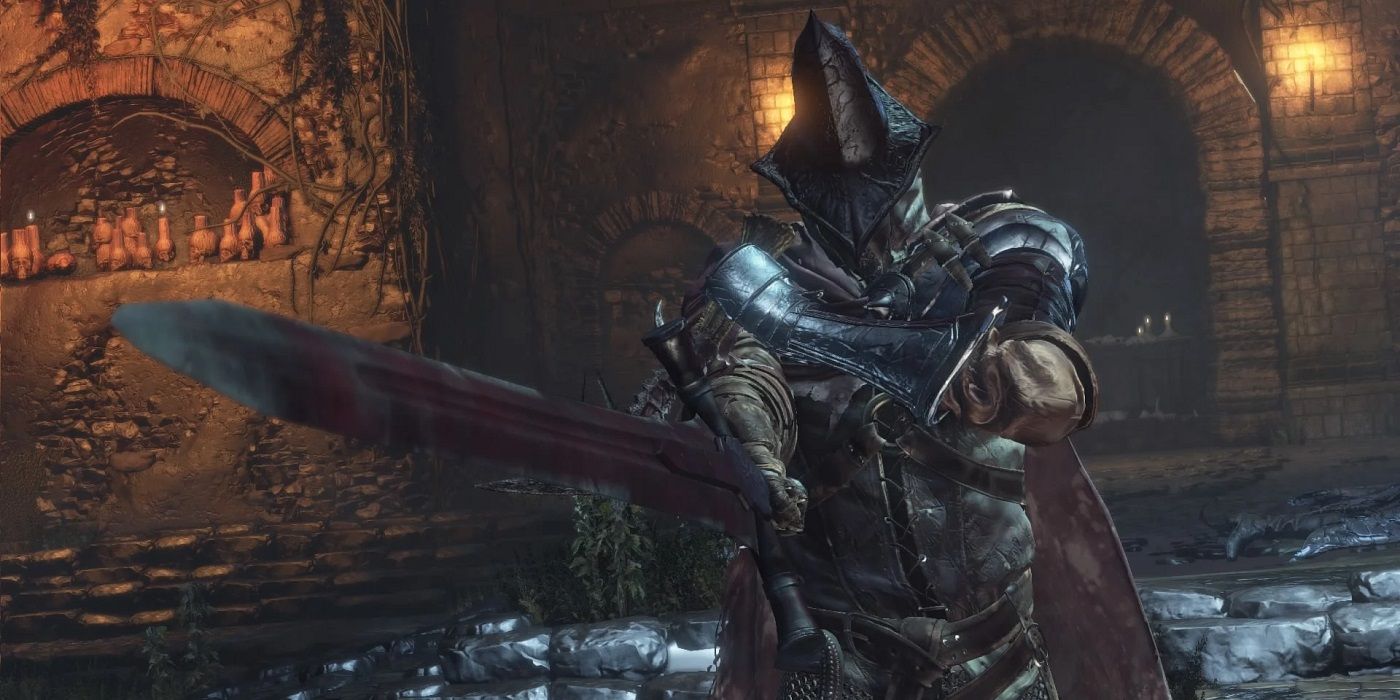
27,822 |
|---|---|
|
Souls |
36,000 |
|
Location |
Profaned Capital |
|
Drops |
Soul of Yhorm the Giant, Cinders of a Lord |
Yhorm the Giant is a powerful entity that serves as one of the Lords of Cinder that players must defeat to progress through the game. The funny part is that Yhorm is both the easiest and hardest boss in the game based on whether players figure out his secret.
If not, then they'll have to spend a lot of time hacking his limbs, doing minuscule damage, and repairing their weapon to get this painful job done, which is much easier said than done.
Tips For Defeating Yhorm The Giant
Unlike most other bosses, Yhorm is more of a puzzle boss, with players needing to use the special Weapon Art of the Stormbreaker to deal a ton of damage with each hit. Alternatively, if they've been following Siegfried's questline, then he'll join the fray and use Stormbreaker to intensify the damage dealt.
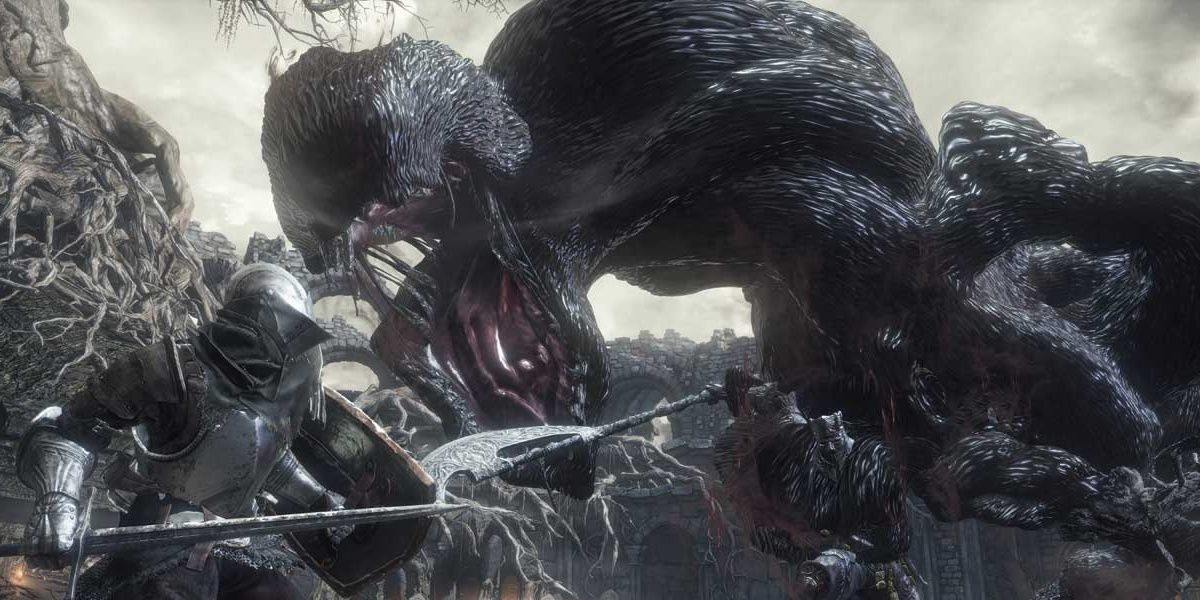
20 Curse-Rotted Greatwood
Can Be Tricky To Defeat In The Early Game
|
Health |
5,405 |
|---|---|
|
Souls |
7,000 |
|
Location |
Undead Settlement |
|
Drops |
Transposing Kiln, Soul of the Rotted Greatwood |
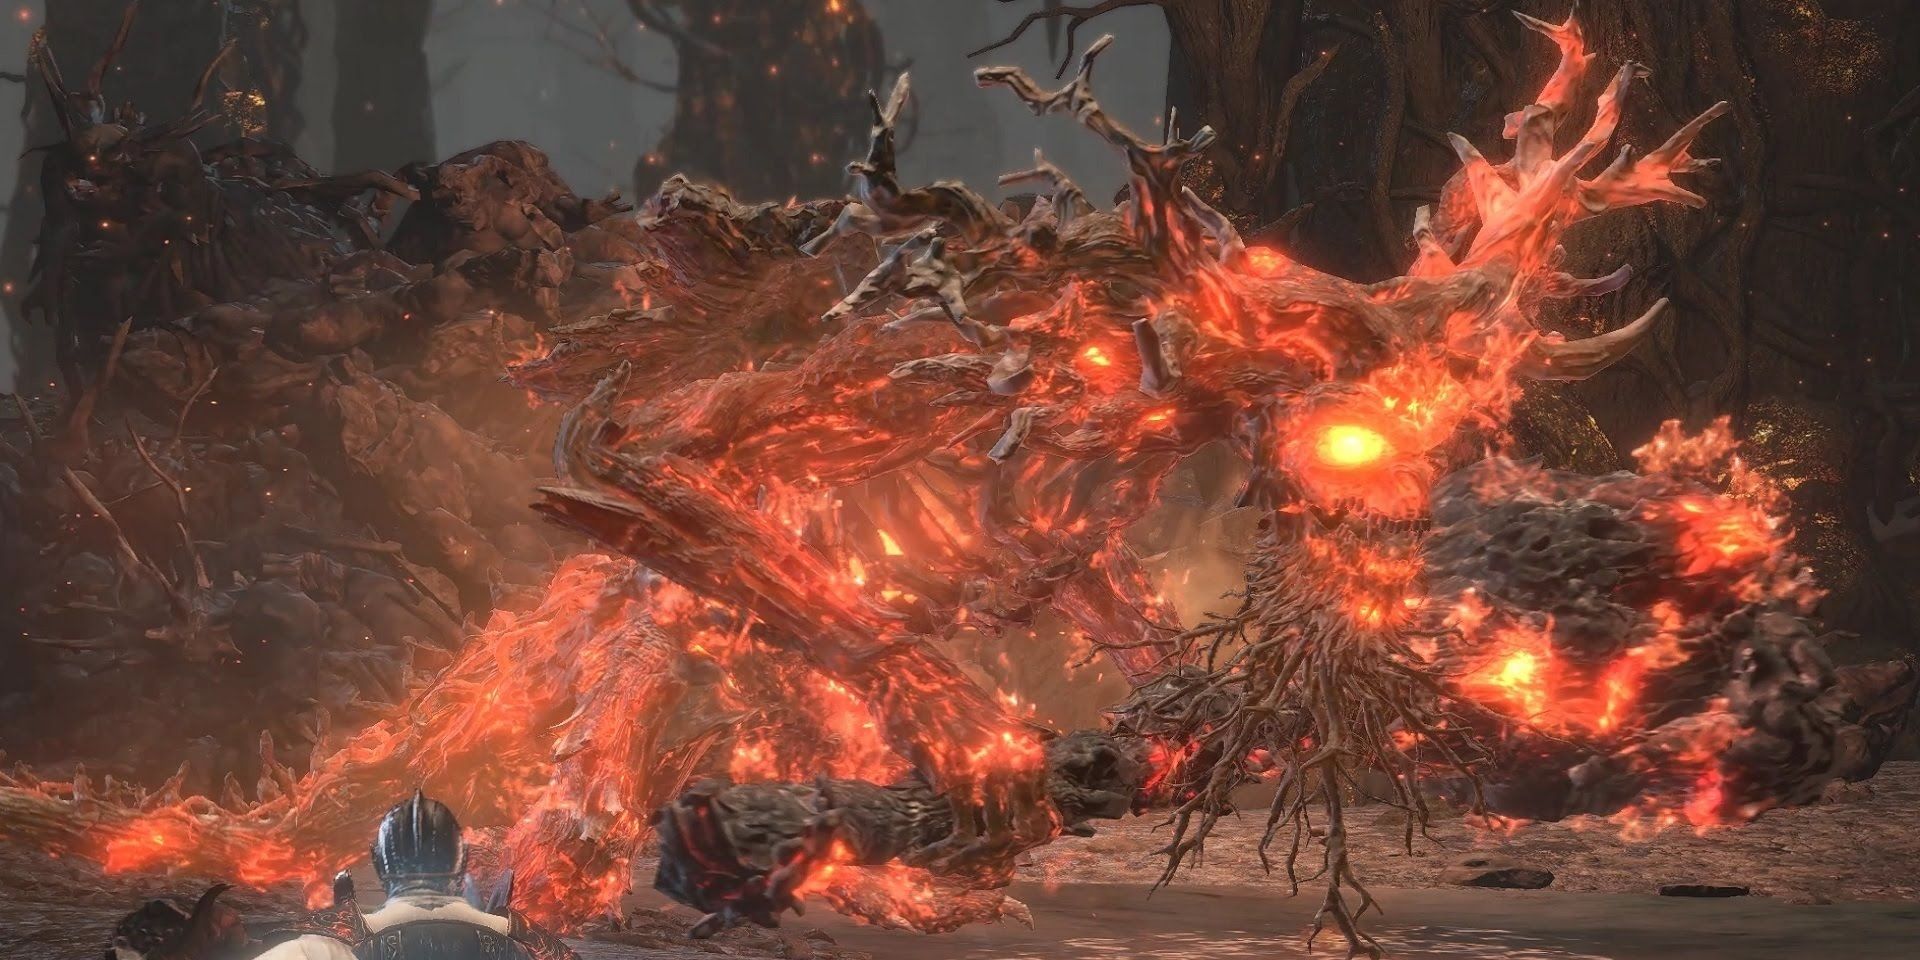
The Curse-Rotted Greatwood is one of the earliest boss fights in Dark Souls 3, which significantly affects its difficulty as players are often under-leveled when they pass through the optional boss' fog gate.
The old spirit tree's attacks are slow and heavily telegraphed, but they pack an almighty punch that can one-shot some players if they're not careful. When it comes to ranking the Dark Souls 3 bosses, the Curse-Rotted Greatwood is more accessible than most but harder than some.
Tips For Defeating The Curse-Rotted Greatwood
Aim for the pustules on its legs, body, and arms, as these deal massive damage upon being destroyed. When the Curse-Rotted Gravewood is above ground, attack its belly to progress to the second phase. At a certain point, it will drop through the floor to a lower level. Here, the Greatwood moves a little faster and gains new attacks but still has pustules that can be burst.
The Curse Rotted Greatwood is weak to slashing damage on its arms and pustules, so players should prioritize that area for easy hits. Its arms are also weak to thrust damage but not the pustules. The boss is also weak to fire damage and the Pestilent Mist sorcery. At this point in the game, pretty much any weapon will work on this boss. Charcoal pine resin and bundles will apply fire damage to players' weapons for extra damage.
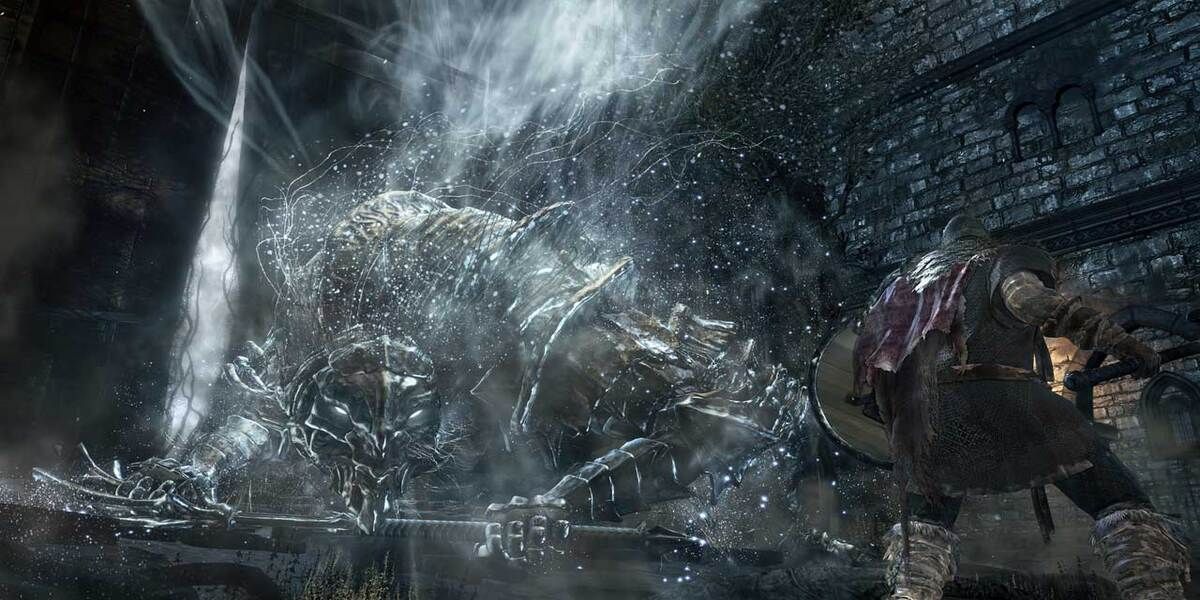
19 High Lord Wolnir
Dying To This Boss Is Pretty Easy If Players Don't Know The Trick
|
Health |
15,041 |
|---|---|
|
Souls |
22,000 |
|
Location |
Catacombs of Carthus |
|
Drops |
Soul of High Lord Wolnir |
High Lord Wolnir is a manageable boss fight if players know what they're doing, but most people who encounter this enemy for the first time are clueless about what to do.
It doesn't help that he looks imposing, summons skeletons, randomly brings a sword into battle, and is surrounded by a thick fog that saps the player's health if they're not careful enough.
Tips For Defeating High Lord Wolnir
Players should aim for his bangles as soon as possible, moving quickly in front of him whenever one of them is shattered. His movements are erratic, and players can become stranded in a vitality-draining fog that will sap all of their HP in no time at all. This fight should also be done quickly since Wolnir can summon skeletons and bring out a sword to make things more complicated for the player.
18 Vordt Of The Boreal Valley
An Early-Game Boss And The First Test Of A Player's Mettle
|
Health |
1,328 |
|---|---|
|
Souls |
3,000 |
|
Location |
High Wall of Lothric |
|
Drops |
Soul of Boreal Valley Vordt |
Players who descend the High Wall of Lothric will be greeted by this massive boss at the end of this area, making for a pretty intimidating boss fight. Vordt of the Boreal Valley is quite intimidating, but players who maintain a cool head will be able to take out this boss without too many problems.
Dark Souls 3: The 17 Best Straight Swords, Ranked
Most Straight Swords tend to be underrated in FromSoftware's Dark Souls 3, but this category's best weapons are fantastic.Tips For Defeating Vordt Of The Boreal Valley
Players should be wary of the Frostbite status while fighting this boss since it will almost definitely spell their doom if they take too many hits from Vordt without a plan. Staying behind him during the first phase is the best way to land attacks without worrying too much about his attacks. In the second phase, players should dodge his charged rush and hit him for some serious damage whenever a window presents itself.
17 Iudex Gundyr
The First Boss Of The Game And A Taste Of What Is To Come
|
Health |
1,037 |
|---|---|
|
Souls |
3,000 |
|
Location |
Cemetery of Ash |
|
Drops |
Coiled Sword |
The first boss that players encounter in Dark Souls 3 takes no prisoners, hitting like a truck and having a moveset that is easy to figure out early on but becomes quite chaotic once the second phase starts. For a first boss, Gundyr is pretty challenging and will likely give players a run for their money.
Tips For Defeating Iudex Gundyr
Dodging will be the player's saving grace during this fight during both phases. The moment players pull out the Coiled Sword from his body, the Ashen One can wail at the boss, dwindling his health bar quite a bit before he can even act. When the Pus of Man erupts from his body, players should be wary about dodging and try to stay behind him at all times to not get caught in one of his hard-hitting attacks.
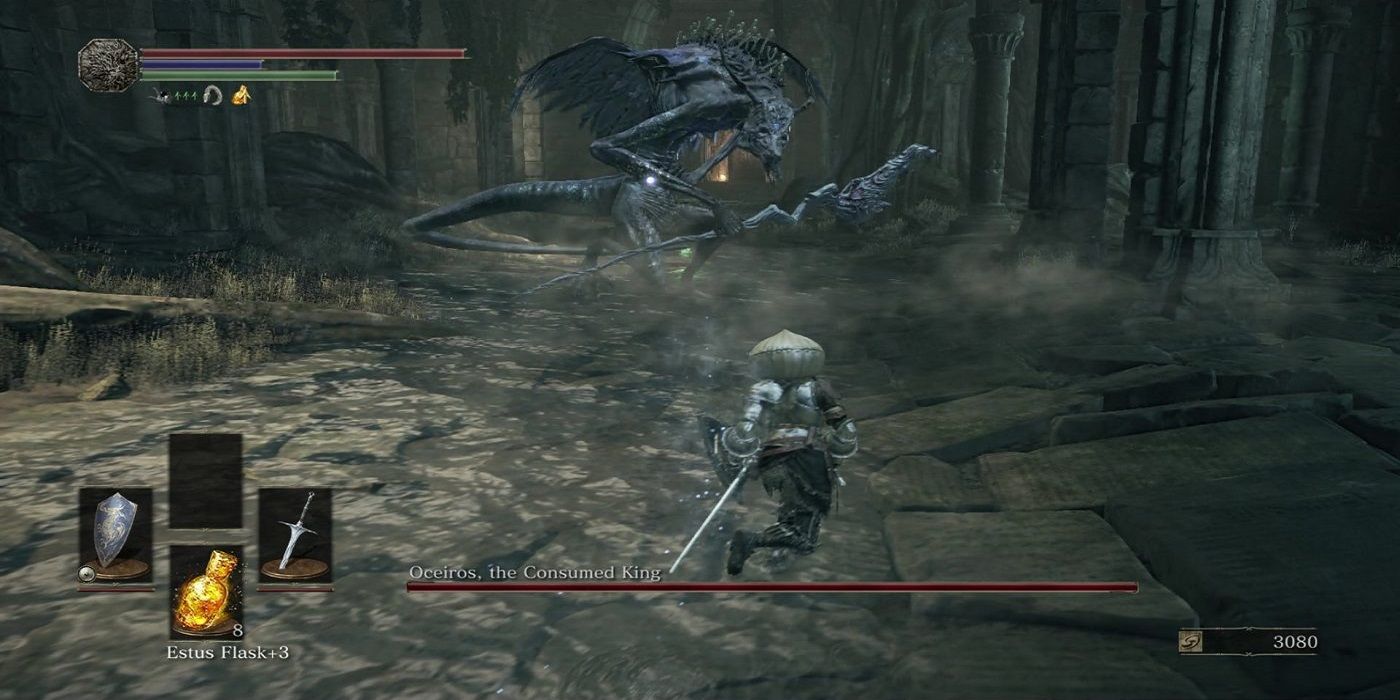
16 Oceiros, The Consumed King
A Horrifying-Looking Boss With A Devilish Second Phase
|
Health |
8,087 |
|---|---|
|
Souls |
58,000 |
|
Location |
Consumed King's Garden |
|
Drops |
Soul of Consumed Oceiros |
The unusually chatty boss Oceiros may initially look like a cakewalk due to his lack of eyes; however, his sharp sense of smell and hearing more than makes up for it.
Oceiros, the Consumed King has two phases. The first isn't too tricky, as he seems more concerned about protecting an invisible or imaginary child cradled in his arms. The second phase, however, is brutally difficult. Oceiros drops the child and begins charging at the player like an enraged beast protecting his young.
Tips For Defeating Oceiros, The Consumed King
In the first phase, stick very close to Oceiros, getting underneath whenever possible. In later phases, try to stay behind the boss but pay attention to its backward attacks. The boss room is a little smaller than most boss rooms, so be sure to keep the camera in a good position to see Oceiros' movement and attack patterns. He's a fast boss, so be nimble and only attack when necessary.
Oceiros is weak to Lightning and Frost damage, and as such, players may use weapons that deal such damage to give them an advantage. For frost damage, the Irithyll Straight Sword is an excellent weapon that can build up Frostbite with each hit and deal humongous amounts of damage when it procs. For lightning damage, there are several weapons that players can use here depending on how far along they are in the game.
The Lothric Knight Greatsword, Dragonslayer Swordspear, Dragonslayer Spear, etc., are good options that deal lightning damage. However, if players do not have the weapons yet, they can apply Gold Pine Bundles and Resins on their weapons to temporarily give them Lightning Damage when they attack.
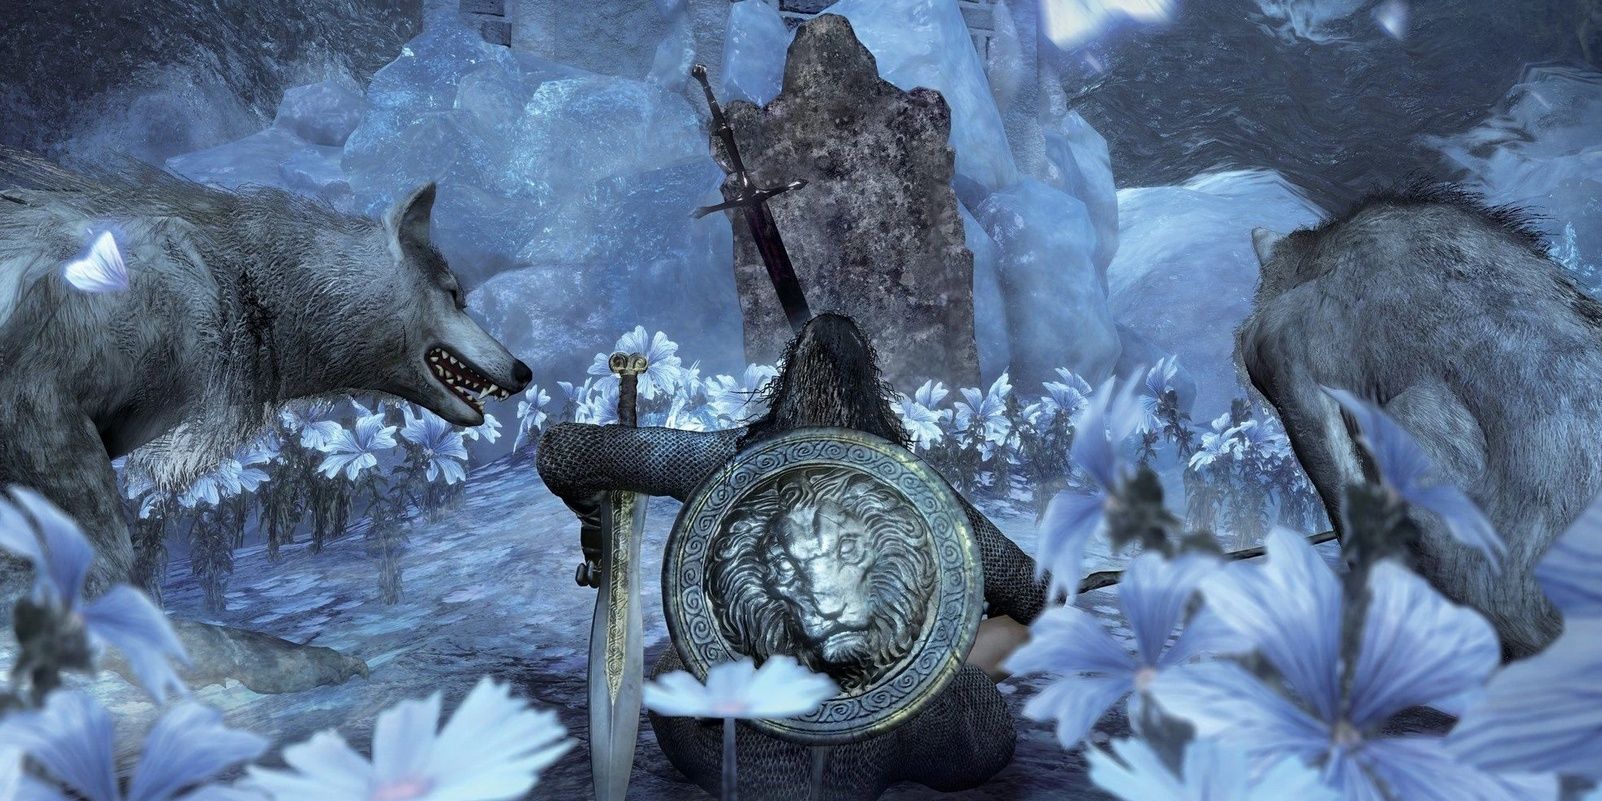
15 Champion's Gravetender & Gravetender Greatwolf
A Boss Fight That Starts Out Against Three Small Wolves Before A Larger One Joins The Fray
|
Health |
|
|---|---|
|
Souls |
60,000 |
|
Location |
Painted World of Ariandel |
|
Drops |
Valorheart, Champion's Bones |
The DLC bosses of most Dark Souls games are as tough as they come, but Champion's Gravetender & Gravetender Greatwolf is fairly by the numbers as long as players know how to tackle both regular-sized enemies and massive behemoths. It's a decent boss fight if a somewhat unremarkable one that won't really impress players who've found the Ashes of Ariandel DLC to be pretty underwhelming as is.
Dark Souls 3: The 10 Hardest Zones Ranked By Difficulty
Dark Souls 3 isn't an easy journey, but these areas are harder than most, where players will need to bring brain and brawn to thrive.Tips For Defeating Champion's Gravetender & Gravetender Greatwolf
At the start of the fight, players will have to deal with Champion's Gravetender and his lackeys. Taking out his wolves isn't too hard, but it's the second phase of the fight that's slightly trickier when the massive Gravetender Greatwolf joins the fray. It's important to dodge his high-damage charges and attacks, and players should target one enemy each and take them down for the count before focusing on the second one. In this case, the Champion's Gravetender should ideally be the player's first target before the Greatwolf becomes a major priority.
14 Champion Gundyr
A Harder Version Of The First Boss With An Amazing Moveset
|
Health |
4,956 |
|---|---|
|
Souls |
60,000 |
|
Location |
Untended Graves |
|
Drops |
Soul of Champion Gundyr |
Not to be confused with Iudex Gundyr, Champion Gundyr is the second time the player encounters a Gundyr in Dark Souls 3. Champion Gundyr is a version of Iudex Gundyr with new attacks and a more aggressive combat style.
It could also be stated that Iudex Gundyr is more difficult because players are either new to the game or are rusty since the last Dark Souls. As the ultimate version of Iudex Gundyr, Champion Gundyr is a greater challenge.
Tips For Defeating Champion Gundyr
This is one boss where parrying is an excellent strategy. Champion Gundyr seems to never stop attacking, leaving little room for any retaliation. Champion Gundyr can be taken down in little time with excellently timed parries, but it's not an easy skill to master. If parrying is out of the question, pay attention to Gundyr's halberd over anything else and carefully dodge while poking when able.
To give themselves an advantage, players can use a variety of weapons against Gundyr, as he has multiple weaknesses. He is weak to Strike, Bleed, Frostbite, and Lightning Damage. Valorheart, Fume Ultra Greatsword, Lorian's Greatsword, and Executioner's Greatsword are good sources of Strike Damage. Bandit's Knife, Barbed Straight Sword, Morion Blade, Uchigatana, and Washing Pole are good sources of Bleed damage. Players can also use the Gold Pine Resins and Bundles to buff their weapons with Lightning Damage. For Frostbite, the Irityhll Straight Sword and Rapier are good options with substantial proc damage.
13 Demon In Pain & Demon From Below/Demon Prince
Two Fiery Demons Who Serve As Precursors To The Demon Prince
|
Health |
7,062 (for both) |
|---|---|
|
Souls |
100,000 |
|
Location |
Dreg Heap |
|
Drops |
Soul of the Demon Prince |
The Ringed City was a marked improvement over the first Dark Souls 3 DLC in every way. Featuring a varied, interesting area full to the brim with tough enemies, unique weapons, and a wealth of challenging boss fights, it's easy to see why players love this DLC with a passion. One of the first boss fights in this DLC is against the twin Demons, culminating in a fight with the Demon Prince.
Tips For Defeating Demon In Pain & Demon From Below/Demon Prince
Unlike most Dark Souls 3 boss fights, the first phase is what players should fear the most here. The two massive demons take up most of the screen and can easily overwhelm the player if they don't fight smart. Focusing on one demon at a time and splitting them up is the best way to tackle this battle. Once the Demon Prince arrives, players may have to contend with an aggressive moveset but will generally consider this fight to be more manageable as long as they pick and choose their attack windows wisely.
12 Dragonslayer Armour
A Late-Game Boss That Can Be Pretty Challenging
|
Health |
4,581 |
|---|---|
|
Souls |
48,000 |
|
Location |
Lothric Castle |
|
Drops |
Soul of Dragonslayer Armour |
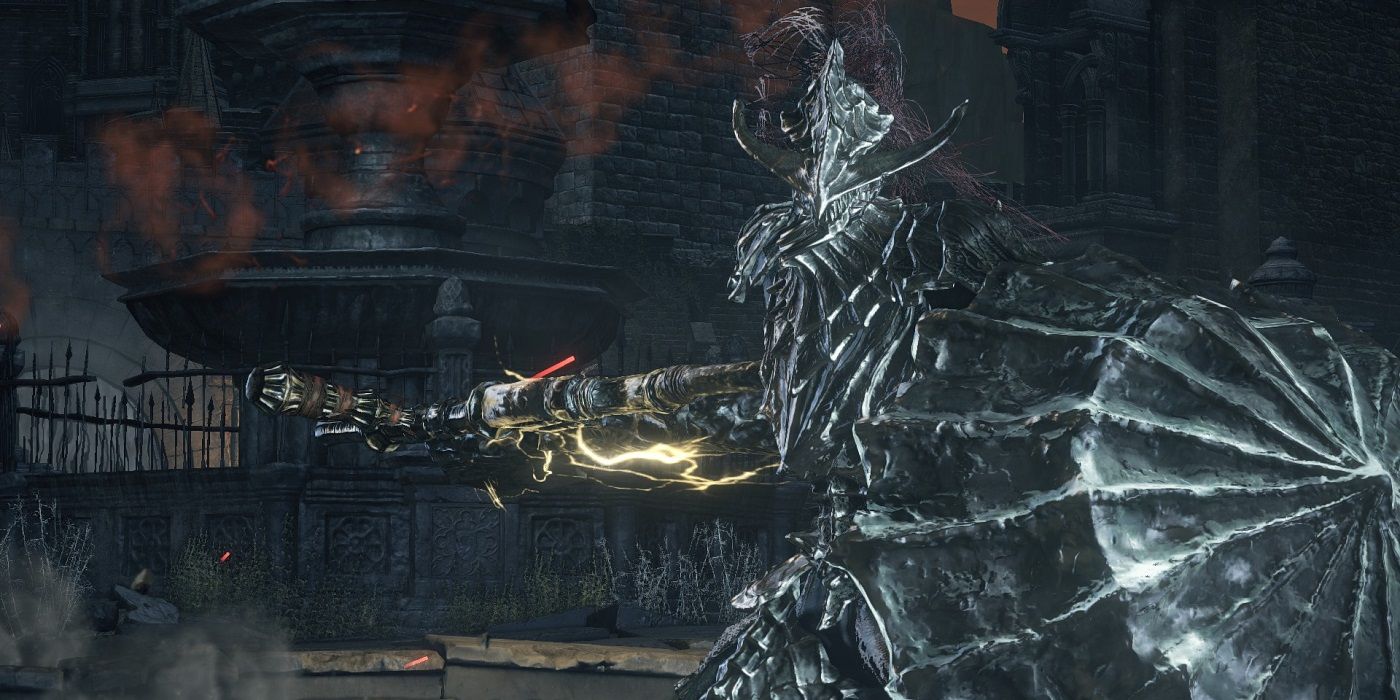
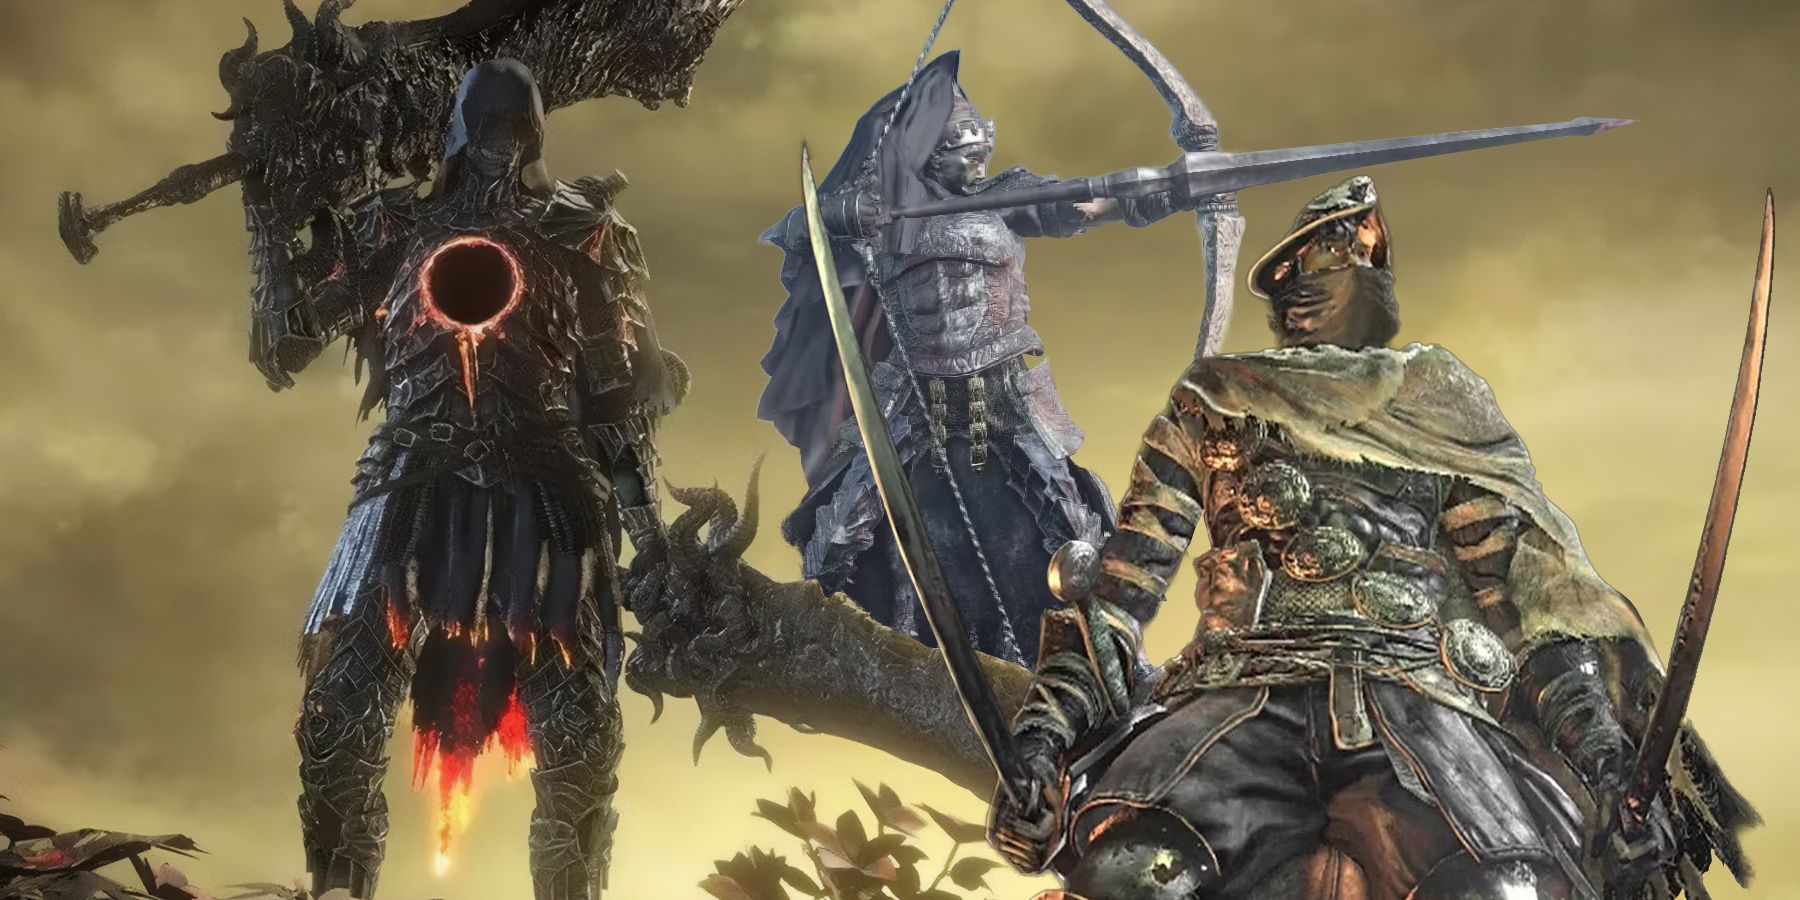
Assisted by Pilgrim Butterflies that animate his suit, Dragonslayer Armour is an arduous boss fight of Dark Souls 3. With resistances such as Dark, Lightning, and Slash, this fight proves to be tough for players who don't assess his weaknesses. Using weapons like the Wolf Knight's Greatsword or Farron Greatsword will give them bonus damage against this opponent. Players may also use Frost and Strike moves to inflict extra damage.
Dark Souls 3: 20 Weapons That Make The Game Too Easy (& How To Obtain Them)
Dark Souls 3 offers a notoriously difficult gaming experience, but with these weapons, it can actually be made much easier.Dragonslayer Armour is not an optional boss in Dark Souls 3's main story. He can also be found as an optional miniboss in the Ringed City DLC. In the main story, Dragonslayer Armour is found guarding the Grand Archives.
Tips For Defeating The Dragonslayer Armor
The Dragonslayer Armor hits hard, but its attacks are pretty well-telegraphed. Dodging underneath or to the left of most attacks will nearly guarantee not being hit by these strong attacks and spells. Projectiles come raining down during the fight, but they are pretty easy to dodge and do little damage compared to the boss, though they can disrupt the flow of battle.
To get an edge over the Dragonslayer Armor boss, players can equip weapons that deal Strike and Frostbite damage with each hit. The Fume Ultra Greatsword, Cathedral Knight Greatsword, Hammers, and Greathammers in the game are excellent choices for Strike damage. Players will find great use out of the Irityhll Straight Sword and Irithyll Rapier for Frostbite damage, especially because of their proc damage. Since the Dragonslayer Armor is an abyssal creature, the Wolf Knight's Greatsword and Farron Greatsword also deal increased damage to it.
11 Old Demon King
Boasts A Wealth Of Fiery Attacks That Hit Like A Truck
|
Health |
5,301 |
|---|---|
|
Souls |
25,000 |
|
Location |
Smouldering Lake |
|
Drops |
Soul of the Old Demon King |
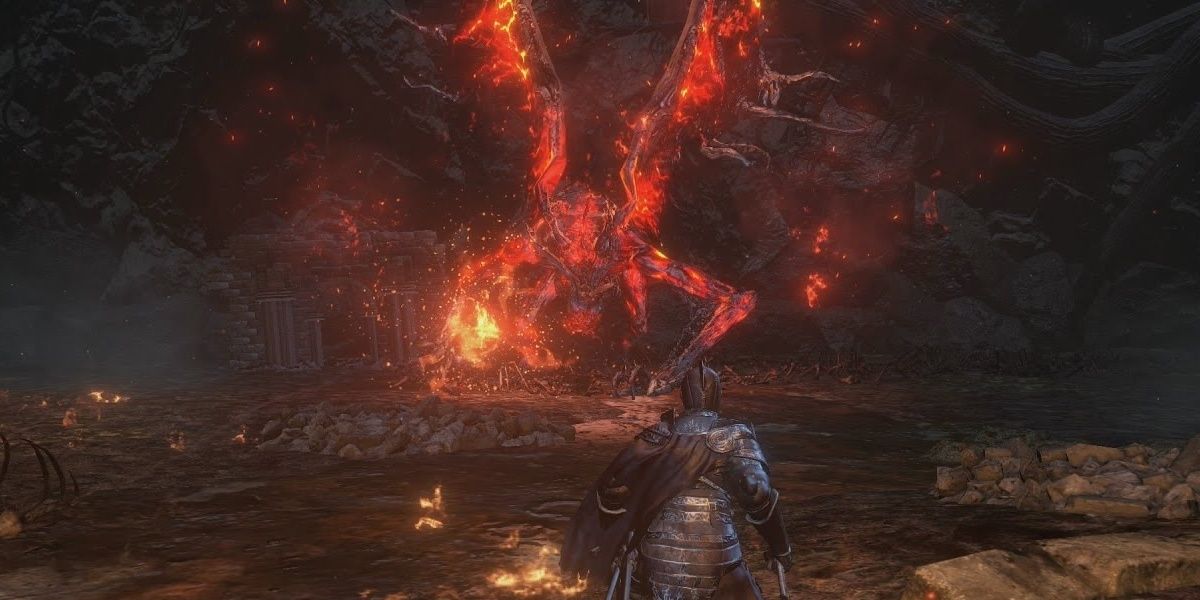
Perhaps the most intimidating boss based on his appearance and flaming attacks, the Old Demon King is an optional boss in Dark Souls 3. It's hard to miss this boss since he is hiding in plain sight in Smouldering Lake. Players can't miss the archway that leads to this opponent.
Black Knight weapons and Dark attacks are most effective against the Old Demon King. Lots of people find difficulty in this boss fight because of his sweeping flame attacks, but ranged classes will likely breeze through it.
Tips For Defeating The Old Demon King
Ranged characters can simply stay out of his range, dodge past long-range swings, and cast spells to take down the Old Demon King easily. Melee characters will have a harder time, thanks to the boss' variety of cleave attacks. Dodging through these attacks tends to be effective, and using weapons that deal Dark damage tends to help take down the Old Demon King faster.
At this stage, there won't be many options for players to deal Dark damage, as many weapons that deal that type of damage are found later in the game. But players can use items that apply buffs and effects instead. The Human Pine Resin and the Dark Blade Miracle will buff the players' current weapon with Dark damage, giving them the necessary edge in the battle against the Old Demon King. Alternatively, the Black Knight Weapons can also be used against the boss.
10 Abyss Watchers
A Tough Multi-Phase Boss Fight That Is Ridiculously Fast And Hits Like A Truck
|
Health |
1,548 |
|---|---|
|
Souls |
18,000 |
|
Location |
Farron Keep |
|
Drops |
Soul of the Blood of the Wolf, Cinders of a Lord |
What's more complicated than fighting one brutal Dark Souls 3 boss is fighting two at the same time. In phase one of the Abyss Watchers clash, there are two Abyss Watchers to fight, with one spawning every twenty seconds. Thankfully, only a maximum of two Abyss Watchers can spawn, making this fight beatable.
The Abyss Watchers are weak against Lightning attacks. This boss also staggers easily and can be backstabbed and parried. The Abyss Watchers are human-like, lest gamers forget their demonic glowing red eyes.
Tips For Defeating The Abyss Watchers
While they attack very fast (and players have to face two at once), the Abyss Watchers don't have much health. Interestingly enough, sometimes the Abyss Watchers will kill each other, making the fight a little more manageable, but this doesn't happen every time. Watch out for their long-range flame attacks and random attacks while getting in damage. These bosses are relatively easy to parry, too, especially if only one is up.
There won't be many weapons, spells, or miracles that deal Lightning damage available at this point in the game. The best players can do is stock up on Gold Pine Resins and apply them to their weapons to buff them with Lightning damage.
9 Lorian, Elder Prince And Lothric, Younger Prince
A Dual Boss Fight That Is Quite Tricky
|
Health |
|
|---|---|
|
Souls |
85,000 |
|
Location |
Grand Archives |
|
Drops |
Cinders of a Lord, Soul of the Twin Princes |
The Ashen One faces a plethora of obstacles in their journey throughout a transitory place. One boss fight that seems to cause players the most trouble is against Lorian, Elder Prince, and Lothric, Younger Prince. Also known as "The Twin Princes," one is a sword-wielder, and the other is a magic-caster.
Dark Souls 3: The 23 Best Dexterity Weapons, Ranked
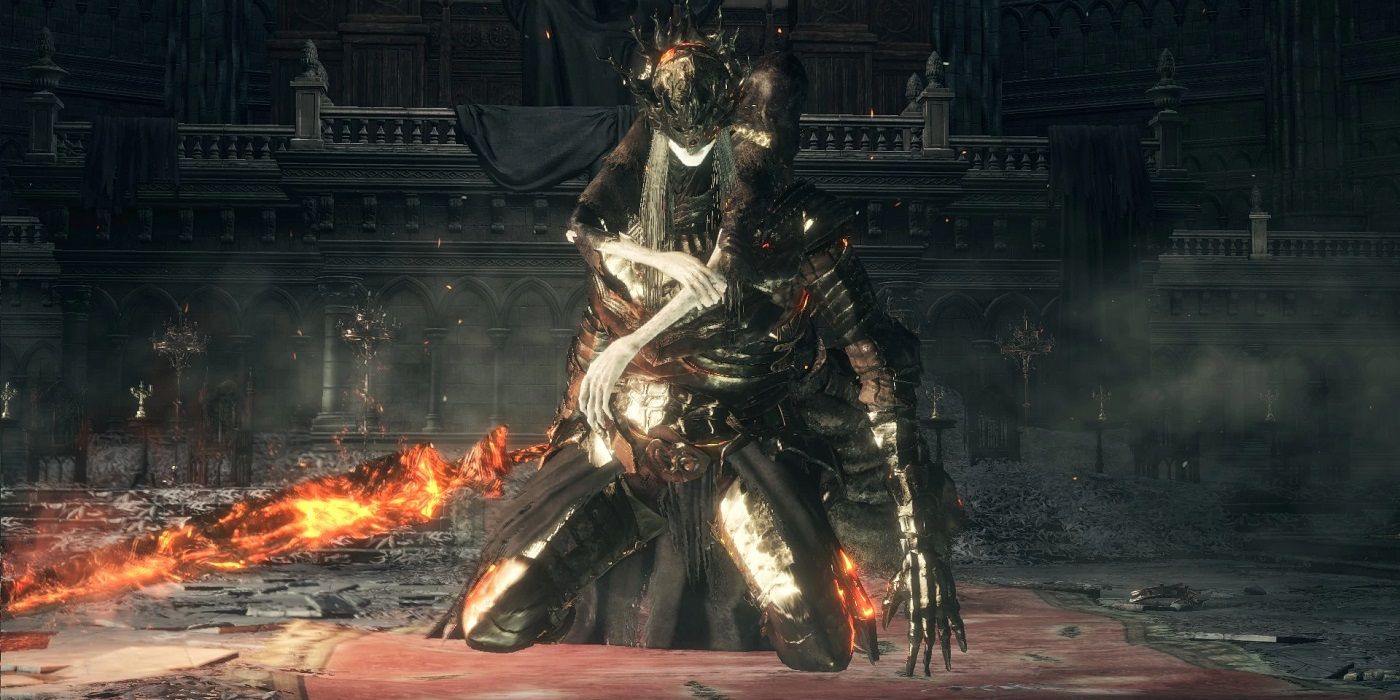
For players throwing together a Dex build, these are the best dexterity-based weapons they can get their hands on in Dark Souls 3.Lorian is a knight who wields a flaming greatsword. Lothric wears a black robe and strikes with holy light energy. Although Lorian cannot stand for more than a few seconds without his legs collapsing, his swing span and his brothers's projectile magic make them a great challenge.
Tips For Defeating Lorian And Lothric
Lothric will continuously resurrect Lorian over and over again in the fight with less HP each time until Lothric is defeated. He can only be attacked once Lorian is downed, though, so be sure to stay close to the corpse of the Twin Prince to maximize damage on Lorian when he appears. Once Lothric is dead, Lorian will not be brought back upon defeat.
Both princes are weak to Lightning, Frostbite, and Magic damage. However, players will find using Lightning damage will provide them the most utility, as Lorian has a significant weakness against it. As such, the Dragonslayer Weapons are an excellent choice against the twin princes. Players can also use the Great Lightning Spear miracle against them as well, depending on their builds. Alternatively, the Gold Pine Resins and Bundles will buff the players' weapons with Lightning damage, which will get the job done.
8 Aldrich, Devourer Of Gods
The Magical Attacks Hit Like A Truck And Can Potentially One-Shot The Player
|
Health |
4,727 |
|---|---|
|
Souls |
50,000 |
|
Location |
Anor Londo |
|
Drops |
Cinders of a Lord, Soul of Aldrich |
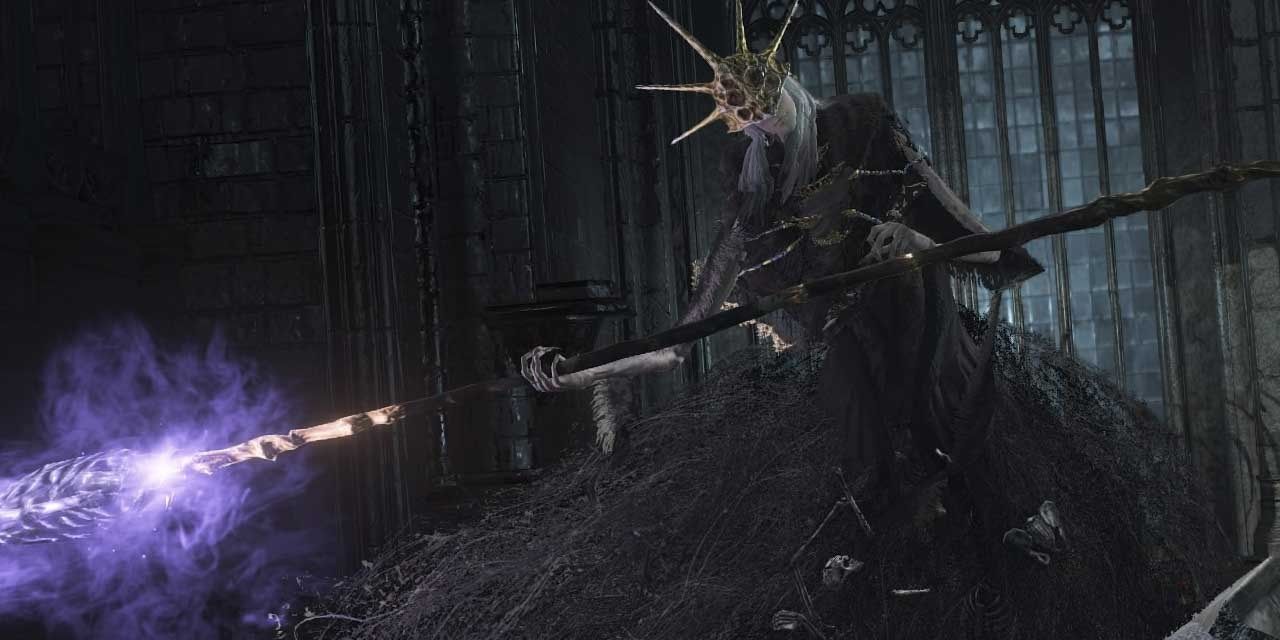
Aldrich, Devourer Of Gods, is, as his name implies, a fierce Dark Souls 3 boss. This boss fight gives flashbacks of Ornstein and Smough, who are considered the most difficult Dark Souls boss duo in Souls history.
Players fight Aldrich in the same cathedral hall in Anor Londo as they did Ornstein and Smough, a callback to one of the most famous fights of the Dark Souls series. While Aldrich isn't the hardest boss in Dark Souls 3, it's one of the most terrifying.
Tips For Defeating Aldrich, Devourer Of Gods
Gwyndolin's half-devoured body will cast soul spears and soul masses that follow the player, which deals massive rapid damage if not dodged or avoided. Hiding behind pillars helps players to avoid most of these homing attacks. Getting into melee range and avoiding the boss' slow attacks while watching for spells being cast tends to be effective. Aldrich will become more powerful at 70 percent health, too.
Being an Abyssal enemy, Aldritch is weak to the Farron Greatsword and Wolf Knight’s Greatsword, which can be acquired early on in the game. He also is vulnerable to Lightning, Fire, and Thrust damage, and players can find a variety of weapons that deal such damage. The Lothric Knight Greatsword is a good choice for Lightning Damage, while the Demon's Greataxe and the Old King's Great Hammer can be used to deal Fire damage. Several weapons deal thrust attacks, which can be spammed on Aldritch to deal extra damage.
7 Dancer Of The Boreal Valley
A Tricky Boss Fight With Lengthy Combos And Damaging Flurries
|
Health |
5,111 |
|---|---|
|
Souls |
60,000 |
|
Location |
High Wall of Lothric |
|
Drops |
Soul of the Dancer |
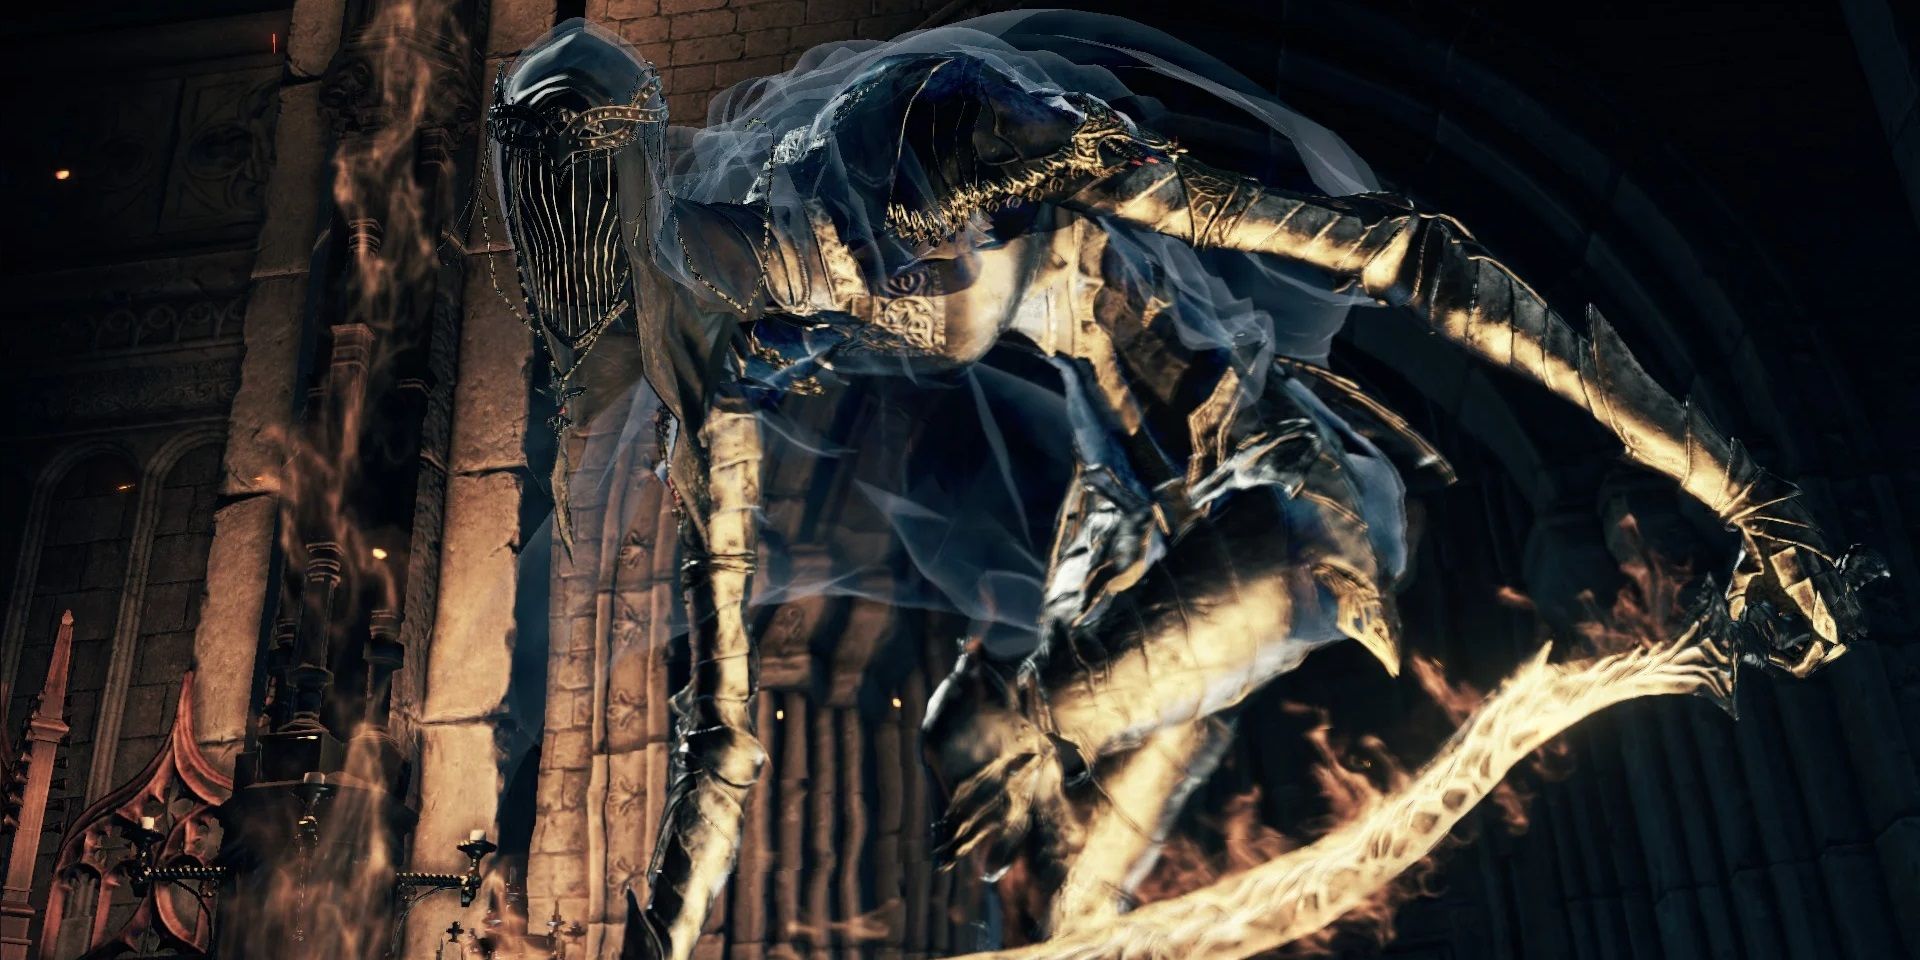
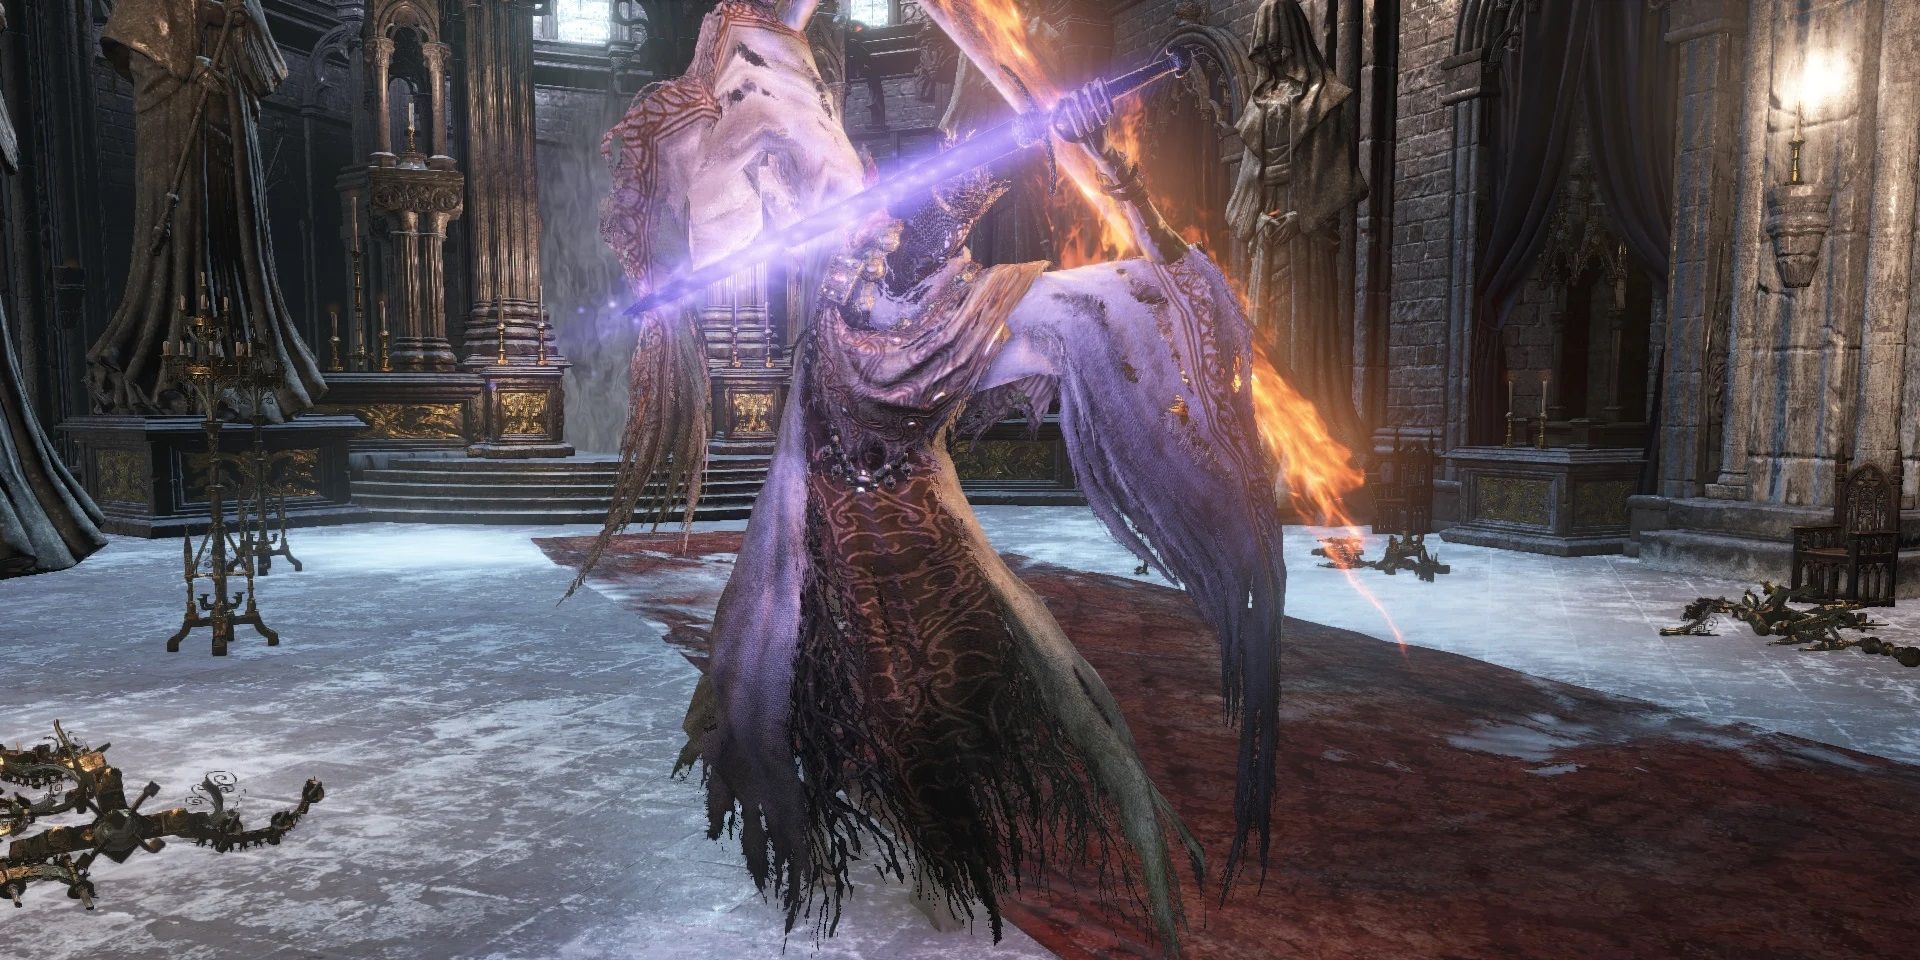
The name of Dancer of the Boreal Valley accurately describes her behavior. Try fighting this colossal Dark Souls 3 boss, but know that she dances while she strikes with dual swords.
Dodging the Dancer's attacks is possible, but most would agree it takes a significant amount of luck to endure this graceful (and deadly) foe.
Tips For Defeating the Dancer of the Boreal Valley
The Dancer's boss room is noticeably small, considering the wide cleaving range of the Dancer's dual-sword attacks. It's hard to tell when the Dancer is attacking versus just moving around the room, but it must be avoided however possible. A 100% block shield can help a lot for this boss fight, but players should be careful not to rely too often on blocking because the Dancer can stagger them easily.
The Dancer is most vulnerable to Dark damage, and as such, players will want to use weapons that deal this damage. At this stage, there wouldn't be many options available that do so, in which case, it is best to use Human Pine Resins. These items buff the current weapon equipped with Dark damage, albeit for a short while. The Dancer can be staggered if players hit her head, after which they can provide a critical strike dealing enormous amounts of damage. Combining this strike with dark damage will chop a significant portion off of the Dancer's health bar.
6 Pontiff Sulyvahn
An Incredibly Challenging Boss Who Can Spawn A Clone To Make Things Even Harder
|
Health |
5,106 |
|---|---|
|
Souls |
28,000 |
|
Location |
Irithyll of the Boreal Valley |
|
Drops |
Soul of Pontiff Sulyvahn |
Pontiff Sulyvahn still haunts players to this day because of his unforgiving dual-sword attacks. This is not an optional boss, as players will have to defeat him to progress through Irithyll.
His sweeping fire sword attacks are particularly unpleasant, which, paired with his other attacks, makes the Pontiff among the hardest Dark Souls 3 bosses. Luckily, the bonfire isn't far away, so players can die several times without having to travel far.
The 28 Best Dark Souls 3 Mods, Ranked
There are a lot of great Dark Souls 3 mods out there. Here's a look at some of the best mods available for the challenging title.Sulyvahn is vulnerable to Thrust, Lightning, and Fire damage, and players may want to combine them for extra effect. He is a challenging boss, and even with the buffs and advantages, it may take players a few tries to defeat him. As such, players should bring a summonable NPC with them against the Pontiff. Seeing that he brings his clone to this battle, doing so can even the odds.
Tips For Defeating Pontiff Sulyvahn
Pontiff Sulyvahn's attacks mirror each other, so if the player can dodge the first strike, they know exactly how to dodge the incoming second. However, Pontiff Sulyvahn will do rapid leaping strikes, sweeping attacks, and cast spells, which can be incredibly hard to dodge back to back. Keep an eye on stamina to more effectively time dodges and retaliatory attacks.
5 Sister Friede & Father Ariandel
A 3-Phase Boss Fight That Takes No Prisoners
|
Health |
|
|---|---|
|
Souls |
72,000 |
|
Location |
Painted World of Ariandel |
|
Drops |
Soul of Sister Friede, Titanite Slab |
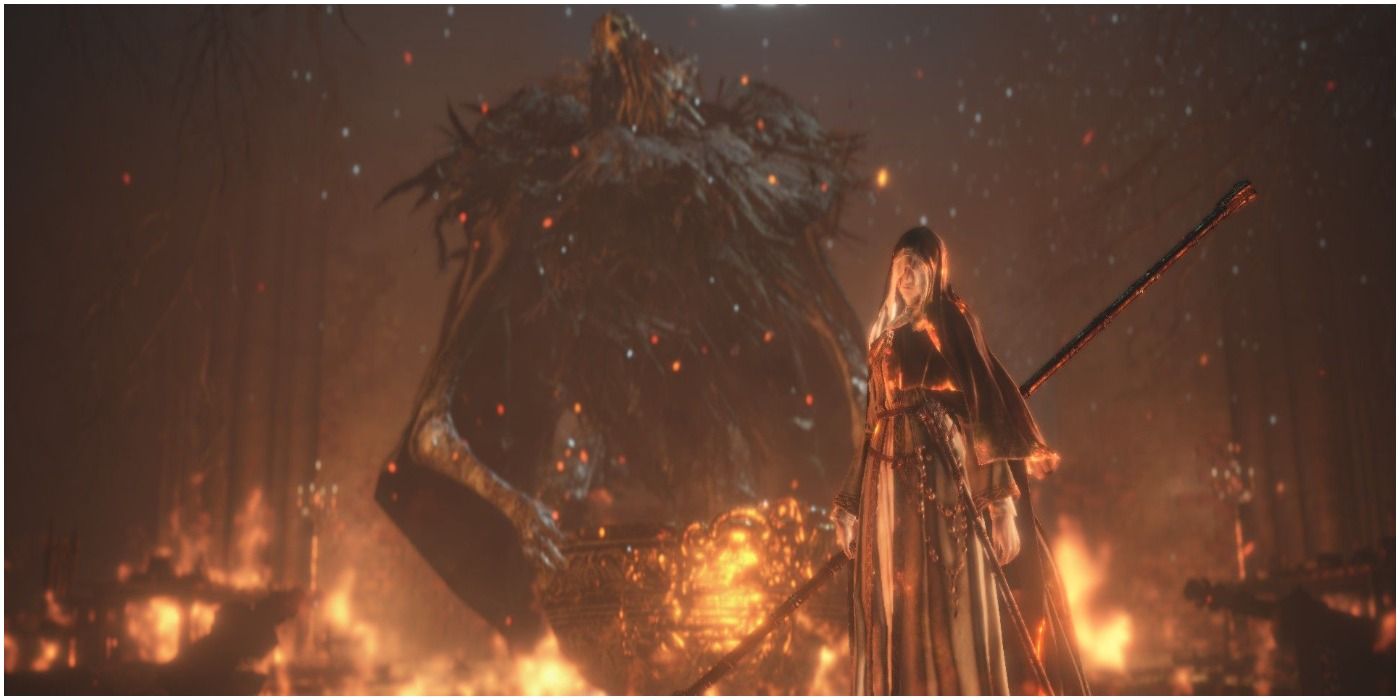
The final boss of the Ashes of Ariandel DLC, Sister Friede and Father Ariandel, fittingly provide the toughest challenge from the third game's DLC. Thankfully, Slave Knight Gael can be summoned to assist in the fight.
Even with the knight's assistance, though, taking down Sister Friede is excruciatingly difficult. Like Gael, Sister Friede has three distinct phases; unlike Gael, though, the phases come once her health bar is depleted, only for it to entirely refill.
Tips For Defeating Sister Friede And Father Ariandel
Taking a friend along can make this duo boss incredibly easy, as one player can distract them while the other attacks from behind. Father Ariandel will appear in the second phase of the fight, but he does not have a separate health bar. It's important to pay attention to Sister Friede's movements during the first phase, as she will strike out of nowhere from above. In later phases, be patient with getting hits in as Friede moves quickly and is dangerous to be next to.
Ariandel is a fragile boss and will be weak to all sorts of damage. Players need to stay out of the way of his attacks and just land enough hits to take him down. Friede, on the other hand, is quite formidable and will test players' patience. She is resistant to most types of damage except for Strike damage. Weapons such as Valorheart, Fume Ultra Greatsword, Lorian's Greatsword, Executioner's Greatsword, and the Cathedral Knight Greatsword are good options that can be used here against Friede. However, players must keep the slow weapon swing speed in mind as they can get caught in her attacks mid-swing.
4 Soul Of Cinder
The Final Boss Fight Combines Swift Blows With AoE Attacks To Keep The Player Guessing
|
Health |
|
|---|---|
|
Souls |
100,000 |
|
Location |
Kiln of the First Flame |
|
Drops |
Soul of the Lords |
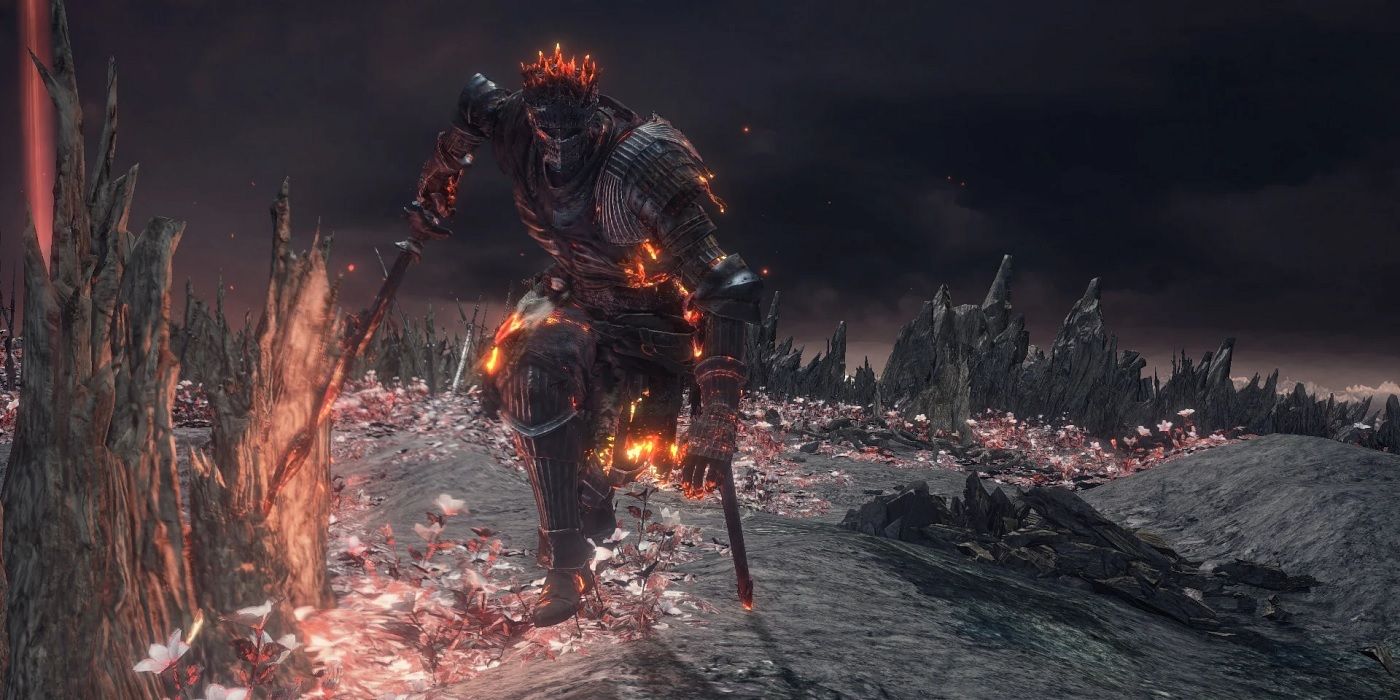
Souls of Cinder is the amalgamation of the Lords of Cinder. Found at the Kiln of the First Flame, this boss has high health points, which could make him one of the most challenging bosses in the game.
Soul of Cinder isn't as big of a challenge as some other bosses, given that the player character is robust at this point in the game. However, this doesn't mean that this boss is a cakewalk. Gamers should tread carefully as Soul of Cinder uses Dark Dialectics spells and attacks.
Tips For Defeating The Soul of Cinder
The Soul of Cinder has fast, rapid attacks that must be carefully dodged. It will cast AoE spells on itself, dash across the battlefield, perform jump attacks, and make combo strikes in rapid succession, no matter the phase. Take time to dodge attacks and wait for tiny windows of opportunity to chip health away from this high-HP three-phase boss.
The Soul of Cinder is weak to Lightning and Dark damage. Many weapons give players these types of damage, but the easier and cheaper route would be to acquire Gold Pine Resins and Bundles and Human Pine Resins, respectively. Using these items will buff every attack made with the players' weapons with Lightning and Dark damage. The Ashen One can also use the Lightning Blade miracle for a Lightning Damage buff and Dark Blade miracle for a Dark Damage buff on their attacks. The Soul of Cinder is also weak to Vow of Silence but only in the 1st phase of the battle.
3 Darkeater Midir
A DPS Beast With Some Ridiculous Attacks That Seem Downright Unfair
|
Health |
15,860 |
|---|---|
|
Souls |
150,000 |
|
Location |
The Ringed City |
|
Drops |
Soul of Darkeater Midir, Spears of the Church |
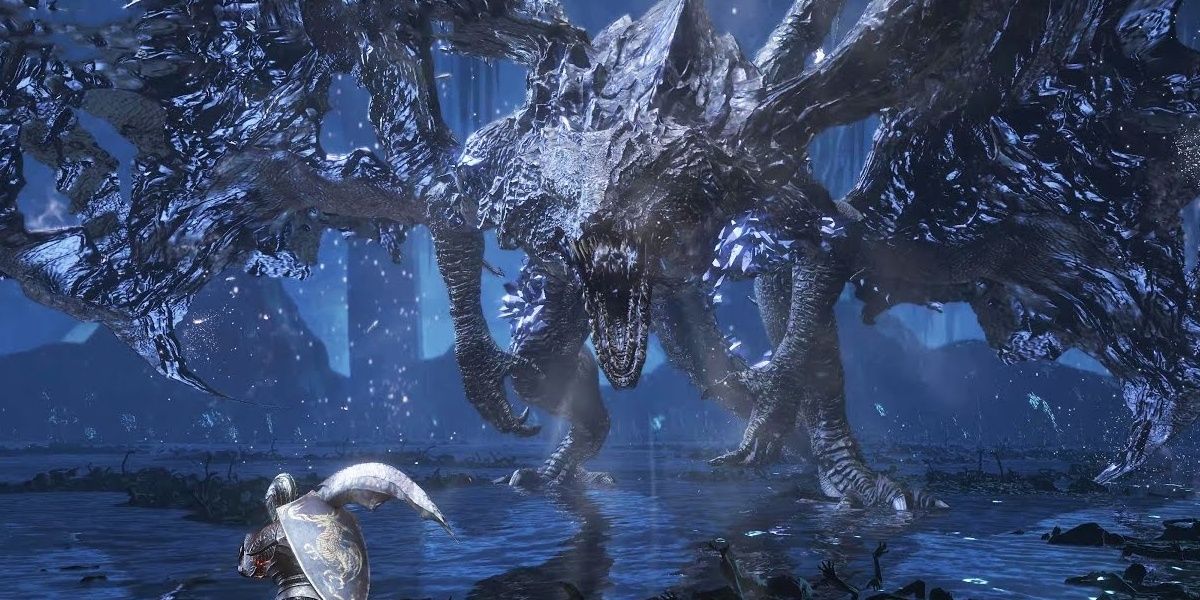
There are many dragon fights throughout the Dark Souls trilogy. Darkeater Midir is not only one of the best; this legendary foe is one of the toughest dragons that the Souls series has to offer.
The optional boss has some of the strongest attacks in the series, rivaled only by the likes of Vendrick in Dark Souls 2. What makes Midir tougher than Vendrick, however, is how difficult its attacks are to predict. Furthermore, Darkeater Midir has devastating AoE attacks that will punish players with heavy armor that restricts their movement.
Tips For Defeating Darkeater Midir
As opposed to other bosses in Dark Souls 3, it's best to take on Darkeater Midir head-on. Stay in front of this boss for the majority of the fight to see its telegraphed attacks and control its movement across the boss room. Hitting this boss in the face doubles the damage, which can make the fight significantly shorter.
To give them an edge against Midir, players can use weapons that deal thrust damage against him. He is also weak to Lightning Damage, so players may want to equip the Dragonslayer set of weapons against him, seeing that he is a dragon and that the weapons were made for slaying his kind. Alternatively, players can use the Farron Greatsword or the Wolf Knight Greatsword against him, which they can get early in the game after defeating the Abyss Watchers and transposing their souls. Magic builds may also use the Pestilent Mist sorcery against Midir, which deals significant damage to the boss.
2 Slave Knight Gael
The Final Boss Of The Entire Series That Certainly Does Justice To This Moniker
|
Health |
15,037 |
|---|---|
|
Souls |
120,000 |
|
Location |
Filianore's Rest |
|
Drops |
Soul of Slave Knight Gael, Blood of the Dark Soul |
Considered to be the trilogy's final boss from a lore perspective, the fight against Slave Knight Gael is split into three distinct phases. The first is similar to Manus, Father of the Abyss, from the first Dark Souls game. He combines blistering speed with devastating blows, giving players little chance to heal. He will slow down in the next two phases but compensate with numerous ranged attacks.
Tips For Defeating Slave Knight Gael
Gael can be staggered in the first phase pretty easily with a heavy weapon. The Hollowslayer Greatsword deals more damage to Gael in later phases, too. He's weak to slashing damage as well as frost and poison damage but resistant to dark damage in the last two phases. His attacks each have obvious tells, but he is much faster than most players can anticipate, especially in phase three.
Alternatively, players can equip weapons that deal frost damage, such as the Irtithyll Straight Sword. It has massive frostbite proc damage and is fast enough to quickly land a good number of hits. Gael is also weak to the Hollowslayer Greatsword in Phases 2 and 3 and to poison damage. As such, players can use the Rotten Ghru Dagger, Rotten Ghru Curved Sword, and the Rotten Ghru Spear to give them an extra edge against Gael.

