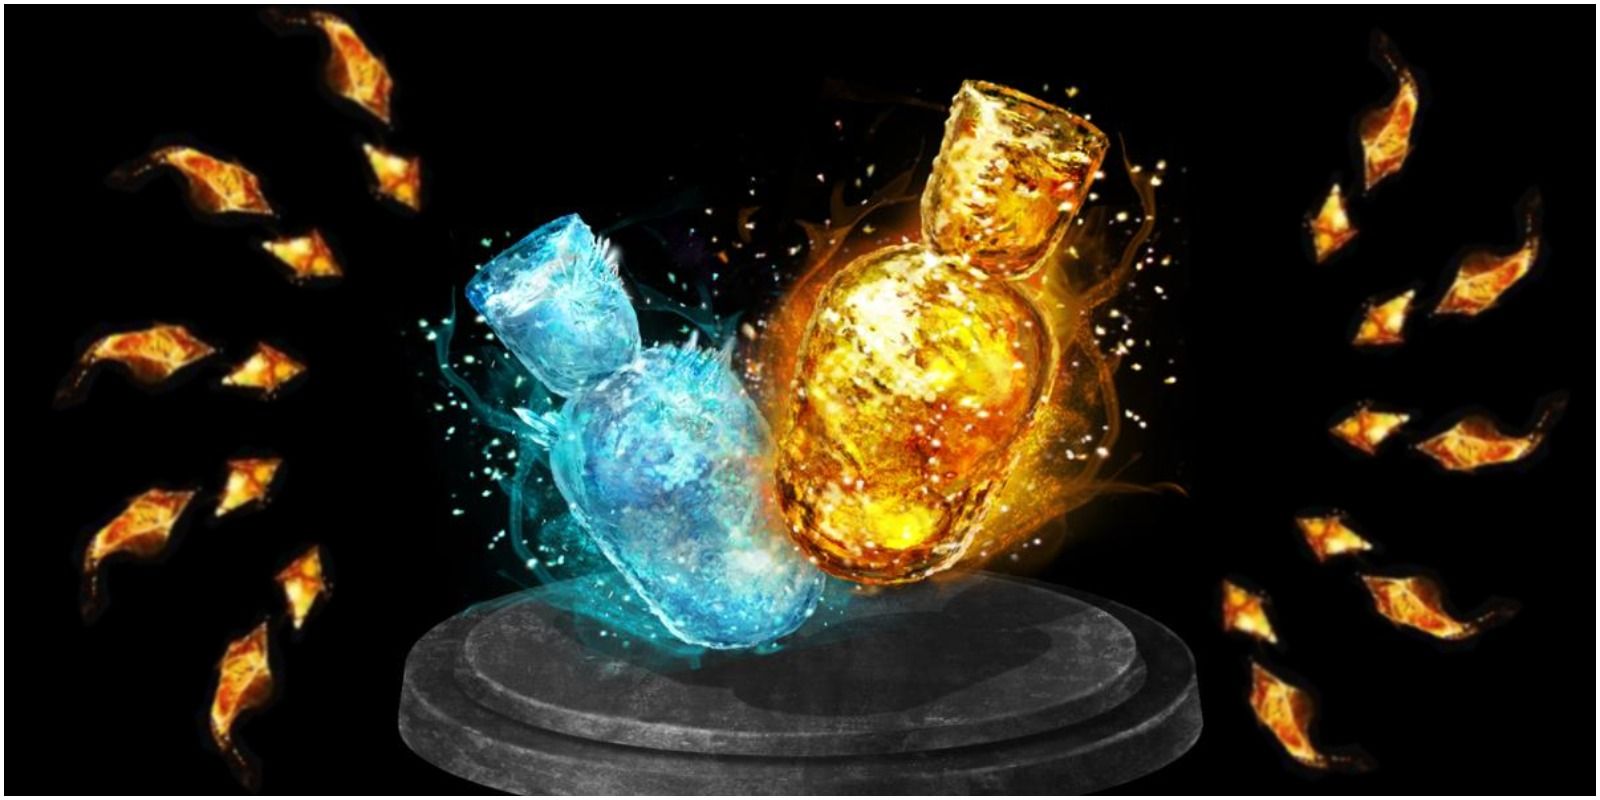
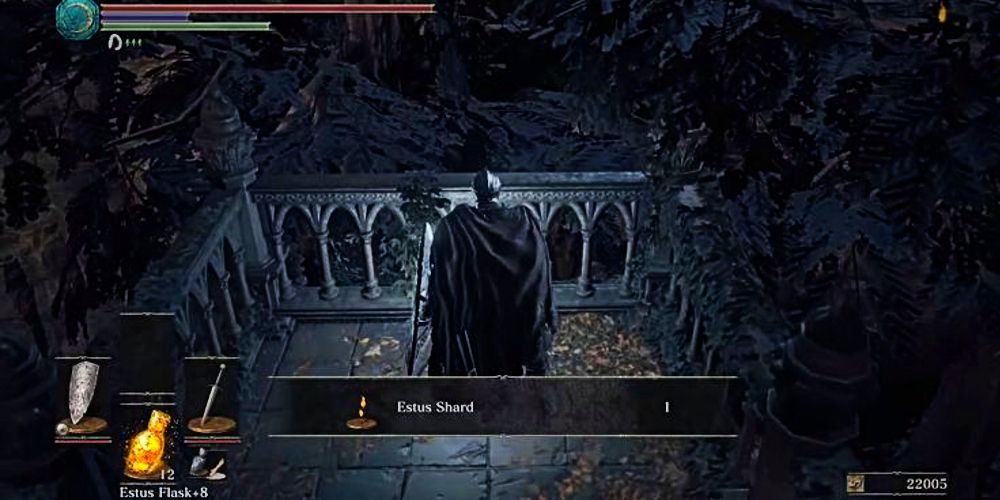
There's no denying that the most vital item to the Ashen One's survival in Dark Souls 3 is the Estus Flask. It offers quick, convenient, and refillable heals and is hands-down the best way to recover HP in the entire game. It can also restore one's FP and be of even greater use to spellcaster builds or those who plan to use a lot of weapon skills.
To get the most out of this incredible item, it must be upgraded. All players start the game with 3 usages of their flask, with a 4th being attainable when finding the Ashen Estus Flask upon the decrepit fountain very close to the start of the game. However, the 11 shards needed to further upgrade the Estus Flask to the max number of usages (15) are scattered throughout the world and must be collected as well as brought to Andre of Astora in Firelink Shrine before one can allocate them into providing either more yellow-orange healing or light blue FP recovery.
11 Shard #1: Firelink Shrine Roof
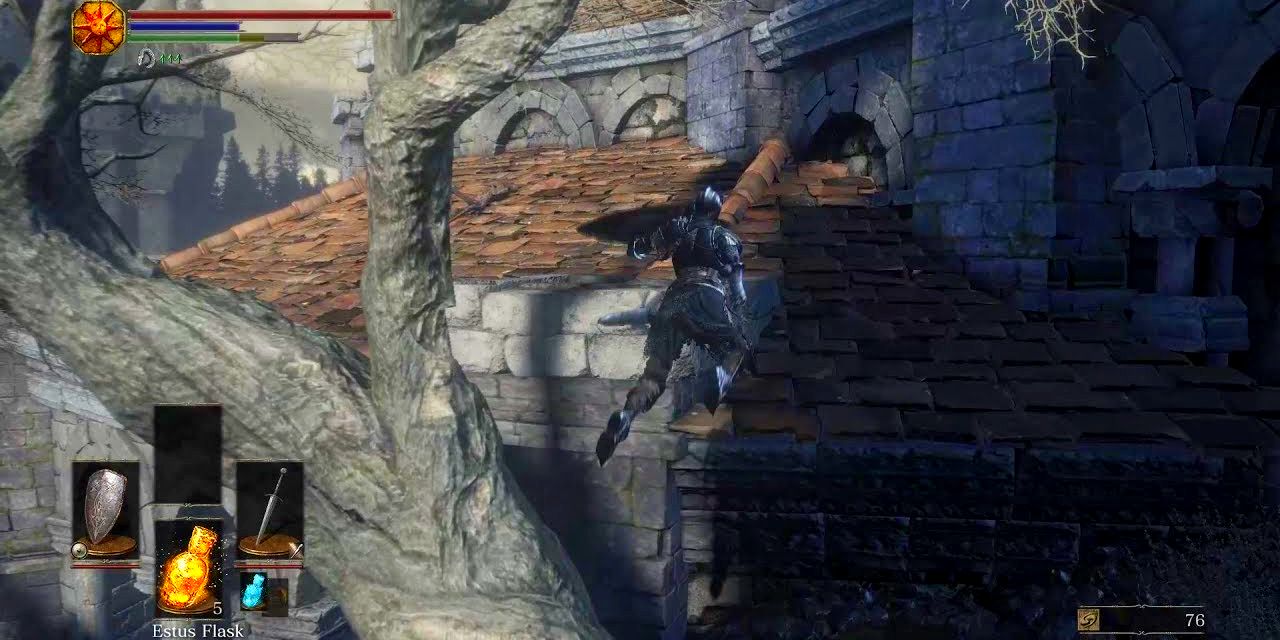
The very first shard that can be acquired is located in the rafters of Firelink Shrine's roof. Normally, one would need to buy the Tower Key from the Shrine Handmaid to access the bell tower behind the shrine and then drop down onto the roof from the broken bridge. However, utilizing the tree near to the base of this tower, players can run and jump off of it in a parkour-worthy move to gain cheap and relatively easy access to the roof. Once upon the orange tiles, head to the front of the shrine and look for an opening to drop into. This will place one among the rafters, where the player should be able to spot the white glow of an item. This is the first shard.
10 Shard #2: Crowded Room At The High Wall Of Lothric
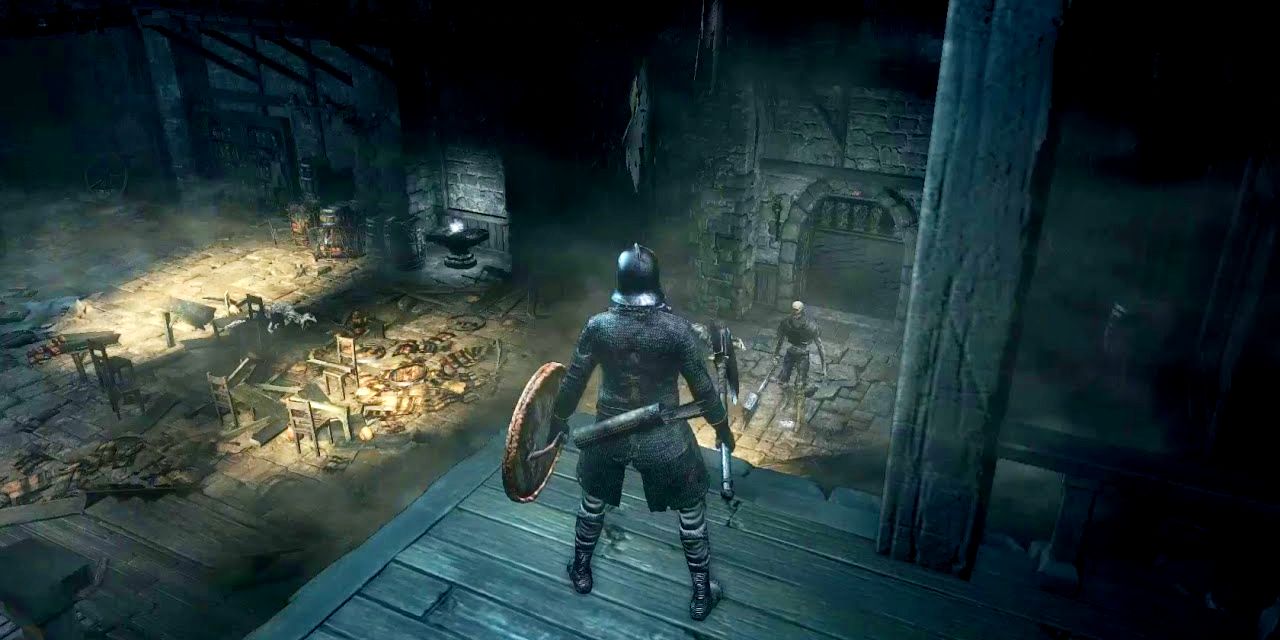
Close to the area where the player will find and fight Vordt of the Boreal Valley at the High Wall of Lothric, there is a large room where one will find the next Estus Shard. This open area is guarded by quite a few hollows and dog enemies, so be cautious when collecting this temptingly visible shard located on a table in the corner.
9 Shard #3: Near The Pyre In The Undead Settlement
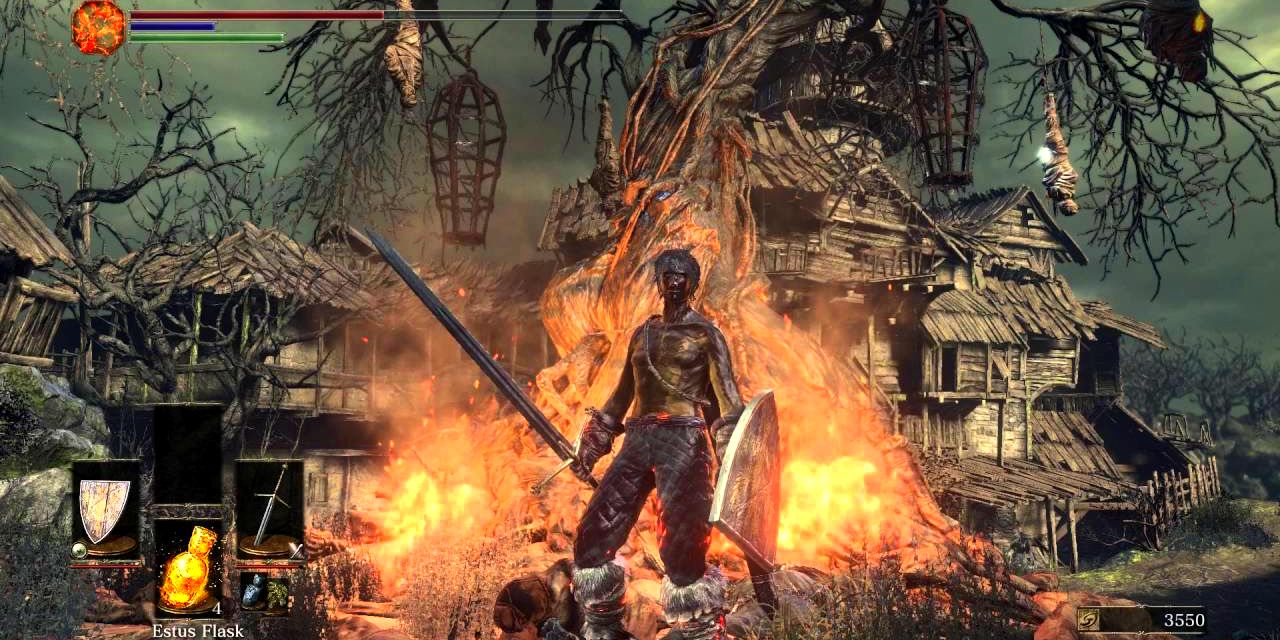
Much like the previous shard, this one is found among many enemies. Most are weak peasants, however, there are many of them and there is also an evangelist nearby who will not let one simply stroll over and loot the place freely. After clearing out these foes, an Estus Shard, as well as a few other items, can be looted from around the big pyre at the base of the twisted tree adorned with strung-up corpses.
8 Shard #4: Behind Camping Lycanthropes On The Road Of Sacrifices
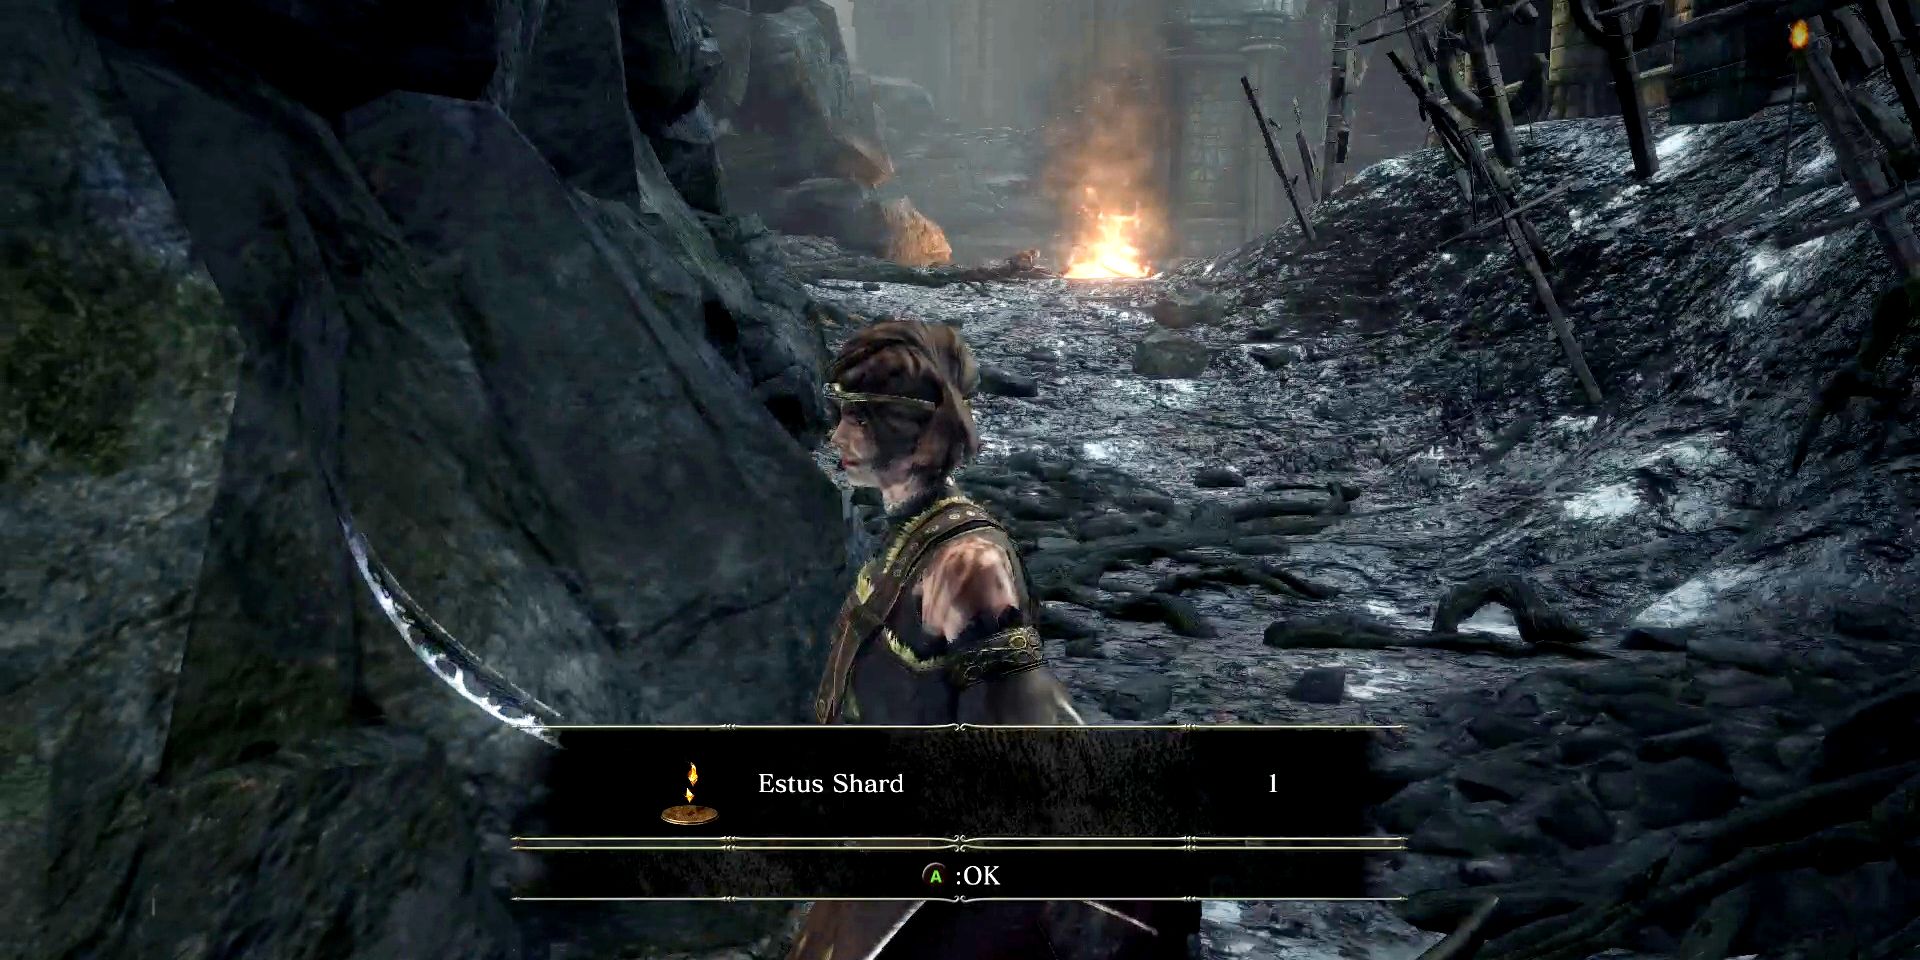
From the Crucifixion Woods bonfire, head towards the ruined building leading to the Crystal Sage boss fight, but do not enter it. Instead, circle around the building until one sees two lycanthrope enemies resting by a burning pile of debris. Slay them and proceed down the narrow path beyond the fire to find the Estus Shard at the dead end.
7 Shard #5: At The Obelisk Outside The Cleansing Chapel
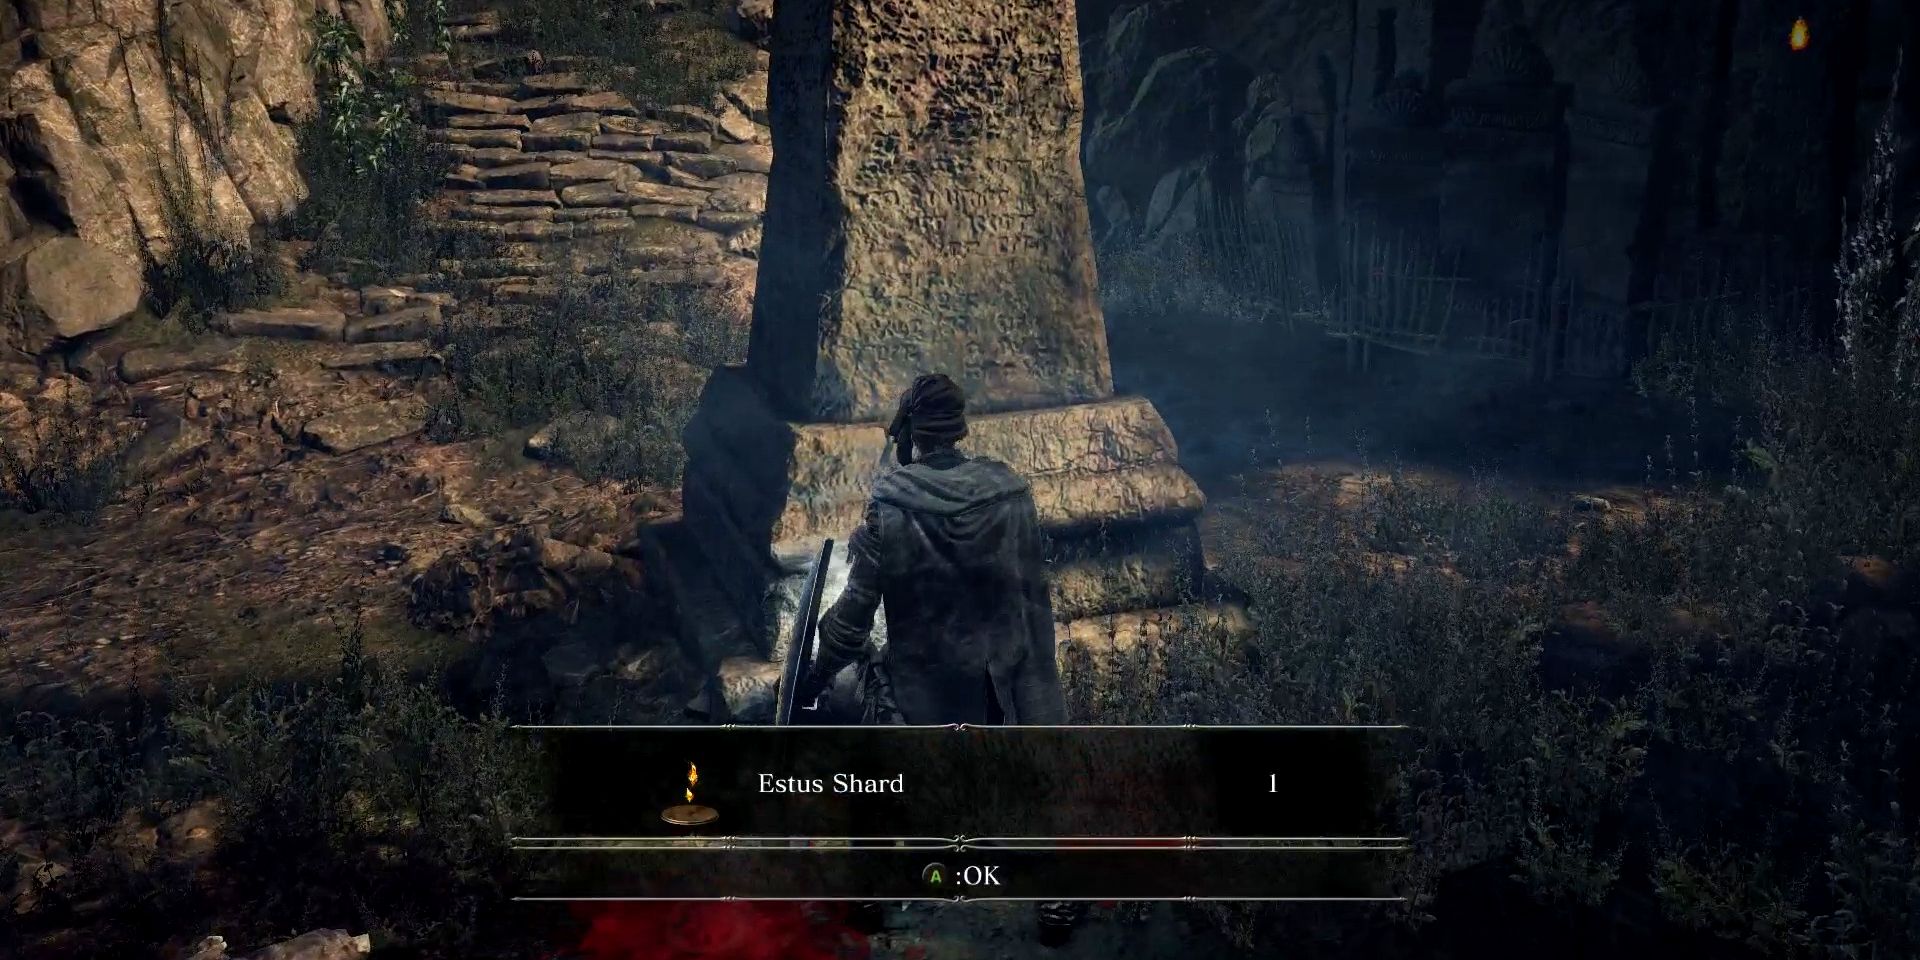
This one is easy to find but tricky to pick up. From the Cleansing Chapel bonfire in the Cathedral of the Deep (the area, not in the cathedral itself), head out the front door and uphill, past the well, and the player will find four hollows kneeling before an obelisk. The shard is located at the base of this simple pillar, though it is guarded by four enemies that explode. Take them out carefully and then reap the rewards.
6 Shard #6: By A Fallen Tower In Farron Keep's Swamp
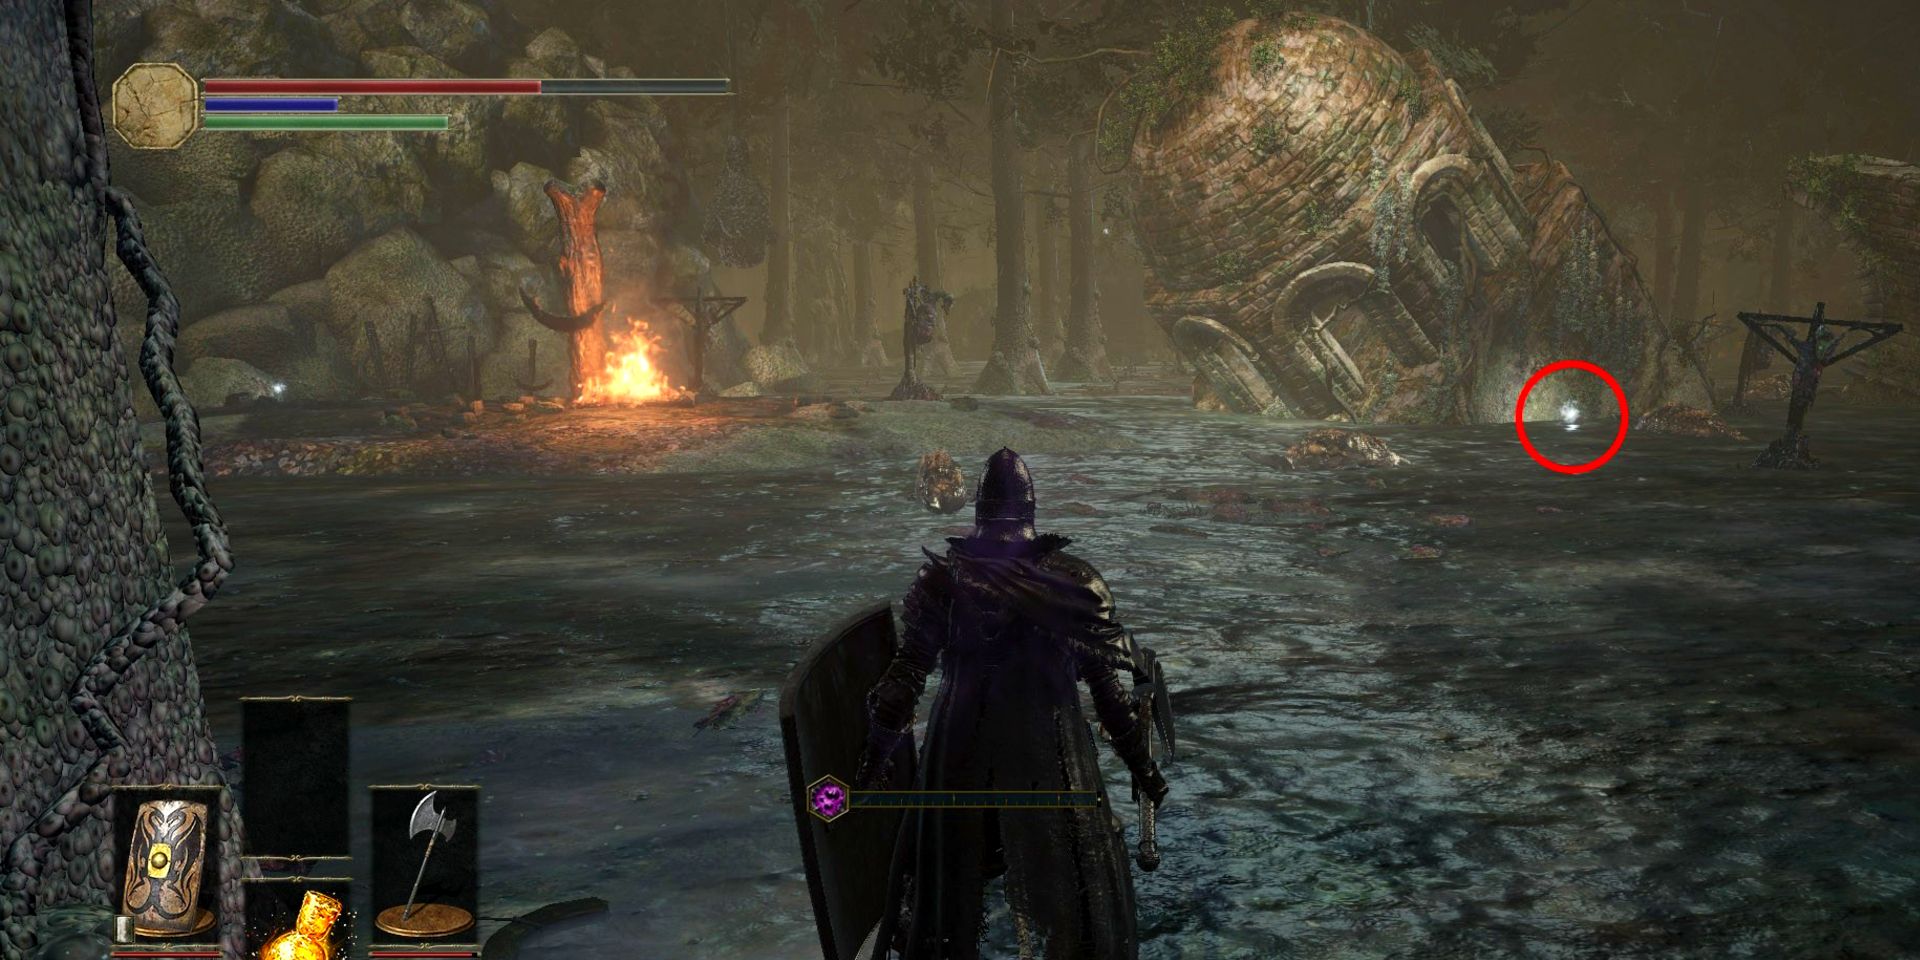
Near the staircase that will lead the player up to the 1st of 3 braziers that needs to be lit to progress beyond the hated Farron swamp, one will find a fallen tower. By the side of this collapsed structure, there is an item surrounded by poisonous slug enemies. Rid the vicinity of these foul foes and pick up the item to gain another Estus Shard.
5 Shard #7: Behind An Illusionary Wall In The Smouldering Lake
In the Smouldering Lake, near the bonfire closest to where one will find the entrance to the Old Demon King boss fight, players can find an illusionary wall close to the friendly flames that will lead to a corridor.
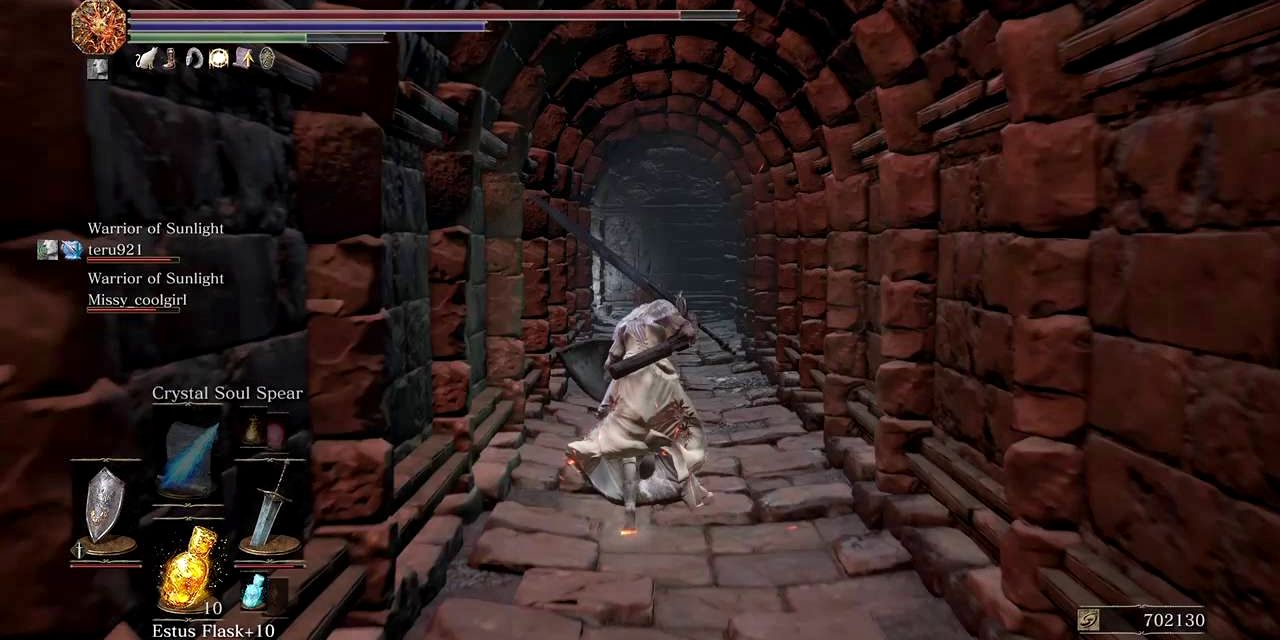
Head down this narrow hallway to find an Estus Shard, though beware of the slime-like enemies that will try to get the drop on the Ashen One.
4 Shard #8: Dropped By A Mimic In Irithyll Dungeon
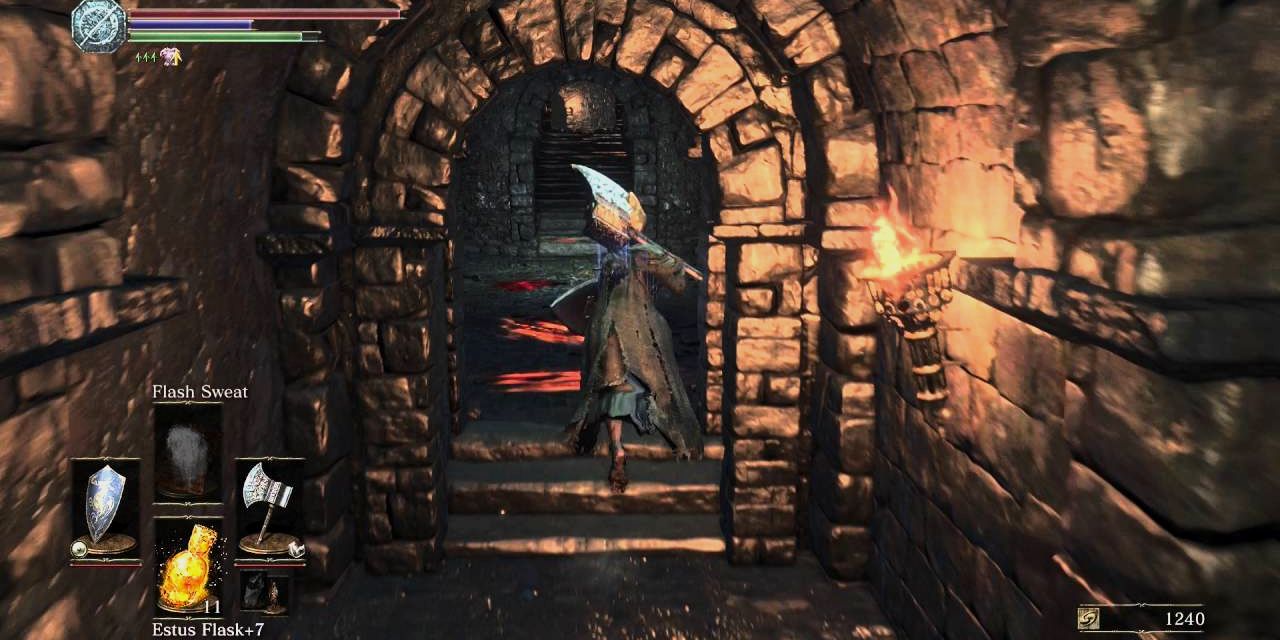
As one passes through the first cell block of Irithyll Dungeon to get a bit of fresh air before entering the next indoor area of this location, they will see a suspicious-looking chest just past the threshold into the second cell block.
This is a mimic and should be fought and defeated to gain another Estus Shard. Be wary of leading this lanky foe further into the structure, as the area beyond is full of jailor enemies wielding various kinds of weapons.
3 Shard #9: In The Large Chamber Leading To Aldrich's Boss Room
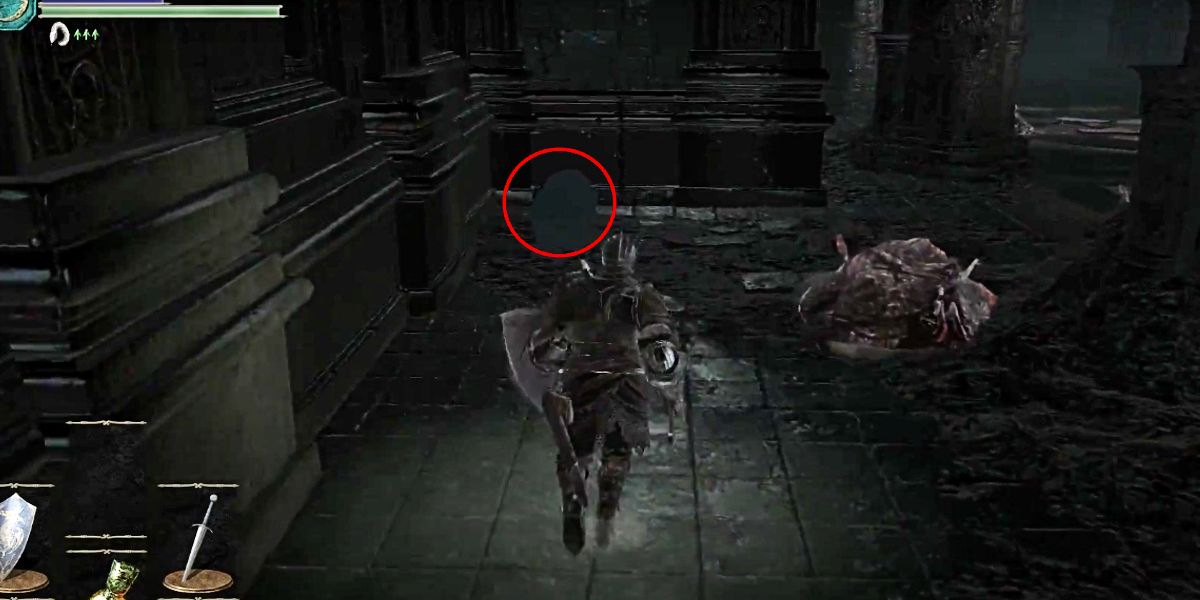
In the open, many-pillared area that is found immediately prior to Aldrich's boss room, players will find a bunch of slime-like foes as well as a few deacon enemies guarding the way to their leader, the devourer of gods.
However, to the left side of this large chamber, players will find a chest in a corner by some slimes. This chest, almost obscured by the darkness of the location, contains an Estus Shard.
2 Shard #10: Ledge In The Consumed King's Garden
From the bonfire that appears after defeating Dancer of the Boreal Valley at the High Wall of Lothric, climb the ladder and then proceed to the left. After defeating the cathedral knight blocking the way, descend in the elevator, but be sure to roll off before it reaches the bottom so that one can land on the proper ledge. To the right of this premature exit platform, the player will find a corpse that can be looted for an Estus Shard.
1 Shard #11: Roof Of The Grand Archives
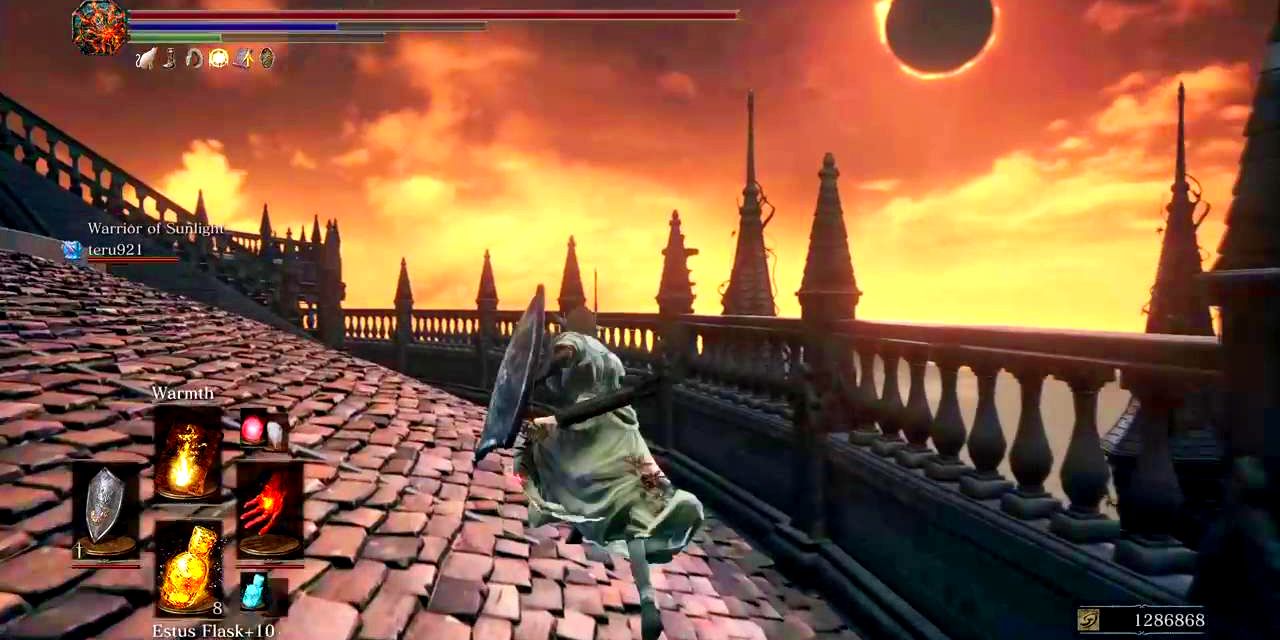
As one is approaching the extremely crowded lead-up to the Twin Princes boss fight, stop before crossing the bridge laden with enemies. Turn around and skirt about the domed roof until one reaches an archway leading to another roof where there are 3 thick, winged knights in golden armor. The final Estus Shard can be found here.

