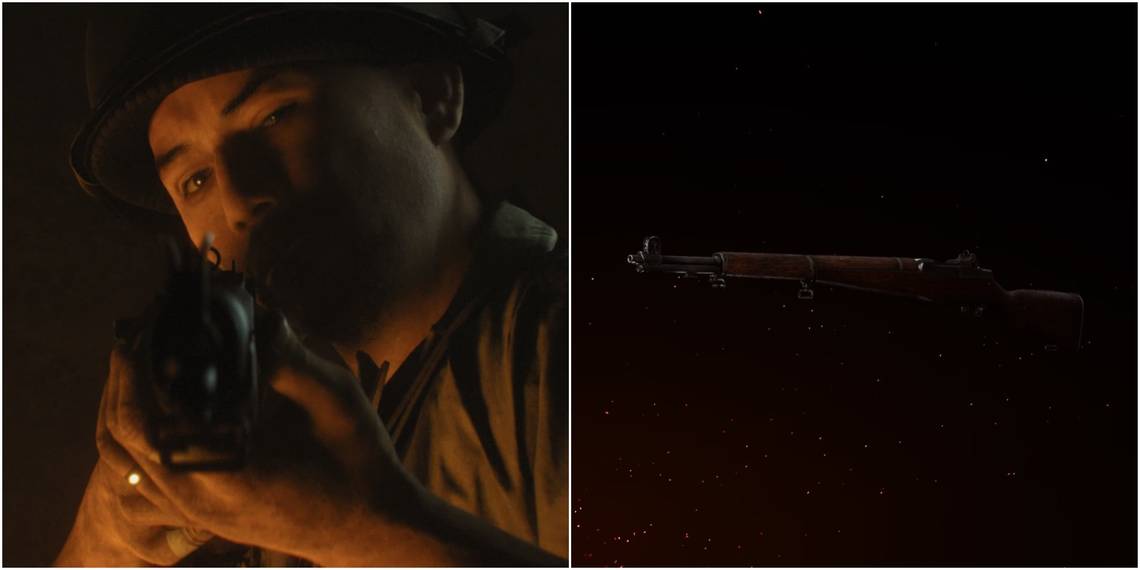
Initially, the M1 Garand isn't the most impressive of the marksman rifles in Call of Duty: Vanguard. It has middling statistics compared to the other two and doesn't look like anything special at first glance. But a deep dive into the gun reveals something remarkable.
Regardless of headshot or limb shot, the M1 Garand needs only two consecutive hits to bring down an opponent. This is a substantial amount of damage that Call of Duty: Vanguard players should not dismiss. With the right loadout, those two shots aren't too tough to land.
Operator

- Daniel
Those who have gotten to work unlocking all of the operators will be well rewarded for their work. Daniel lists the M1 Garand as his favorite weapon, which is more than just a piece of personal flare. While he uses it, he gets extra experience for both himself and the M1 Garand.
Granted, at maximum level, it won't matter which operator holds the weapon. But leveling a gun takes notoriously long and some of these loadout options greatly improve the performance of the weapon. Daniel makes the process of grabbing these ideal attachments much quicker.
Attachments

|
Muzzle |
F8 Stabilizer |
|
Barrel |
CGC Ironsides |
|
Optic |
M19 4.0x Flip |
|
Stock |
Chariot S3 TC |
|
Underbarrel |
Carver Foregrip |
|
Magazine |
.30-06 16 Round Drums |
|
Ammo Type |
Lengthened |
|
Rear Grip |
Stippled Grip |
|
Proficiency |
Hardscope |
|
Kit |
Fully Loaded |
The M1 Garand is one of the most underrated weapons of all the starting weapons because many players would rather either get in close or use a full-fledged sniper rifle. But in many ways, the M1 Garand is better than its sniper rifle cousins.
Consider, first, that this gun has zero horizontal recoil, so players will only have to worry about up and down when aiming for that second shot. Also, with these attachments, players can hit anywhere on the body twice and snag a kill, so there should be no extra compulsion to improve shot quality.
Secondary Weapon

- MK11 Launcher
There is a reason players are raving about the MK11 Launcher. Many are using it as a trick shot machine, but it's incredible in a mid-range affair. Obviously, the M1 Garand is better with distance, but the ideal situation isn't always at hand.
The M1 Garand loses its edge as enemies get closer. When the long-range fight becomes a mid-range fight, bust out the MK11 Launcher and just light up the field. It would have been useful for getting the "Ticket Please" achievement, but its usefulness in multiplayer should not be understated.
Perks

|
Perk 1 |
Cold Blooded |
|
Perk 2 |
High Alert |
|
Perk 3 |
Tactician |
Perks add an element to the multiplayer experience. Since they are not available during a number of campaign missions, they can feel like window dressing, but they are an integral part of any loadout. Cold Blooded makes players invisible to killstreak targets, necessary since this weapon does not rely on stealth.
Many fights often turn into sniper-on-sniper affairs. To win these standoffs, High Alert will tell players when somebody they don't see has them in their view. And Tactician gives players an unending supply of tactical slot gadgets, also useful for self-defense.
Lethal Slot

- Gammon Bomb
Different versions of the game have different rewards in-game, but each version will have quick access to the Gammon Bomb. It might not seem like a great gadget for the M1 Garand, but it comes in handy during dire moments of close combat.
Between the M1 Garand and the MK11 Launcher, players will be able to handle mid-range and long-range encounters. This leaves them exposed at close-range, but the Gammon Bomb can take care of this, with its instant burst. The radius is huge and can potentially harm the player, but it's better than becoming a free kill.
Tactical Slot

- S-Mine 44
Stun mines are the bane of enemies who charge behind enemy lines, trying to score some easy kills against ranged opponents. Some use speed, others use stealth, and many mix the two. It's impossible for the M1 Garand to aim at two places at once.
To stop these opponents, plant S-Mine 44s all around. Thanks to the Tacticians perk, players will have lots of them and they should be placed liberally. They'll help teammates score some easy kills and slow down shotgun and SMG combatants. The M1 Garand can take advantage as well, simply aim at the direction of the explosion and get off two shots.
Killstreaks

- Care Package
- Glide Bomb
- Emergency Airdrop
Care Package and Emergency Airdrop are almost undeniably the best choices for backline combatants. The Care Package has a 92% chance to give a killstreak reward equal to or greater than the four kills it takes to unlock it. The Emergency Airdrop bumps it up to 100% for each package.
The M1 Garand can't cover the entire map with fire, so the Glide Bomb takes care of the rest. Against enemies playing is safe on the opposite side of the map, this ruins their fun and forces them to either move or die. With the large radius of the blast, sometimes it forces them to do both.
Field Upgrade

- Tactical Insertion
Not every place is a perfect spot to shoot from. High ground with plenty of cover and few entrances is hard to come by. So when a map has the ideal sniping spot, the M1 Garand should make sure it gets to that spot as quickly and often as possible.
Tactical Insertion allows players to determine where they will next spawn, which can be either in the same sniping spot or a different one. Keep in mind the M1 Garand needs two shots to kill, so be sure to select a location with lots of open territory for target practice.
Call of Duty: Vanguard was released on November 5th, 2021, and is available on PC, PlayStation 4, PlayStation 5, Xbox One, and Xbox Series X/S.