There are a lot of options when it comes to setting up your loadout in Call Of Duty Warzone, and while the weapons and perks you pick are definitely important, which grenades/gadgets you choose is of equal importance. These can make a huge difference in a fight, especially at the higher skill levels when the gun-skill is on an even playing field.
So without further ado, let's take a look at every grenade and gadgets available in Warzone, and rank them from least to most useful:
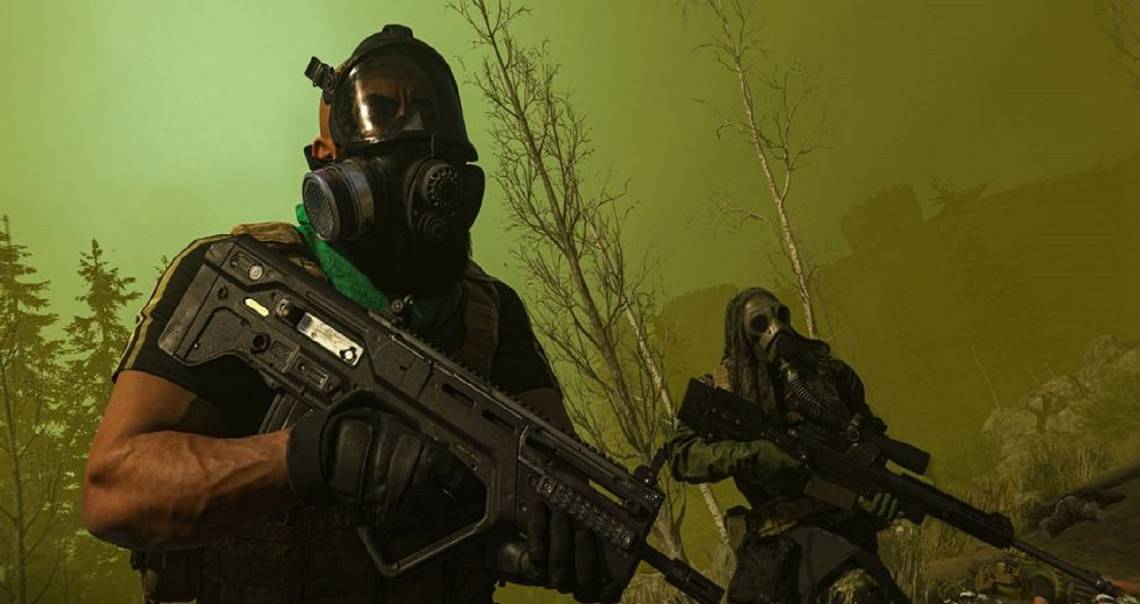
17 STIM

Coming in as just about the most useless thing in Warzone is the Stim. Because just about (if not exactly) half of your health in this game is armor, and the Stim doesn't regenerate that for obvious reasons, it's almost never going to make a big difference. If you've just been revived then maybe the Stim can get you a small amount of health back quickly, but if you're looking for a Stim to make the health difference in a fight, you're already likely in a pretty bad situation.
16 THROWING KNIFE

If the Throwing Knife did just a little bit more damage, it could actually be pretty nice, but as it is, it doesn't one-shot an enemy, even at the highest possible damage. This ensures that it's out-damaged by just about any actual gun, meaning any enemy that can hit the majority of their shots is going to put you down every single time.
15 DECOY GRENADE

While this can be pretty nice in certain scenarios, it isn't going to be usable in most situations you run into. Every once in a while, you can bait an enemy into looking the wrong way, making for a very easy kill. But more often than not, you aren't going to be in a situation where an enemy is going to fall for it, especially the more observant foes.
14 GAS GRENADE

The Gas Grenade is another one that could be pretty great in the right circumstance but is going to be super-situational. Teammates can run into your gas unimpeded, but you can't, so you'll have to keep that in mind when using these to push an enemy; you'll be at the same disadvantage they're at.
13 SNAPSHOT GRENADE

This gadget can be super-awesome when used at the perfect time. If you aren't entirely sure where an enemy is, at least not enough to be able to go around a corner pre-firing, the Snapshot Grenade can really help in that department. But, if just thrown willy-nilly without much of a plan, it's going to be a complete and utter waste.
RELATED: Call Of Duty Warzone: 10 Tips For Playing Without A Full Squad
12 C4

One of the more difficult to use explosives in Warzone, C4 does some pretty solid damage, with the drawback being you can't throw it nearly as far as you can something like a frag grenade. C4 does have the extra benefit of being a bit easier to use on a vehicle, which we can all agree are a real pain to deal with.
11 THERMITE GRENADE

An honestly pretty-solid grenade when it comes to damage, the Thermite Grenade is only lower on this list because of the small damage radius that it has. In the right situation, like in a 90-degree hallway/staircase, the Thermite Grenade can be utterly catastrophic, melting away the enemy's armor and health with ruthless efficiency. But in a more open scenario, it's going to be pretty tough to land any damage with it.
10 FLASH GRENADE

The Flash Grenade is either going to be hilariously useful or a complete and utter waste, with absolutely nothing in between. Sometimes you're going to throw it and an enemy is going to have to spray wildly and pray, while other times it seems to have actually zero effect on them, whether they're using the Battle-Hardened perk or not.
9 STUN GRENADE

This is going to sound a lot like the above statement, but it's the truth; the Stun Grenade is either going to win you a fight or do absolutely nothing. This is placed one higher than the Flash Grenade simply because it limits an enemy's movement, making it more difficult for them to do much of anything, even if they can see you.
8 FRAG GRENADE

The classic. Everybody knows what to expect from a Frag Grenade, and that is consistency. It's going to do some solid damage, and the more skilled you are, the better you're going to be at cooking the grenade to perfection so as to ensure that it explodes the moment it lands in the enemy's lap.
7 SEMTEX

Basically a sticky Frag Grenade, though there are some key differences when it comes to the Semtex. It is really nice to be able to stick both people and vehicles with this grenade, though if you happen to miss, the enemy is almost always going to have a chance to escape, since this grenade cannot be cooked.
RELATED: Call Of Duty: Warzone: 10 Tips For Surviving The Battle Royale
6 MOLOTOV

Probably the best damaging throwable in the game, the Molotov doesn't do heavy damage right off the bat, but that burning effect is almost always going to melt the enemy's armor away entirely, making it incredibly beneficial in just about any situation. It has a great damage radius and can be used to finish off downed enemies with ease, making it one of the most versatile things in this entire game.
5 SMOKE GRENADE

Smoke Grenades aren't used nearly enough in Warzone, which means those who do make good use of them are going to find themselves playing against enemies that don't really know what to do to combat them. Smoke Grenades can be used in a variety of scenarios; reviving a downed teammate inside some visual cover, covering a retreat, covering an attack, used as a distraction, or anything else you put your mind to. These are criminally underused in Warzone, and the longer the game is out, the more you're going to see of these.
4 HEARTBEAT SENSOR

One of the most-used gadgets in Warzone is the Heartbeat Sensor, and that's for good reason; it is an invaluable tool of intel. While it's not foolproof (enemies with the Ghost perk are invisible to it) more information is better than no information, and the Heartbeat Sensor is going to be accurate 90% of the time.
3 CLAYMORE

The almost-best option in the entire game (and an argument could honestly be made for either of these last two), the Claymore is a great source of both intel and damage. While it isn't going to be a one-shot as long as your enemy has some armor, it is going to really help in watching your flank, especially if placed in a hard-to-see spot. (Though that can be a bit tough to accomplish with the Claymore.)
2
1 PROXIMITY MINE

The more easily concealable version of the Claymore, the Proximity Mine is much easier to toss in a spot that an enemy literally cannot see until they run into it, though the damage can be avoided since the explosion isn't quite immediate upon activation. Still, it's almost always going to do a chunk of damage (usually removing an entire shield) and it's going to warn you that an enemy is on your tail.