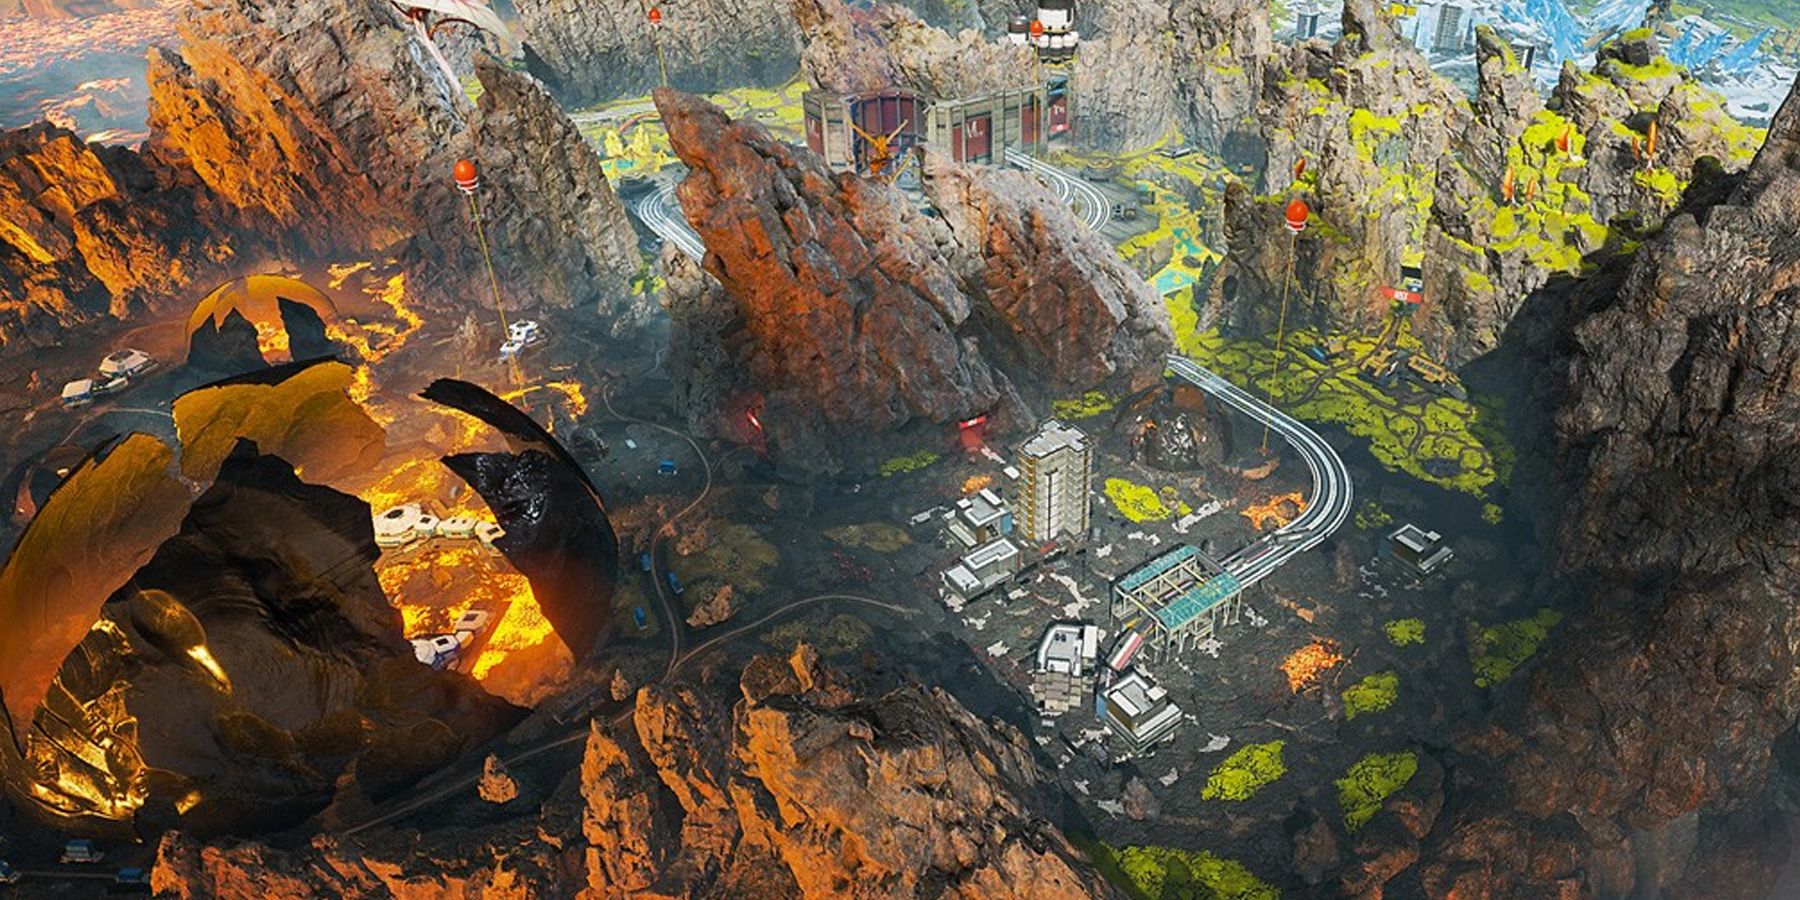
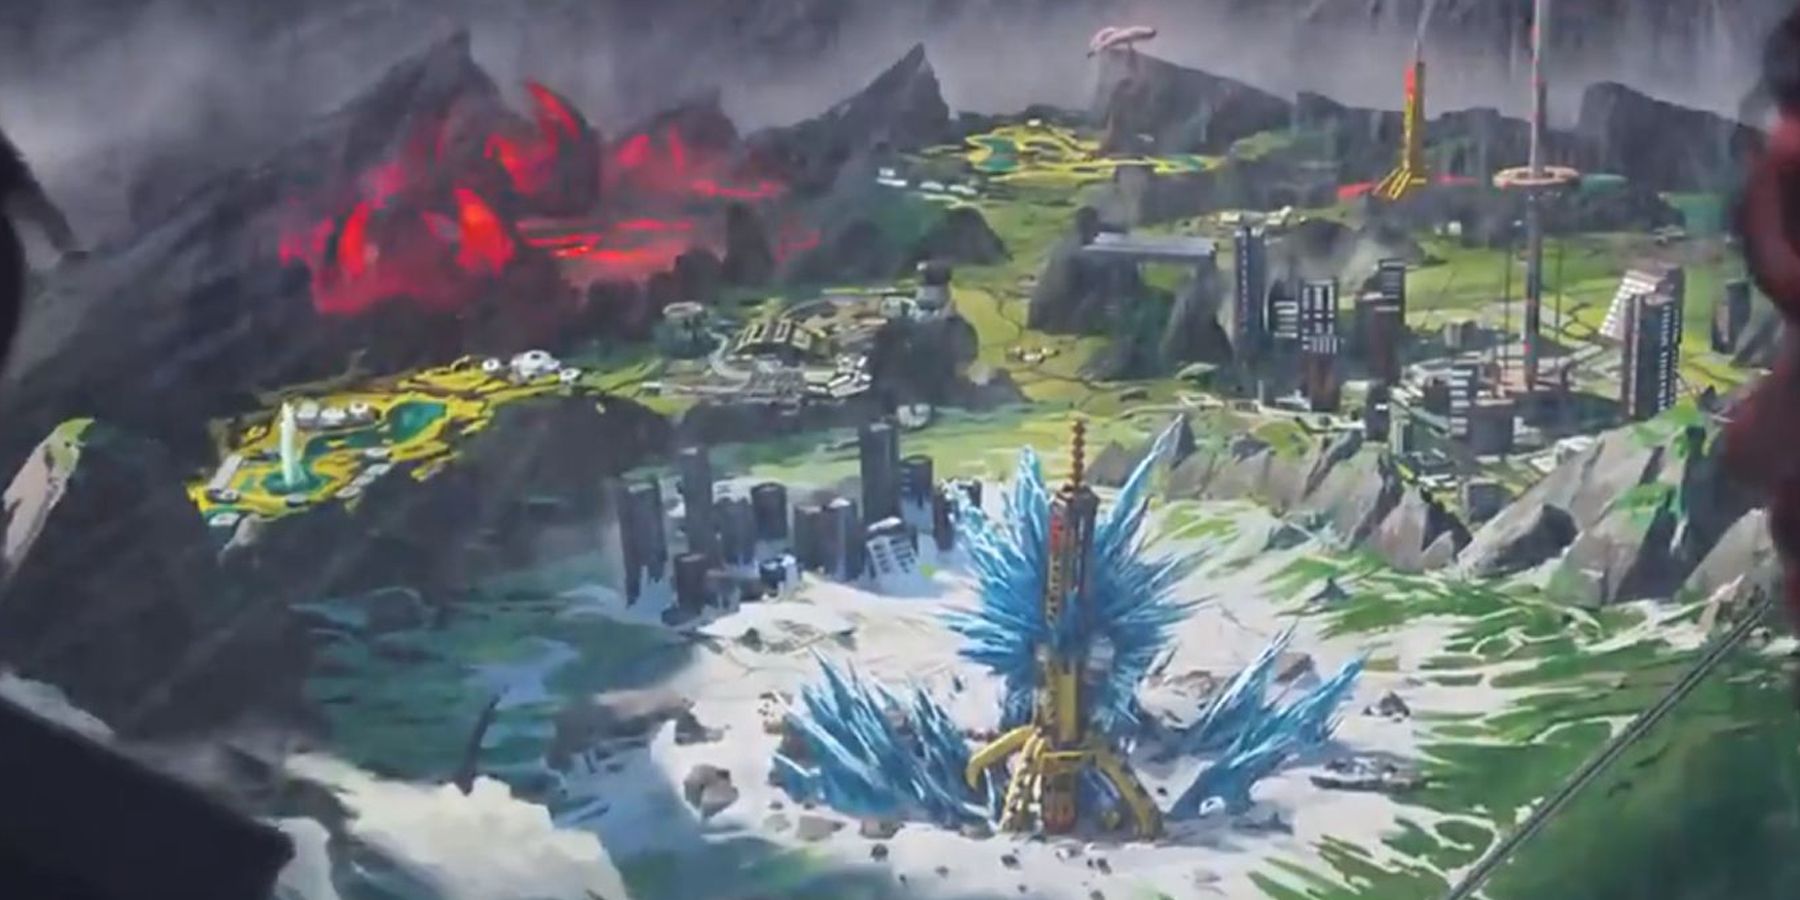
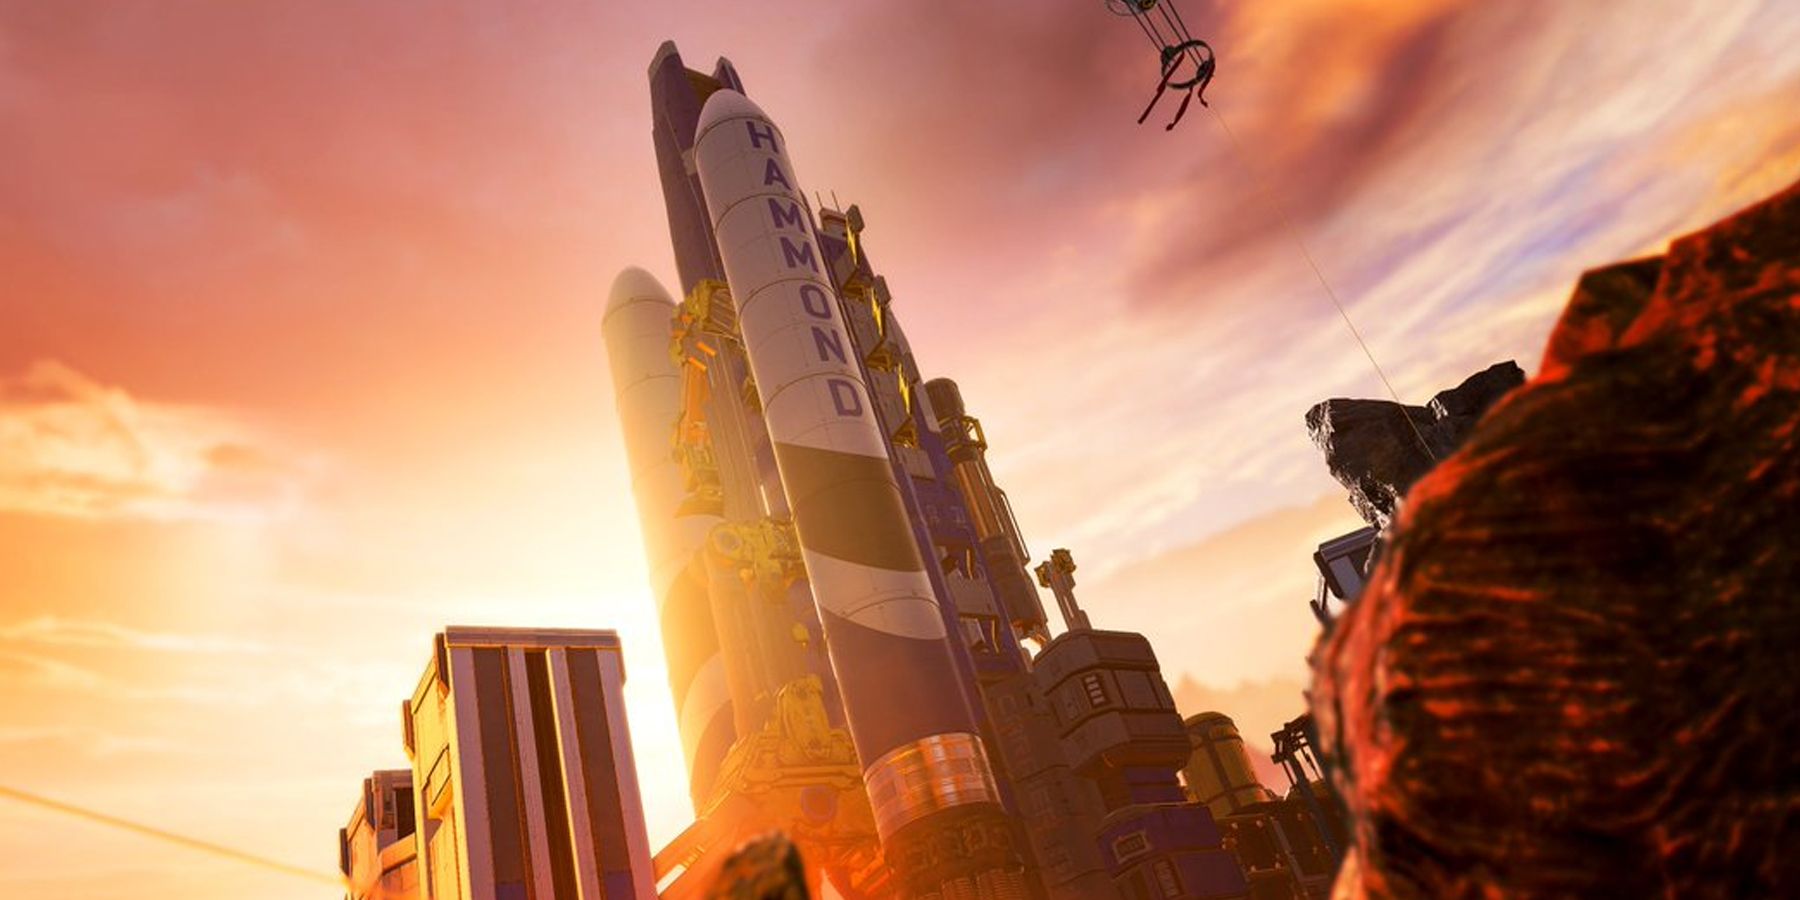
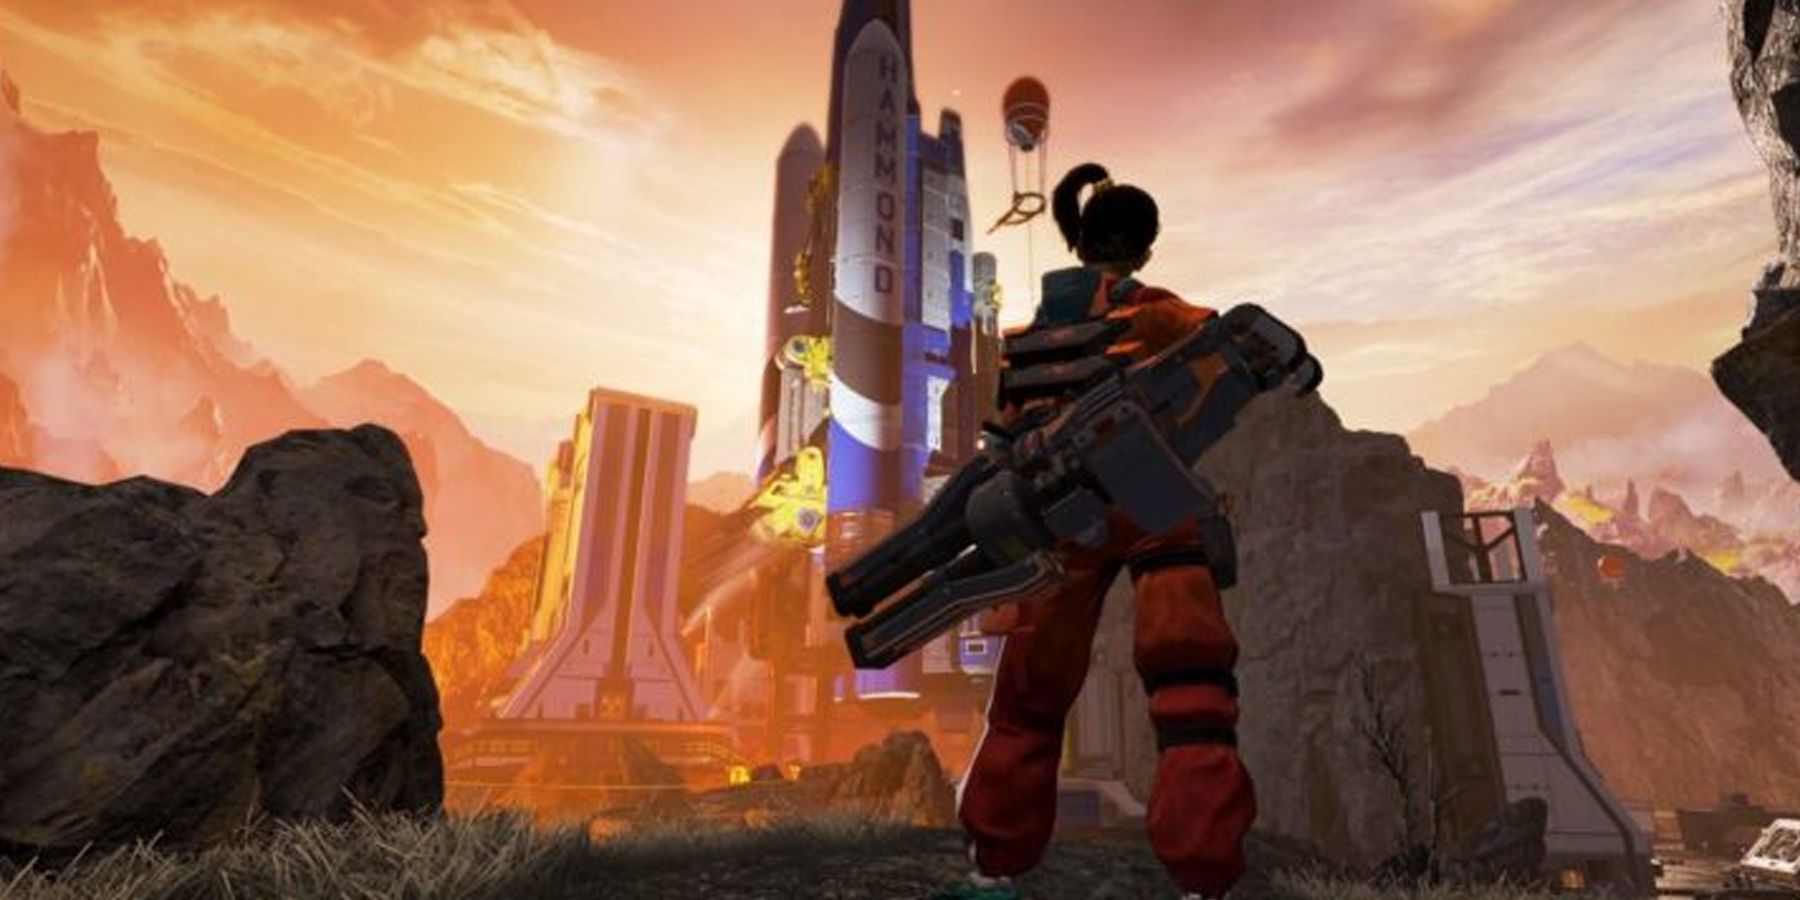
Anyone who’s played Apex Legends will remember the World’s Edge map and its set of unique interconnected biomes. Introduced back in 2019, World’s Edge serves as one of three rotating maps in Apex Legends, alongside the island King's Canyon and the floating city Olympus. Contrary to the two maps, however, World’s Edge poses an extra layer of challenge to players due to its varied terrain, dynamic areas, and closely-knit hot zones.
Anyone who’s carelessly landed in World’s Edge will find themselves exiting a match early due to frequent firefights. However, newcomers shouldn’t immediately find World’s Edge a map to hate. In fact, with the right knowledge, players can capitalize on World’s Edge and its rather chaotic scenery to dominate any match.
10 Buildings Make Map Hot Drop, Hot Zone Galore
Similar to contested areas such as Autumn Estates, Bonsai Plaza, and Golden Gardens in Olympus, World's Edge also has a fair share of contested zones. Regardless of whether a squad hot drops in Skyhook, Countdown, or on either Fragment, they're bound to encounter a whole swath of enemy squads ready to ruin their day. One might argue that the case is the same for any of the maps, as their zones are clustered together.
However, unlike King's Canyon and Olympus, World's Edge has an abundance of multi-story buildings in any one zone. As such, any squad that gains the higher ground will likely have an instant advantage over any trespasser. Not only that, the frequent access to enclosed spaces can prolong firefights and attract third parties.
9 Quadrants May Help Ease Zone Pressure
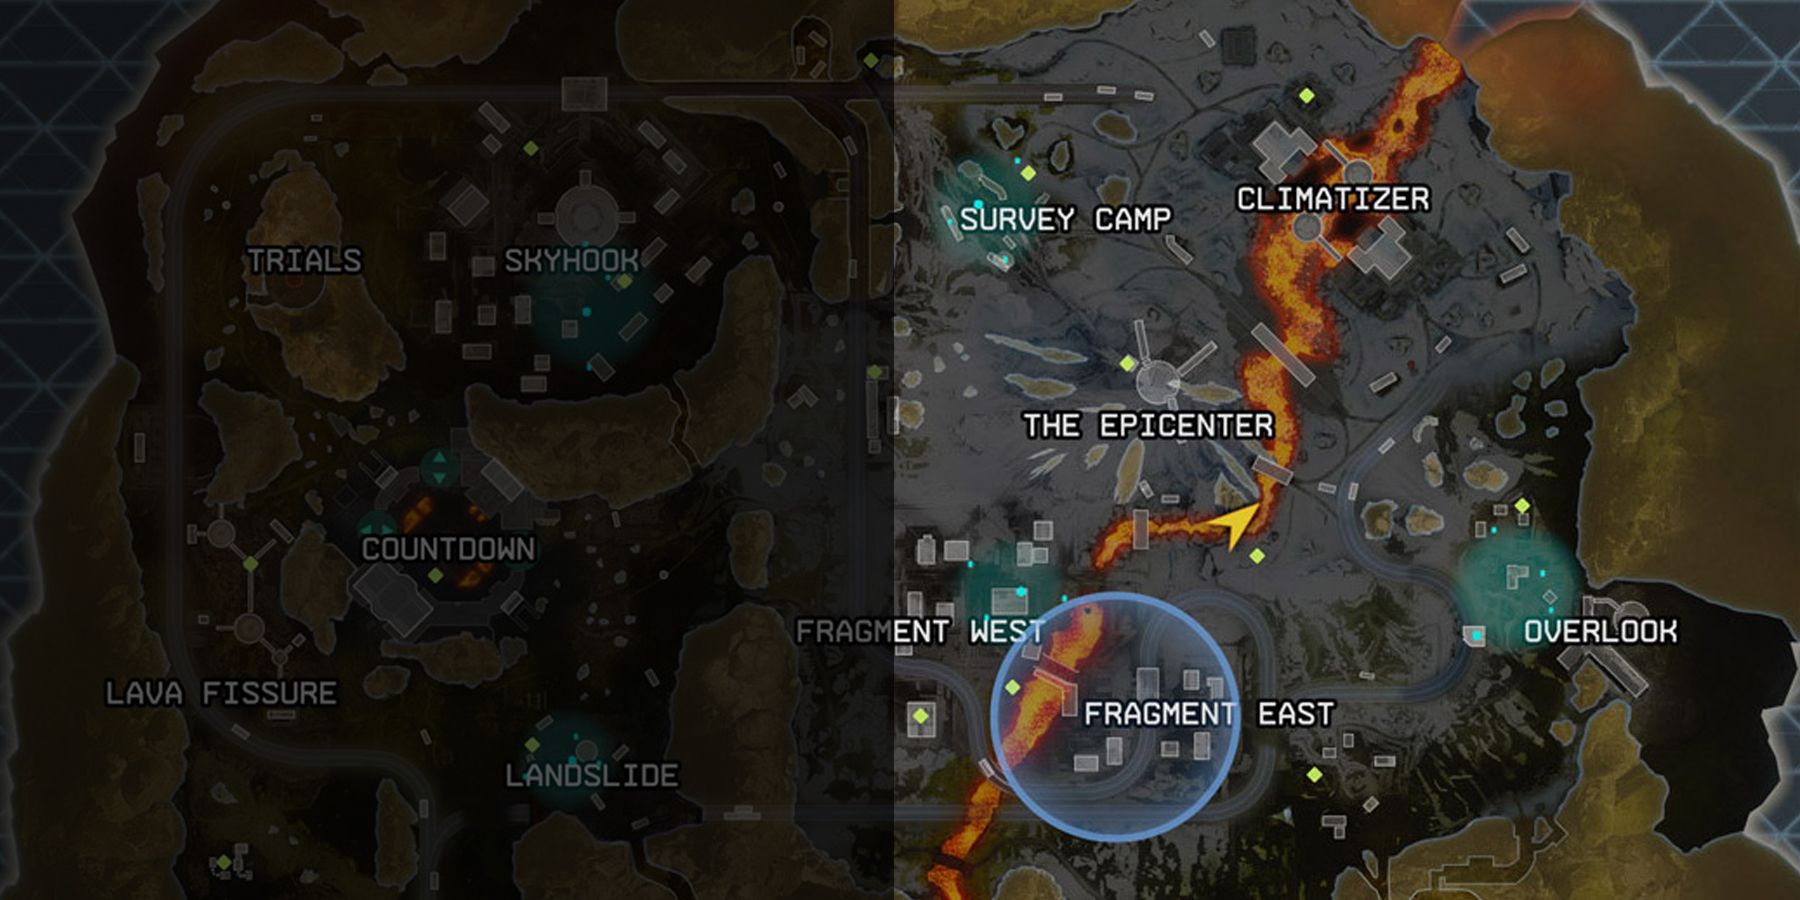
At its core, World's Edge has a whopping 20 zones under its belt, each with its respective loot tiers. The variance in environments in the map also makes it much harder for squads to decide on ideal drop zones or exploration paths.
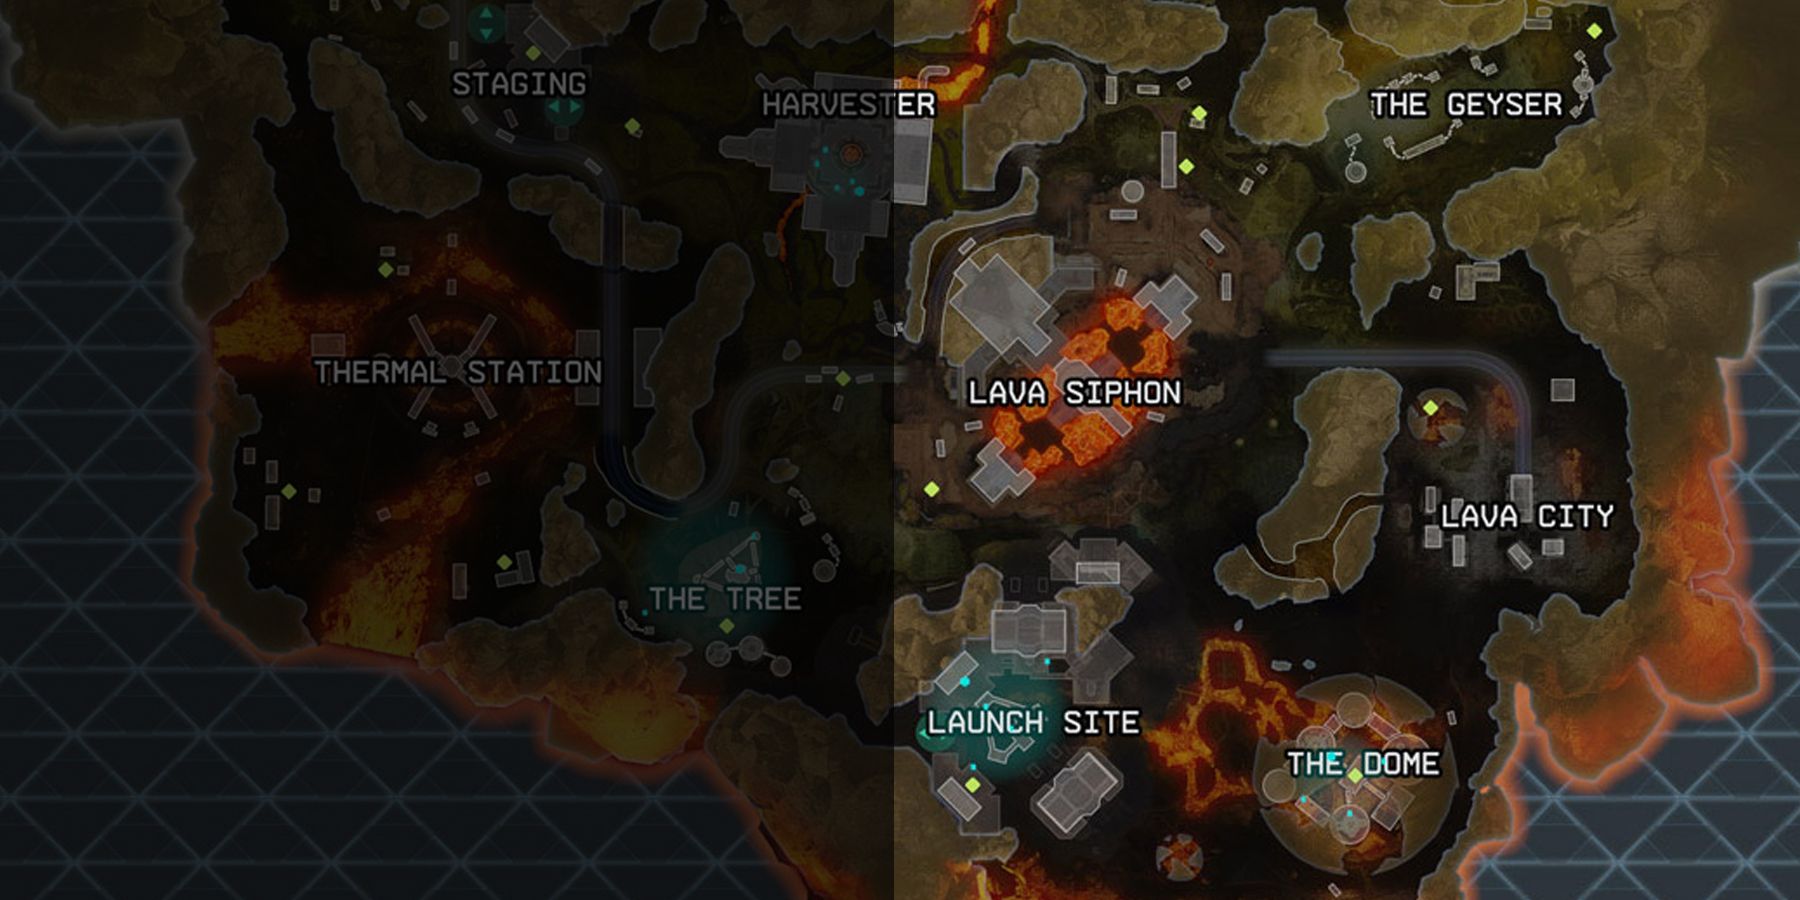
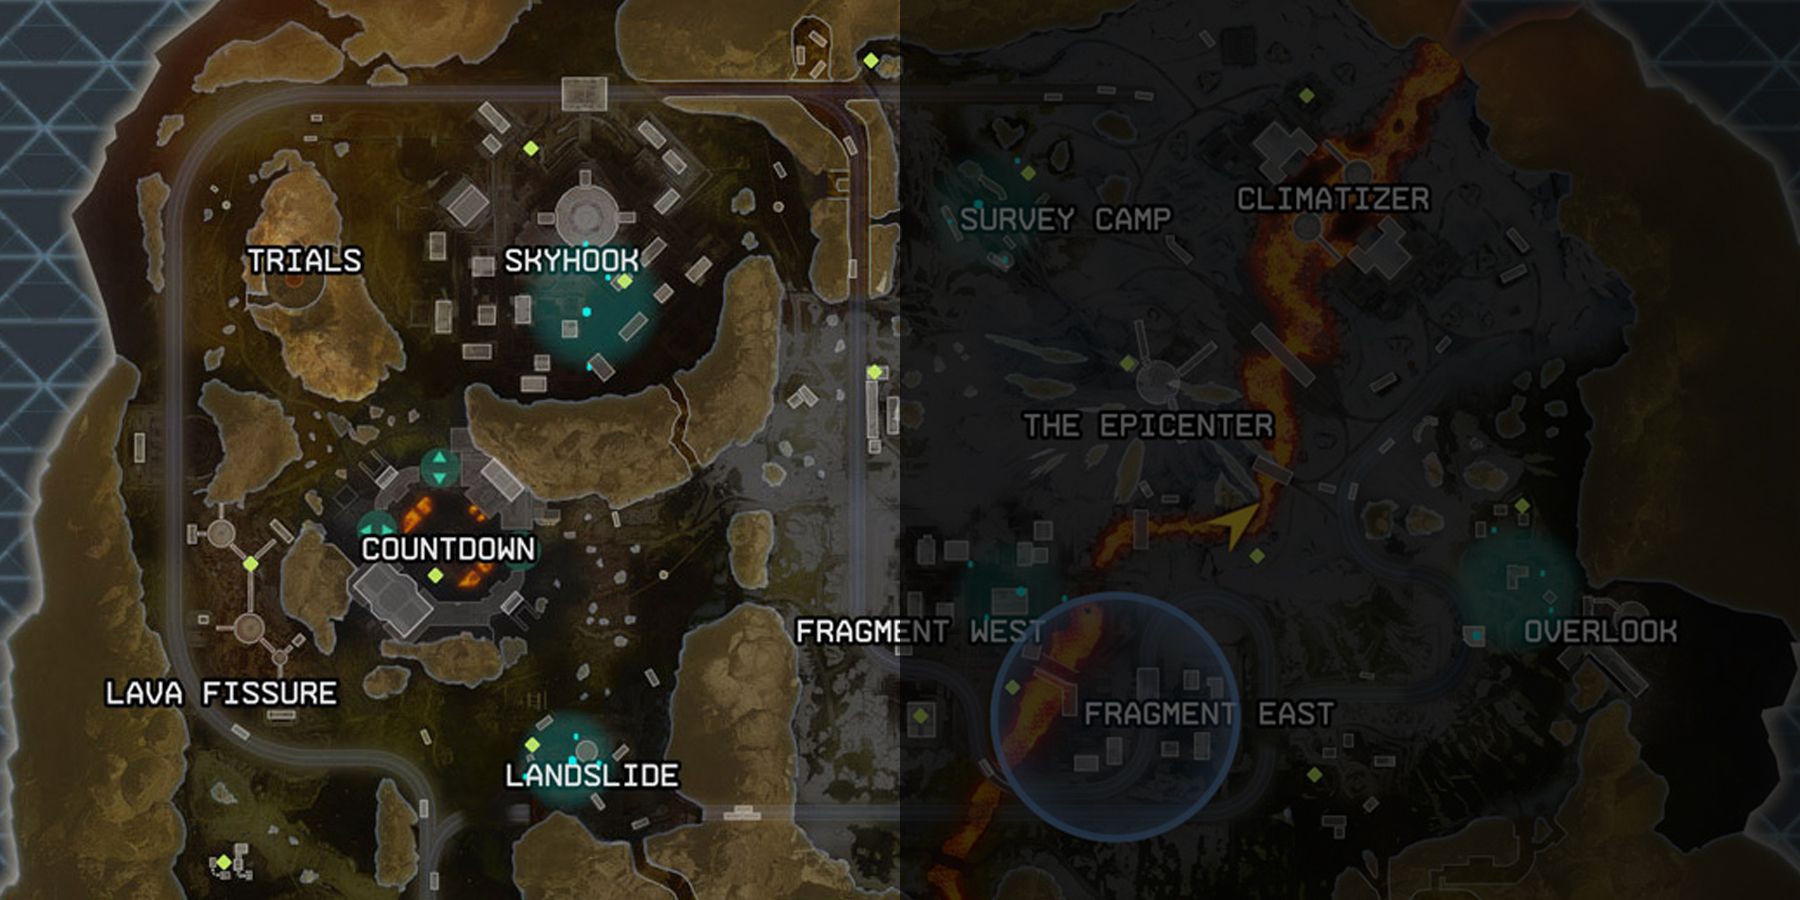
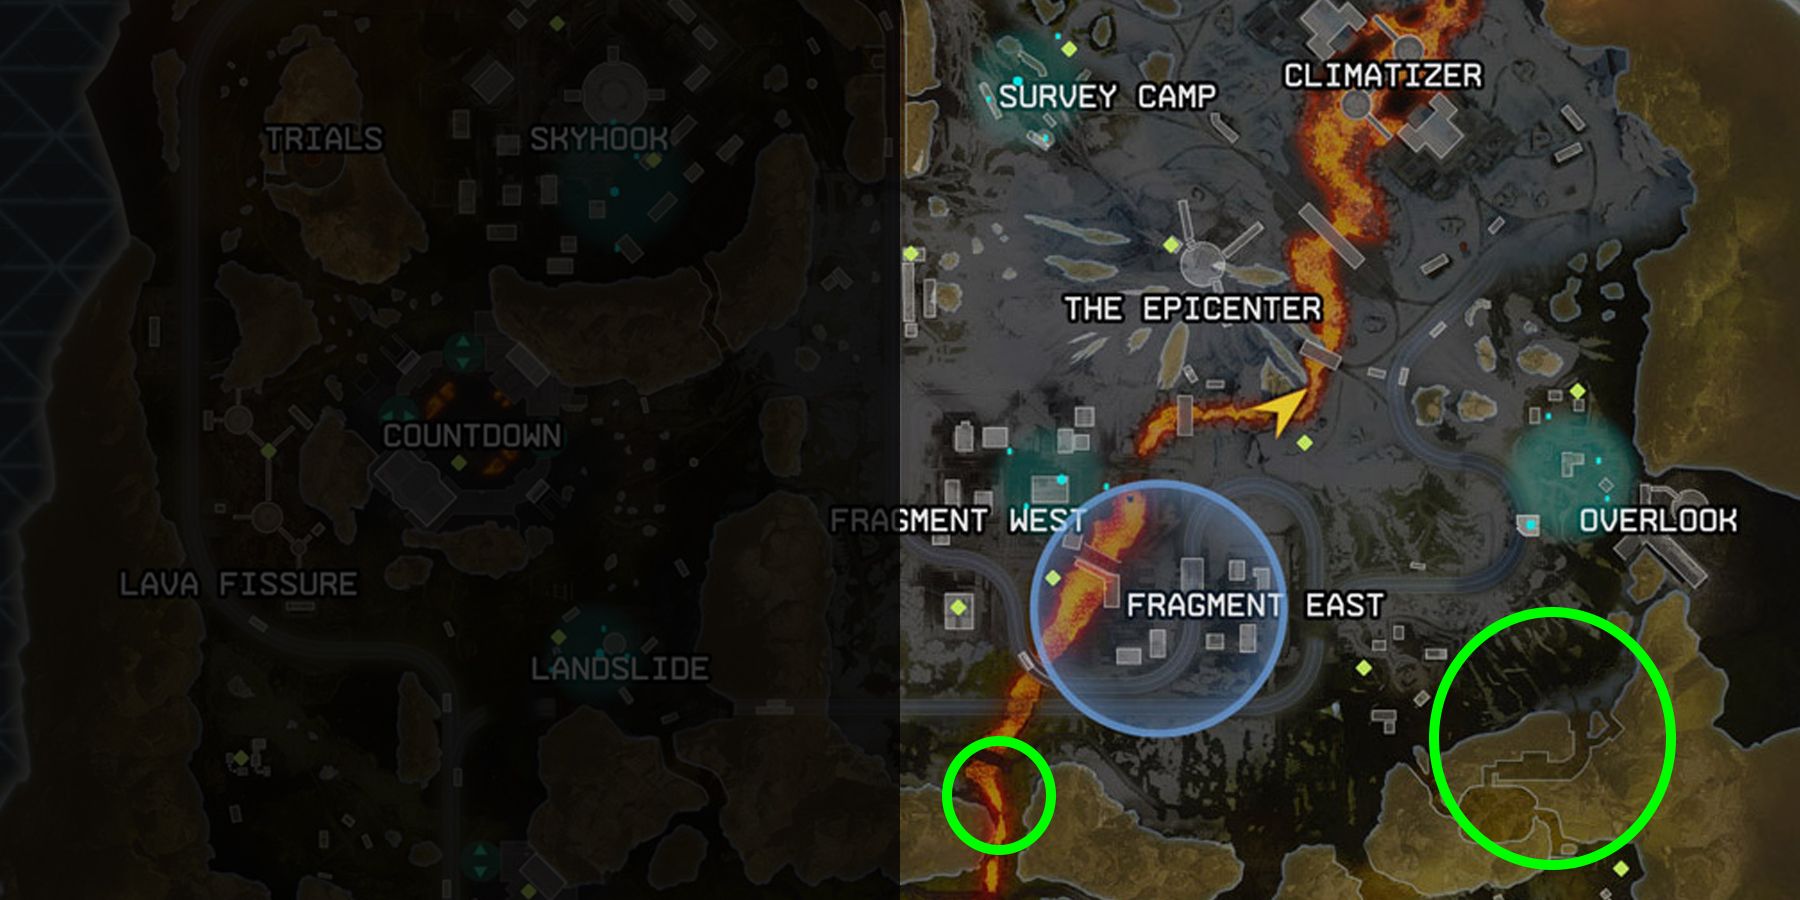
As such, it may help to divide World's Edge into four quadrants, going clockwise. This system will neatly assign clusters of zones into their respective quadrants for easier planning. For reference:
Quadrant 1 (Northwest)
- Bloodhound's Trials (High Tier)
- Skyhook (High Tier)
- Countdown (Mid Tier)
- Lava Fissure (High Tier)
- Landslide (Mid Tier)
Quadrant 2 (Northeast)
- Survey Camp (Mid Tier)
- Climatizer (High Tier)
- The Epicenter (Mid Tier)
- Overlook (High Tier)
- Fragment West (Mid Tier)
- Fragment East (High Tier)
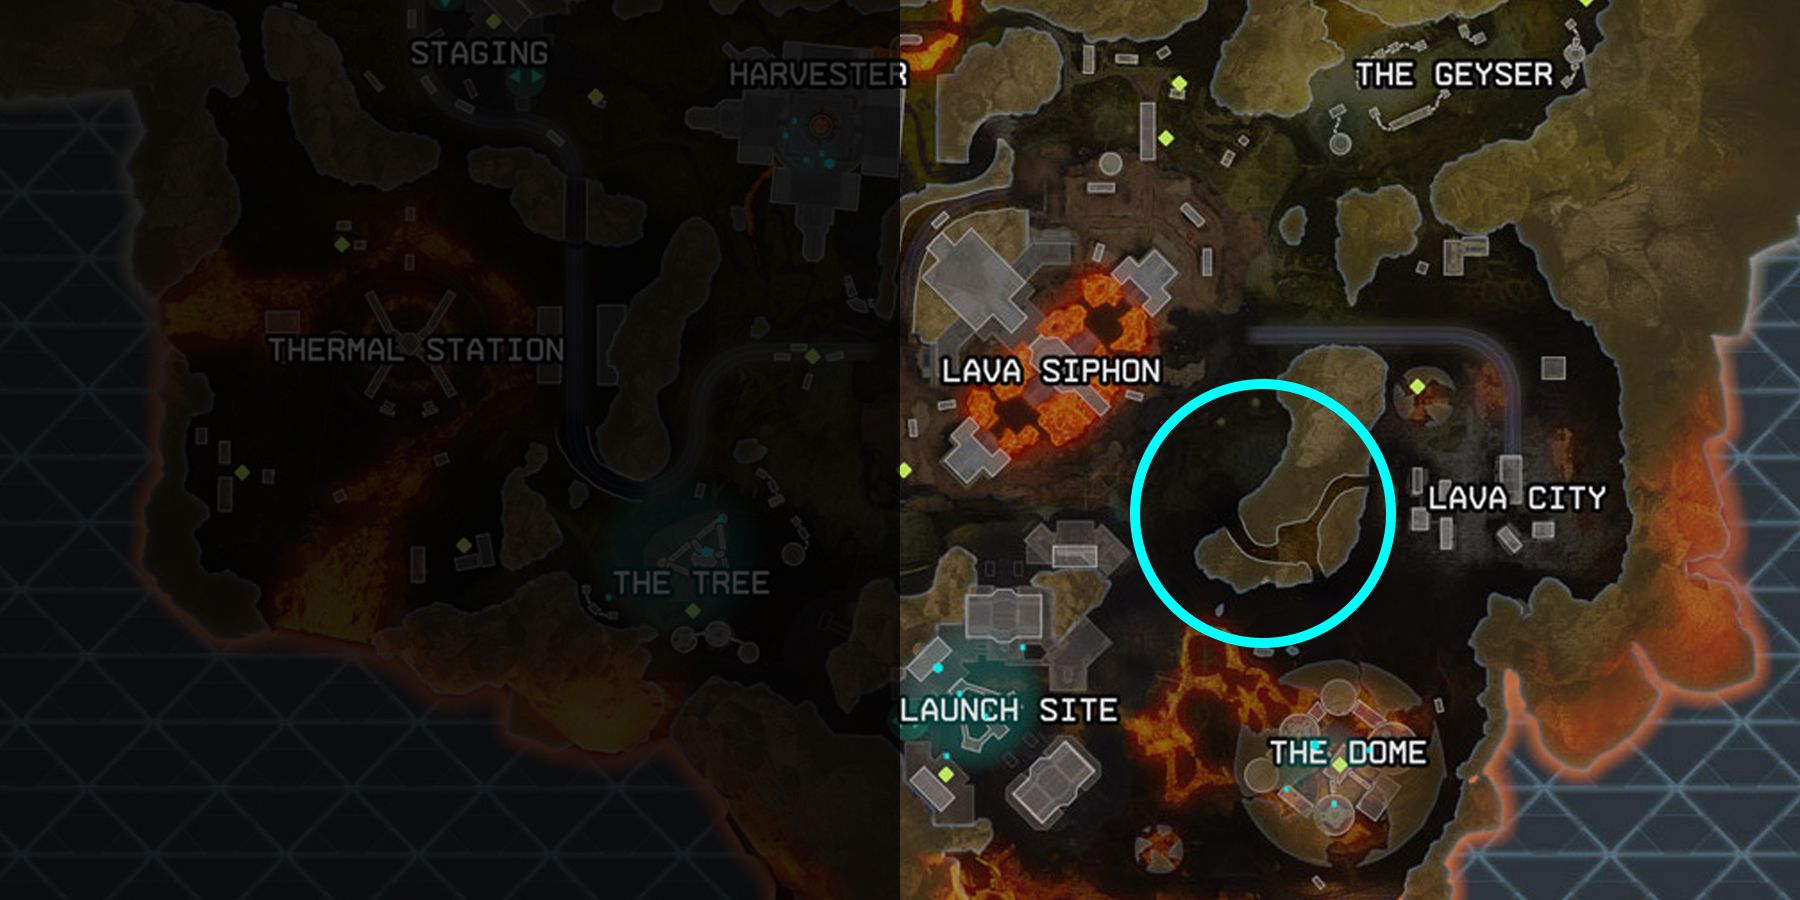
Quadrant 3 (Southeast)
- The Geyser (High Tier)
- Lava City (Mid Tier)
- The Dome (High Tier)
- Launch Site (High Tier)
- Lava Siphon (High Tier)
Quadrant 4 (Southwest)
- Harvester (High Tier)
- The Tree (High Tier)
- Thermal Station (High Tier)
- Staging (High Tier)
8 Quadrant 1: Between A Rock And A Hard Place
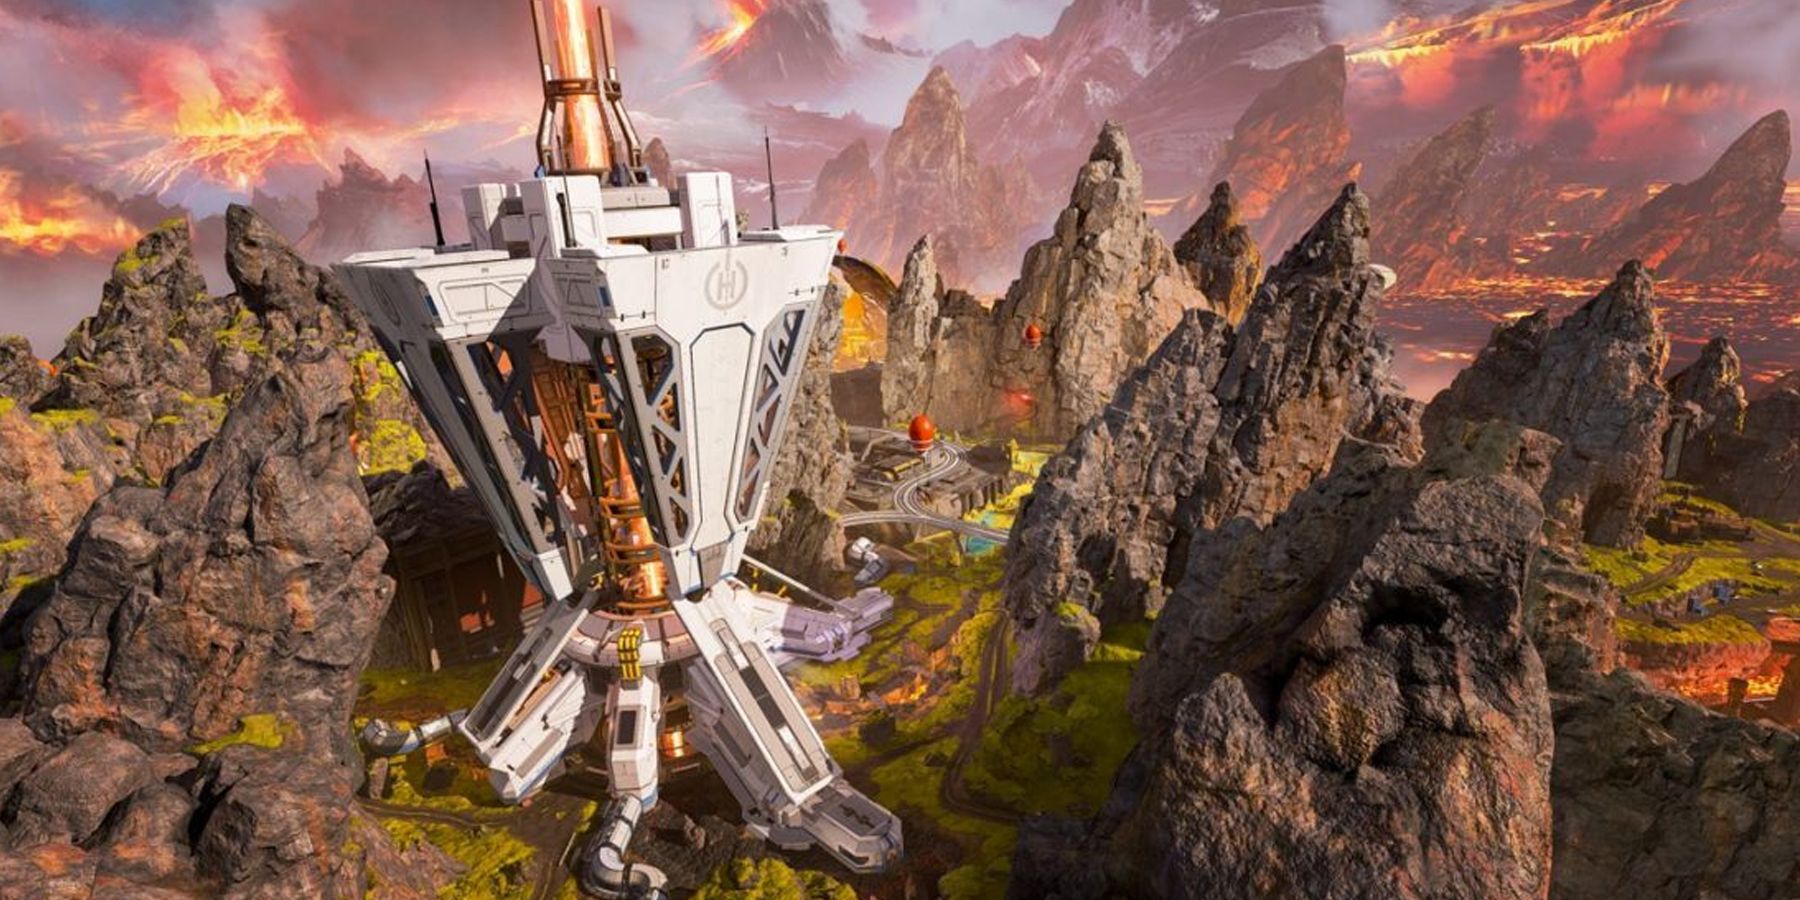
Squads planning on dropping in Quadrant 1 will have to take note of two contested zones divided by the Countdown: the high-rise remnants of Skyhook or the web-like Lava Fissure. Avoiding the contested zones will get them to the train graveyard of Landslide. Here are some highlights:
- Bloodhound's Trials: Getting into Trials will spare players a few minutes of interactive fun and a chance to get decent loot without unnecessary competition. Due to the single access of Bloodhound's Trials, a squad can wipe out intruders in the middle of their mini-game.
- Countdown and Landslide: Ideal for neutral zones, these areas have more than enough cover for retreating squads. High-intensity matches in Skyhook or Lava Fissure can give players here the option to run to another Quadrant or get to third partying. Quadrant 2 is the ideal exit strategy, as the open areas in the boundary give plenty of room for escapes.
- Lava Fissure: The web-like structure of tunnels give access to plenty of weapons but few exits during firefights. Remember to exit through doors and try cornering foes trying to find their way out.
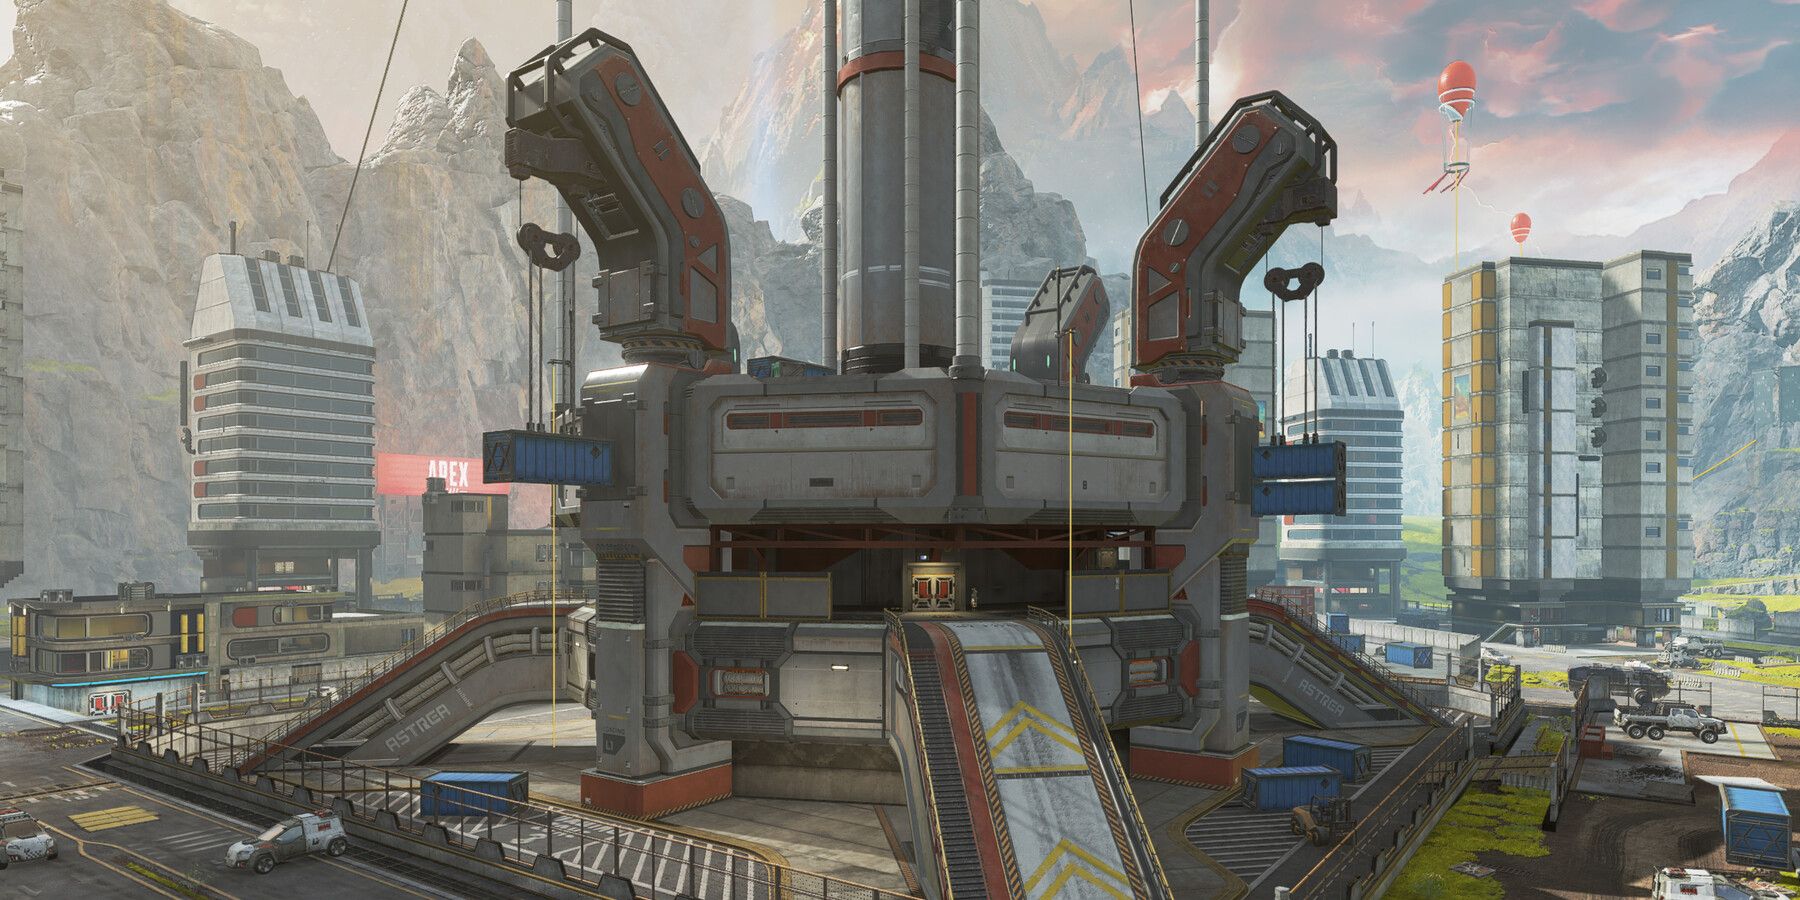
- Skyhook: Access to buildings can prolong firefights. Consider getting the higher ground to pick off enemies wandering around. There's a small tunnel at the top area that leads into Quadrant 2.
7 Quadrant 2: Get Frozen In Open Fields
Quadrant 2 is easily one of the more recognizable areas of World's Edge courtesy of the Epicenter. This frozen area extends throughout the majority of the quadrant, alongside the huge river of molten lava tearing the area into two mini-sections. Here are some highlights:
- Survey Camp: Being the top-most open section of the map, Survey Camp is easily a great neutral zone. Its nondescript nature makes it relatively safe for hiding while enemies duke it out in the Epicenter and Climatizer. Depending on the environment, players can go east to the Climatizer or down to the Epicenter.
- Climatizer: Its "divided" areas make it a hot zone for early game matches. Given their open areas to the rear, it's advised players grab areas and exit towards Survey Camp or Overlook, whichever is closest.
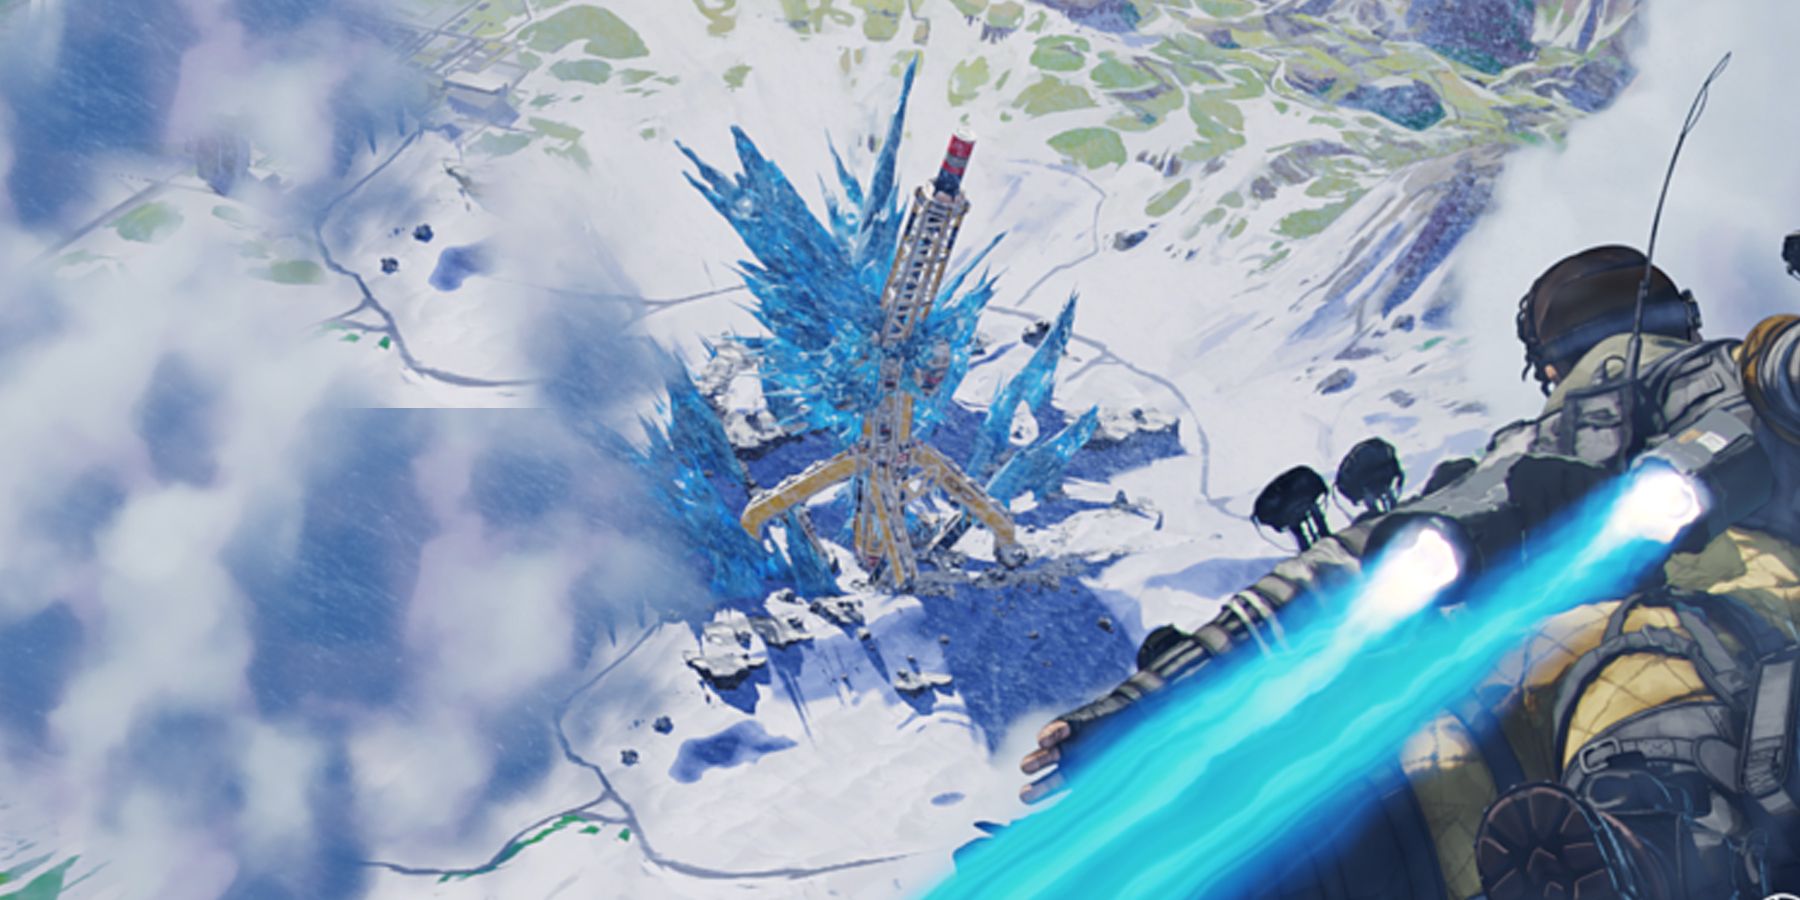
- The Epicenter: The huge chunks of ice surrounding its central structure make it a great spot to hide from enemies during shootouts. However, its downward direction can make players on the bottom easier to spot.
- Fragments: While divided by a huge lava river, both Fragments contain enough buildings to facilitate shootouts that can last the entire match. It doesn't help that they're easily accessible from popular hot drop zones such as Climatizer and the Epicenter.
- Overlook: Similar to Survey Camp, Overlook is a relatively good vantage point for matches given its position at the east-most area. However, its proximity to contested Climatizer and Fragment East can make it a dangerous area quickly. Players should exit into the tunnels and head to the Geyser to access Quadrant 3 safely.
6 Quadrant 3: More Rocks, More Lava
Contrary to the icy fields of Quadrant 2 is Quadrant 3, this time around with a lot of rock and lava. Whereas a lava river divides Quadrant 2 into two parts, a mountain of rocks finds themselves at the center of Quadrant 3. There are three tunnels within the rock mountain with a central fork, giving squads easy access to any point of Quadrant 3 without going the long way around. Here are some highlights:
- The Geyser: This nondescript area is surprisingly a High Tier loot zone, making it an ideal drop zone. Its northern part is also home to a series of tunnels that can lead into Quadrant 2's Overlook or Fragment East. Being enclosed among large rocks, the Geyser is an ideal place for defensive Legends.
- Lava City: Going straight south from the Geyser leads straight to Lava City. This cluster of structures gives access to decent loot, and the surrounding tall mountains favor defensive and mobile Legends.
- The Dome: As the name implies, this area is a rock dome that encloses a series of bridges with various Supply Pods. As a not-so-popular contested zone, the Dome is a good place to find good loot early on. However, its proximity to the popular Launch Site can attract the attention of enemy squads.
- Launch Site: This popular contested zone is a cluster of tall buildings easily accessible from one another. Its location at the southernmost area of the map makes it a great vantage point for exploration. However, its close proximity to contested Lava Siphon makes it a potential zone for early-game firefights.
- Lava Siphon: Perhaps one of the most popular zones in World's Edge, Lava Siphon is an easy invitation for a three-squad showdown as soon as the match begins. Given their rear access, players are advised to exit as soon as possible as soon as they get their loot.
5 Quadrant 4: Straight Roads Ahead
Compared to the other locations in World's Edge, Quadrant 4 seems to be the most straightforward. Its cluster of rock structures gives an "ideal" safe road that tours all zones in the Quadrant, which all happen to be the location of High Tier loot. Here are some highlights:
- Staging: From Quadrant 1, squads can access Quadrant 4 from Staging, which is a cluster of structures right at the border of the area. To avoid being stuck in a firefight, players might want to go through the tunnel below Landslide instead.
- Harvester: This large area is home to a wide variety of good loot and relatively enclosed spaces, fit for early-game firefights. Players can access this area east of the Geyster or north of Lava Siphon, both from Quadrant 3. Going away from the Harvester, players can head east back to Staging, south towards the Tree, or the center to Thermal Station.
- The Tree: Alternatively, players coming from Quadrant 3's Launch Site or Lava Siphon can head east to the Tree. This cluster of small structures will favor defensive Legends. Not to mention, the area encourages constantly going up and down platforms, perfect for tricky battles.
- Thermal Station: Arguably the trickiest to access among all World's Edge zones, Thermal Station is bordered on almost all sides by lava rivers. Thankfully, it has cable cars and ziplines for easy access to other zones in Quadrant 4. However, players looking to make a good "final stand" might want their defensive Legends to lay their defenses here.
4 Take Note Of Tunnels
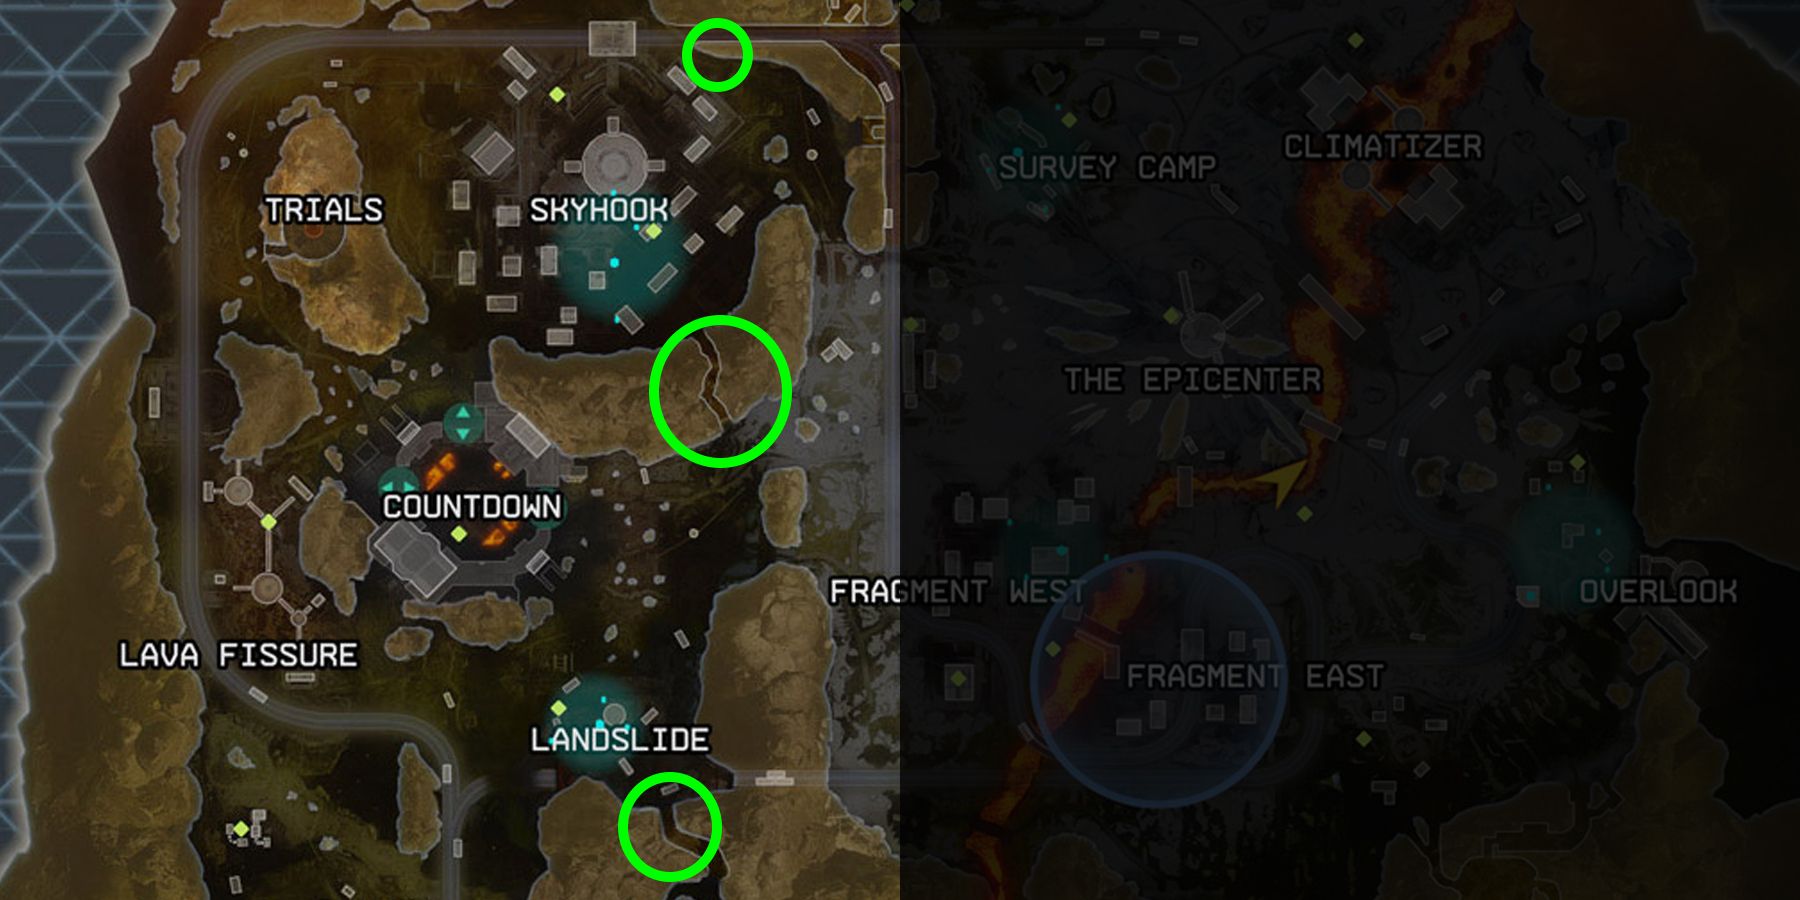
Given the nature of World's Edge maps to become battlegrounds, players need to take advantage of tunnels as often as possible. Remember, tunnels exist in any quadrant players enter, and they're often ignored since they almost always lack good loot. Players in need of safe traveling or an exit strategy can transition areas using these pathways. Here are notable ones:
Quadrant 1
- Landslide: The area below Landslide is an easy way to get to Quadrant 4 areas like the Harvester without risking a firefight in Staging.
- Skyhook: There's a tunnel to the north of Skyhook that leads straight to Quadrant 2's Survey Camp or to an open area. There's also a narrower tunnel to the south of Skyhook that leads to a crossroads, going left to Countdown or right to Quadrant 2.
- Lava Fissure: There's a tunnel at the very south of Lava Fissure that can lead to one of the access roads near Thermal Station. It leads to an open area bordered by two mountains, making squads very hard to spot except for those inside Thermal Station.
Quadrant 2
- Overlook: There's a long tunnel below Overlook that heads straight to Quadrant 3's Geyser. Players can traverse the same tunnel to go back to Fragment East when necessary.
- Fragment: Players who follow the lava path south of the Fragment will get to the area close to the Harvester. Right of that area is a small tunnel that leads into Quadrant 3, near the Lava Siphon.
Quadrant 3
- Lava City: There's a huge rock mountain to the left of Lava City with three tunnels that lead to a center point. This is a safe way to switch from various Quadrant 3 zones without going around the huge mountain.
3 To Rotate Is To Survive
While this tip applies to all three maps in the game, this advice is all the more applicable to the often-contested zones in World's Edge. Granted, players who manage to get in an area with no enemy squads will likely do their best to loot every nook and cranny. However, it's a general rule of thumb never to stay in an area for more than a minute, as this is enough time for squads to "rotate" their positions.
Remember, any squad will want to explore a new area as often as possible to "get first dibs" on any good loot. With this logic, almost any squad will want to rotate as soon as chance permits. Any squad stuck in an area will find themselves in a match or even third-parties if they're not careful.
2 Capitalize On Third Partying
Albeit an annoying gameplay strategy, other squads secure victories through third partying. As players know, this refers to the process of sabotaging a squad-versus-squad firefight by swooping in and attacking both squads with arguably low health and ammo. For third parties, this strategy can secure easy kills. And for victims, this can become quite an annoying occurrence.
Given the proximity of areas in World's Edge, the map becomes both popular and unpopular due to the high rate of third parties. However, players can actually use this to their advantage. Aside from the glorious option of being the third party, squads in a pinch can retreat hastily to a contested area. That way, they can forcibly tempt other squads to third-party on them. Granted, this carries a huge risk of the player's squad getting wiped out. However, getting the pursuing party distracted can give the player more than enough time to rotate into yet another area.
1 Multiple Access Points Make Ideal Place For Traps
Similar to King's Canyon, World's Edge has a wide variety of naturally occurring objects such as debris and structures that make ideal cover during firefights. However, defensive Legends such as Caustic and Wattson can utilize these areas for their own traps.
For instance, Caustic and his Gas Traps (Tactical) would become extremely ideal traps inside the many tunnels of World's Edge. Likewise, Mirage and his Psyche Out decoys (Tactical) can make for nasty bamboozles when popping out from unexpected areas. Given the variety of environmental elements here, even slow Recon Legends such as Crypto have a shot of performing well.
Apex Legends was released on February 4, 2019, and is available on PC, iOS, Android, PlayStation 4, Xbox One, and Nintendo Switch.

