Apex Legends, like most battle royale titles, is a game that can reward a squad's collective decision-making skills just as thoroughly as their gunplay and raw skill. Some of the most important decisions are made before their feet even touch the ground. In fact, one of the most important ones has to do with where, exactly, they're going to do just that.
Choosing the wrong spot leads to a woefully short minute or two spent struggling for loot before being the first squad eliminated. Picking the right spot leads to partaking in a glorious showdown among the final three squads scrapping for the championship. But which ones are which? There's no sure ticket to win, but some spots are a lot less likely than others to get you cut down before you've even got a gun in your hands, and we know where they are. Keep scrolling to check out them out.
10 BEST: Gauntlet
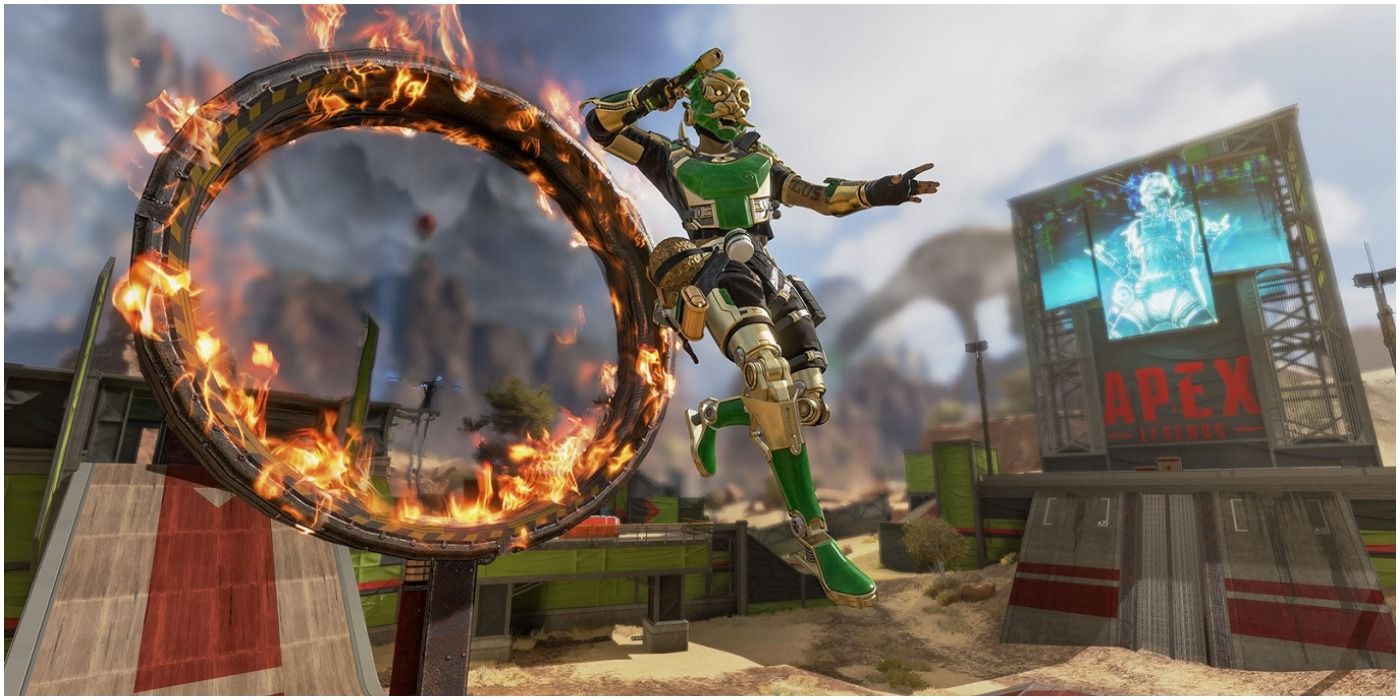
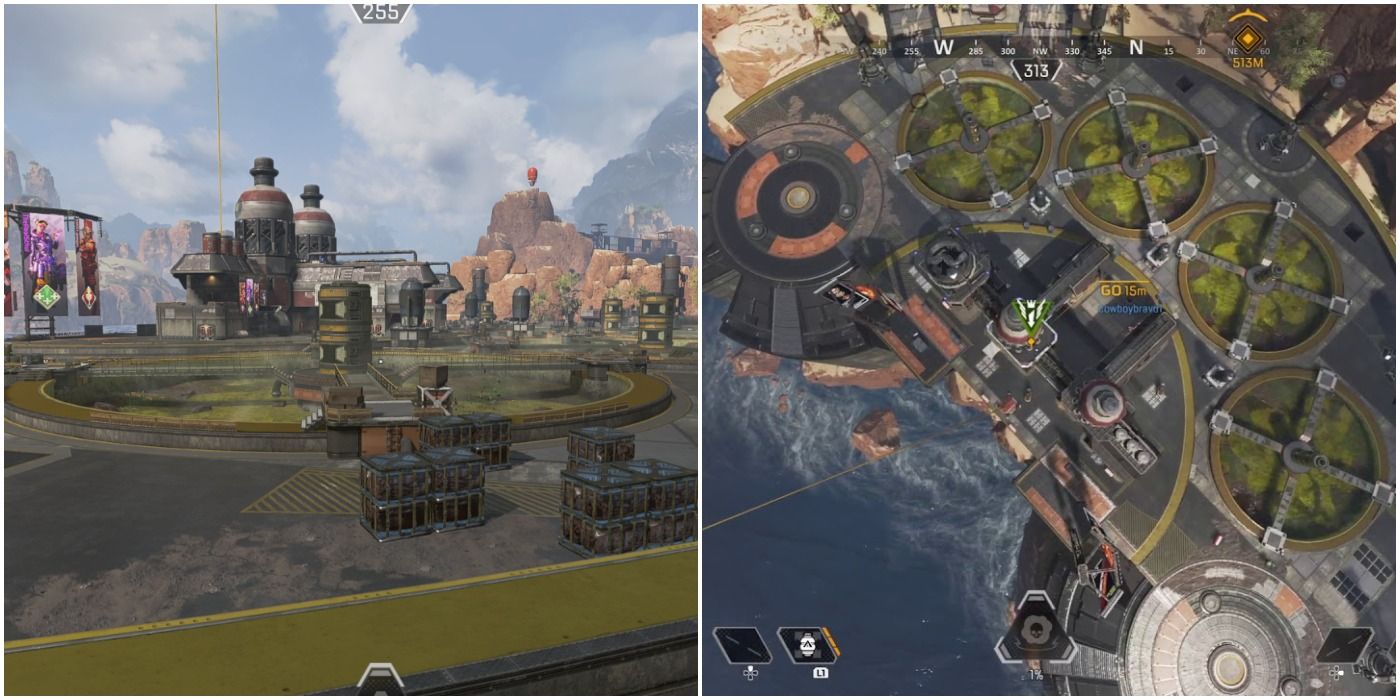
The jump pad bonanza known as the Gauntlet was incredibly dangerous when it hit the map. Now that the novelty's died down a bit, it's a great drop locale. There's roughly a fifty-fifty shot of dropping there with company, and when you manage to get in a clean drop, you'll definitely walk away happy.
This place is absolutely littered with supply crates, and the loose gear spawns tend to be pretty high end. If you do happen to find yourself with unruly customers, make good use of the many jump pads to reposition or escape outright. Don't forget guaranteed purple spawn in the middle of the flaming ring.
9 WORST: Artillery
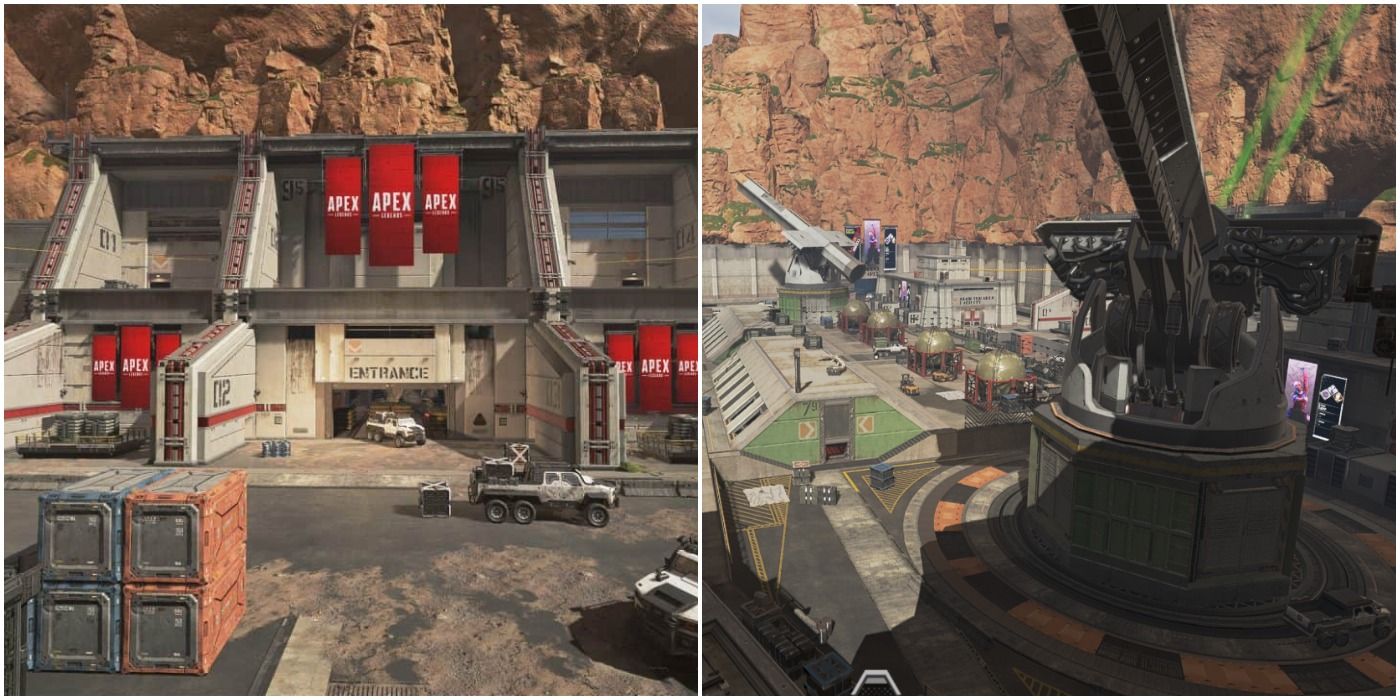
Even when it's a long way off the dropship's flight path, Artillery's big, shiny pile of high tier loot has a tendency to attract several squads per game. Even after the initial chaos, many will make it a point to dip through on rotation just to make sure it's been looted out.
The sheer size of the area and generous amounts of cover can make it difficult to notice other squads that have dropped in behind the player's, turning a seemingly stress-free loot run into a nightmarish ambush. Make no mistake, the loot's good, but it's a little too risky.
8 BEST: Slum Lakes
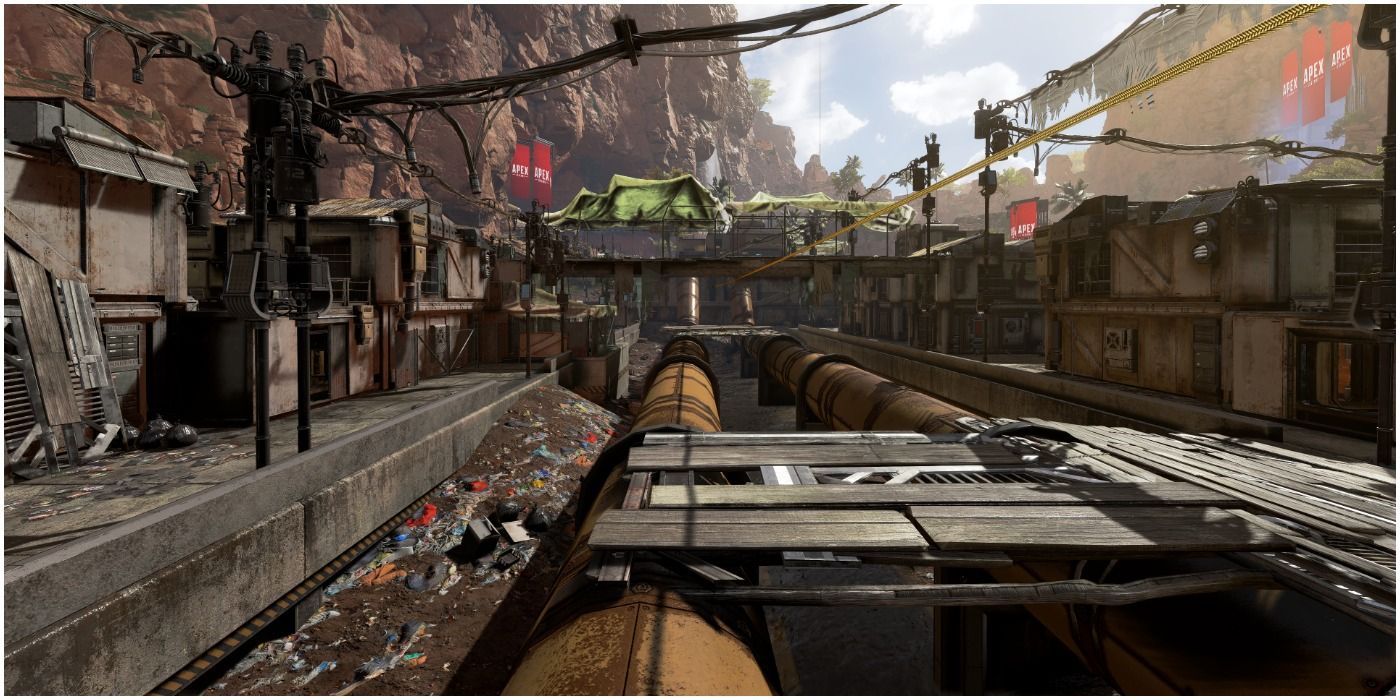
Hidden away in the northwestern corner of the map, Slum Lakes affords a decent wealth of loot despite its relatively infrequent selection as a drop zone. You'll rarely see squadmates clamoring to be dropped here, but it's a strong starting position even if it's just mid-tier loot.
There's an often-overlooked string of large buildings on a cliff at the back that makes for a solid alternative to the main area if enemy squads follow you in. Slum Lakes also has a pretty strong selection of rotation options, directly opening to either the Pit or Runoff to the south.
7 WORST: Bunker
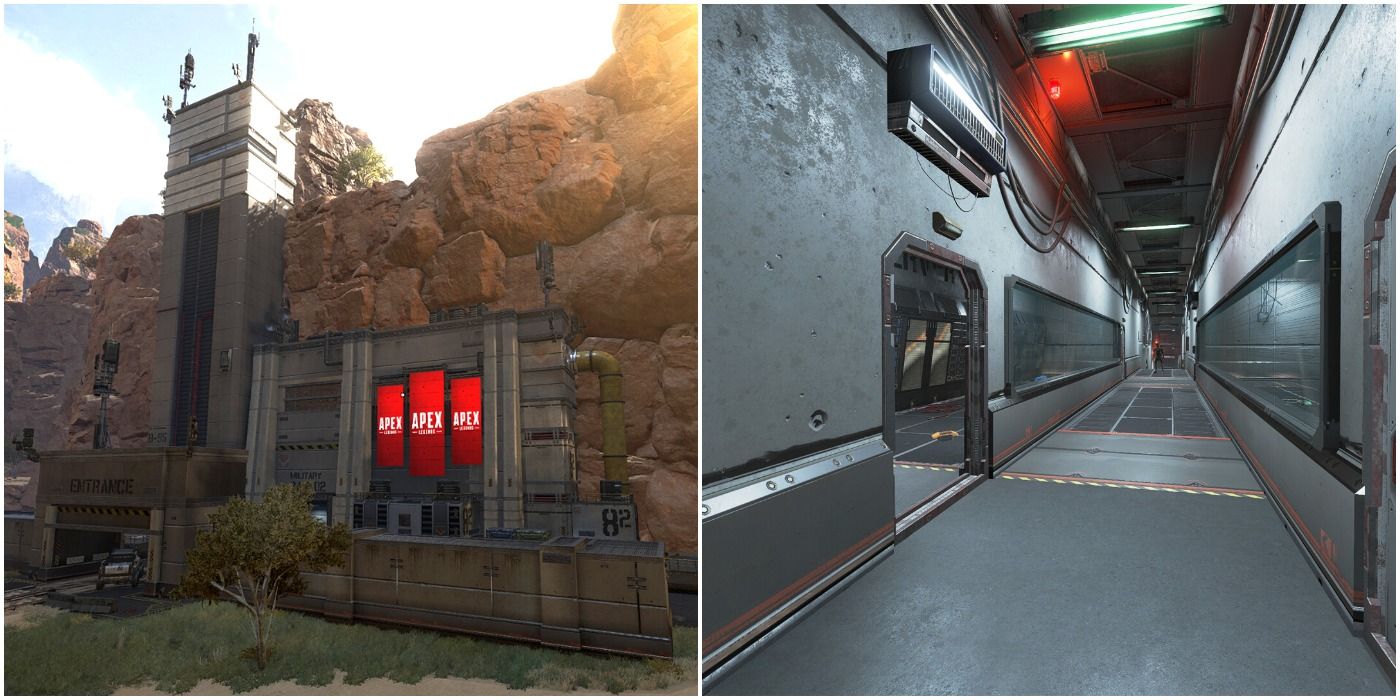
Though it'll be amid a hot fit of protesting from the Caustic player in your squad, Bunker should be avoided at all costs. Bunker's all about being the first squad through those big double doors, and due to its central location on the map, there will virtually always be half a dozen other squads thinking they'll be the ones to do it.
Needless to say, those aren't the greatest odds one could ask for. It should even be avoided during rotation, due to the frequency of squads holing up there to catch runners off guard. The place is literally a deathtrap, and there are too many other places to loot that don't involve a glorified rat race to a remarkably modest pile of gear.
6 BEST: Relay
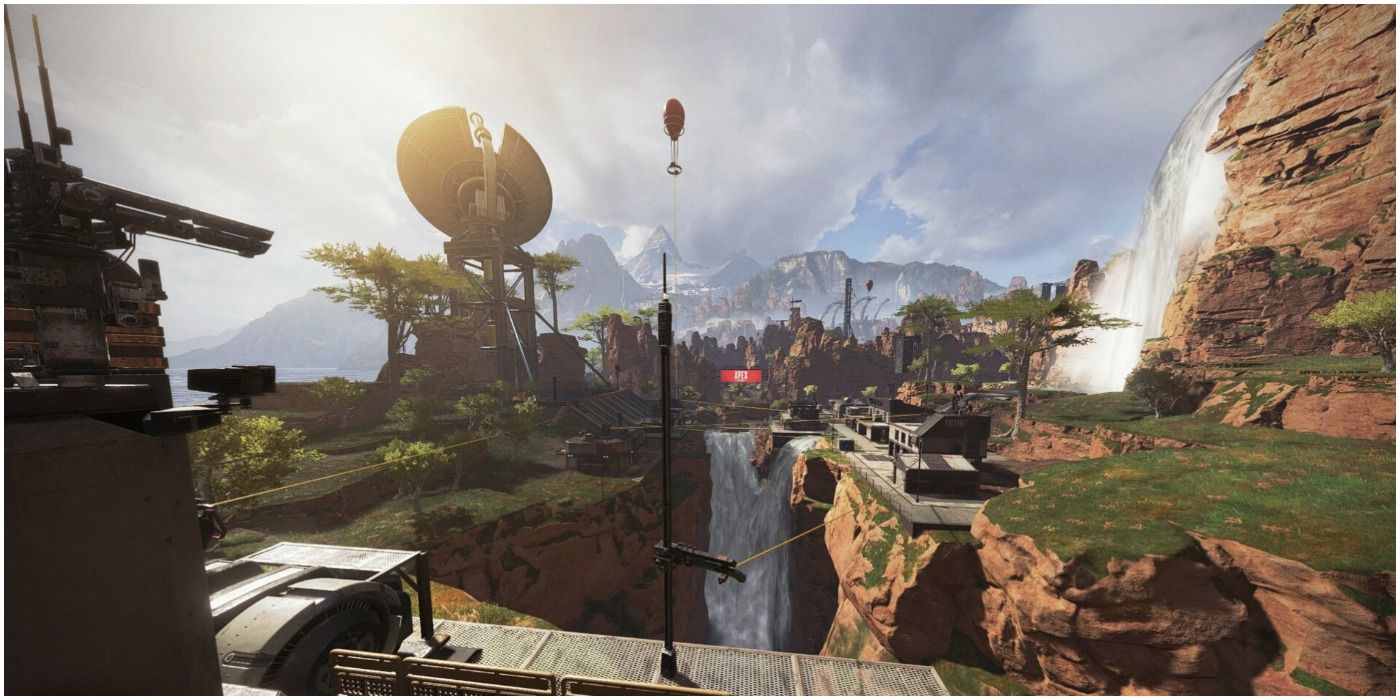
Relay can be a bit of a gamble, but it's usually one worth making, especially if it's out of the way or towards the end of the dropship's flight path. The sunken platform towards the eastern side of the area is particularly choice, being loaded with supply bins and even more piles of loose gear scattered throughout.
Relay's also got some great rotation options. Artillery's a short jog away, and definitely worth a look once your squad's kitted out. Wetlands is immediately accessible to the south, and is a nice pit stop to hit on the way to Swamps. The loot's good, it's versatile, and it sits on an edge of the map that usually doesn't see much action.
5 WORST: The Supply Ship
Hitting the first supply ship is chaotic, violent, and incredibly fun. Unfortunately, "smart" isn't usually included in its list of qualities. The list of things that can go wrong here is far too extensive, and if it's close enough to hit from the dropship, you can bet that it's the target of several other squads.
To put it simply, there's no room for error when it comes to surviving this landing. If you're not the first squad, you jump off, and spend entirely too long being exposed and vulnerable on the ground before regrouping and actually managing to get armed. Of course, that's only if the squad that managed to take the ship doesn't see you first.
4 BEST: Water Treatment
Whether or not Treatment is going to be a crowded affair depends largely on the dropship's flight path for your given match. But with its edge-of-the-map location and a few optional sub-locations immediately nearby, it can set an individual squad up very nicely for the beginning of the match.
If the main central area ends up being a shoot-out, the two small clusters of shacks on the north-eastern and north-western edges are great for regrouping, or opting to land in if too many enemies get onto the ground first. Use them to observe and prepare to third-party any squads squabbling over the loot-rich central complex.
3 WORST: Skulltown
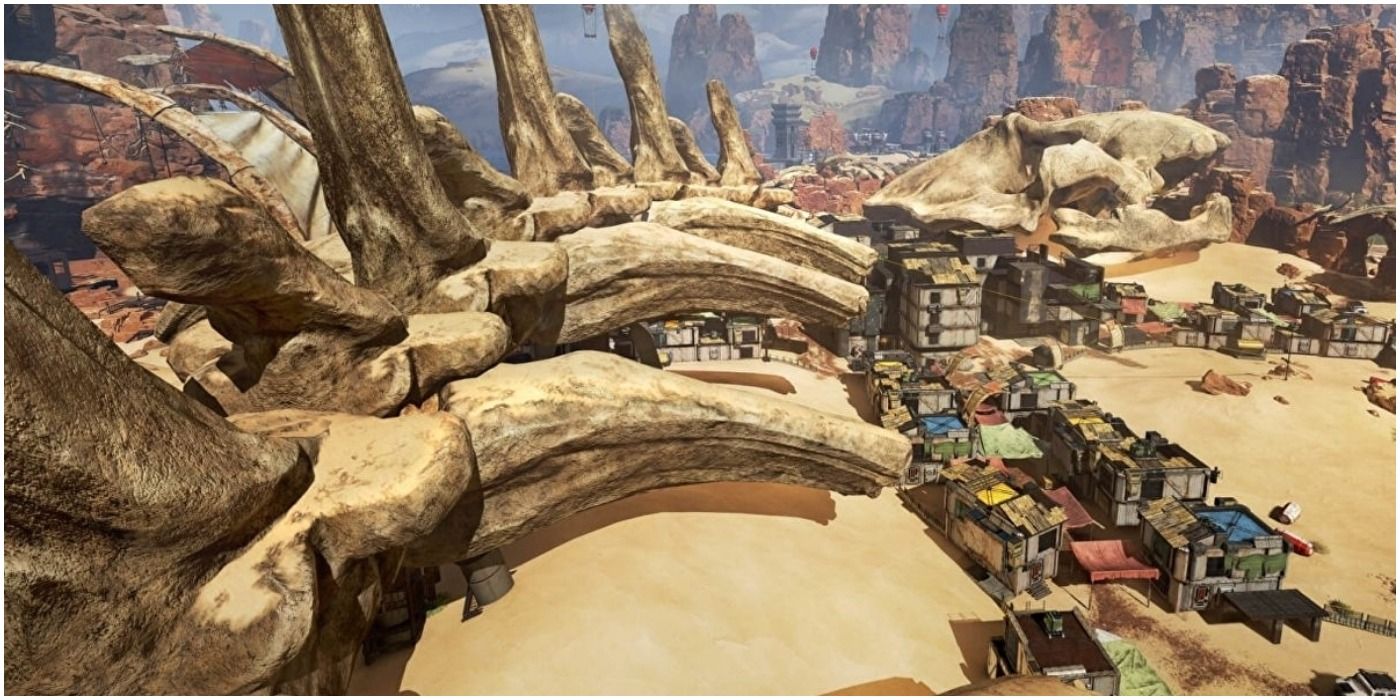
Does anything really need to be said here? It's Skulltown. Landing here is going to immediately result in a brutal bout of entertainingly chaotic carnage, but it's not exactly a winning move. Skulltown may be where Legends are born, but it's also where the first six squads are going to die every match. Your goal is, presumably, to not be one of them.
Of course, actually surviving the absolute bloodbath is extremely rewarding. If lucky, you'll walk away with several kills, and its high concentration of loot means you'll also be armed to the teeth. But it's an absurd risk to take if you're looking to survive to the end.
2 BEST: Swamps
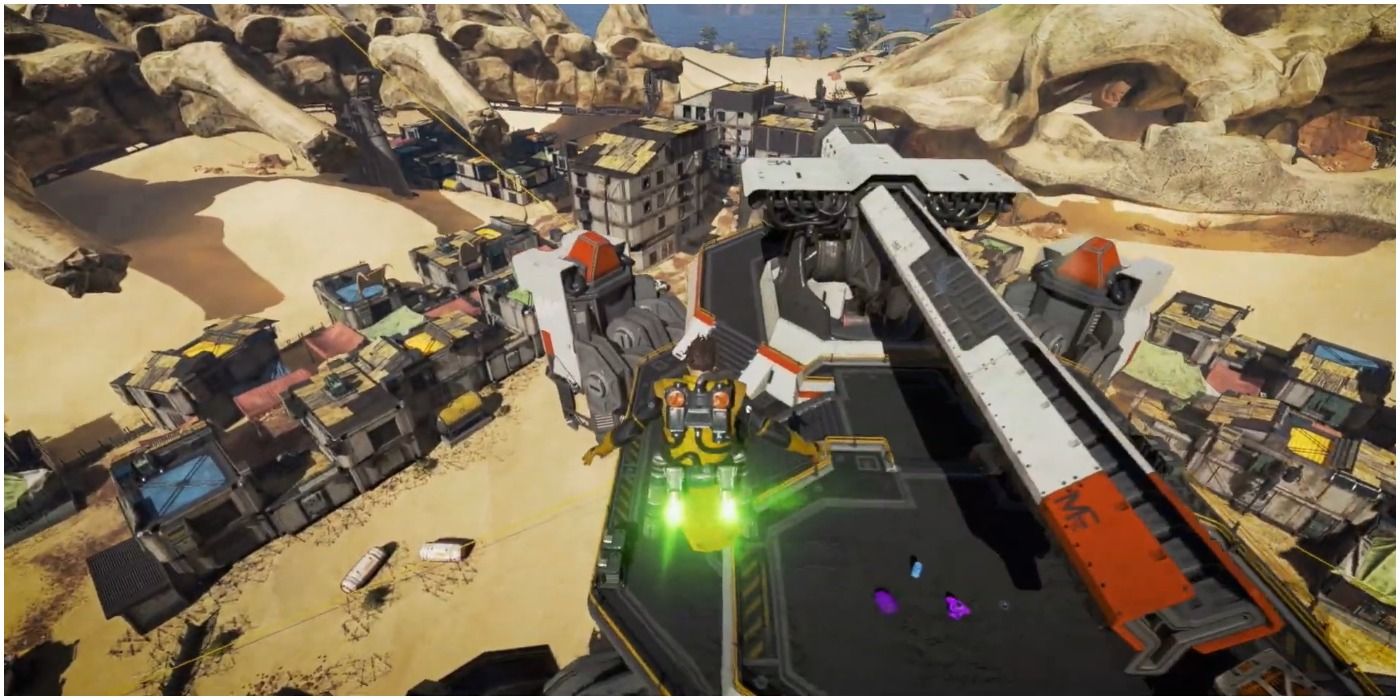
The Swamps are often regarded as a haven for loot gremlins, and with good reason. This low profile area tucked away on the often ignored eastern edge of the map is large, flush with loot-stuffed shacks, and is rarely crowded at the beginning of the game.
There's plenty of room for squadmates to spread out for loot, though it's highly recommended to tighten up if landing with any hostile company whatsoever. That'll rarely ever turn out to be an issue, though, as this is generally one of the safest landing spots on the map. Your mileage might vary a bit, but not by much.
1 WORST: Labs
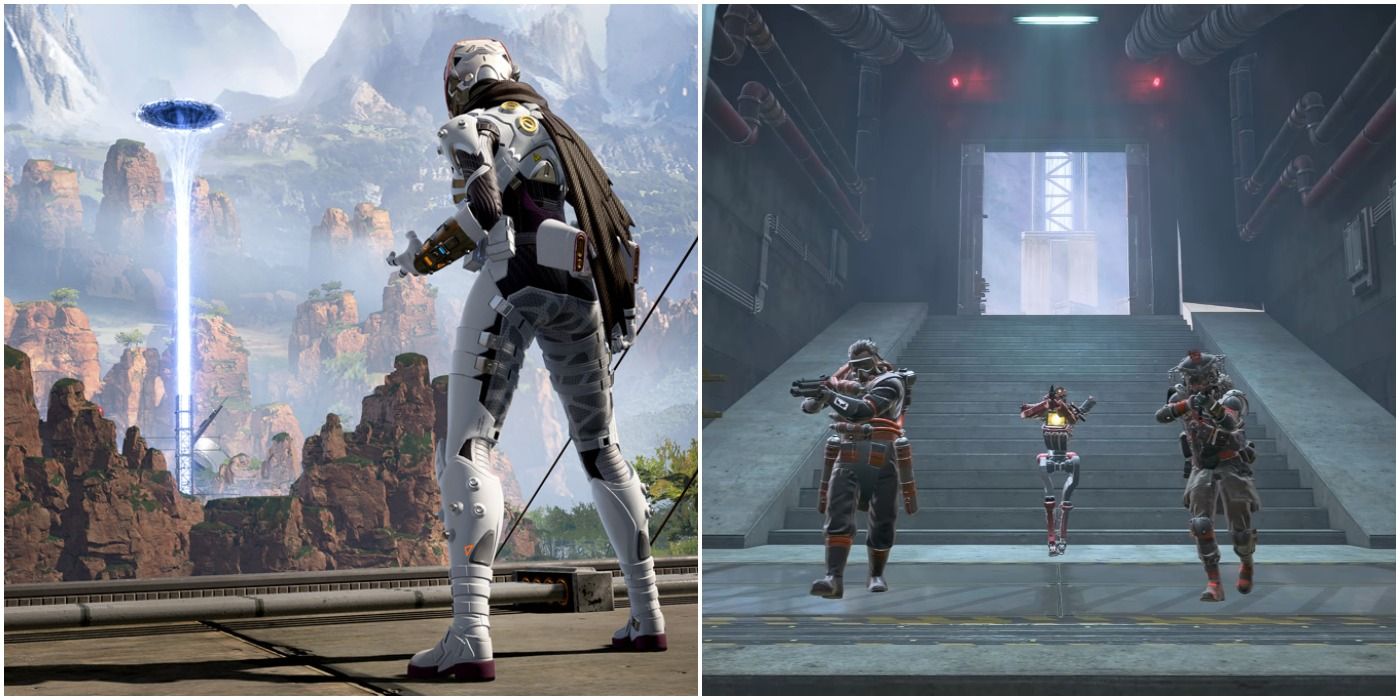
The Labs can be accessed one of two ways. The first, and most popular, is through a gigantic portal that's impossible to miss. Players can drop directly into it from the dropship, and it'll take them straight into what is essentially the new Skulltown: a claustrophobia-inducing network of dimly lit passages that are stuffed to the gills with loot. Needless to say, chances of walking out are slim.
You can also drop outside of the lab and raid the supply bins there to ambush survivors, though they can opt to just go back into the portal if they're being pushed, which functions just like a jump tower. It launches players out of the top of the portal so they can land elsewhere. The Labs are extremely fun to check out, but as a strategic decision, you can and should do better.

