The Legend of Zelda: Breath of the Wild has had Zelda fans hooked ever since it was released on the Nintendo Switch and Wii U. This early entry in the now-vast Switch library has remained among the most popular on the console. And with its gripping and rewarding open-world gameplay, it's easy to see why. With its vibrant, organic locales and a slew of fun, engaging activities throughout, the game has become the new gold standard for the Zelda formula — and largely sandbox games at large — since its 2017 release.
One of the key new elements of Breath of the Wild is the array of diverse puzzle and combat-based shrines in the game. Nintendo entices gamers to seek out each of the over 120 Shrines scattered about Hyrule, a daunting task given how hard it can be to find and complete many of them.
Shrines come in different forms; they can range from deep puzzles to grueling mini-boss fights and can often be tricky to complete without knowing what to expect. These relentless tests of Link's strength and wit are usually worth the effort, as they grant various special rewards.
Updated May 12th, 2023, by Stephen LaGioia: Not that it needed it, but Nintendo's flagship fantasy series, The Legend of Zelda, has been revitalized in a major way with the anticipated arrival of Tears of the Kingdom on Switch. Taking place sometime after the events of the original, this sequel promises even deeper gameplay, lusher worlds, elaborate dungeons, and a darker tone. In addition, Link's latest adventure stresses even more nuanced puzzle elements, including over 150 brand-new shrines for players to tackle.
But before delving into that sprawling saga and mastering those brain-busters, some fans may want to revisit the toughest challenges in Breath of the Wild. This list has been updated to include some more of the hardest BOTW shrines.
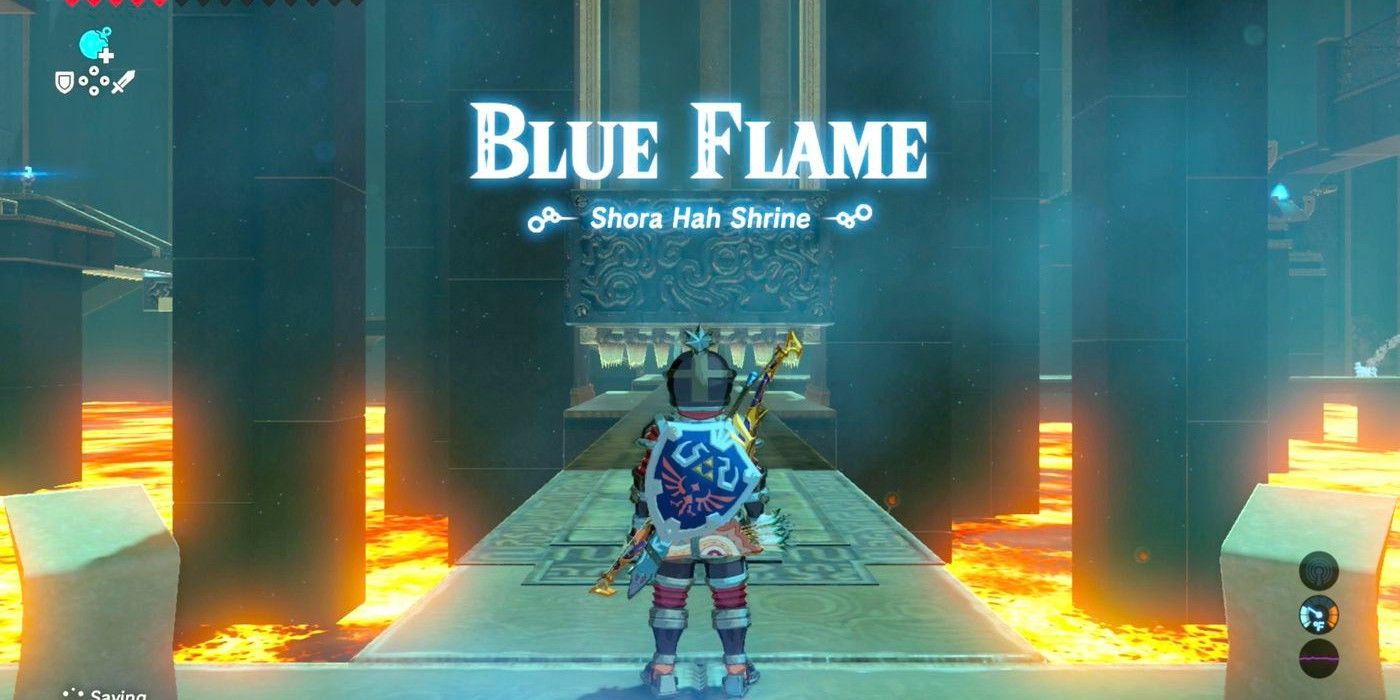
19 Shora Hah Shrine
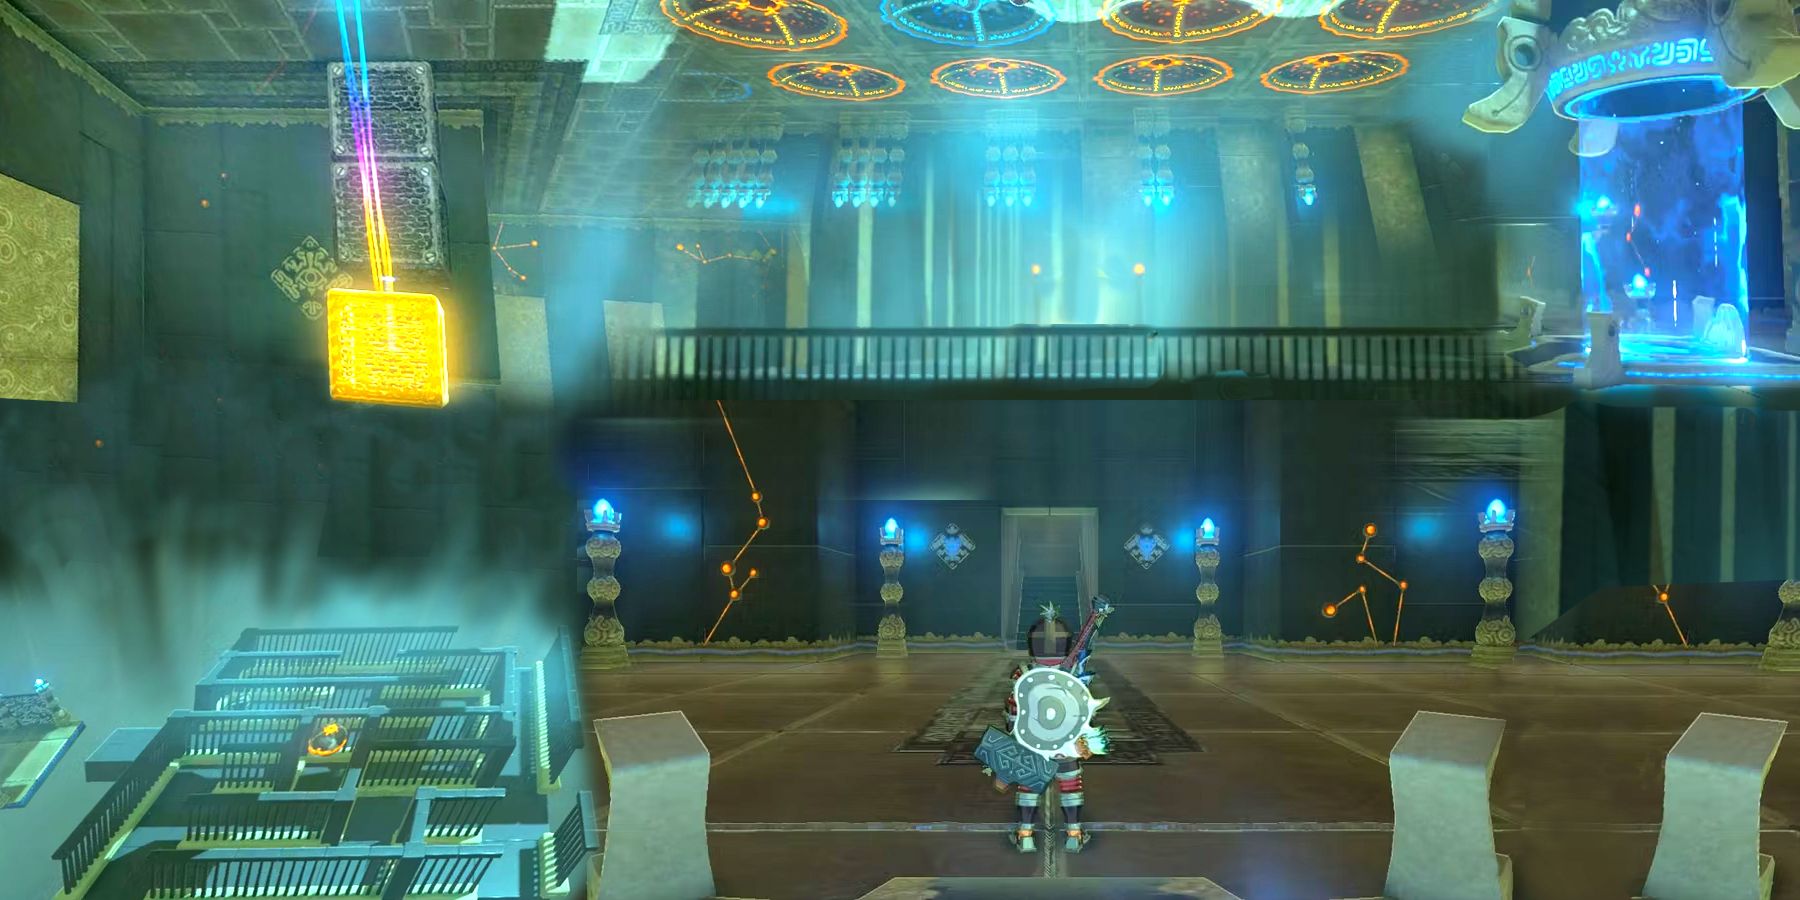
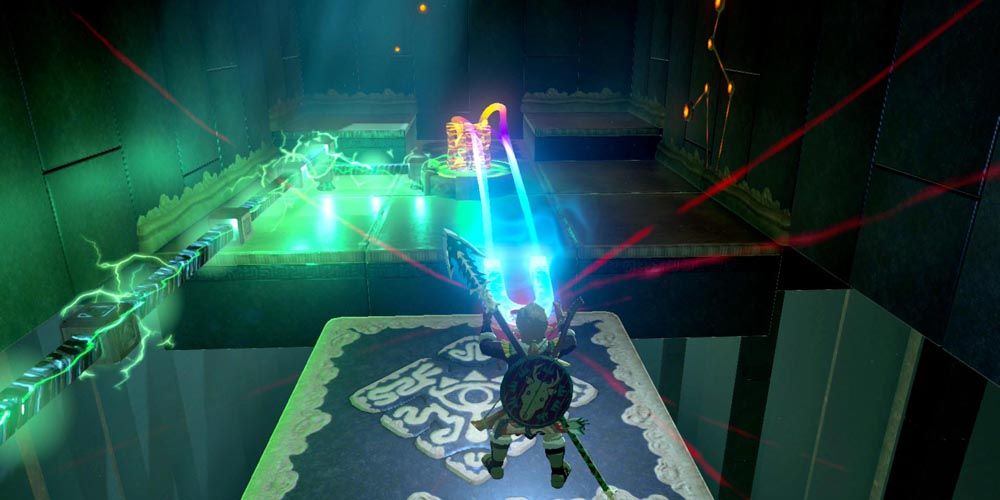
Before even delving into this expansive puzzle, players will need to head to the Isle of Rabac, past Goron City on Death Mountain, which lies in northeastern Hyrule, by way of a rickety minecart. There's plenty to tackle in the shrine itself; Link will primarily need to utilize Magnesis to move around platforms and progress.
The trial also involves lighting moving torches and evading water fountains. While this one isn't too grueling in terms of raw skill or swiftness, it is one of the longest and most involved. There is ample ground to traverse and a slew of jarring hazards to overcome to reach the end.
18 Jee Noh
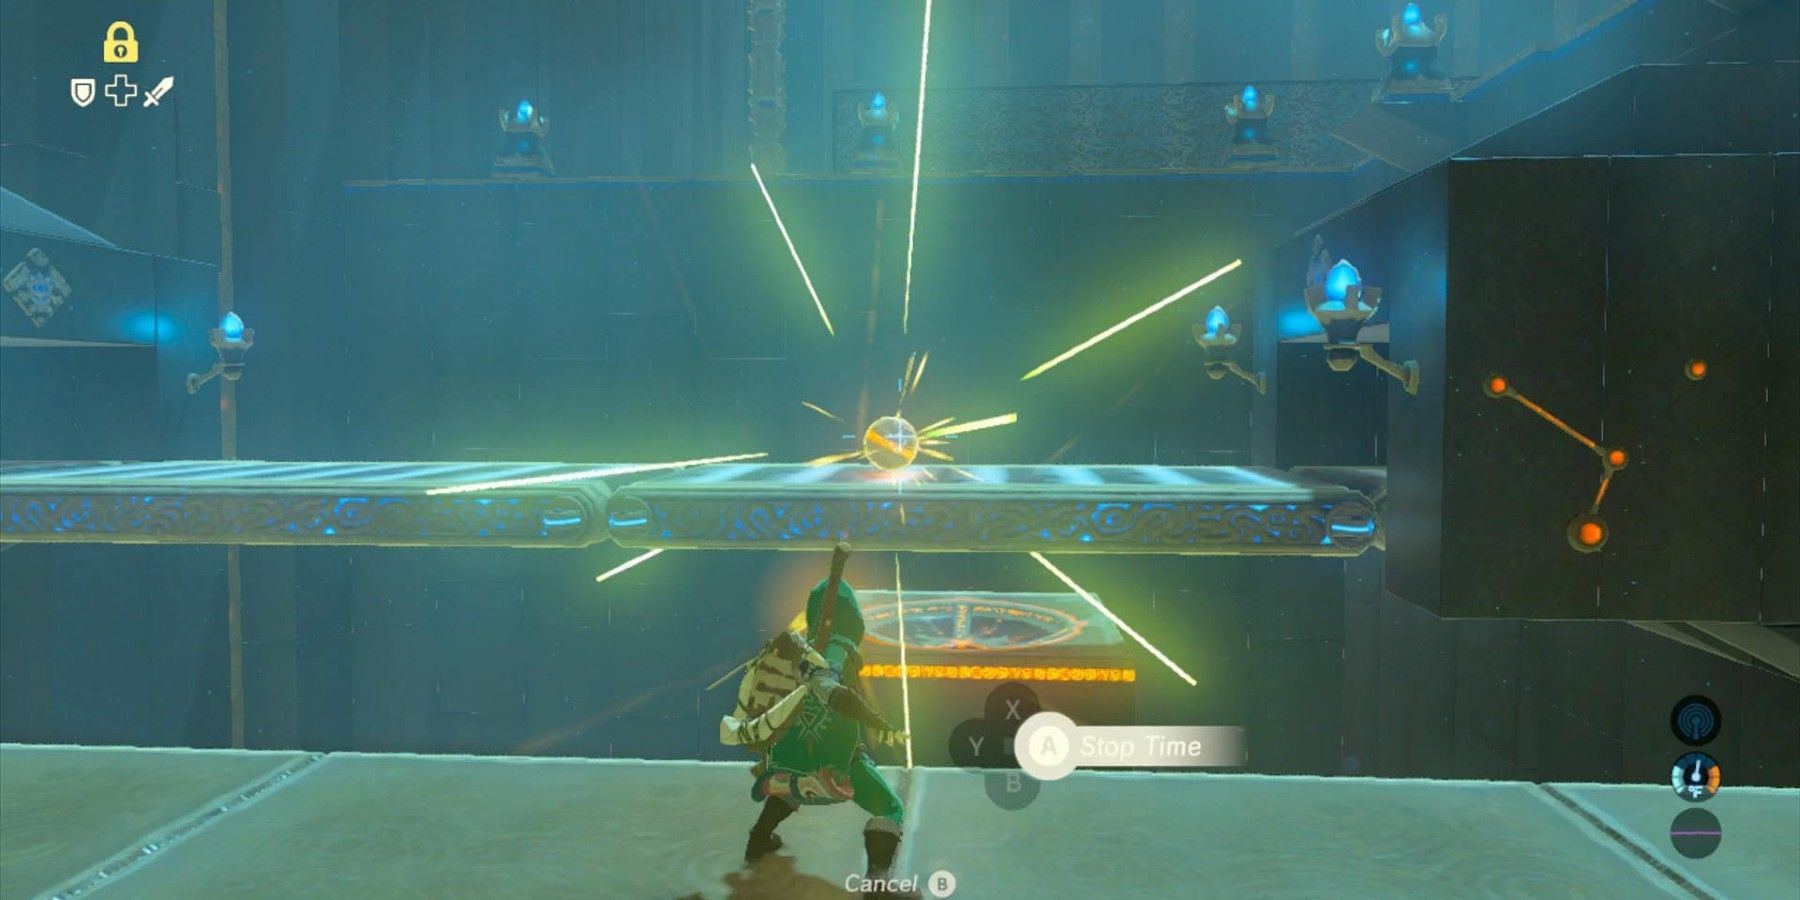
Link will need to head to the Gerudo Desert entrance, where the shrine will be resting a bit south of Mount Nabooru. This one requires juggling multiple tasks in quick succession, namely using Magnesis to pause a conveyor belt and swiftly shooting targets they carry.
It then has players traverse moving conveyor belts while evading deadly lasers and transporting a spear to a platform. It's at least somewhat brief, though it does demand quick thinking and multitasking, as well as some likely trial and error. In addition to the Spirit Orb, Jee Noh contains a metal chest (transported with Magnesis) that grants Link an Opal.
17 Ze Kasho
Ze Kasho sits nearby South Akkala stable (a bit northwest of Akkala Tower); it's in the southwest part of the Akkala Tower region. The task at hand is brief and straightforward but can be very tough to execute, as it requires sharp motion-controlled navigation. After clearly a pathway of spikes by proper platform tilting, Link will be tasked with evading lasers before reaching the final trial.
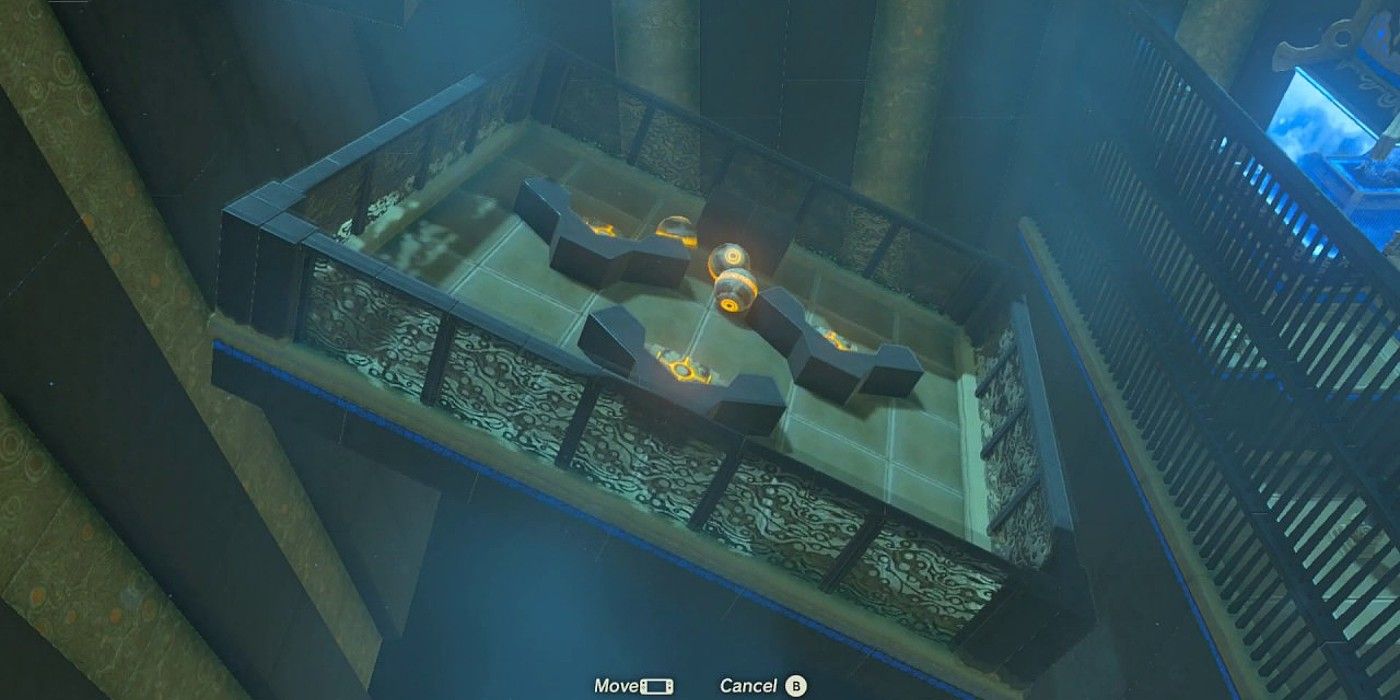
Here, players will need to guide a trio of spheres onto three respective platforms all at once. This can be easier said than done, as a slight readjustment can cause the dislodging or further displacement of another orb. Players will want to be steady and even-keeled when doing this task, minimizing sudden, harsh movements.
16 Noe Rajee
This shrine takes some time and effort just to reach as well as complete. Neo Rajee can be found at the bottom of the Flight Range pit within The Champions' Ballad DLC. Players will first need to partake in the Divine Beast Tamer's Trial, which involves shooting four respawning targets in quick succession amidst updrafts.
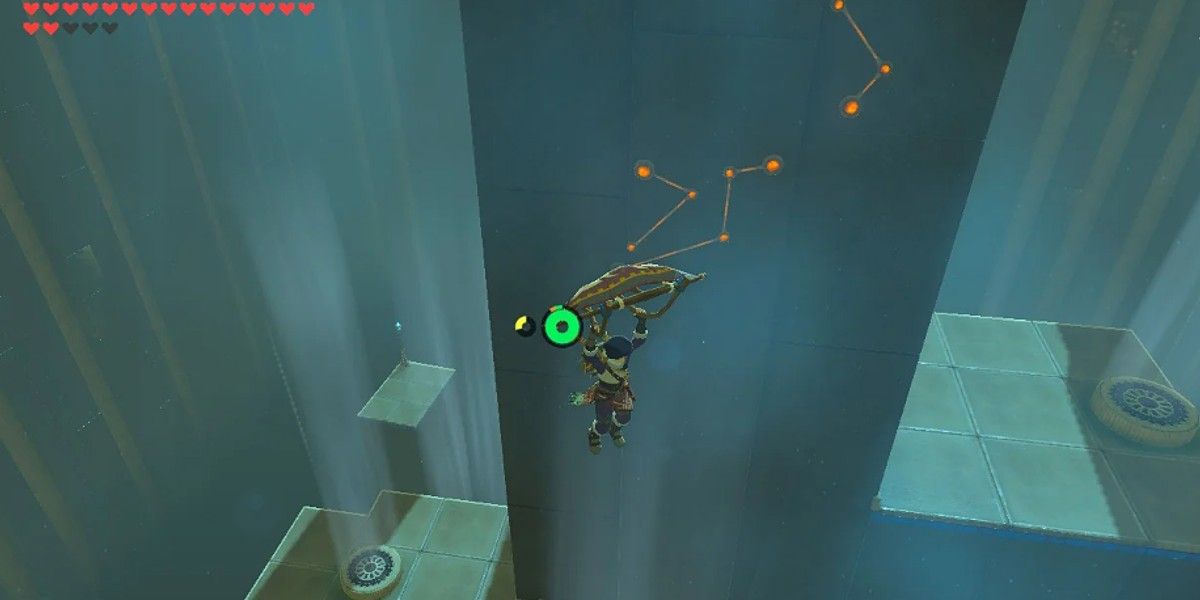
The shrine itself introduces even more wind gust updrafts, requiring Link to navigate the windy chaos across small platforms. During this feat, players must seek out glowing switches hidden in pillars, which activate more updrafts and allow further progress. It's a combination of tricky physics platforming and cryptic puzzles, which can quickly grow frustrating in players aren't patient. As a side note, players can find a platform off the beaten path that contains the potent Shield of the Mind's Eye.
15 Kihiro Moh
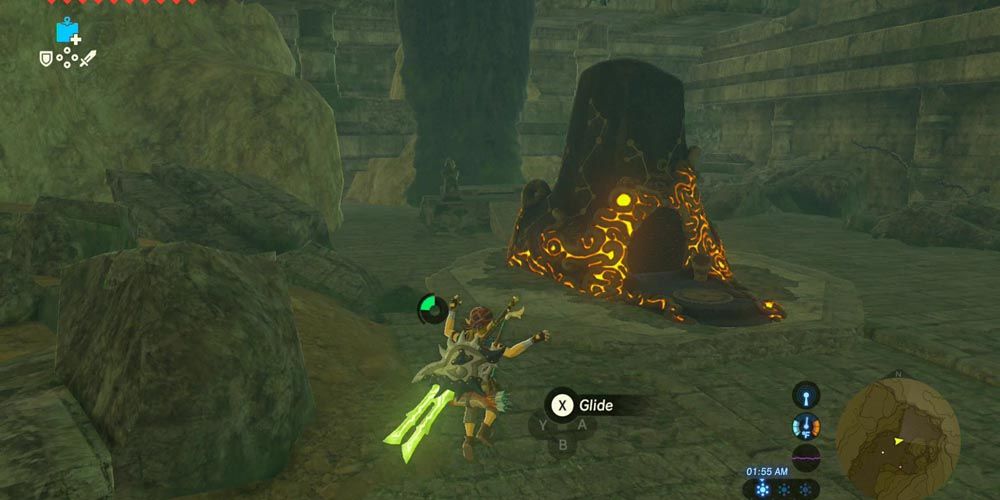
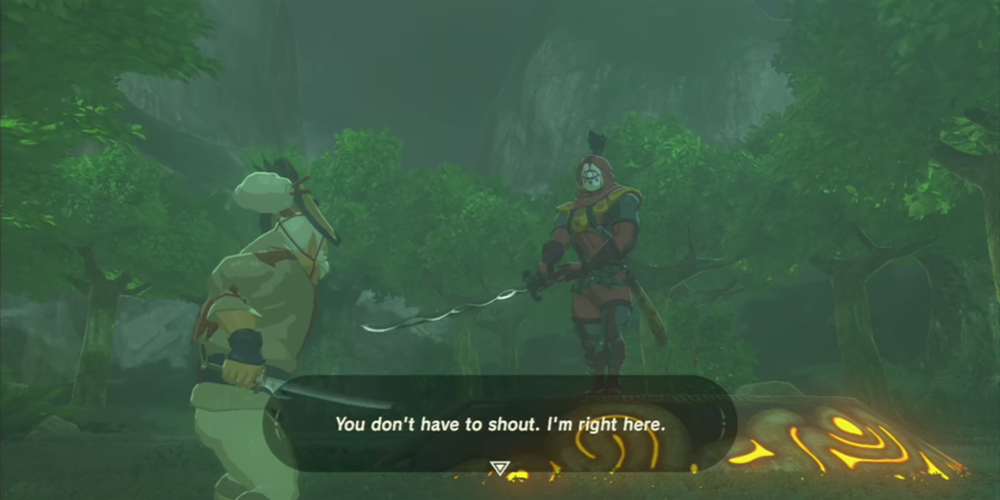
This DLC shrine can be found within the valley of the Gerudo Highlands, not far from the giant pit. It rests in the open region of the Yiga Clan Hideout, and it's part of the Divine Beast Tamer's Trial and EX Champion Urbosa's Song DLC quest. Be sure to mind the Yiga Blademasters, as they can swiftly kill Link in a single hit, even if well-stocked with Heart Containers. Players will need to sneak through the hideout and toss an Ancient Orb into the hole in the center of the arena there to reach the shrine.
Completing the shrine itself is a degree simpler than reaching it, though it is rather cryptic. Players will need to drop the glowing spheres in the holes corresponding to the number of torches shown on the aligning wall. The shrine grants clues via the number of colored orbs in a giant box. The box should be shaken around to reveal the amount that each has.
14 Katosa Aug
This Shrine, located at an intersection of roads outside East Akkala Stable, takes Link from the role of fantasy hero to minigolfer. The area offers a couple of tricky putting puzzles, where the player must hit a sphere into a hole before opening up the next segment.
The first trial is fairly simple, being little more than a straightaway bridge. However, things quickly get tougher, as Link is then tasked with bashing a sphere across a curved path to hit its destination. The motion control mechanics make this feat even harder, as a degree of precision and control is required to avoid the sphere plummeting to its doom. Luckily, this second trial is optional, though it does yield a very capable sword, a Great Frostblade.
13 Joloo Nah
Rotating the boxes centered around Joloo Nah with motion controls is quite a bit harder than it looks. This shrine, which is located in eastern Gerudo Highlands, provides a series of puzzles that are uniquely tough, as they rely on motion-controlled turns, Magnesis, and general problem-solving to progress.
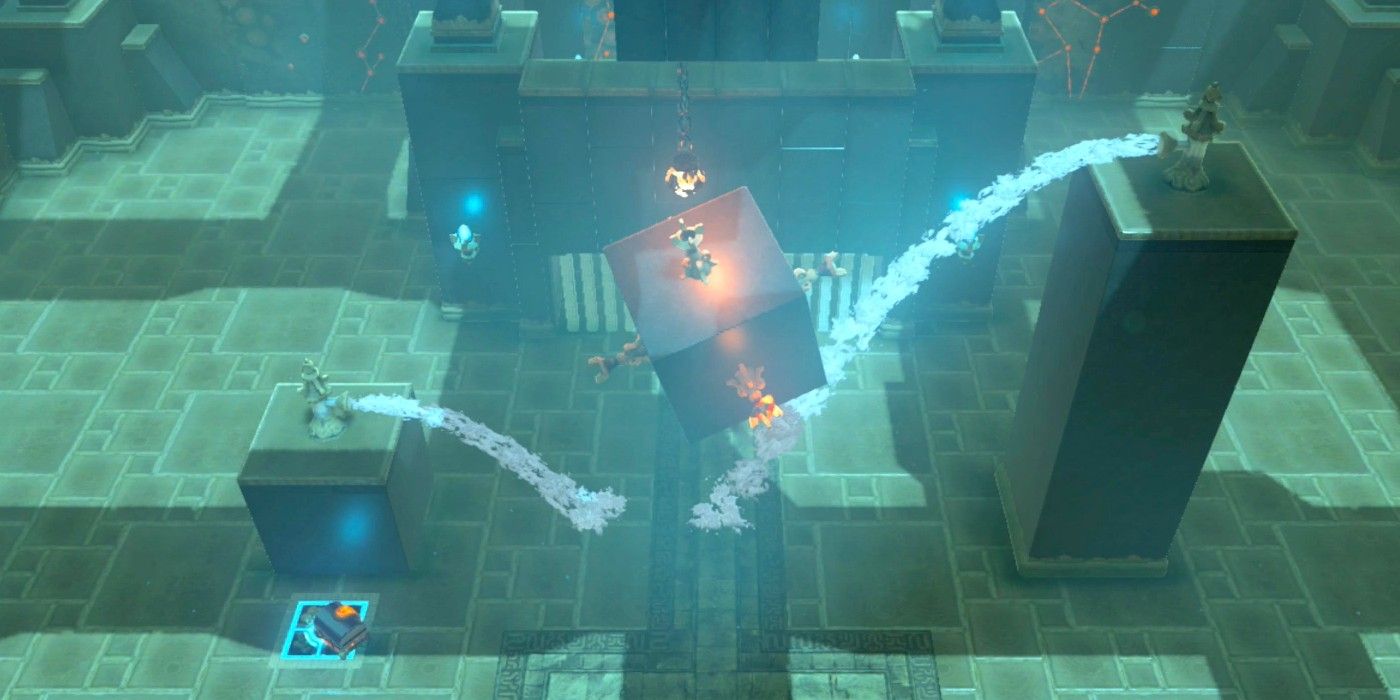
The shrine hosts a hodgepodge of gadgetry and moving parts, which Link must work with to unlock the next area. The shrine is pretty unforgiving at the end, where the player is forced to rotate a box and light torches on each side while evading water currents. As is the case with many Shrines, Link will be granted a Spirit Orb for his troubles.
12 Ruvo Korbah
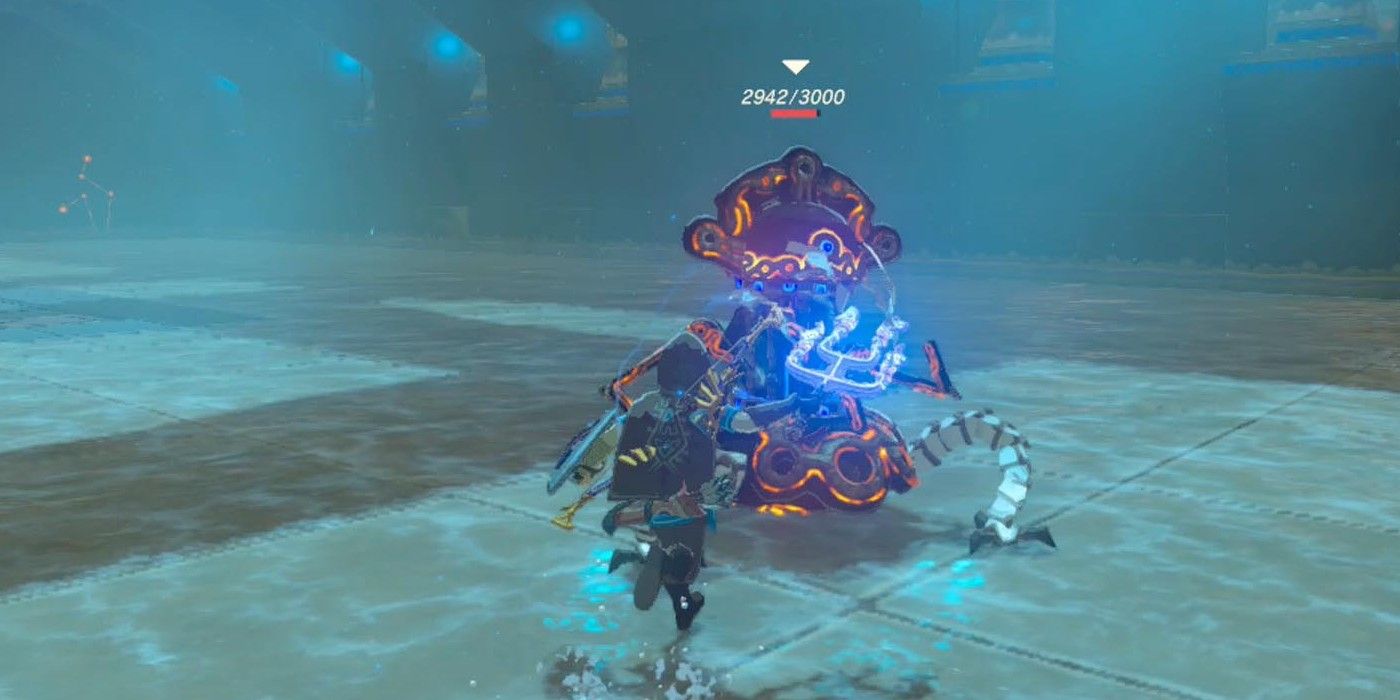
This shrine can be accessed in The Champions' Ballad DLC, which specifically lies south of the Temple of Time near the Old Man's hut. The shrine is tagged "A Major Test of Strength," and for good reason. This one relies on good ol' fashion power and swiftness, as Link will have to deal with some feisty Guardian Scouts while traversing a mini-dungeon of sorts.
It could be simple enough, but the difficulty lies in the fact that Link is given just a quarter of a heart — so flawless execution is pretty much required. It's a true fight for survival and one that's not easy to make it through without getting hit at least once. Wait for an opening and then strike quickly and emphatically.
11 Keo Ruug
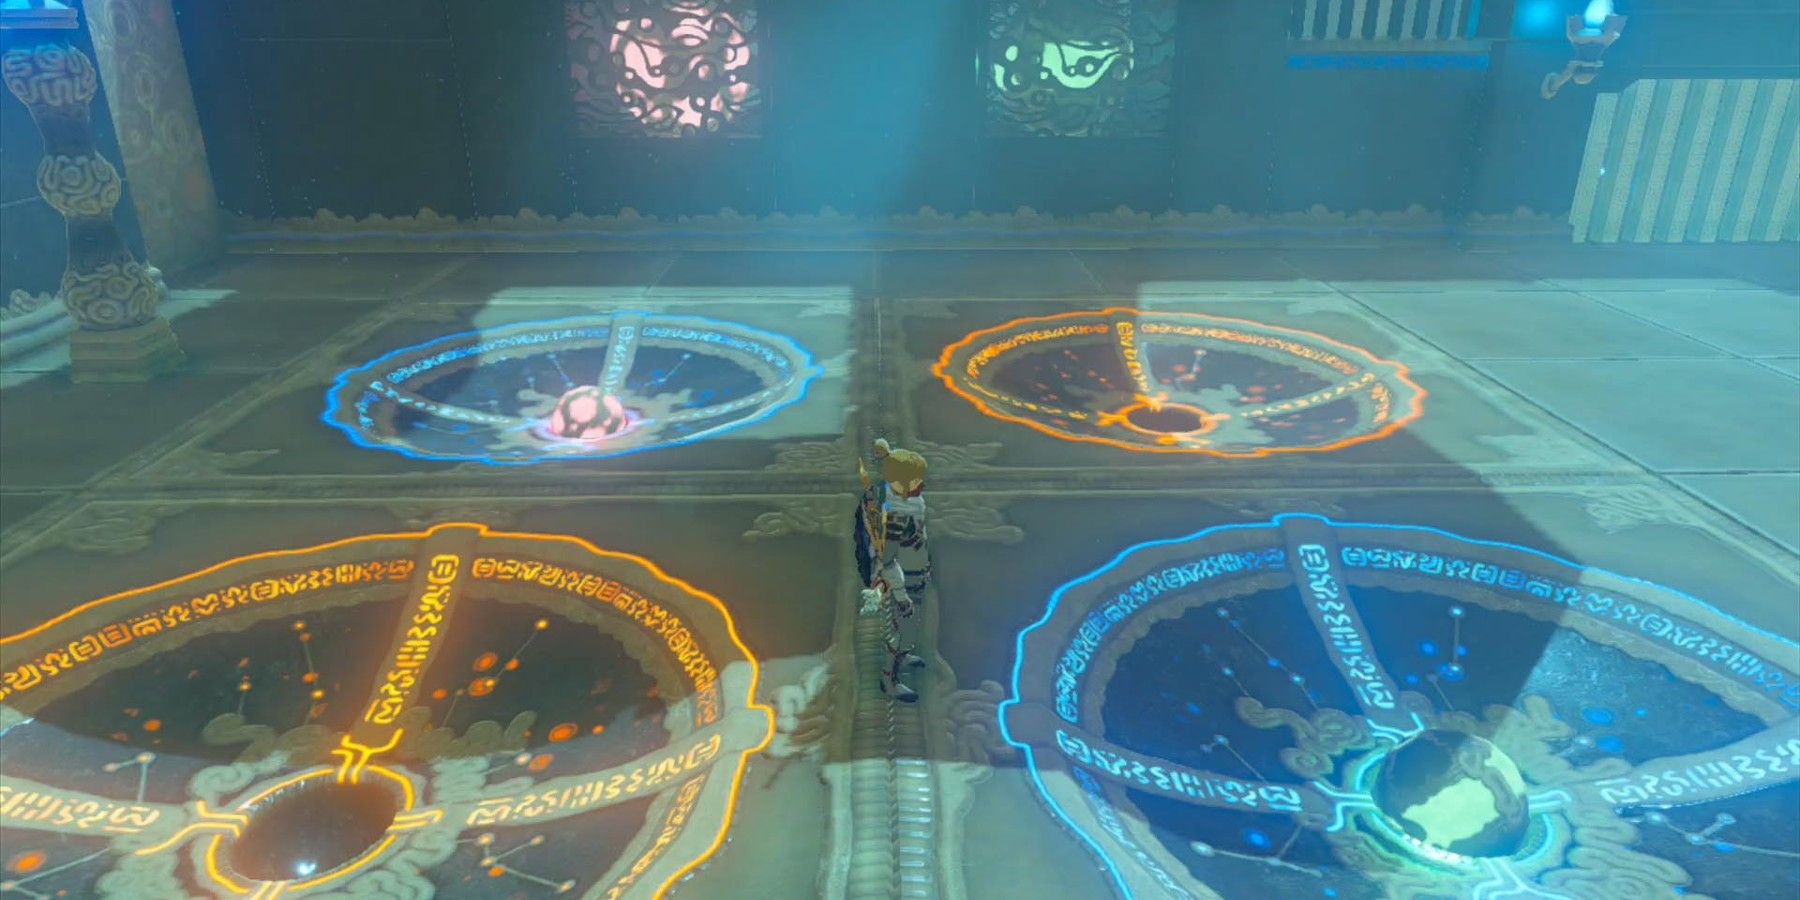
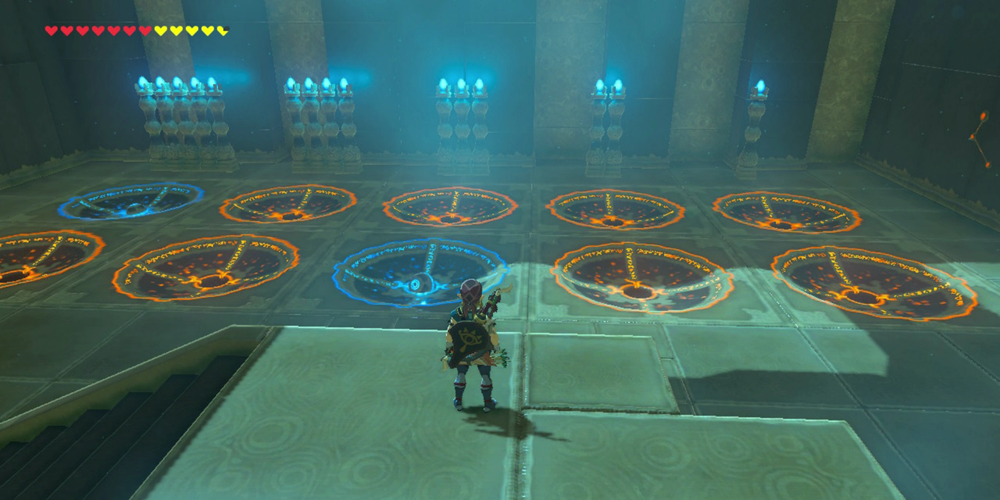
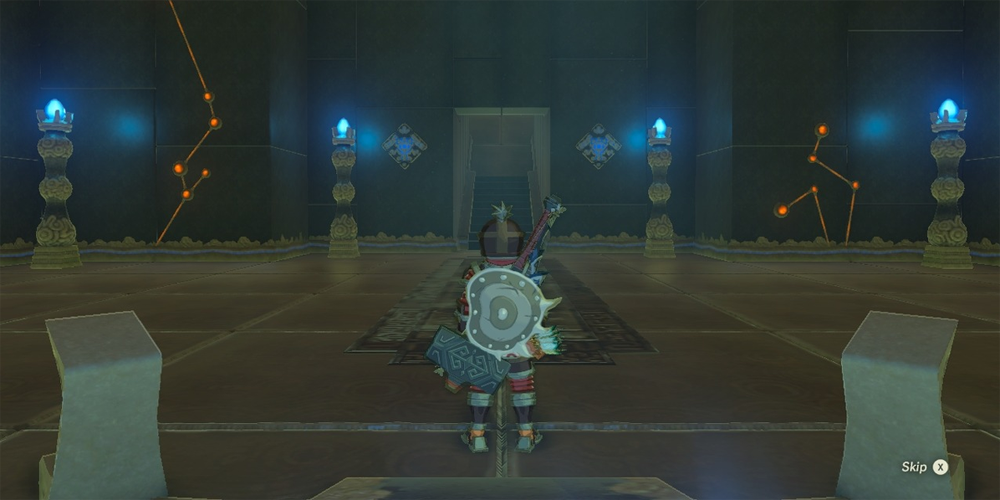
Keo Ruug Shrine is located in the Korok Forest in Central Hyrule. After entering the shrine, the player will notice constellations on the walls with different patterns. Then, on the floor, there are large circles, a few of which have spheres in them. If a sphere is put into one of the circles, the color of the lights in the circle change. This puzzle is like many of the other trials in Breath of the Wild in that it doesn't reveal precise instructions.
The player will be forced to look around and take clues from the shrine and figure out how to solve it. In this shrine, the solution is to move the spheres into the circles to match the constellations. To give an example — a single constellation appearance indicates the sphere must be placed in the socket with a single blue light corresponding to it. Once complete, Link will receive a Knight's Claymore.
10 Myahm Agana
Myahm Agana Shrine is definitely one of the most frustrating shrines in Breath of the Wild. It can be found just to the east of the Bolson Construction Homes village center in East Necluda's Hateno Village. This shrine takes advantage of the Switch's motion controls in an amusing way. Although it's a lot of fun, the motion controls can be rather finicky and sensitive, making precise navigation difficult.
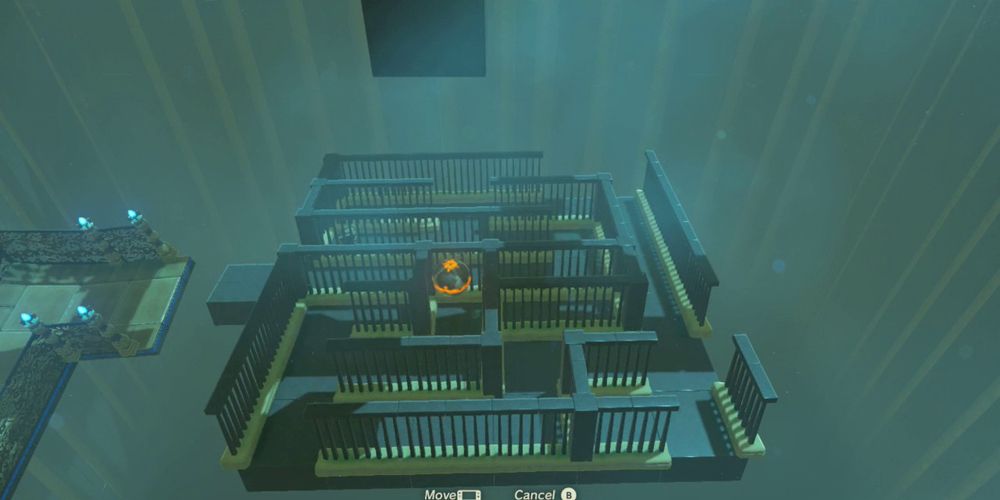
For this shrine, Link has to guide a sphere through a maze using the Switch's motion controls to tilt the maze around. Although this doesn't sound that difficult, there are open gaps all over that can cause the sphere to fall right out and force Link to start over.
9 Wahgo Katta
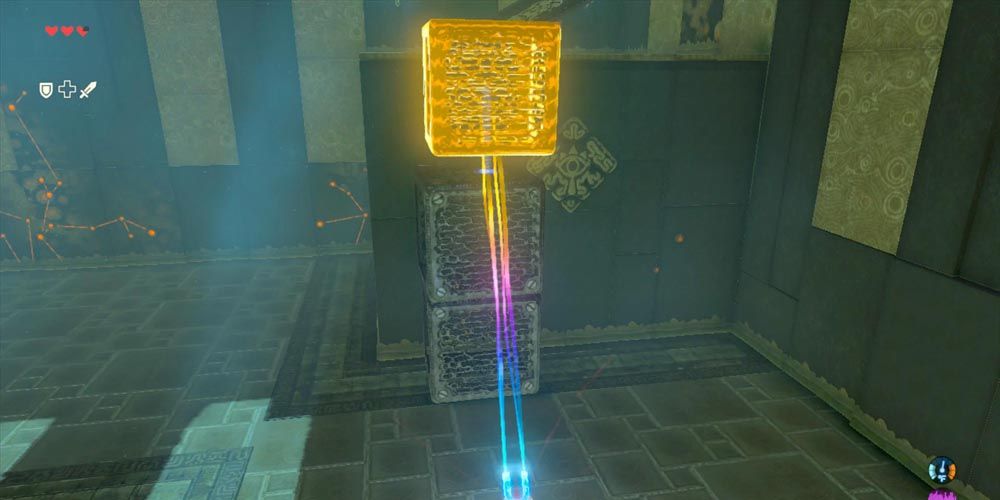
Wahgo Katta Shrine is a shrine that is located between Hyrule Field and West Necluda. This shrine forces Link to use his Magnesis Rune in order to move metal objects around inside the shrine. Although this may seem simple — since the Magnesis Rune is one that Link often uses — it's a lot more tedious and involved than it sounds.
Having to stack all these metal objects throughout the shrine using the Magnesis Rune isn't as easy as it sounds. Link has to stack them exactly right so that they don't topple or knock each other over, allowing him to climb them to get onto the next platform. Breath of the Wild often puts Link's strength and agility to the test, but this is a trial of steady hands and precision.
8 Dako Tah
Dako Tah Shrine is located slightly to the Northeast of Gerudo Town. This shrine is one that has several steps, meaning that it can grow monotonous and take quite a while to do. On top of having several steps, there are many areas where a slight miscalculation or error can mean a swift death, forcing Link to painstakingly start the shrine over.
This shrine forces Link to use his knowledge of how electrical currents work in order to turn on platforms, open doors, and make his way through a pretty tricky maze. But be careful, it's easy to take a single wrong step and get shocked. In addition to the Spirit Orb, moving the metal block back in its place will unveil a chest that holds a Radiant Shield.
7 Mirro Shaz
Mirro Shaz Shrine is located near Pico Pond in the thick of the Great Hyrule Forest area, northeast of Woodland Stable. Upon first glance, this shrine seems rather easy and straightforward. Although it's definitely not complicated to take a look around and figure out what Link needs to do in order to get through it, it's not as easy as it may initially look.
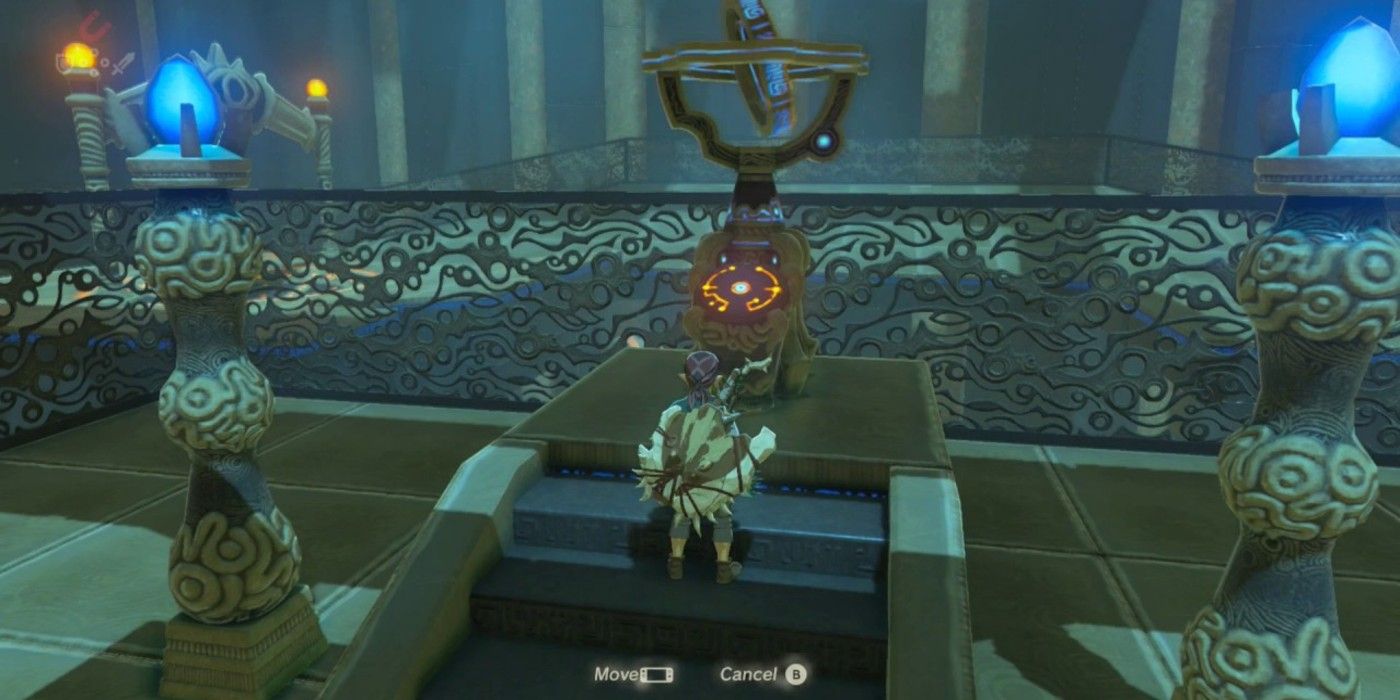
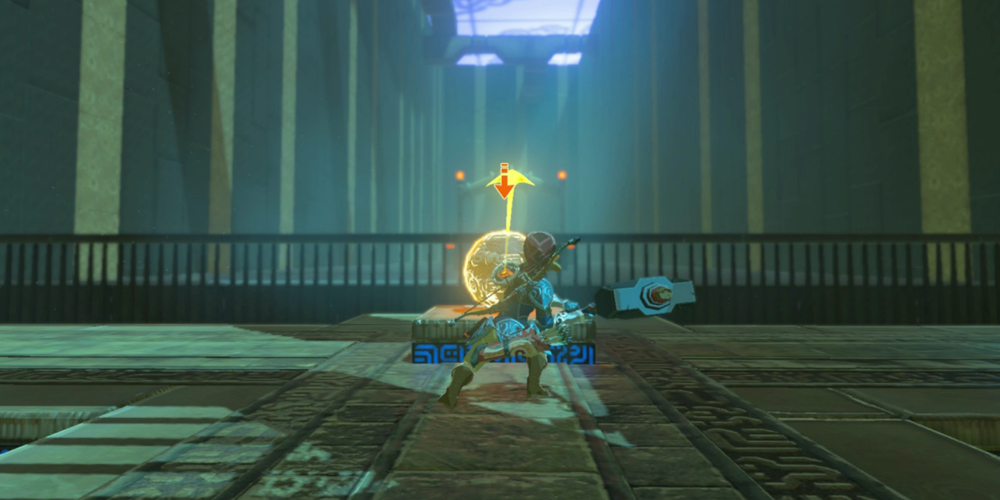
In order to solve this shrine, Link needs to walk up to the large sphere resting on the platform behind the railing. Equip the Iron Sledgehammer found in a chest at the beginning of the shrine and use Stasis Rune on the sphere. Once it's frozen, use the Iron Sledgehammer to hit it straight ahead. The goal is to have the sphere land in the hole up ahead, over a large moat. It may seem easy, but the precision makes this tough. For completing this Shrine, Link will get a Giant Ancient Core.
6 Hila Rao
Unlike the other difficult shrines in Breath of the Wild, this one isn't actually that hard to solve. It's just a matter of trekking across wooden planks, jumping across floating platforms, and using Cryonis to get an underwater chest to emerge. In this case, however, Hila Rao's challenge comes before stepping foot inside the shrine.
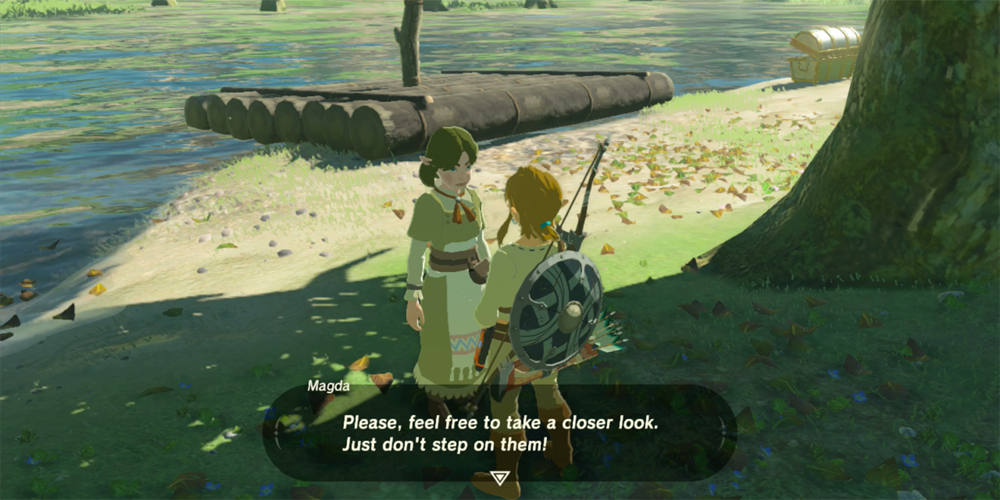
Outside of the shrine, there's a woman named Magda and a maze of flowers planted. Anyone who has played Breath of the Wild and run right past Magda and over the flowers will know that Magda gets pretty angry. The challenge to getting into this shrine comes from the fact that Link has to get through the maze of flowers without stepping on a single one -- a task that's easier said than done.
5 Daka Tuss
The Daka Tuss Shrine is one that is located in the Lanayru Region of Hyrule on an island that is fittingly named Shrine Island. Be careful, this island is typically guarded by Lizalfos, and sometimes there's even a Guardian wandering around in the area. But the battles that Link has to face outside of this shrine aren't the only challenges.
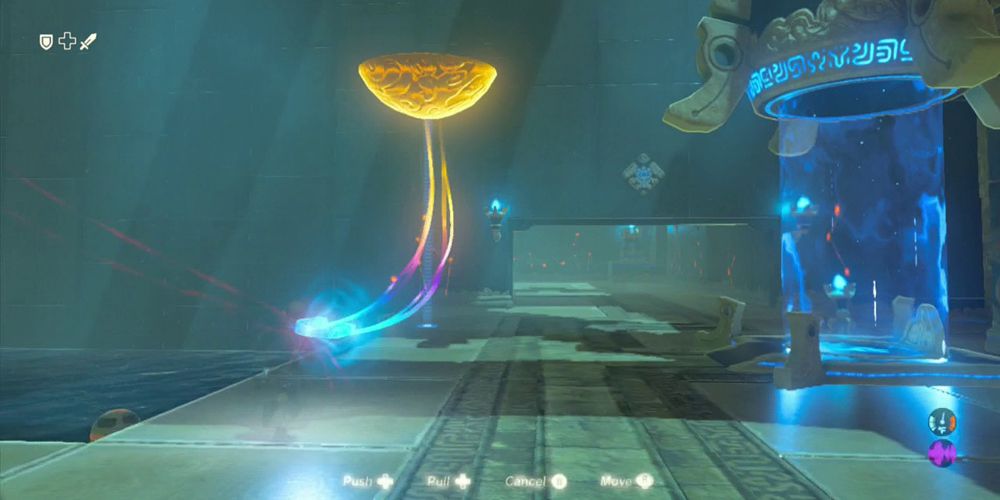
The puzzle featured in this shrine is somewhat tedious. It's not exactly difficult, but it can be frustrating because it doesn't allow much room for error, making players susceptible to blunders and thus having to do much of the shrine all over again. In Daka Tuss, Link has to use his Magnesis Rune to guide a bowl through a pool of water and move spheres through different obstacles. Accuracy and patience are musts here.
4 Rohta Chigah
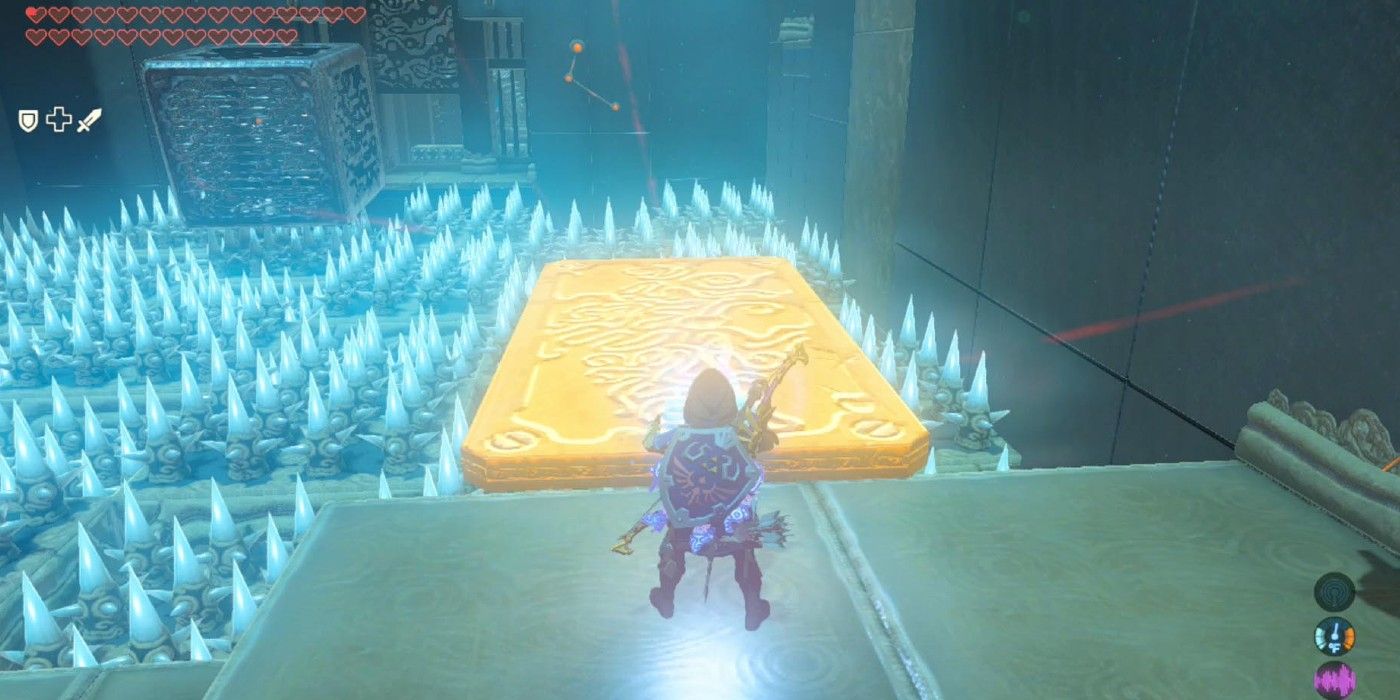
This shrine tends to be a grind with its array of hazards, moving pieces, and spiked surfaces. Following the release of the Champions' Ballad DLC, this one made a name for itself as one of the toughest, most unforgiving shrines in the game. It can be found North of the Easter Abby in the Great Plateau region and requires the slaying of an enemy camp to unearth it.
Rohta Chigah forces Link to use swiftness, evasion, and precise use of Stasis in order to safely bypass deadly obstacles in his way. One wrong move is all it takes to end Link's journey through this perilous death trap.
3 Rona Kachta
Rona Katcha Shrine is located in the Forgotten Temple to the southeast of Snowfield Stable. There are 12 separate shrines in Breath of the Wild, and while many of them are shrines that either test Link's physical strength or problem-solving skills, there are also some that just reward Link for managing to find the shrine.
Rona Katcha Shrine is one of the ones that reward Link simply for finding it. If the player is able to get through the Forgotten Temple without being taken out by one of the numerous Guardians that call it home, the shrine will be unlocked, and Link can go inside to get his reward.
2 Lakna Rokee
Lakna Rokee is located just outside of Kakariko Village and is part of The Stolen Heirloom quest. It's located in the forest just outside of the village, and anyone who has gone to the Fairy Fountain there has likely seen the large platform that is part of this shrine and the quest it's attached to.
The guards outside of Impa's house will tell Link about how thieves stole an important heirloom from Paya, the girl that lives in the house with Impa. At 10PM, one of the guards will leave his post to go into the forest outside of the village. Wear some stealth armor and follow him until a Yiga Blademaster appears, advancing the quest.
1 Kayra Mah
Kayra Mah Shrine is located in the Eldin Tower Region, in the northern part of Hyrule. Navigating around this area can be pretty tough, and it's impossible to get around without serious heat protection, so it's important to stay away until Link has gotten the full Flamebreaker Set.
This shrine unlocks itself after Link completes the A Brother's Roast quest, meaning that it's already a somewhat tricky shrine because a quest has to be completed before it can be accessed. The shrine itself is also pretty tough because of the large, rolling boulders that come down a slope to Link and can crush him if the player's not careful.
The Legend of Zelda: Breath of the Wild is available now on Nintendo Switch and Wii U.

