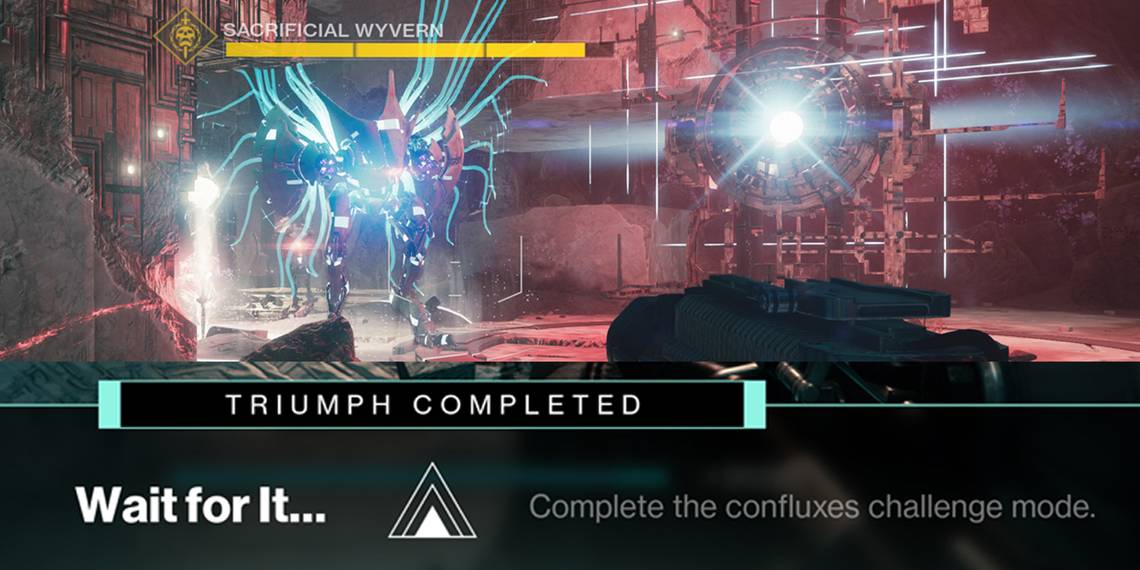
The first Raid challenge has arrived for the reprised version of the Vault of Glass Raid in Destiny 2. The “Wait for It…” challenge requires players to defeat all Vex Wyverns in the confluxes encounter while they are sacrificing themselves at a conflux and it will reward players with an extra loot chest.
The Vault of Glass is a fan-favorite Raid and has seen some alterations to its encounters with its reprisal in Destiny 2. The coveted Vex Mythoclast Exotic Fusion Rifle is also back with the Raid, but has a very small chance of dropping after defeating the final boss, Atheon, Time’s Conflux.
Confluxes Encounter In Brief:

During the confluxes encounter, which is the first major encounter in the Vault of Glass, players need to defend several confluxes from waves of Vex enemies across three distinct phases. These enemies, including occasional Vex Wyverns, are all trying to get to the confluxes so that they can bow down and sacrifice themselves. Allowing just one enemy to sacrifice itself results in a total party wipe.
How To Complete The “Wait for It…” Challenge:
This Vault of Glass challenge is very straightforward and relatively easy to complete, especially for well-coordinated Destiny 2 raiding teams. For this Raid challenge, players need to defeat all Wyverns while they are sacrificing themselves at a conflux. Completing this challenge relies on good communication between fireteam members, and all-out damage to kill the Wyverns. If a Wyvern is killed when it is not sacrificing itself, a “Challenge failed” will appear in the feed and players will need to wipe and start over.
Before getting started, players need a good weapon loadout and Subclass to make this as easy as possible. Any high burst damage weapon, particularly heavy weapons, is essential. Xenophage, Deathbringer, and Anarchy are all great choices, and a few players with breech-loaded Grenade Launchers and the Breach and Clear Artifact Mod are extremely useful too.
As for Supers, any of the quick-to-use, high damage options are good along with any Exotic armor pieces to improve them. Thundercrash with Cuirass of the Falling Star, Chaos Reach with Geomag Stabilizers, and Golden Gun with Celestial Nighthawk are all excellent combinations that can bring down the Wyverns very quickly. Players must communicate their Super use to ensure none are wasted.
The two main strategies for completing this Raid challenge are to either weaken the Wyverns as much as possible before they get to the confluxes and then destroy them as soon as they begin sacrificing, or ignore the Wyverns until they start sacrificing and then destroy them as quickly as possible with Supers and heavy weapons. Both are perfectly good strategies, but players will need to make sure they do not accidentally kill a Wyvern too early for the former strategy.
However, sometimes the Wyverns can move towards the confluxes too slowly which can result in them missing their chance to sacrifice as the conflux despawns. If this happens, players should ignore the Wyverns and let them despawn too which they will eventually do.
Phase One

For phase one of the encounter, only one Wyvern will spawn, and players need to defend only the central conflux. The majority of the Vex enemies, including the Wyvern, will come up the flight of stairs from the lower area just in front of the Templar boss. Players should always call out when a Wyvern is spawning, which is shown by the swirling digital lines of the Vex spawn effect.
This Wyvern will begin walking up the stairs towards the conflux. Players can either weaken it at this point or continue ignoring it until it reaches the conflux. When it does reach the conflux, it will bow down and start glowing and the conflux will glow red. Players then have a short window to destroy the Wyvern as quickly as possible. When the conflux despawns, the first phase of the encounter has been completed.
Phase Two

For phase two, the same strategy applies, only this time players will be split across the encounter area to defend the left and right confluxes, and even more Wyverns will spawn. A total of four will spawn across this phase, as each conflux will have two to deal with. Progress with the encounter normally by defeating the incoming Vex enemies until the Wyverns spawn in. Let them get to the conflux and then destroy them as soon as they start sacrificing. Repeat these steps when the second pair of Wyverns spawns and then progress normally until this phase ends.
Phase Three
For the third phase, players will be split across all three confluxes, which should mean that only two players can deal with the Wyverns on each side. This phase is the longest of the three and has three sets of Wyverns, meaning nine Wyverns will spawn in total. If players are lacking Supers or heavy ammo at this point, weakening the Wyverns before they reach the confluxes can be a good strategy. Defeat all Wyverns at the right moment and wait for all the confluxes to despawn.
Once all the confluxes and Vex have disappeared, a loot chest will spawn in and players can get their pinnacle Vault of Glass armor and weapons. If they have completed the Wait for It… challenge, an extra chest offering more loot will spawn as well.

Bungie has already said that Vault of Glass will eventually be getting its own Master difficulty mode which will offer Timelost variants of the Raid’s weapons. Completing each of these Raid challenges on this harder difficulty is also necessary to unlock the Fatebreaker Seal.
Destiny 2: Beyond Light and the new Season of the Splicer are available now for PC, PS4, PS5, Stadia, Xbox One, and Xbox Series X|S